Gary’s been back in touch with his rather impressive ceiling layout:
“Alastair:
As always, I appreciate all you do for me and the other model railroad folks. I look forward to your information every morning.
Several weeks ago you published my first submittal on my “National Park” theme and it generated some interesting observations, requests and questions.
Here are my responses to four of them. I hope you particularly like #4.
First, my granddaughter (Taylor’s Tunnel, from my earlier submission) came to visit me and my wife from her home in the mountains of Montana.
She was surprised how large the layout was, but had a couple of observations. She’s a 19 year-old and has her opinions!
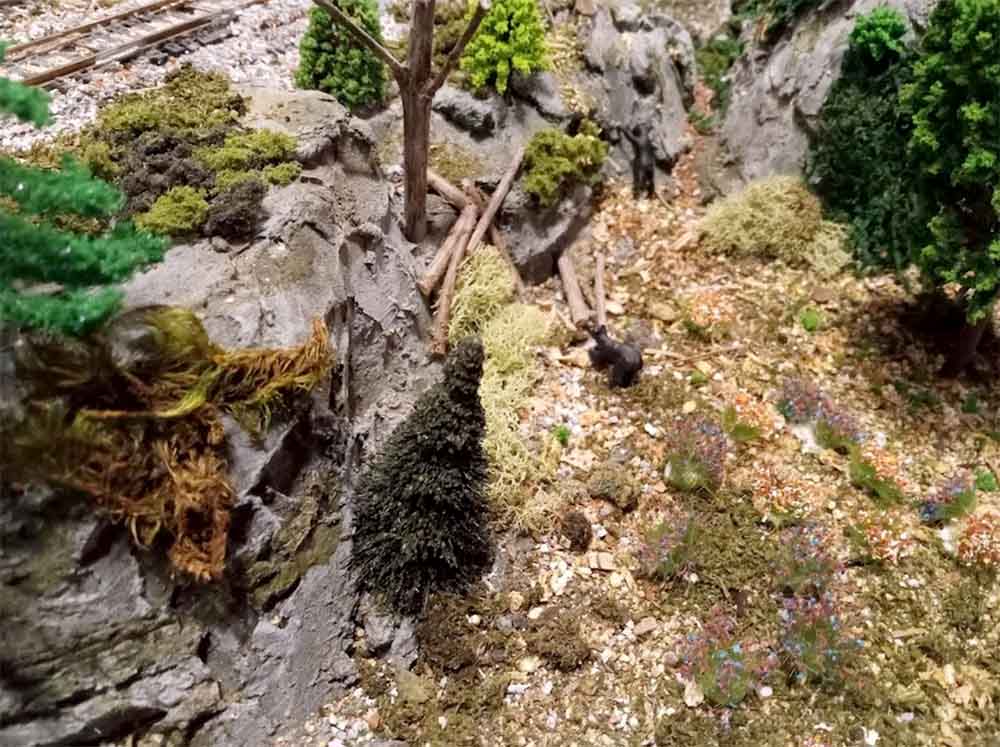
She wondered what the people on Leanne’s Lookout (named for her mother) were looking at and suggested that there should be a bear for them to observe.
Then she noted that one of my mountain meadows was not realistic since there were not any of the typical wildflowers.
Her thoughts were noted and then “corrected”.
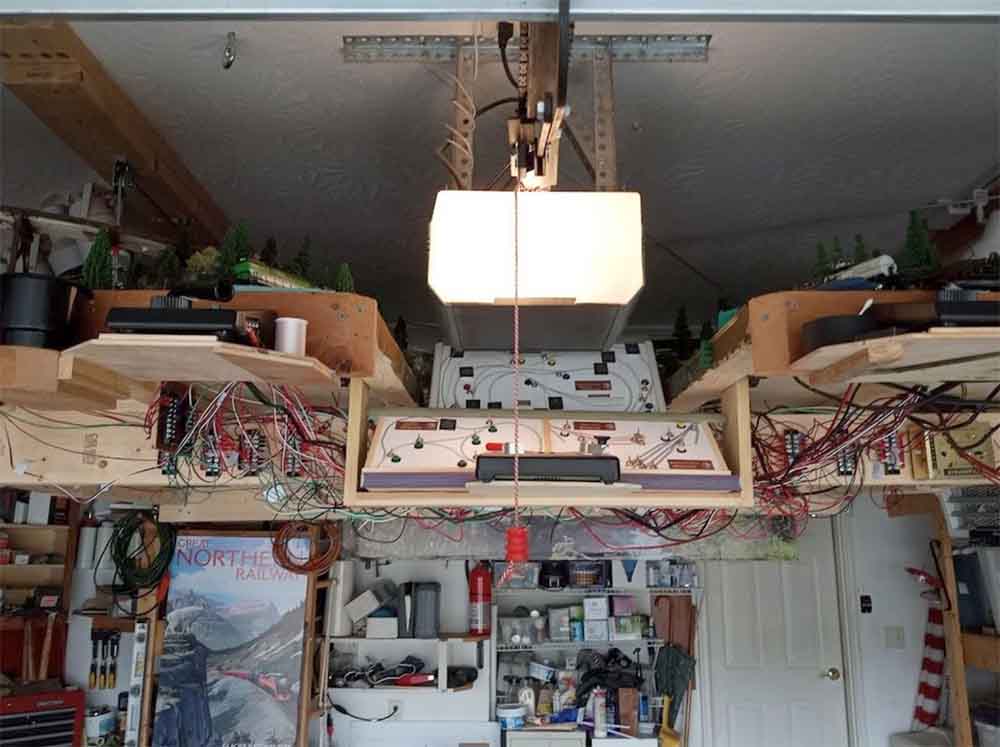
Secondly, I’ve had some questions about the hoist to lift the layout to the ceiling – it truly is a hoist and not a winch.
It takes about 15 seconds for the total lift, then I fold the 4 legs which takes about 30 seconds.
I attach 4 safety cables (another 30 seconds) to save the car in case the hoist should fail somehow.
Here is the layout at the ceiling:
The car fits in quite easily.
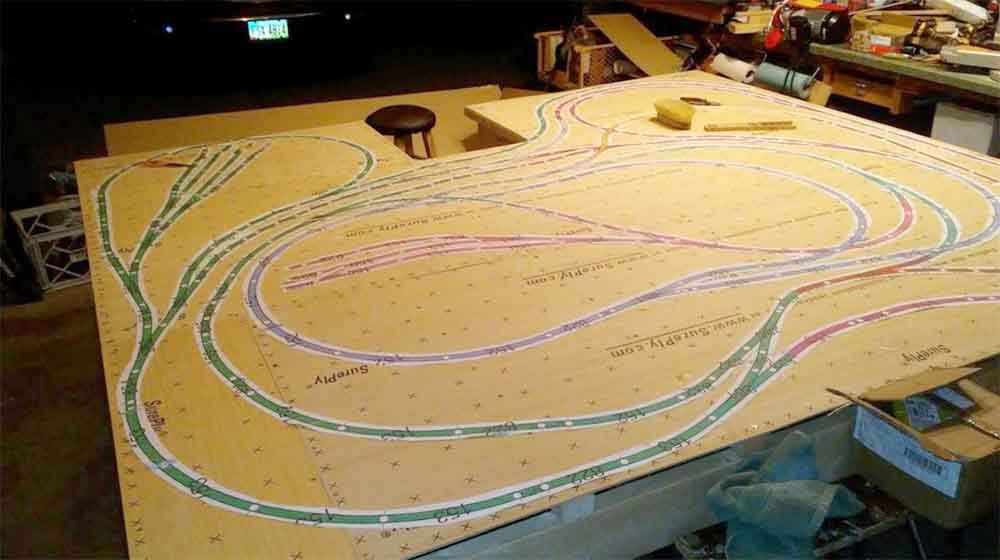
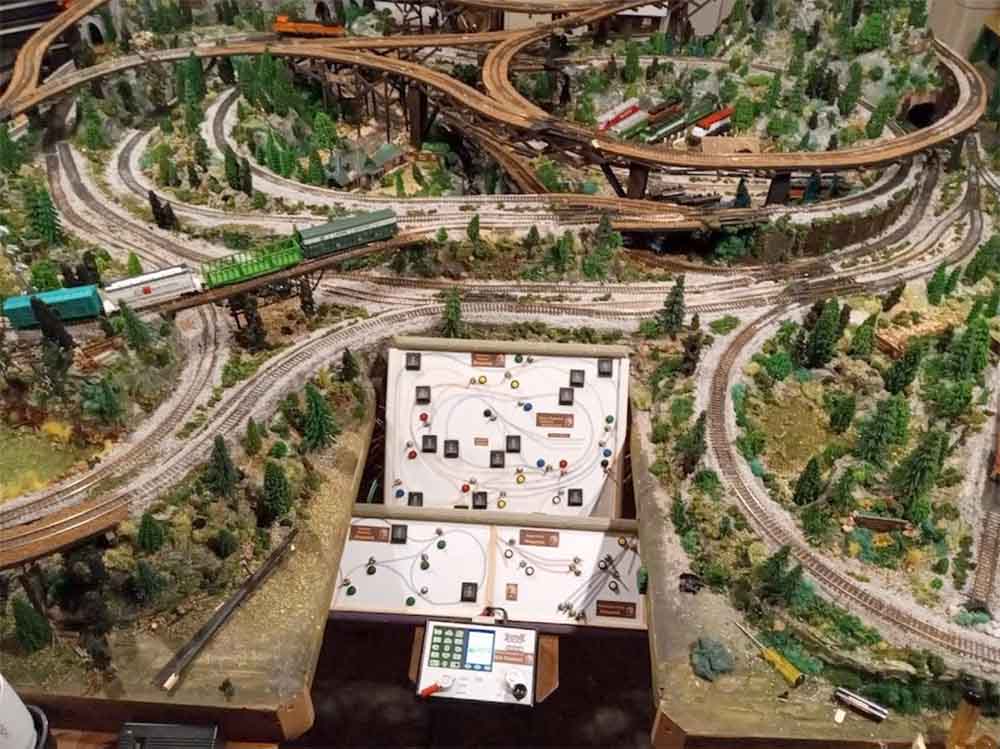
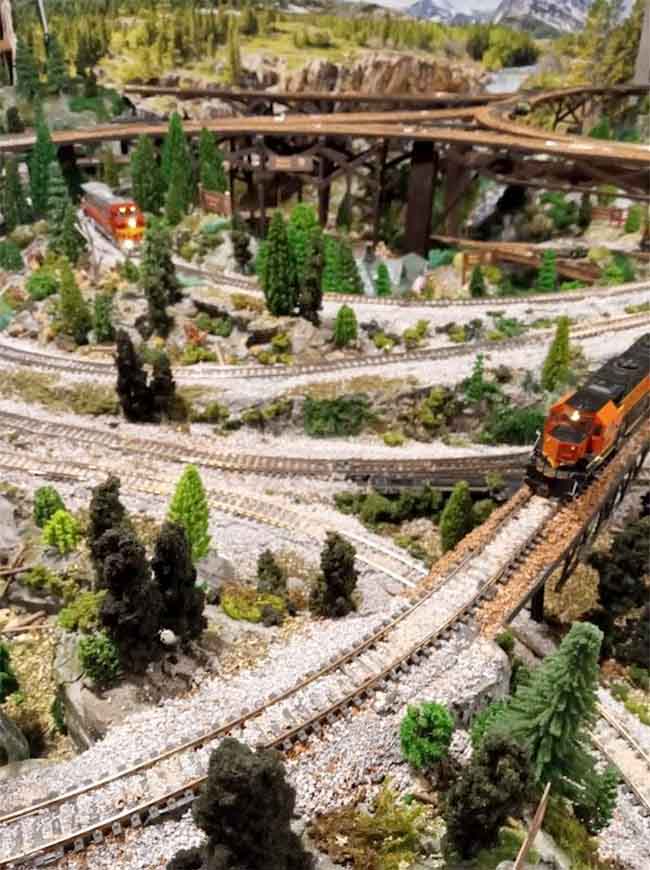
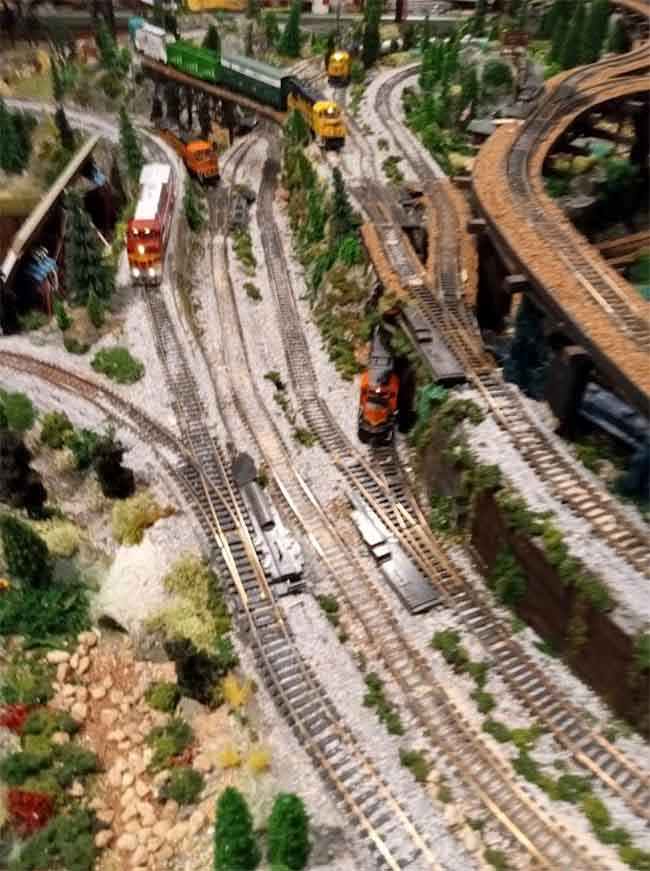
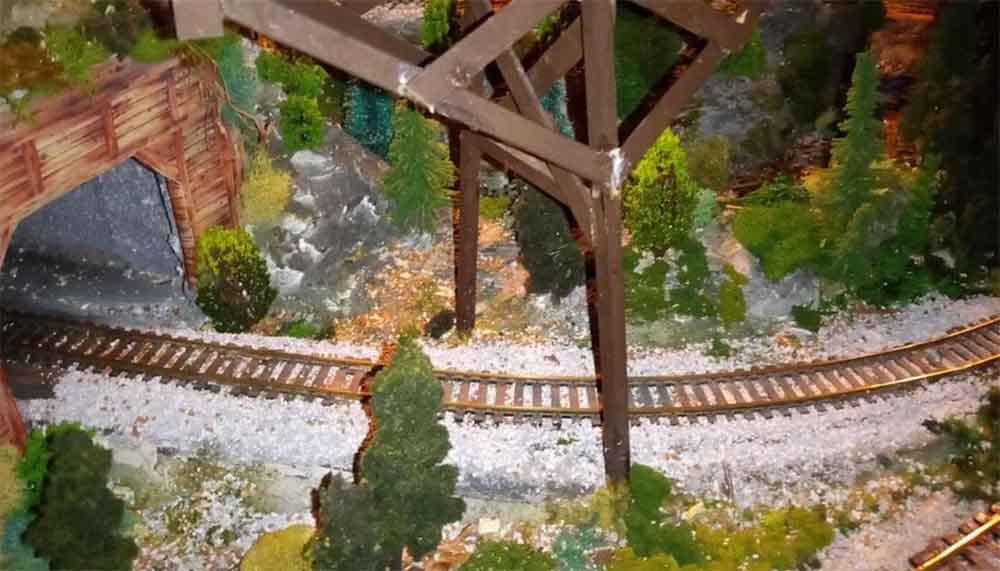
Thirdly, my earlier submission focused mainly on the detail of all the National Park areas and not much view of the overall layout, so here are some requested distance views from various angles.
View of track layout (without the highline track) and before the gorge cutout:
Same view (back) – mostly completed and including the highline loop at this point:
Then the view from the front (below grade so as not to interfere with the garage door opener)
Then the view from the left front corner all the way to the background poster:
Then the view from the right side (the switches have not yet been camouflaged at this point):
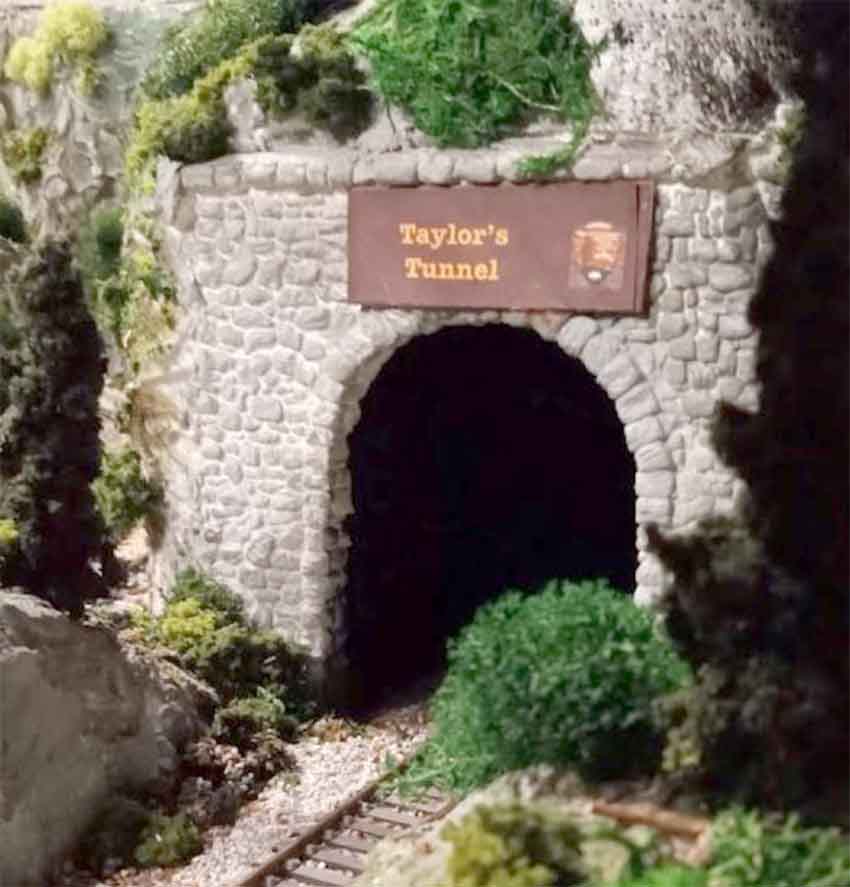
Lastly, I have had innumerable questions on how I made the “National Park” signs.
So here are the details and a “before” and “after photo of a new feature with an interesting twist at the end so keep viewing.
Before:
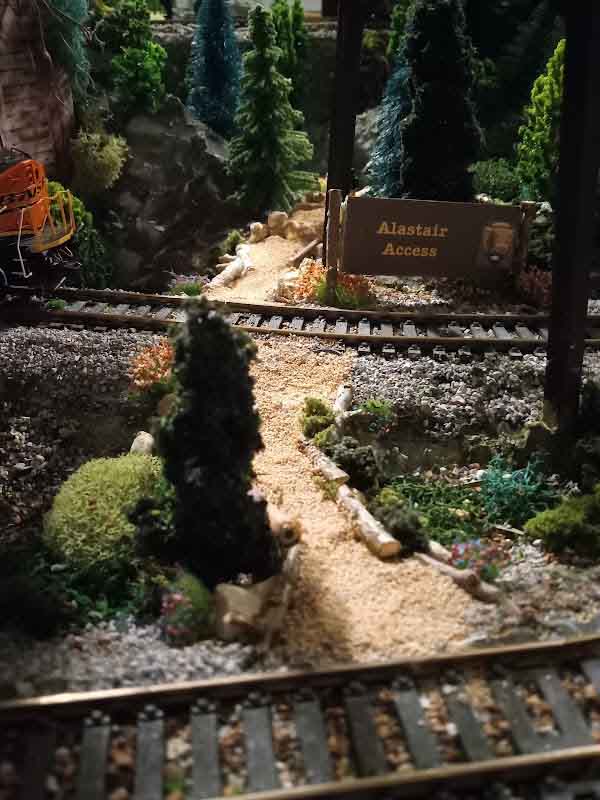
A new path will be constructed to the left of the upright of the highline route. After:
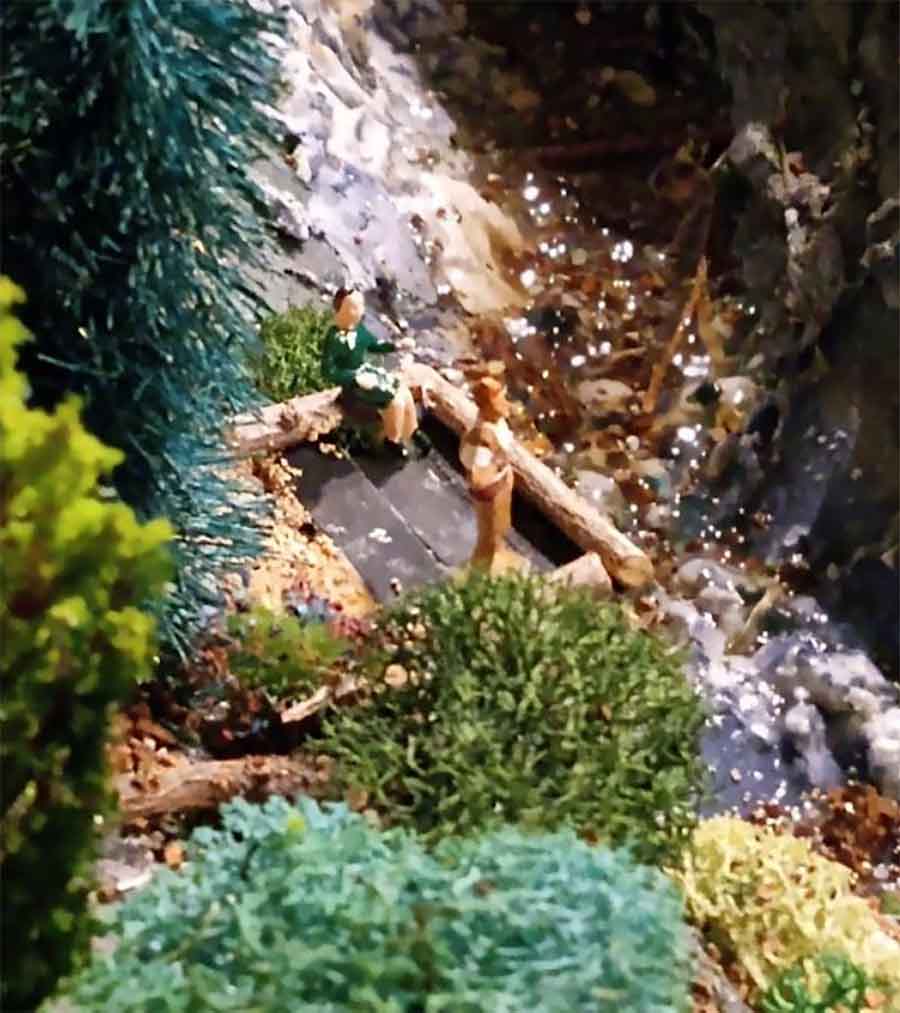
The feature is a newly constructed path and dock that gives the visitors access to the mountain stream that feeds into Gary’s Gulch. But first, back to the sign before it gets installed in this view.
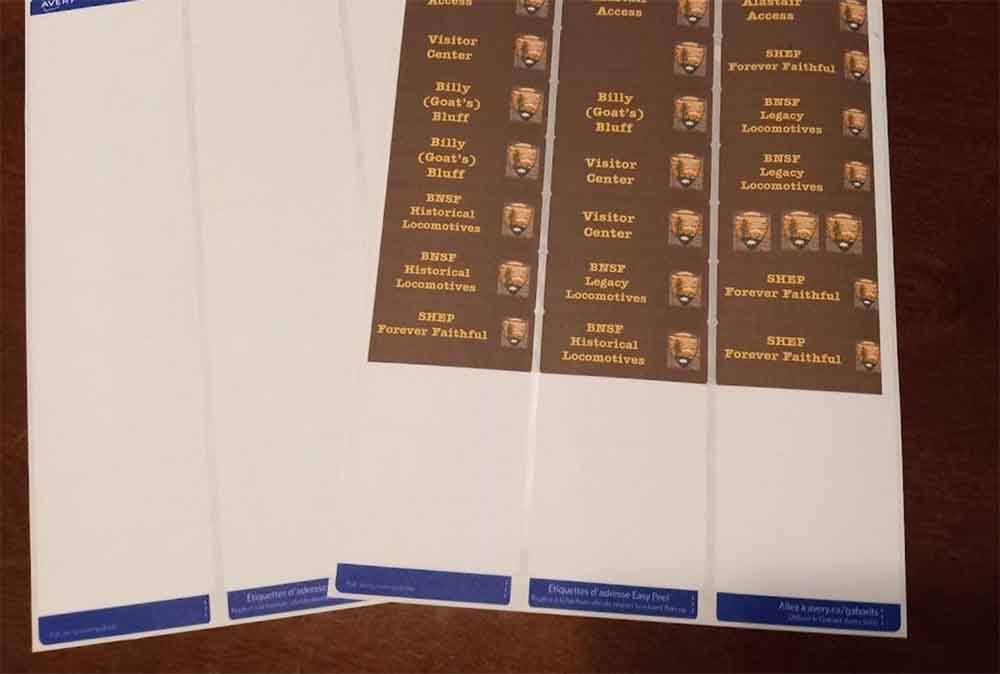
I merely use Microsoft WORD and create labels for the various attractions.
I ”borrowed” the National Park insignia from the internet, incorporated it into the labels, created yellow lettering on a brown background and printed them out on my inkjet printer.
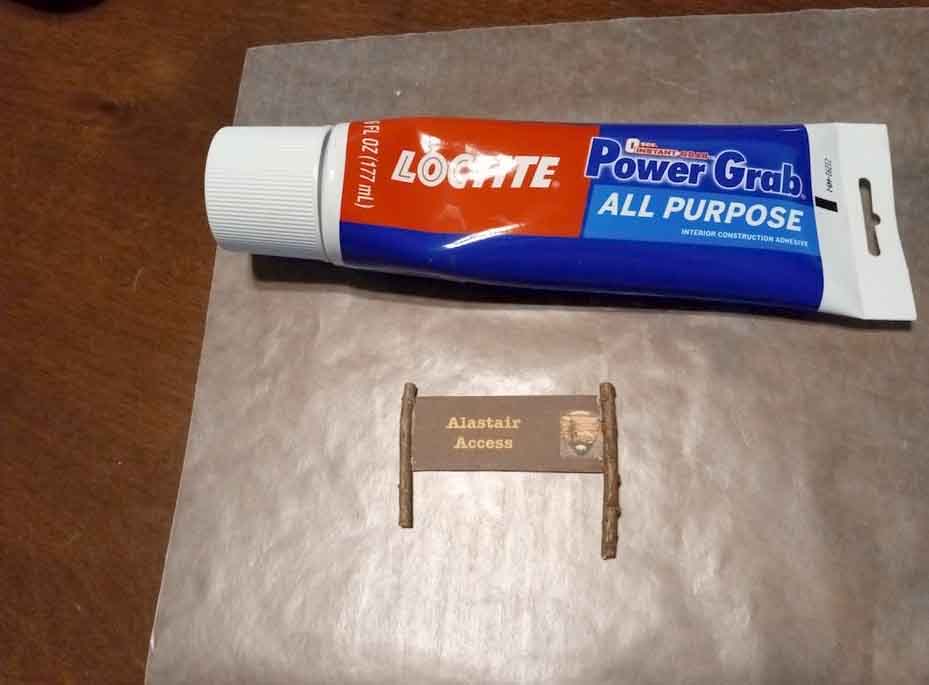
From there, the labels are peeled and then attached to both side of a medium card stock. I then glue the signs to my “logs” (HO scale) which are actually small branches (life-size scale) from a Bald Cypress tree.
Here is Sample New sign ready to install:
The sign is then attached to the feature:
I belief If we zoom in and you look closely, that looks like Alastair standing on the dock.
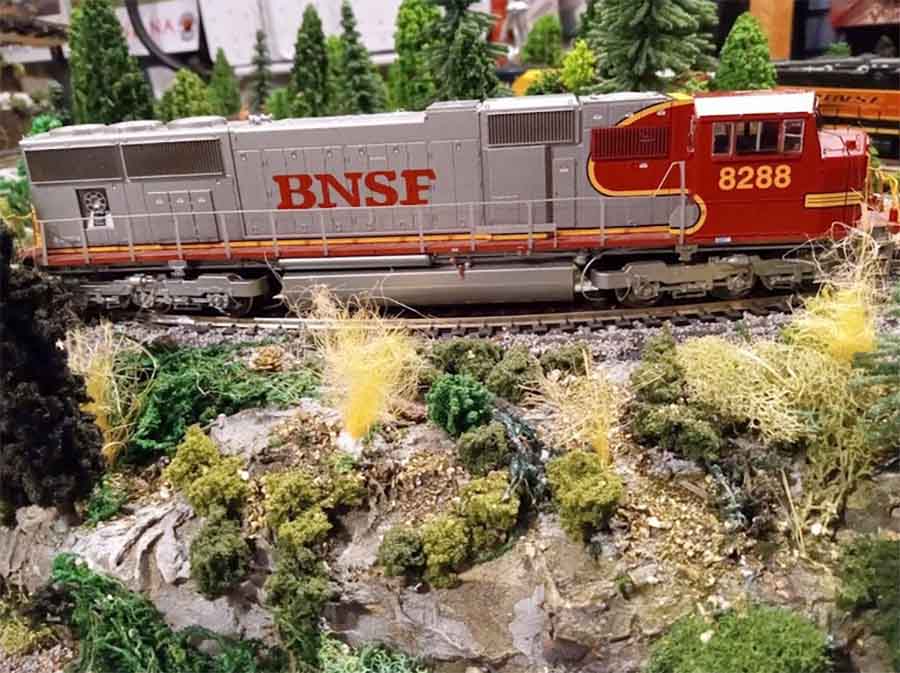
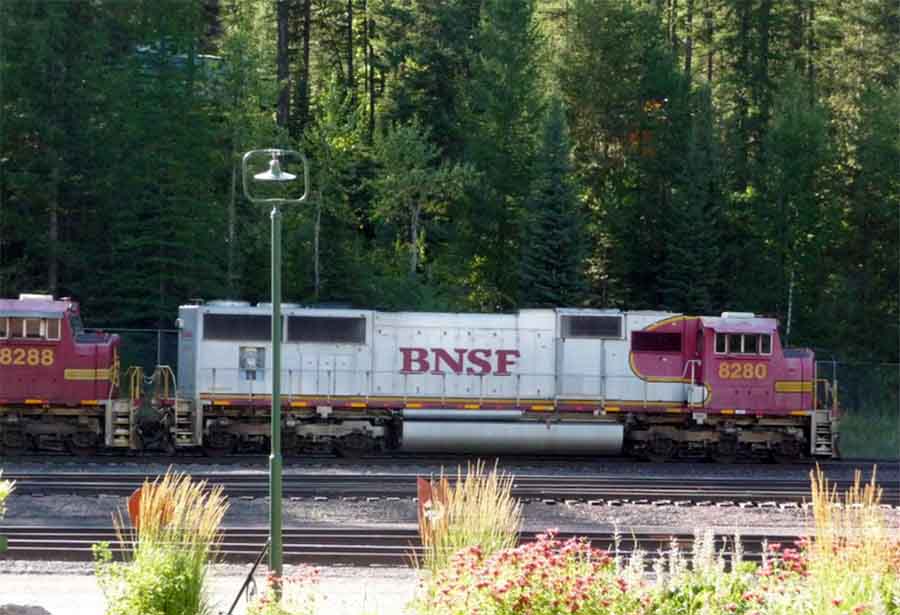
On another note, I randomly selected a BNSF engine for my layout and it had the #8288 on it.
My wife was going through some photographs from our visit to Montana a few years ago and came across the following photo:
I probably have not taken a dozen train pictures in my life. What are the odds that out of the thousands of locomotives I would have a picture of the real-life locomotive of my model?
That’s all for today. I promise a video once I get my old car couplers working well with my new engine couplers.
Gary”
A huge big thank you to Gary for the update on his ceiling layout.
I do love seeing the updates, and I think Gary’s idea of adding personal touches is very good.
I confess I did smile when I saw his new path’s name.
What’s more, it doubley nice to see some of the printable building scenery in there too:
You can see Gary’s first HO scale post here.
It really is worth revisiting:
And it also brings us nicely onto James.
“Love your ideas and love of model trains!! I own a restaurant in Key Largo Fl. In the Florida Keys.
We have a rich history of “Flagler’s Railroad to the Sea” from 1916-1935 when it was destroyed by a powerful hurricane.
I have this idea/ dream to install a model train hung from the walls and suspended from the ceiling which would be historically accurate to tFlagler’s train and rich history.
It is about an 8 1/2 – 9 foot ceiling. It has a suspended ceiling At this point, I have 2 big “gotta start somewhere” questions:
1) what gauge should I consider based on weight, cost, availability and visual presentation
2) certainly modelers have already figured out the suspended off the drop ceiling thing but I have problems finding resources.
Thanks! Jim, Doc’s Diner,
Key Largo, Fl.”
Well, I hope today’s post has helped James, but please do leave a comment below if you can help, or if you just want to pat Gary on the back.
That’s all for today folks.
Please do keep ’em coming.
And if today is the day you scratch that model railroad itch, the Beginner’s Guide is here.
Best
Al
PS Latest ebay cheat sheet is here.



Love the layout design and those SIGNS!
Now that’s a busy railroad and a great job with the scenery,
Beautiful layout, your skills are amazing! Thank you for sharing.
Gary
Hello again and you can submit more responses as you wish including some videos for the fan club you created here.
Jim
IMHO- HO hands down for weight and product availability.
If I am understanding this correctly you want a wall mounted layout and I dont know if you want it home or the Diner..
The height is the critical question because it should be no higher than 5 feet. The width may vary as it goes along which determines if it needs any support from the ceiling at all and I prefer turn arounds at each end which is a minimum of 4 ft width because you will be running passenger cars. Lots of planning here.
To all-be well
Looks good.
Well done both Gary and James
James
Back several years ago, I visited a restaurant named State Street Station. They had a G Scale railroad that encircled the interior from the ceiling. The issue is always the proper support from the ceiling to handle the weight, distance and scenery if any.
There is a lot to consider when undertaking a project like this. HO scale would be too small, O scale may be okay, but for dramatic look, G scale is the way I would go.
Nice layout, and use of space in the garage. Is it N scale or HO ???
James; This may be considered heresy, but I would go with Lionel trains. In a restaurant setting, you want a trouble free operating layout that won’t require constant attention. 2 rail systems look great, but won’t have the reliability that 3-rail trains have. You could use Marklin 3-rail, but may be too small for a restaurant. G scale is pretty reliable and would be a good choice.
The railroads I have seen were G Scale, and approximately 8 or 9 feet high and supported on angle brackets mounted to the wall.
James I would go with G scale
There is a restaurant in Port Richey, Florida with a train on a shelf above the bar.
It’s a steakhouse with a western theme. It’s ,been up there for over 20 years and still runs well. I’m a friend of the owner and have been tasked with maintaining it.
Good luck!
I loved the layout and the signs. As far as restaurant rails go, I have a friend in Delano, MN that has a g-scale operating in his at Dave’s Town Club. You’ll love the bigger scale as it’s further away.
Gary, love your layout. Impressed by all those tracks.
I would like to put a 5 x 16′ layout in my garage. Could you send me some pics or diagrams of the details of your hoist?
Thanks
Sumpter Crossing Restaurant in Baker City, Oregon uses G Scale for their trains. Cousins Restaurant in The Dalles, Oregon uses G Scale for their trains. Izack Walton Inn south of Glacier, Montana uses O Scale for their trains.
great work, love the layout. so many levels.
Jim, I have seen many rail systems hung from ceilings in restaurants. Either wall brackets or wires attached to eyelets firmly mounted in the ceiling. Most of the systems have railings along the exposed side(s) of the rails to catch any derailment. All that I have seen were G Scale. Being seven or eight feet in the air, the train needs to be large enough to be seen from the diner floor.
You will need to address maintenance to keep it running smoothly.
I absolutely LOVE your layout and scenery! Thank you for showing how you made the signs… I have a feeling that a lot more layouts are going to start sporting custom made signs — I know mine will! Great job with everything, and I would definitely love to see more on your suspension system and how you did it.