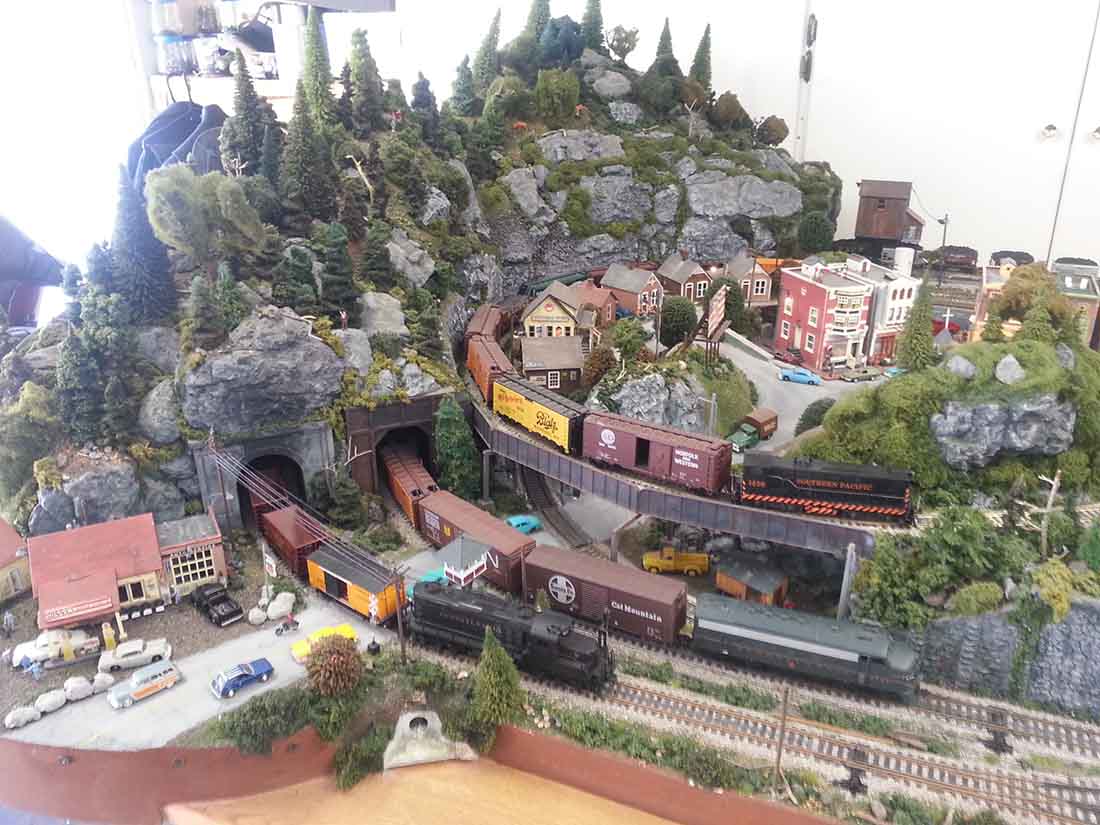
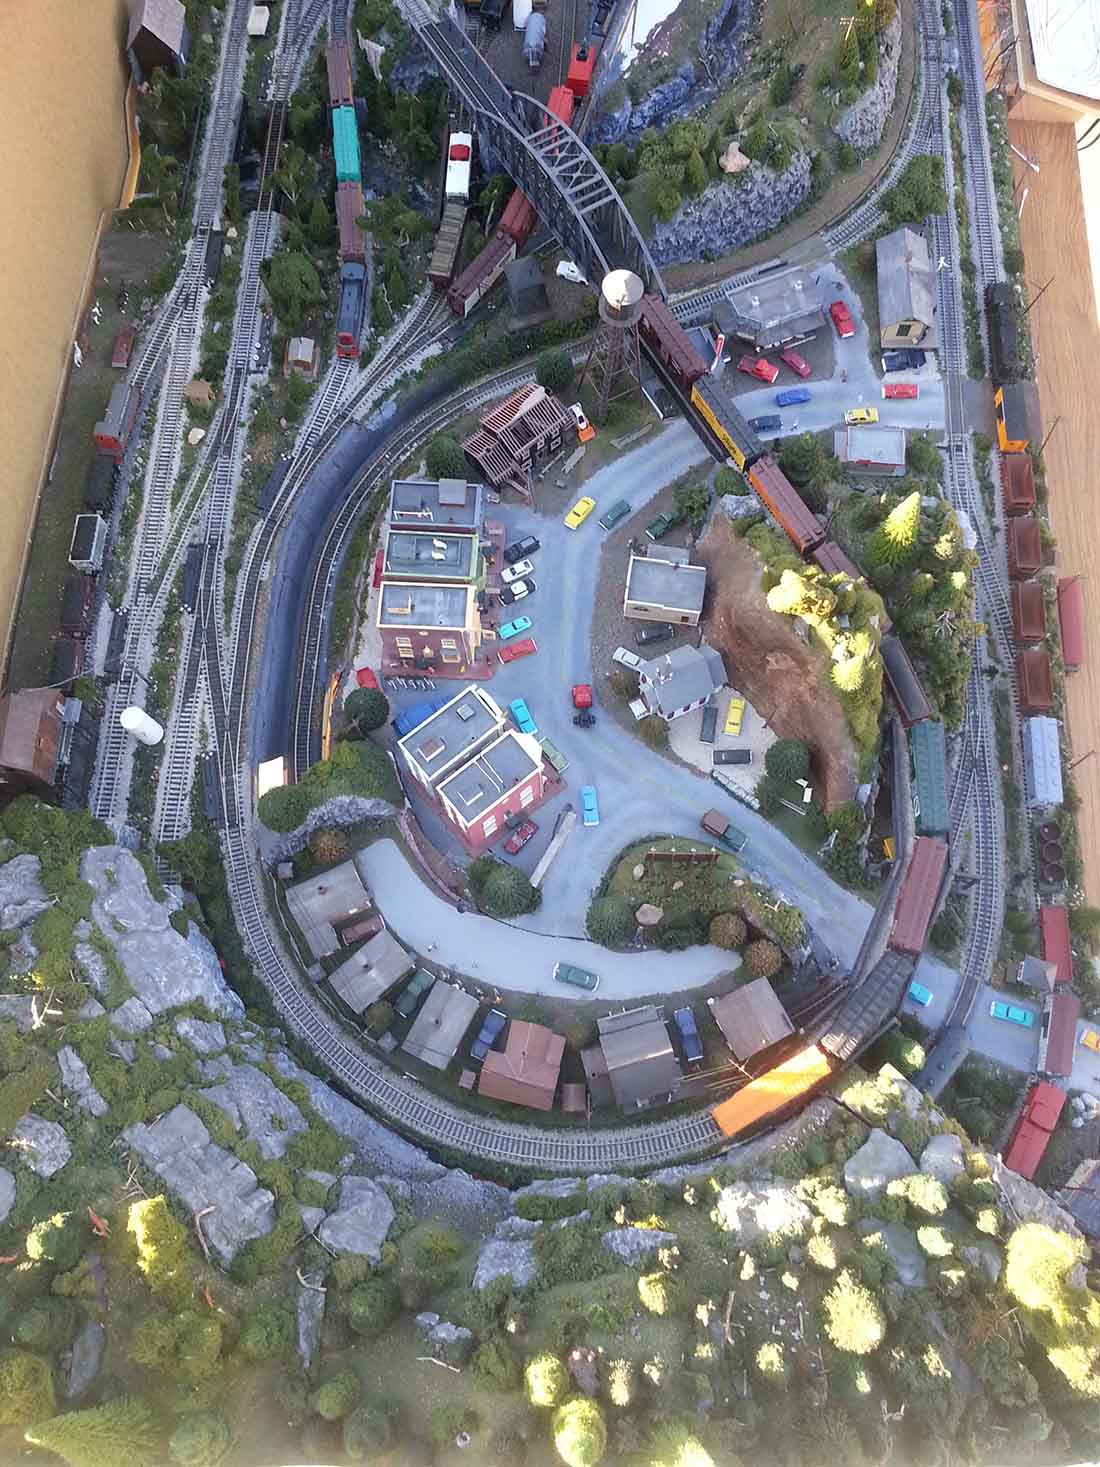
Craig’s been back in touch and has more details on his HO scale water scene:
“Al:
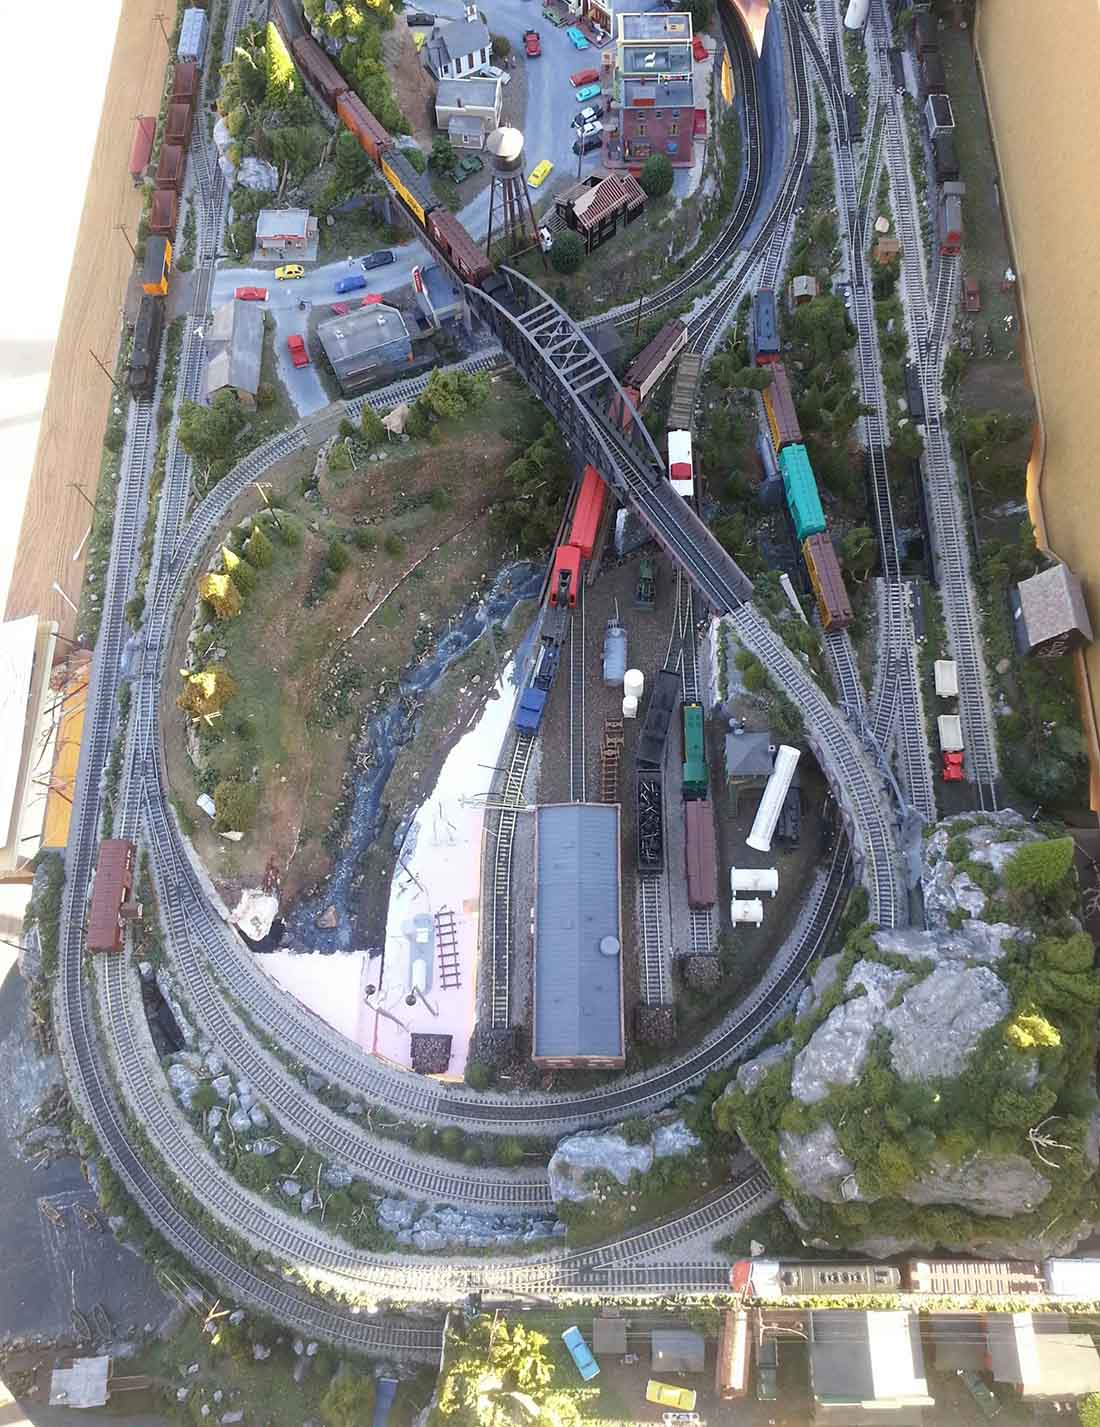
Thanks for the response from the readers. They asked for more pictures and a track plan, so I took some more photos. The guy who made the bench work took the plans from the Blackwater Jct in Model Railroader magazine, I don’t know the date or issue, but I think it’s from Maryland. And he gave me the book he made when I bought the track from him.
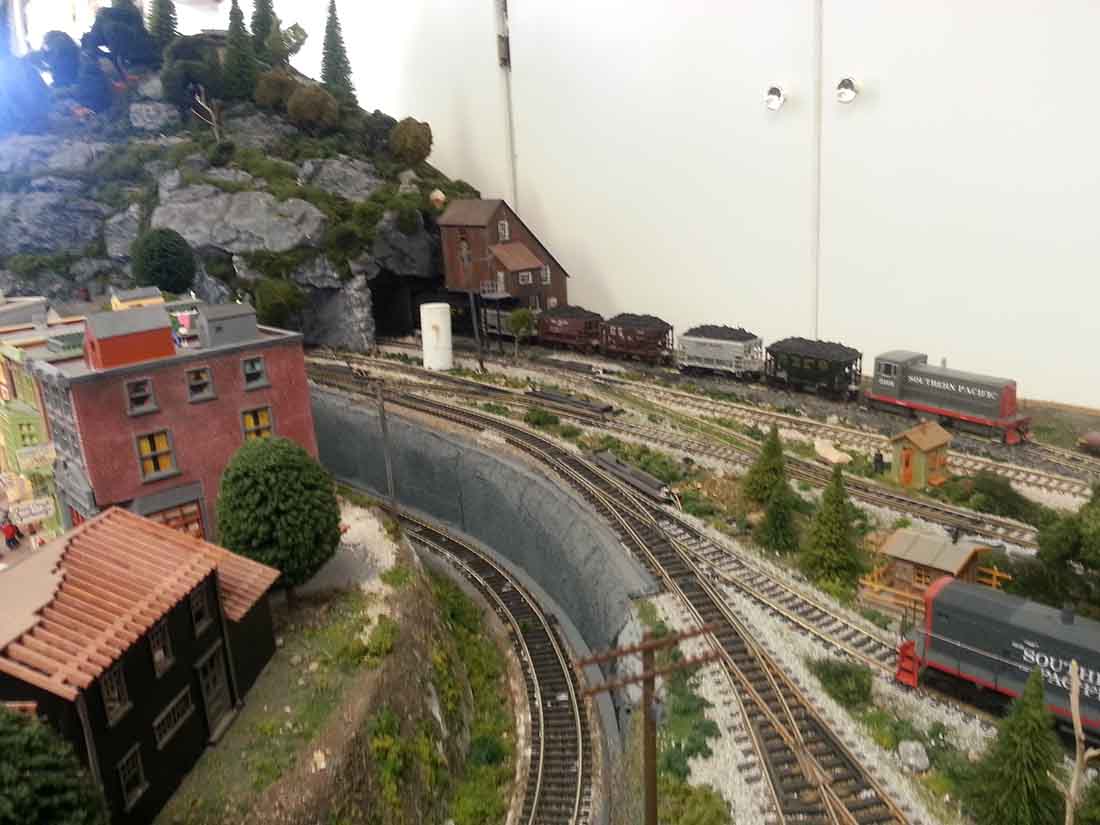
The first picture shows the overall track plan in that book and I have added the outside loop drawn in black. The area labeled Blackwater is the town I now call Hunter. I am still working on the engine servicing area, as you can see from the photos. The second and third pictures show the west end of the layout and the photo labeled East end shows the other end of the layout including the engine service area, the little town of Caelville and Cienna Lake.
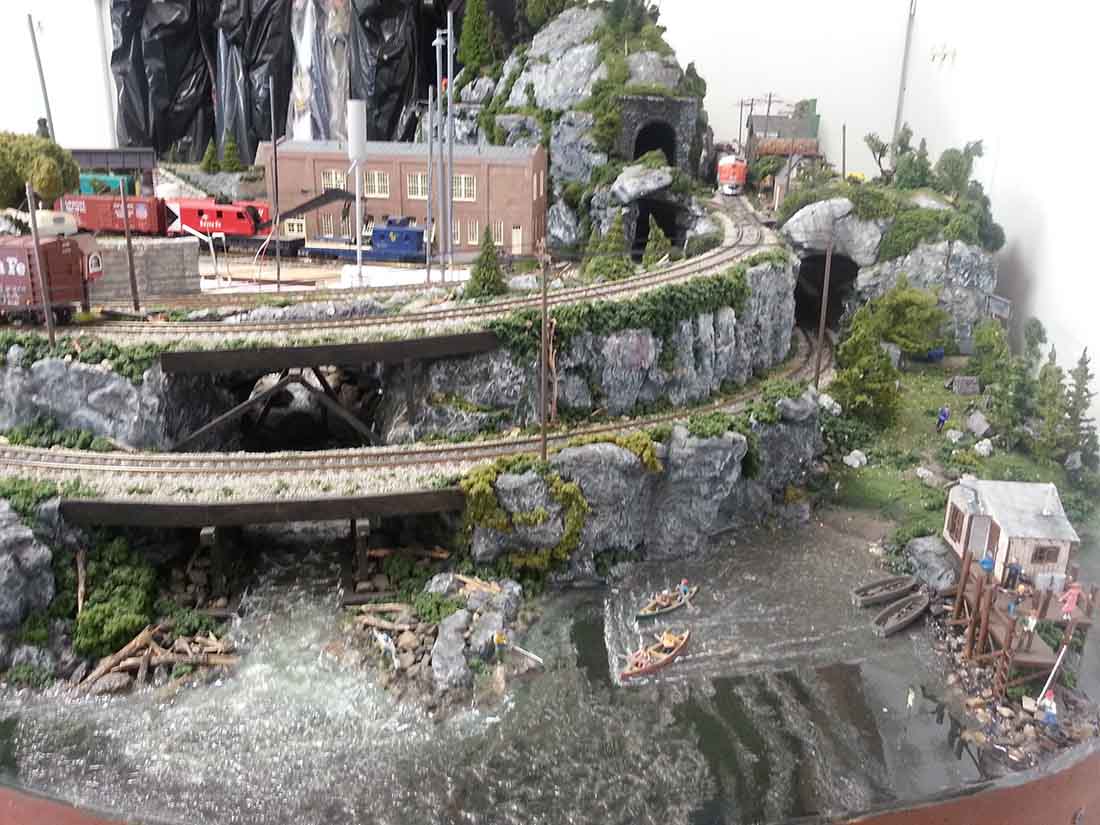
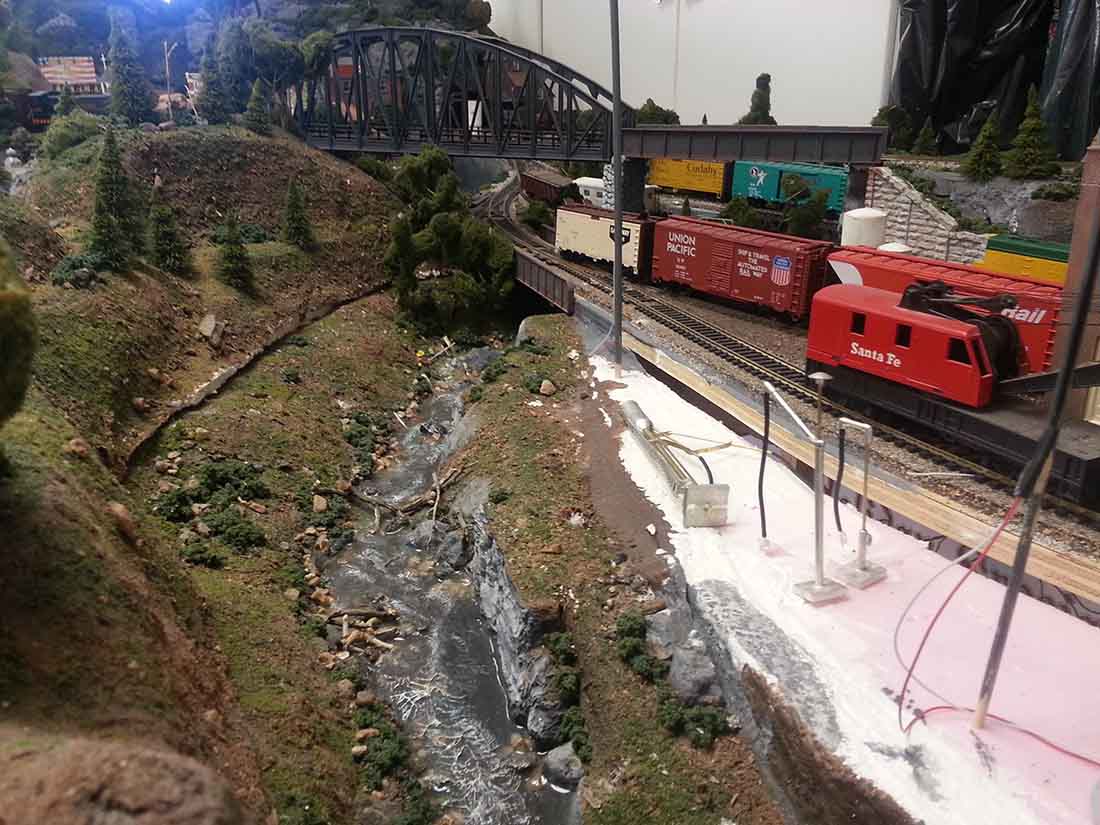
It also shows a good view of the river. The river was interesting to model. I used Magic Water and believe me, it finds every pinhole and drips. Make sure the riverbed is sealed completely before mixing the two-part resin and pouring it. I poured it in two stages. After pouring the first level, I dry-brushed areas around the rocks to show ripples and sprinkled stuff on top like grit, bits of leaves ground really fine, not much just a little. Then when I poured the 2nd layer over this, it looked like stuff floating just under the surface of the water.
On the 2nd layer, when the Magic Water started to set, I teased the surface into bumps, then when it set completely, I used water effects on top of the Magic Water and formed waves and ripples. I dry-brushed these ripples with white paint as you can see in the picture of Cienna Lake.
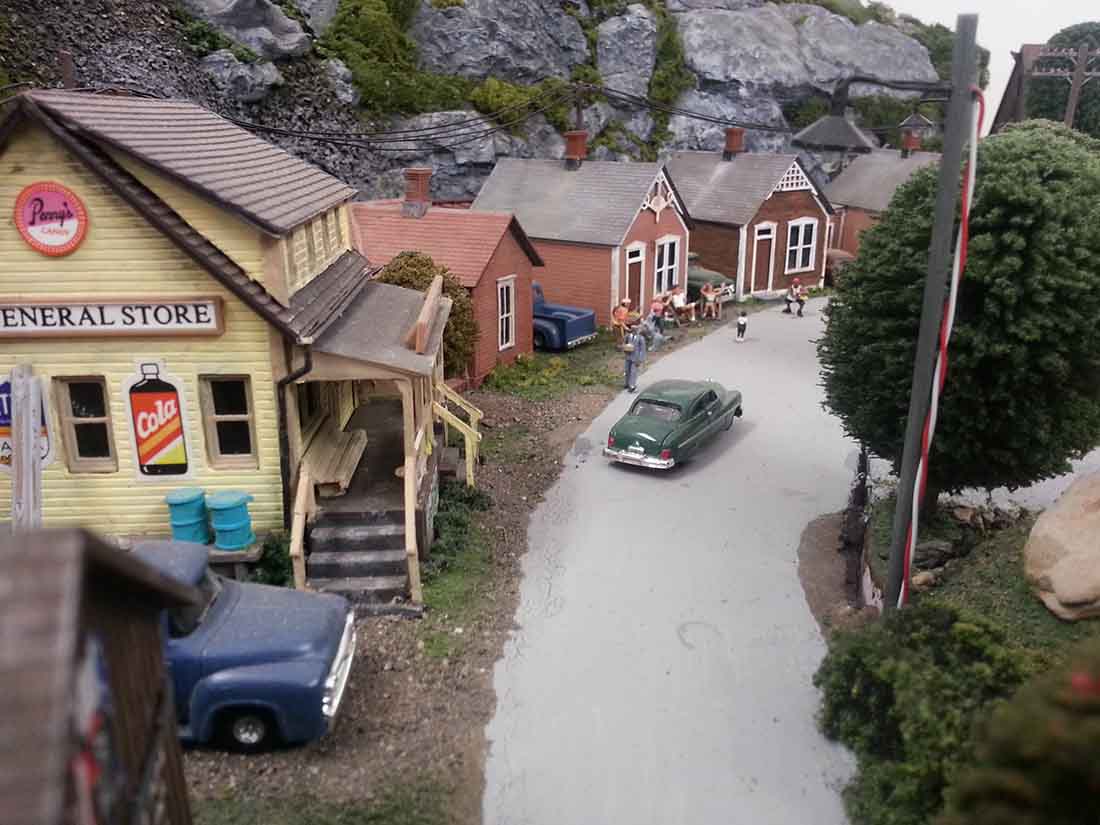
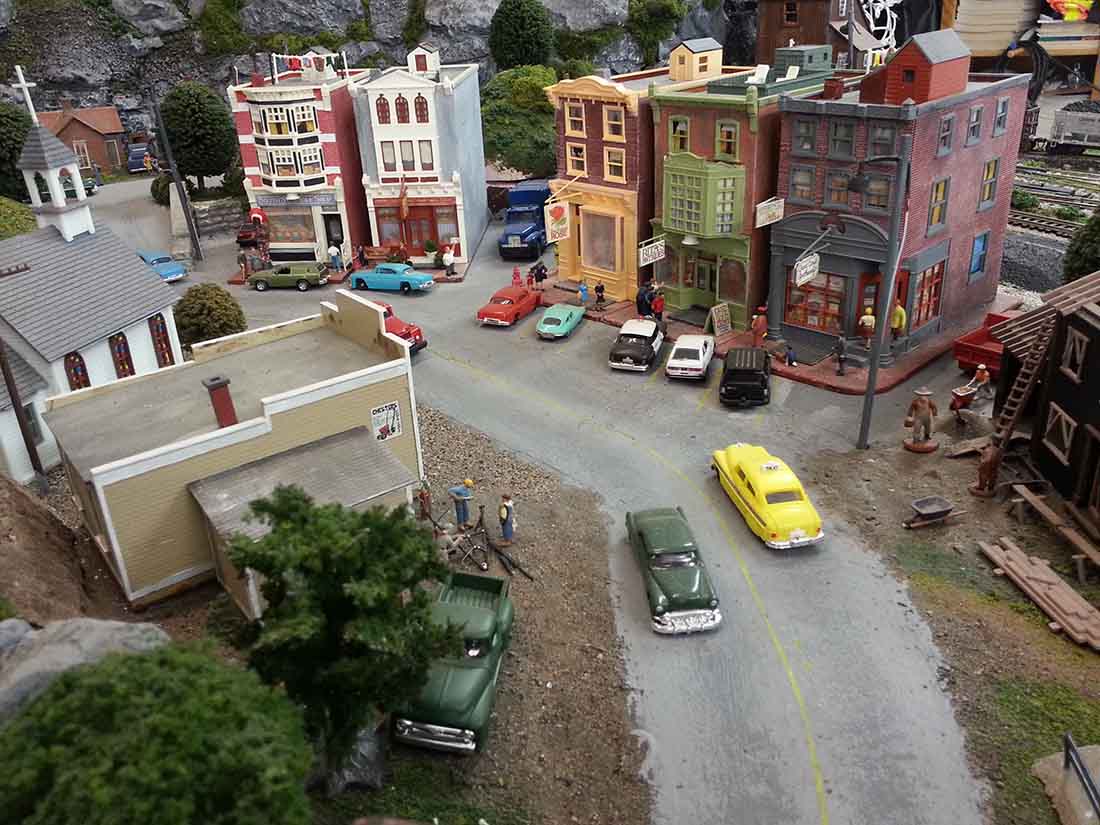
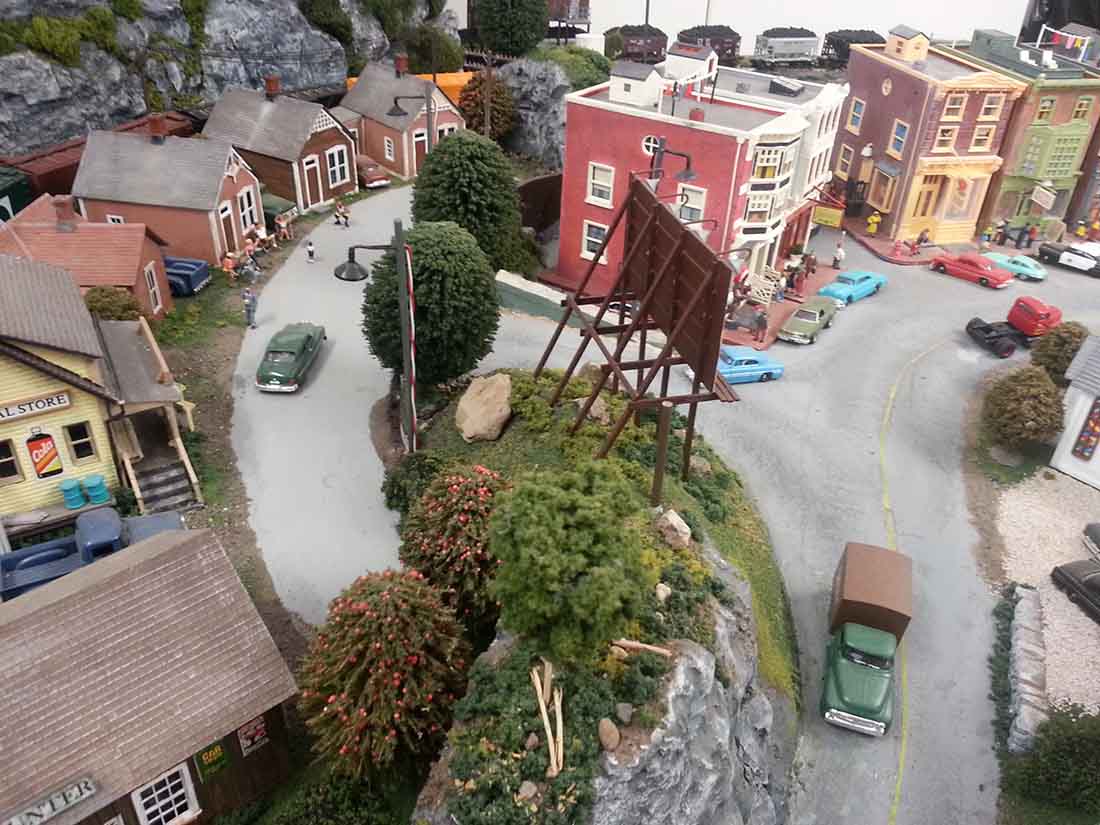
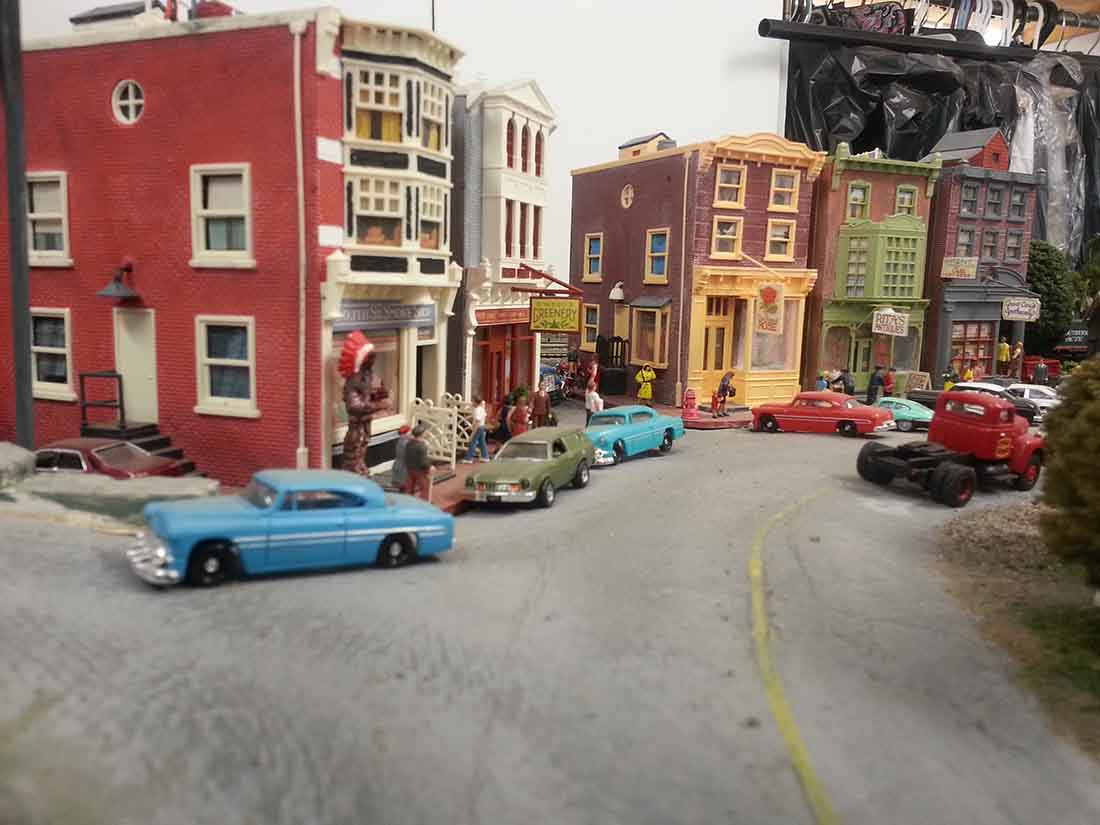
The pics labeled Hunter 1 and Downtown show two views of the town of Hunter. There was a question of where I got the dimestore Indian. It came with the kit for that structure. A view of the mine and the busy crossing shows the industry that keeps Hunter alive and going. The view of the River shows the seam under one of the three mountains. I have yet to make this seam “disappear”. All three mountains are removable so that I can access the track under them.
The photo titled Bar B Que shows the company homes owned by the mine, and the families getting together for a weekend bar-b-que. I made the street lights out of some grain of rice bulbs and some spare plastic that I drilled and filed down to achieve the tapered shape mounted on skewers painted gray and weathered with sandpaper to achieve an “old pole” look. The wire still needs to be painted, but whose layout isn’t always under construction?
I’ll send some pics of the intitial stages of my construction and some more details of the river, rocks and the mountains later. Thanks much for the response from the other readers. I really enjoy this link, keep it up.
Craig”
Big thanks to Craig! If you missed Craig’s first post, it’s here.
I do love reading about your layouts and how you all solve different problems. Superb.
Adding water to your layout is always tricky. I’m reminded of Rob’s model train water post.
And Brian’s waterfront post too.
There’s Dan’s too: HO scale water ponds.
That’s all for today folks.
Please do keep ’em coming.
And if today is the day you grab the bull by the horns, the Beginner’s Guide is here.
Best
Al
PS Latest ebay cheat sheet is here.
PPS More HO scale train layouts here if that’s your thing.

