Dean’s been back in touch, this time he shows us how to paint rock formations:
“Al, greetings from Dean in New Mexico.
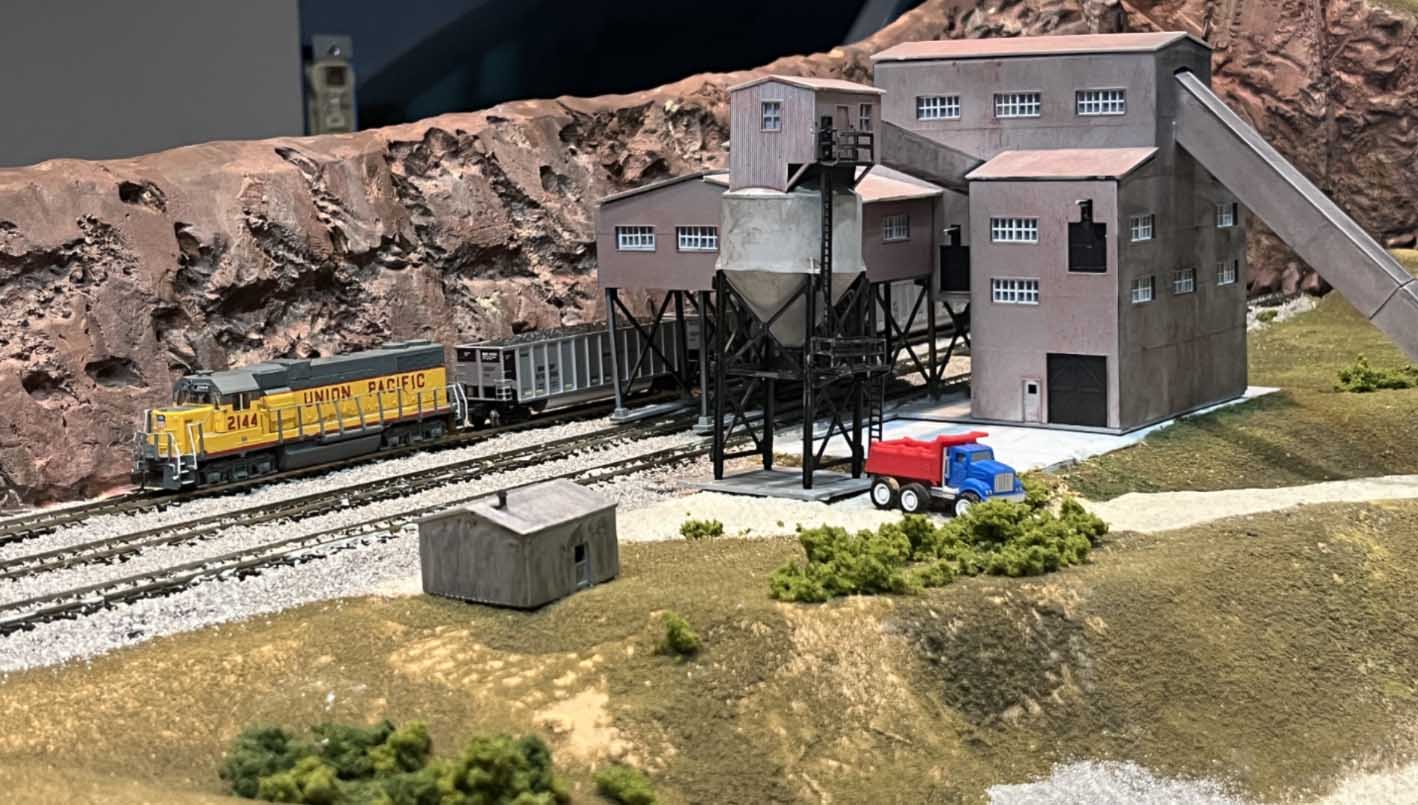
Recently I needed to add a long stone background piece behind the mine area in my N- scale Santa Fe Northern Railroad layout.
In the past I have used rock models cast in molds with Hydrocal, but this piece was large (48” x 7”, tapering down to 1”) and it would take a lot of Hydrocal pieces joined together.
Also, I wanted to try a new technique I’ve been seeing a lot of people using—carving rocks out of pink construction foam board. So, today I want to pass on my experience using this technique.
The first thing I needed to do was get some actual scenic examples to model. My town sits on the edge of a large caldera left over from the explosion of a volcano a million years ago. This caldera is now a US monument, the Valles Caldera Monument.
Before blowing up, the volcano (considered to be dormant, not inactive) spewed forth over several episodes rivers of lava or clouds of ash that ended up forming, through erosion, a number of fingers and mesas having several layers of solidified lava or ash. This is the basis of the area I’m currently modeling.
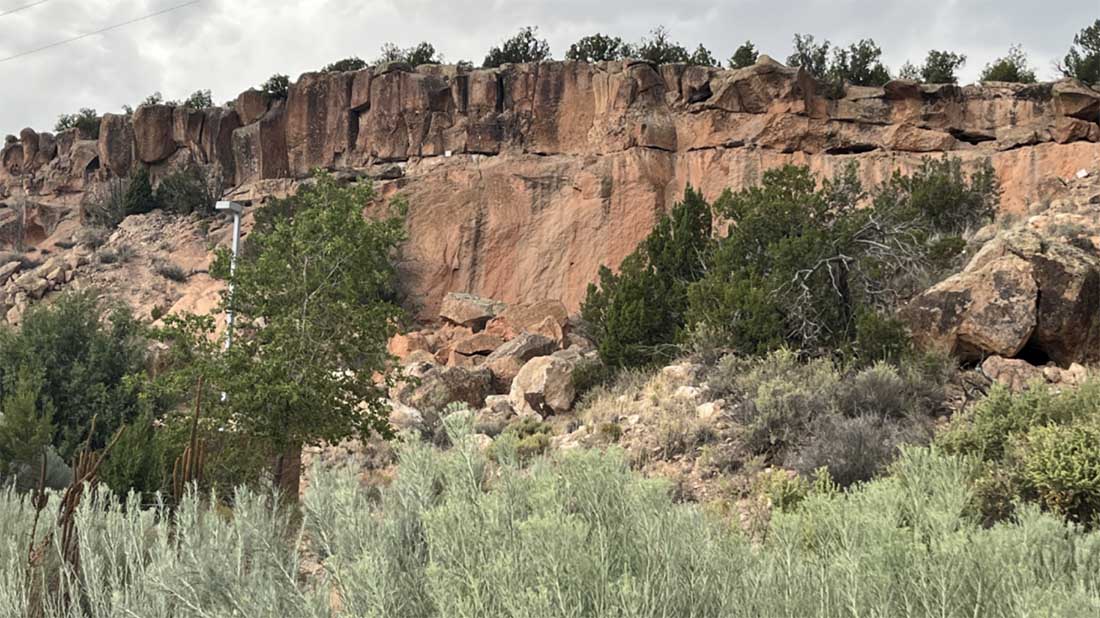
Here is a photo near my house showing the end of one of those mesas with two exposed layers. Note the colors vary with reddish-brown. Sometimes the layers can be gray if formed from tuff (compressed ash).
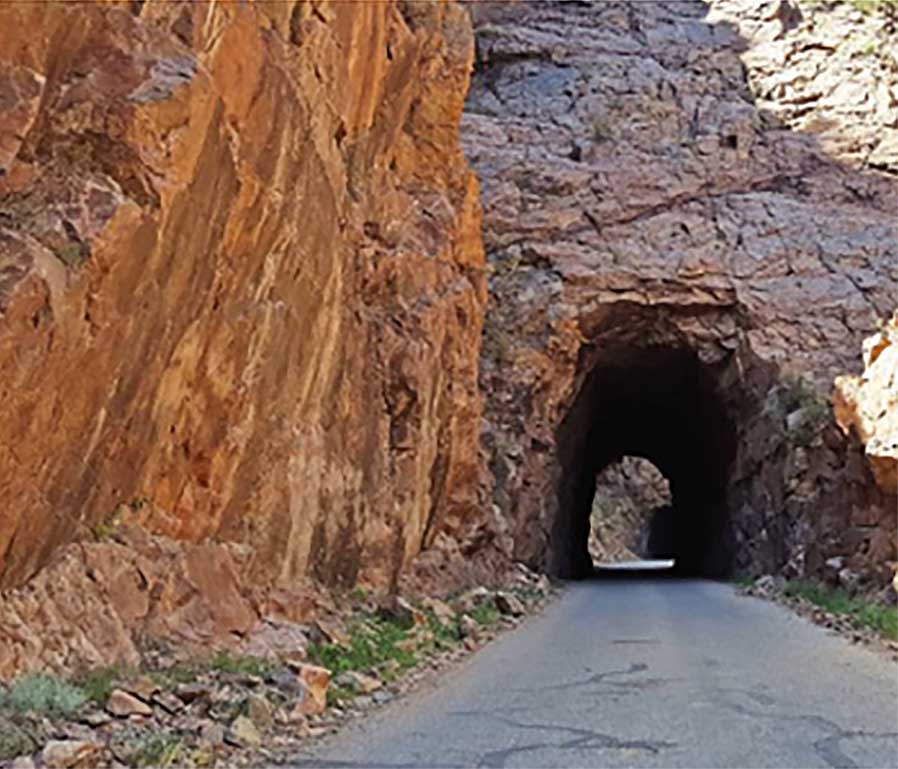
Several miles south of here are two tunnels, the Gillman tunnels. In this photo you can see the two tunnels, the second beyond the first.
These tunnels were blasted out in the 1920’s when a company built a railroad from the Rio Grande River up into the area that is now the National Forest to log the forest for lumber. You can now drive through these tunnels on one of the forest roads. These two photos are representative of what I want to model.
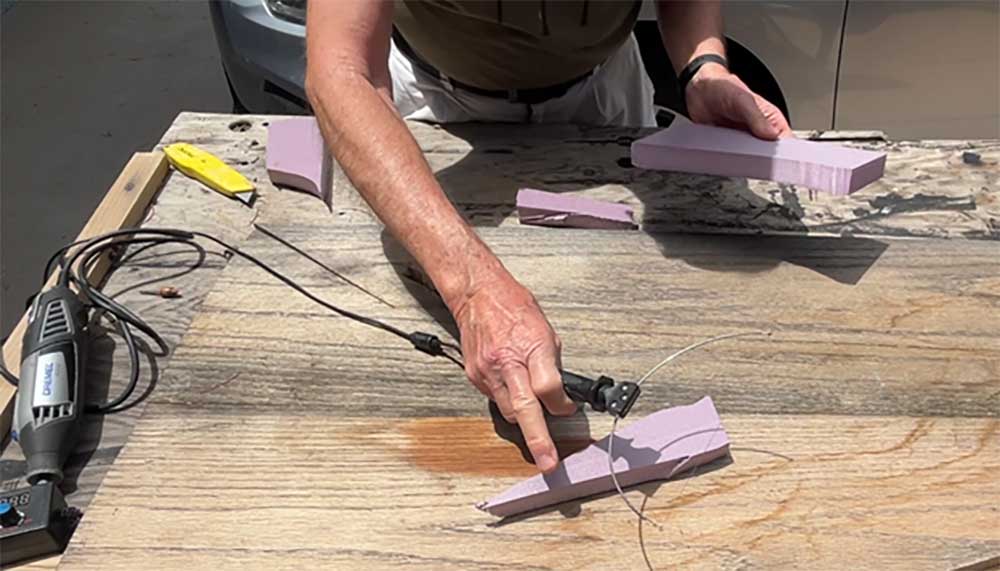
Next, I want to show how I carved and painted the rock pieces. The photos below are mostly of a test piece I did first to develop the technique. I started by cutting out the contours of a piece using a hot-wire cutter (available from Amazon).
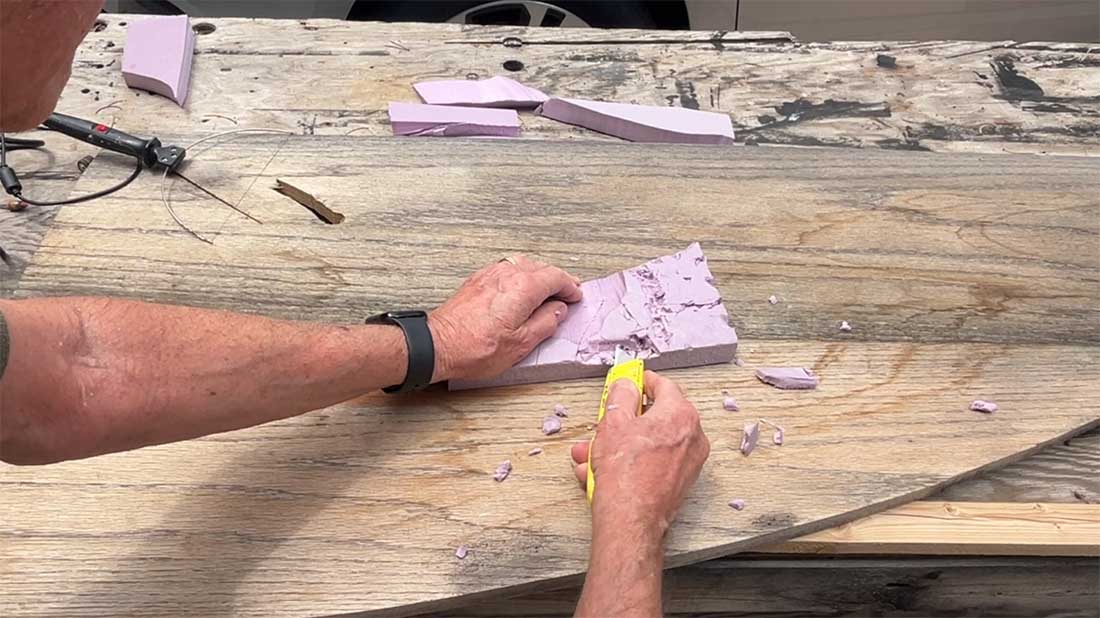
Then I scored a series of lines into the main piece with a utility knife.
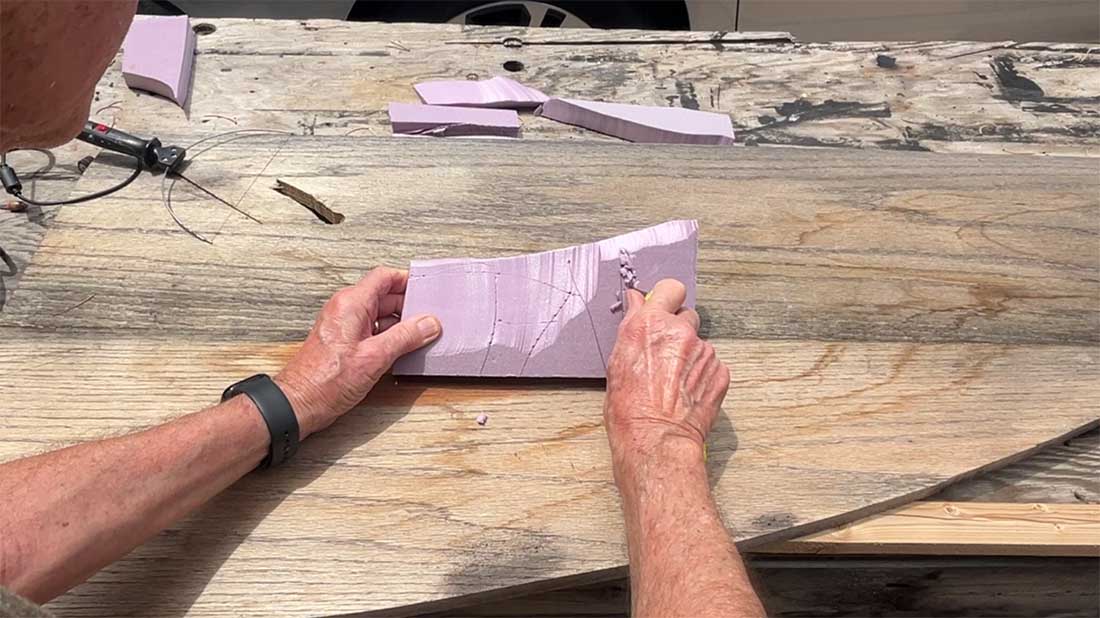
Using these lines I carved the foam with the blade of the utility knife to cut and pry out random pieces until I was happy with the results.
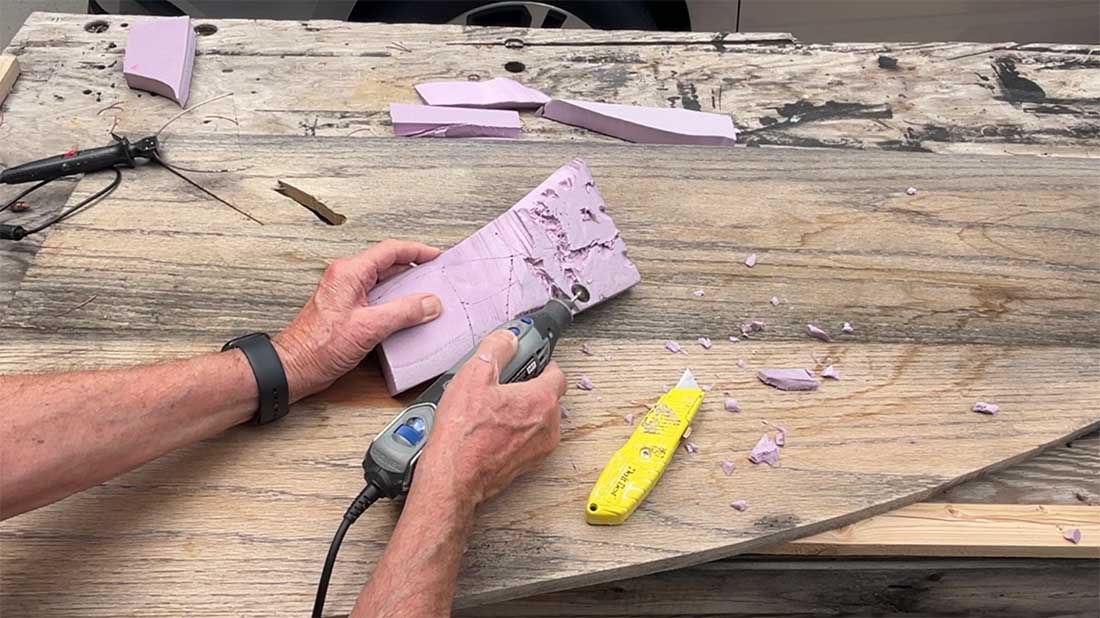
Finally, I smoothed out the shapes using a wire brush in a rotary tool at a very slow speed (use eye protection)
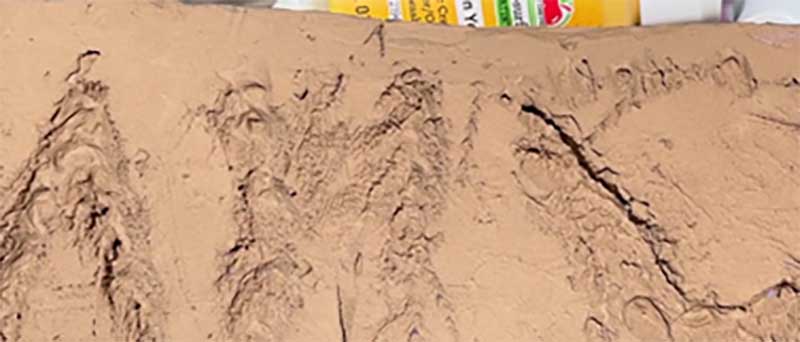
Then I painted everything with my light brown base coat paint (all paints were acrylic Apple Barrel paints from Amazon)
Next I covered most of the rock faces with Burnt Umber,
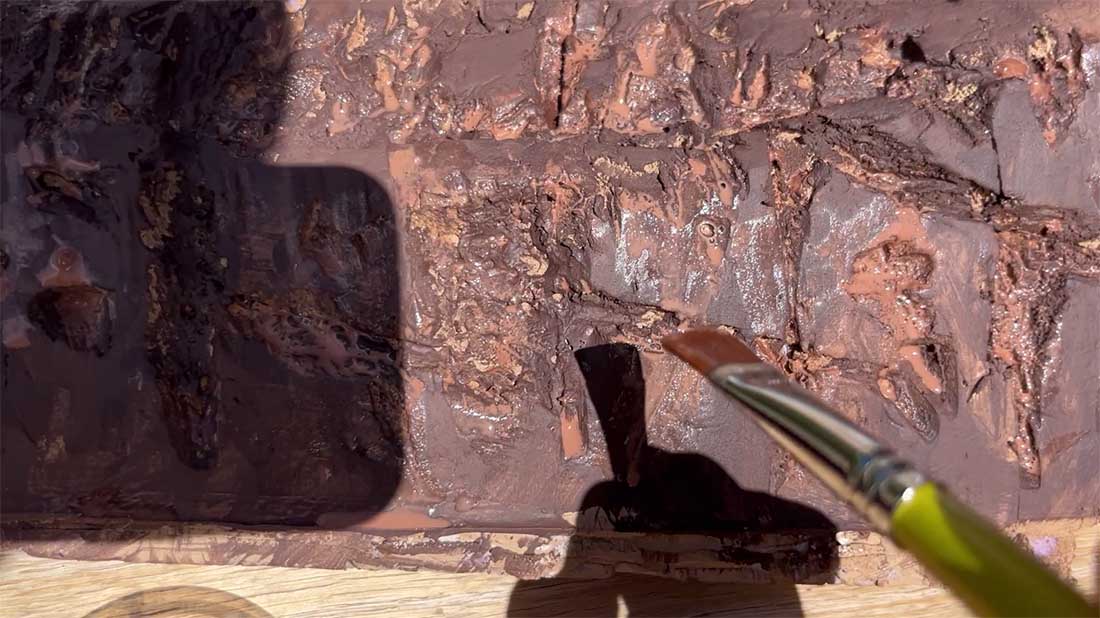
Followed by Brown Oxide spotted randomly.
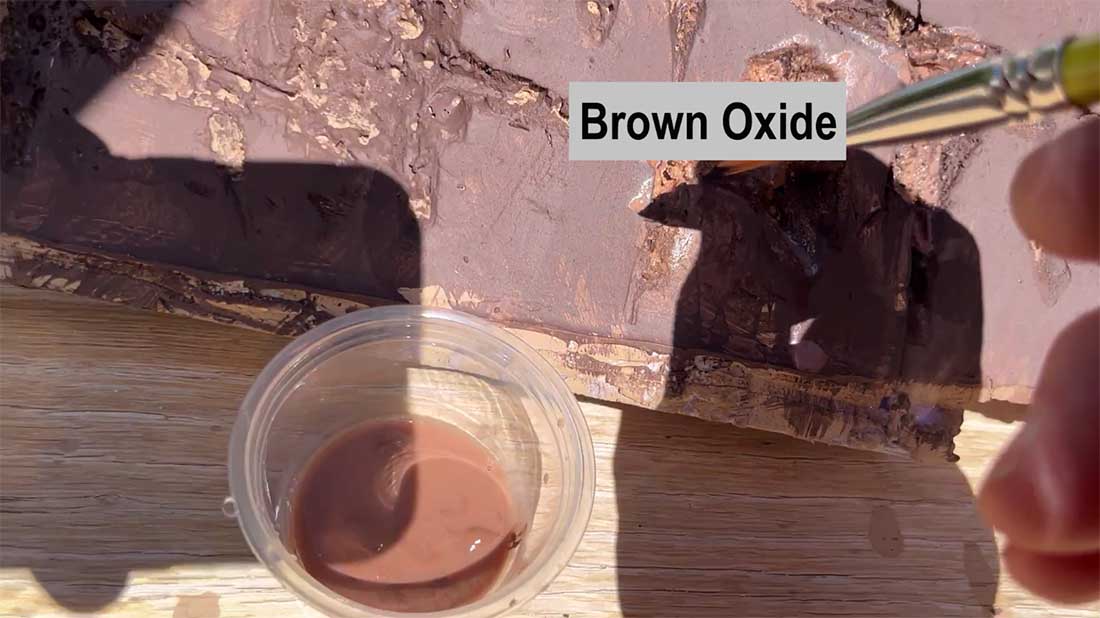
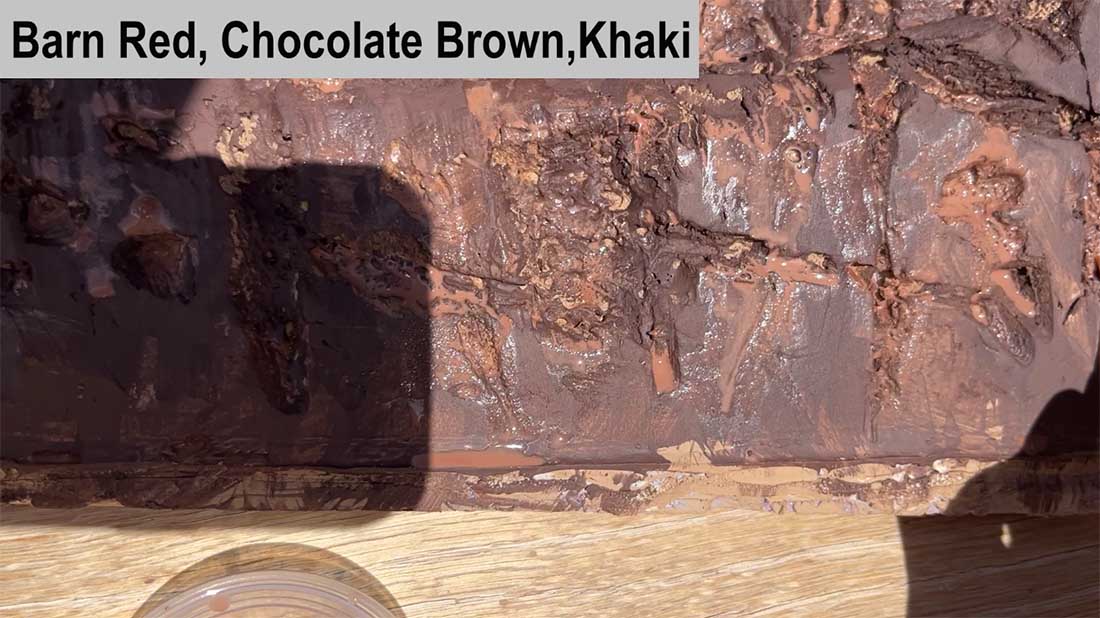
Finally, I overcoated everything with a light wash of a mix of Barn Red, Chocolate Brown, and Khaki.
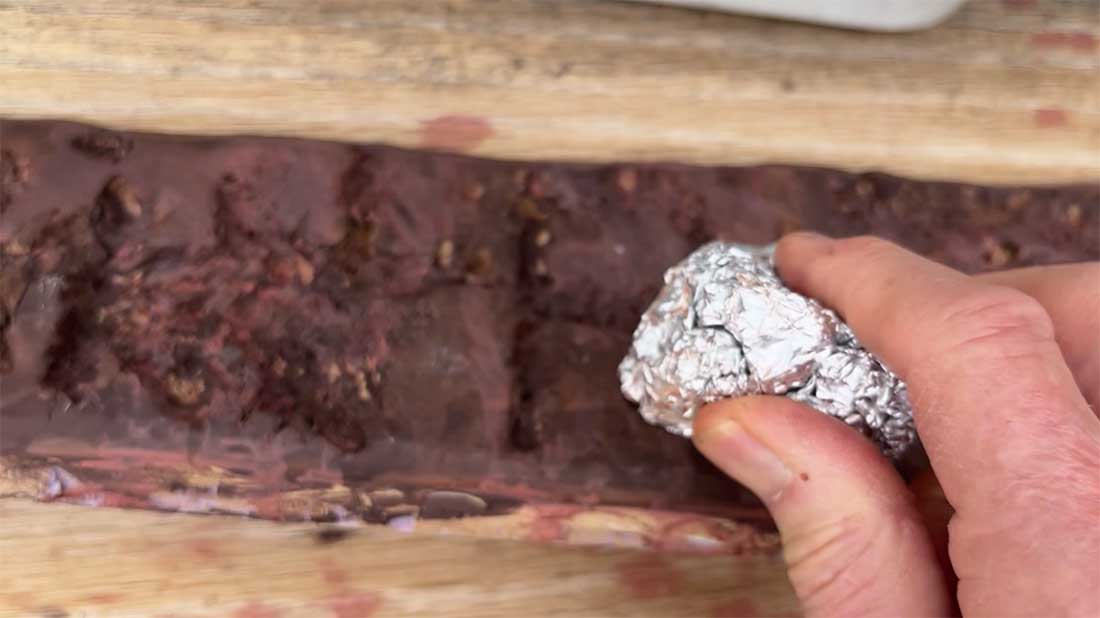
After the paint had dried, I took a wad of aluminum foil and rolled it around the piece to add texture and to get rid of the flat surface look.
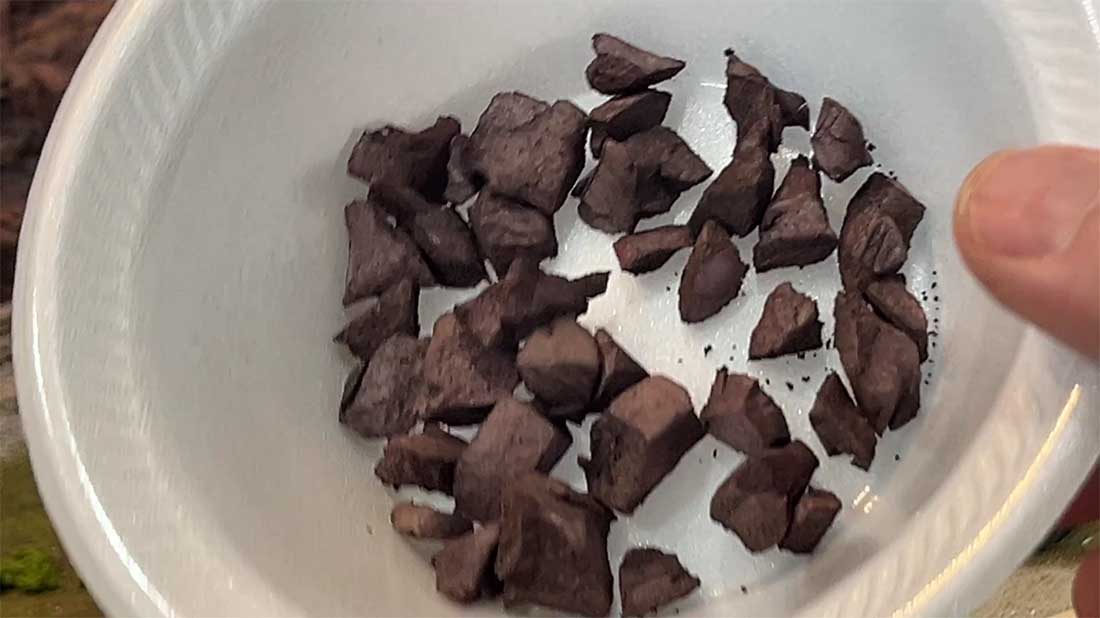
I took small chunks of the foam and colored them to give me pieces of talus (or scree).
I used Liquid Nails adhesive to hold the pieces in place.
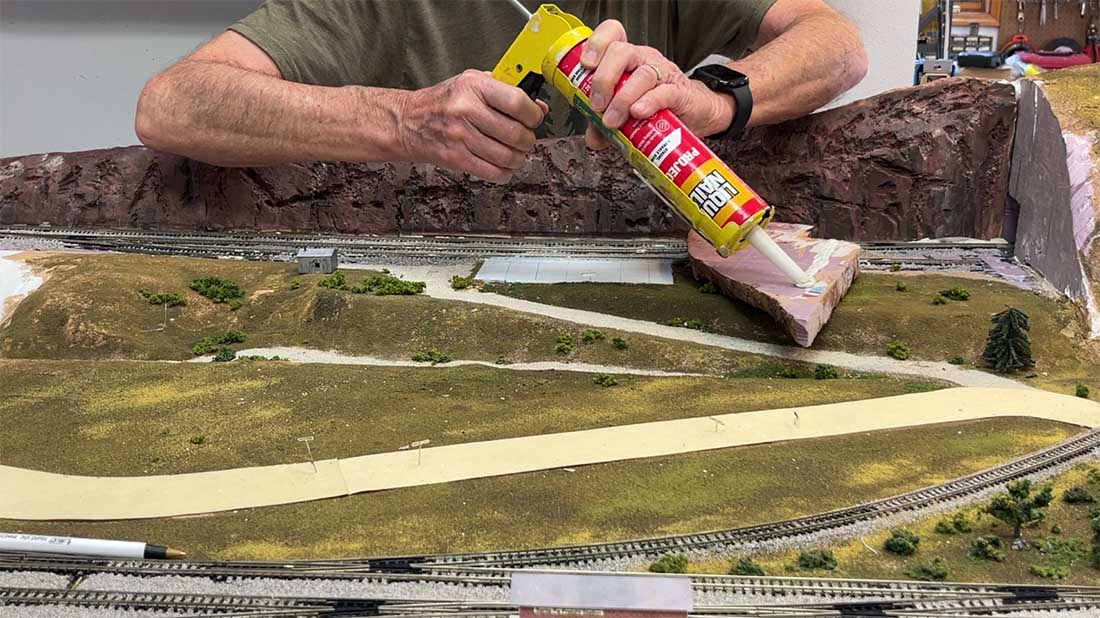
Then the seam was covered with patching plaster…
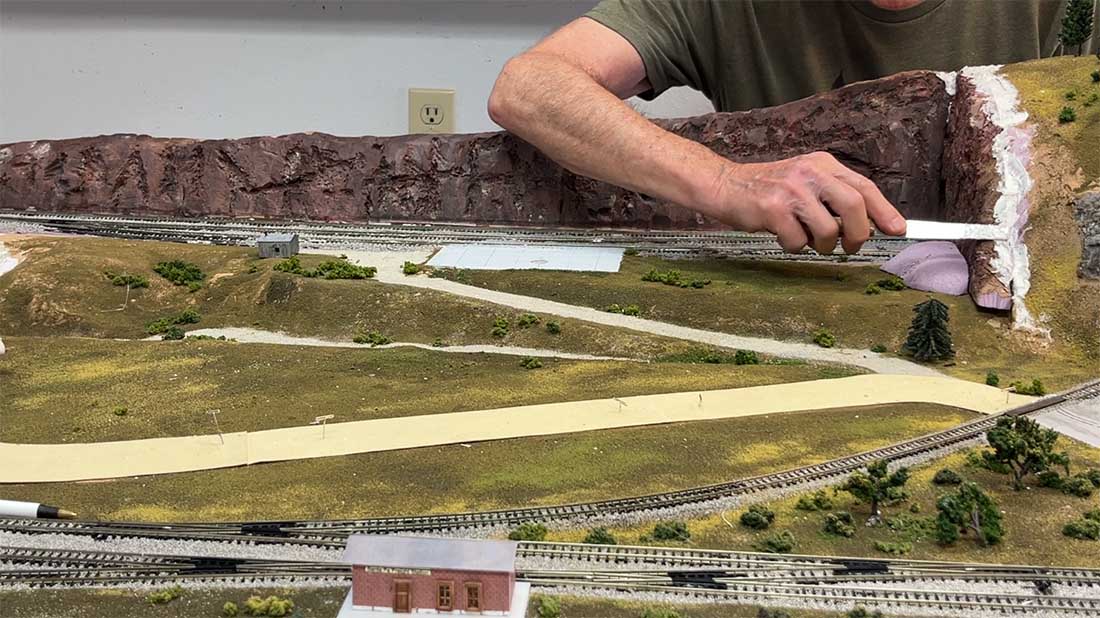
..and the edges finished with white glue and fine turf of various colors.
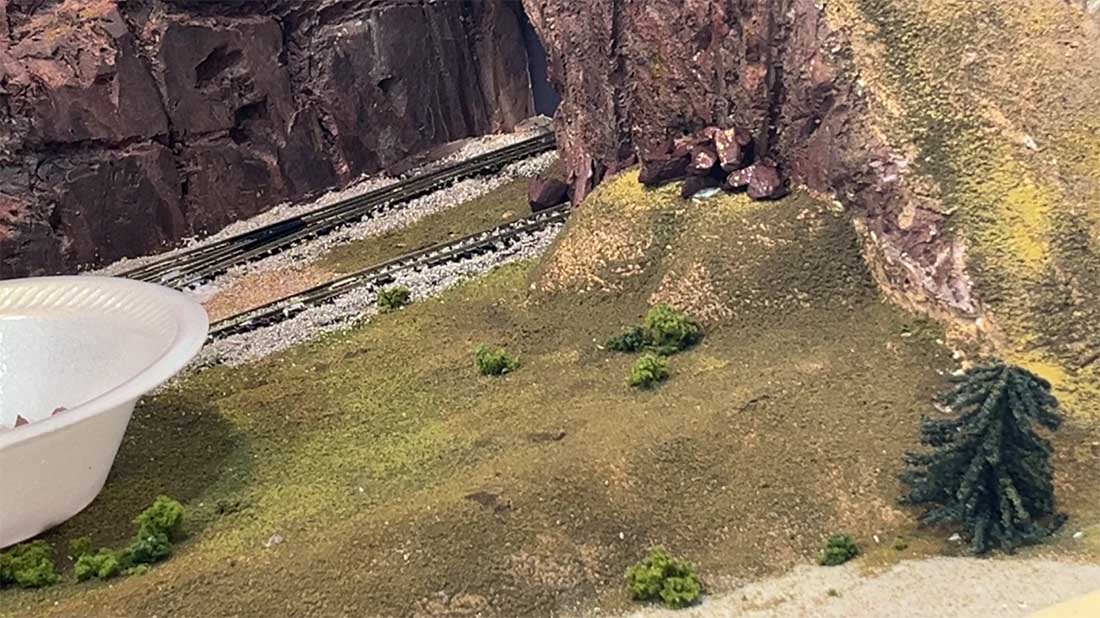
Final photo of the results
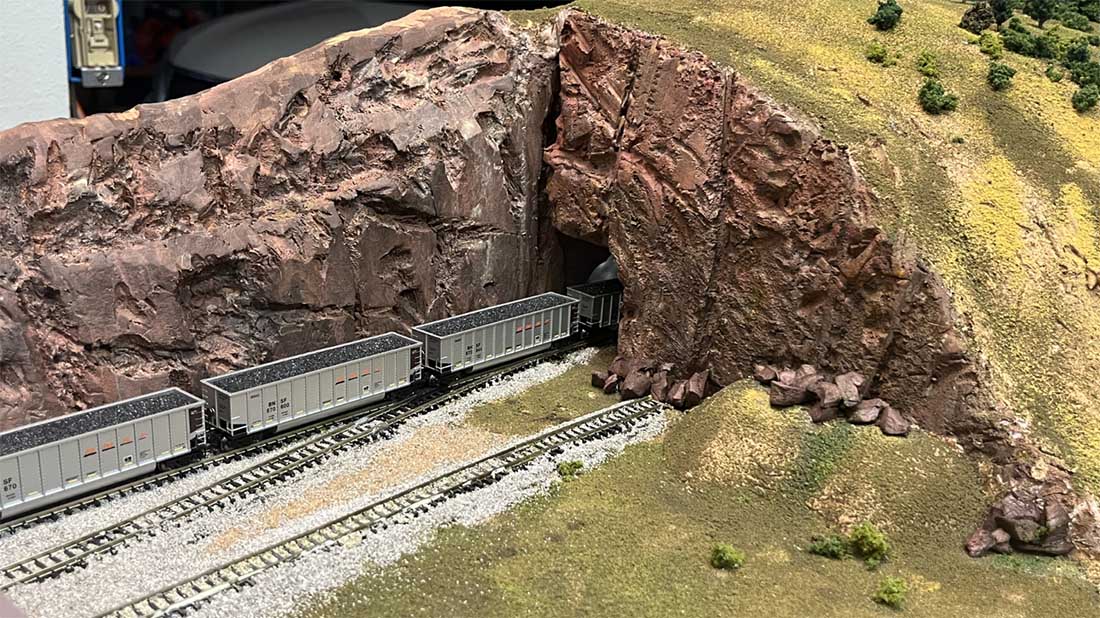
And the mine in place.
As always, I’ve included much more information in the video:
Thanks, Al, for all you do, cheers, Dean from New Mexico”
A huge big thanks to Dean for sharing his process on how to paint rock formations.
That’s all for this time folks.
Please do keep ’em coming.
And if you feel like you’re missing out on the fun, the Beginner’s Guide is here.
Best
Al
PS More HO scale train layouts here if that’s your thing.
PPS If you enjoyed Dean’s “How to paint rock formations” you’ll probably like these to:
Realistic rock models for model railroad
Need buildings for your layout? Have a look at the store.
They are great fun to make and great value too.

Excellent rock painting. Getting out and taking photos of the real thing, then using them as a guide to paint the model, is essential for good results. Nicely done. Rob
As a geologist, all I can say is well done!
Nice work, dude! Looks great. Thanks for sharing.
Well done. I like the technique and the result is quite realistic and highly detailed. It truly makes the scene work.
Jim AZ
Thanks for detailed description of your process. Well done! Helpful for those of us experimenting with using rigid foam for landscape construction.
Dean you have produced some great rock formations. I’ve been following you for several years and you have really come a long way. This video is a great tool for a beginner and even some advance modelers to learn something. I will be updating a mountain that I have not been happy with and you just gave me some great inspiration. Your detail and using photos to work from is fantastic.