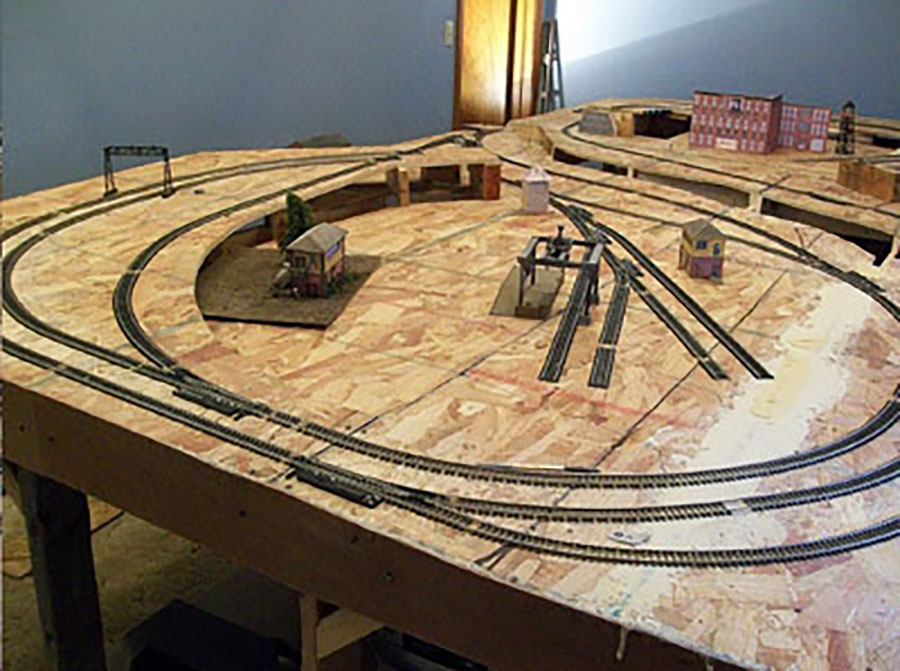
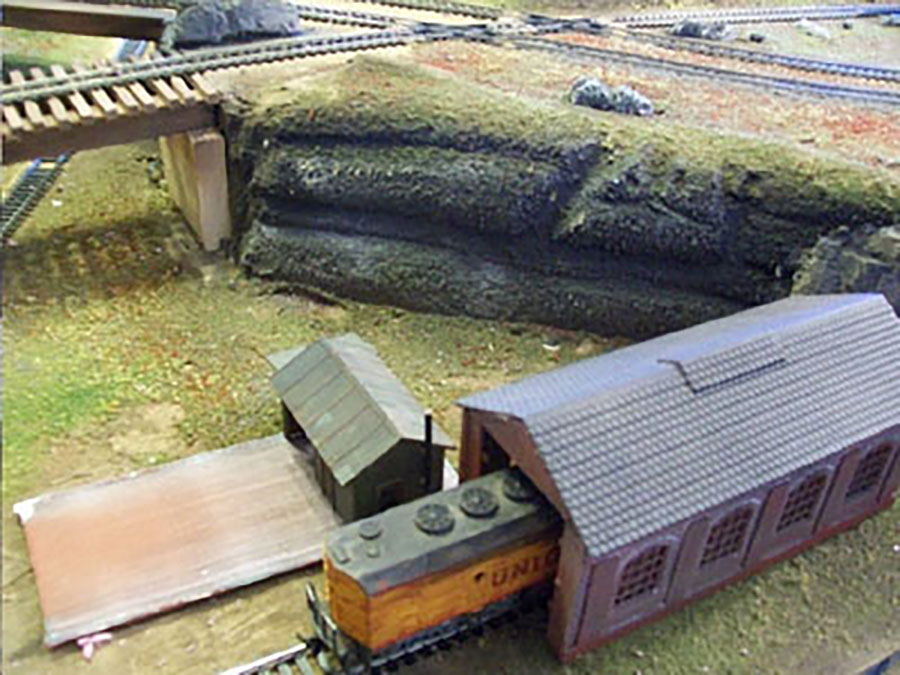
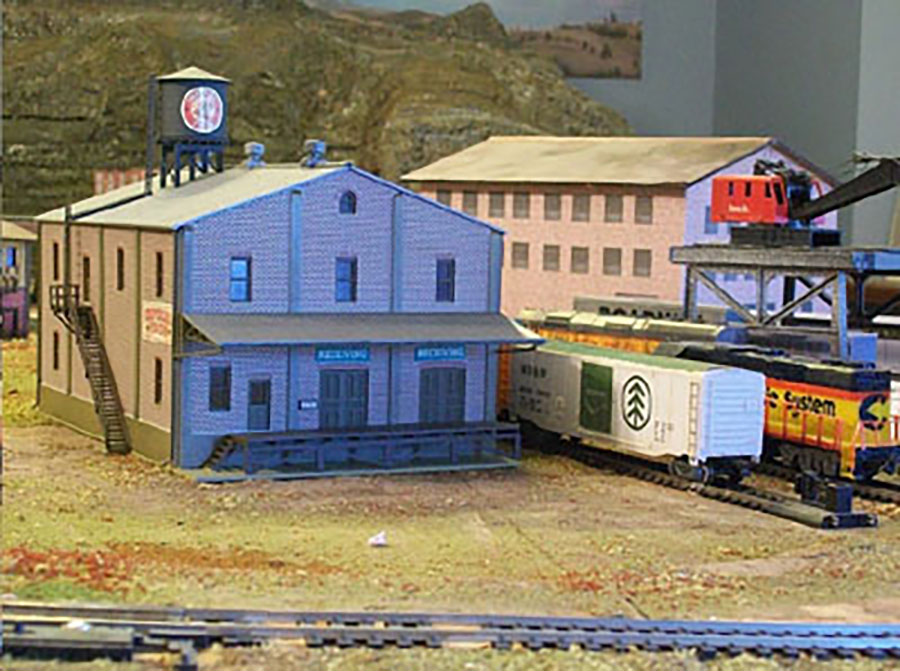
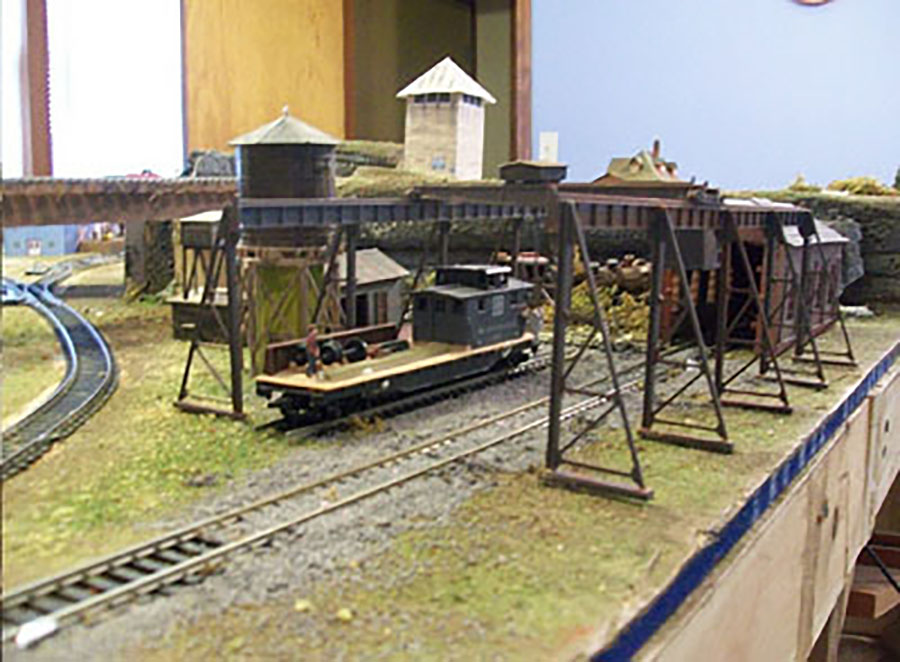
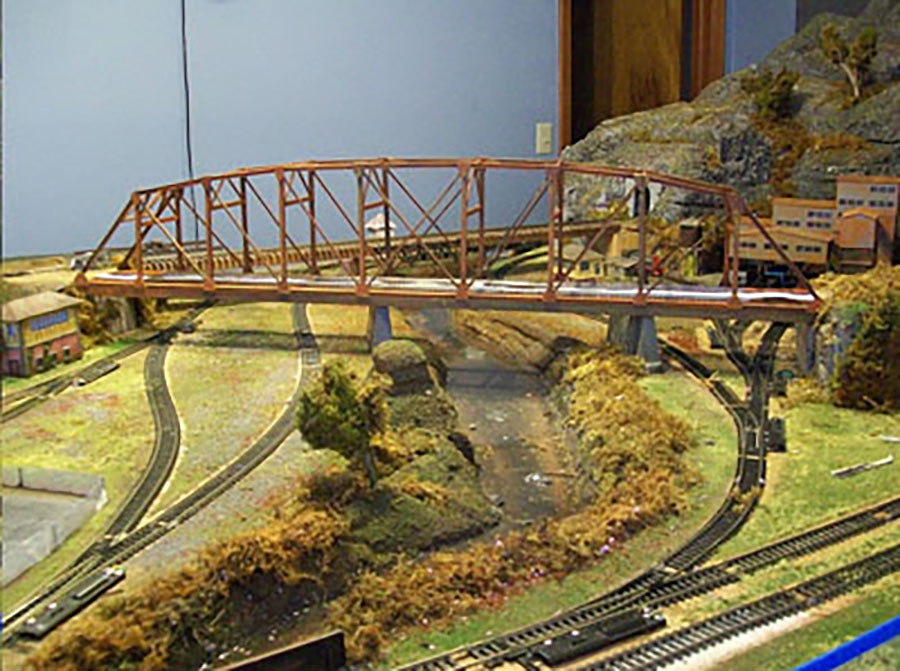
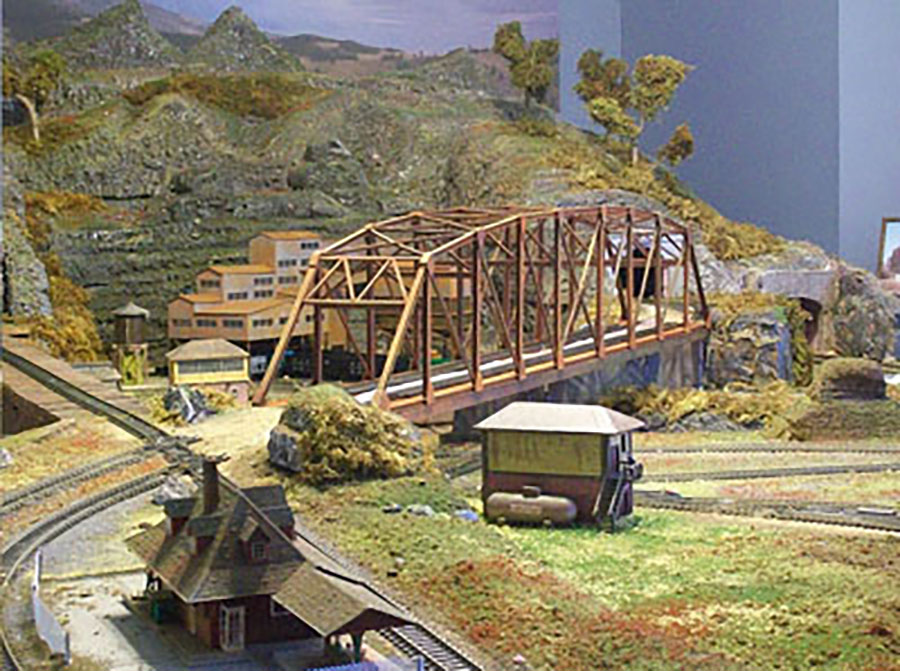
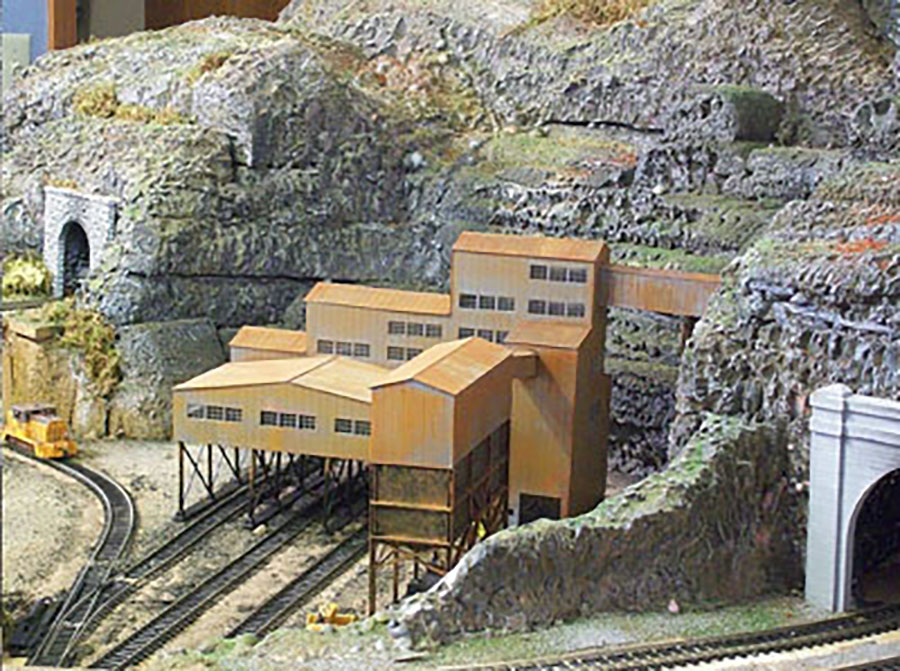
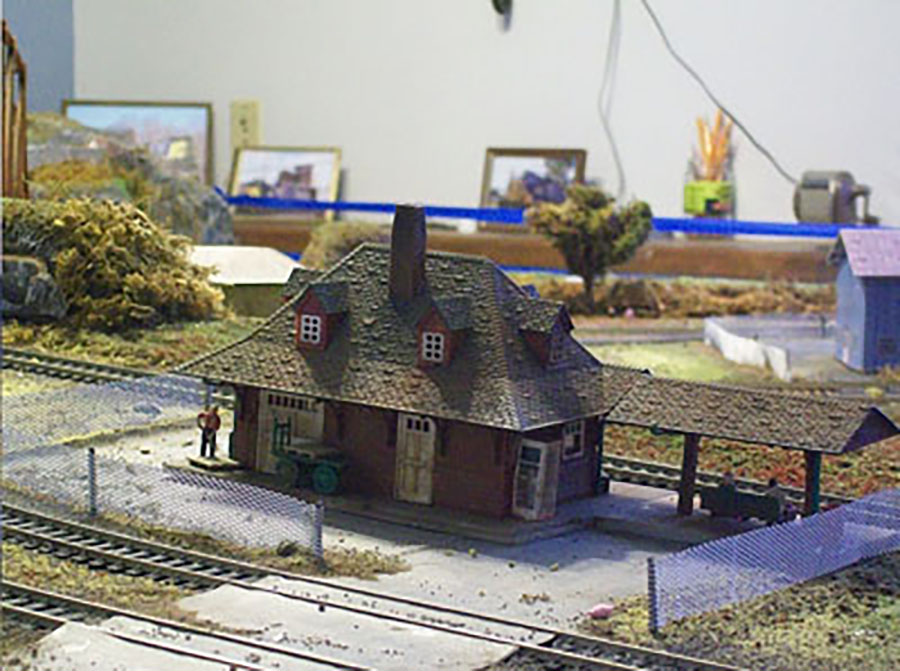
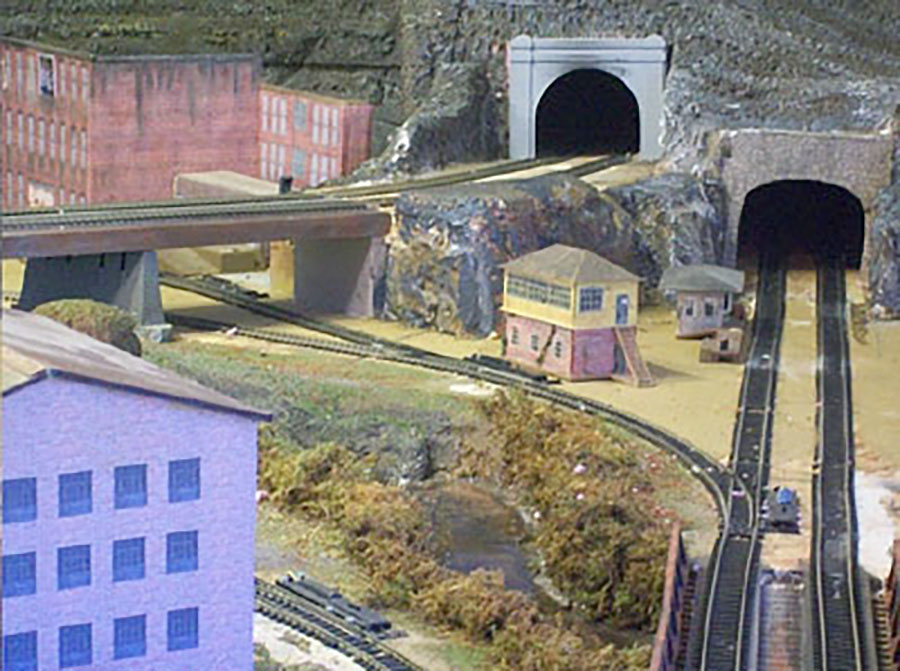
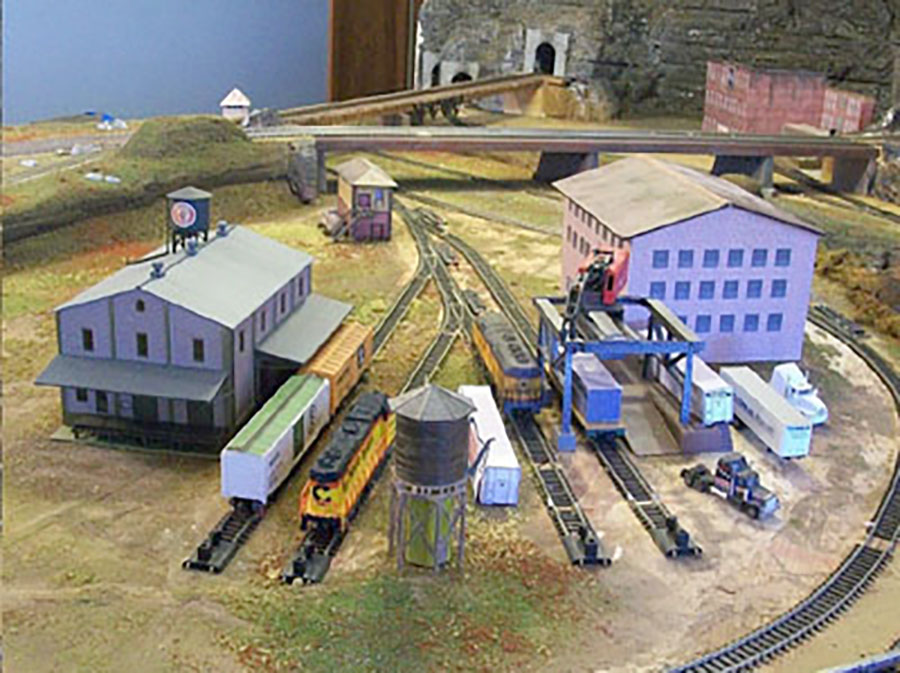
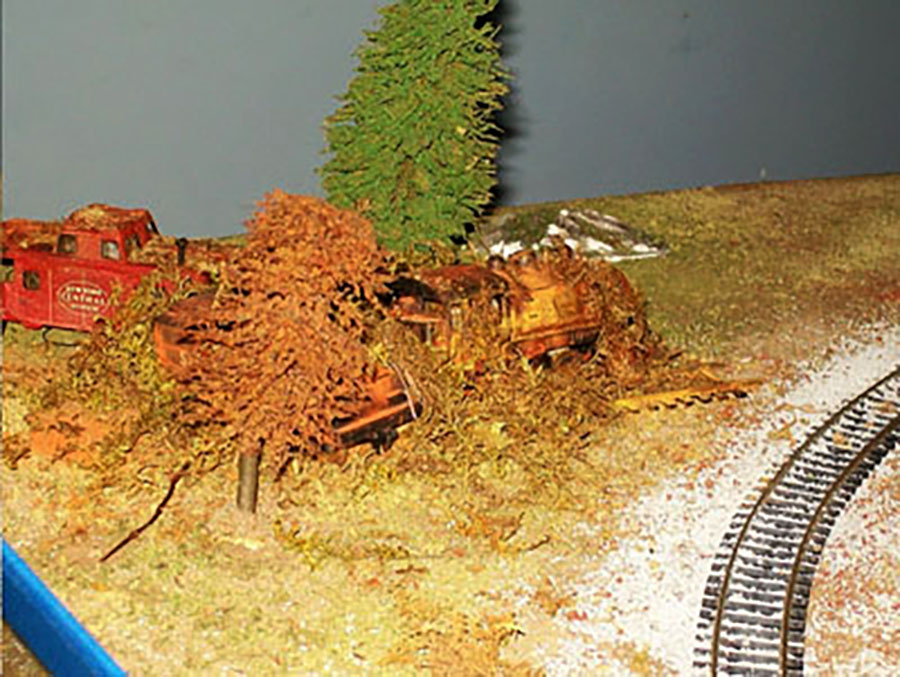
Michael’s been in touch with his industrial HO scale.
Best of all are the construction photos at the end – you can see how it did it from start to finish:
Just superb isn’t it? A huge big thank you to Michael for sharing his industrial HO scale.
Doug has also been in touch with a tip on inlclines, which looking at Michael’s pics is very relevant:
“My first try I did some reading and unfortunately found too many references to 4 (and higher) percentage grades. If you only want a really short consist (5 cars) you can do this, but a five-car train isn’t very impressive to watch running. Drag freight is 100 or so. I’m building #3 now and trying not to exceed 2%. Unless you’re modeling logging or mining areas, brief bursts of 3% exist but are rare.
You can still have multi-levels, just don’t do it all at once. Or, use a helix at 2% to go up and make the higher grades down-only.
The Big Boys were made to single-head Sherman Hill, the big climb in Wyoming for the UP, with 100-car drag freight consists. The grade: 1.55%.
Raton Pass, built near the original Santa Fe wagon trail, hit 3.3% on the early switchback route before they tunneled through the mountain.
Cajon Pass in southern California maxes for a few miles at 3%, the newer segments were lowered to 2.2.
The steepest mainline grade in the U.S. is probably Saluda, North Carolina, at a bit over 5%.
Unless your layout is tiny enough that tiny trains are all you can run anyway, you’ll be much happier with your options if you keep the grade to 2.
Doug”
A big thank you to Doug, there’s quite a few posts on the blog now about inclines and multi level layouts. Here’s a few of them:
Model train incline construction.
That’s all this time folks.
Please do keep ’em coming.
And if you feel like you’re missing out on the fun, the Beginner’s Guide is here.
Best
Al
PS More HO scale train layouts here if that’s your thing.
Need buildings for your layout? Have a look at the Silly Discount bundle.
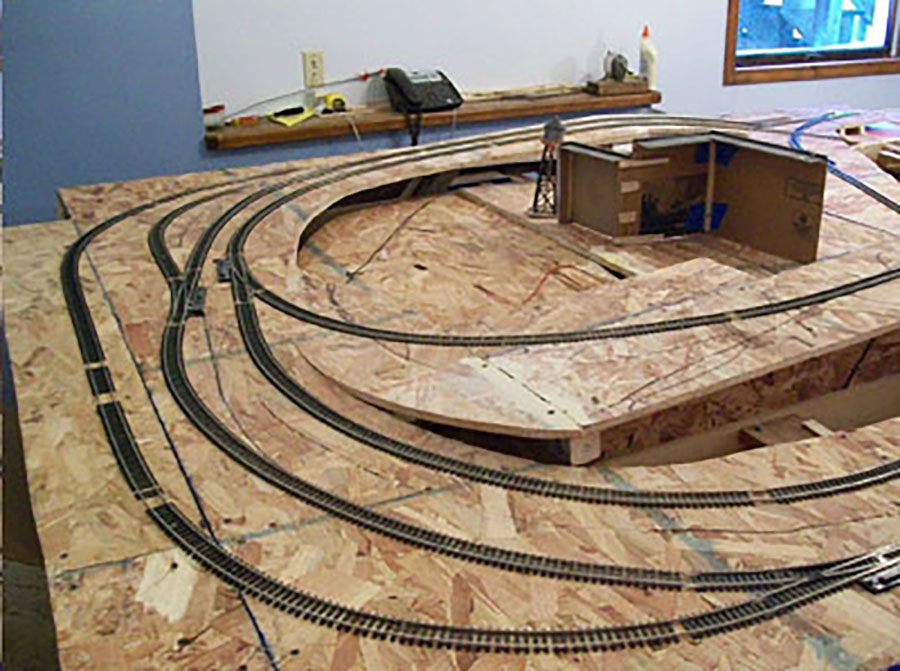
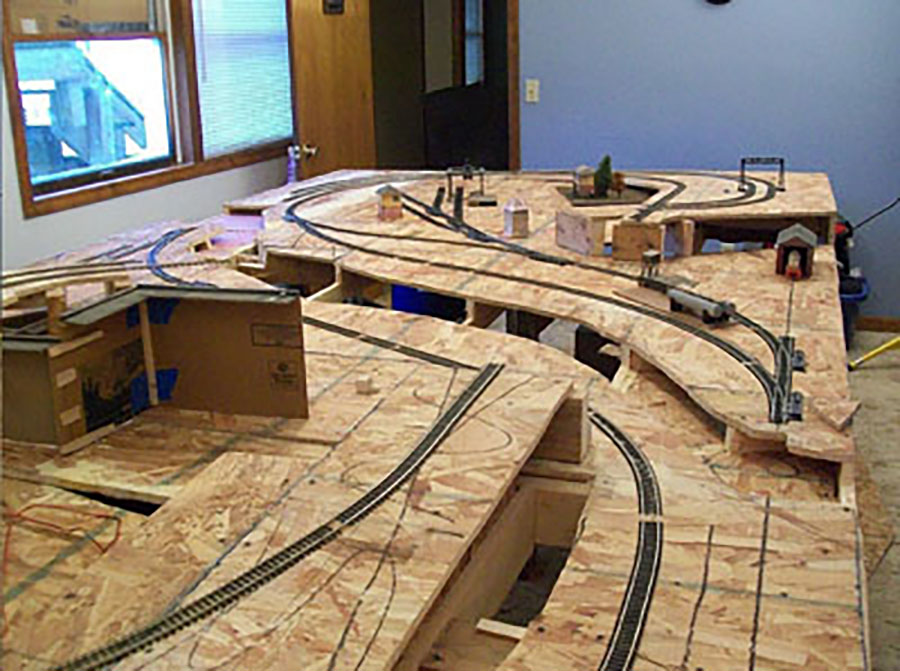
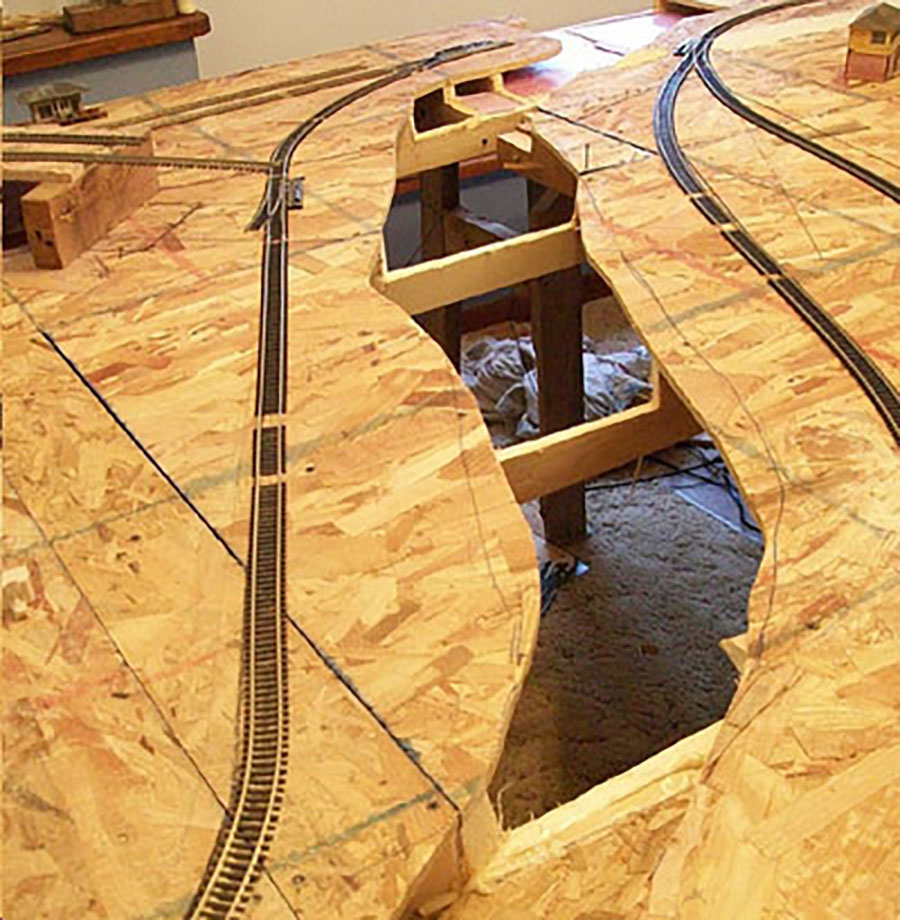
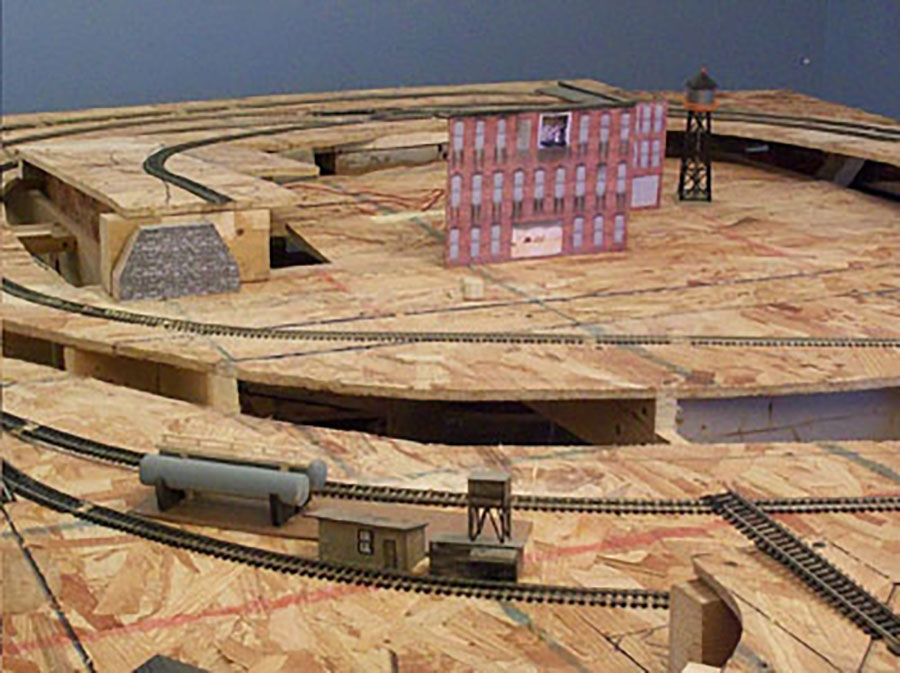
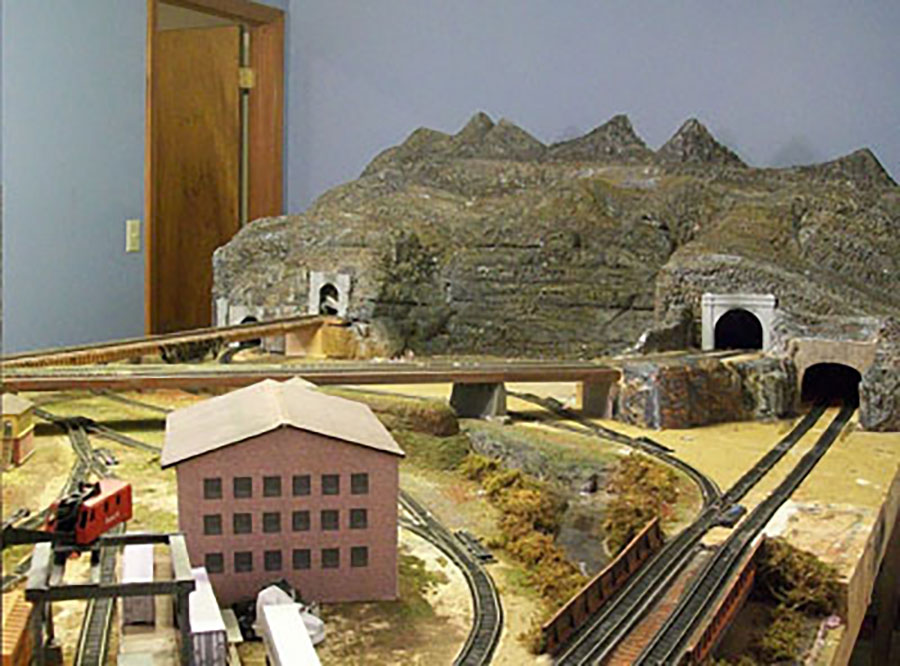
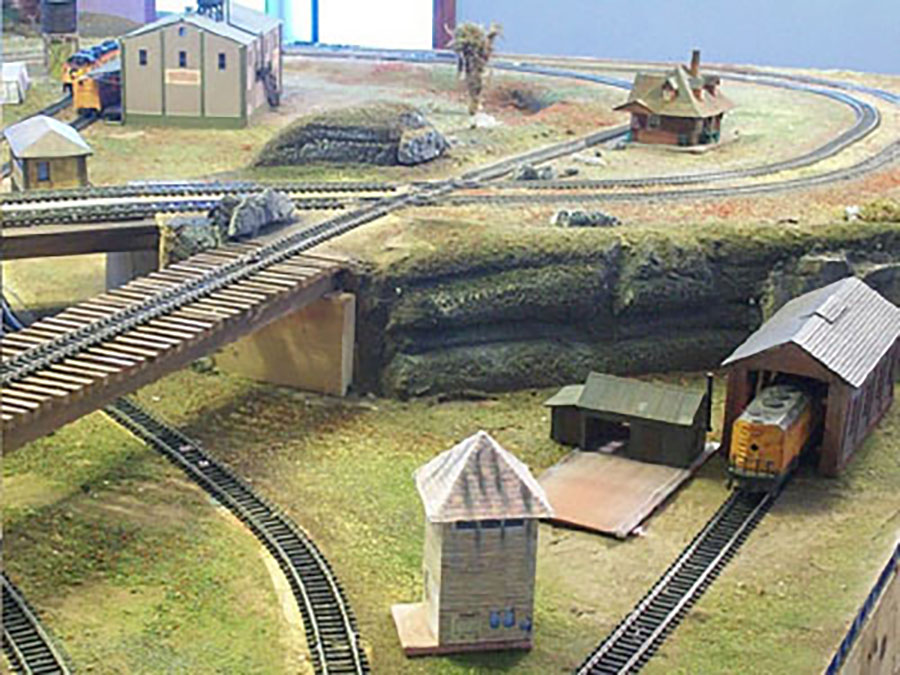
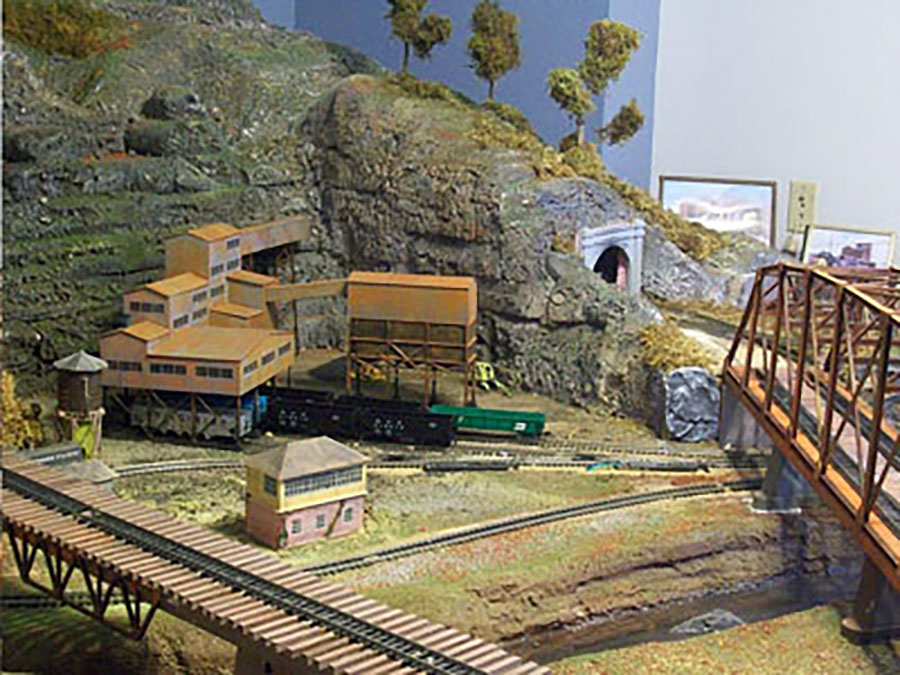
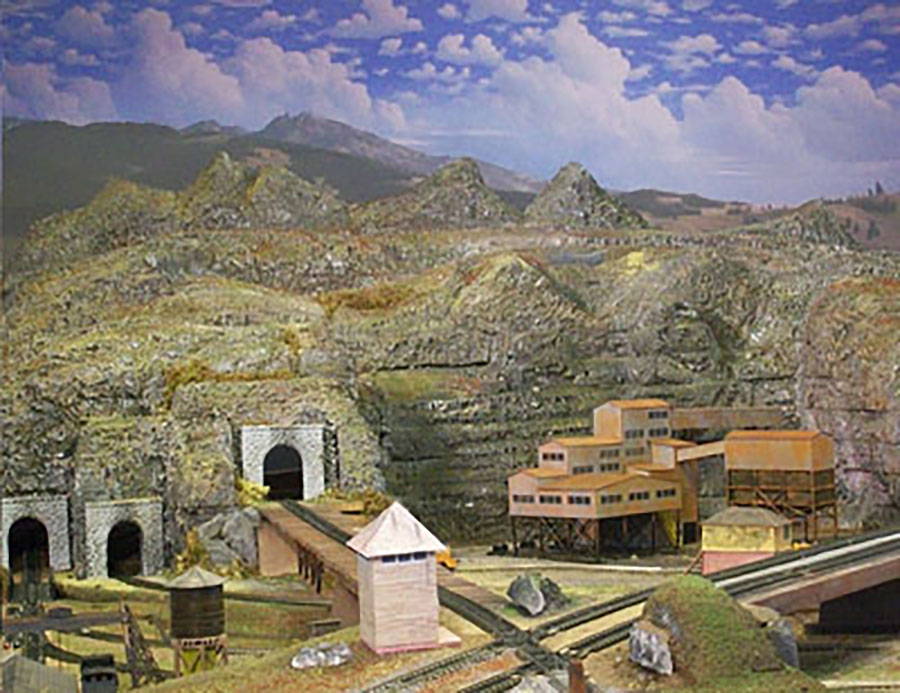

HEY AL,
LIKED THE MULTI-LEVEL RAIL-ROAD I USED THIS METHOD TOO AT TIMES, GIVES MODELER OPTION TO HOLD GRADUAL GRADE WITH-OUT MAKING A BUNCH OF PIERS TO MAKE THE GRADE THE PROPER AMOUNT, CUT THROUGH FOR WATER-WAYS AND MAINTAIN A CONSTANT WATER LEVEL.
ALL IN ALL VERY NICE, THANKS TO MODELER AND HIS WILLINGNESS TO SHARE.
THANKS.
LEW COOK USA!!.
Wow!!! Absolutely fantastic! Which scale is it? Thank you so much for sharing this with us. All of us envious folk would love to have such a pleasant area in which to build our layout. I notice you have a phone within easy reach – no doubt for contact with ‘she who must be obeyed’ just in case you forget to come out of that lovely space. Great work. Please keep sharing. Thanks again.
John.
Great Layout you have made for yourself Michael, first class , well done
Am so envious. Makes my effort look so pathetic. Oh to have lots of room
Outstanding layout..
Awsome!
Great job! Makes me really look forward to getting my new layout started.
Thanks!
Had the same layout when i was a kid in the 70’s, had different siding configurations, and added another 4×8 for the yard and town. was really a fun layout.
Great layout , must be nice to have all that space there is so much you can do with it. Looks like you gave your planning a lot of thought well done.
great layout the best i have seen so far thanks for sharing it given me a lift to get my own a little bit better
thanks again lindsay
My thoughts. I think a diagram of the track plans for your articles would be helpful in appreciating the photos. Not just this one but all articles. Just athought. Keep up the great work.
Thankyou!Very nice layout!
When I start my layout, I’m hopeful of doing a bi or multi-level also. I’m going to have to find out how to figure grade, so the train doesn’t stop and sit there spinning its wheels. I just love your pics of the construction phase. That really helps the rest of us understand how the ‘skeleton’ of the finished product supports the table surface. Great looking layout, and pretty darn good photography too.
I enjoyed looking at all of these pictures. Your very creative and you made it look easy. Ha I know that woun’t be true for me. I’m keeping this in my saved file.
Very well thought out layout,fantastic.
Nicely done, thank you. The pictures are very clear through the use of adequate lighting so that details/colors aid the viewer.
I strongly agree with the comment by Chuck Z. For complex layouts, a track plan should always be included and an overview photo would be nice. Here, we can see a lot of the “raw” structure and then the sceniced version. This is great.
great layout some inspiring structures and their effects gives lots of ideas for eveyone thanks for sharing.
Hello there i was wondering if possabile could you ask Michael for the track plain for railroad and is it n gaguge
I’m impressed too Alastair by Michael’s layout but I’m a bit concerned at the varying? %age rises in his gradients.
I’ve recently re-erected a similar size layout (30ft x 8ft) for pre-1948 British steam trains in OO gauge (1:76) about which time-honoured UK publications say that you should not have a gradient of > 1.8% (for mountain tracks). If you want to build 4% gradients (which steam locos’ll still climb OK without skiddng wheels) fine, but the consensus of opinion amongst the Brit writers is that the layout will not be prototypical and look more suited to toy! trains.
What are your comments? Rgds Col Sarll, from Oz.
Nice layout! I sort of have the same idea going on with mine. For you all out there I’m working on a folded dogbone figure eight plan that is multilevel. Would like to know where Michael got the plans or kit for the coal mine tipple. I am planning something very similar.
Neat
Is this a spin off of Granite Gorge and Northern?
Alastair
the photo, 12 from the top, is the finest long distance scenery I have ever seen. It certainly rivals anything that the late John Allen ever produced. A first class job that will be extremely difficult to better.
Alan
Another Gem !!
What great detail. looks to be many hours of hard work lovinly detailed. A few nice touches with all the detailed buildings and all the moutains and great use of space
A beautifiul layout,with obviously a tremendous amount of sweat……
I am an O gauger,and have a pretty large layout ,which I am renovating at this time…I would like to see some O gauge layouts from all of your o gauge people…..I will send some of mine as I get a little further along..
Great job Michael
Great job, love the rusty engine!
This is a beautiful layout which reminds me of my own multilevel layout complete with tunnels. I have a warning to all you modellers out there.
Do not make the same mistake that I made on mine and my friends made on three other large layouts. We all built them as if we would never have to move. I had to move like my friends and had to butcher my layout to get it out of the room! So please build them modular so that they can be taken apart if you have to move at some time. I thought that I would never be moving but I did. We don’t know the future. It would be a real shame to cut up such an excellent piece of artistry if it had to be moved. I am now older and wiser.
Norman
I am limited to a 2×6 layout for shifting am always watching how you handle small areas .
Nice. Is that all HO guage? Some of it looked like N. Might just be my eyesight. At any rate, nice stuff. I used to have a main table 4×8, with two additional 4×4 tables, and bridges in between. Somehow, I was never able to get any of it to the final stage of completion. I kept getting new ideas, and ripping things apart and rebuilding in different configurations. Then there was a fire in my old house, eight years ago. I don’t have any of it left anymore. I wish I could have salvaged the rolling stock, and some of the buildings. Oh well, such is life. It is what it is. Nice to see there are still people who are passionate about something.
Namaste.
Aaaaah! Cannot tolerate! Union Pacific F45 in first picture; they never owned them!
need to see some n scale r r. im in to n scale. thank you
very nice
I’m just starting my layout in multiple levels in N Gauge. I built 1 layout in about 1971. Had to move and left it with my sisters stepson who destroyed it
in no time. This layout is unbeleiveable and it would be nice to see a picture of the whole layout. Is this N gauge. A job well done.
Now that is a great layout !
What is tge overall size ?
what gradiants do ppl on here recommend. i read conflicting things on the net.. ie. it is ok to do a 4 degree grad. next it shouldnt be more then 2 deg.
i run both steam and desiel. and the `new` eurostar. ( dont like the middle wheel config. on it
On a layout I built for my son we had a grade of about 1 in 30 which I guess is just over 3% and that was no problem in itself, but some diecast-bodied locos did have an issue with the transition onto the grade, with the pony truck flanges shorting out to the cab floor briefly. I was able to sort this out by cutting a clearance into the underside of the floor with a woodruff cutter in a minidrill and lining it with thin Plasticard, but if you have treasured locos I suggest you check how long a transition they need to start onto a climb before building.
The steepest prototype main-line grade in the UK is the Lickey incline west of Birmingham, which is mostly 1 in 38 and most trains needed at least one banking (helper) loco added, and still do occasionally.
By the way, how did that classic Superquik signalbox get a US visa? LOL
R.
Very nice layout. I love seeing what others have done so I can get ideas of how to do things for my layout. I just wish the photos were larger when clicked on.
As I viewed the first pictures (close-ups) I felt this was a very large layout; there is an appropriate amount of open space in each scene that is often missing on model RR’s. Also, the stream is so well done I missed ‘seeing’ it the first scroll through the pictures. In each scene, the stream ‘belongs there’. Wonderful! Thank you for the ‘before’ pictures. I find that to be a great motivator: seeing how wonderful the end result can be when all I have is bare pieces of wood to show for my effort. Finally, for all of us: A vendor at a model train show gave me the best advice; “Remember, it is YOUR RR, YOU are the president and you answer to no one. If you let others influence your decisions you will never be happy with the results”. Well done, President Michael.
Well done you – being a bit too British here but would probably like a bit more track and less scenery but then we don’t quite have the open spaces you transatlantic cousins do! 🙂
Am just starting my first ever layout in about 6-8 week time, clearing the space and planning the layout, but fully expecting to need a load of help and also to get a load of comments around ‘that engine doesn’t go with that wagon / car in the background….but who cares!!
Great job!
A fantastic layout. Love the detail photos of how it was constructed. Wish I had the room needed.
VERY NICE JOB!!
THAT IS A GREAT LAYOUT.
VERY VERY NICE !!!
Very nice indeed, congratulations!. I am very new to railroad modelling and started only few months ago. How many mistakes…..Anyhow, I was thinking of adding a curved tunnel, I saw in this splendid layout in fact that three or maybe four have been added. Any chance that Micheal could share some insight on how to do them and what material was used, any photo would be also extremely helpful.
Thank you
Really like your track plan with cookie cutter platform.nice scenery also.
Thanks Mike
not sure about ians comment i live in clydebank scotland in what was an industrial town but when i was a boy i could cross the main road and be in among streams waterfalls and disused mills claymines or farms am new to model r r but trying to incorporate this on layout im building just now for my grandson well done michael brilliant pics
On Large Layouts the The Track Gauge should be noted when possible.
N- HO- OO etc. THANK YOU.
OLD MARINE GUY
Looks like the Ute Short Line from an old “Small Railroads You Can Build” Kalmbach… or one of the old Atlas HO gauge track plans….
A point of view, grades are like curves…. You want as wide a curve as possible and as light a grade as possible. Real railroads prefer to avoid both! They want straight and flat if at all possible (fortunately for us, the scenery/landscape does not cooperate!)
Awesome layout, awesome scenery.
very impressive. the “in progress” pics at the end are very helpful for me as i’m at the point where i’ve done my initial track layout. now i need to finalize the grades & clearances, “trace” the plan, pull it all up, and finish the benchwork / foamwork for the multiple levels and lay it down again.
before i “etch this in stone”, if i sent in some pics, would anybody be interested in commenting ? especially if there were something i really screwed up or that could make an exponential improvement ?
A most wonderful layout Michael. Lots of elevations. Very interesting to look at.
Excellent layout. would be good if people submitting their photos could say what gauge and size of layout. I’m in phase 1 of building my layour after 50 years since I first got a model train as a 6 year old. phase 1 is deciding where it will be and what size.
Is this a spin off of Granite Gorge and Northern?… Yes a spinoff modified to my taste..HO scale 20 x 14 feet All setup with MRC prodigy DCC
4 years to complete… still adding…
Watch for follow up… AND more updated photos, and Scenery
THANK YOU ALL for kind comments!!!! Very Welcomed all!!!
great setup
Great layout! I’m particularly fond of the quarry behind the ol’ mining company!!
Steve R – Elkton, Va. – USA
nice layout
Nice job. Great tunnels. Thanks for sharing
Thanks foe kind comments you all made… feel free to email me if you would like to.
I love talking model railroads
Look for layout updates soon!
Happy railroading!!
this is a fantastic layout
This is a suggestion for for Michael to fix his transition problem. Make a shim around 3 1/2 to 4 inches long going from 1/16 to 1/8 and insert it under your track with the thickest end at the point where your track starts to rise. That should smooth out the problem. This is of course depending on the amount of grade you plan to use. I had the same problem on an old layout a few years ago and this fix worked perfect.
Beautiful scenery yes, but the trackwork in my opinion misses the mark. Older Atlas flex track with Atlas switch machines showing at layout level – no ties at the joints. Track is a model as well & needs to be simulated to look like real track – in my opinion…
Not necessarily a reply to this but a response to many who are after corrugated roofs. I’m not sure what scale this would be but Fiskar, a Swedish, I think, company makes a corrugator for scrapbooking. I used it on some heavy duty aluminum foil and got a nice looking piece of roofing. The dimension peak to peak is 3 mm. I tried to take some photos but my camera refuses to cooperate.
Jim
Beautiful layout Is this n gage?If so where can I get the plans?
For those asking about the scale, the first thing I read was Alistair’s title and opening sentence:
Industrial HO scale layout
Michael’s been in touch with his industrial HO scale.
I think there’s a clue in there somewhere. 🙂
Also, I hope Connor never sees my planned project. I live in New Zealand, but have a mixture of U.S and European locos and rolling stock which will all run together in my imaginary land where they all conjoin, on the railway of which I am the founder and manager. Some of them may even end up with non-prototypical rolling stock and liveries based on our local NZ Rail which, like so many worldwide, have been undervalued and run down or destroyed.
Thank you, Michael. for sharing.
nice work. i like the bridge work.
Please post larger photos in the future, so that this old man might see your excellent work better. Thank You!
The mountain scenery and backdrop behind it are blended together perfectly. Great job overall.
Kirk in Tacoma
Nicely done. I like the buildings and the surrounding landscaping. Clean and simple. Must be fun to run trains through all those elevations.
Jim AZ
Mike sweet layout! Great looking mountains.
Looks good!
Nice looking layout Michael. I appreciate all the construction photos and background text. One question: It appears that the track is laid directly on the OSB substrate with no cork or other roadbed material. Doesn’t that get noisy when you’re running trains?
What a wonderful layout. I never thought I’d endorse “the critics'” commentary but Robert you’re spot on! Get a life Connor and Jeff…trackwork? really? and all of you who don’t pay attention. Let’s not be petty folks… Great job Michael! and (you know me) I hope you make an effort to blend your fascia into the overall picture. So many ways to enhance the edges of your layout. Cheers!
Hey Doug. Thought you might be interested in a steeper grade than 5%. According to Wikipedia that record is a 6.7% grade in Everette, WA. Granted it is very short at 1.7 miles but very steep. This rail belongs to The Boeing company. They use it to raise large containers from the port of Everett to their plant at about 600 feet elevation. It runs up a ravine called Japanese Gulch. FYI.
My first thought with the first picture was “wow…..this is going to be great”! There’s nothing I can add to so many comments above, except that I intend to spend a great deal of time in an attempt to duplicate not only this wonderfully involved layout of track but all the great landscaping. Incredible work, and thank you so much for sharing!