I’ve been meaning to post this for a while.
I was amused when Barry got a few comments about his railroad layout: some said it wouldn’t work.
Come on, chaps, this is Barry we’re talking about it.
“AL,
This tip comes from Michigan the land of salted roads and automobiles. “Bondo auto body filler”. I have built trail layouts in basements and out buildings where moisture is a problem. Conventional mountain building material can mold and mildew. That is why I use Bondo.
I take metal window screen and bend, fold, and contour it into the desired shape. I use a staple gun to secure it. I add wood blocks underneath for support where ever needed. Then I spread a thin coat of Bondo over the screen. On the second coat I add more contour and detail to the mountain, cliff, or tunnel I am creating. After the second coat it is ready for painting. You end up with a rock solid detailed landscape that is impervious to moisture. The only drawback is the need for good ventilation when working with it.
David”
“Hello again Al,
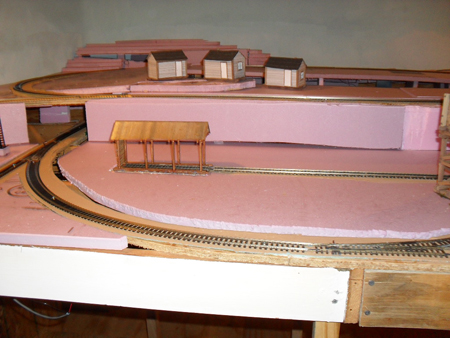
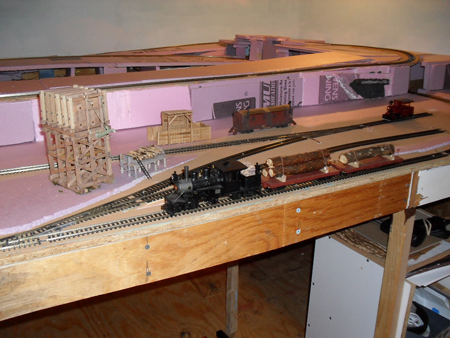
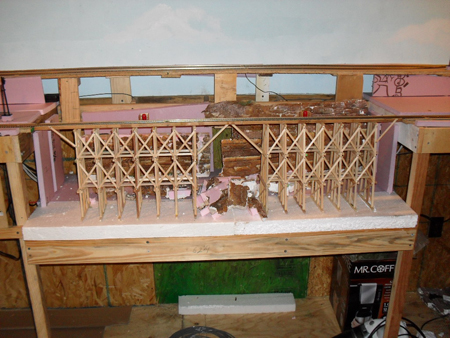
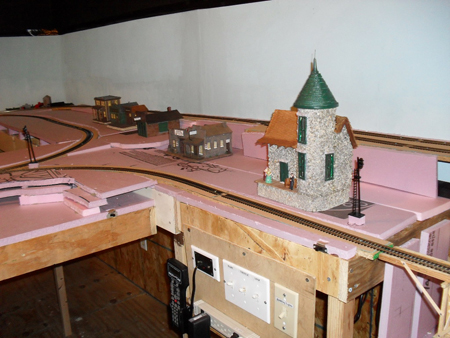
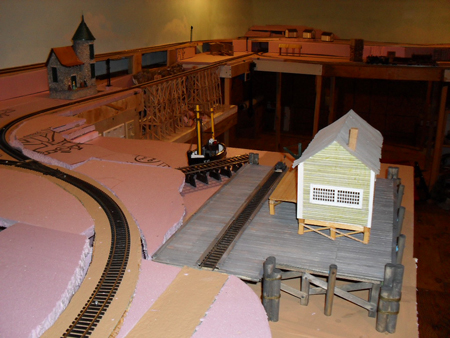
I’ve been busy working on my current layout. I call it My Last Layout because I’m 70 now and I figured it would be my last one. I was wrong! I have been tearing sections of it apart and re-structuring the layout for my newest variation – a radio controlled layout with battery powered locomotives. I sure wish I had known about this part of the hobby before, I could have saved a lot of time and a bunch of money. No wiring, no track or wheel cleaning, just a wireless throttle in my hand and a receiver with battery pack on board (with a DCC decoder if you like) and away you go. More on this at a later date. For now, I am sending you pictures of My Last Layout under construction.
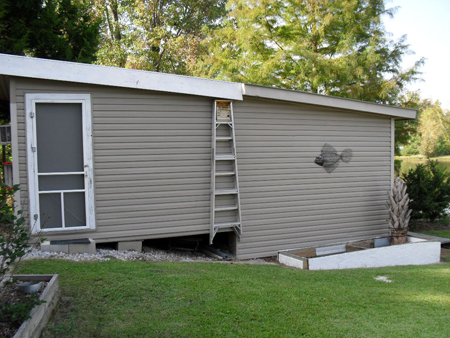
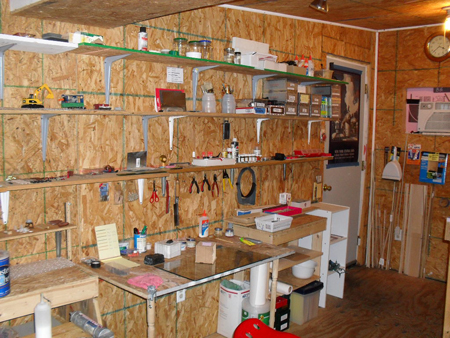
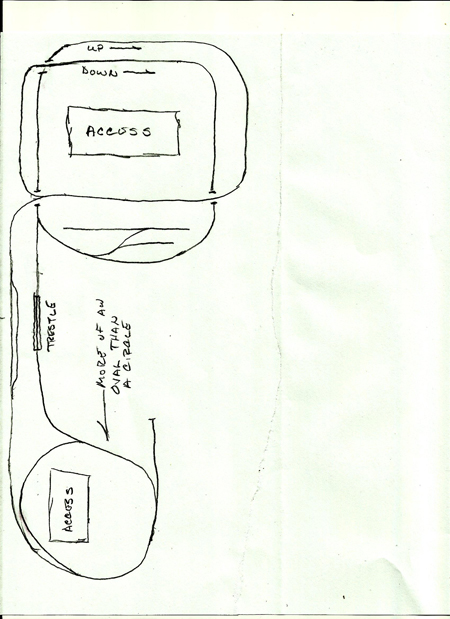
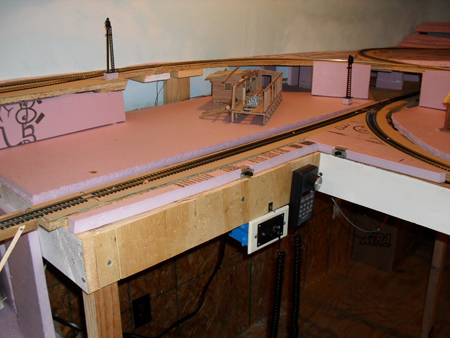
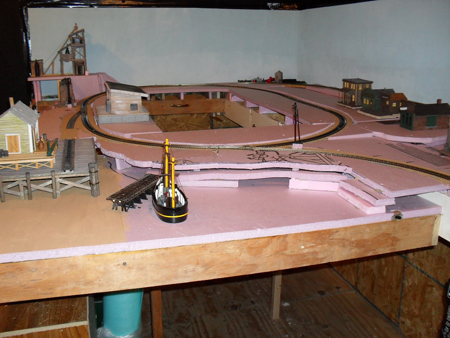
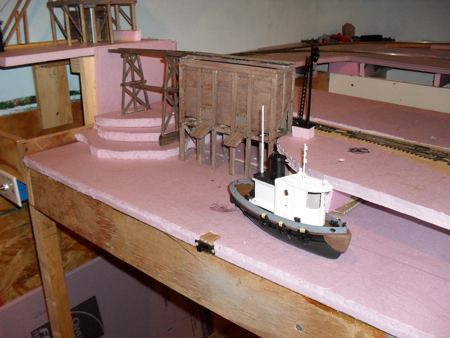
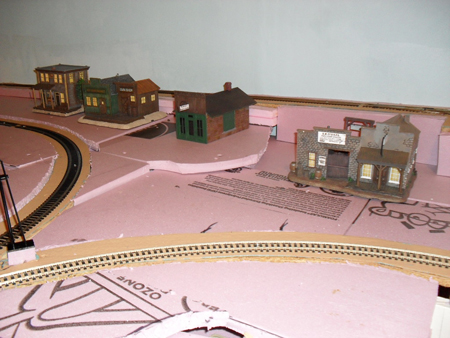
As you may remember from my last posting, I had my Depot enlarged so that I had a new space 12 feet by 24 feet. This would house my new layout and space for me to work as well. I have included a Track Plan (just drew it out on a piece of paper freehand). I lay my track on wood. I used to use plywood but had some problems with expansion so now I switched to MDF, very stable but also very hard. Once I get track down I then begin filling in with foam. I now use foam for most all the layout instead of using screen and/or cardboard covered with plaster cloth because I found it’s much easier for me to put in the scenery on foam (just shove the trees in and done). Also it’s a much easier process if I find I want to add or delete something, just glue more foam on or cut some out.
For those who have been following my progress, you will recognize item’s I salvaged from my previous layout and I found a new way to hold my track in place until I am ready to call things done and start to ballast. I usually ballast last because if I have to move or replace some track during the project it’s much easier if the track is open. I now use small pan head screws to hold my track in place. I use 3 or 4 per each 3 foot section of flex track and none to hold the turnouts. Works like a charm. If you find you have to move or replace track, you just remove a few screws. For those who like to lay track on foam, just cut out a small square section of the foam on the roadbed and glue in a piece of wood. That will give you a place to put the screw in.
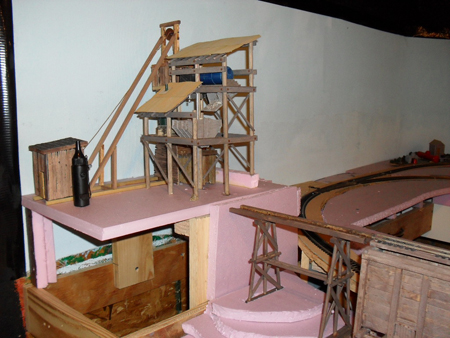
This layout will have a wharf area with docks and such. I also had an idea to show my mine operation from above and below ground. Should be interesting. That’s all for now. Next time I’ll get you pictures of the mostly finished layout before I began taking it apart.
Bob”
“I’m but a new re-visitor of the hobby from the 1970’s. My best advise would be to keep the bills from the wife!!
Glenn”
That’s all for today folks.
Please do keep ’em coming.
And if today is the day you get started on your layout, the Beginner’s Guide is here.
Best
Al
PS Latest ebay cheat sheet is here.



let’s see it pull 10 cars up and down.
I don’t know why anyone would think it wouldn’t work…Model railroaders have used the helix on layouts to access upper levels for years! Looks good, Barry!
Congratulations Barry job well done
Nice work Barry, real nice work!!
love it
I am interested in duplicating this layout. How can I get the plans?
I like the construction technique! Clever. I will probably use that when I build mine. Thanks for sharing! michael
Excellent!
awesome idea withthe build
Did Barry build this himself or is this store bought; what scale HO or N?
What is the incline percentage: 2, 3, or 4 percent?
What size radius track does this use?
If this is self made would Barry be willing to share his plans and construction steps?
Thank you.
Bob F.
Guys
the helix is fine. I have 2 half a metre high on my layout and i have tried it out with 6 weighted coaches. The trick is in the machine you use. if it is a honny line it might be difficult but with a pro line..no problem.
have a look
trainsinmaltaorg.ipage.com
Very nice– anxious to see more! Congrats
Around and around and up and down they go … Oh Baby!
Sounds like a rock and roll tune
Great job! Well done!
Thanks for sharing Barry And Al
Regards.
Tom N
Hook up a few rolling stock. lol I cant wait until we see it in full operation.
Love the spiral. There is a real spiral in New Zealand in the middle of the North Island like that. If anyone goes to New Zealand you have a look.
Barry you are a genius. Thanks for the video it’s very encouraging to an old dinosaur who has almost zero skills.
An excellant job, did you consider top and bottom sidings for heavy load auxiliary shunters.
I dont see why it would not pull a fairly long train up the helix so long as the grade is 1:33 or less and the curves are 500mm R or greater.
I have difficulty with wheel slip on anything steeper and the six wheel configurations hate tight curves.
What length of track is in all that? It is more than my whole layout I think.
It should give a good impression that the trains have been somewhere, several trains could be “stacked” in there to appear on cue when required.
Your work is very professional;however I have several questions.
How much plywood did this require and wsn’t there a great deal of scrap?
What did you use to join sections of plywood?
Outstanding Job Barry…………….
To those who had questions I will try to answer them I cut 1/2 x 48 x 96 sheets of plywood in half. Then drilled a hole at the center of each of those now 1/2 x 48 x 48 sheets. Then used a router with a compass attachment to create the 19.50 and the 22.00 radius x .125 deep grooves with a 1.25 inch cutter. I created an inside and outside bolt hole pattern to support the sheets. The sheets are cut across at the back to allow the deflection between levels. The beginning of the next level is attached to the end of the previous level with (4) hole metal straps that I purchased from the hardware store. The elevation change between levels is 4.00 inches. The initial tubing spacers for the (8) hole pattern to accomplish the grade increase by .50 inches to achieve the 4.00 inch incline. I made 3.50 inch spacers to fit over the threaded rods to keep the levels equally spaced. I solder the 2.50 staggered rail joints with the track held straight and then put it into the routered grooves. It makes holding the radius very easy and consistent. My (2) levels will be 21.75 inches apart when completed. The final router pass was a 30.00 dia. hole for east access to service a derailment. I also soldered feeder wires to each level to keep power consistent.
Barry
Barry U’r the man and for anyone who doesn’t think this will work yes I’ve seen the N.Z. one but only on Video and an old mate of mine built one many moon years ago and it worked a treat it was designed to take up to 6 wheelers and yes there is a bit of scrap but hey guys U use that on other areas of the layout waste not want not that’s the idea these days isn’t it.
Wow did that make me dizzy. Great job!
I’m getting dizzy…….
LOVE IT, JUST MAGIC, IT’S JUST GREAT, HAVE NO FEAR, IT’LL PULL WHAT EVER YOU LIKE UP AND DOWN,
A VERY NICE LOOKING HELIX.
Can you recomend a 6′ x 8′ layout with a substancial yard.
I have a question about flex track. Is it HO size? Also if it is HO, will it work with EZ-track?
Bob, What is the best way to cut and then shape your foam?
Sounds like Barry has model railroading in his genes — He’s got a successful working model of the MRR “double helix.” Nice job.
I would love to know where Bob got the mine structure and the trestle. Were these kits or scratchbuilt?
well done
Have fun ! 👍