John’s been back in touch with another instalment on his KATO Unitrack system:
“Good evening, Alistair
I check my mail every day to see what you’ve posted. Thanks so much.
I enjoyed sending you may first post to you a while back, and here’s another one.
As I’ve shared with my Bermuda Railway friends on Facebook, I’ve embarked on a new adventure, which I call “BDA3.0.’’
I’ve written you before about BDA1.0 (kit bashing rolling stock with Shapeways models and Tomytec chassis) and BDA 2.0 – the desktop layout called “2-1/2 acres.).
I’d been planning to add a fiddle yard to 2-1/2 acres while building some structures for a diorama of Front Street, Hamilton, but I changed my mind.
The fiddle yard will have to wait for a 32” x 72” desktop layout of Hamilton.
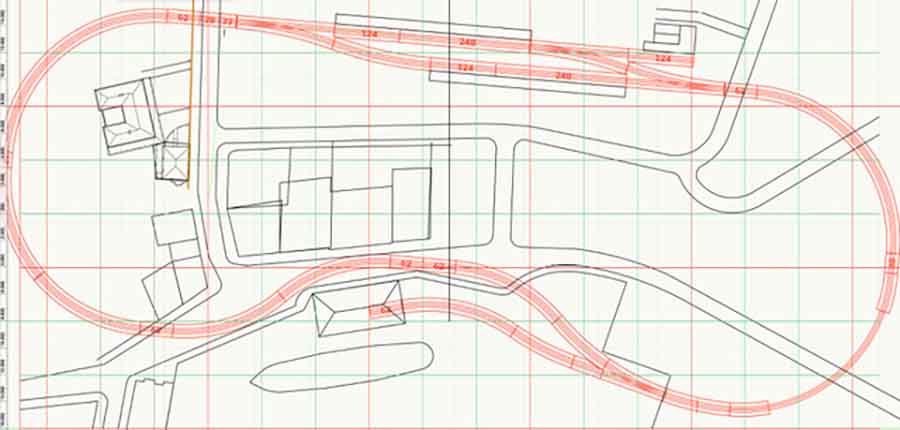
I decided to try out the KATO Unitrack system by tracing a .pdf graphic of their components using the CAD software from my architectural practice.
This is the original design, which as only 32” x 64” showing the track adapted to a compressed version of Front Street based on Bermuda’s GIS files that are publicly available.
I followed Kaustav Chatterjee’s advice about adapting a real setting to a model that he posted a while back.
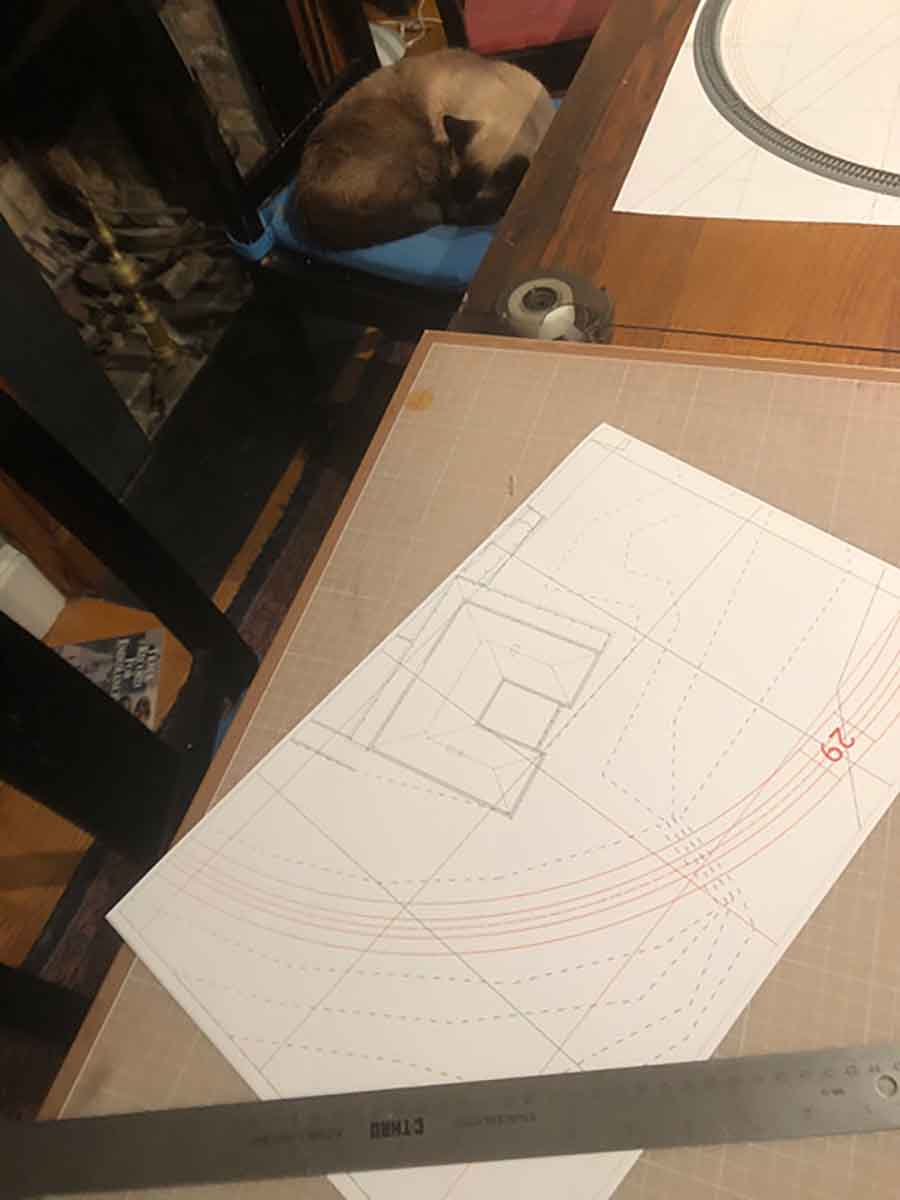
I printed the layout on 11 x 17 paper, and pieced it together.
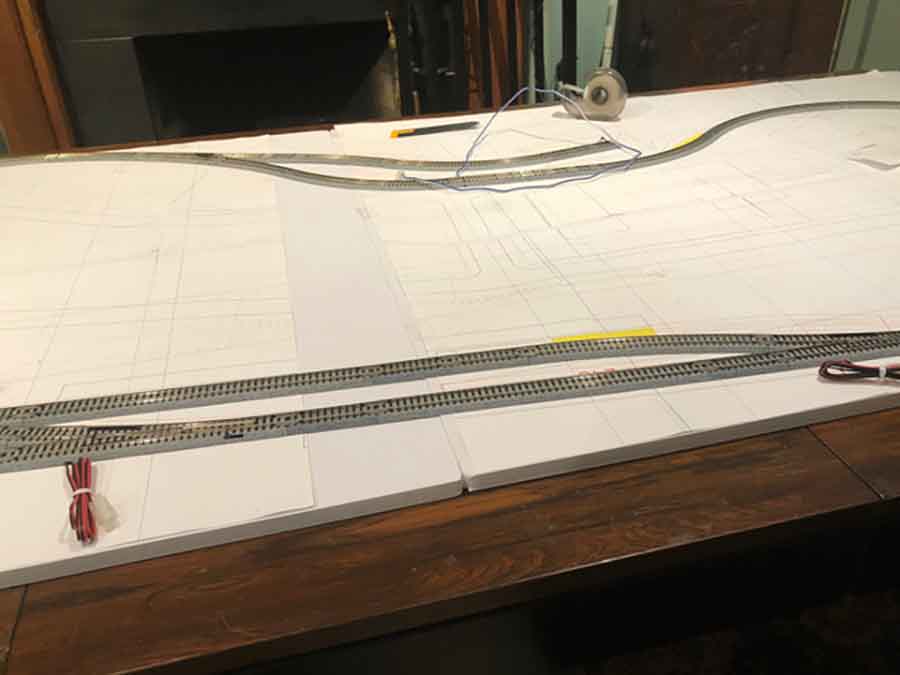
Here’s my paper composite laid out on the dining room table.
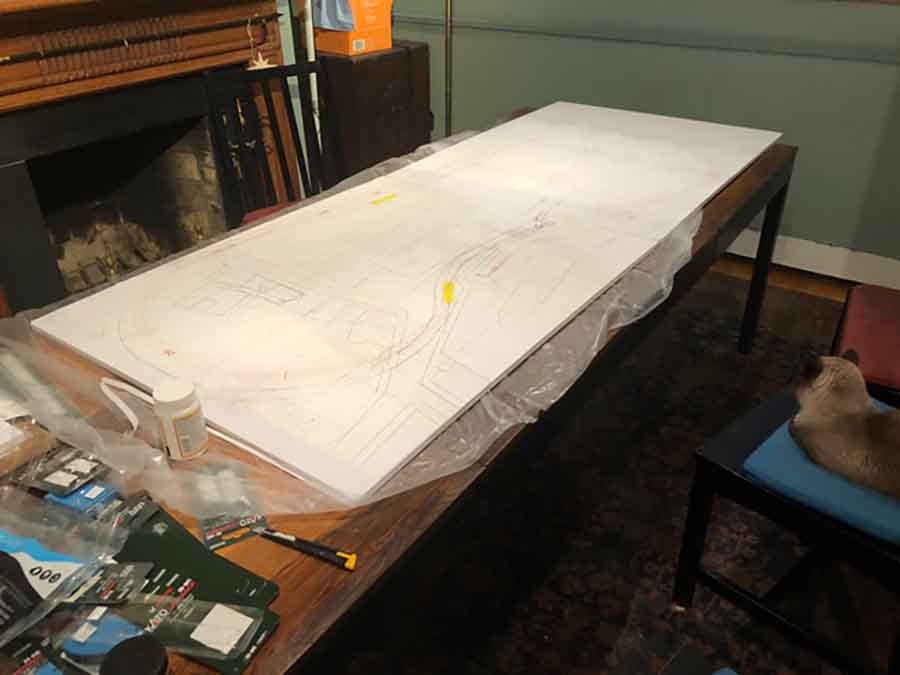
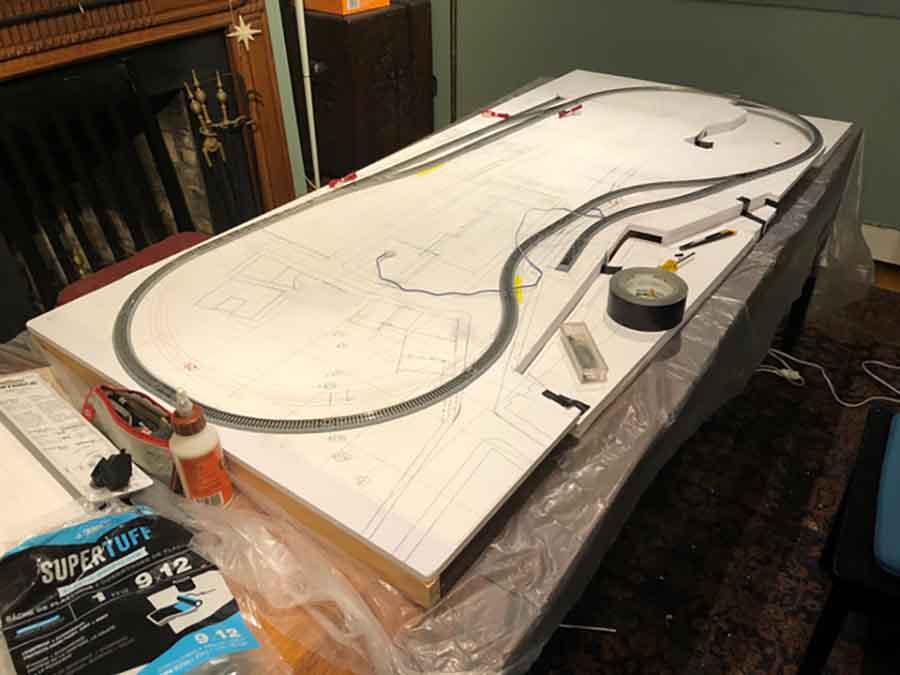
I bought some Gatorboard for my base instead of going with plywood and styrofoam, because I intend this layout to be a desktop one, too. Gatorboard is totally flat, and very light.
It has a plastic coating instead of paper, so it stands up to water and glue.
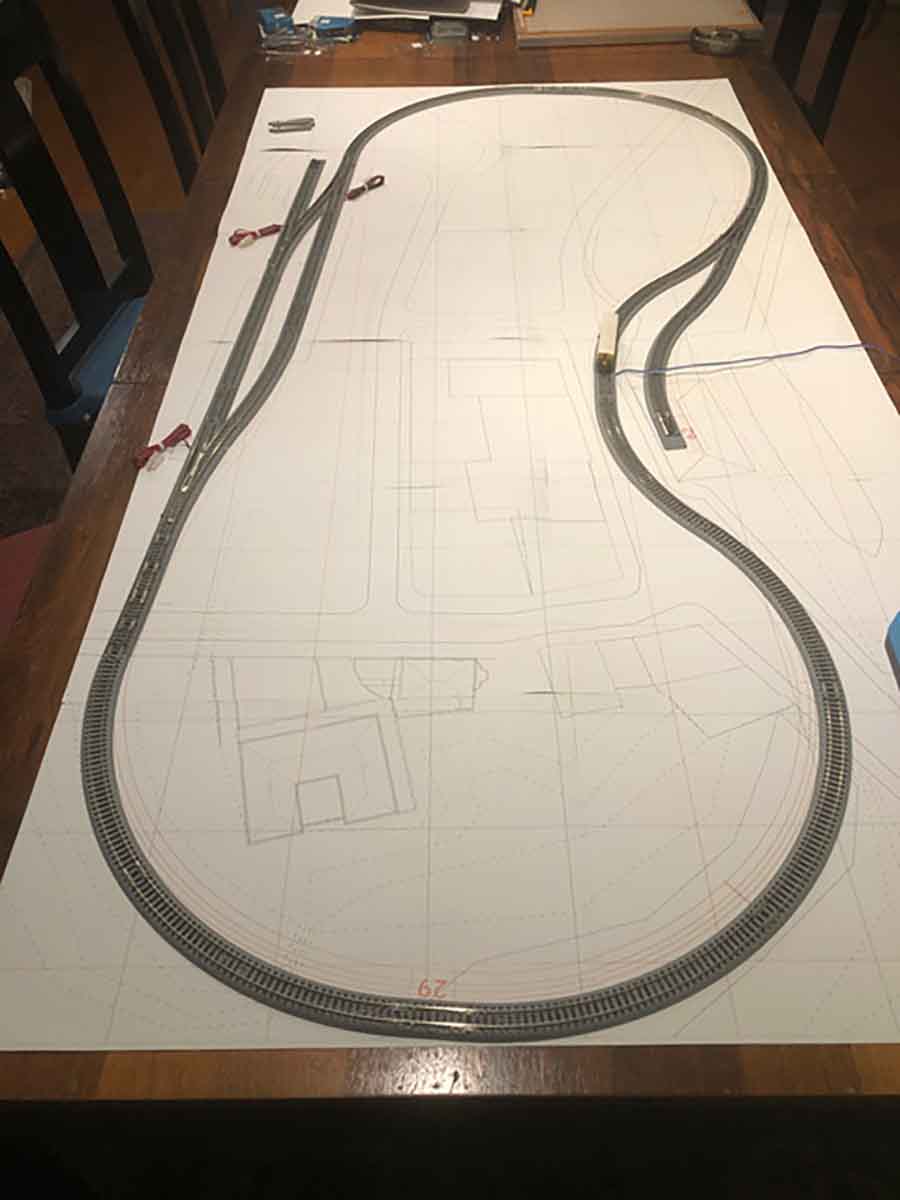
Here’s the end result just before I started nailing the Unitrack to the board.
I got some advice from a thread that Unitrack comes with holes on the underside of each piece that can be drilled out to allow for doing traditional track laying.
Gatorboard hold the nails well enough, but the advantage over plywood is the nails can be pulled up easily without damaging the track.
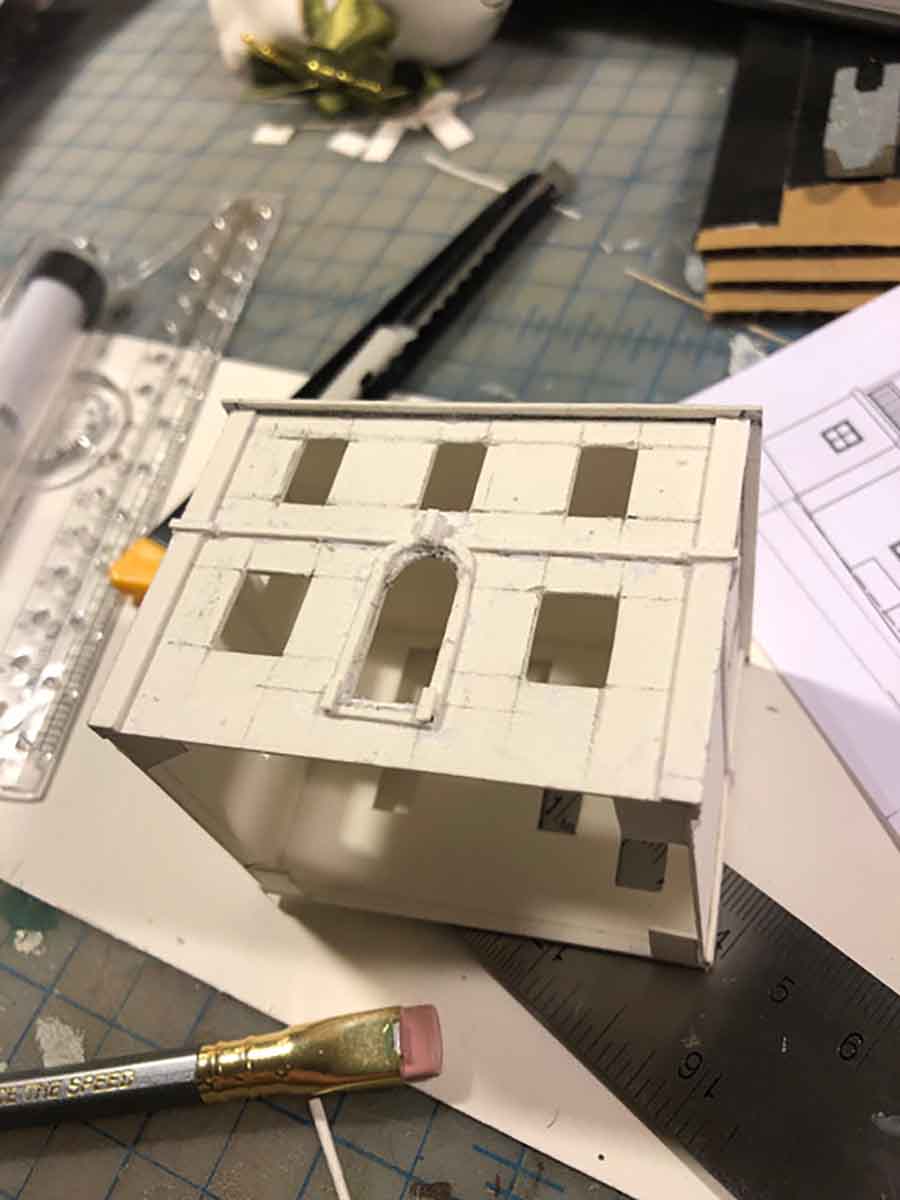
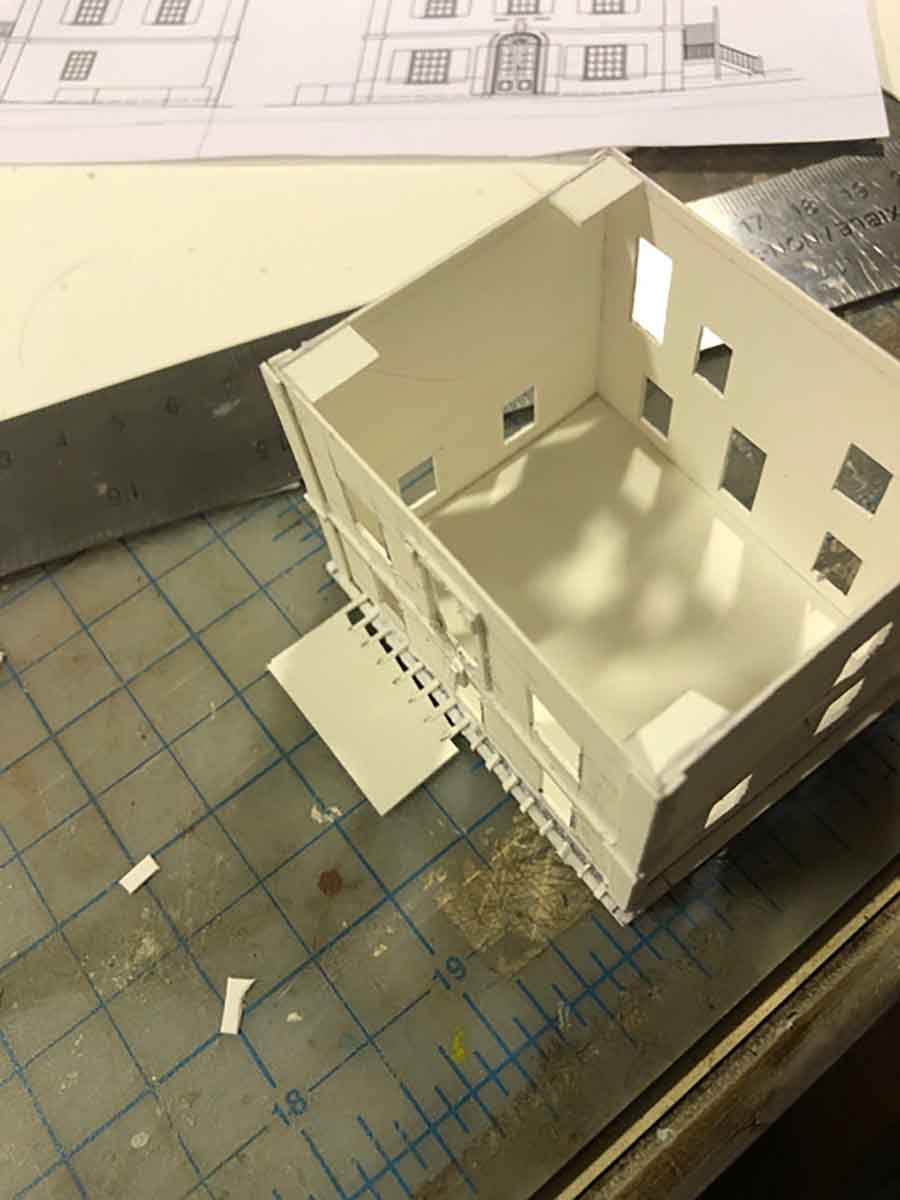
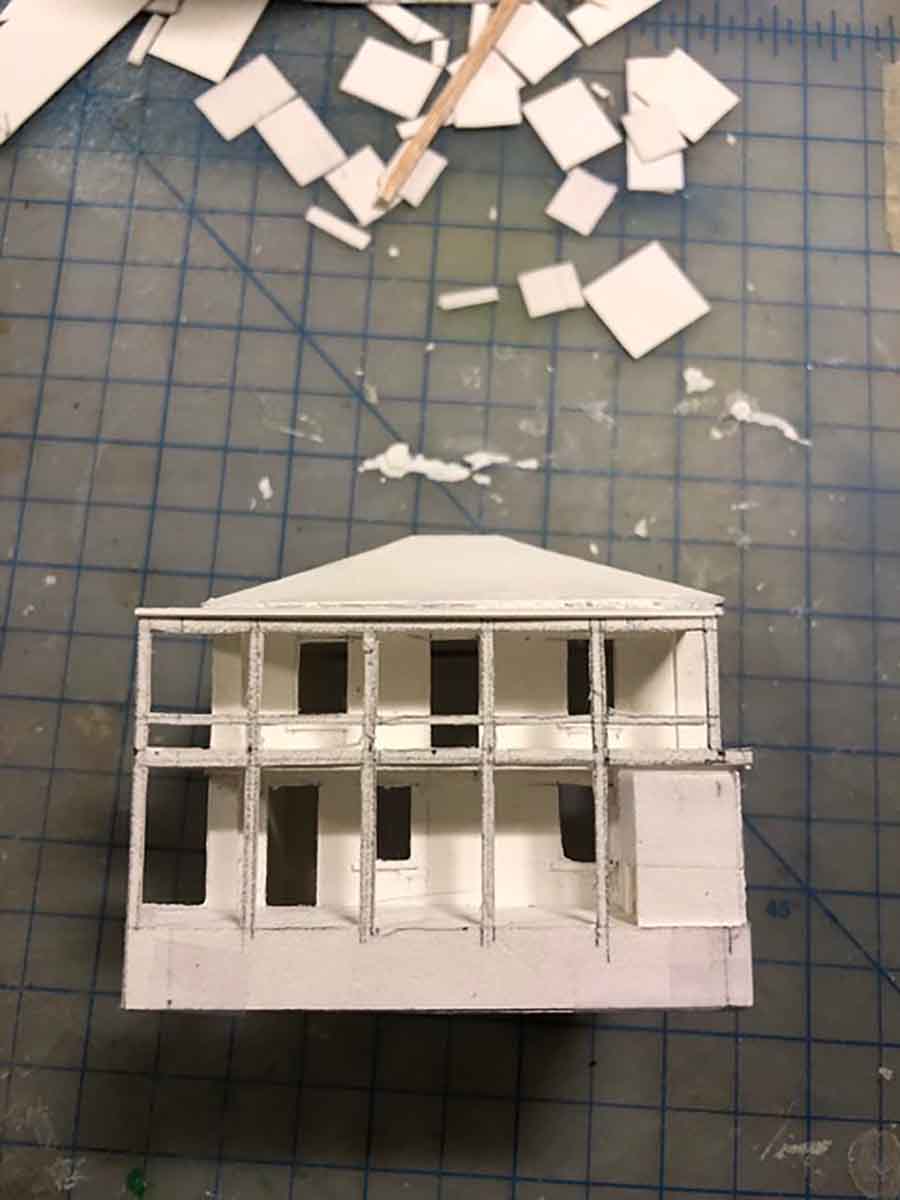
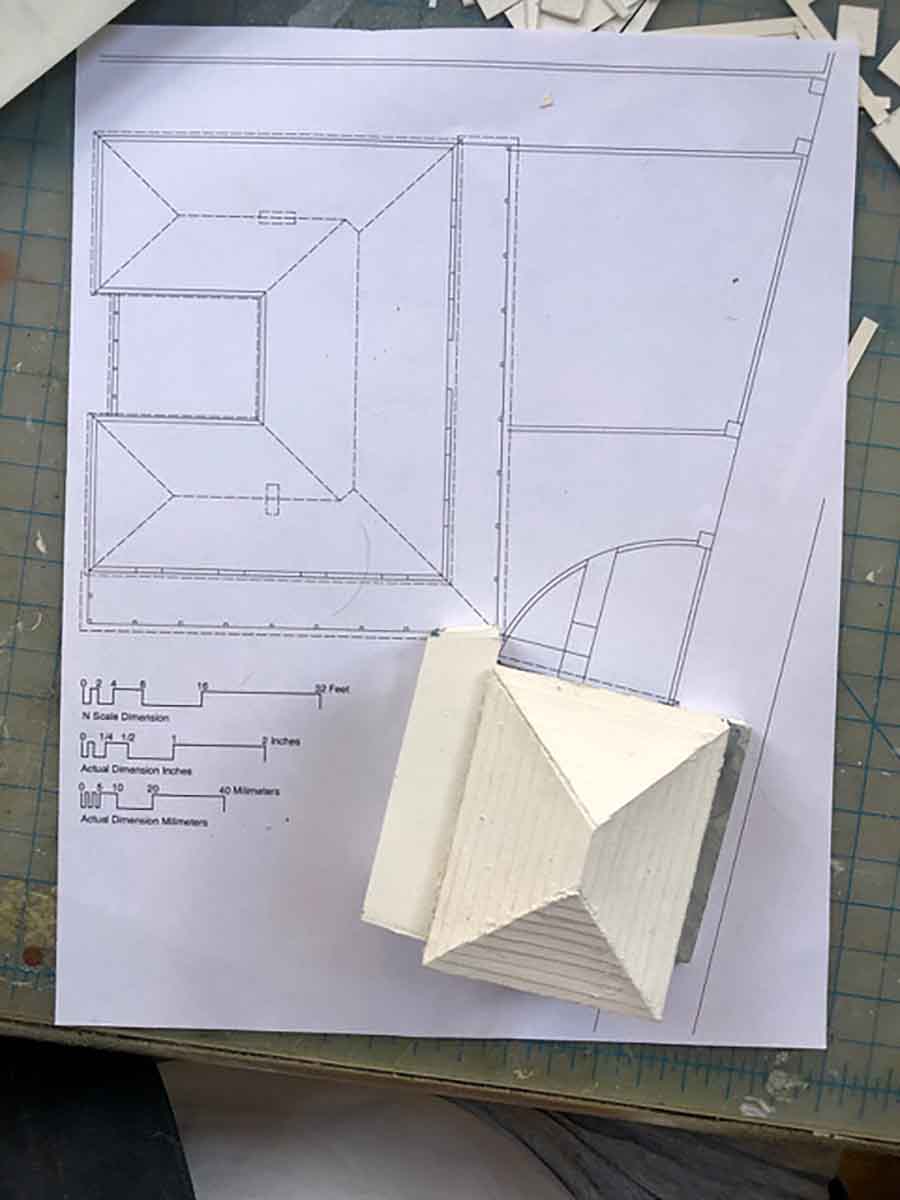
Next are photos of the first of a number of scratch build projects that I’m doing that will result in a diorama emulating Hamilton Bermuda.
It will show the railway line that ran down Front Street and then went into a tunnel under what is now the Queen Elizabeth Park.
This is the fourth scratch built structure I’ve made based on this theme.
The others show up in the video and photos I sent a year ago.
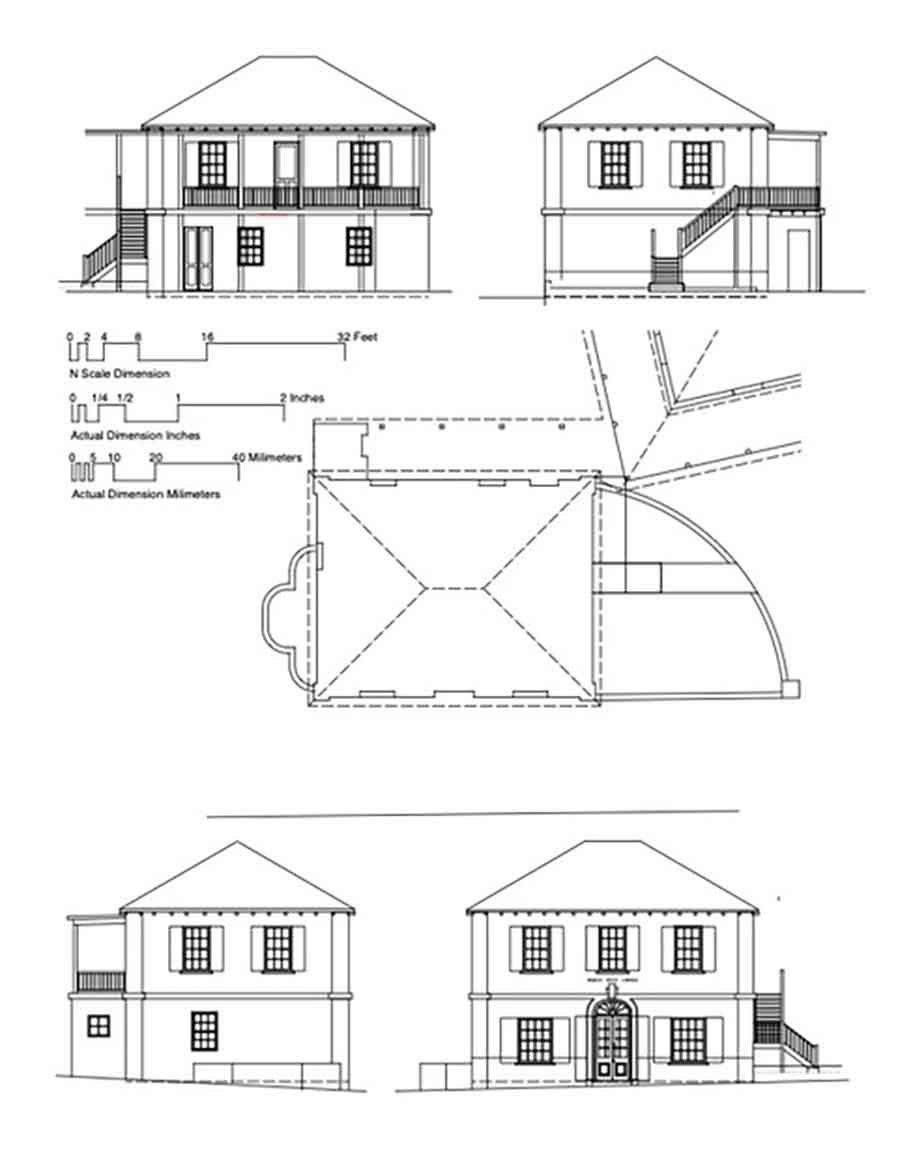
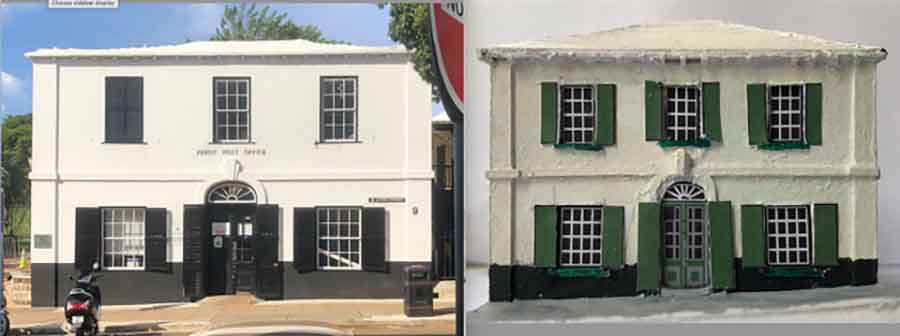
The structure I chose to start with is the Perot Post Office, which is famous because the Postmaster created Bermuda postage stamps – one of only two instances in the history of the Empire.
The drawing is the result of taking photos on site this last November and combining them with GIS parcel information available from the Bermudian government.
I’ll be doing more structures as time allows.
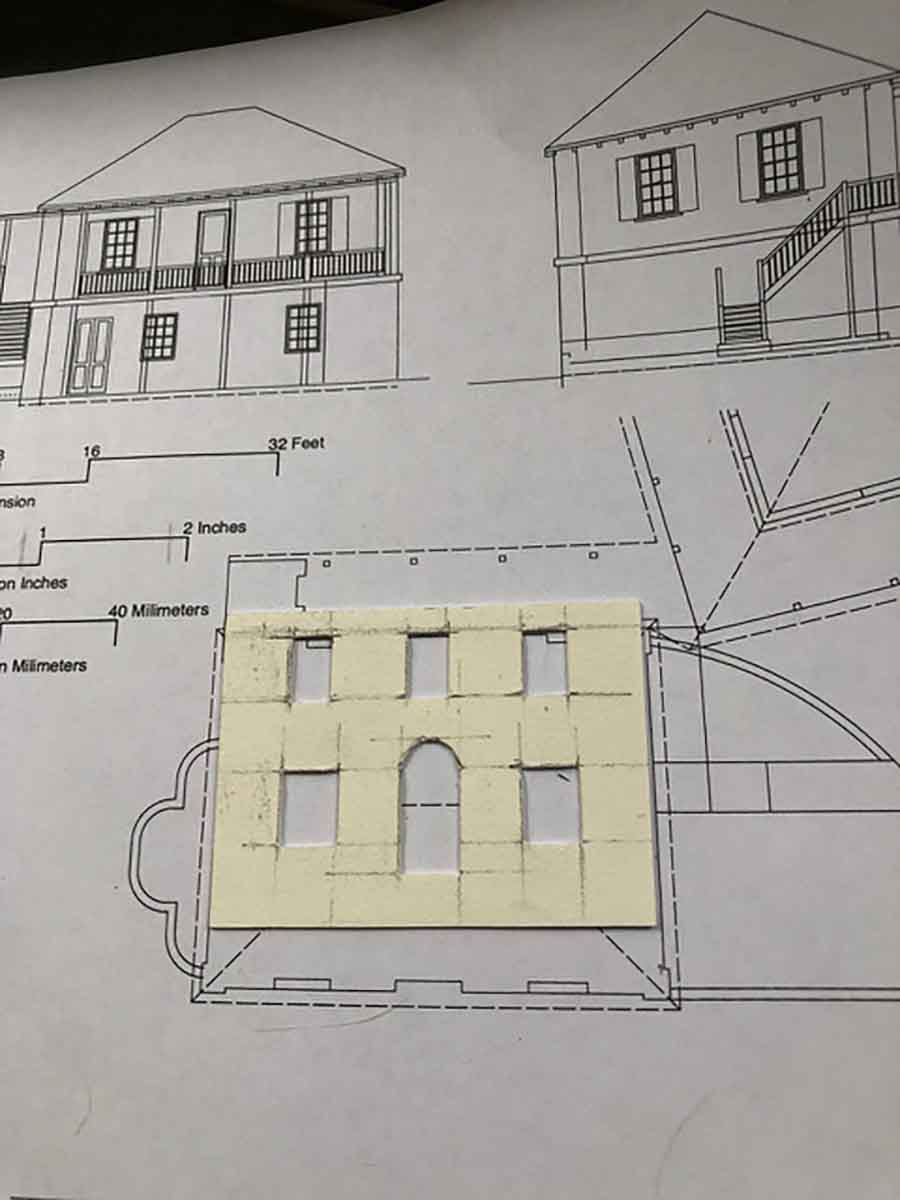
The model is done with Bristol board which has a thickness of about 1 mm, which translates into about 6 inches in N-scale.
The posts in the model are 6 x 6 in scale, then. The tolerance for the build is about 1/2 mm, which is the result of the board, the thickness of the pencil point, and the knife.
I learned a lot during this two week build. I need to get a knife with a finer point to cut cricles, and I need to control my glueing to minimize residue. I need to buy new gesso (the jar I used is more than a year old).
Same deal with some acrylic paint that I wasn’t able to scrape it off when I was too impatient for the art store to open. Net result is a facade that’s lumpy.
The windows, shutters, and doors are colored and ink jet printed. I did the railings by printing on translucent address labels.
I’ll be tackling the build for the stairs when I take on the next structure. I have an idea how I can do it with paper thinner than the Bristol that’s cut and folded.
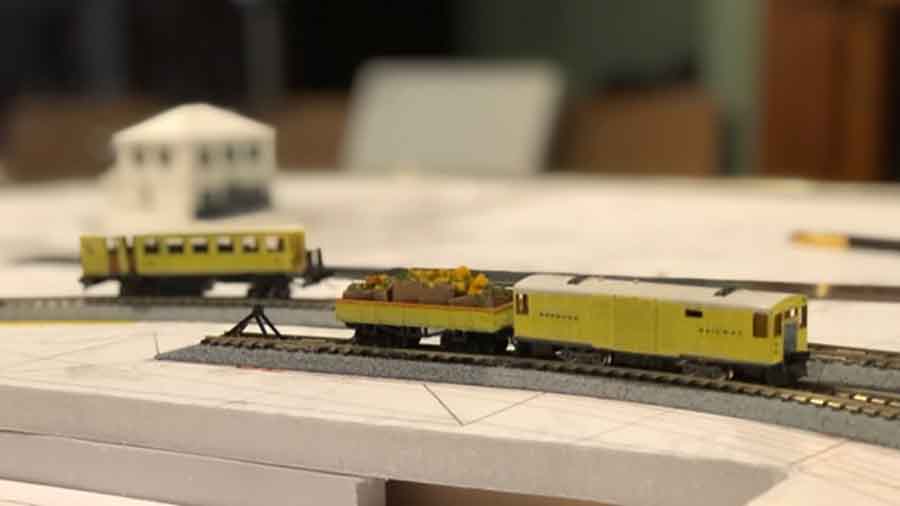
Here are the BDA1.0 builds on the BDA3.0 layout. They run great.
Next step will be to create the roads my using corrugated cardboard.
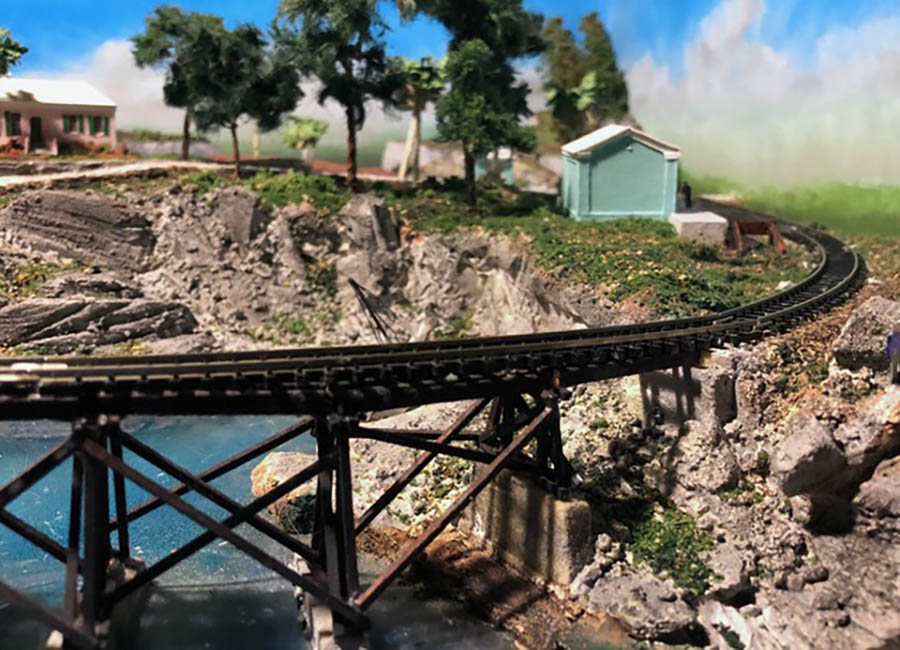
After that, I’ll start building another trestle using the jig I created for the one on 2-1/2 acres.
Best
John”
A big thanks to John for his KATO Unitrack system railway update.
His last post is here – the pic below also links to it.
I do love seeing how you all create your layouts. There are so many different approaches – there’s no right or wrong way.
Do you know what I also love? People making a start!
That’s all for today folks.
Please do keep ’em coming.
And if today is the day you decide you’re not missing out on any more fun, the Beginner’s Guide is here.
Best
Al
That’s all for this time folks.
Please do keep ’em coming.
And if today is the day you get started on your layout, the Beginner’s Guide is here.
Best
Al
PS Latest ebay cheat sheet is here.
PPS More HO scale train layouts here if that’s your thing.
Need buildings for your layout? Have a look at the Silly Discount bundle.

John, another fine start! The Kato track connections are so well fitting and durable that you don’t really need to nail it down just a 15mm spot of the least expensive latex caulk under the ends of every second or third section will keep it from sliding due to vibration and pressure of the running trains will be plenty to secure it, and if you ever want to more a portion, a short warm water soak and a thin putty knife slipped underneath will free it. Leave the turnouts free floating.
I love Gatorfoam, it is designed for outdoor signage so it is completely weatherproof and will not warp. I am using a double layer lamination of 3/16″ Gatorfoam for building my 2 helixes on my n scale layout. Lighter, better, and easier to work with than plywood and needs no cross supports.
The Bernuda Railway ran along the spine of the island. William Kitchen’s father was instrumental is running the railway from it’s building. William Kitchen did write a book on the railway. Part of the book was published in a magazine. As for William Kithcen oversaw the building of boats at Mildand and Orillia in Canada during wartime. He investigated in Orillia where a Fairmile Boat had exploded.
John
Thanks for sharing your story & great layout. I cant believe you did it all by scratch and in N scale yet. Awesome.
Please keep us updated.
Alistair I have following your great blog for a couple years. Great job
I was approached by members of the local pop Lion’s club that inherited a train layout (O and ho gage)
Their mission is as follows:
We (Lions club international) Have a Plan
We have a long history of serving the blind and visually impaired, and remain committed to continuing this mission into our next century of service.
Our Strategic Objective:
Prevent avoidable blindness and improve quality of life for people who are blind and visually impaired.
They would like to create a train layout for blind children
I thought maybe your great train participants may come up with some interesting ideas.
Some thoughts to consider:
Train scale O, HO
Sound bell whistles , trains running
Being able to touch and feels engine cars building etc
Running the train without derailing
Be able to magnify the scene for visual impaired not totally blind
Thanks for any information you all could go ge us
Droug in Maryland USA
That does look like the Bermuda RR I remember
John: Your work brings back a number of GREAT memories of the historic welcoming isle.
How ‘ bout something different : a request the next building you model would be the one on the corner, housing the Gosling “products” ?
Looks great.!!!!!!
That building is on my list, Tom!! The photos and postcards show that there were balconies on every floor at the time of the railway, plus a sign that says ‘Havana cigars.’
Wonderful work. Even though an architect, that alone does not make one a good modeler……but I suppose it does help some. It was not until I enlarged the photo that I saw that it was two views of the 3 over 2 and a door building, one being real, the other being a model. I like the model version better.
Keep us posted.
MN Dan
what is gatorboard and where do I find it. Thanks
This is a responance to John’s Bermuda Railway, your idea of using transparent mail labels is outstanding! every thing I have tried in cutting them out did not work, Thank You Wayne
Brilliant design and model work.
Hi, Leonard. Gatorboard is a foam board that has plastic faces instead of paper ones. It’s used a lot in the sign industry, and it comes in two thicknesses. I used the thicker one, which is 1/2 inch. If you google the word, you’ll get to their website. You can also find it at art supply stores.
love the model work. those buildings are more fun to make and build than the plastic ones arent they. very nice job.
Nice building design, great work.
Excellent detailed tutorial! I learned some great info from this post, such as “gaterboard” & building structures. (Thank you) I’m strongly considering the Kato track system for a larger HO layout to save lots of time and light weight portability. I have used Kato in N scale and love it! It is sturdy, smooth running and easily blended with Atlas or Peco sectional snap track as well, for custom configurations. Thanks again for this information.
Aah hah. Brings back memories. My wife just told me we need to refresh our memories with another cruise (out of Boston) to Bermuda. Now across the street from your train station is a two story building with a restaurant porch overlooking the street. Restaurant owned by a Scotsman. On the corner (to left) is the Gosling liquor store. Up the street, take a left. second office on left is daughters branch insurance office. On down that back street and across it, grocery store. Oh Yeah
Time to go back this spring. Youve got some historic buildings to copy
Very intricate planning , incredible scratch buildings , amazing that this is N scale , can’t even imagine such a task . Looks like I great start , please keep posting your progress . Your other Bermuda n scale layout has always been inspirational , really keen on that particular layout , it’s seemingly simple but upon closer look it’s full of imagination and superb detail . Very impressive indeed .