Don’s been back in touch with his Atlas flex track layout.
I remembered him from his last post because of he sent in some real pearls of wisdom.
You can see his last post here.
Now here’s his update:
“I should bring people up to date.
I had built a layout in a 15×15 ft room in our condo. I tried to use parts of the layout I had started in the basement of our house before we moved into our condo.
To make it fit I had three access lifts. It also covered the window. I lived with it for two years until my wife decided that we needed hardwood floors.
I took it apart and was able to save about 30% of the layout. These parts I mounted on casters so the installers could put in the floor.
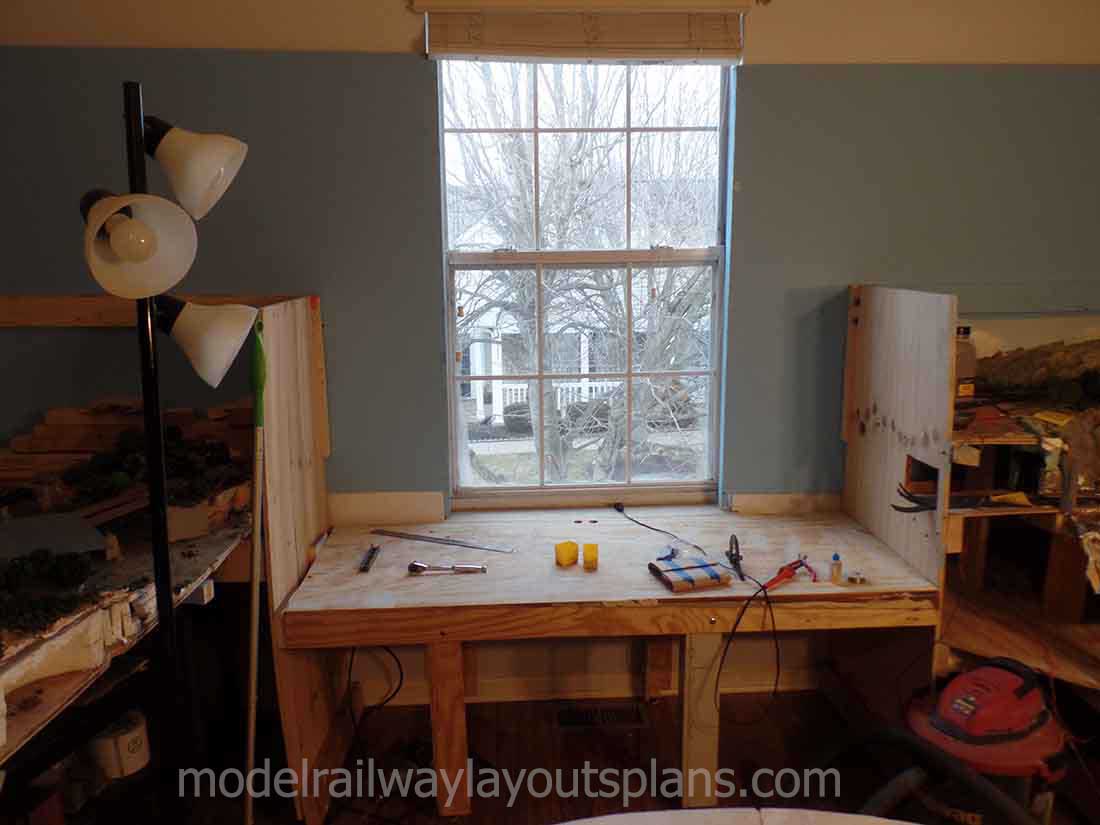
It has three features: no lift outs, a window view, and two levels.
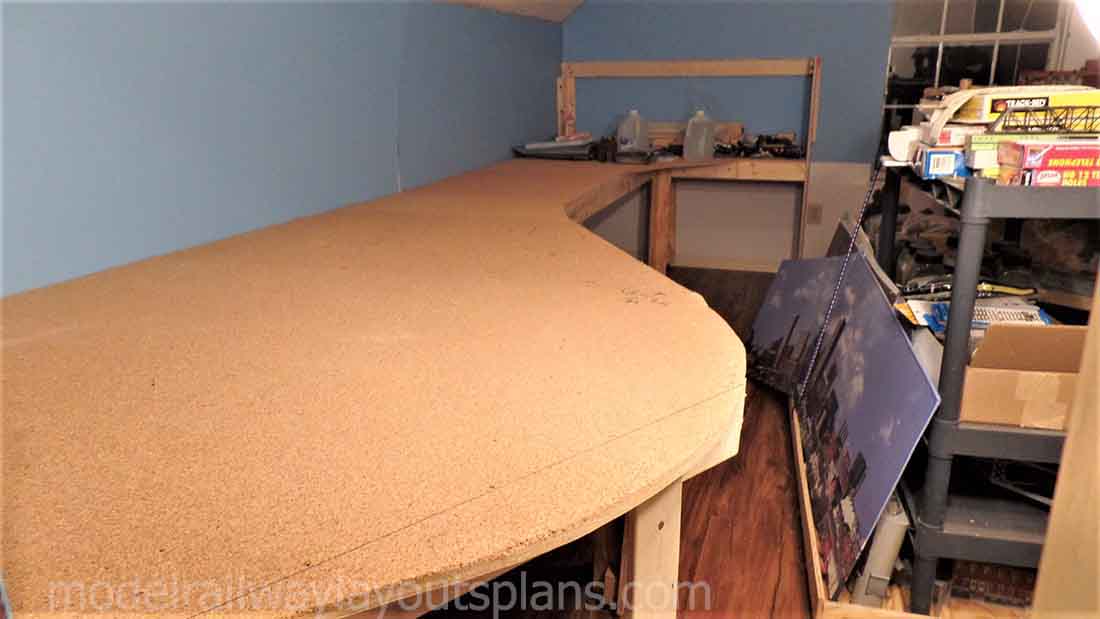
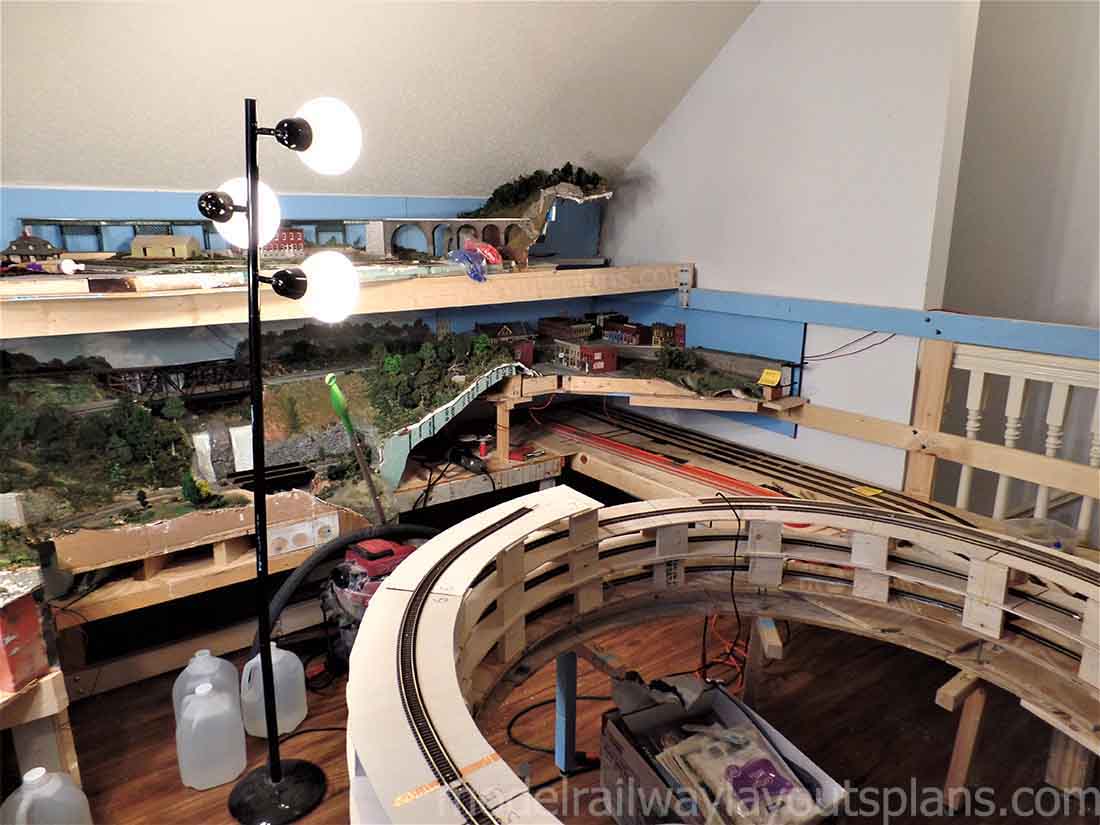
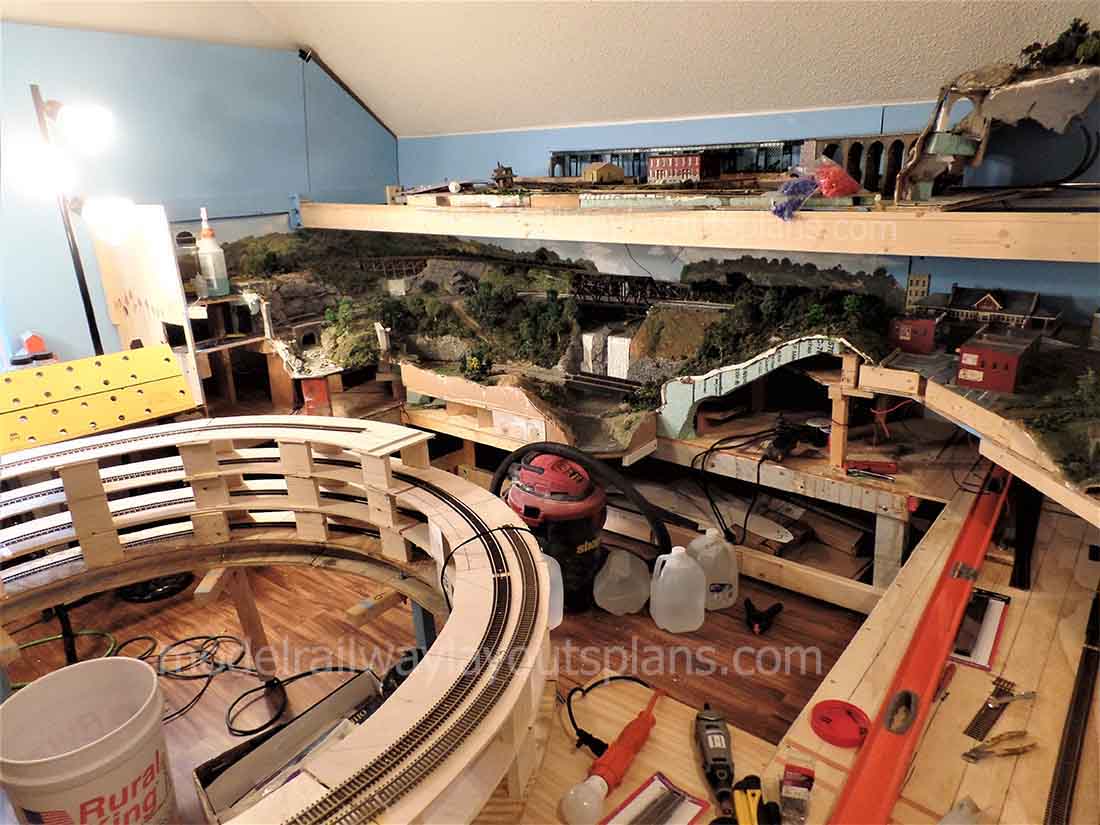
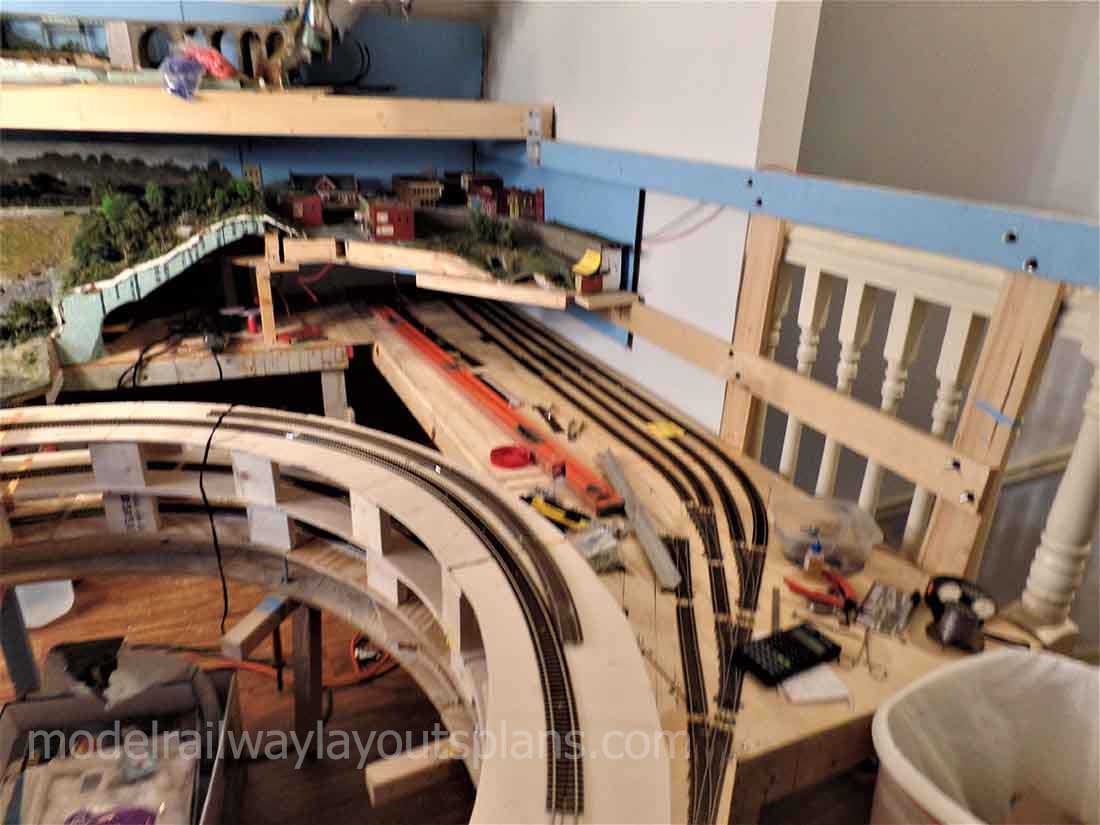
The first photos show the new loop on the southwest wall.
It is covered with cork 4×8 sheets from Ebay. There will be a similar loop 20 inches above. The base has odd angles to allow a drop in turntable. I used graph paper to get the proper oddball angles. Templates were then used to set the chop saw.
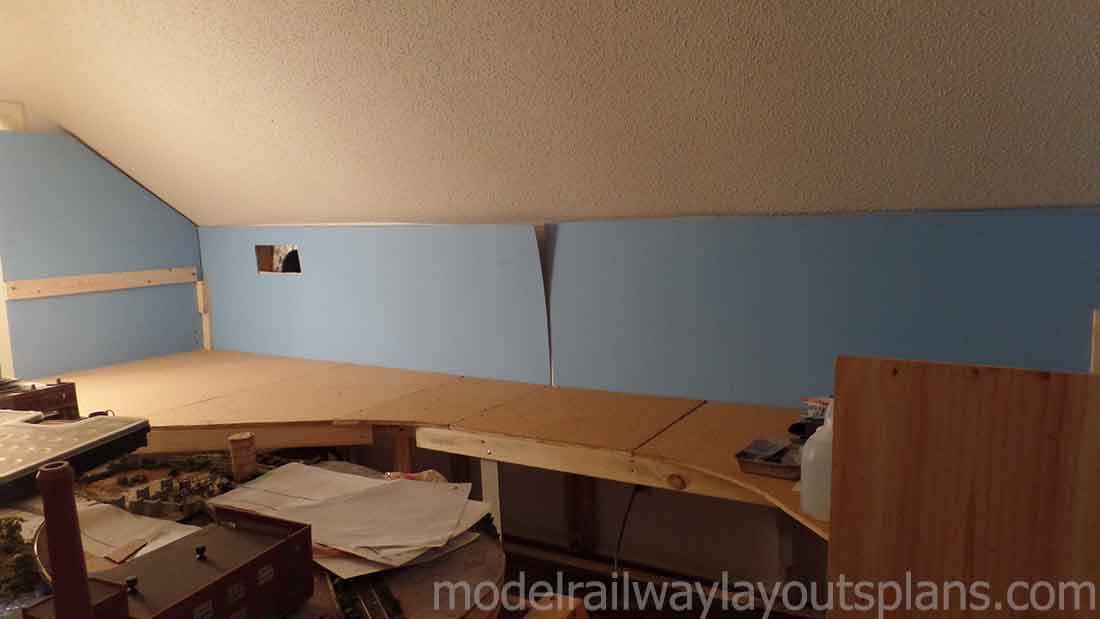
The next photos show what was saved from the old layout. The upper level is supported by 12 ft 1×4 L girders. The track of the old layout was glued down and could not be saved. I was able to cut it out because the plaster cloth did not stick to the base. I then glued luan plywood to the base.
The layout uses the new Walthers code 83 turnouts and Atlas flex track and rail joiners. Peco rail joiners didn’t work with Atlas track.
I used #20 nails to mount the track. I used #O Brass screws for the turnouts and in the helix.
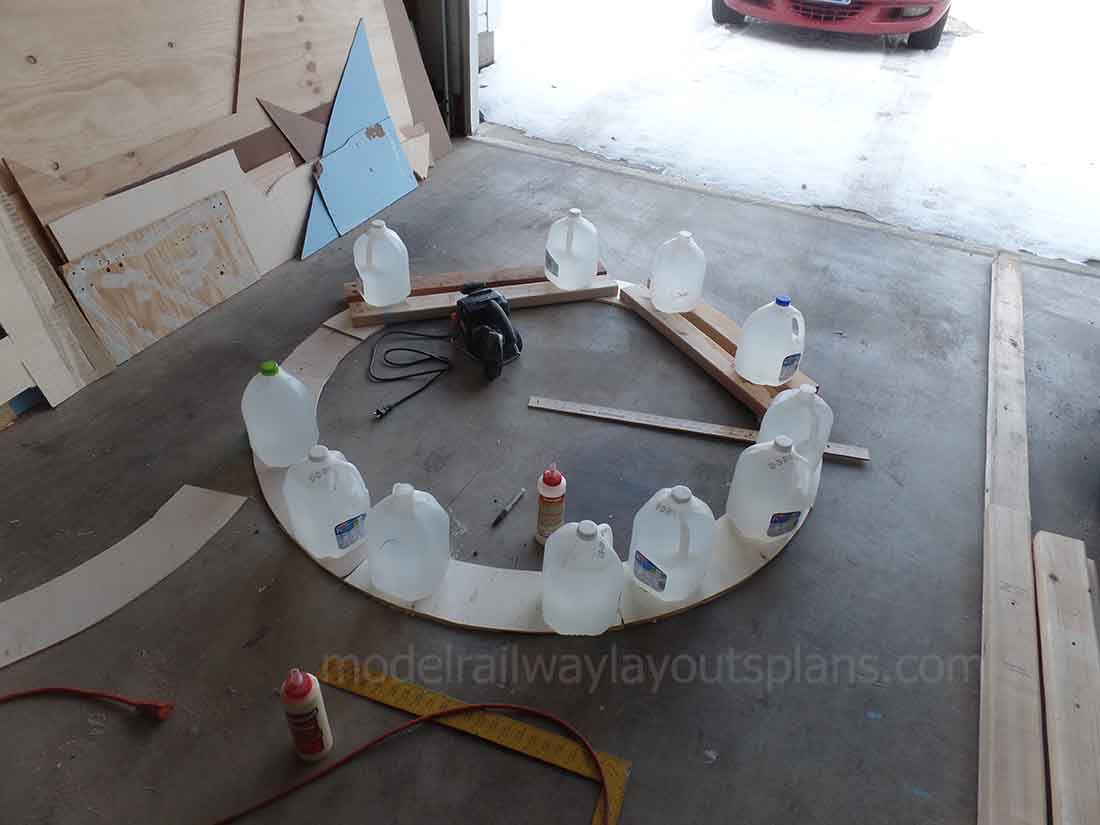
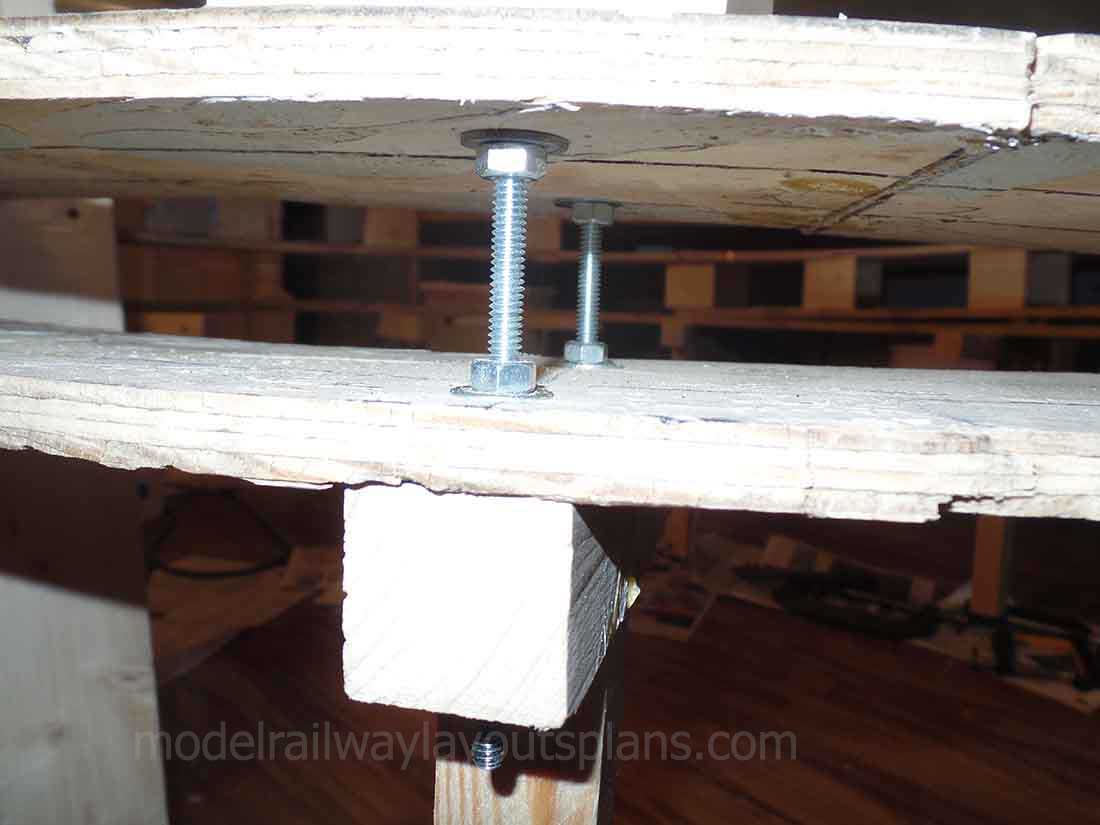
The helix is 5 ft with a 27 inch radius track. The base spline is 1/2 inch plywood. The grade was determined using adjustable lag screws as shown. The spacing was set with spacers.
I took 1×4 by 8 ft boards and ran them through a table saw to make it the proper width. The chop saw was used to make 3 inch spacers.
By cutting only one edge it was easy to determine the top edge. If you decide to make two smaller cuts, paint the top and bottom cuts so you will know the orientation after the chop saw.
This made 32 spacers per board and I cut seven identical boards. The upper levels were luan.
This helix goes from staging to the main level. A second helix will go to the upper level
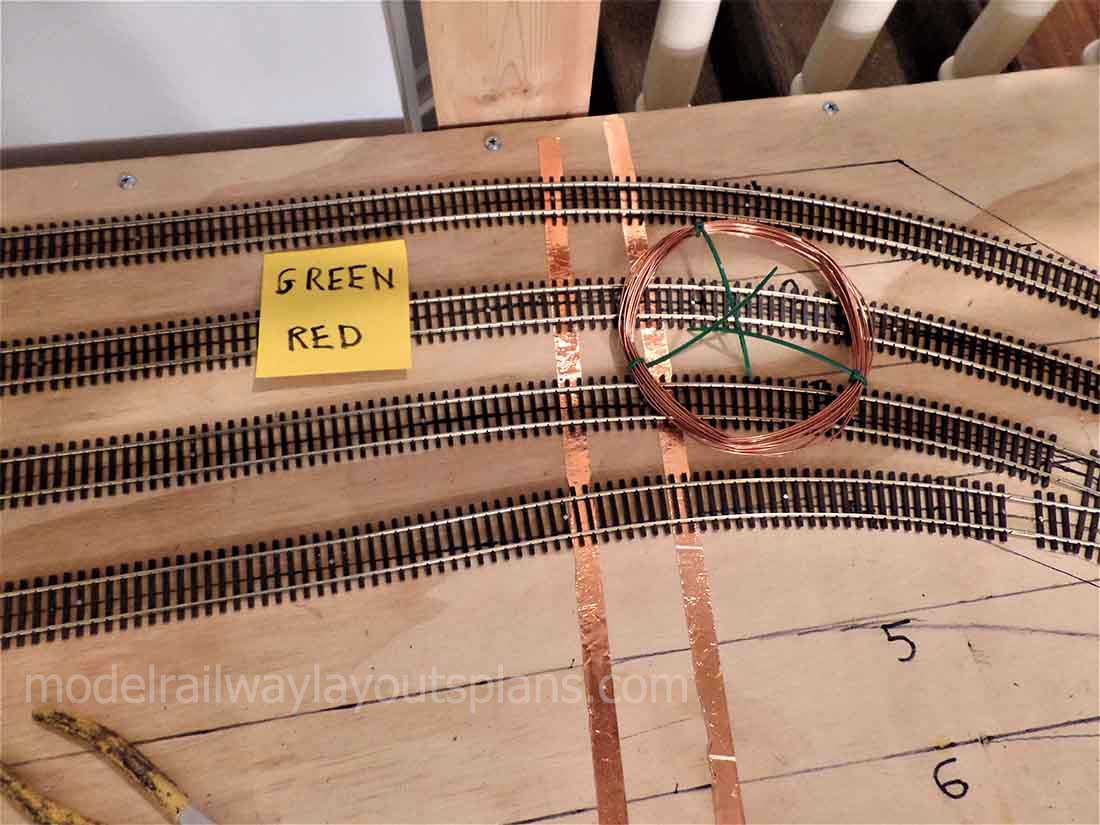
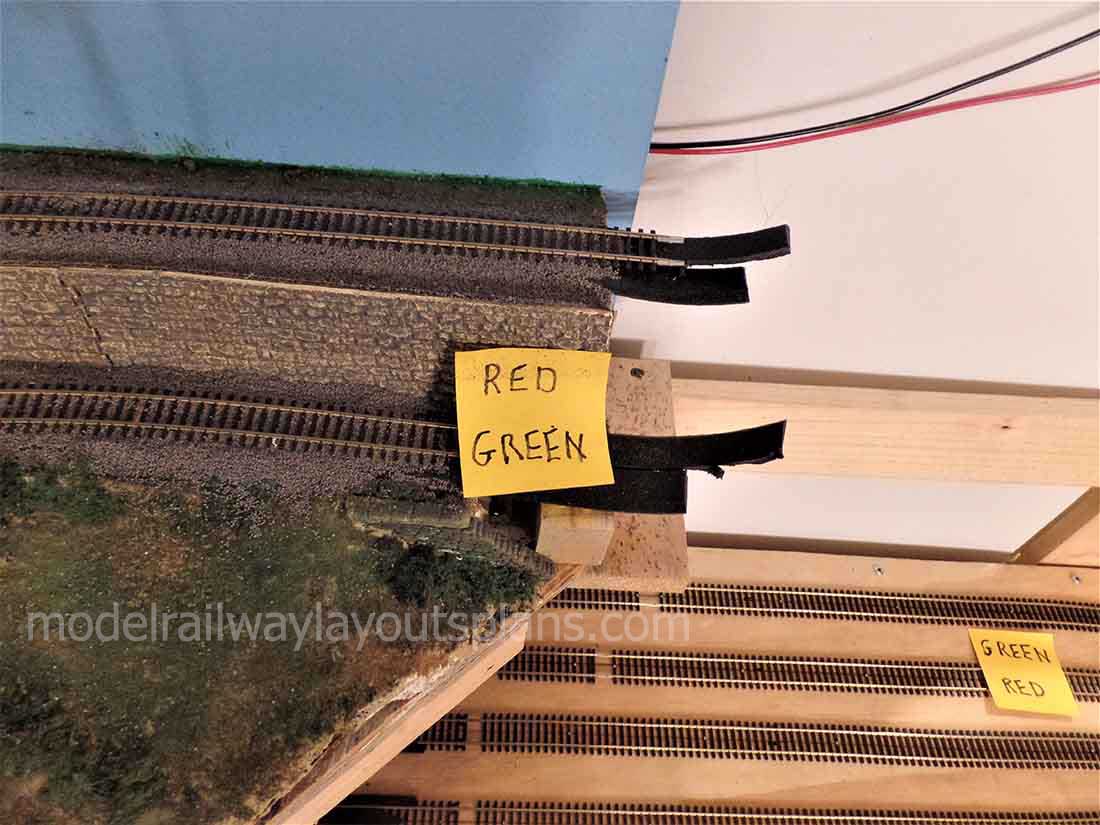
The window will be clear other than bridges. The new staging yard will have nine tracks. 1/2 inch Copper tape was used extensively.
Don”
Track was connected with copper wire. 16 gauge wire was soldered and fed under the layout and connected to the 14 gauge bus with Quick splices (suitcase connectors). This cuts down on many under table connections. Post It was used to keep track of polarity.


A big thanks to Don for sharing his Atlas flex track layout.
I always get mails when I show a layout like this, asking, “Why show a half finished layout?”
Well, for me, it’s all about making a start and getting stuck in. Because without that, there are no layouts, and worse, there’s no fun either.
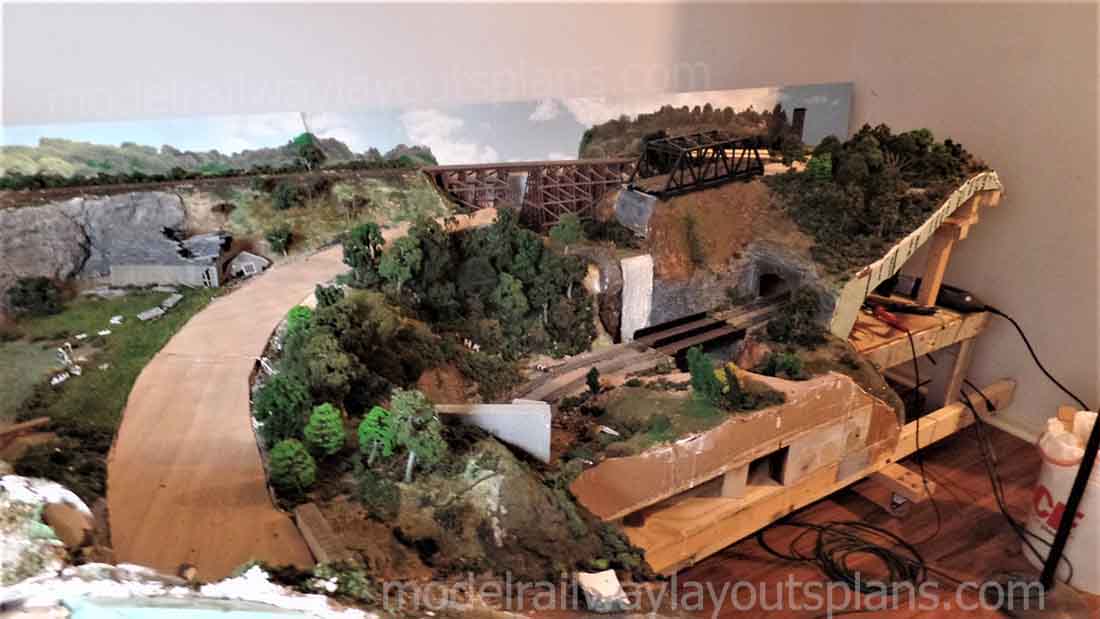
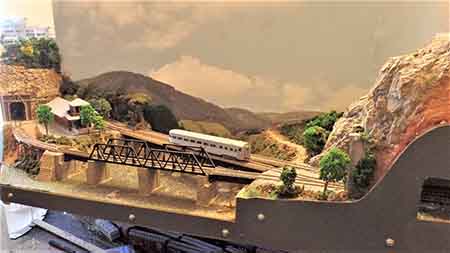
And besides, you can see Don’s ‘finished’ layout in his last post.
Don’t forget to revisit it, you can find it here. There’s some solid advice and great pics before the big move.
Here’s a pic of it too:
Here’s another Atlas flextrack too: Atlas HO Flex track.
That’s all for today folks.
Please do keep ’em coming.
And if today is the day you poke boredom in the eye, the Beginner’s Guide is here.
Best
Al
PS More HO scale train layouts here if that’s your thing.
Need buildings for your layout? Have a look at the Silly Discount bundle.

Don
Let us know how the Walthers turnouts made out and what you did for the motors and switching. I commend you on your planning and fitting in a complicated scheme. Keep us posted,
Train Nut:
If you are one there is no explanation necessary.
If you aren’t one, there is no explanation possible
WOW! Very cool.
I am on the procrastinator side of the fence, waiting to the return plunge. I think that This is quite simply, a super fantastic layout, no matter what stage it is in.
I have been intensively planning for three years now, from “project” to “project”. A project is simply a diversion of my attention for a period of time. I spent three days, off and on, painting 87 HO seated figures for my passenger trains. A day was spent cleaning up and painting 5 antique water towers that I bought on eBay. I will likely sell three of them as extra stock and recover some monies spent. I have had some projects that were months long, like assembling my first Penn Line or Bowser L-1 locomotive kits.
When the day finally arrives, very likely in 2023, and I move over to the built side of the fence, I can only aspire to be half as thorough and talented as the many contributors to this fine group. I have personally benefited greatly from seeing all the countless approaches to model railroading at all stages and levels of abilities and imaginations. I can’t begin to thank you all for the opportunity to learn and share! I study almost every photo to see the minutest of details that have been placed in your layouts.
A super big kudo goes to Al for bringing this together and making it all possible for us to exchange and share here! Best to all always!
I would like to see how any of you have sceniced a helix.
I’ve looked at many helix’s and often wondered why nobody has built one with a center post and arms sticking out to hold the roadbed? Anyone ever try that?
Always good to see early pics of benchwork, such an important foundation, literally or a layout. Worth the time and effort and not as hard as you think. Key being… patience.
Very creative in a relatively small room, Don. Excellent use of the available space. Great project. I see glimpses of your back scenes emerging and from what I do see, I am certain that this layout will be a marvel of engineering and running. Bravo, Rob
very interesting.
Sorry. You lost me on using the table saw to cut the wood and cutting the spacers with the chop saw. Knowing witch end was witch. it went over my head. Loved to see it done.
If it weren’t for these daily, uplifting emails, life could really beat beat me down. Thanks for providing this diversion from life’s travails.
New design Walther switches are excellent electrically. There was one problem I encountered. They have spring loaded throughs. A couple of the springs popped out and are almost impossible to reinstall. First open the package carefully or you may have parts in your hand. If you are using switch machines this may not matter but I leave the springs in anyway. As soon as the switch is out of the box I super glue the spring cover. An ounce of prevention. I am nearly done with the section in pictures 1-3 and will send new pictures in about a month. As I approach 80, I will give ways I have found to save money and my BACK.
Great layout and the helix work is spot on!
Don, what you have achieved so far is excellent. Keep us informed of your progress please.
Alastair- keep them coming.
Brian the HOn3 guy from Knysna