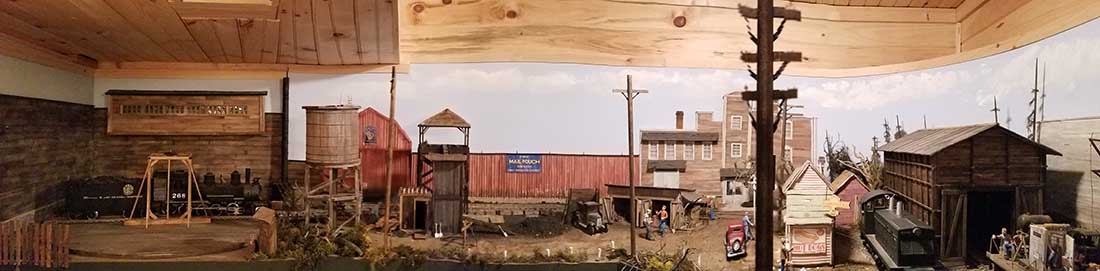
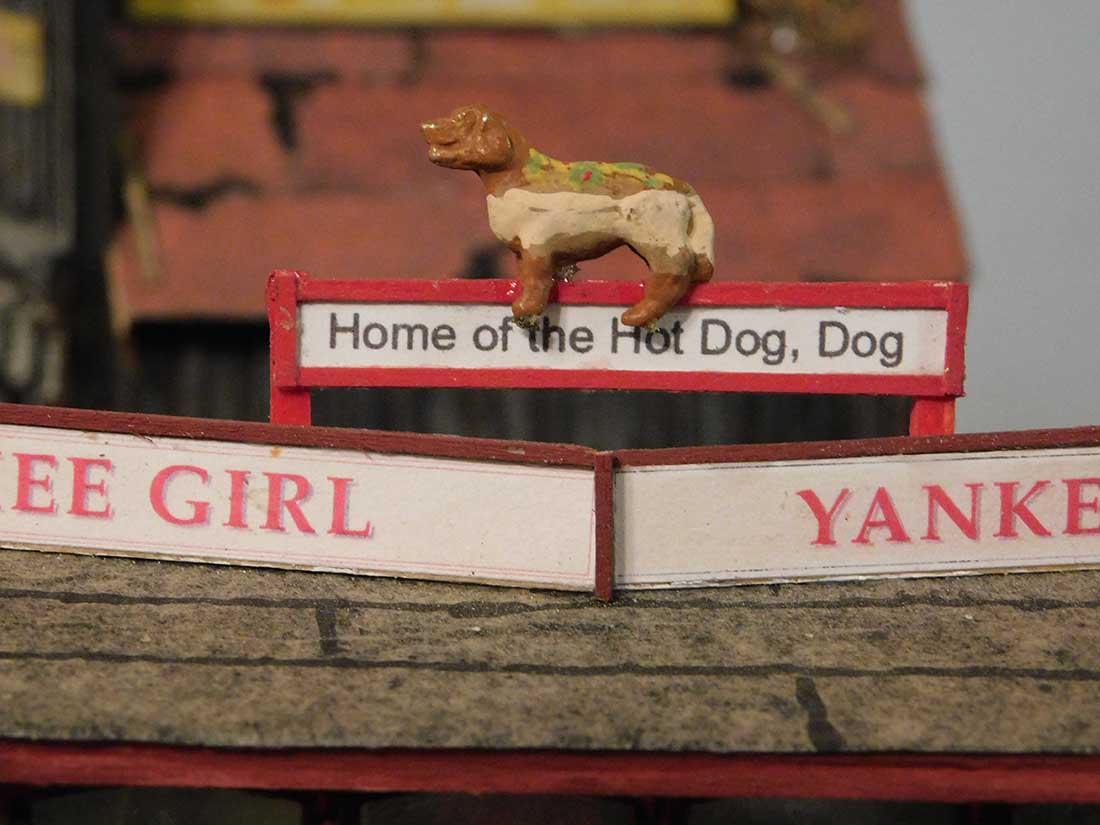
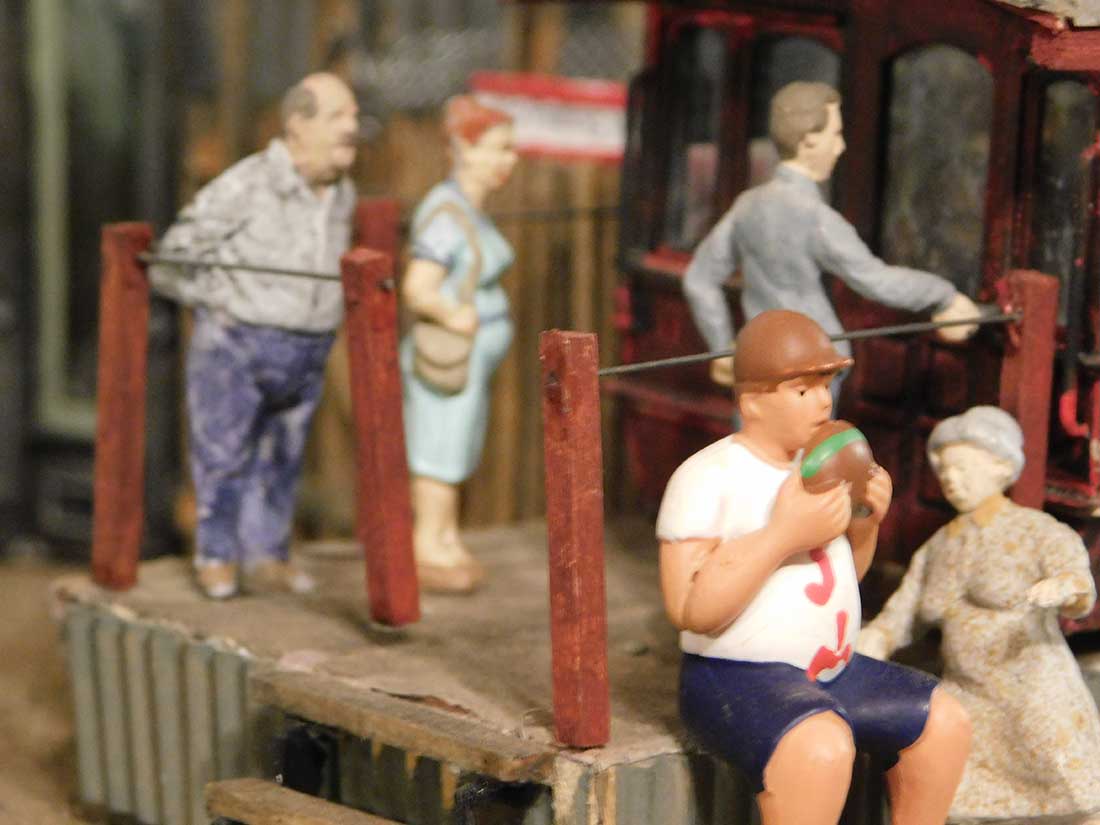
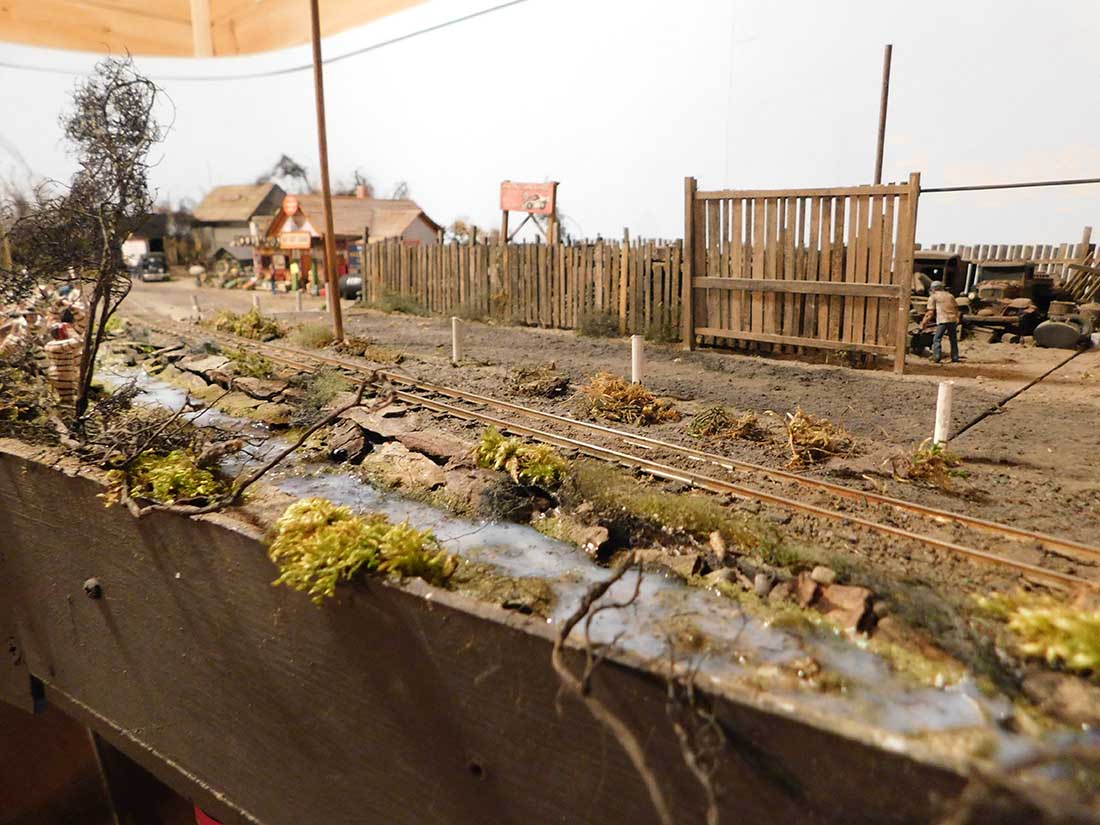
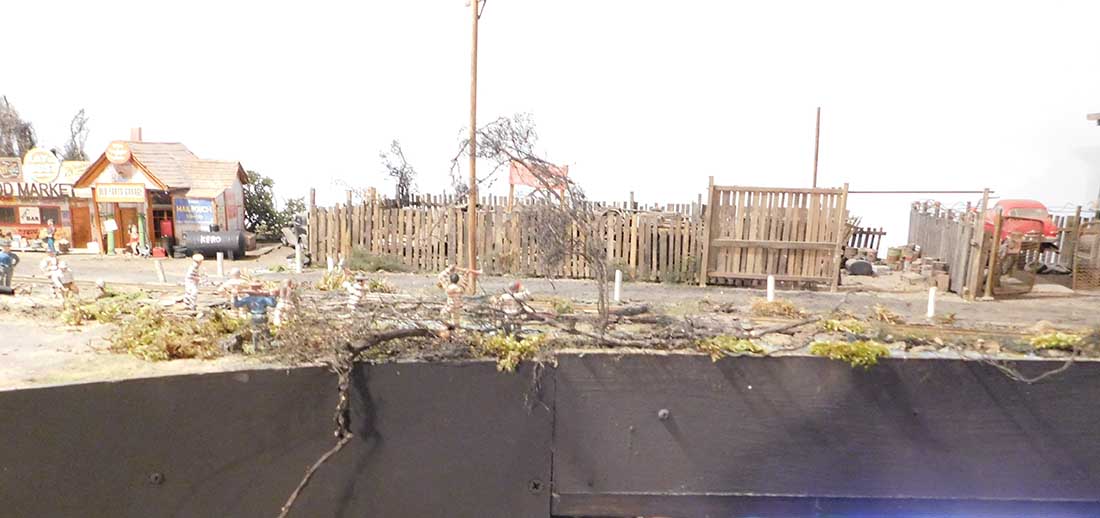
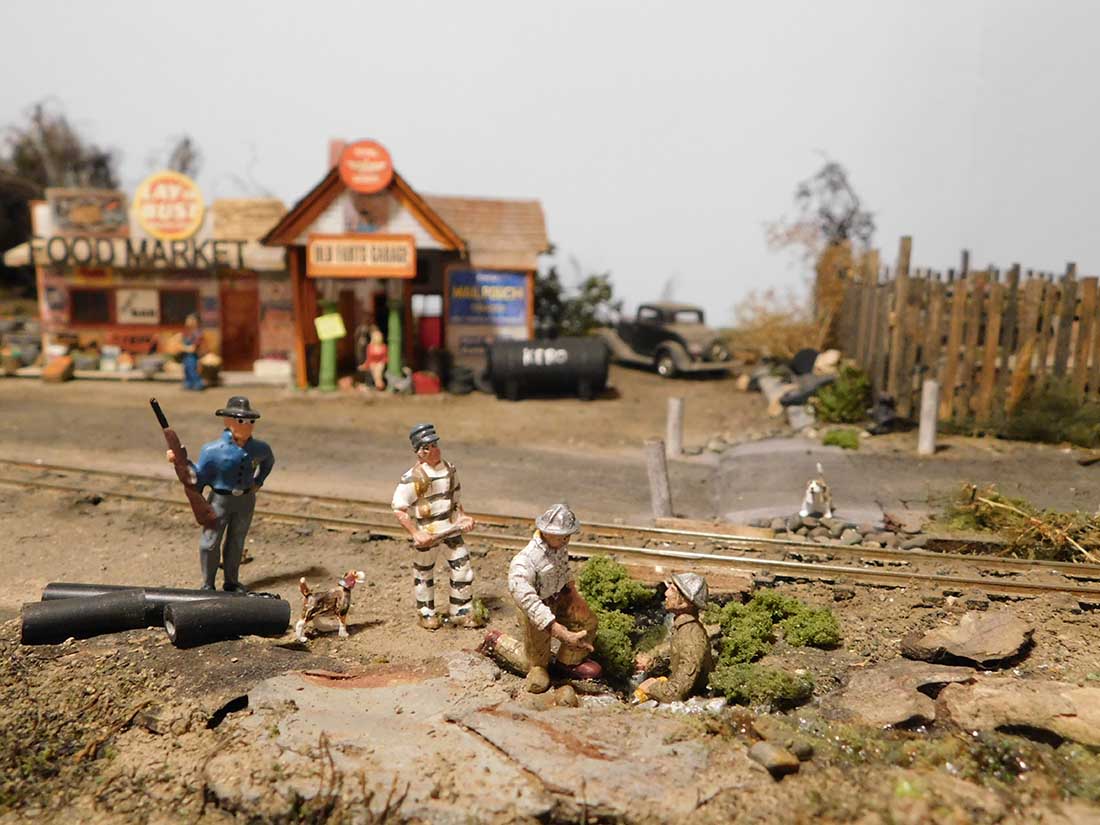
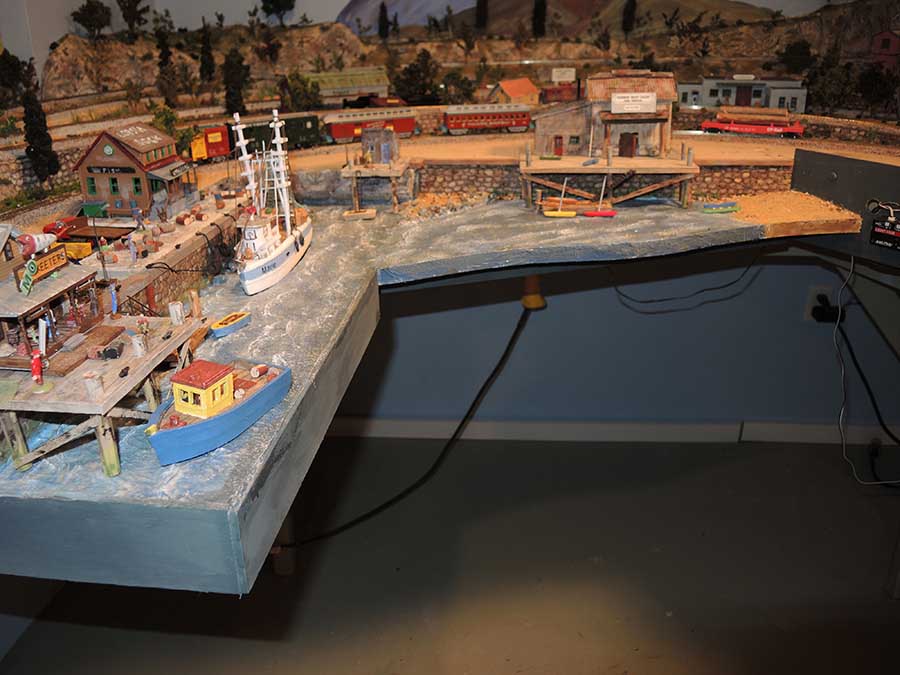
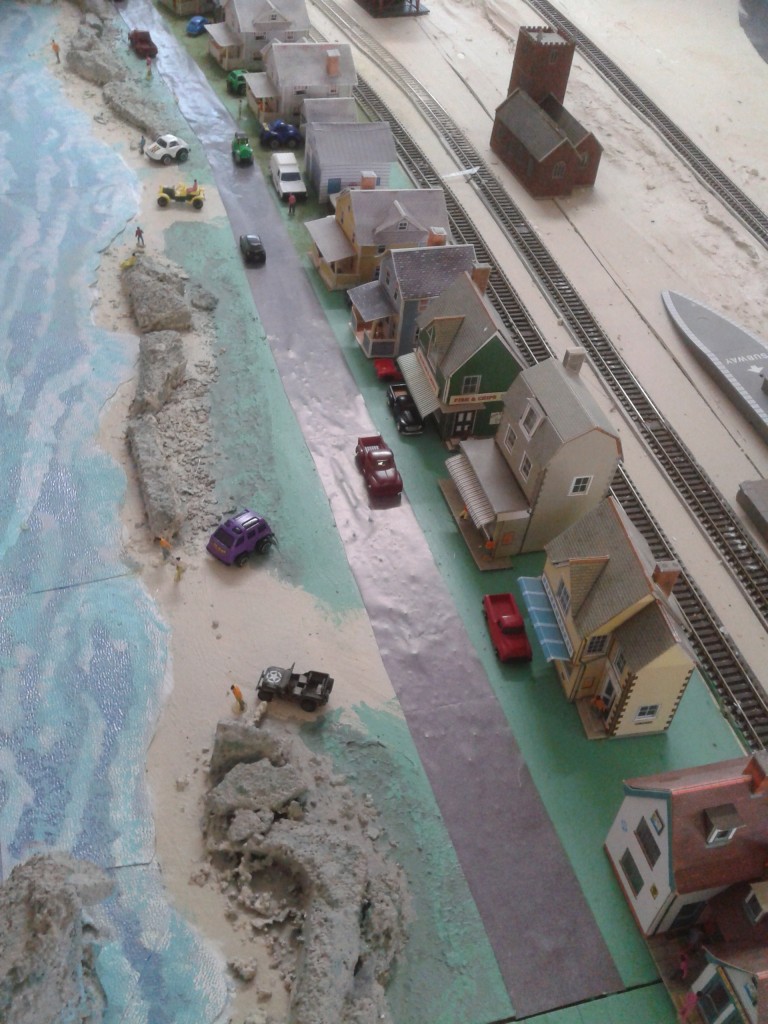
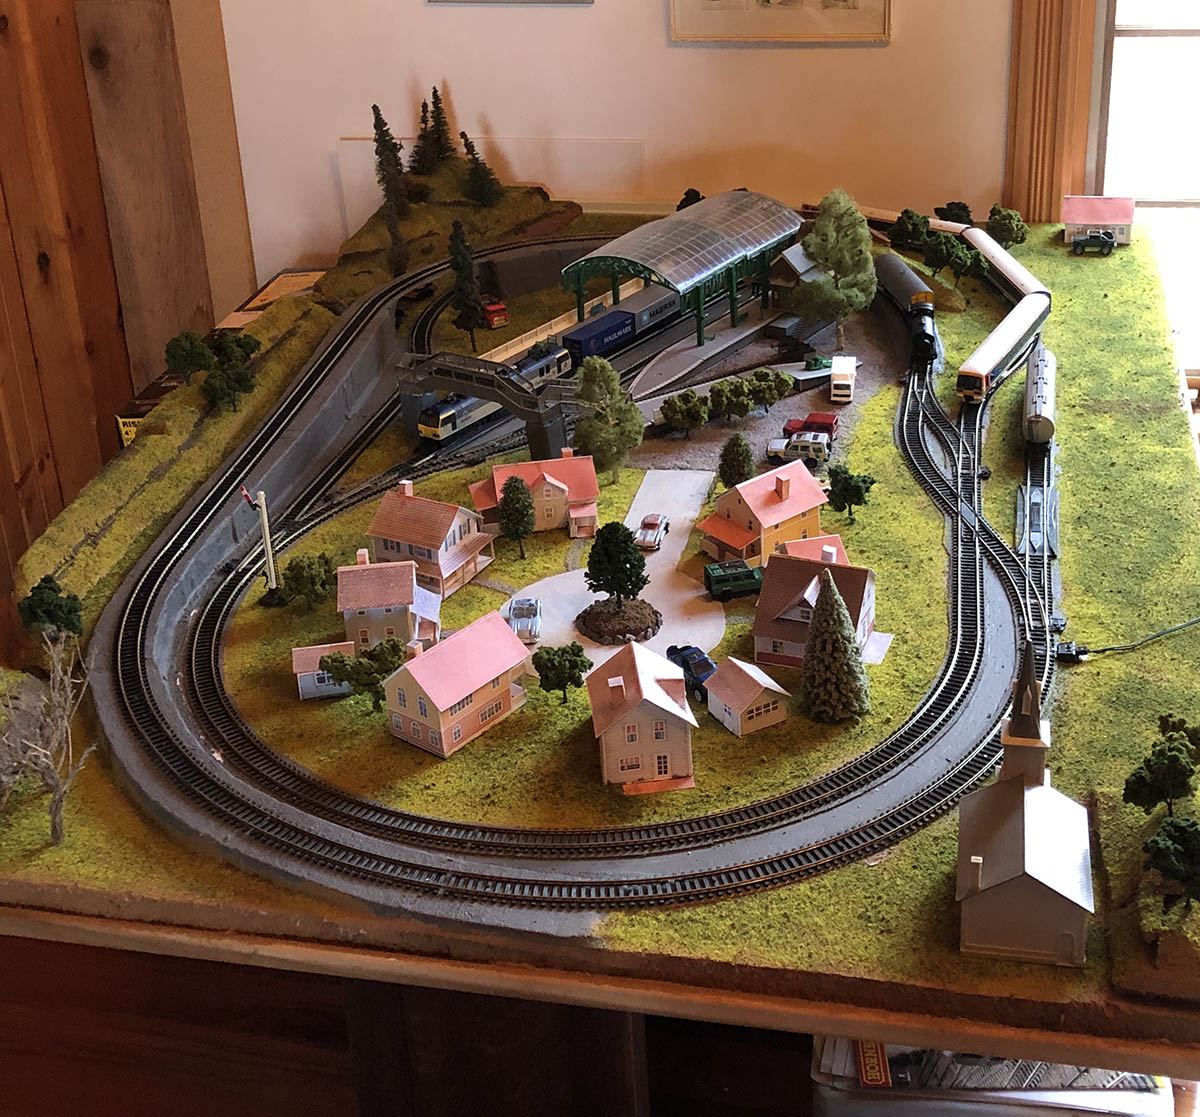
Tom’s been back in touch with his stunning On30 layout.
I think you’ll recognise it as soon as you see it.
Well, have a look at what he’s done now:
“Thank you all for the great comments you have made.
Will have shot of my On30 layout soon, while not complete it is now 99% done and I will try to post the latest sections on this site.
Should anyone be traveling in the Syracuse NY area please look me up and you can have a tour of the layout.
This I’m afraid is the last of the Narragansett RR, age has caught up with me, I’m proud to say that I have been in Narrow Gauge Gazette 3 times, twice in MR, twice in MRC and many other publications.
Tom Pres. CEO and mostly Janitor Naragansett RR”
A huge big thank you to Tom for sharing his stunning On30 layout.
Some layouts just have bags of character and this is certainly one of them.
Hope you enjoyed his pics as much as I did.
That’s all for today folks.
Please do keep ’em coming – it’s still jolly rather quiet this end.
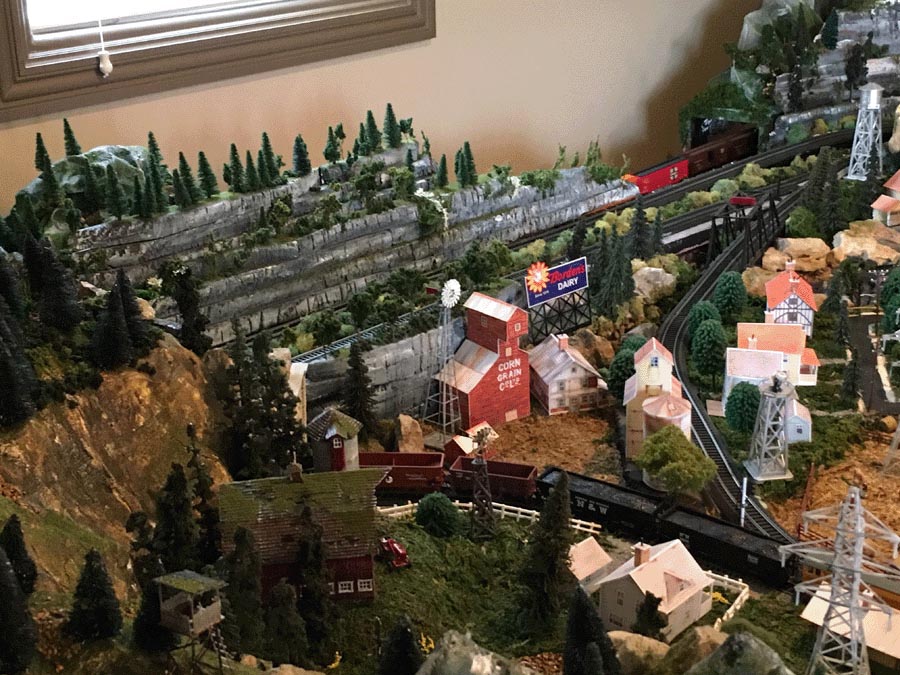
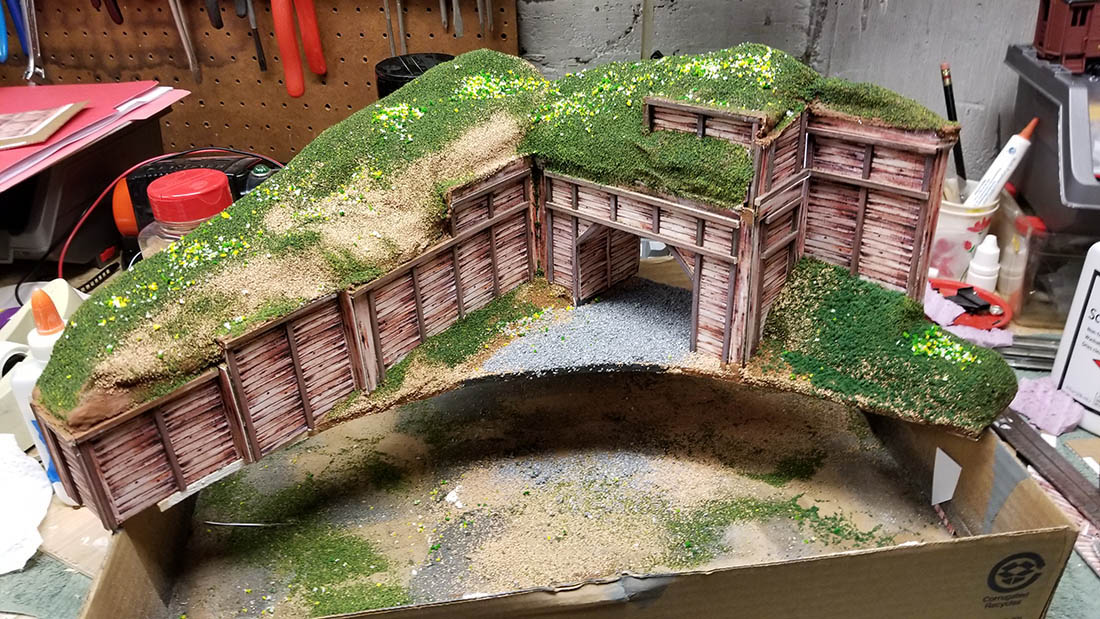
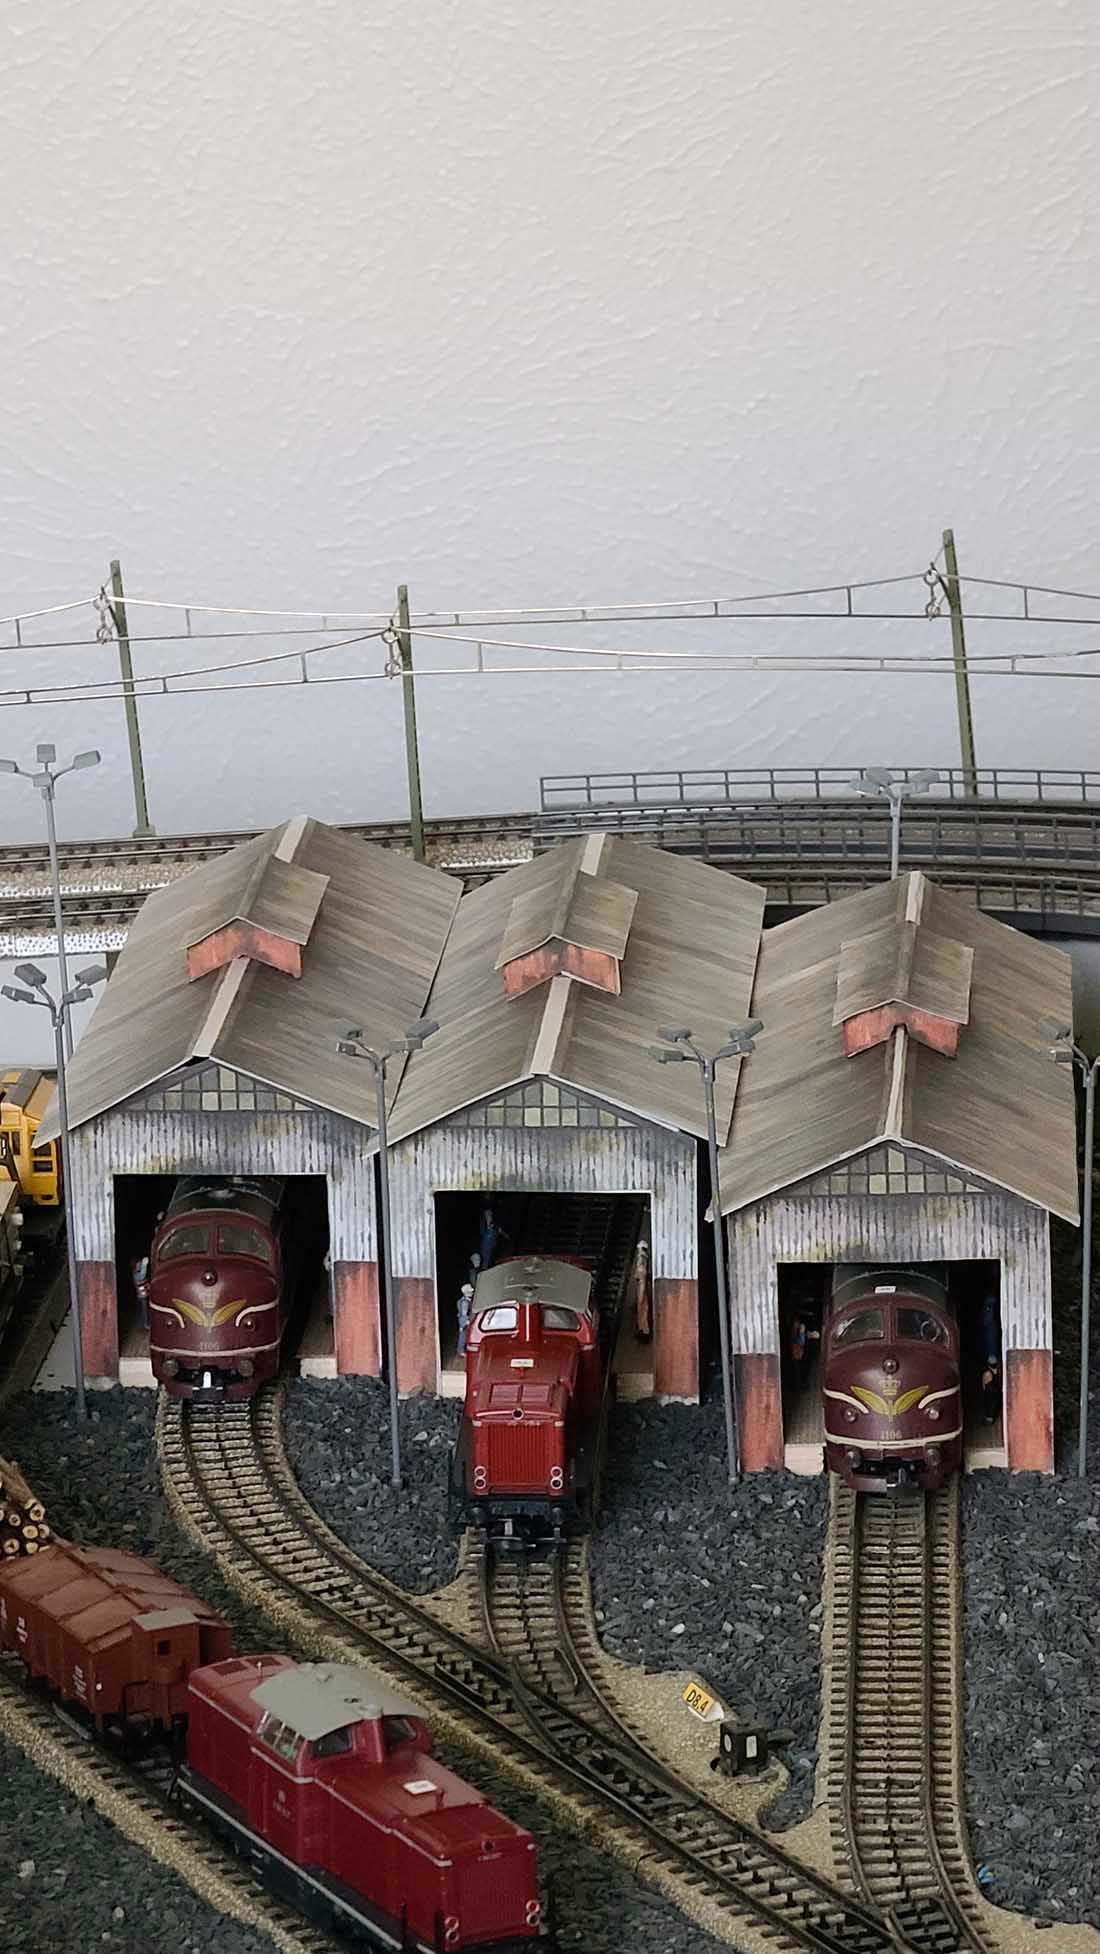
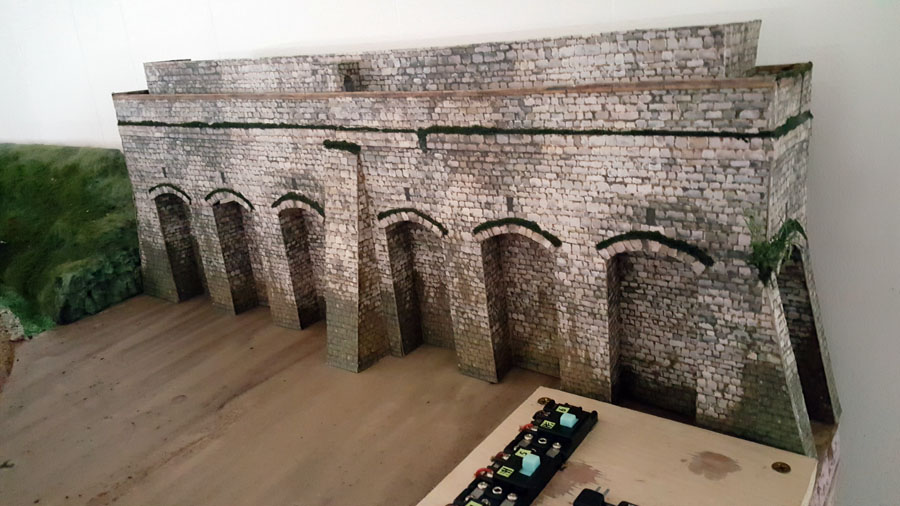
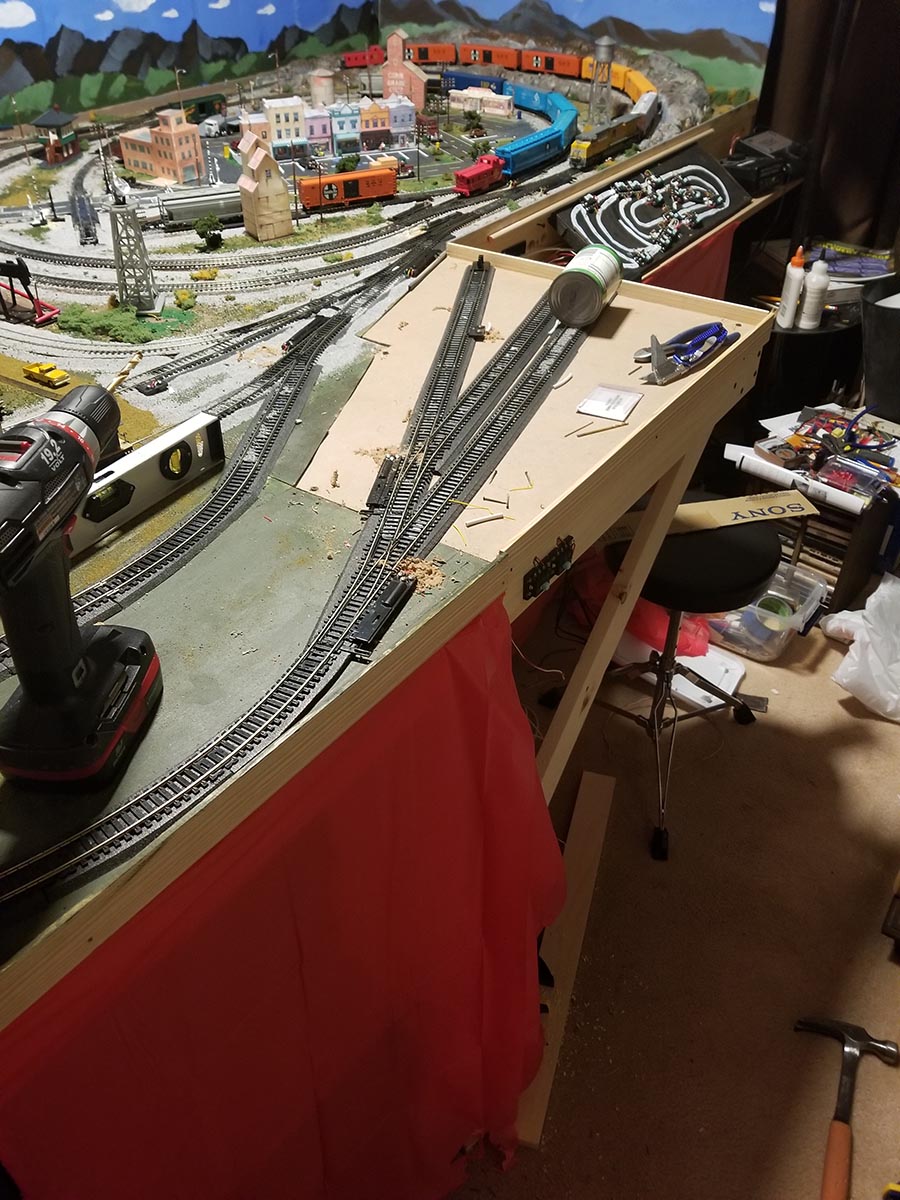
Dominic shows us what what happend when you scratch build a HO scale trestle bridge. What a layout!
“I started this project 4 1/2 years ago when I relocated to Michigan and bought a home with a basement and much more room than I originally had.
So I had a 12×24 HO scale area in the basement to do something with, as long as I didn’t take away from my wife’s storage area. A much larger area than my original 4×6 layout.
So with some planning, but with no particular track plans in mind, and wanting a little bit of everything, it was a plan as you go project in the making.
And this is what I’ve come up with so far.
It was suppose to be my winter project, but with the winters being so long in Michigan, it turned out to be my project 8 months out of the year.
The trestle bridges were all scratch built which was a challenge but the mission was accomplished.
Dominic”
And when it comes to posts on a how to scratch build a HO scale trestle bridge:
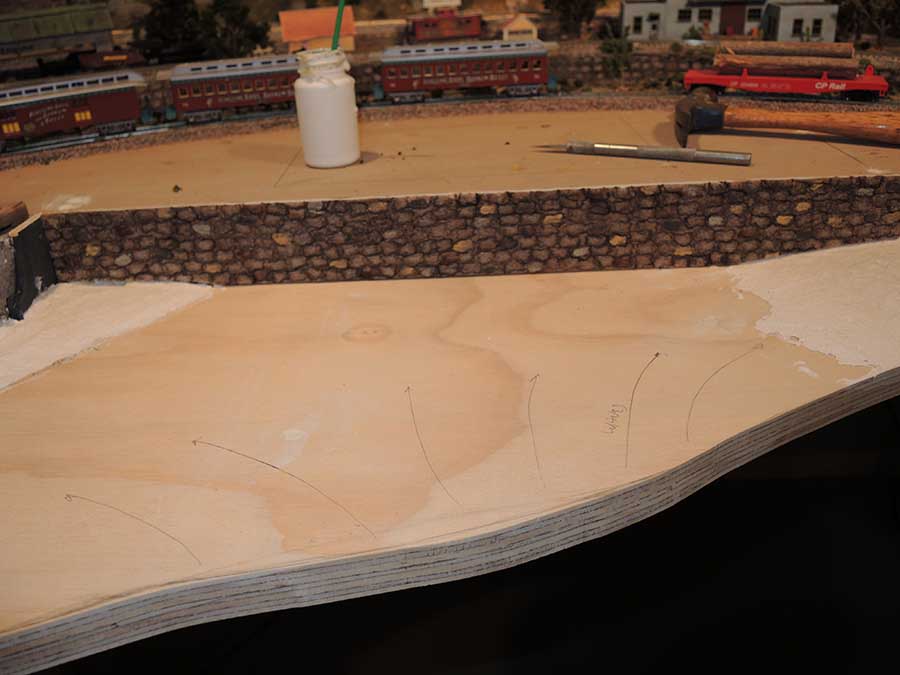
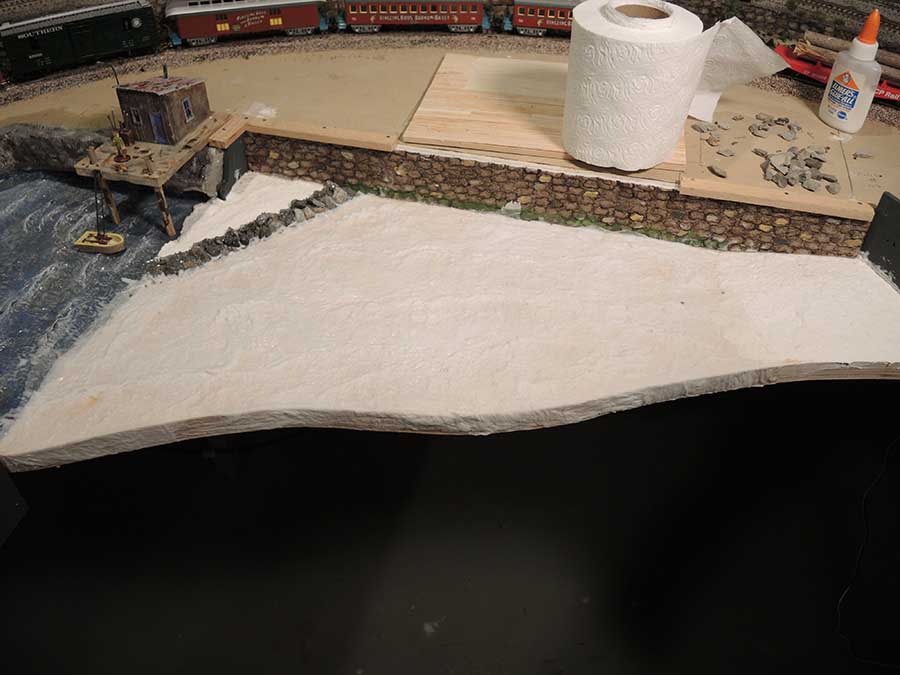
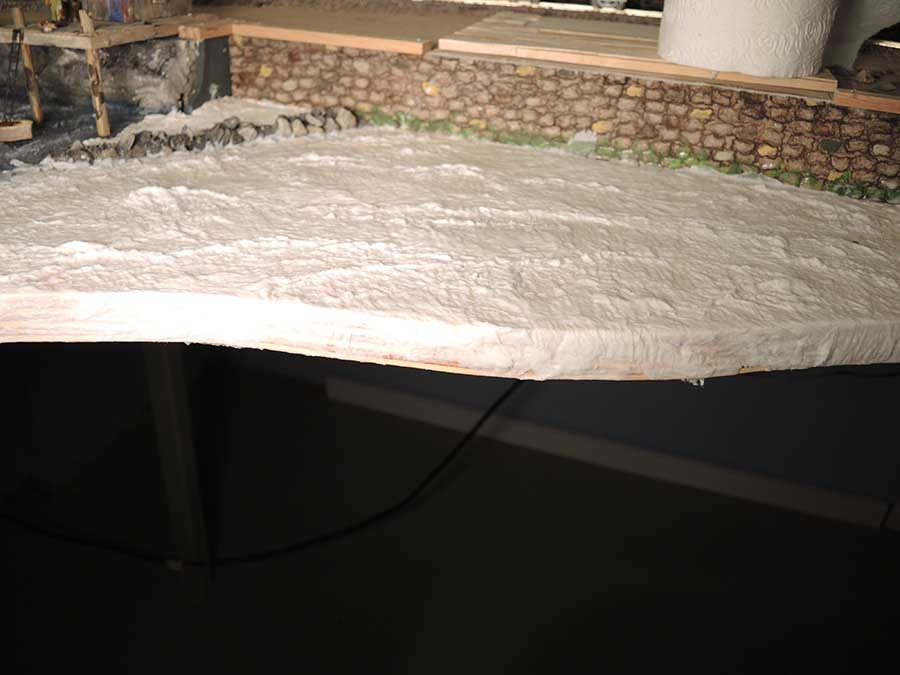
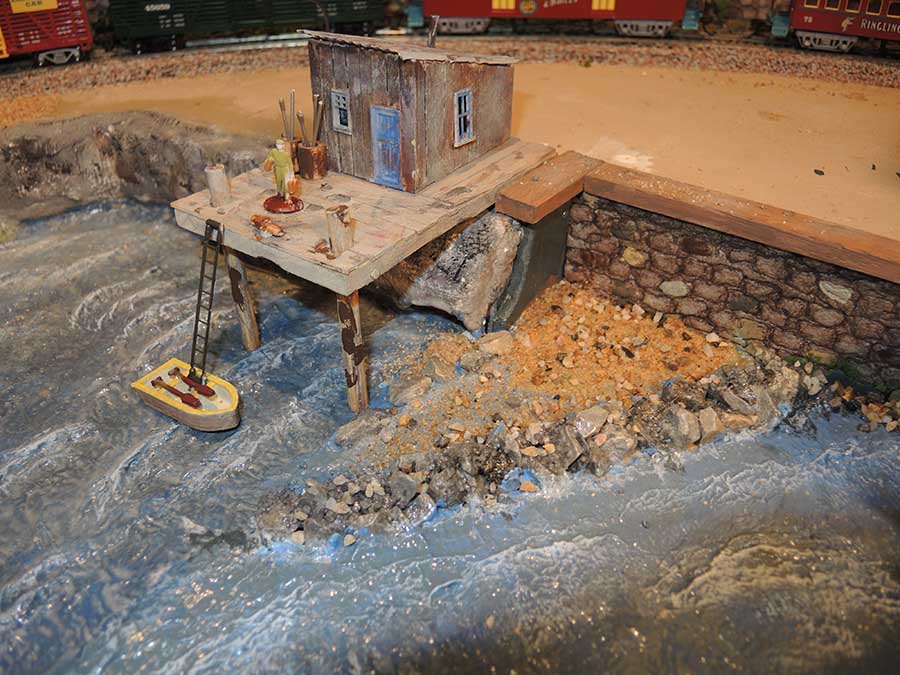
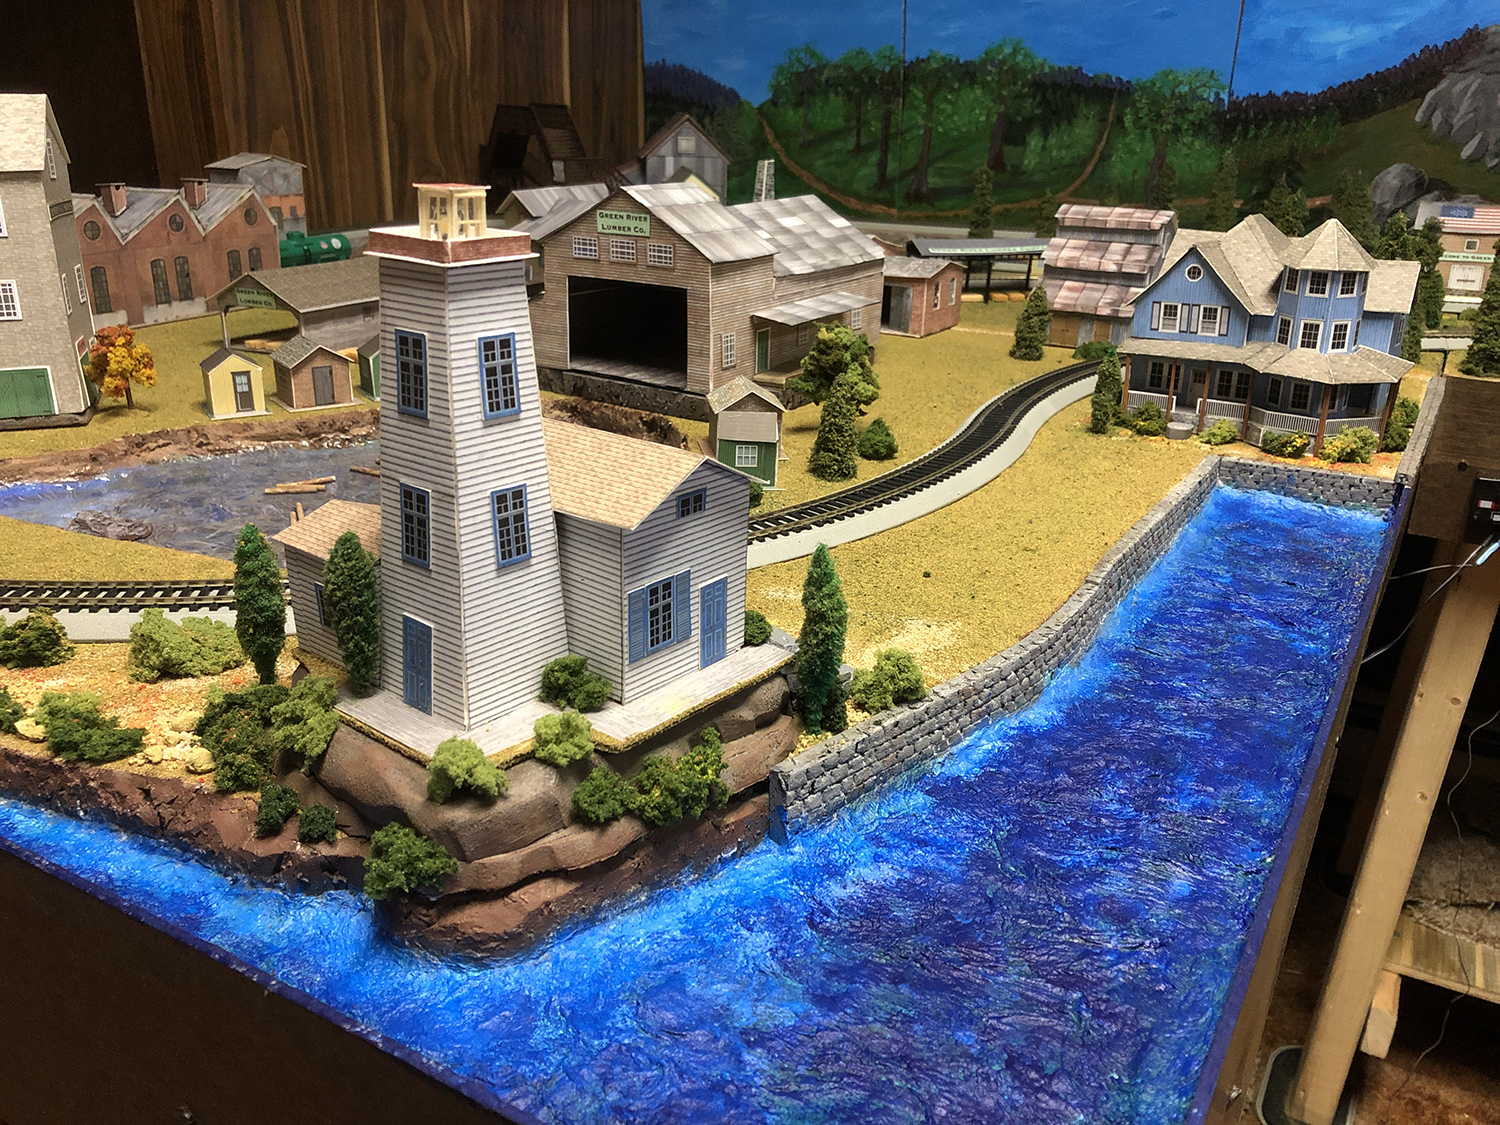
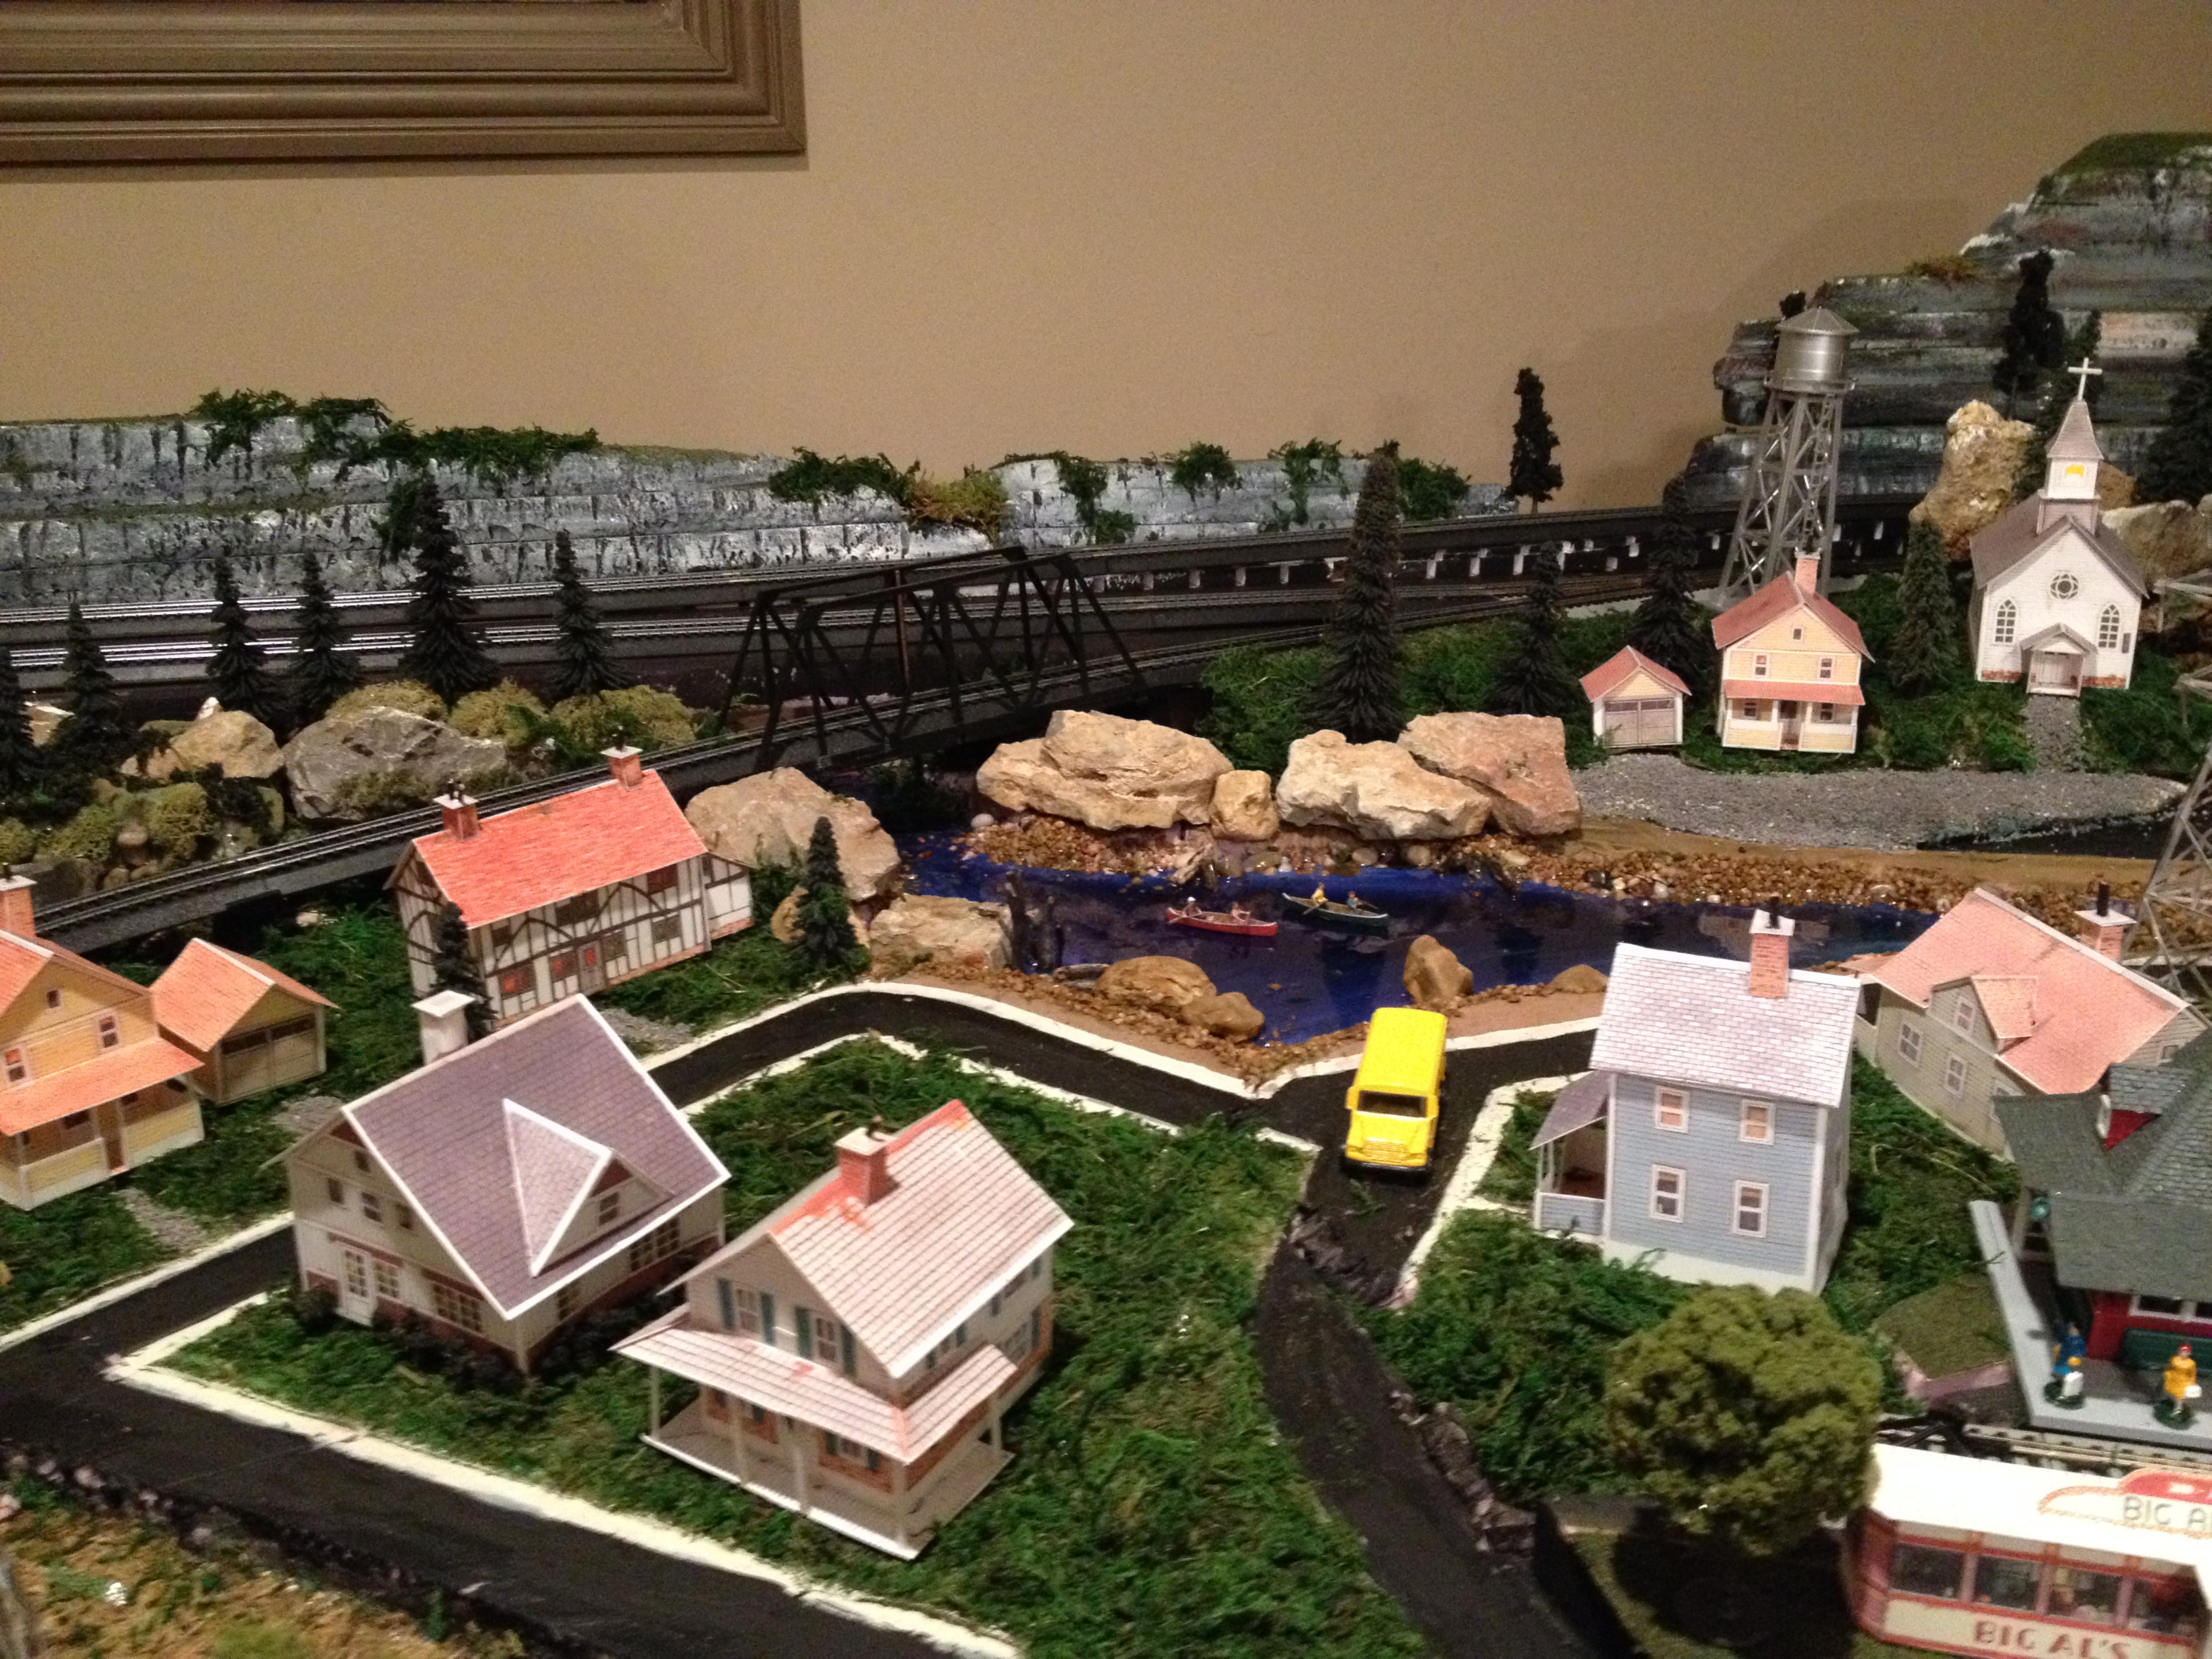
“Hi Al thought I would send you some photos of how I increased the size of my waterfont scene using toilet paper and PVA glue.
The included photos show the plywood extension and the initial steps in applying the TP & PVA.
The TP is applied about 4-5 layers thick with the PVA gluing the layers together.
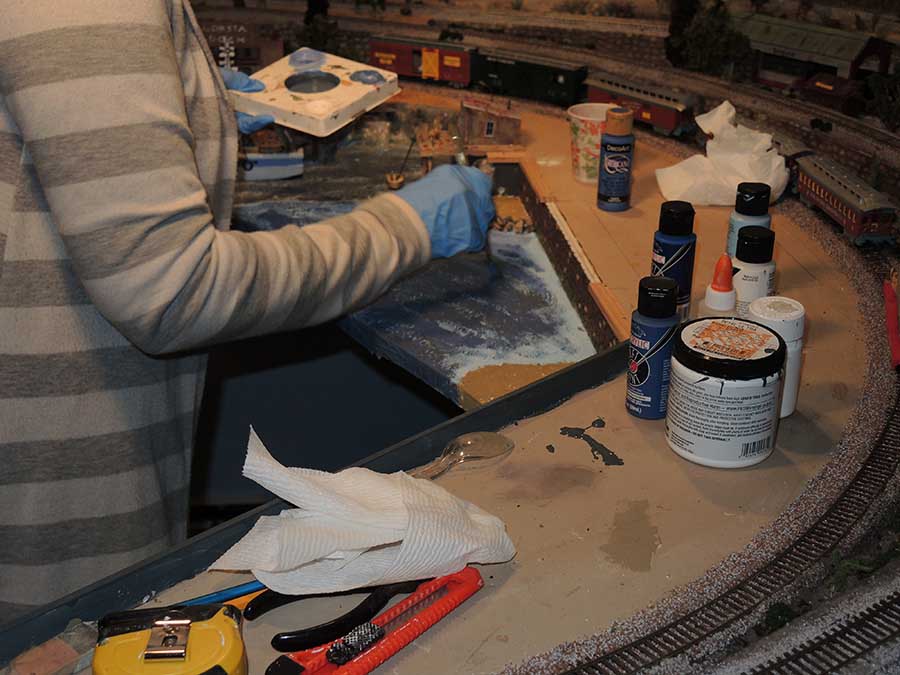
You see me “pushing” the still wet TP with the paint brush to form waves which are heading toward the shore and bulkhead.
In these photos I angled the light such that it highlighted the waves that were formed by pushing the wet TP with the paint brush. You can see the 3D effect of the visable waves.
At this point you have to let the work dry which takes a few days because of the thickness of the TP.
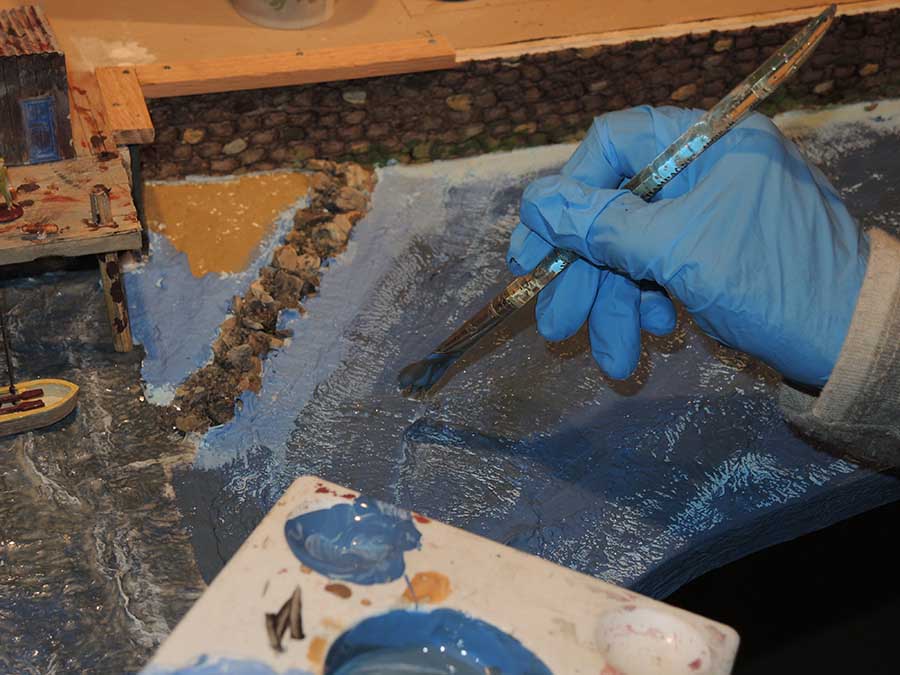
Once dried my wife stepped in because I failed at an attempt to match the color of the existing water scene. Naturally if you were doing this all at once there wouldn’t be any need to color match and you wouldn’t have to hire an artist.
In these photos you can see the fan brush we used to highlight the tops of the waves with white paint.
You must remove most of the paint from the brush by passing the bristles over some waste material. What you are then doing is called a “dry brush” effect on the wave tops.
The next photo shows the jetty I built to protect the pilings that hold up the dock by the fishing shack.
This photo also shows the blending of the colors where the old and new water meet.
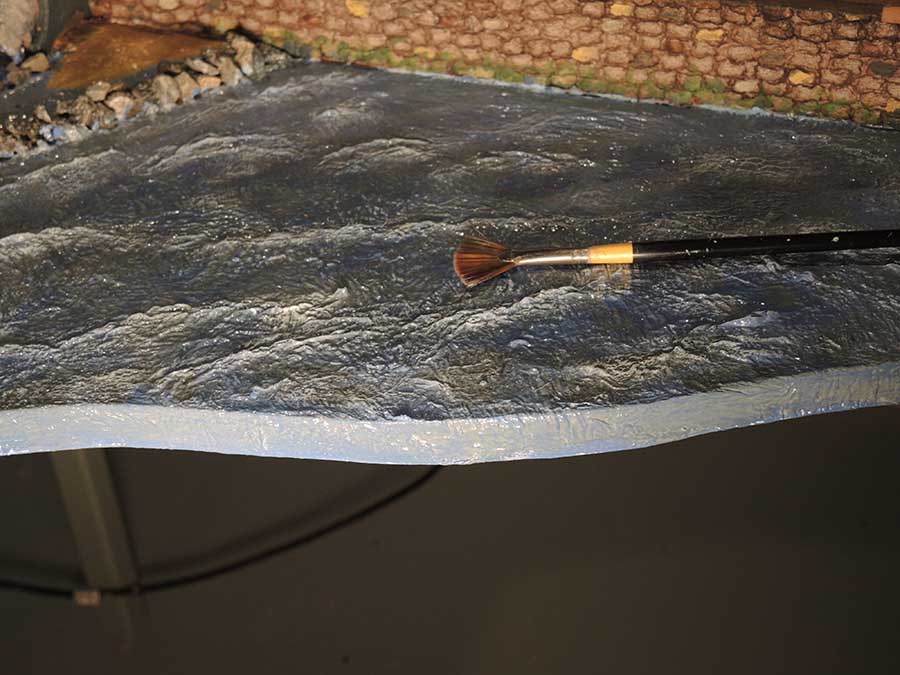
Lastly is a photo of the overall scene. The credit for this method of producing the water effect goes to Marklin of Sweden and his videos. The best part of this method is the 3D effect of the waves.
Paul”
A huge big thanks to Dom and Paul for sharing.
Please do leave a comment below and share your thoughts – would love to know what you think about today’s post.
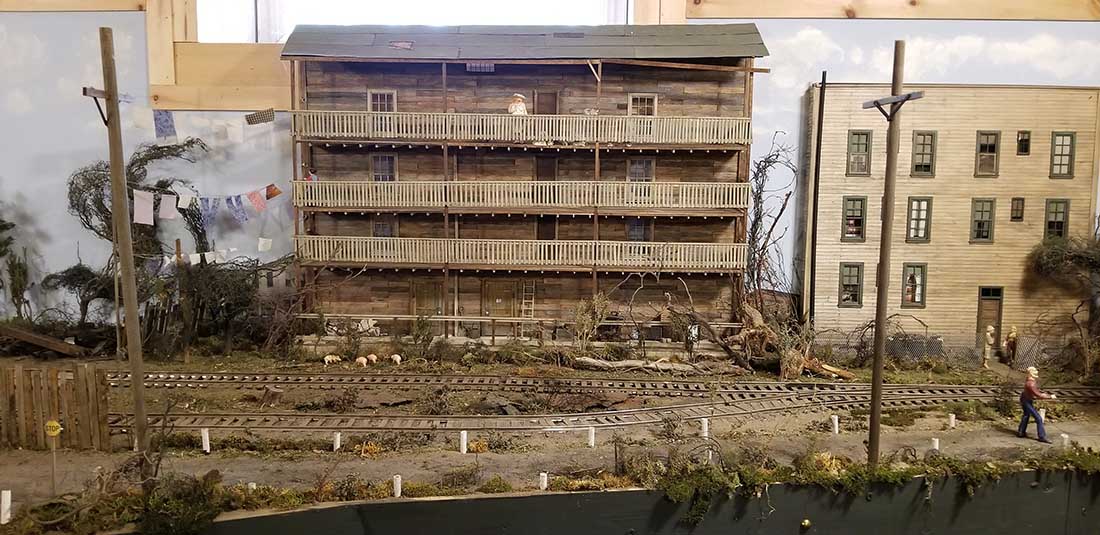
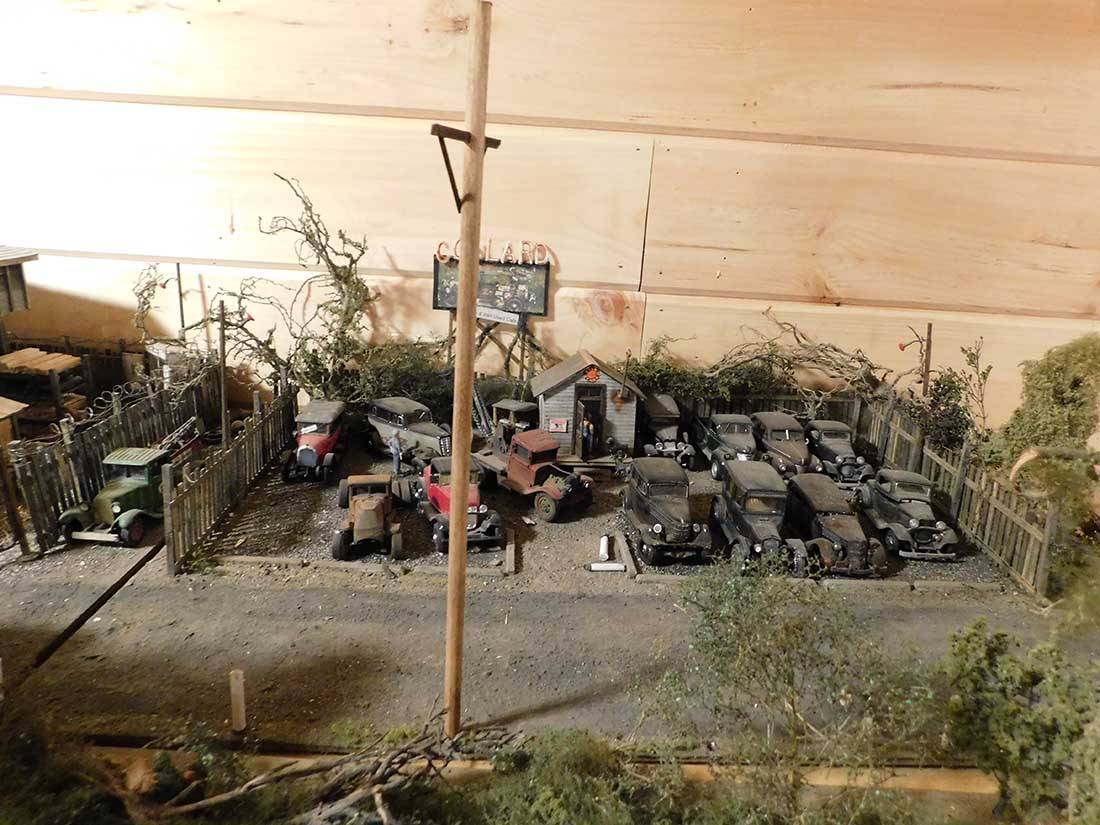
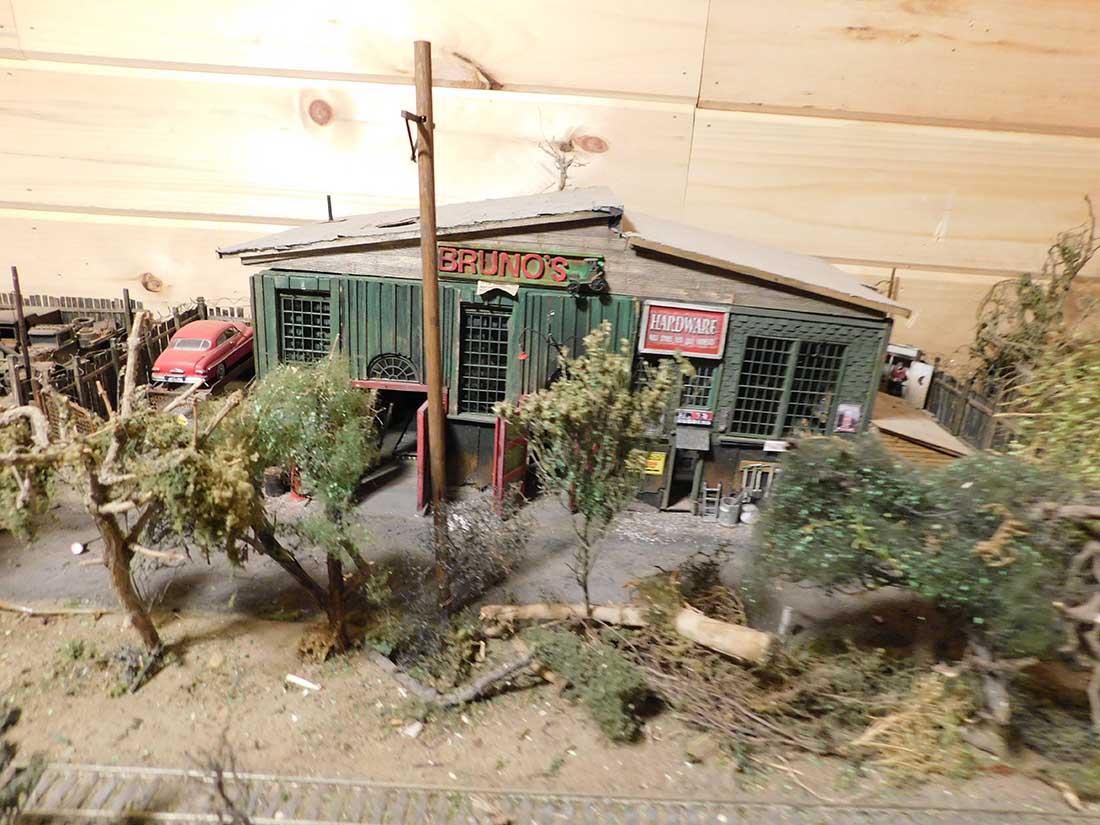
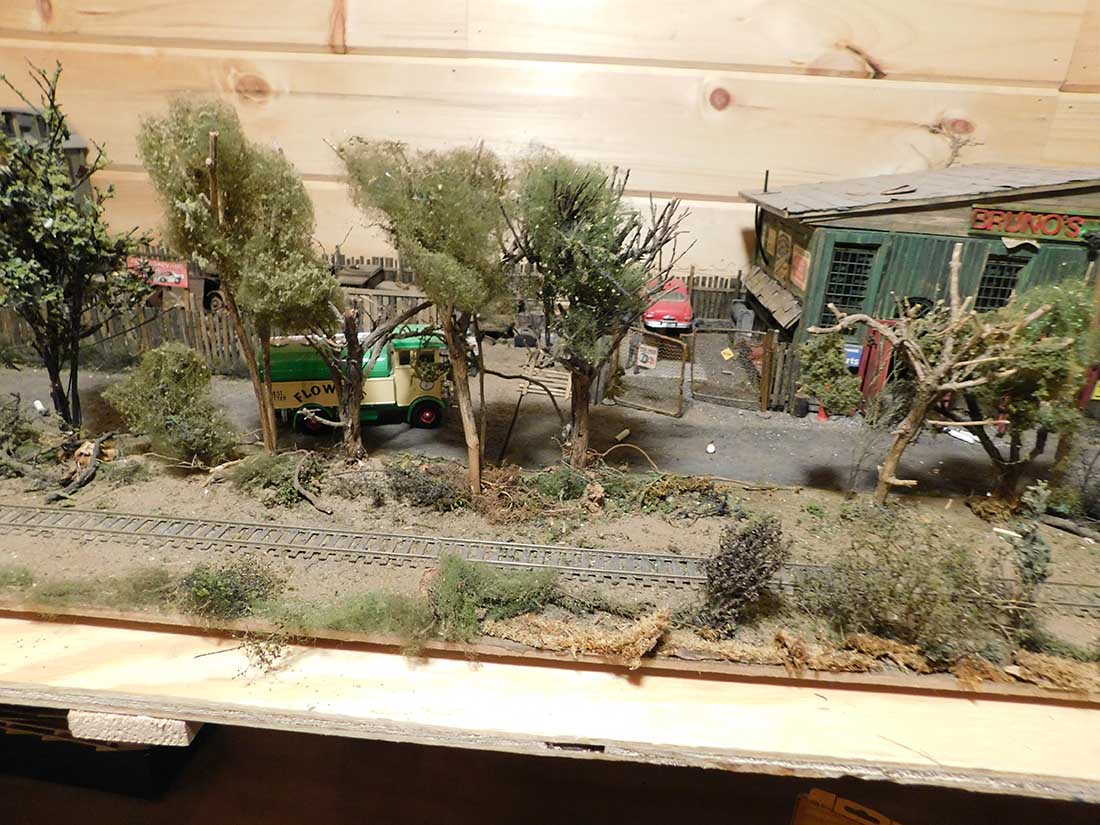
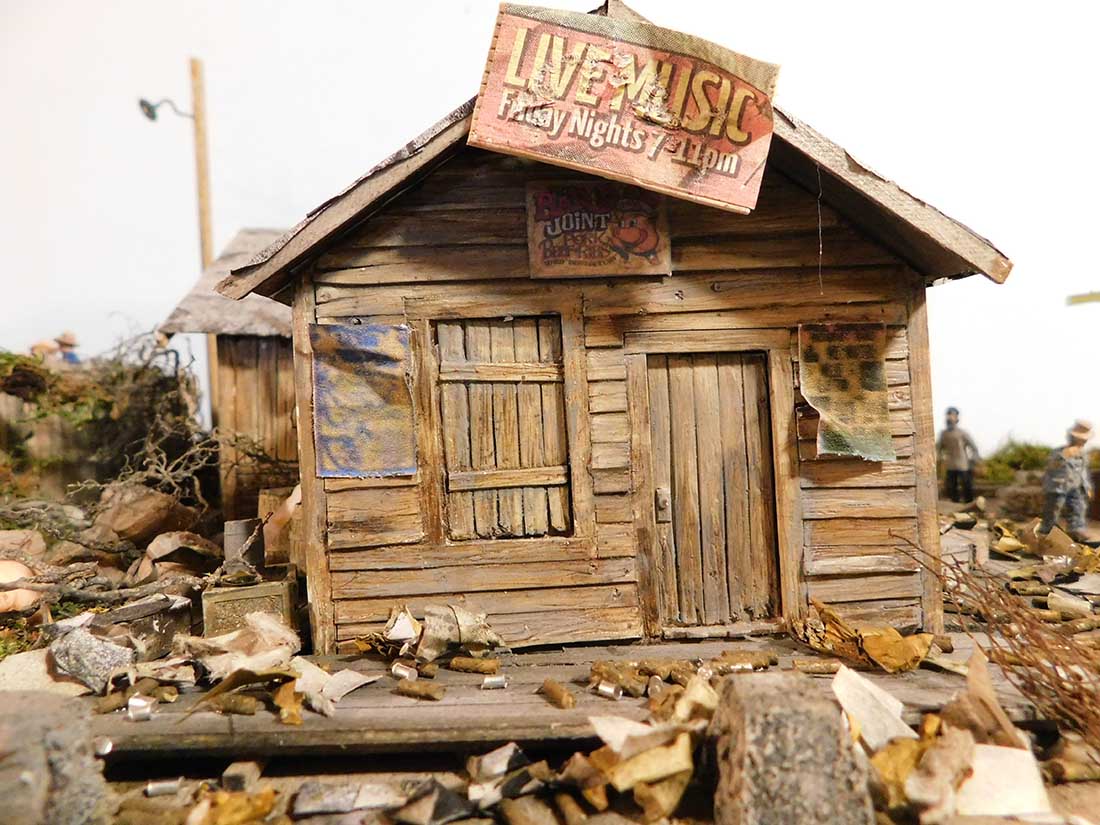
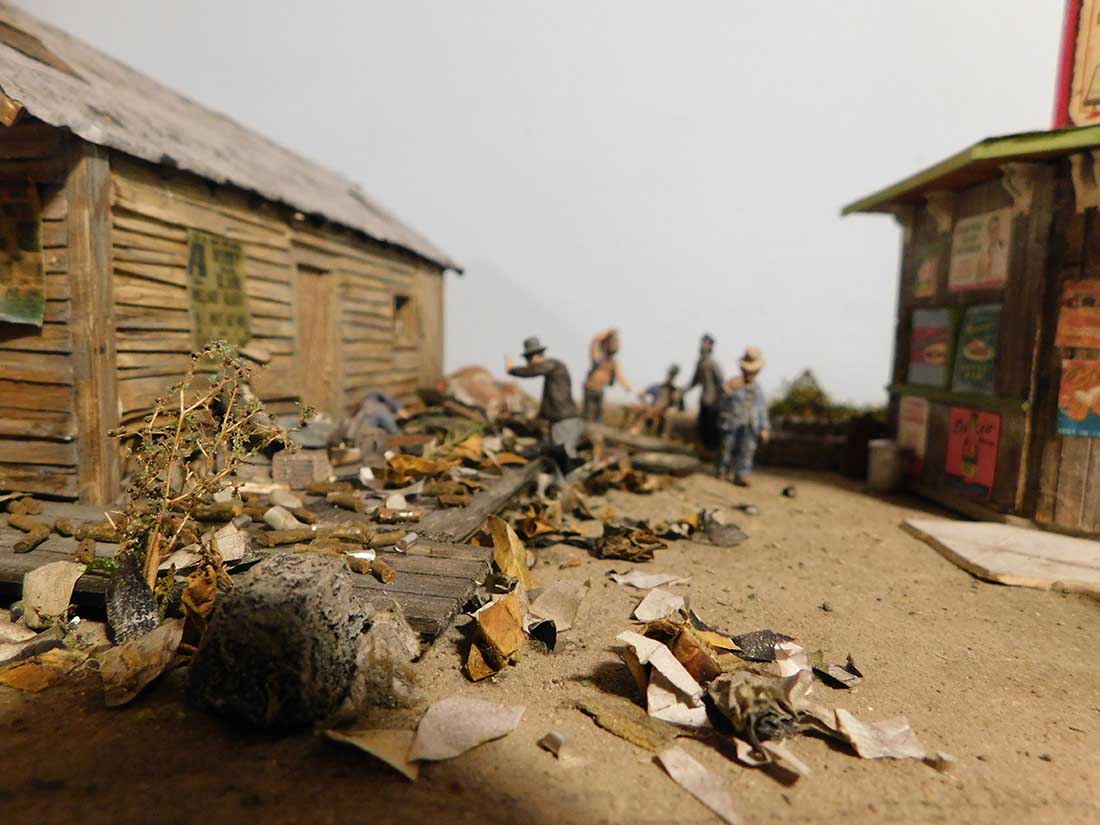
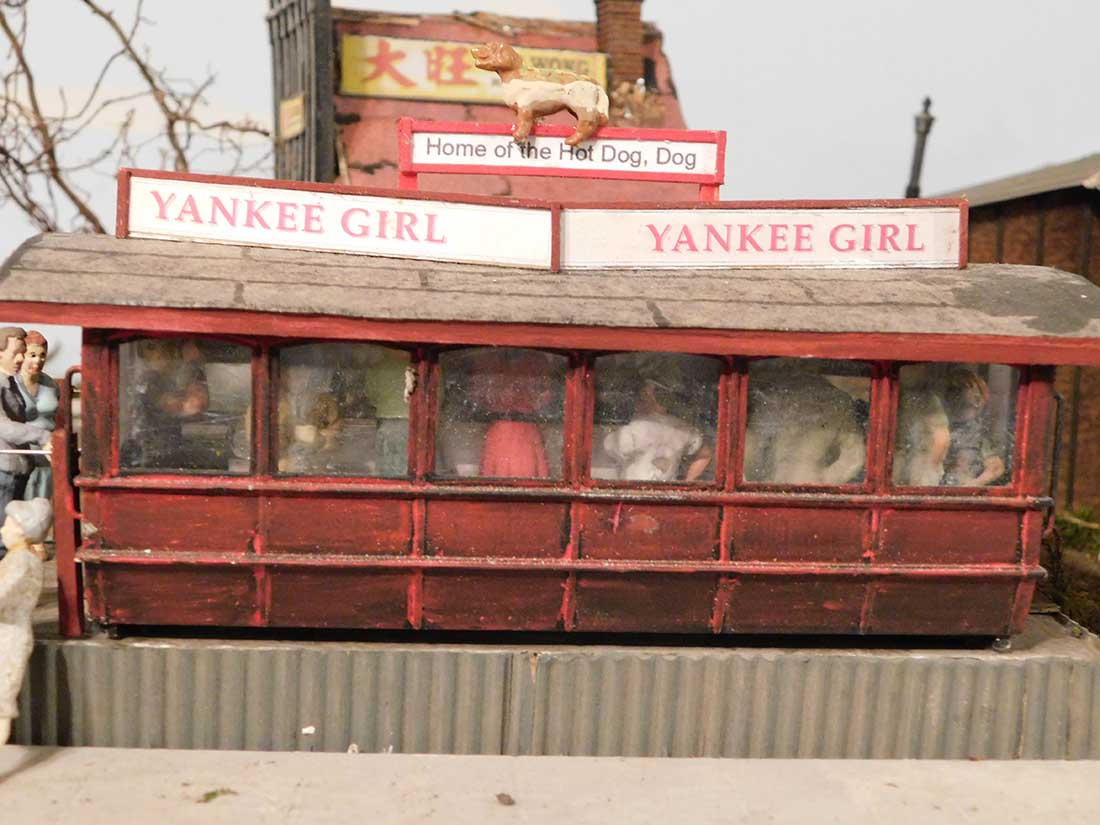
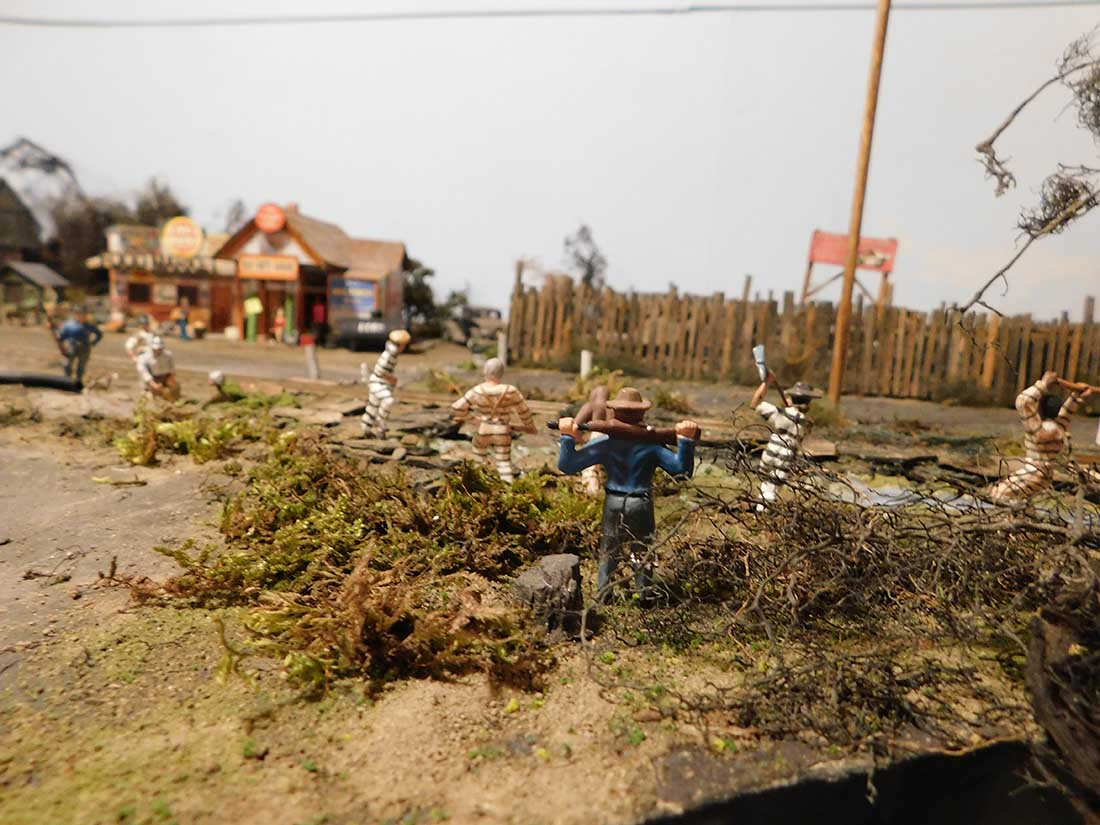
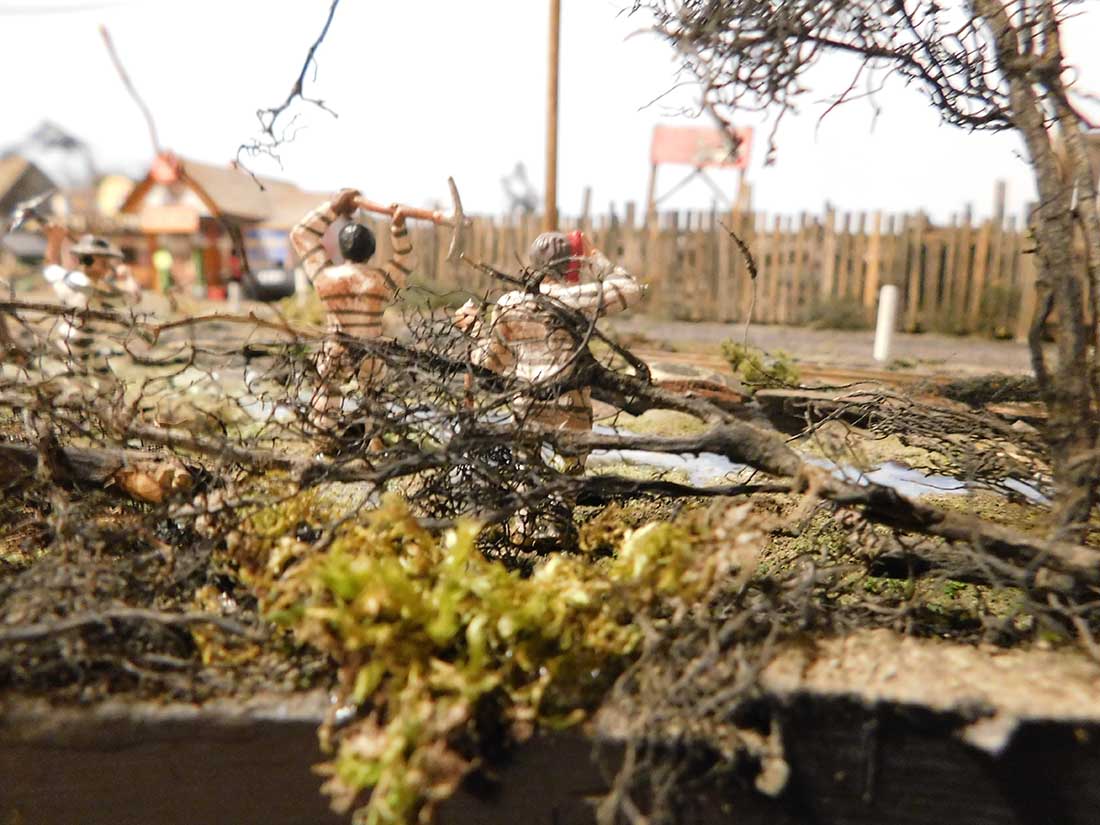
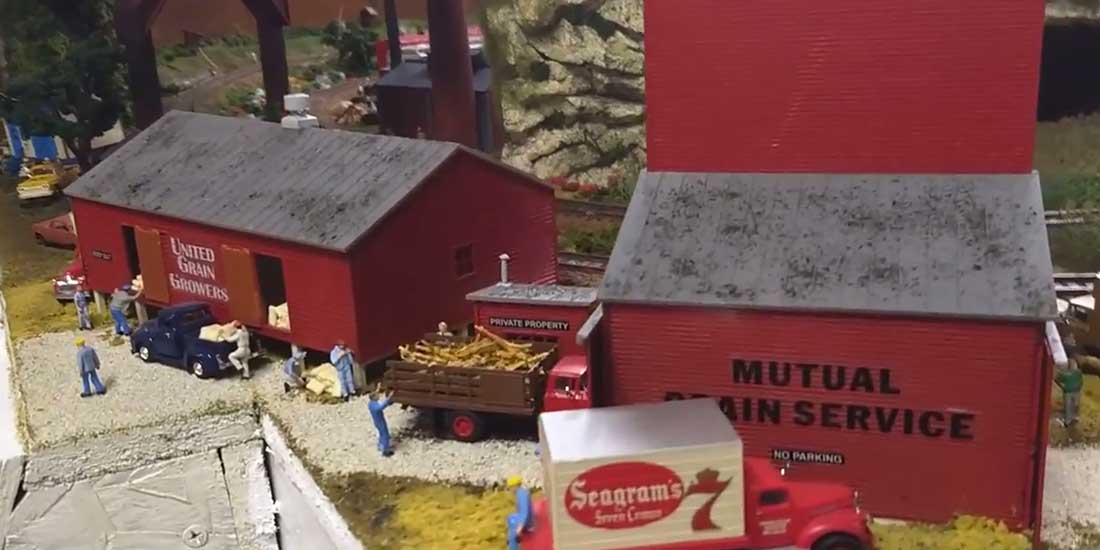
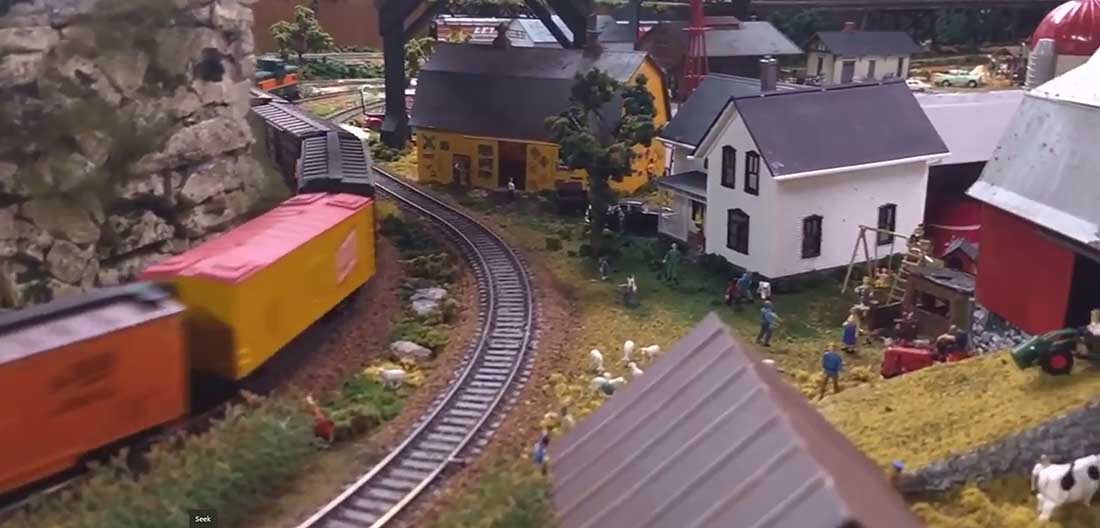
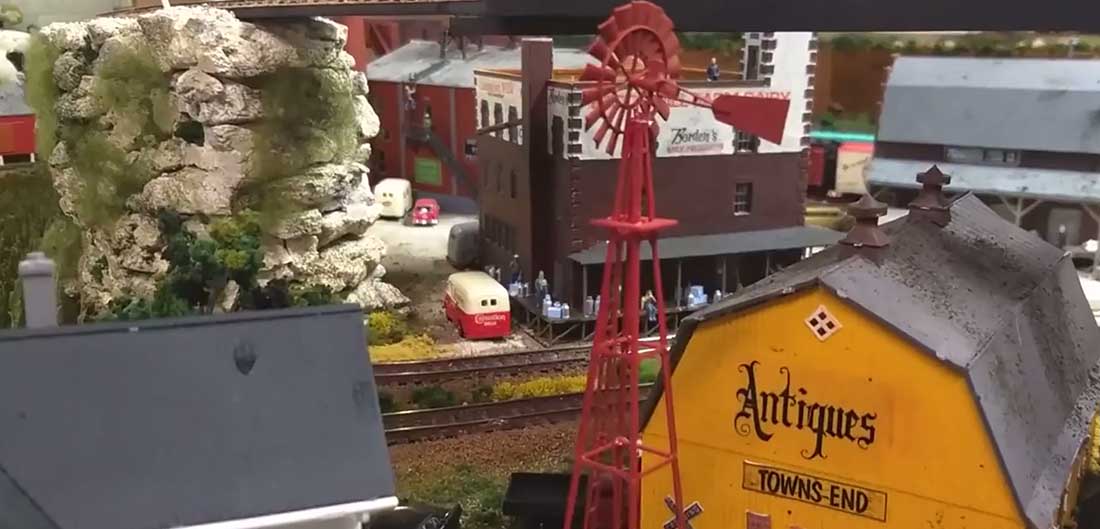
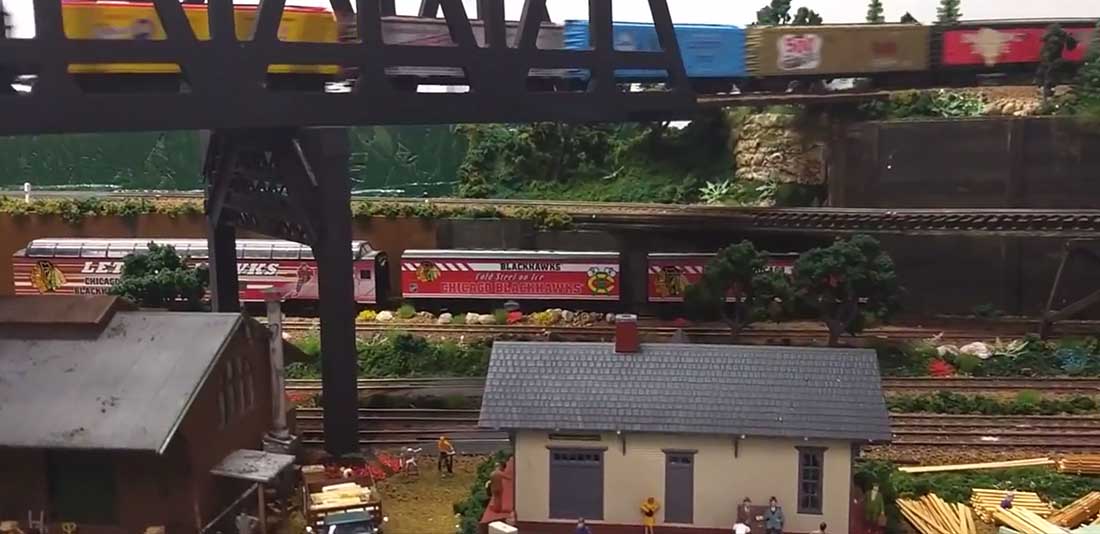
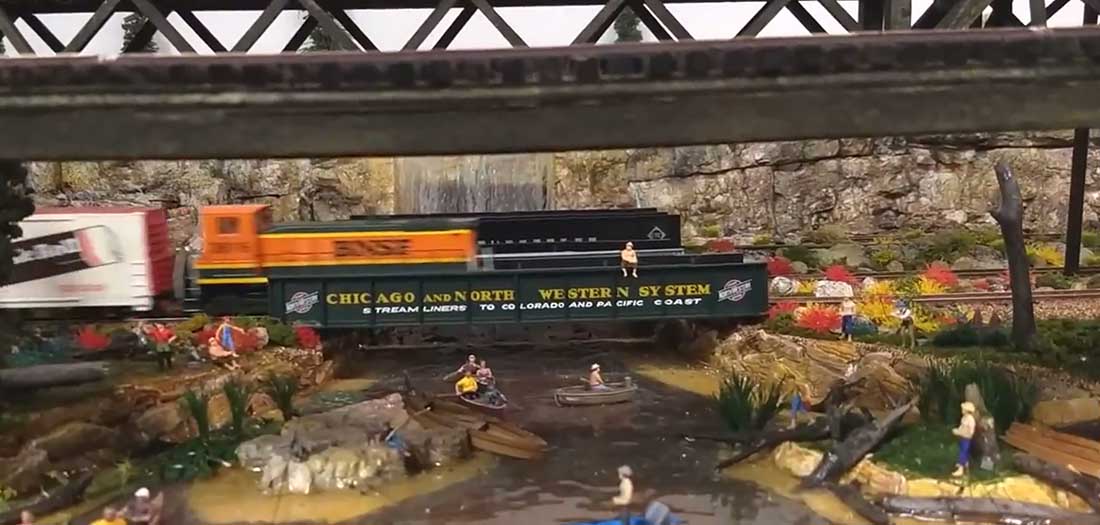
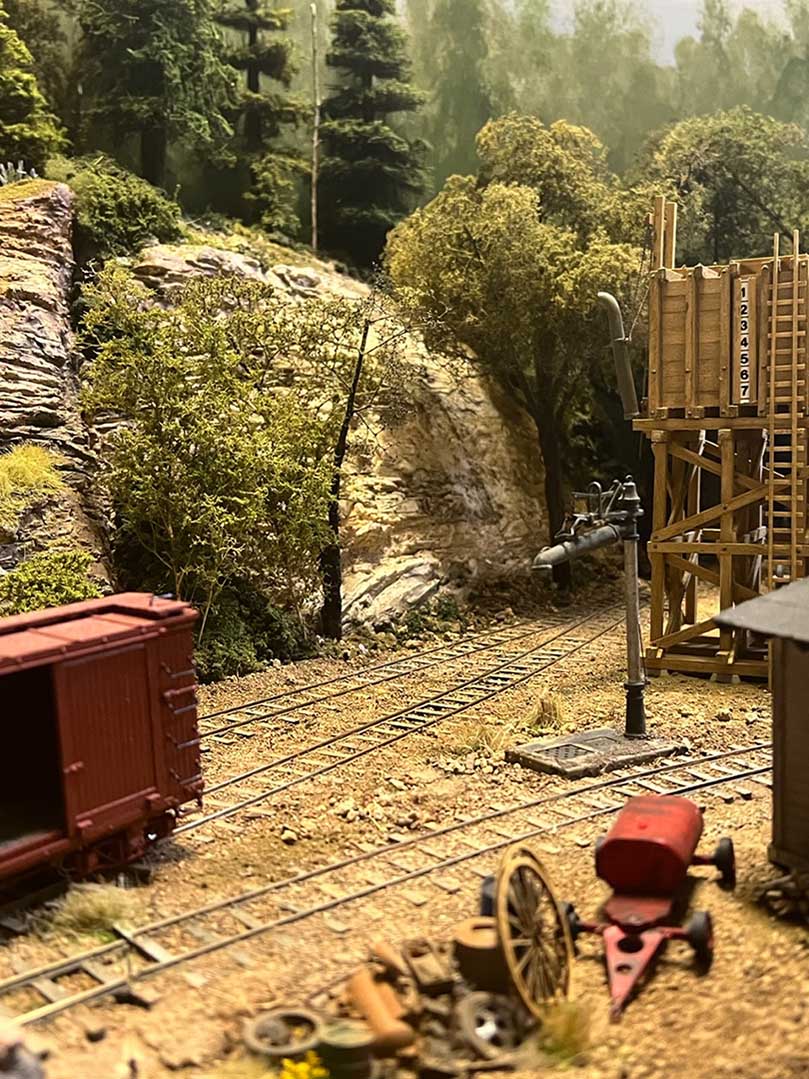
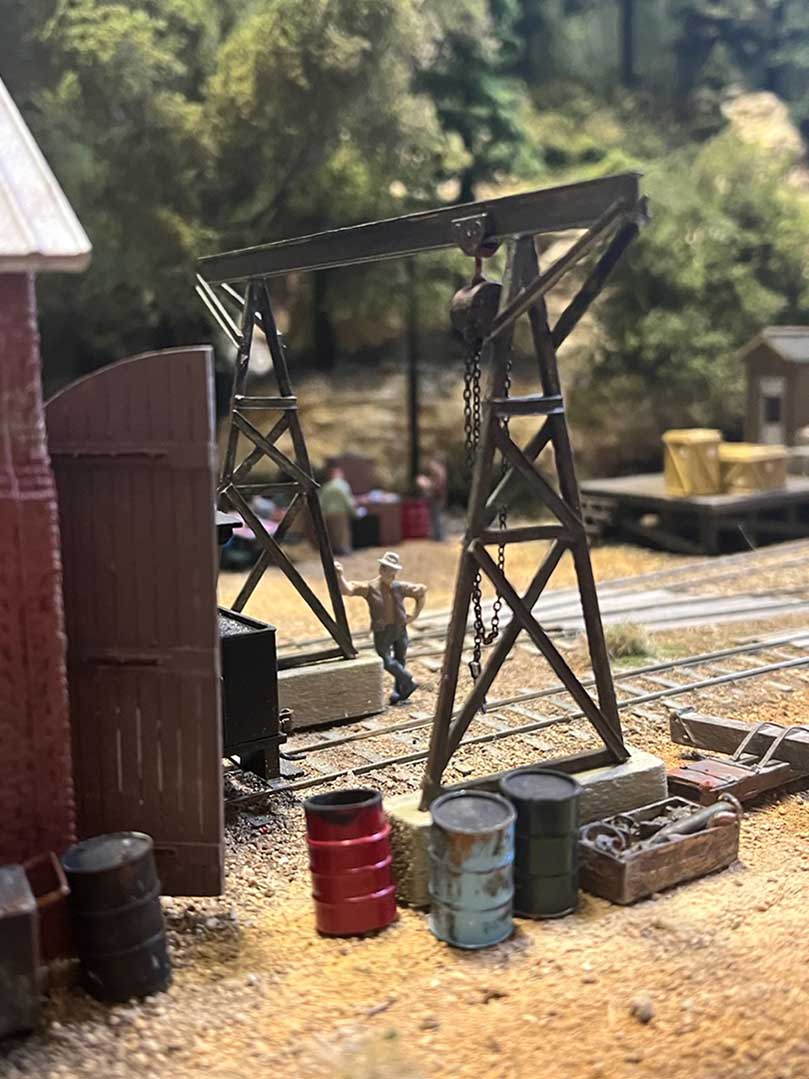
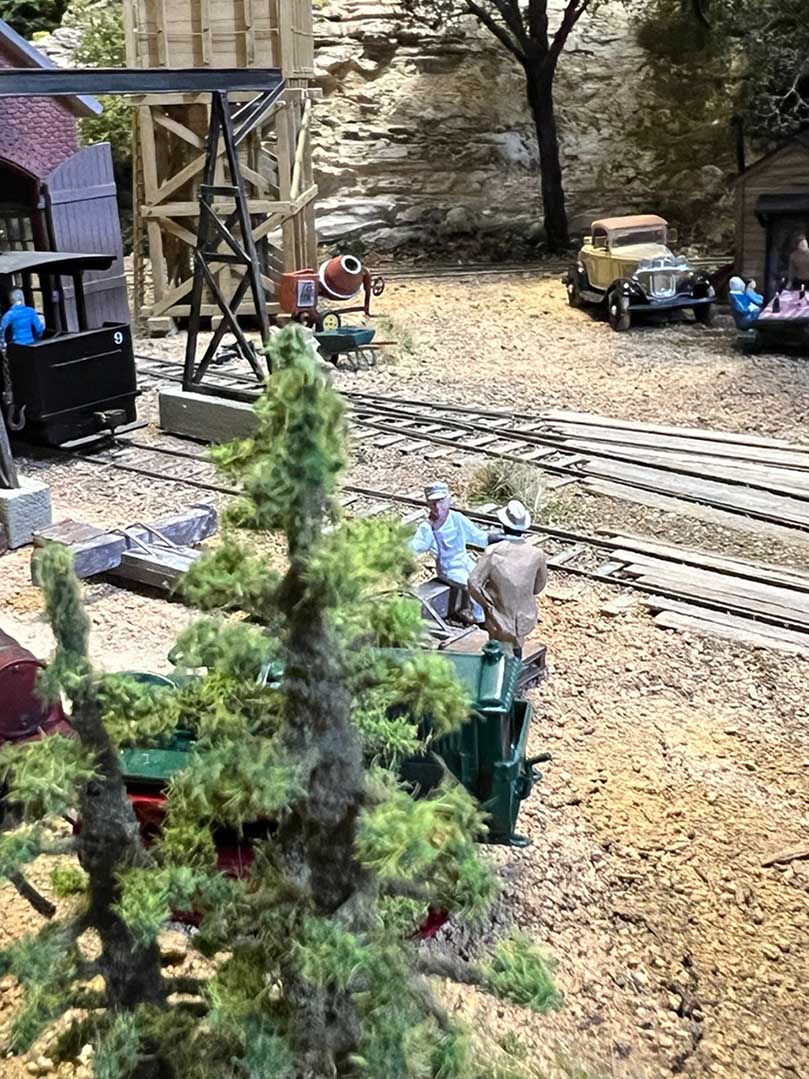
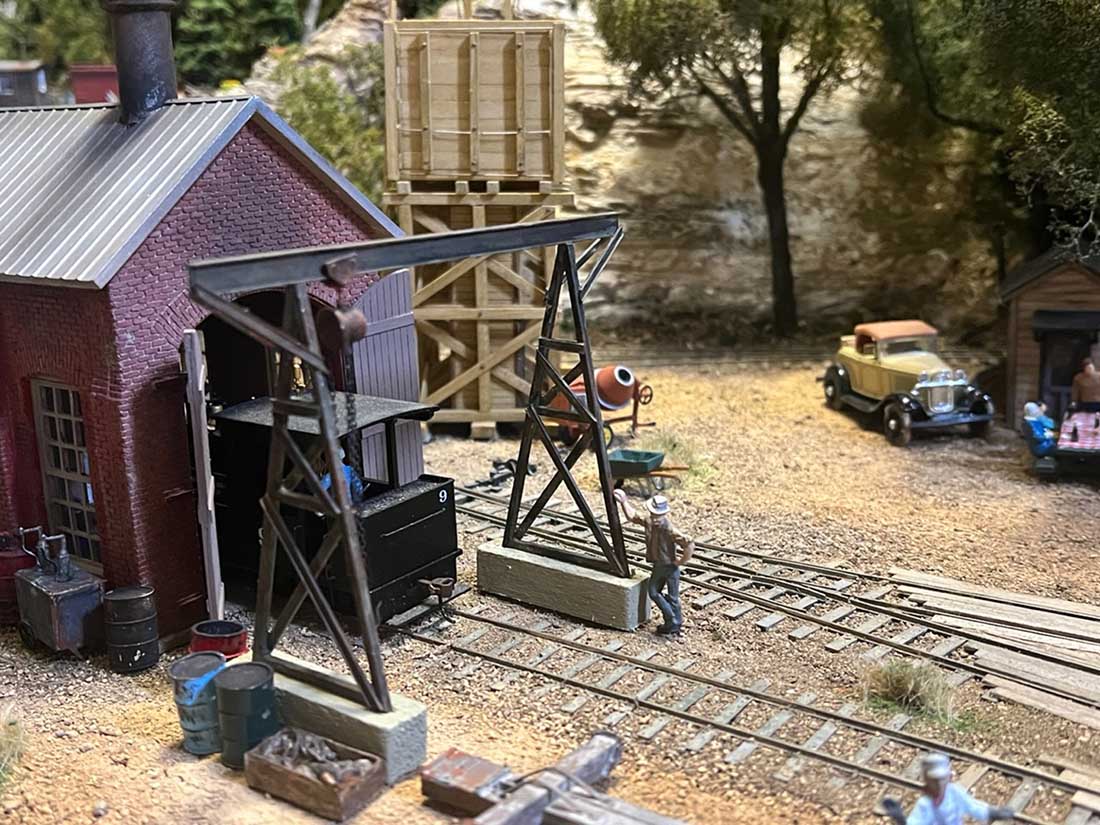
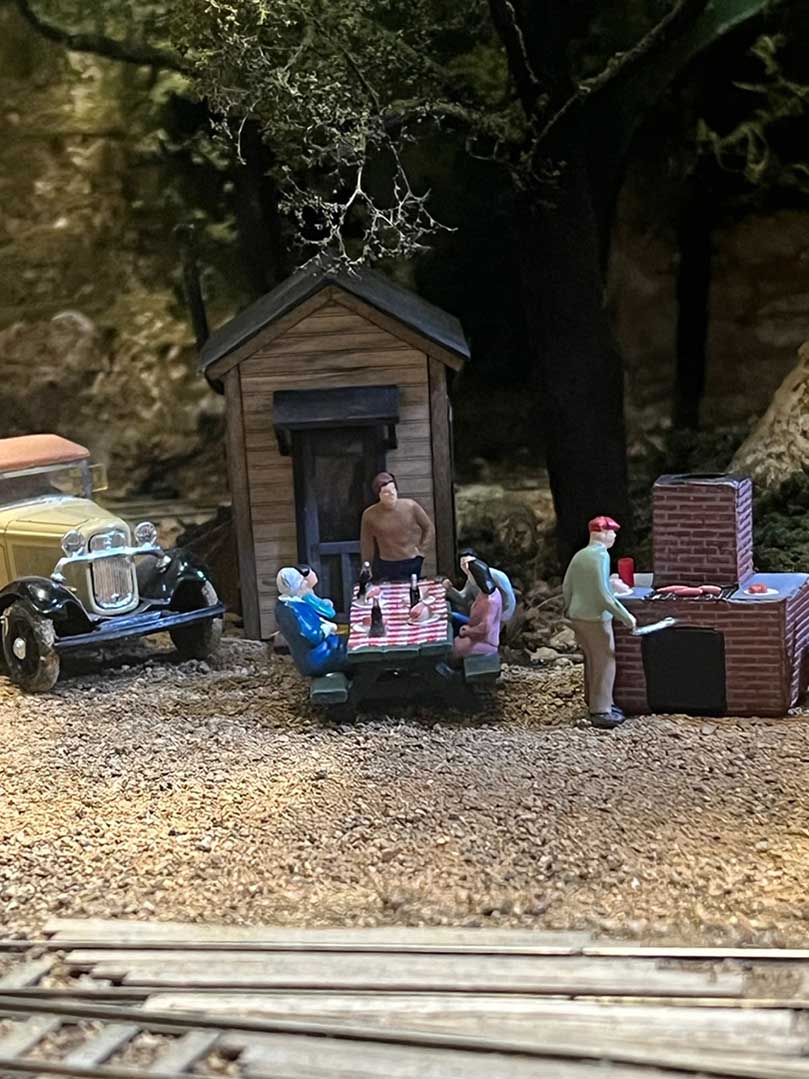
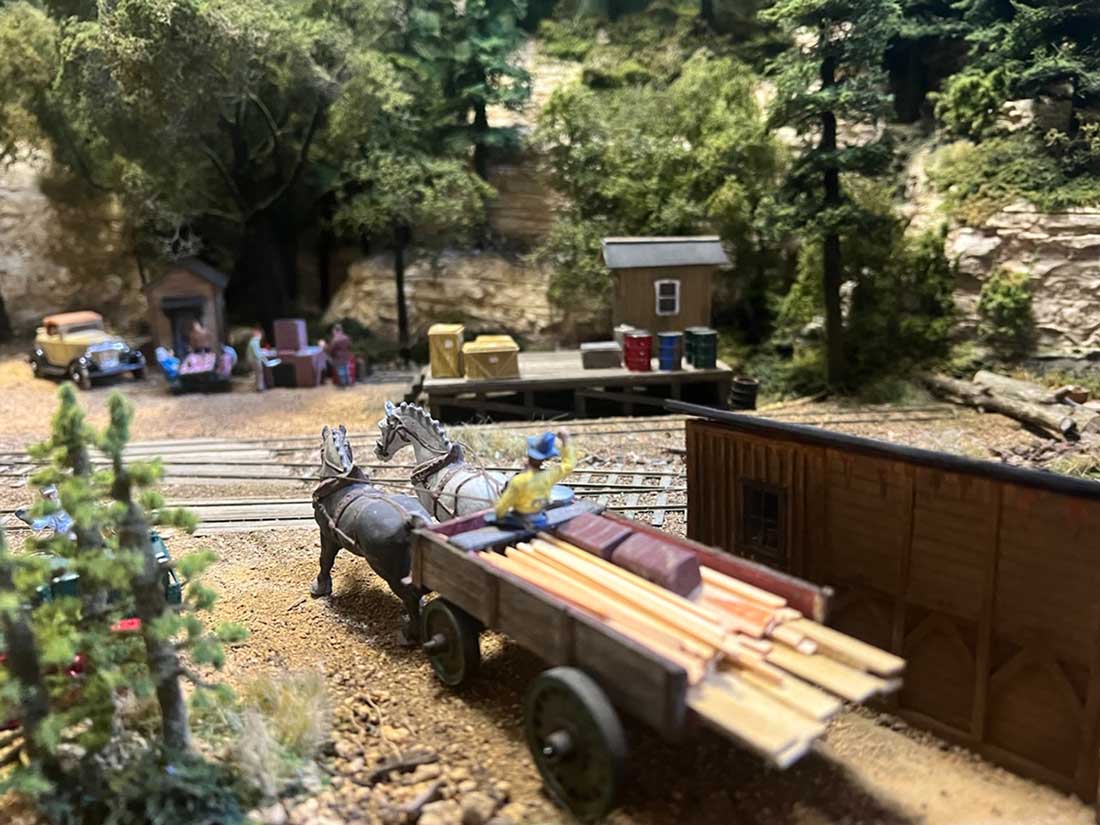
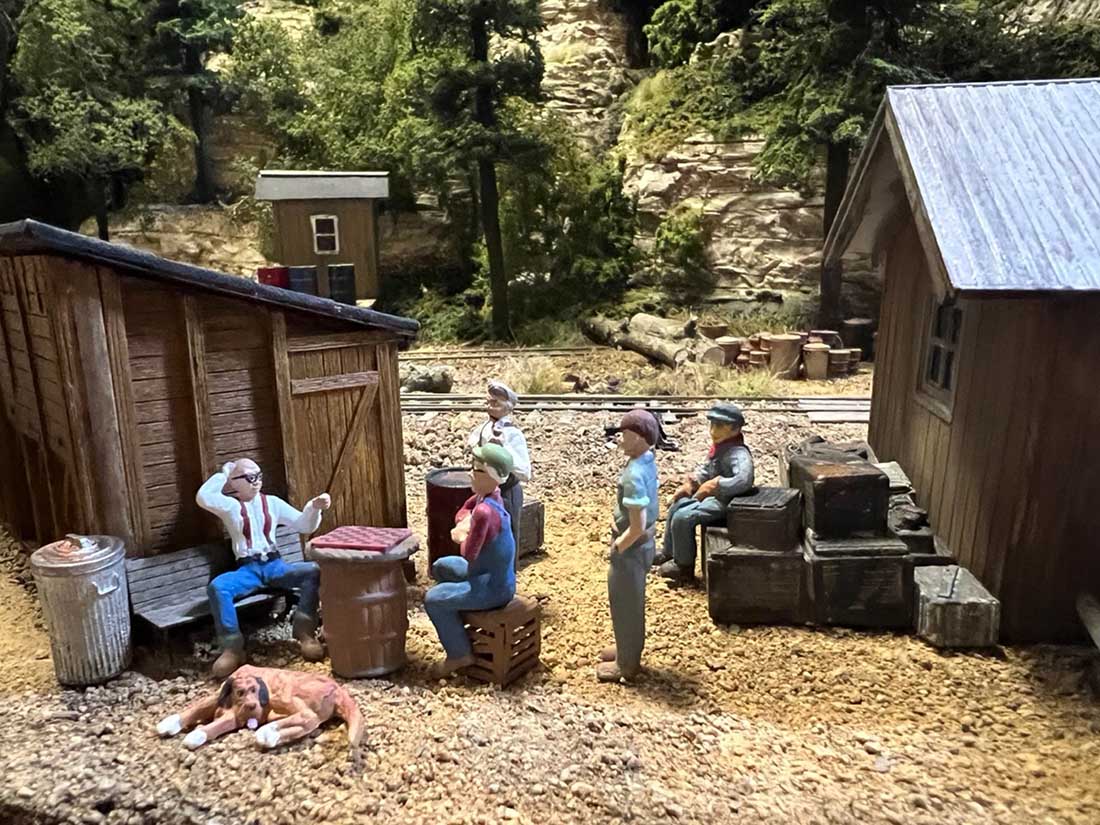
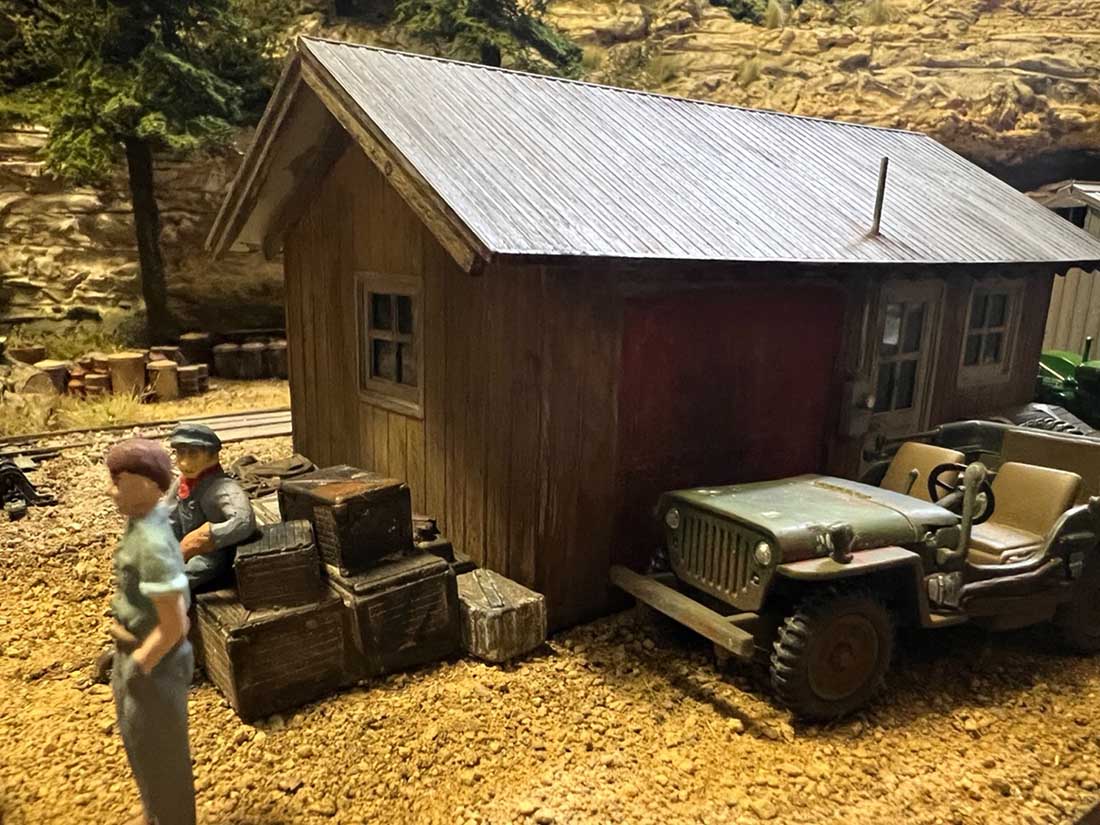
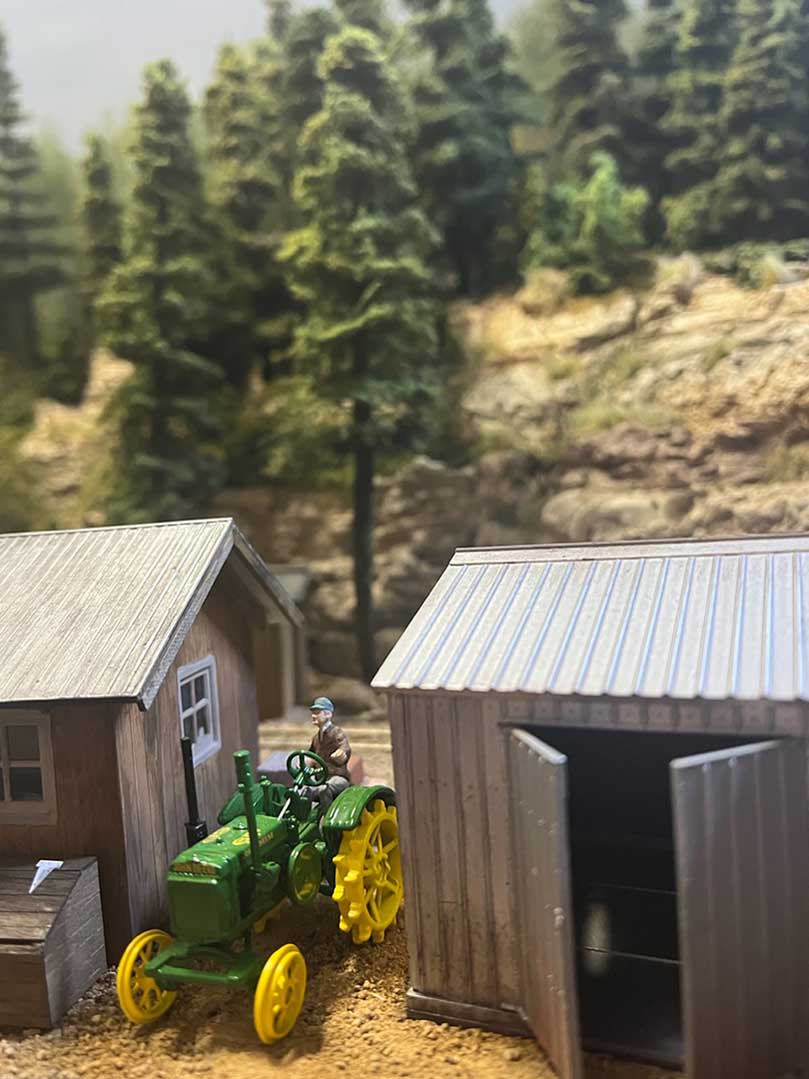
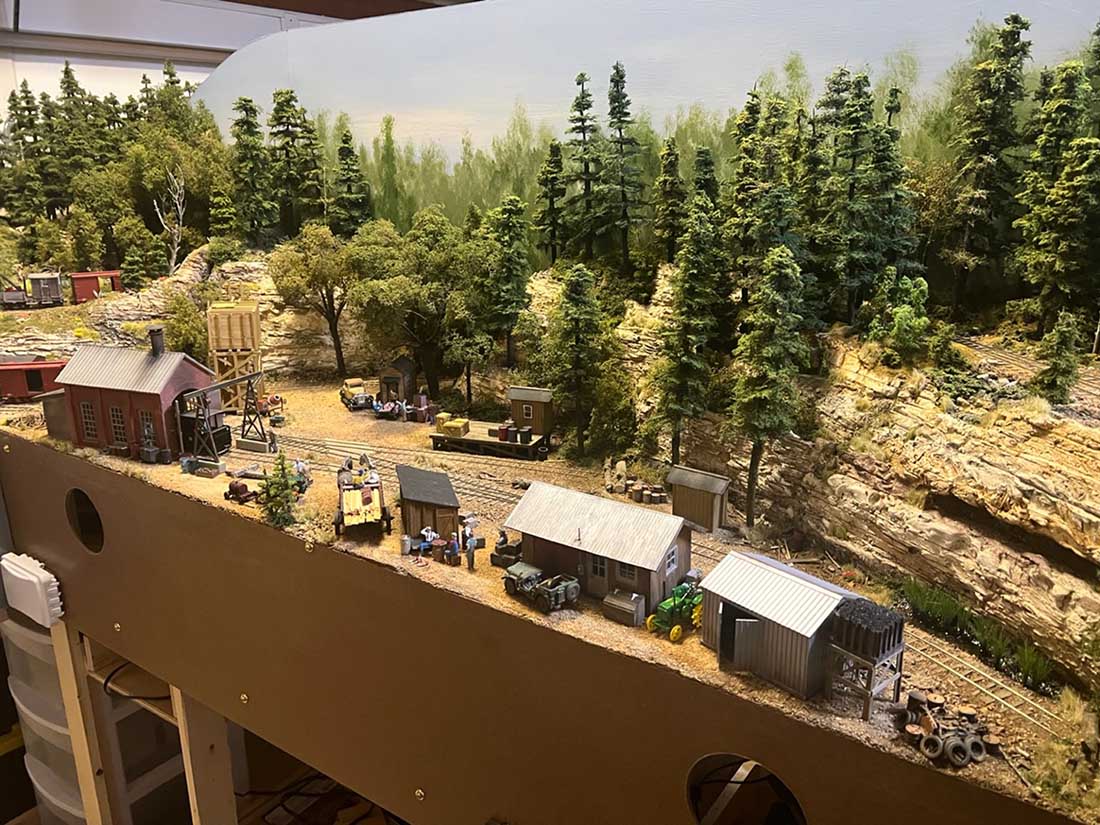
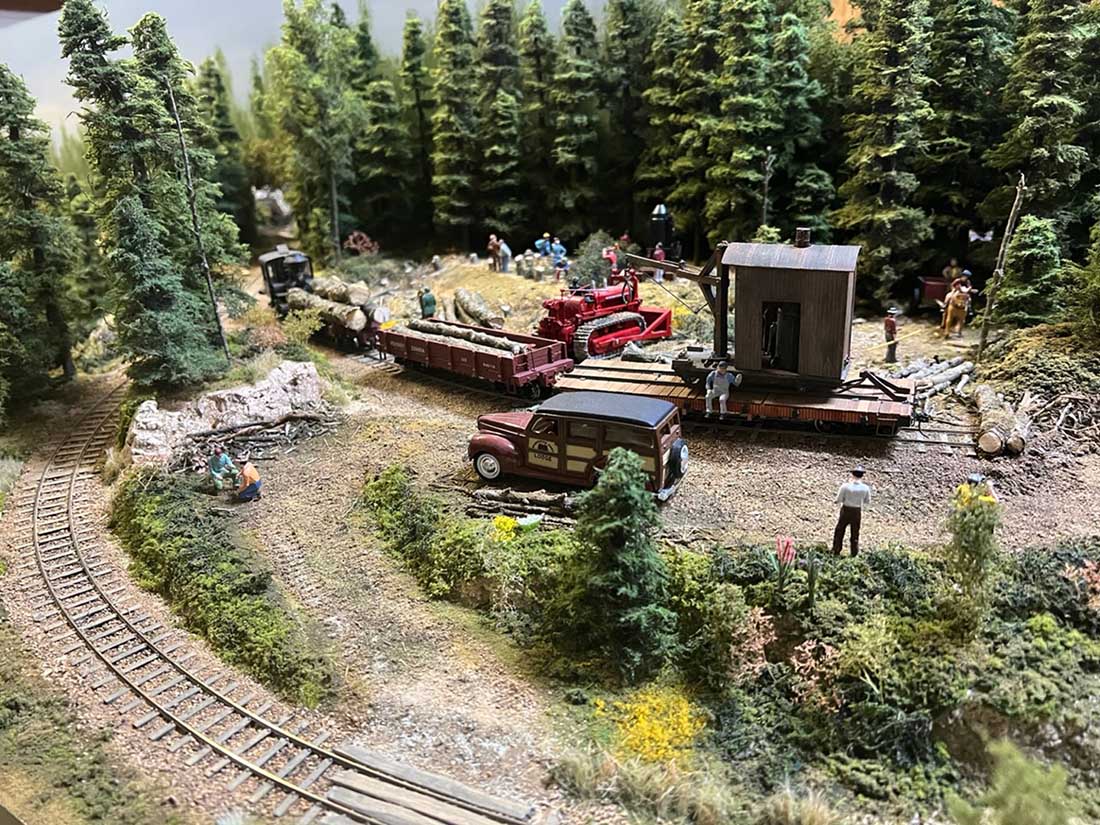
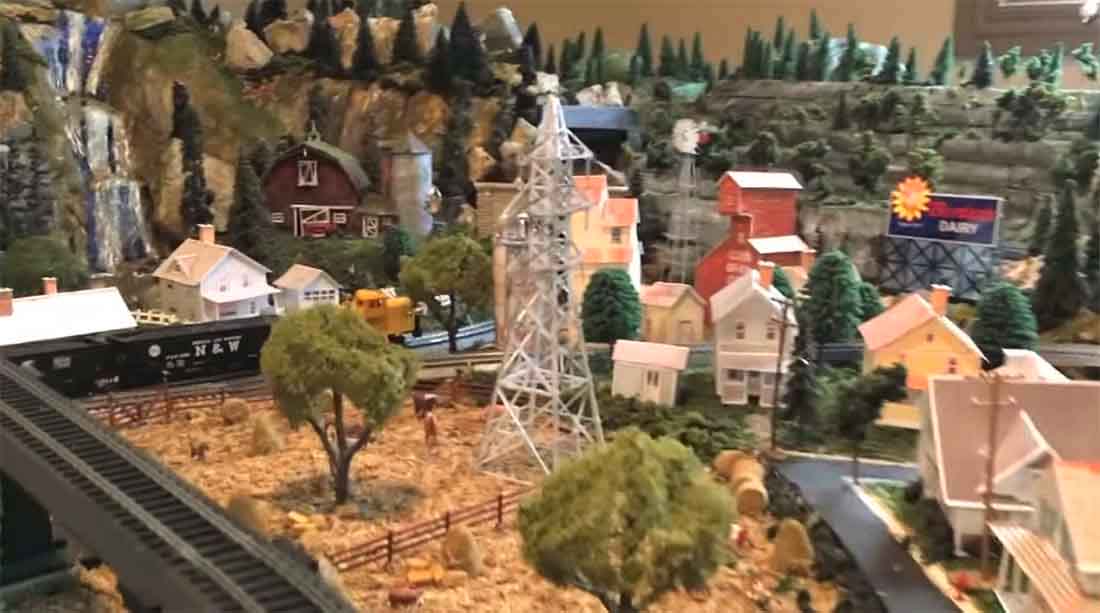
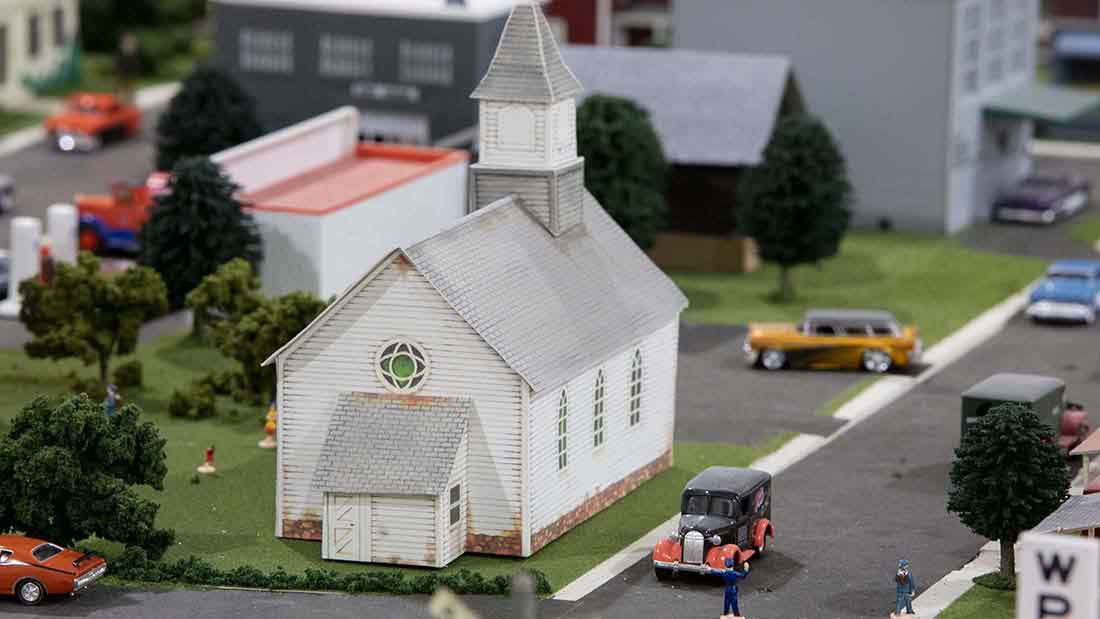
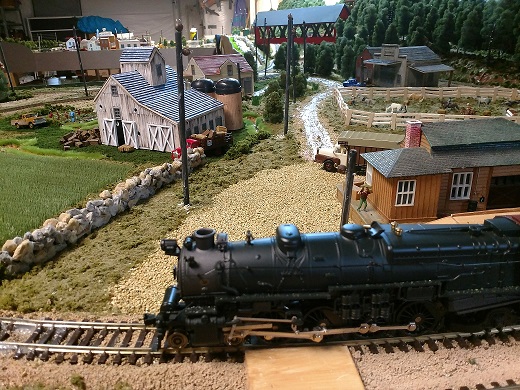
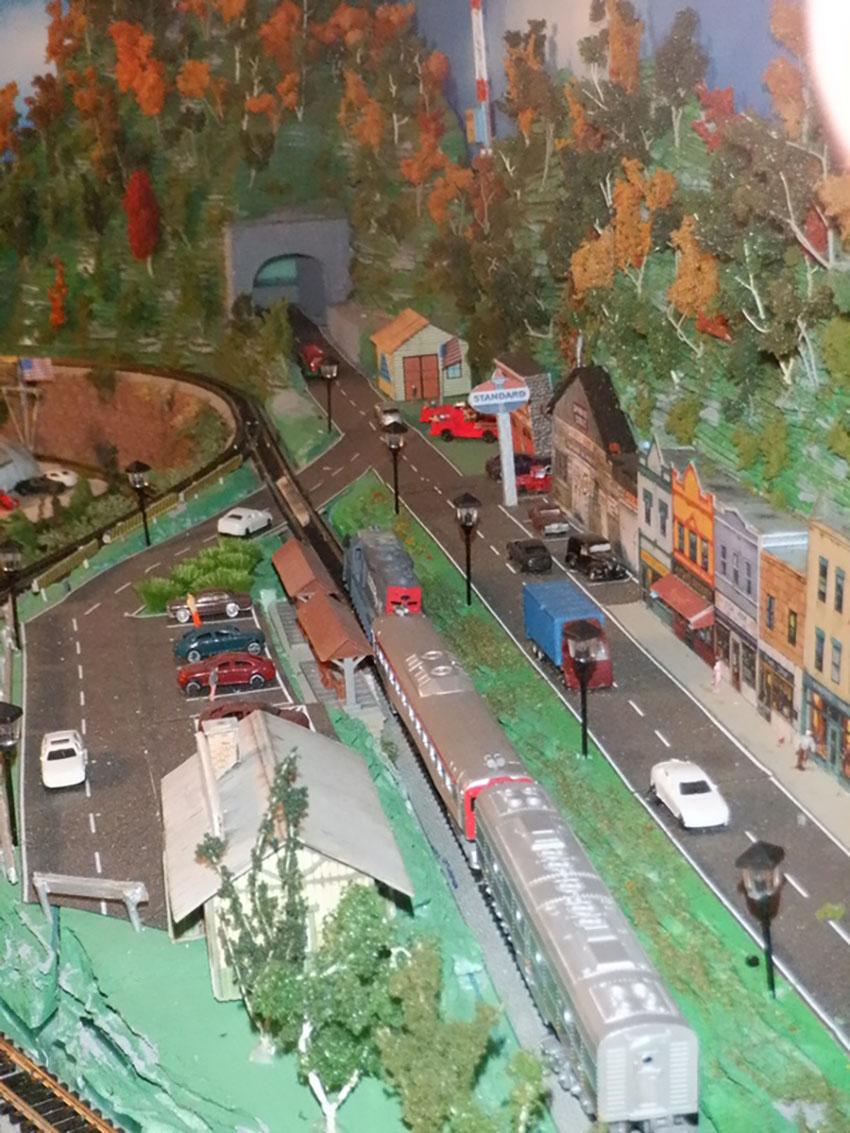
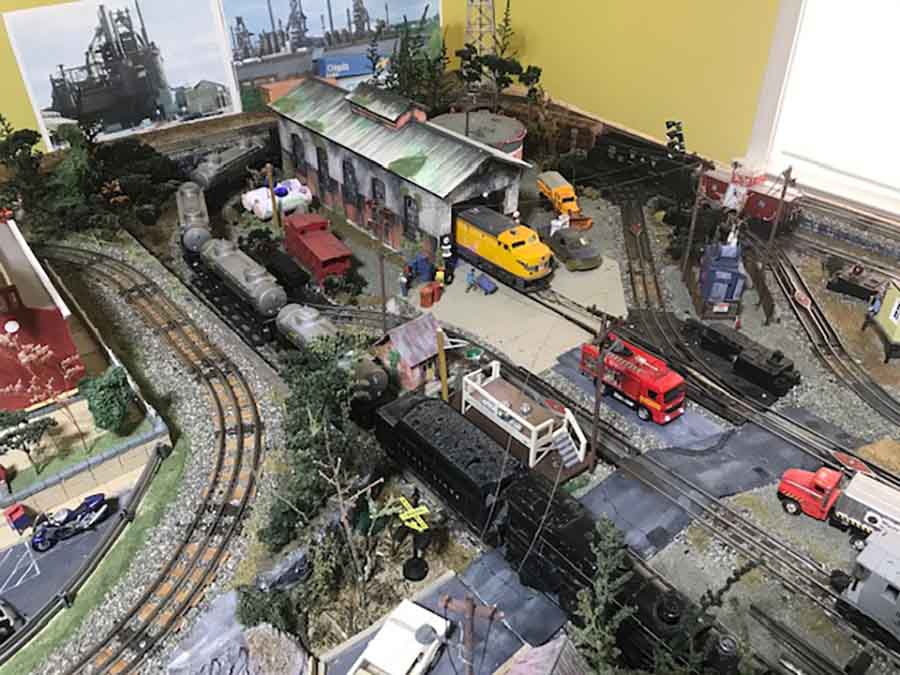
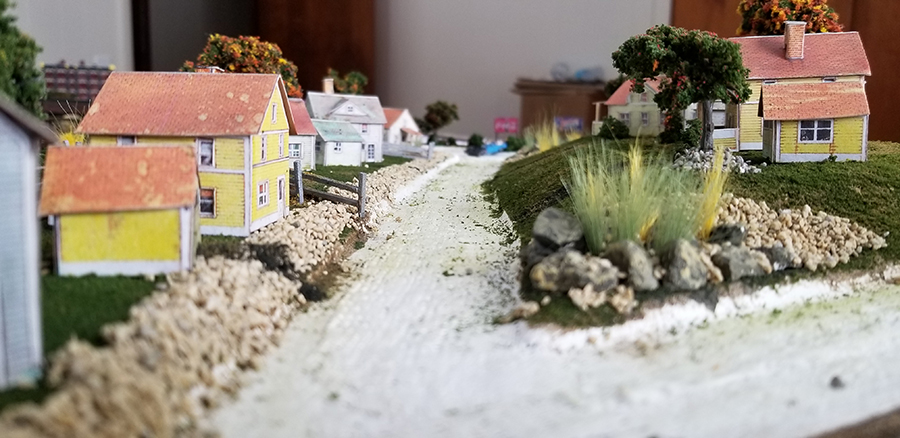
Bill’s been in touch with some stunning O scale scenery:
“Hello Al and fellow modelers!
It’s been a while since I sent in an update on my O Scale layout.
I’ve been busy working on the layout and I’m getting close to having all major work completed on it. I’m hoping to find another show soon and take it on the road again.
Recently I built a square water tank kit and have been working on other scenic details in the On30 service area.
This is a late 40’s early 50’s era on a logging road that is still cutting and hauling first growth timber from the Appalachian Mountains in the Easter US.
This service area is tucked into the side of mountain and is fairly rustic. I wanted to give a feel that it’s a busy area and seed a lot of trains going through.
I have included a number of pictures showing the area. Much of the figured I have put in place this last weekend.
In the near future I will send in a video of engines working this area of the layout but I still have some more details to add in first then I’ll give the track a good clean and run my logging engines.
All the best!
Bill in Virginia”
A huge big thanks to Bill – I think it’s fitting to say his layout is stunning – I’m really looking forward to see his next video.
Funnily enough, it reminded me of Martin’s O scale because he’s still on the bare bones: O scale layout
Now a really quick video from Bonkers John.
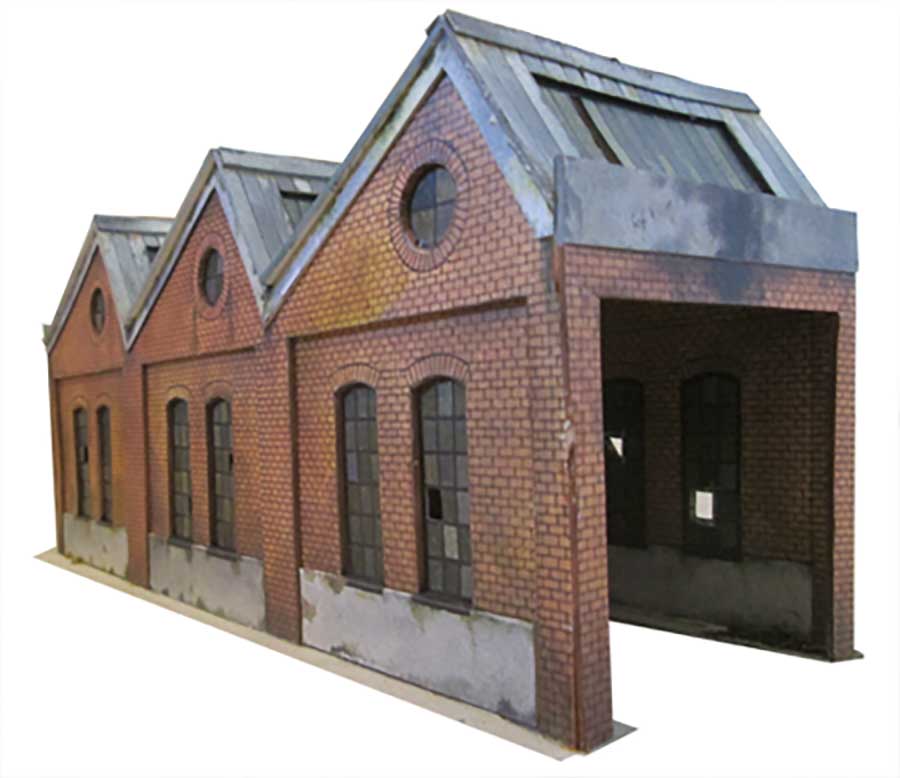
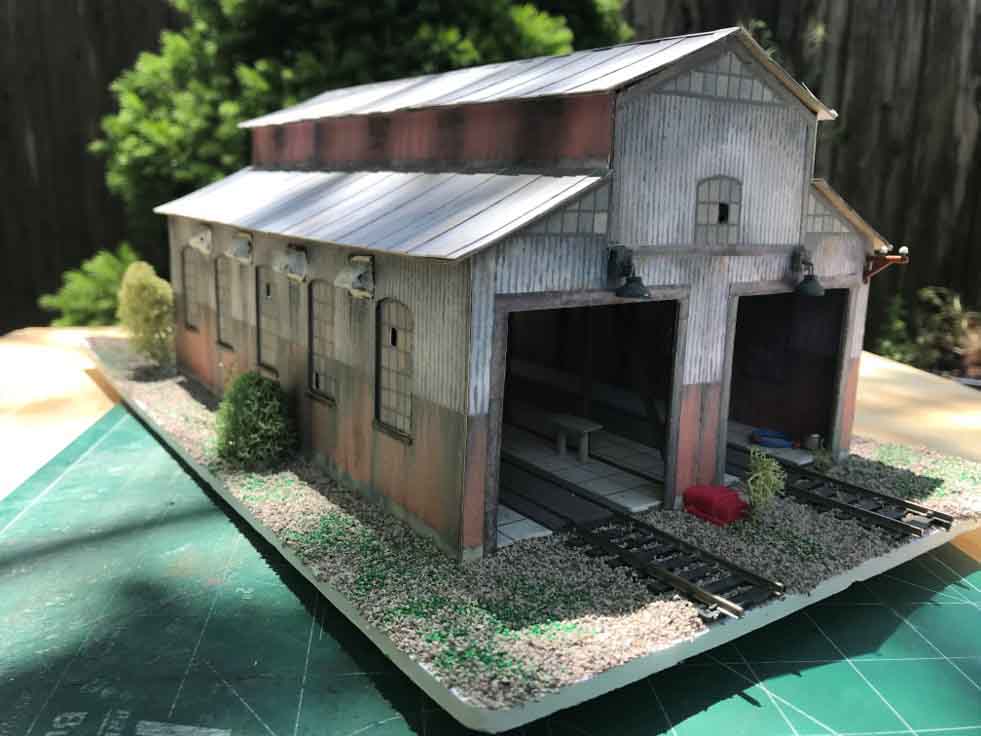
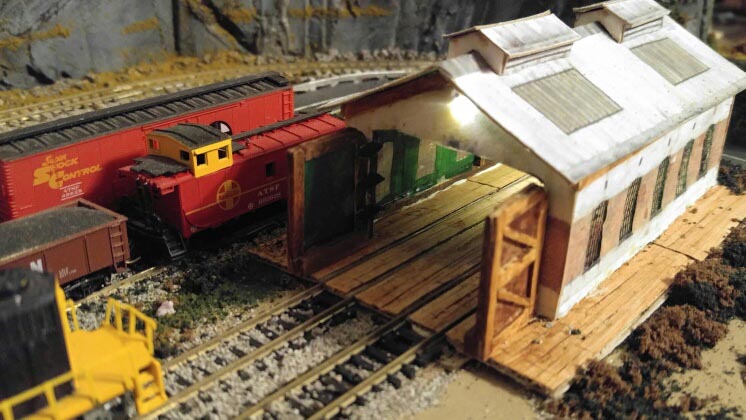
The printable buildings I’m asked most about are the engine sheds.
So I thought it would be fun/helpful to do a super quick video how-to.
If you want to watch the full length version, with Bonkers John at full throttle, It’s here.
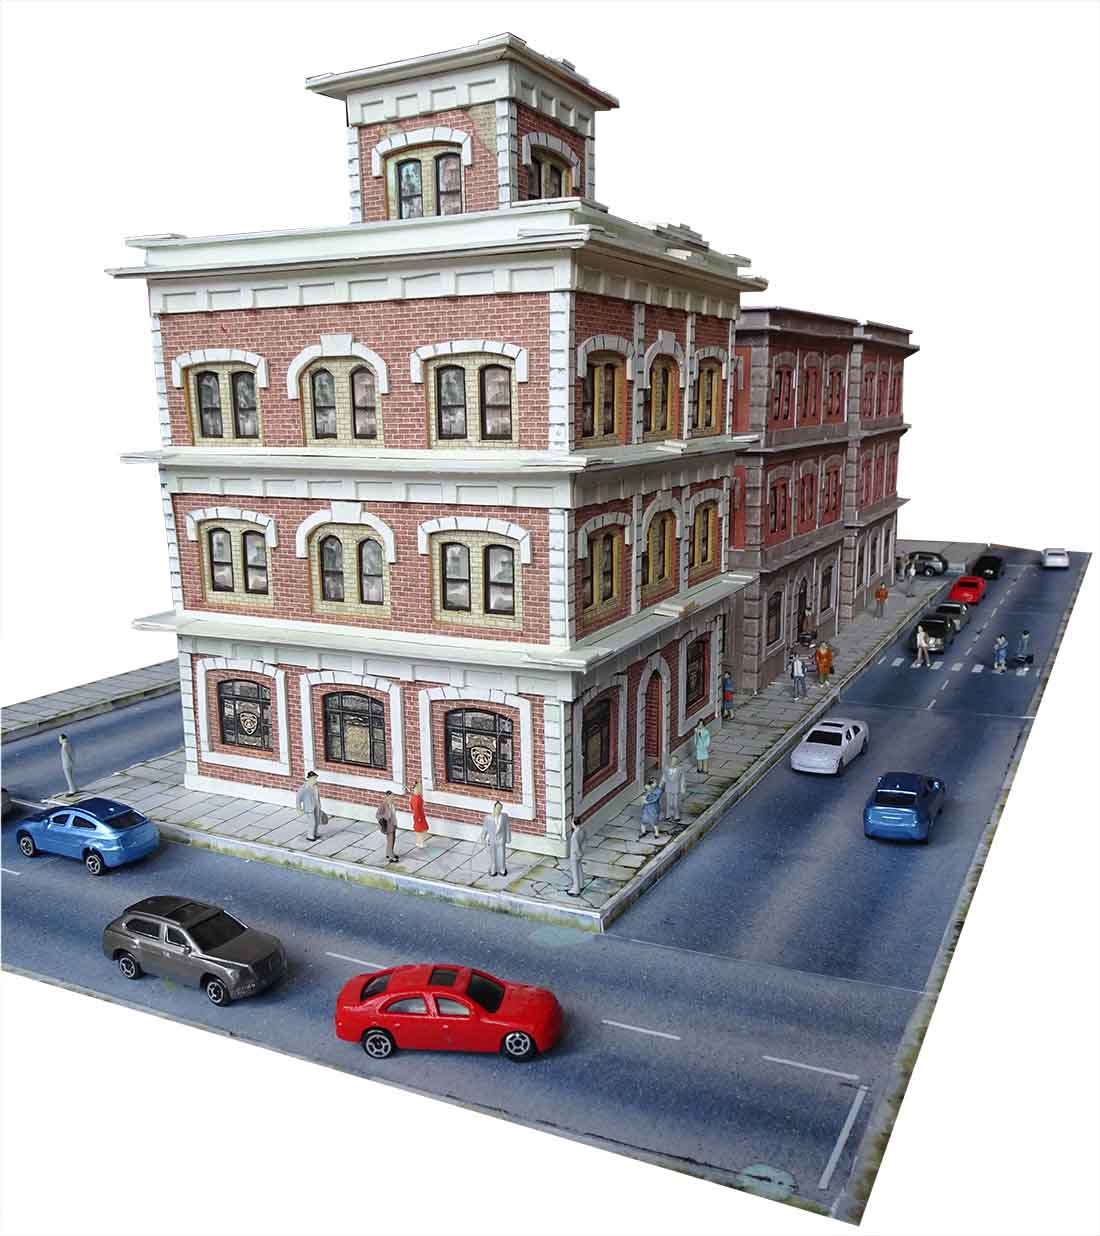
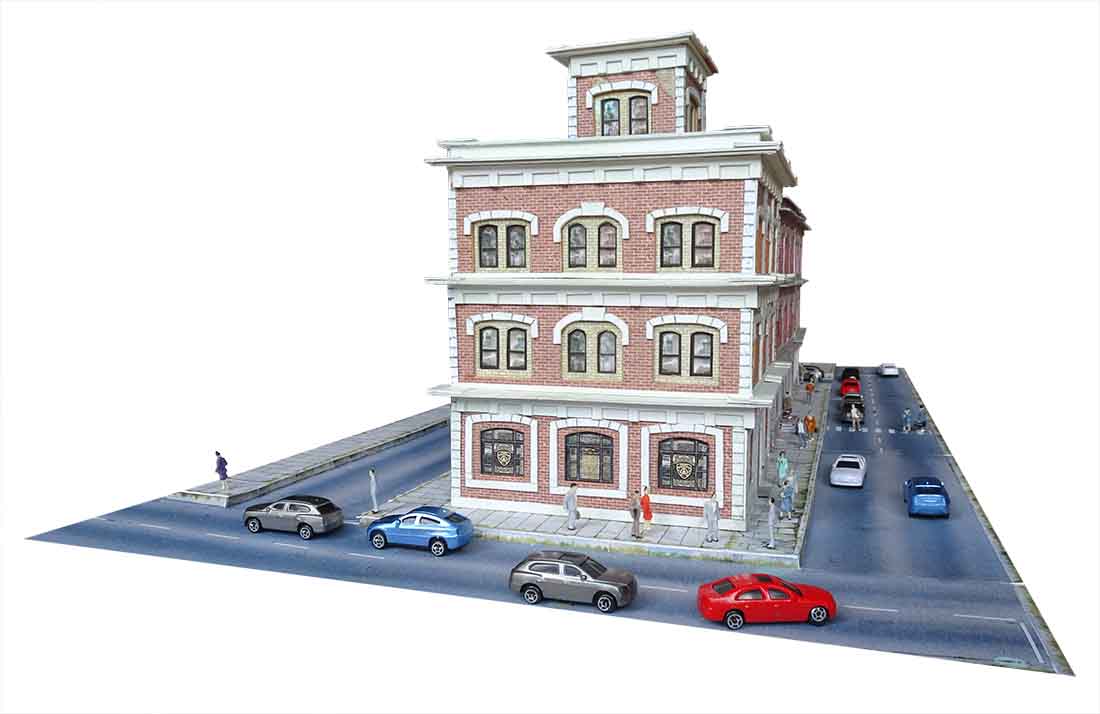
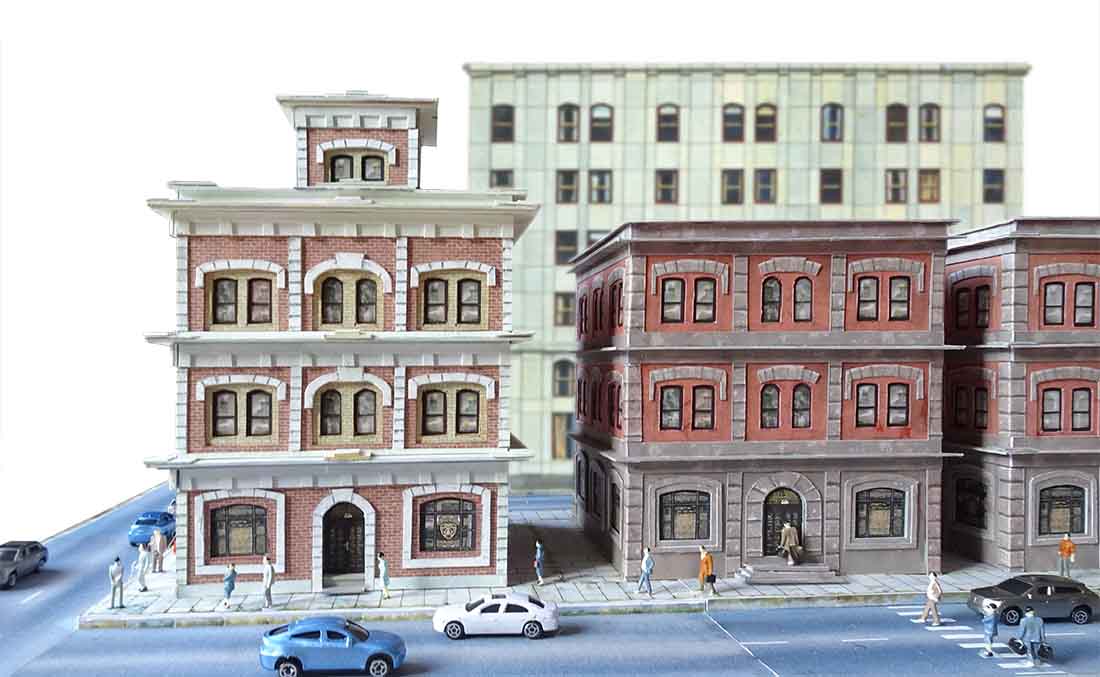
Next up, seeing as it’s nearly the last day day for the silly sale, I thought it would be fun to show you just some more scenes made from the printable scenery in the silly sale.
I’ve never given away so much for so little – just $9.
Are you really going to miss out on this crazy offer?
Here are some of the buildings on your layouts:
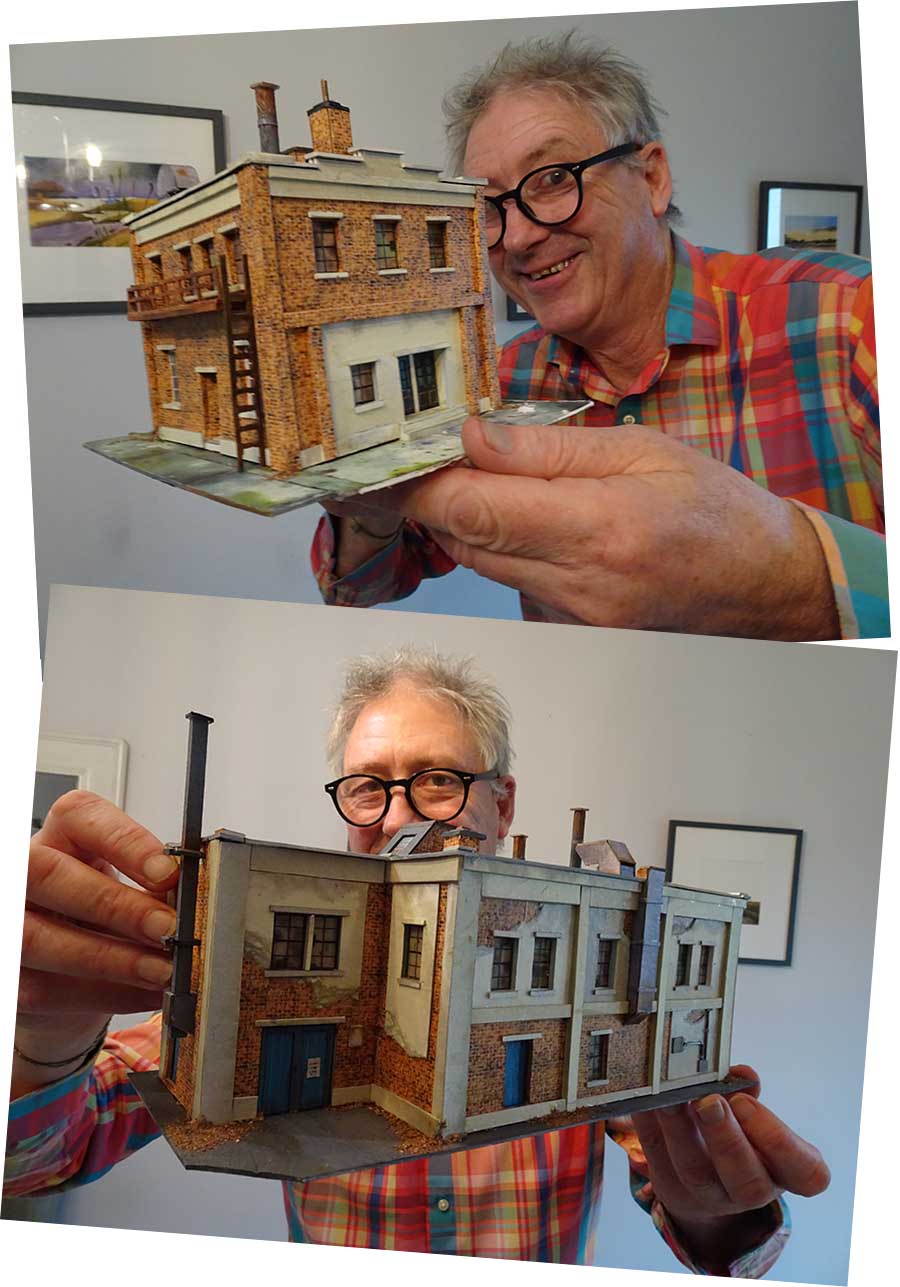
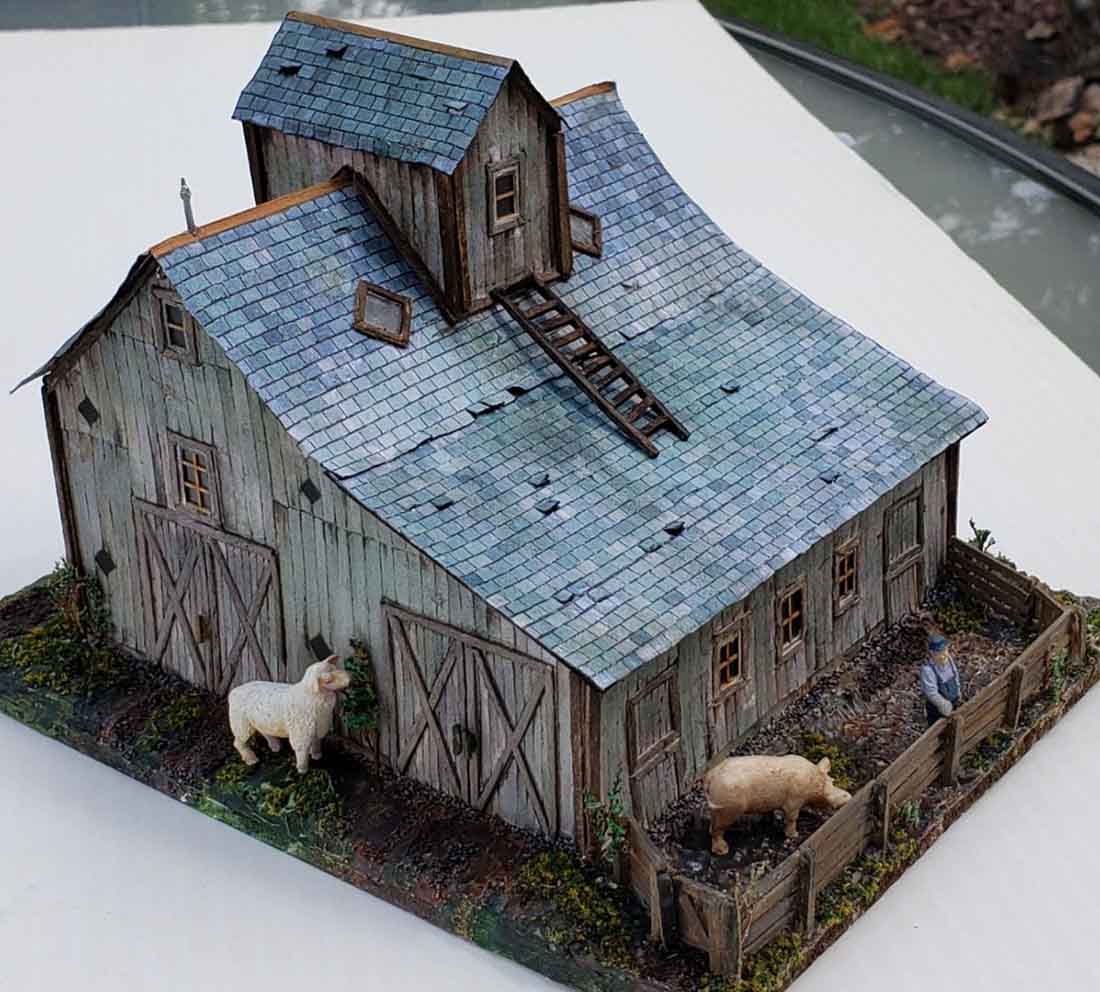
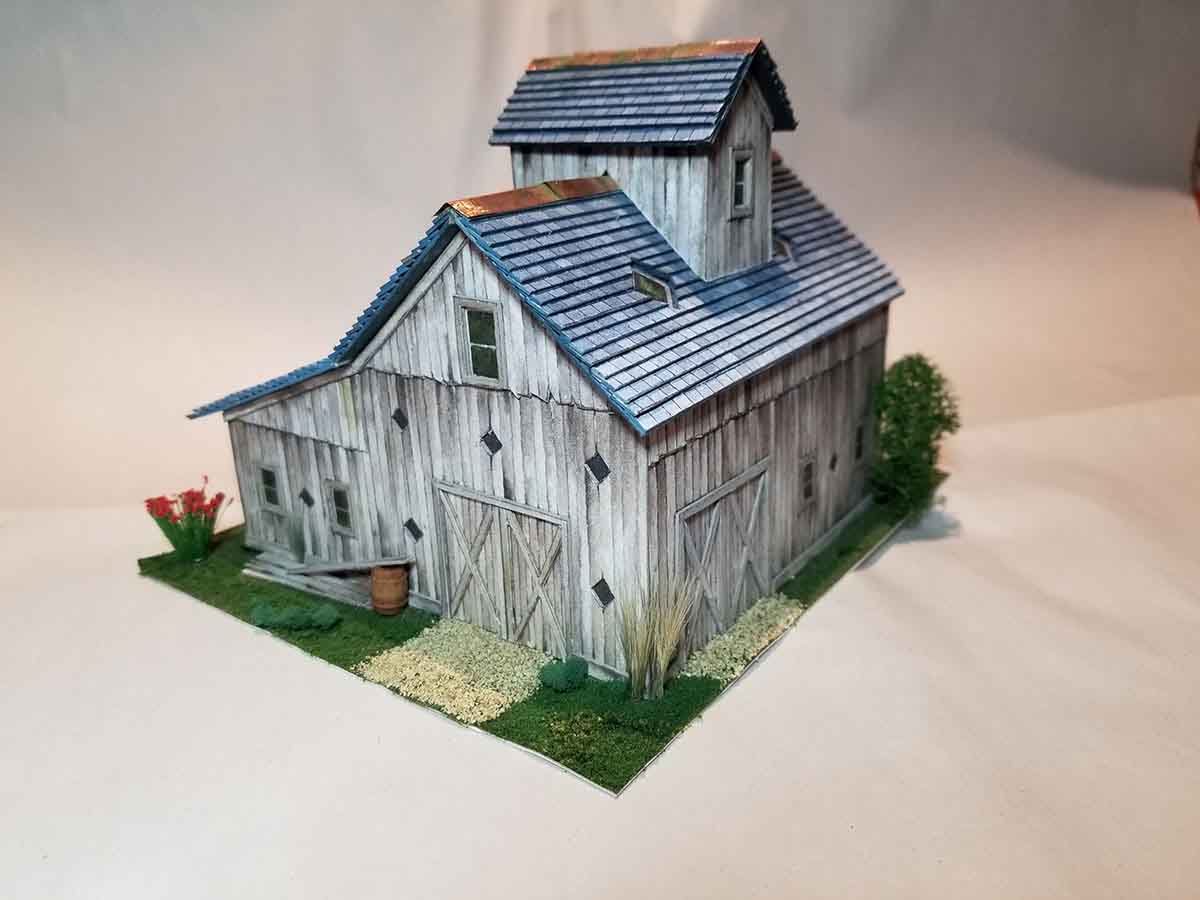
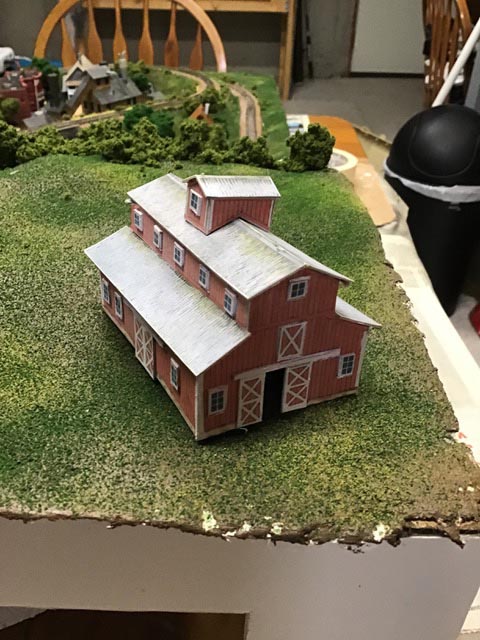
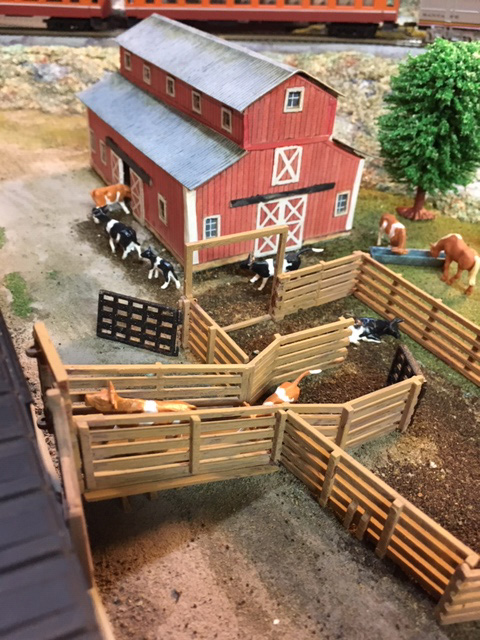
“Al, like you I have been retired for some time now.
I have gone back to my American Flyer, s Guage boyhood train.
I have had “n guage, HO, G scale”, and this American Flyer has been the most fun of all. I guess it takes me back to my parents basement where my 4 x 8 foot layout was back in the early 50’s.
I resized your wonderful old barn and had so much fun building it. Here are some pics. Hope everyone enjoys it as much as I have.
Jerry from Illinois, USA.”
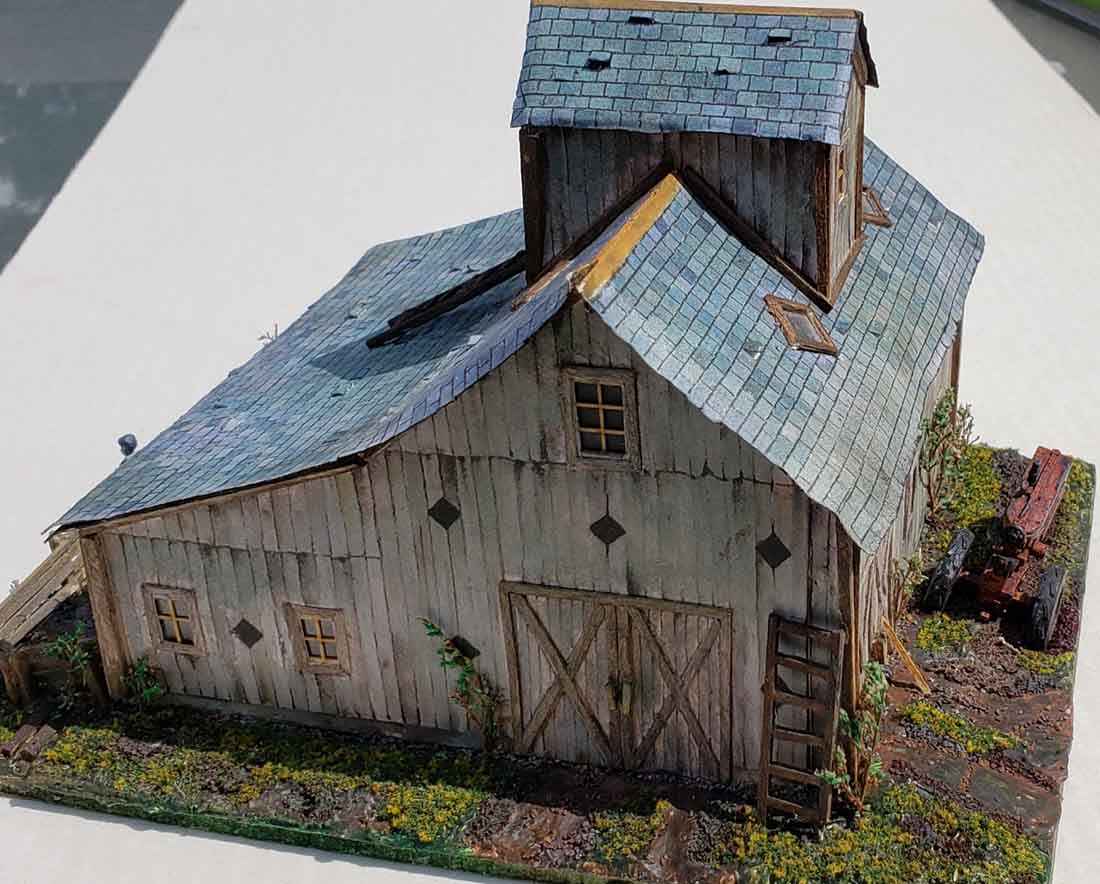
“Al,
Great project and a lot of fun. The barn is on it’s way to the Railroad Club.
Charles”
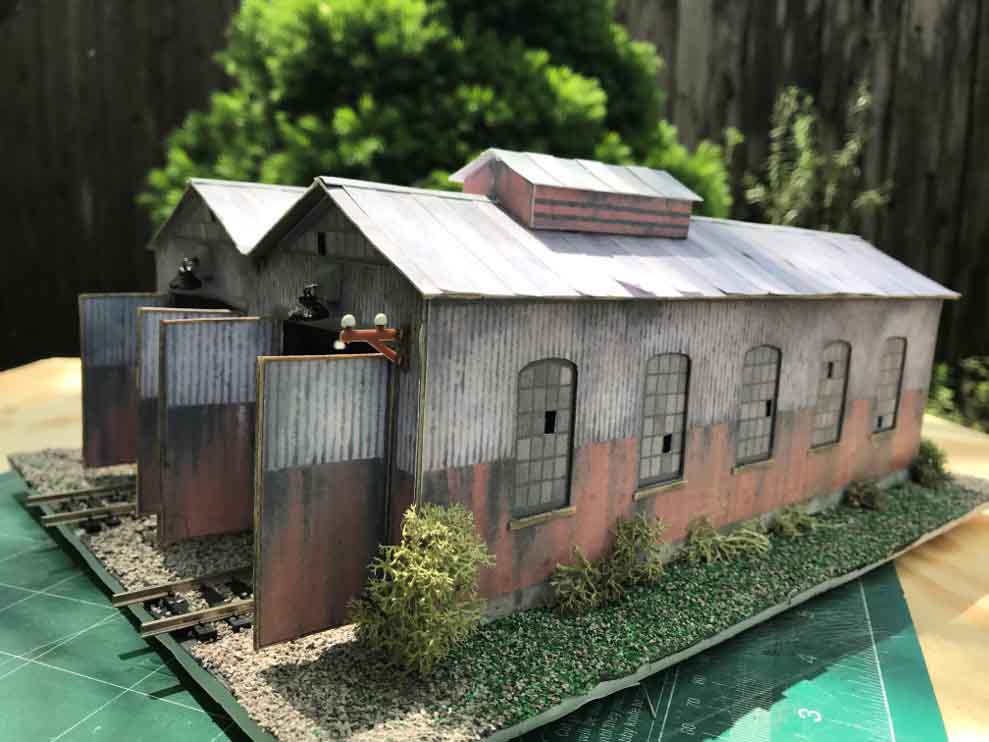
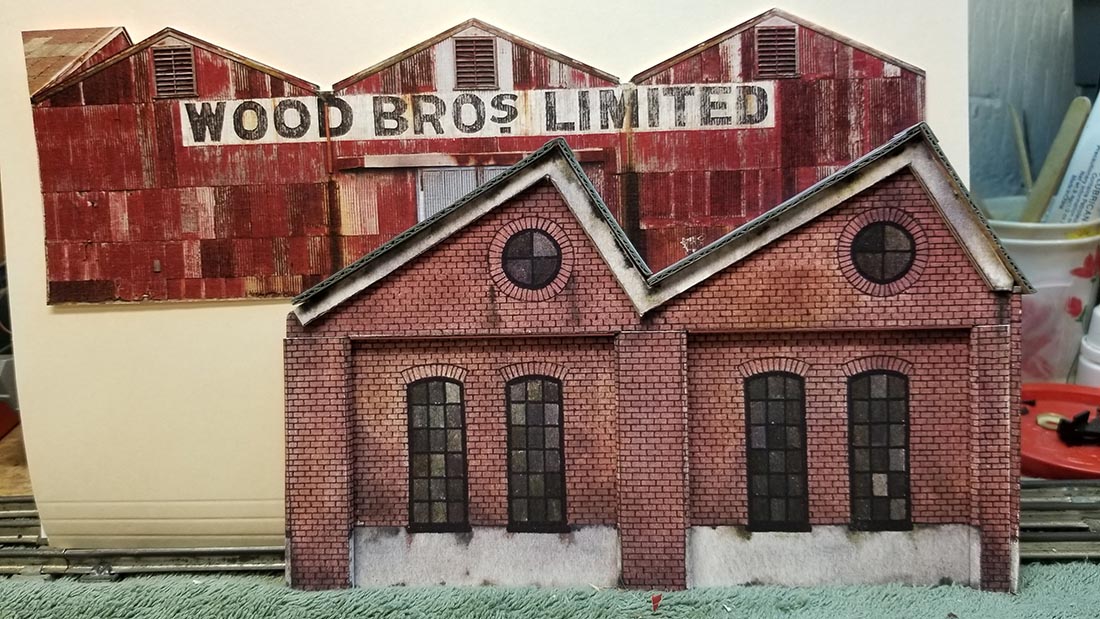
“Al
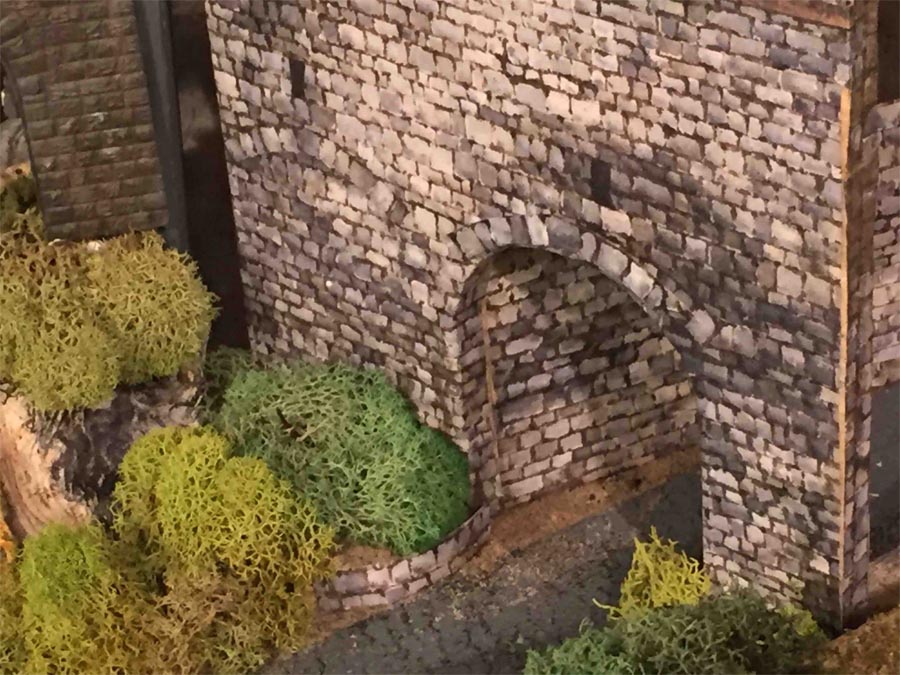
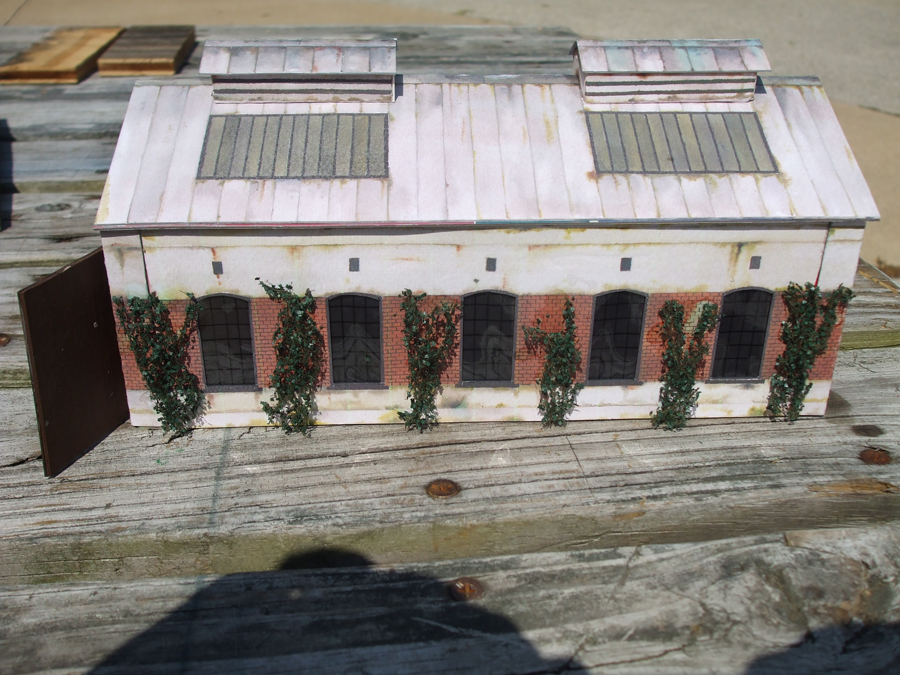
I have enjoyed your site for a long time, since I have retired had to find something to fill the spare time, I purchased one of your bundles and printed out one of the Engine sheds among many others.
I have created my own version of the Engine shed as shown in the pictures.
Side walls have ventilation fan vents.
I have dreamed to set up a model railroad layout for a long time and when I started to make it a reality one thing came up after another, like kids, education, weddings and now I have time and room to finish the dream, but not much of a budget.
Best to all talented people like Hall of Fame Dave, talented hobbyists and their many beautiful layouts.
Ryszard”
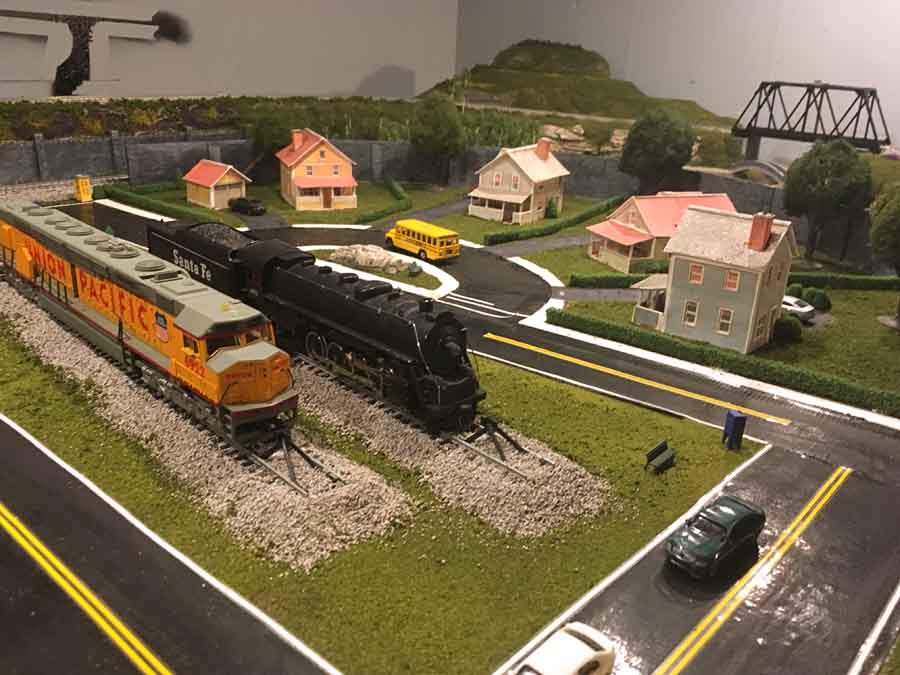
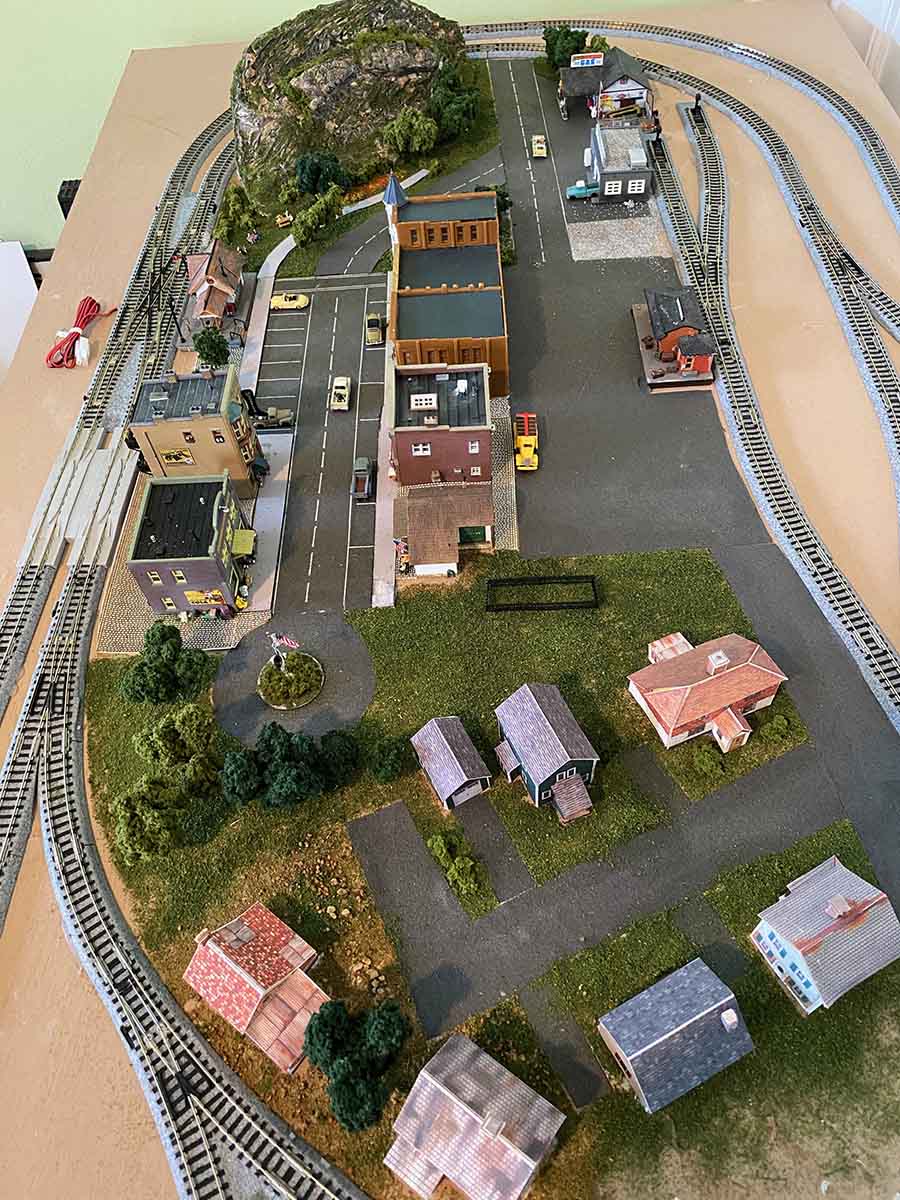
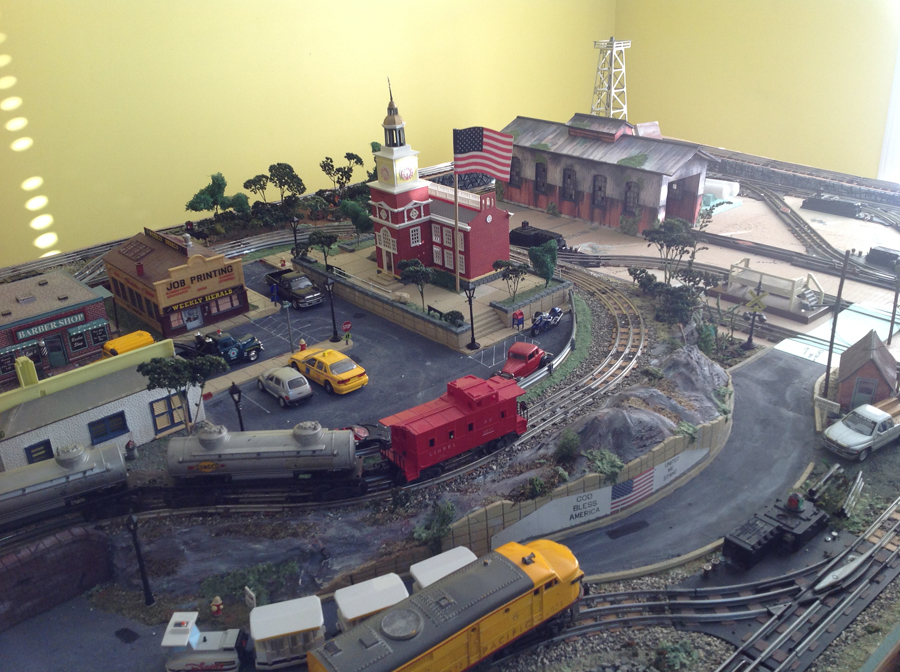
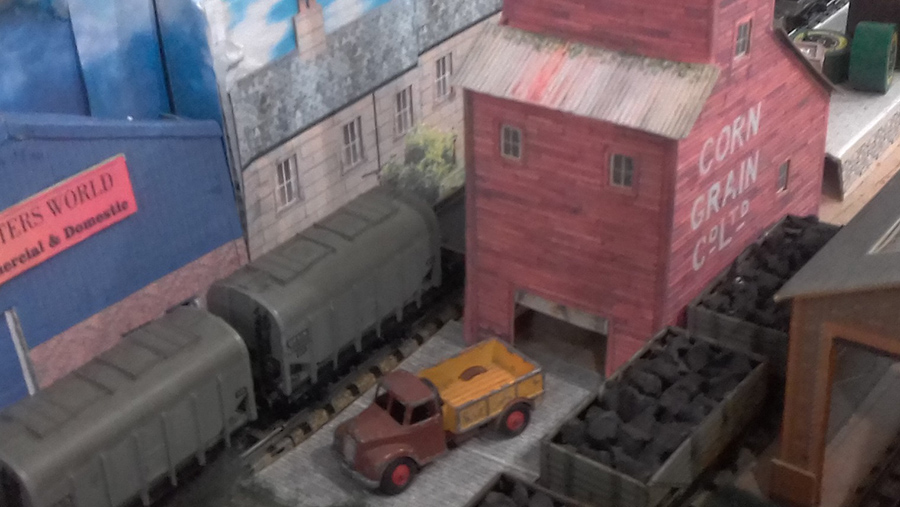
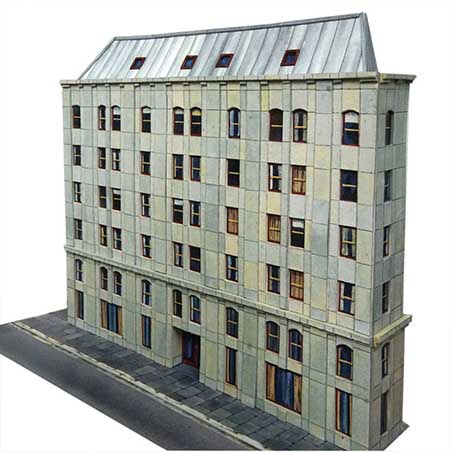
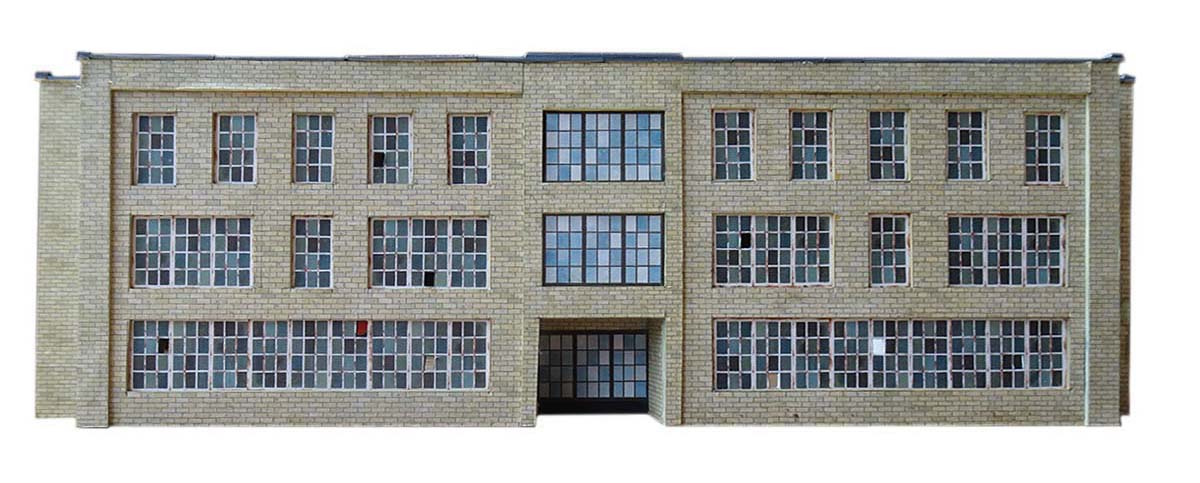
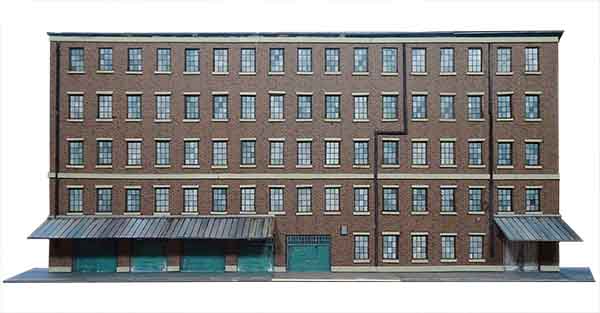
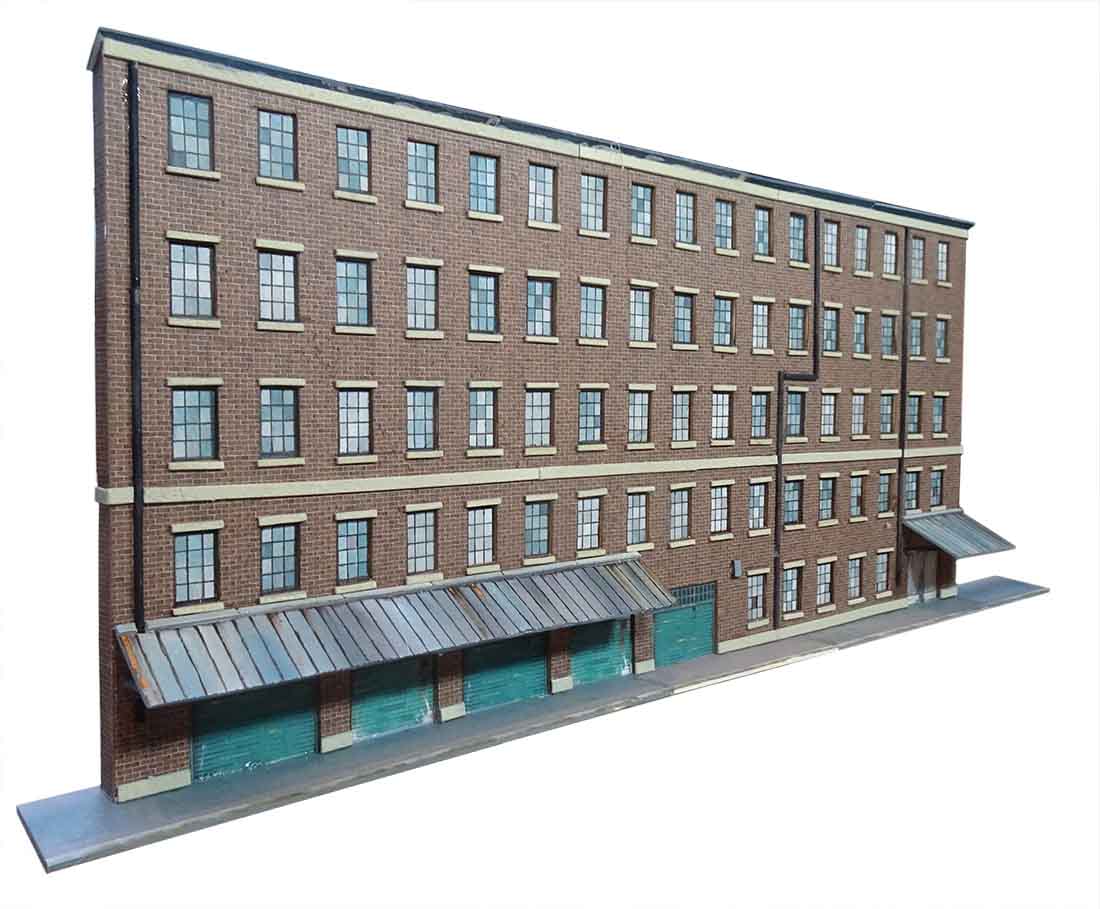
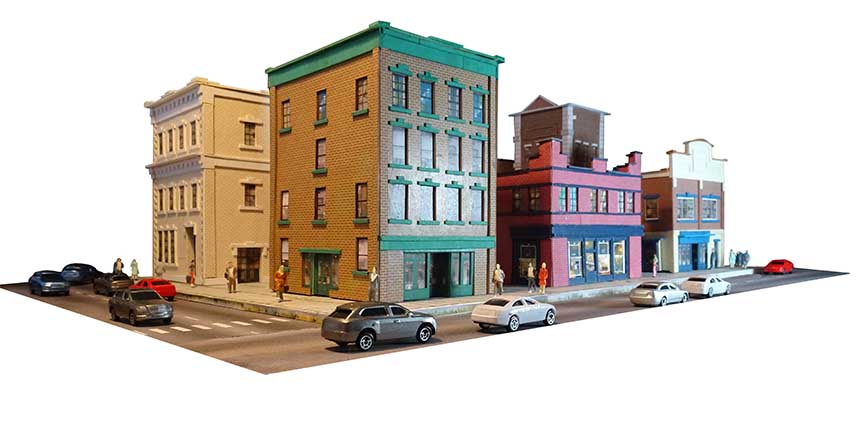
And of course, there’s lots of the printable buildings on your layouts.
Here some pictures of them:
Mike has used a lot of the houses and grain elevators (not featured in the bundle – just using a print out example).
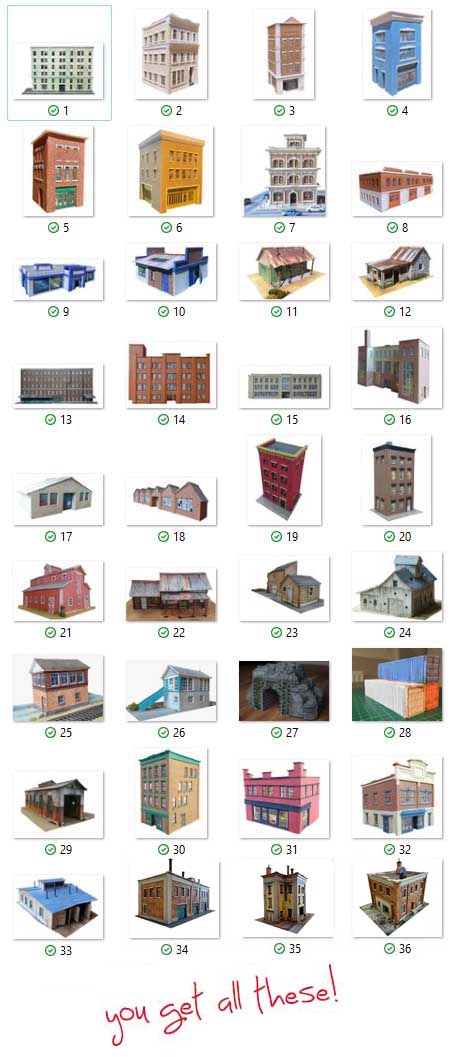
But don’t forget – it’s not just the printable buildings you get – it’s the Beginner’s Guide too:
Of course, I’m biased so here’s what others say about it:
“Al,
I really like the Beginner’s Guide. As a true beginner it helped me quite a bit. The Guide answered questions I didn’t know enough to ask.
I haven’t gotten to the building prints yet, still working on my terrain.
Bruce”
“Hi Alistair,
Your print out building kits have saved me hundreds of dollars on buildings and they provide the unique option of being able to customize the builds most any way I desire.
Until I came across your kits, I was very limited on what I could add to my planned N-scale layout. Commercial building kits are way too expensive for a retired person’s budget.
I now have the ability to not only build nice scenes, they don’t require weathering. Something I’m not terribly adept at accomplishing. Also, as a 70 year old kid, working in N-scale can be challenging for clumsy arthritic fingers. Your kits eliminate most of those issues. All I need is a sharp blade, scissors, glue and my imagination.
Also, your beginner’s guide is invaluable. I’m a retired network systems architect, so tech is not scary to me yet surfing the web for information can be tedious. I was a pre-teen the last time I played with model trains, and a lot has changed in the hobby since the early 60’s. You’ve solved all of that by providing one source for virtually all my basic needs, plus your daily email blog covers it all. What an incredible resource you are to this hobby.
Thanks for doing all of what you do.
Best Regards,
Ken”
“Hi Al
I really enjoyed the beginner’s guide book. I’m new to the train world. I have just retired and trying to make an attempt to start a hobbie with HO scale trains. You and your followers have encouraged me for the last two year’s. I Thankyou and your followers for sharing their train world
Sam”
Of course, I’m very biased, but I think the Beginner’s Guide and all these printable buildings bundled free are a real steal – just $9 for the next day or so.
I think Ken’s quote above puts it best:
“Your print out building kits have saved me hundreds of dollars on buildings and they provide the unique option of being able to customize the builds most any way I desire.”
You get 25 printable buildings with the Beginner’s Guide (although with a bit of imagination you can make, many, many more).
You’ll see these buildings sell in the store for $9 each or more.
And the Beginner’s Guide sells for $27.
So you are saving a massive $342 on this deal.
You’re also getting the track plans PDF too.
What’s more, have a look at throught the store and you can see it’s a real, genuine, saving.
But please bear in mind, this silly sale is only for a few days, and then it’s all goes back to normal.
I do like to think that when I have a sale it’s genuine, and there is real value.
So if you fancy this bargain before it disappears like a shadow in the night, grab it right now.
Or, I know some of you good people just buy it to support the site. God bless each and every one of you.
Whatever your reasons, the Beginner’s Guide for $9 and the free printable buildings make it easy for you to make that all important start.
And that, my friends, is what it’s all about. Making that start.