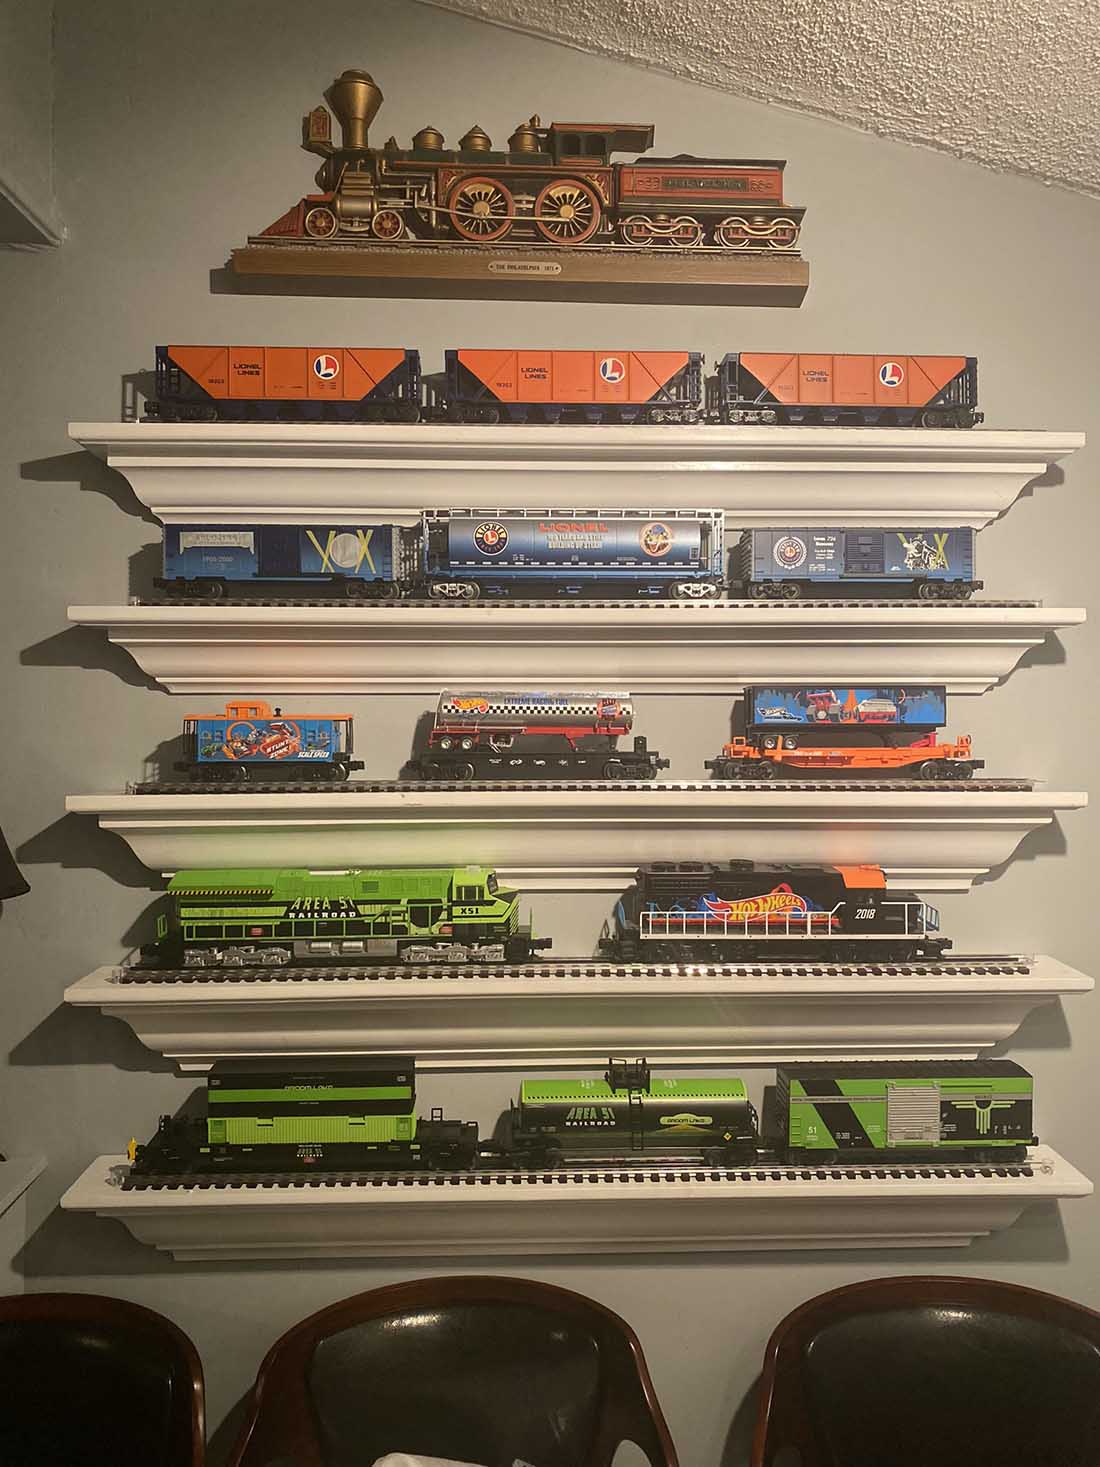
Ben’s been back in touch – he’s been having fun with his N scale switching layout:
“Hi Alastair,
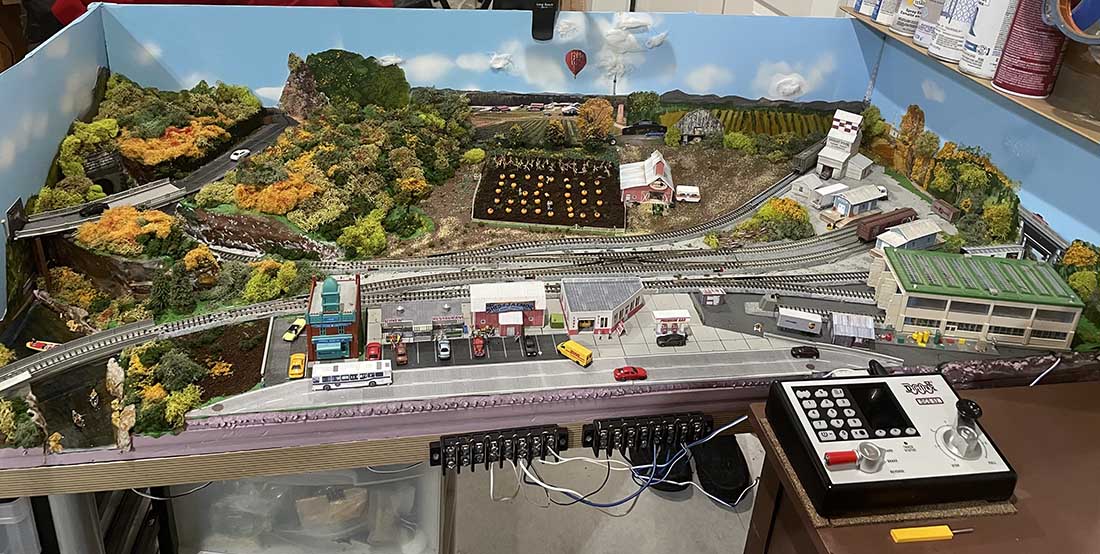
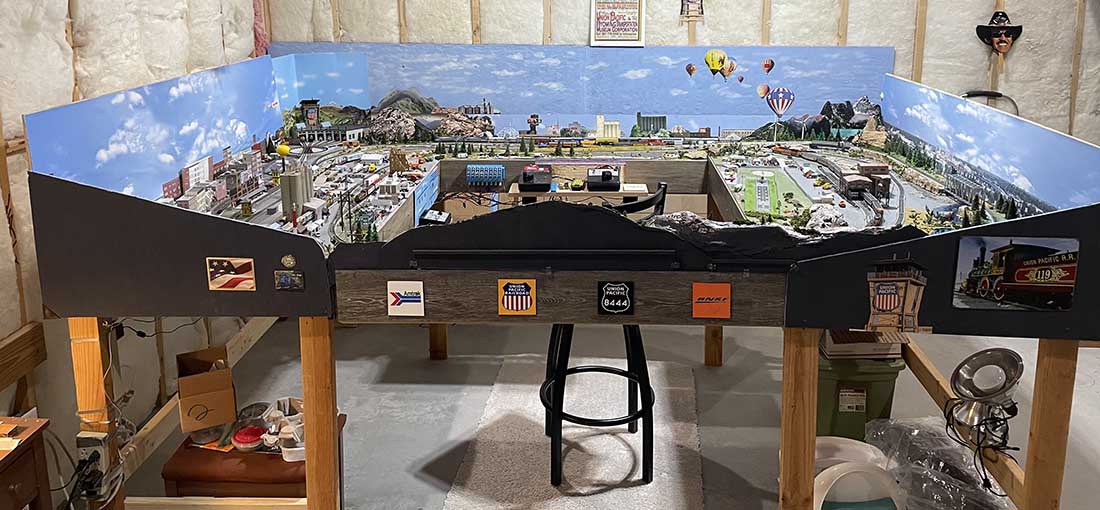
Thanks again for earlier featuring my 6×12 N Scale layout set in Wyoming with locales based on the best-selling series of novels by author C.J. Box.
We retired to life on Lake Lanier GA in 2019 and was fascinated by the dense foliage in the state. I also began to see more and more articles about switching layouts.
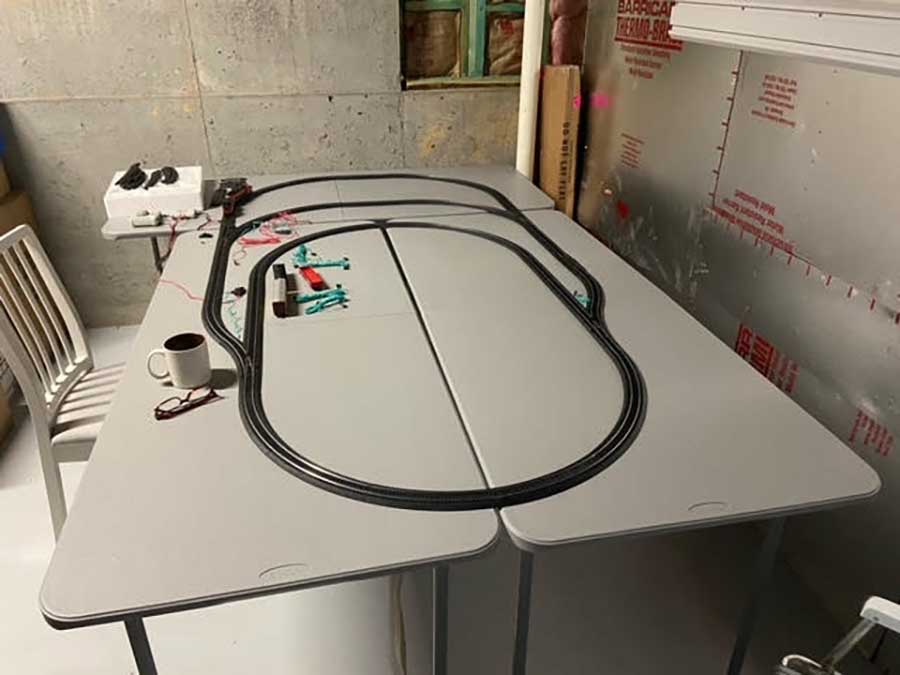
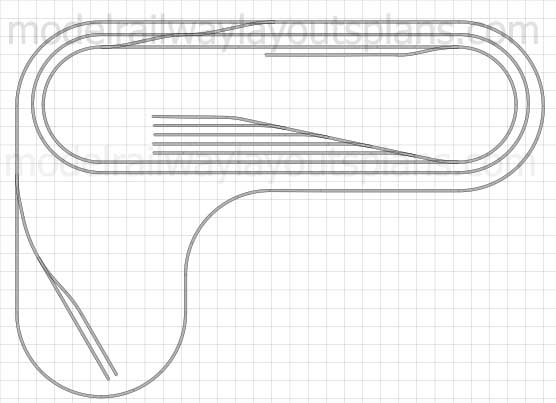
When a family member was remodeling a home office I was offered a 2×4 table, which became the foundation of my switching layout.
My main goals and objects were:
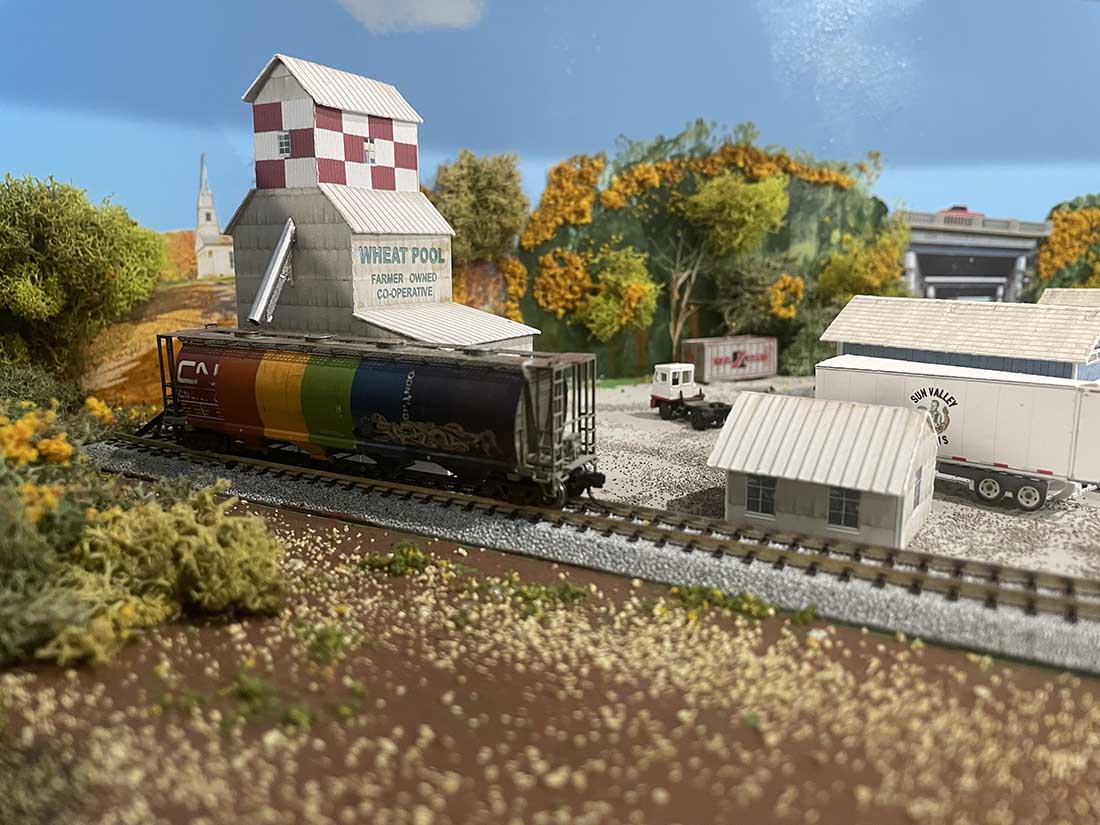
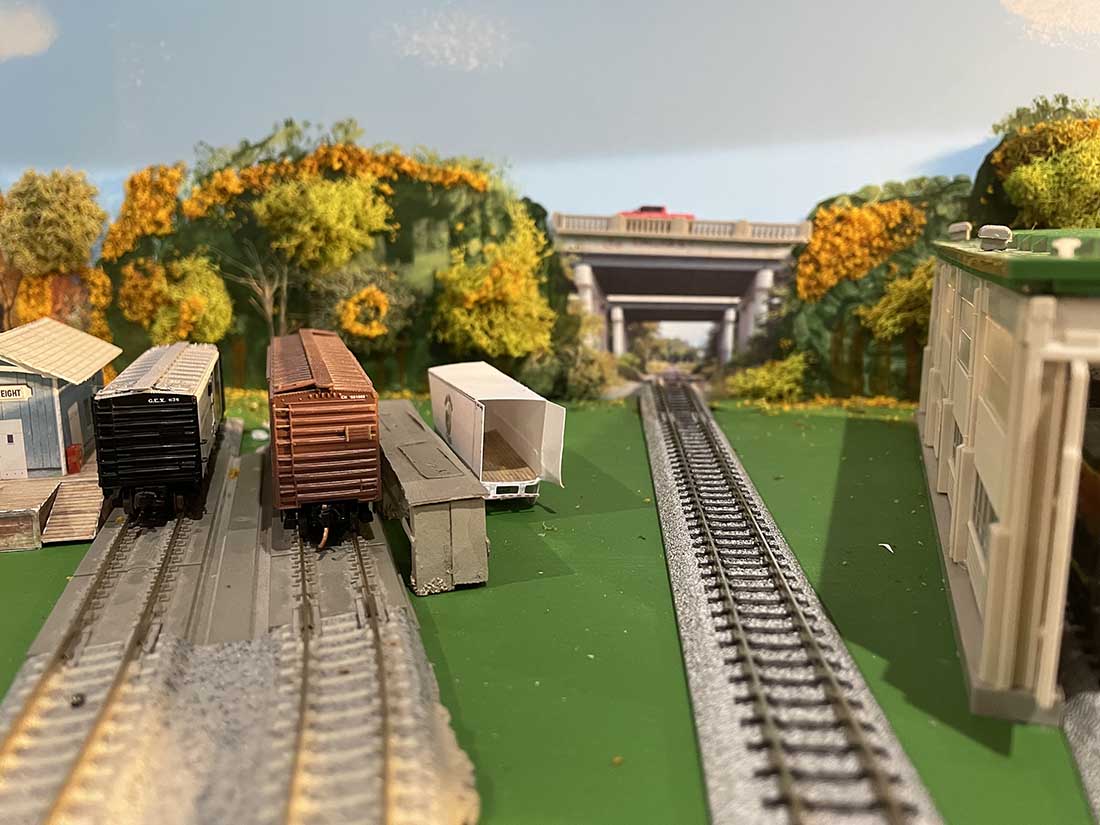
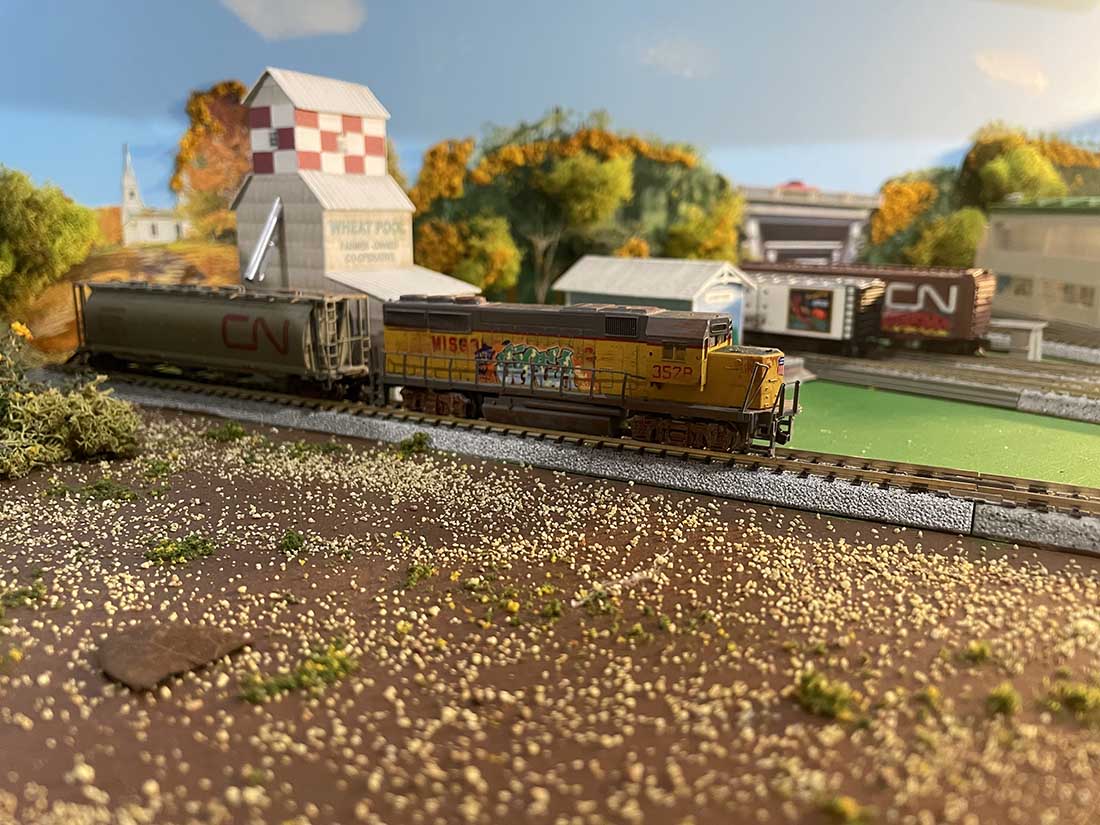
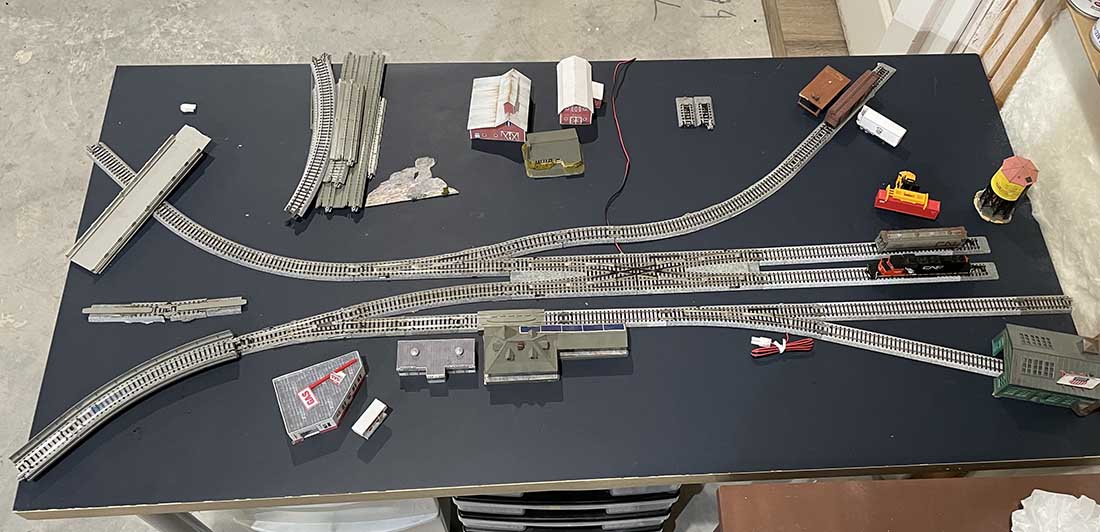
1. Use as much spare track, buildings etc that I had lying around.
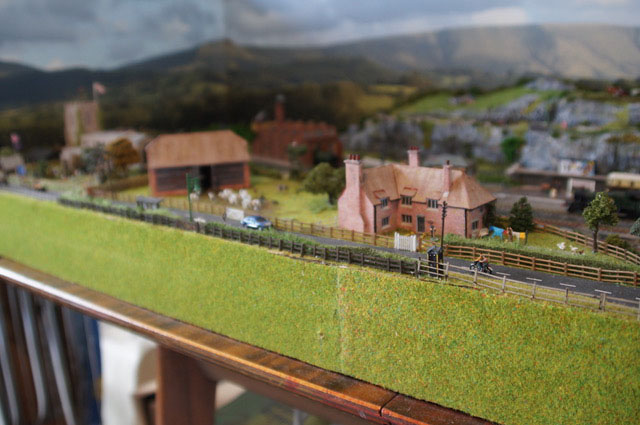
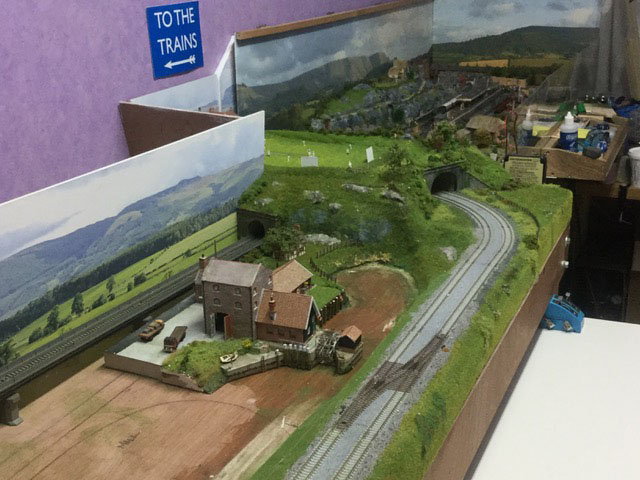
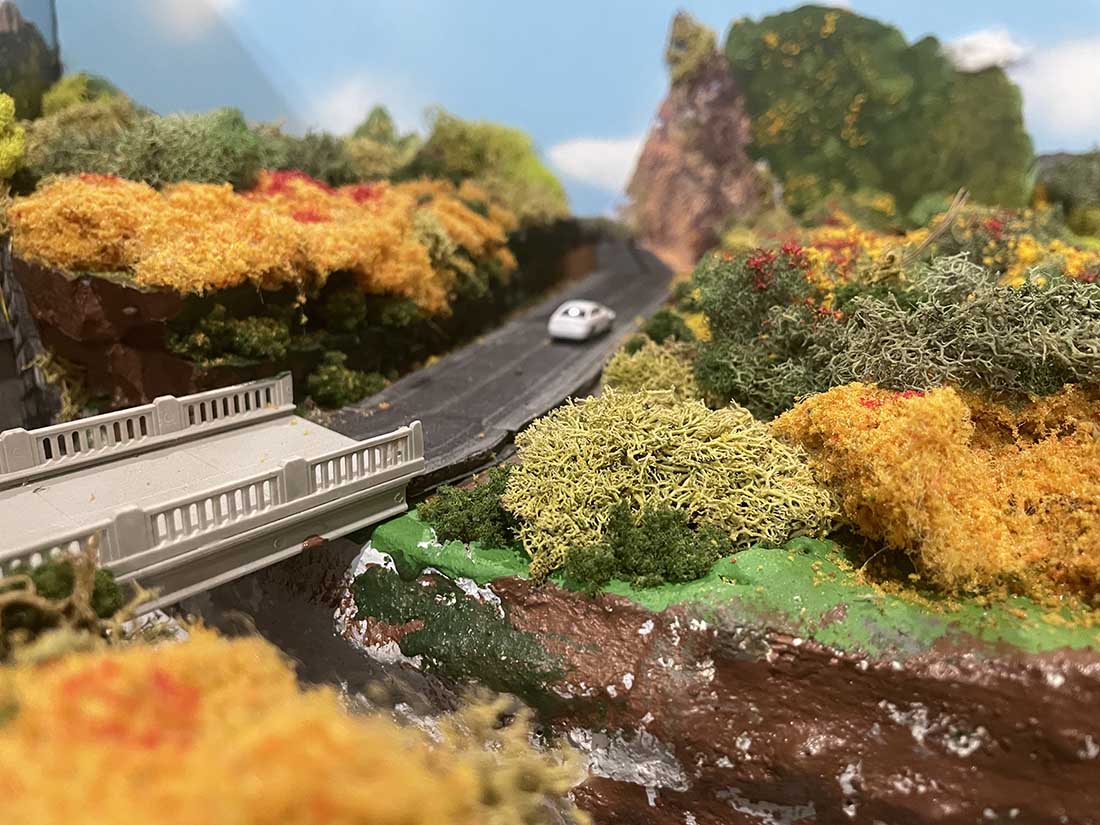
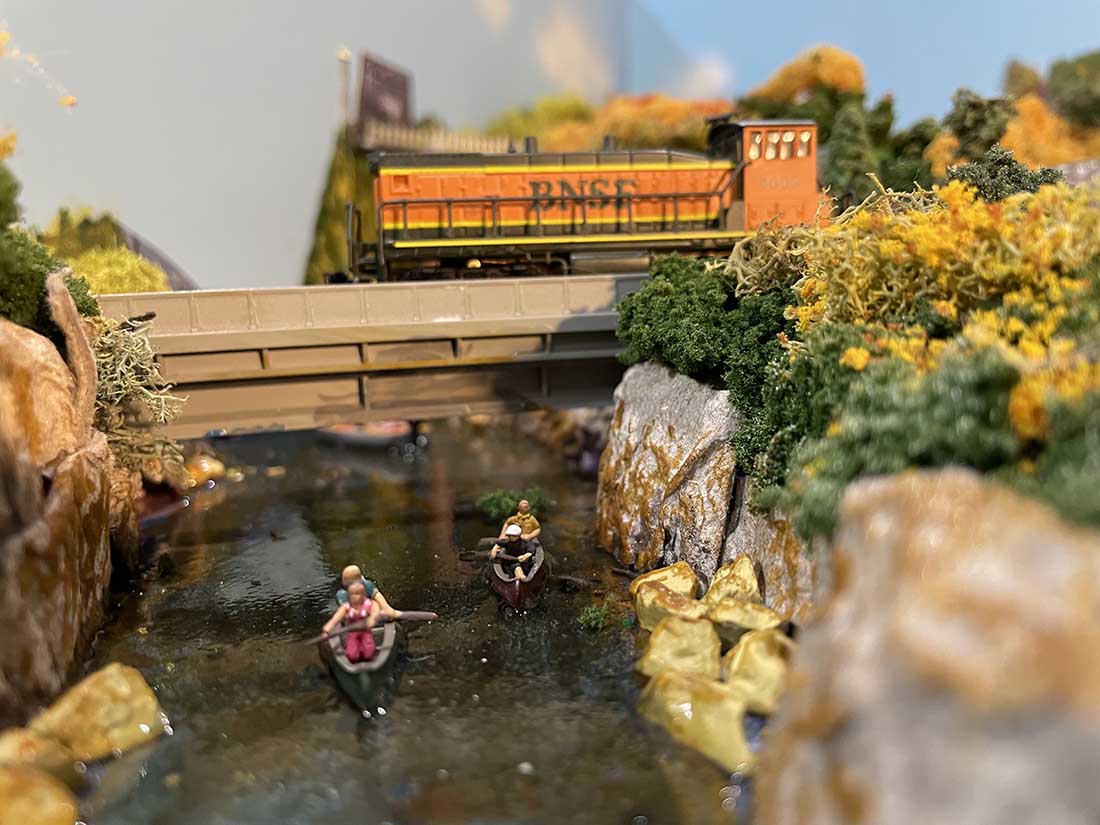
2. Experiment using photos incorporated in backdrops. Lots of photos!
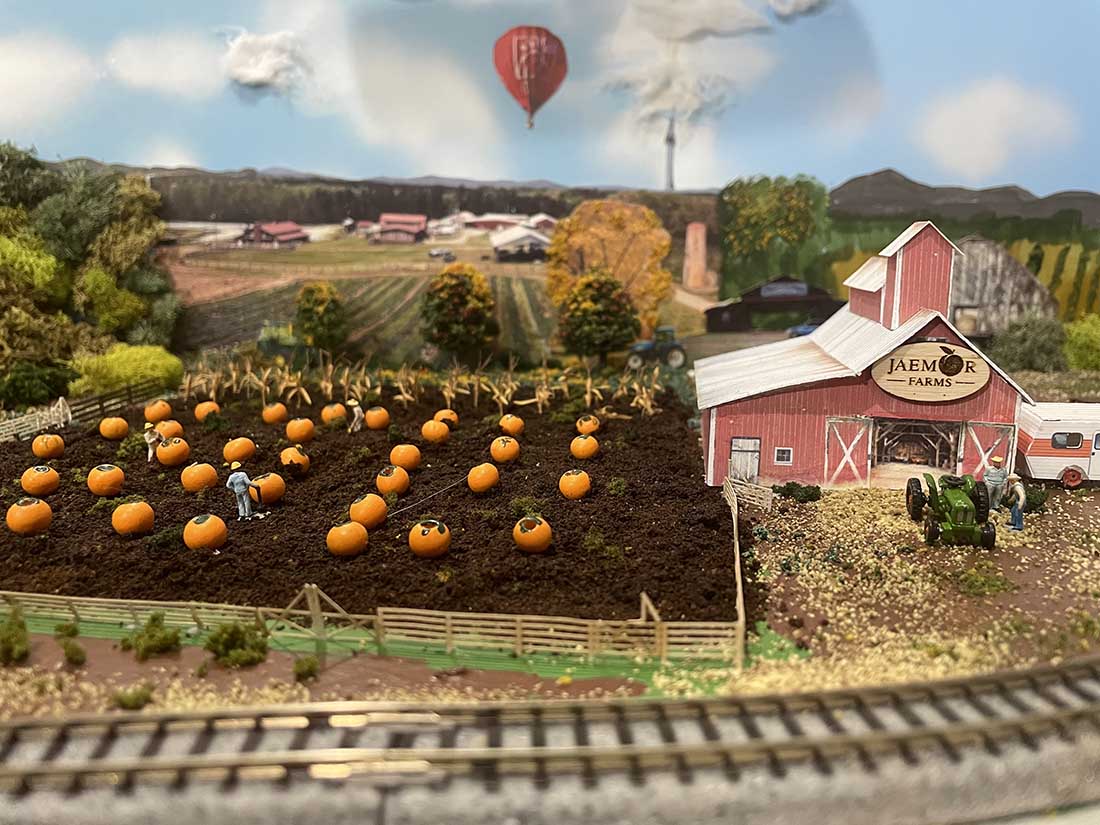
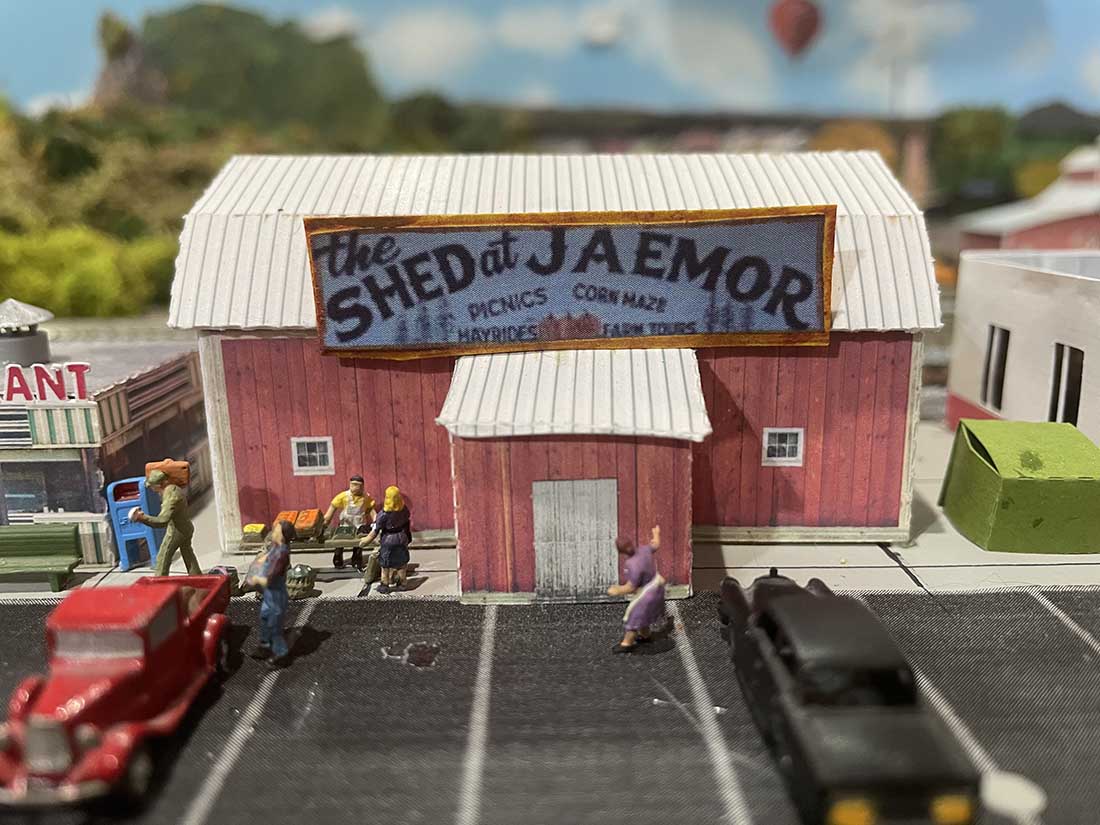
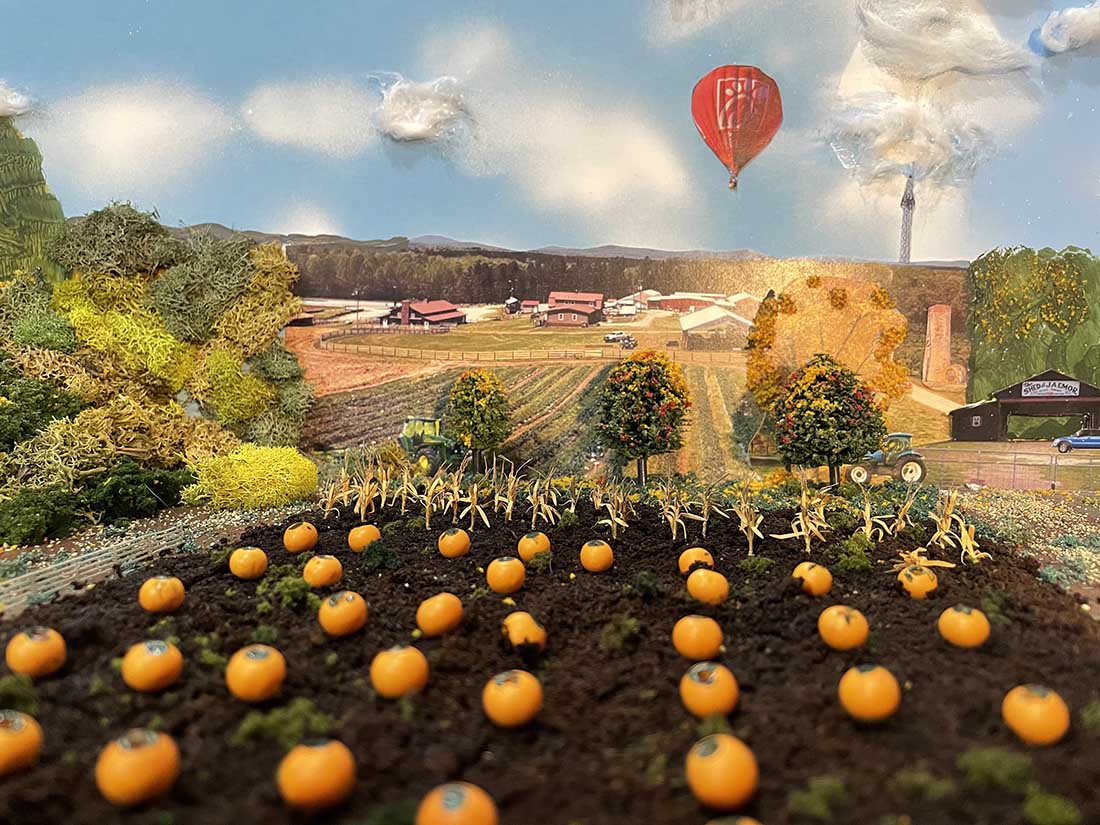
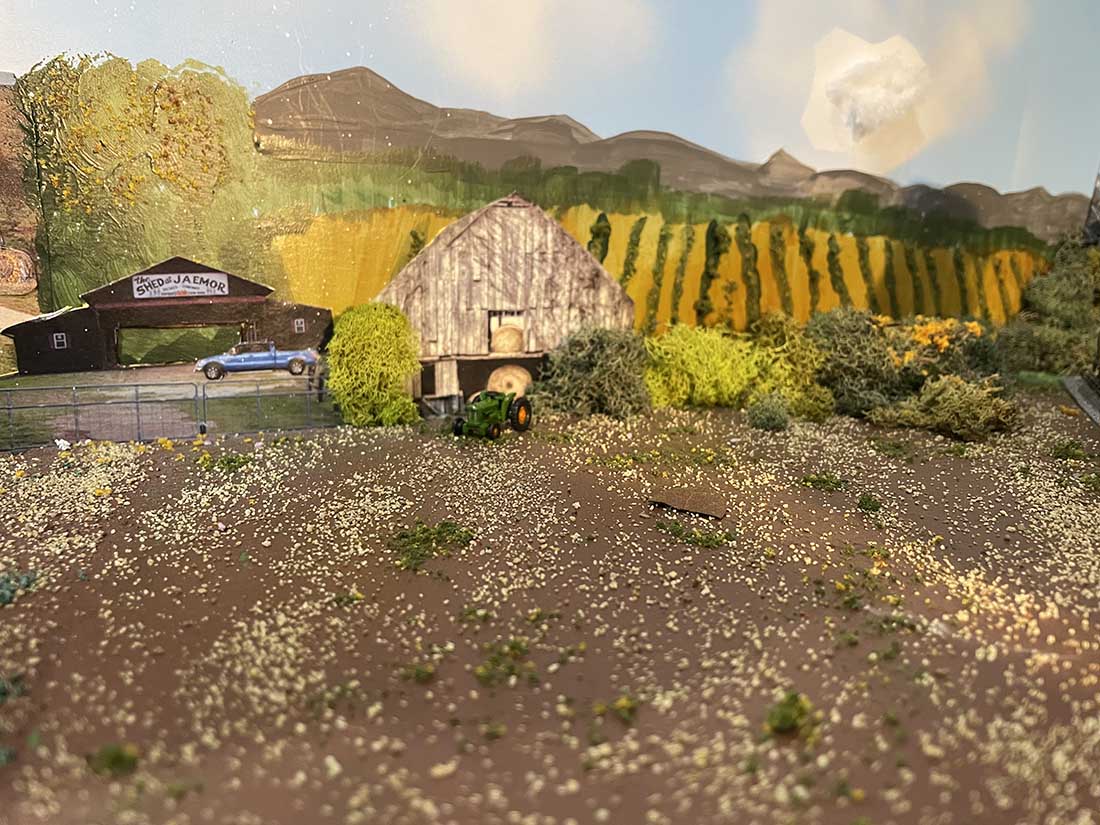
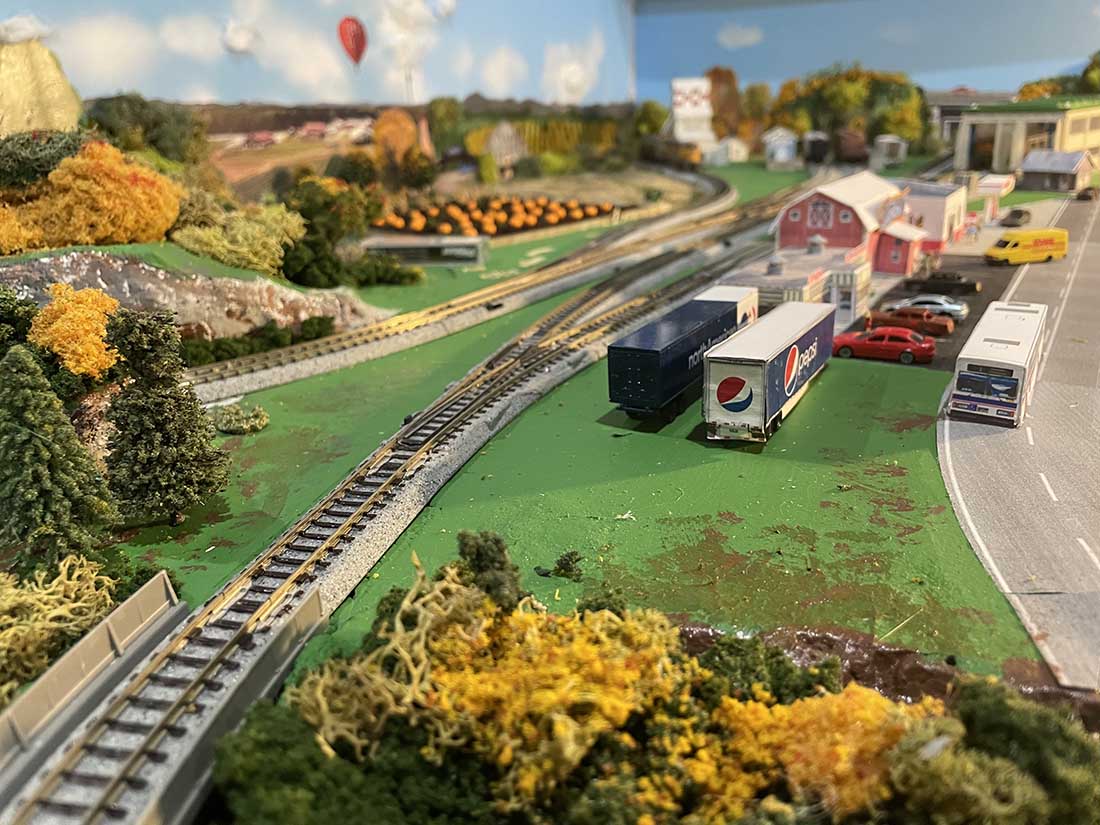
3. Locale inspired by the real-life Jaemor Farms north of Gainesville GA.
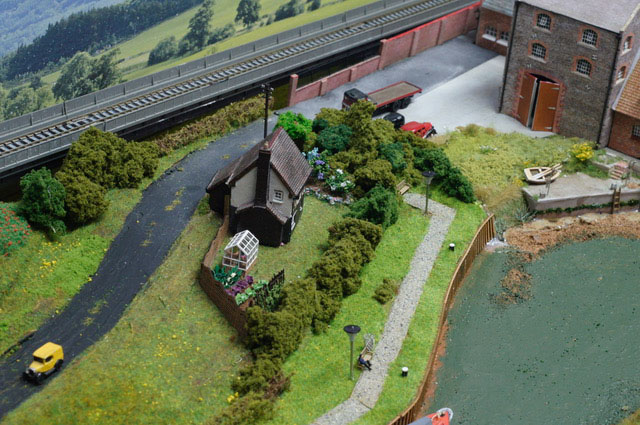
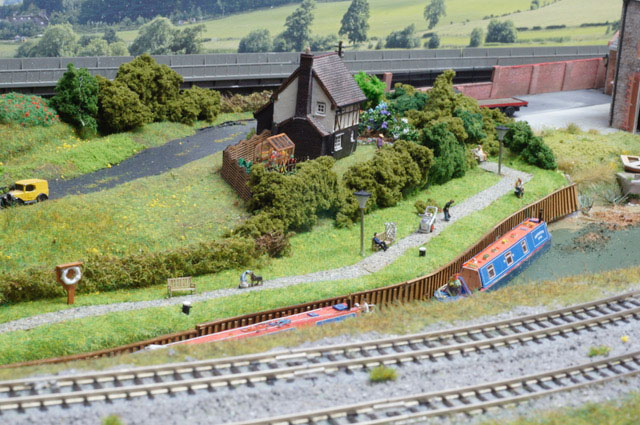
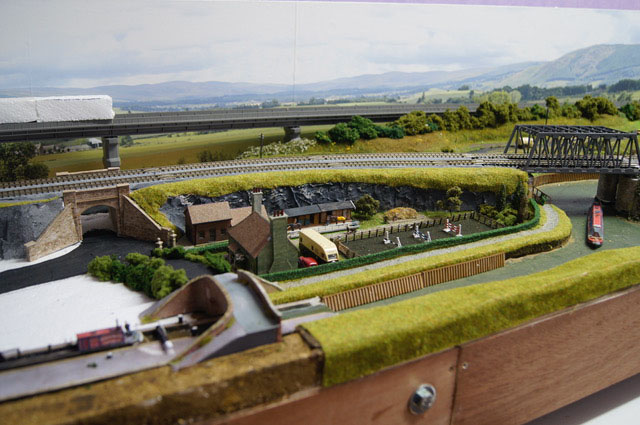
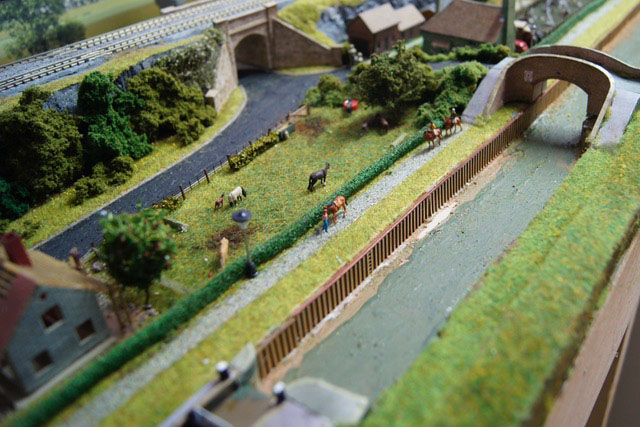
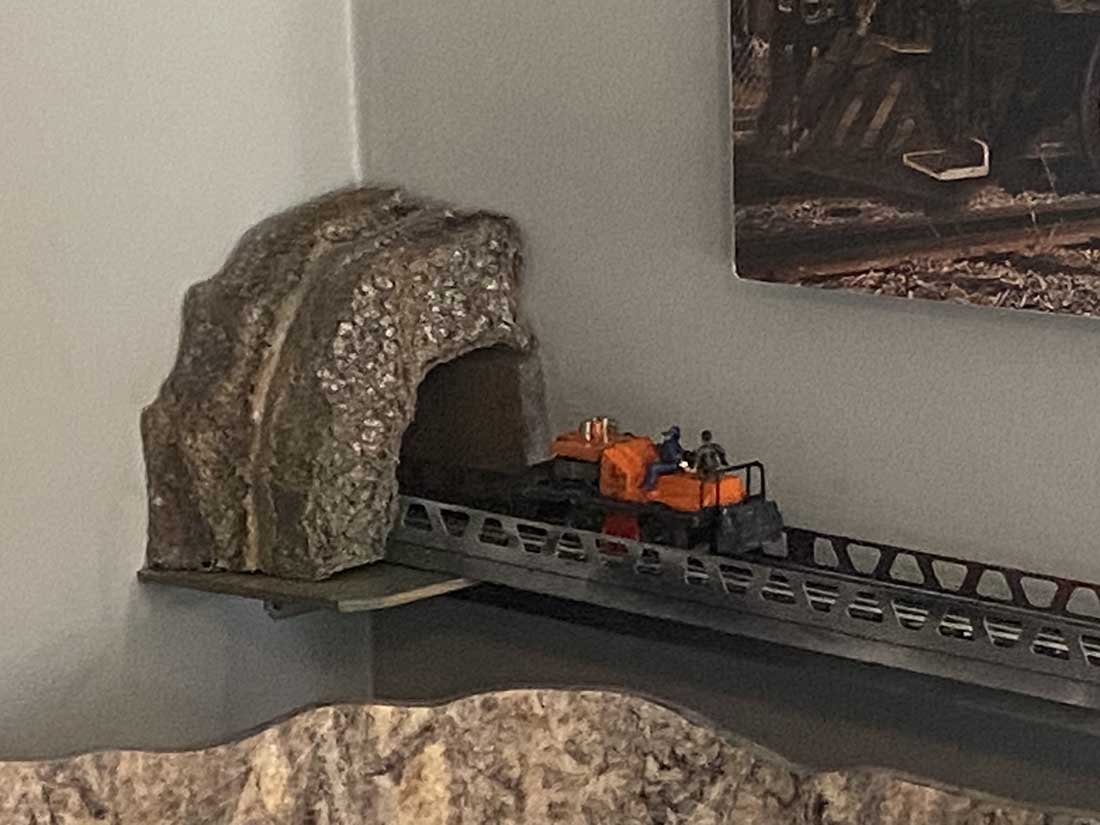
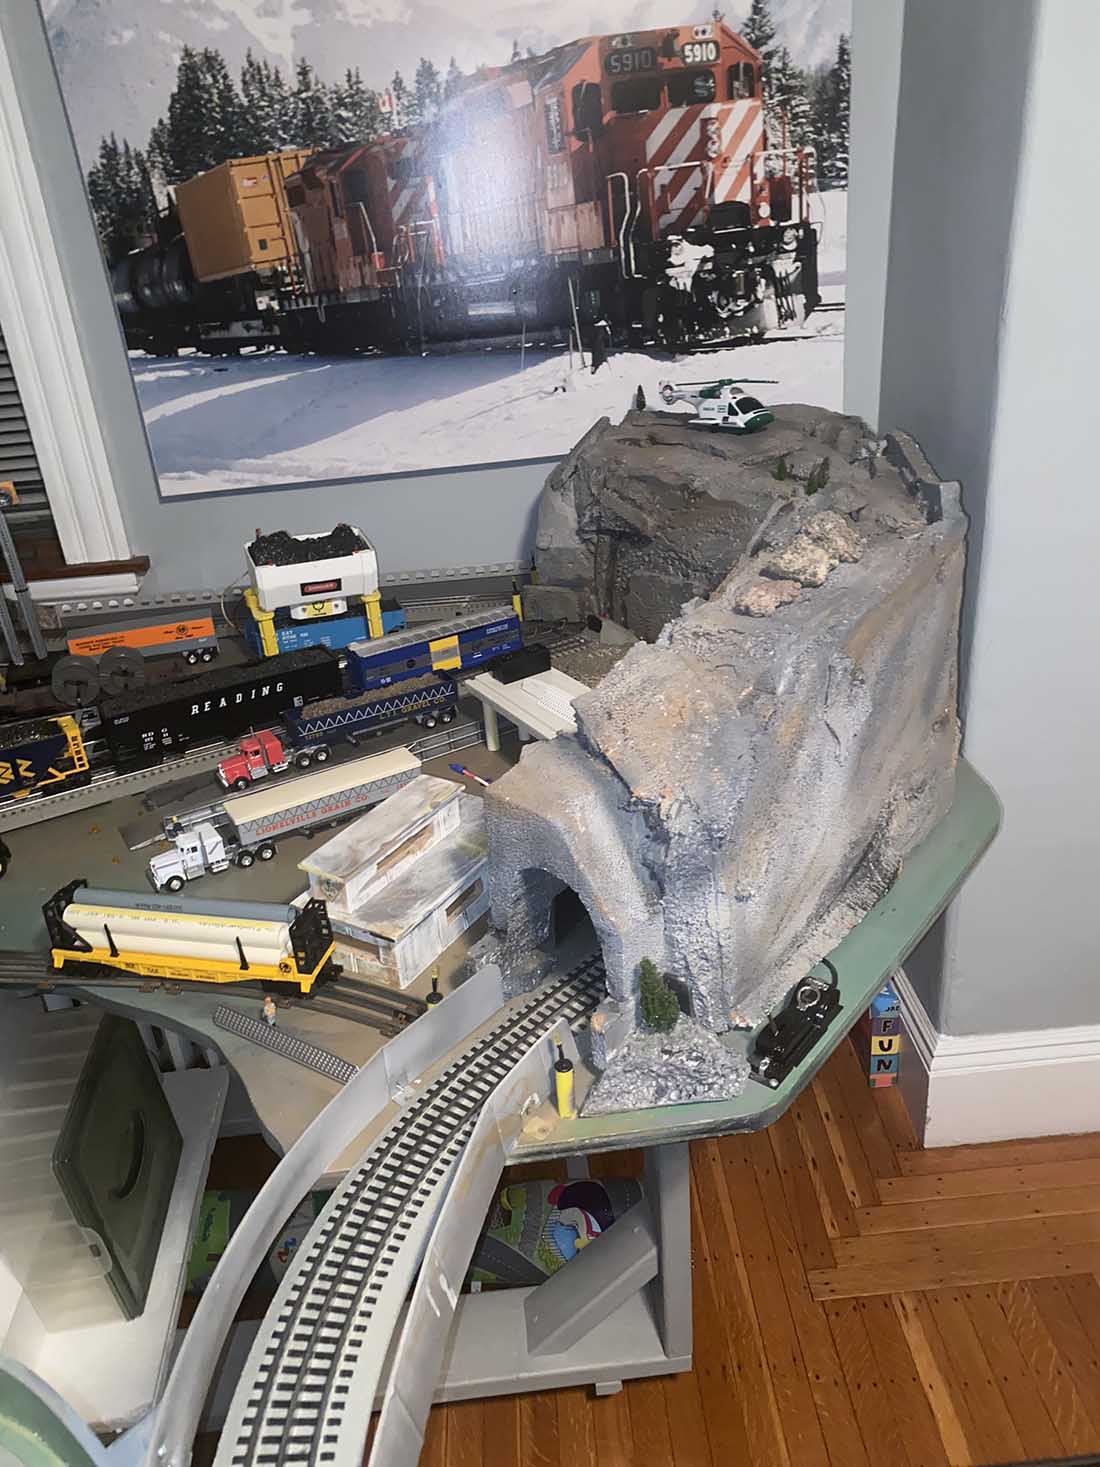
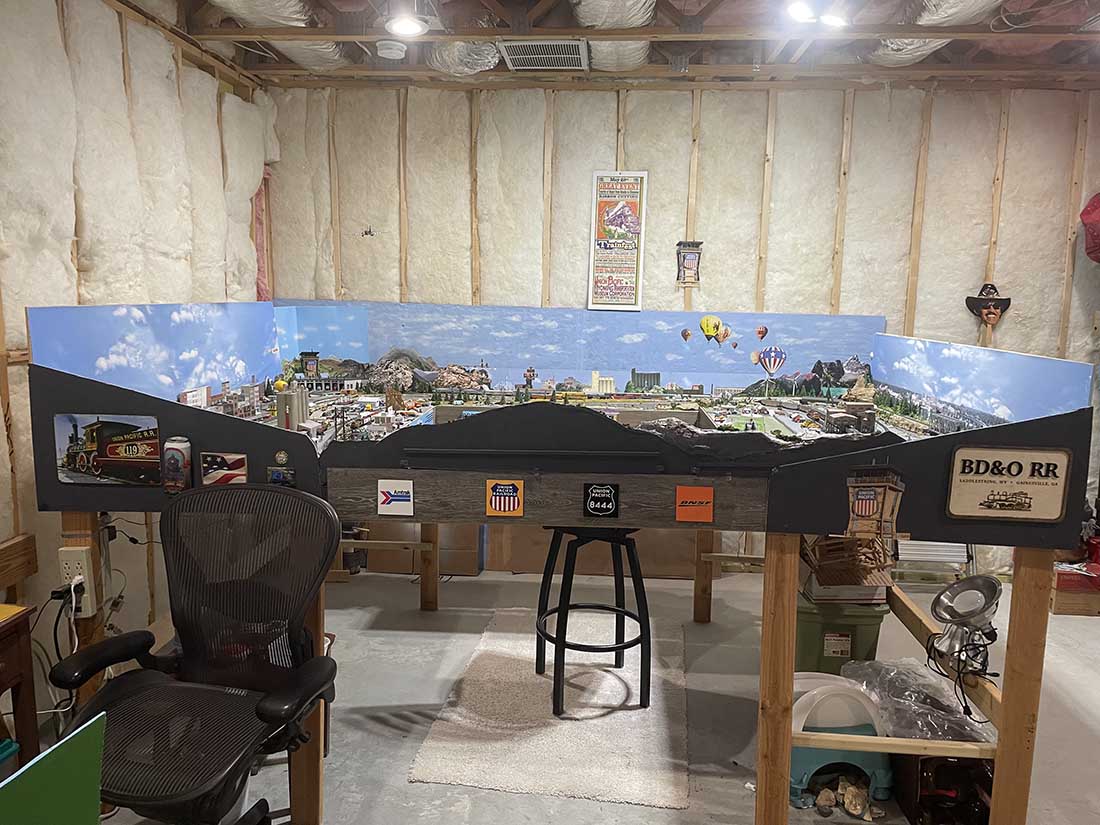
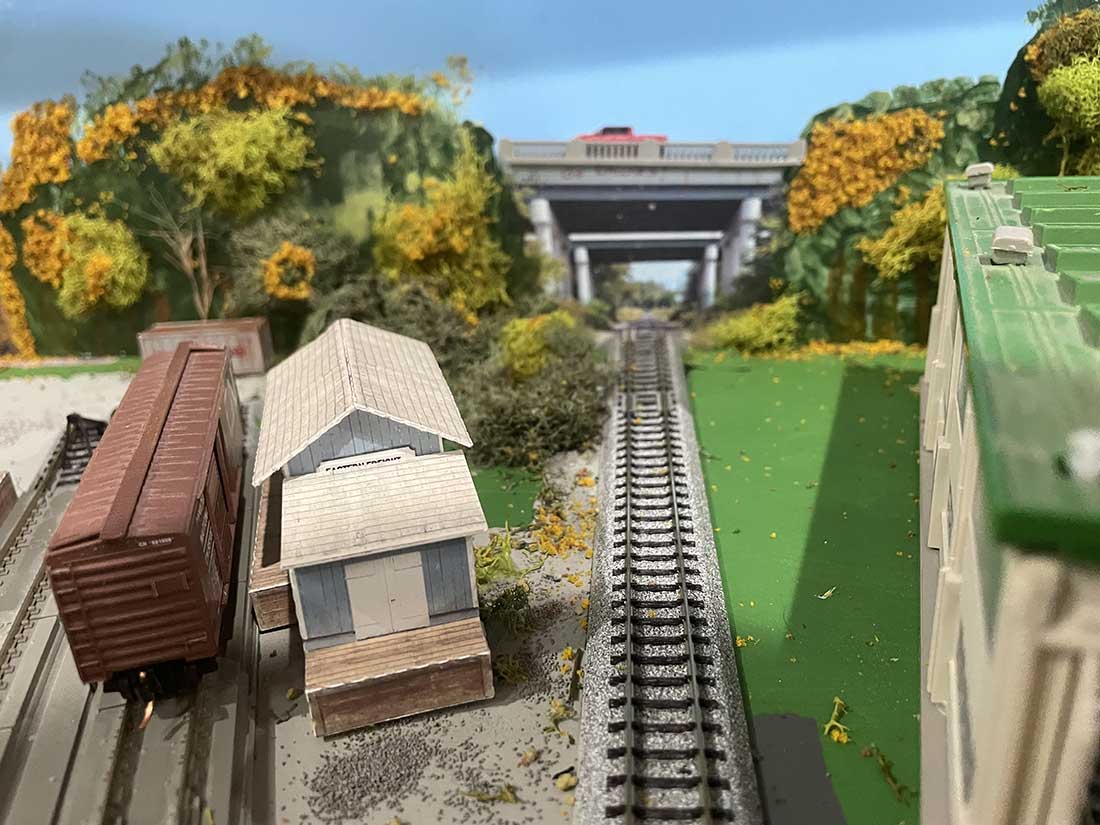
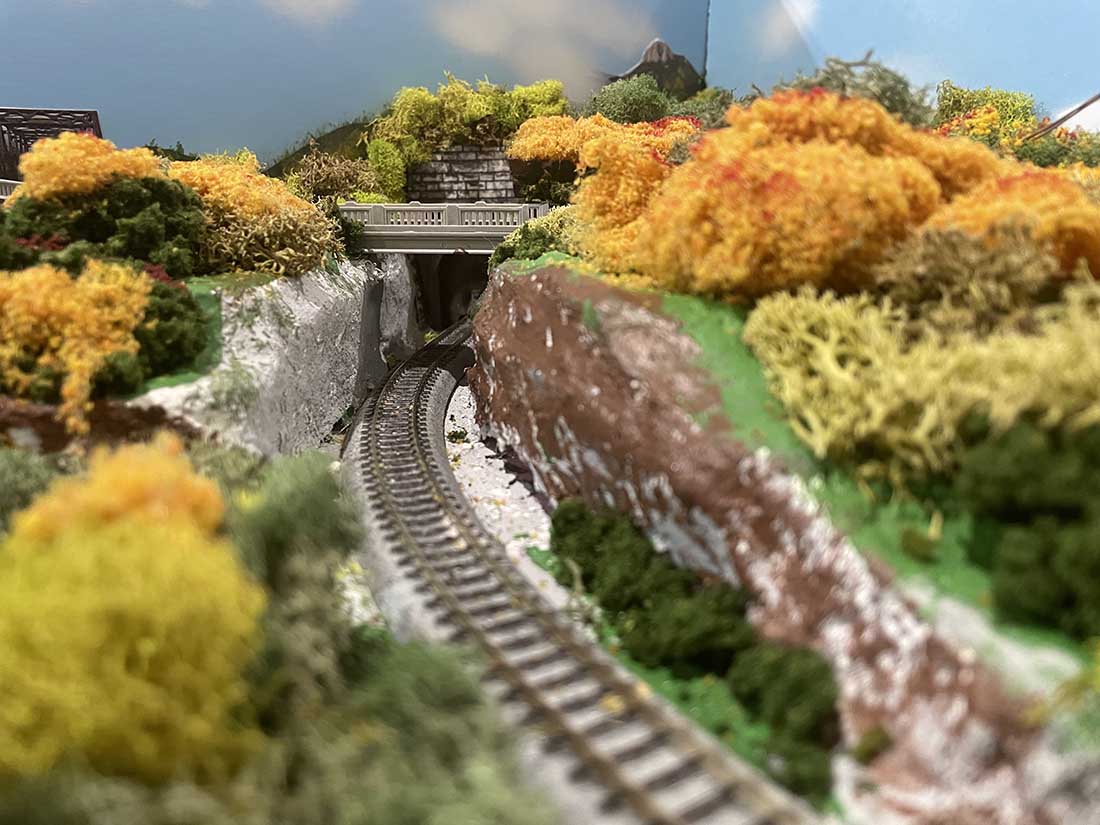
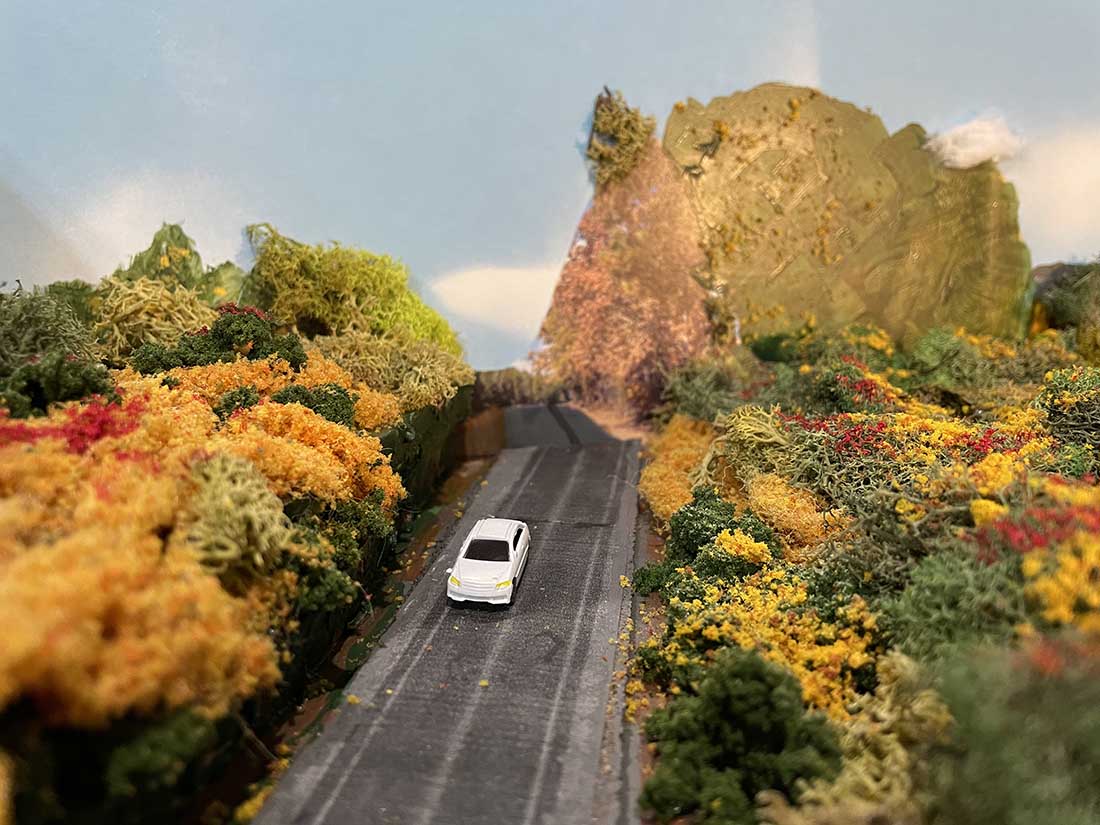
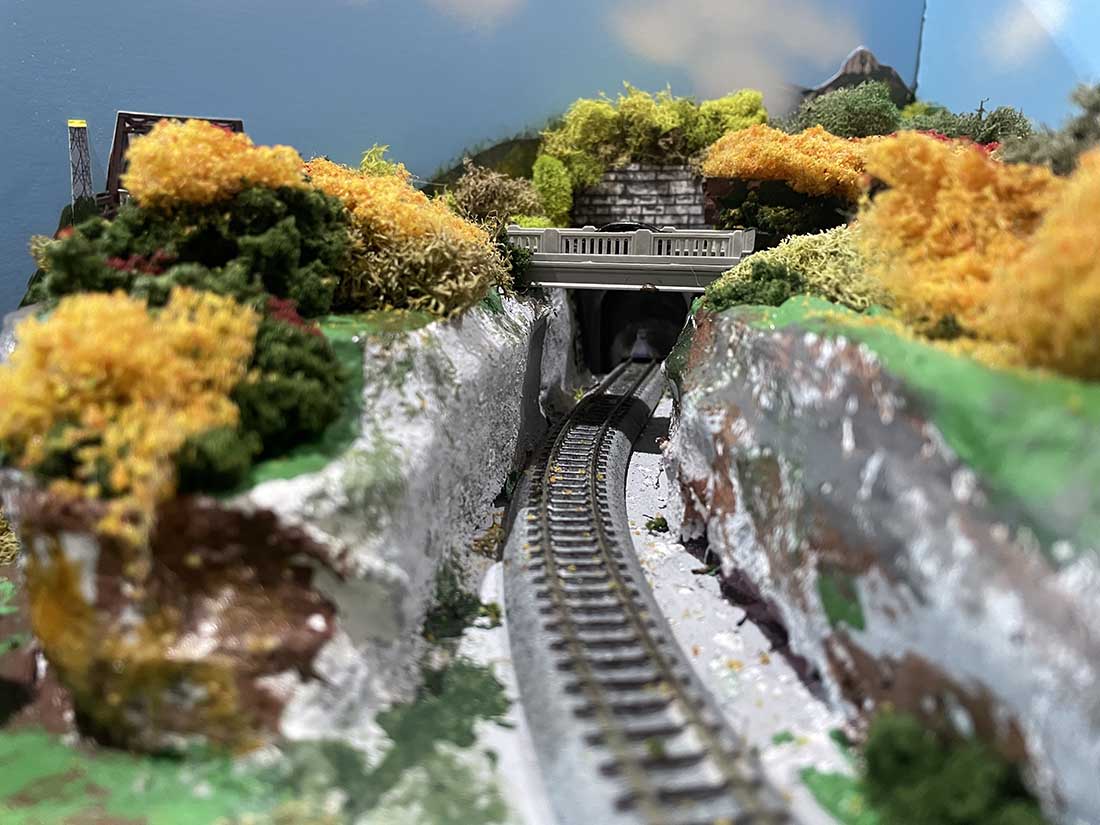
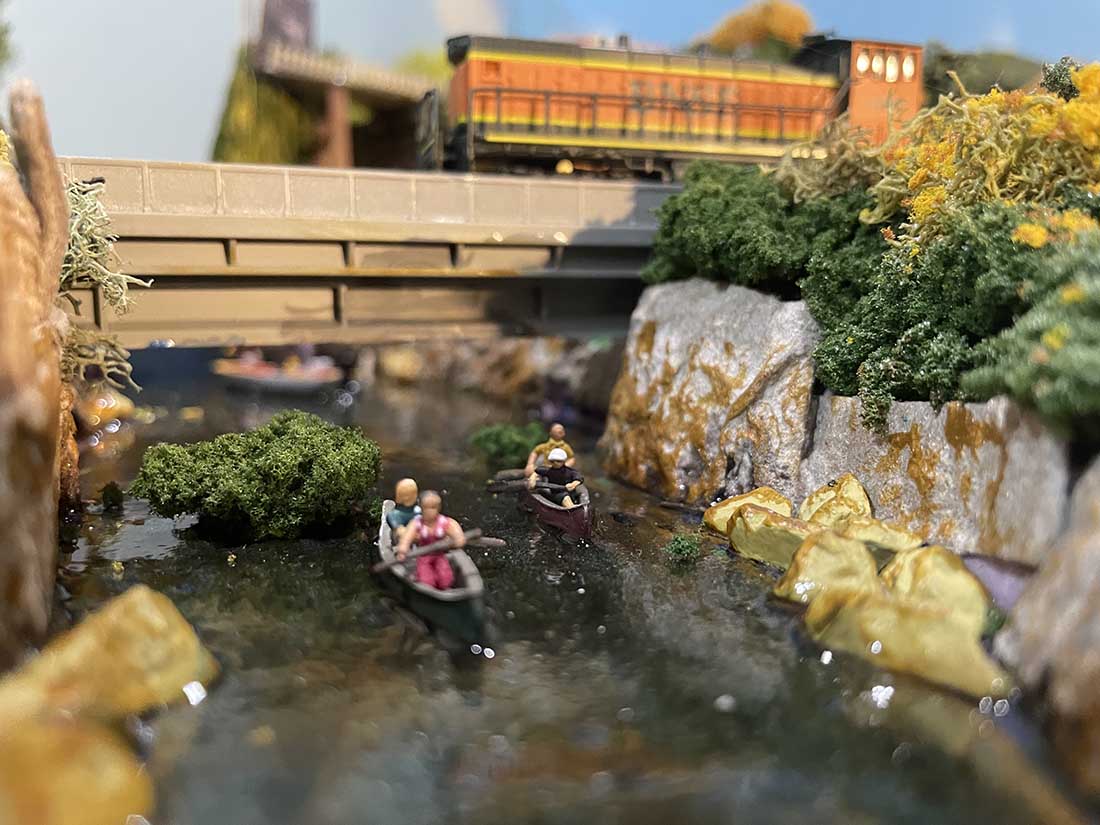
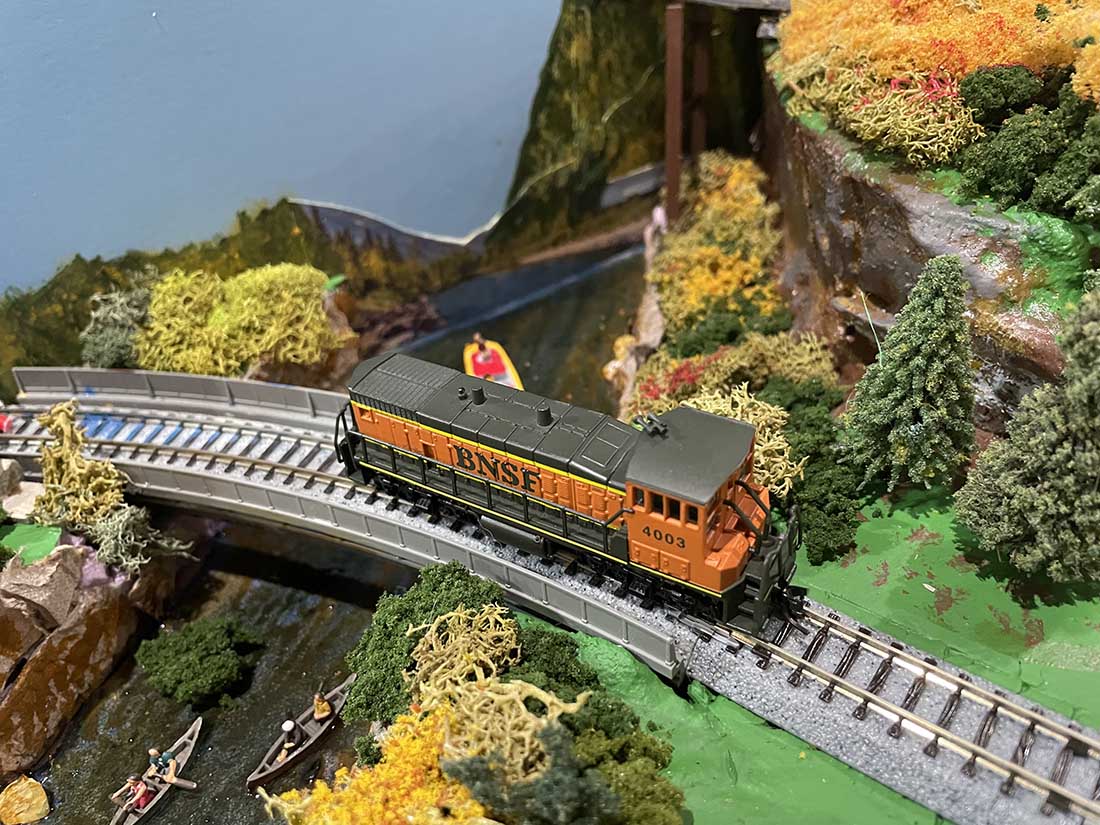
4. Despite the 2×4 size, there are several scenes that give you an “Infinity and beyond” view including the farm itself, a “tunnel to nowhere” , a highway overpass and the Chattahoochee River.
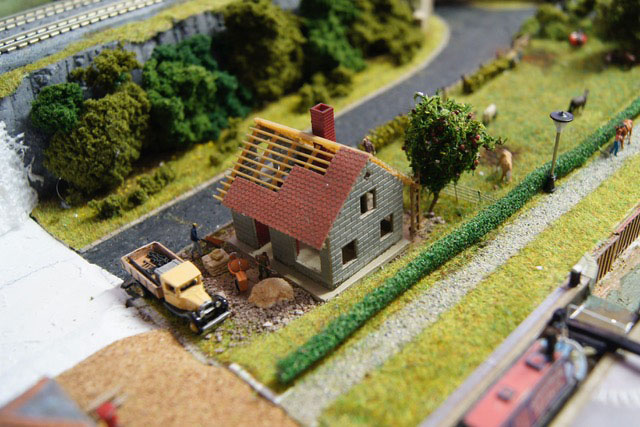
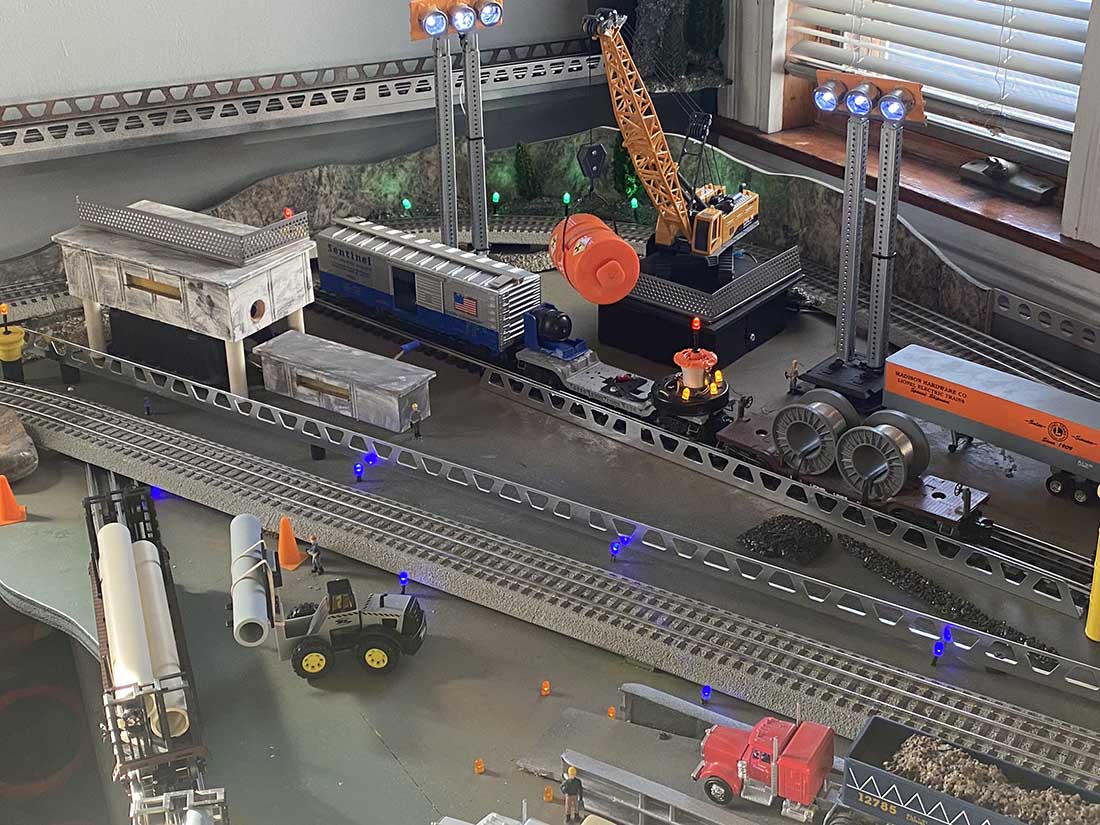
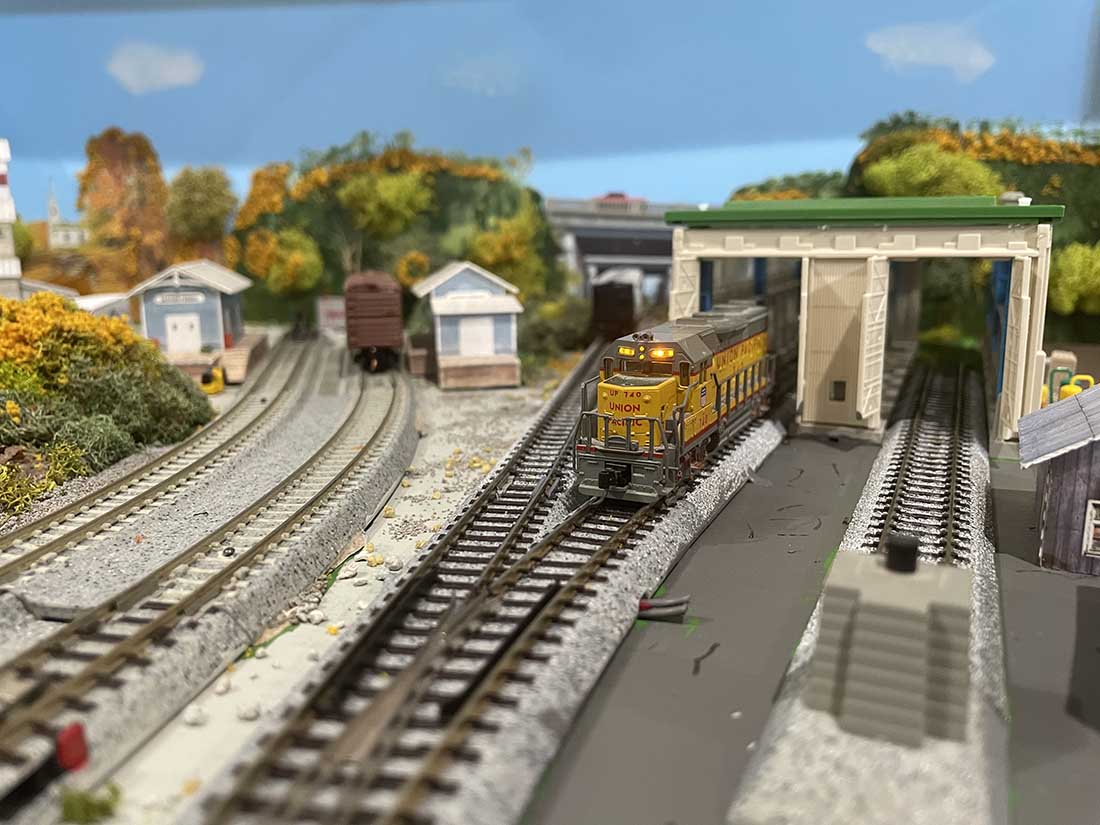
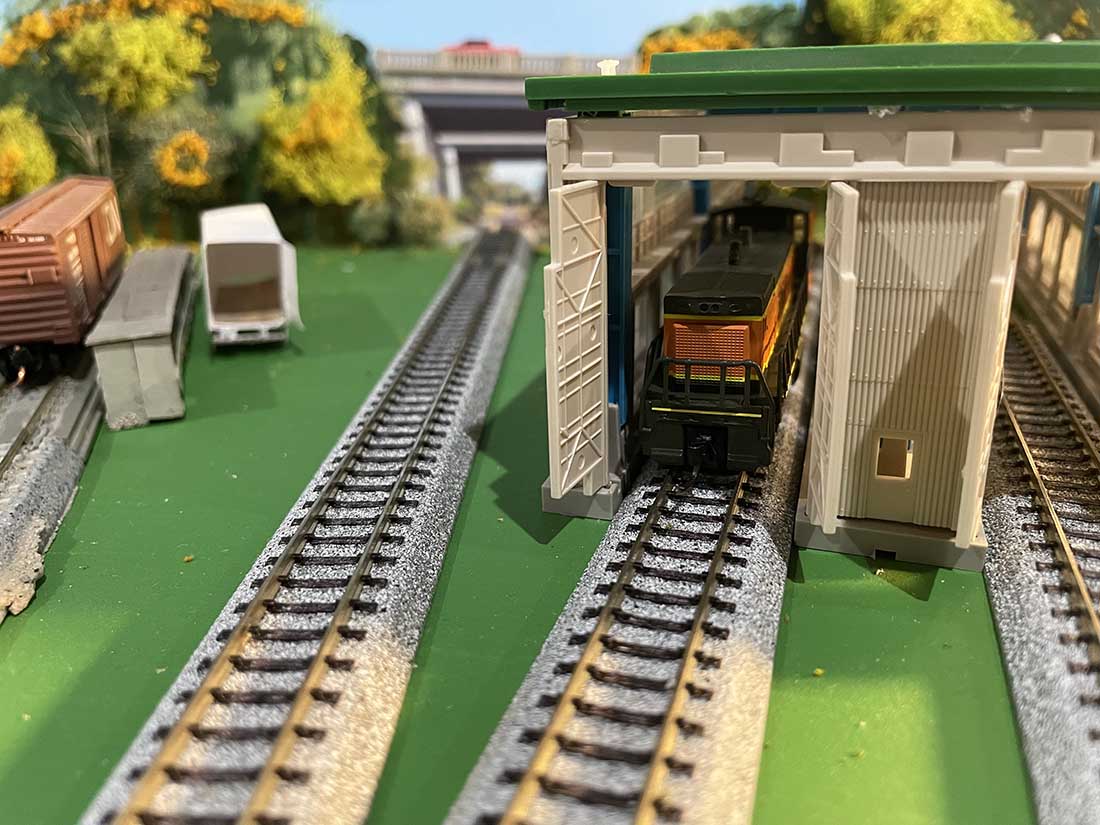
Work began with experimenting track sections I had on hand. Ditto for the buildings which include the Jaemor Store, a local newspaper, finer and gas station along with an engine house. I “opened” the doors of the barn as one example then adding a picture of a barn interior from behind the doors.
Time setting is the fall, which makes for colorful scenery including the above referenced dense foliage so common to this part of the world.
The one departure from cost-saving was for the first time using DCC, starting with a Digitrax Power Supply and my first DCC engine. More will be added to the fleet. These early pics are DC engines used to test track and operating potential.
So far it’s been a lot of fun, a new learning experience and overall a model railroad “Science experiment”
We sure have a fun hobby and hope you can share my latest effort with your readers.
Brian
Gainesville GA”


A big thanks to Ben for sharing his N scale switching layout – a great way to have some fun and use up spare track.
That’s all for today folks.
Please do keep ’em coming though. It’s so quiet I may even put feet up for a few days.
And if today is the day you get started on your layout just like Ben, the Beginner’s Guide is here.
Remember, it’s the start that stops most people. Don’t let that be you.
Best
Al
PS More HO scale train layouts here if that’s your thing.
Need buildings for your layout? Have a look at the Silly Discount bundle.