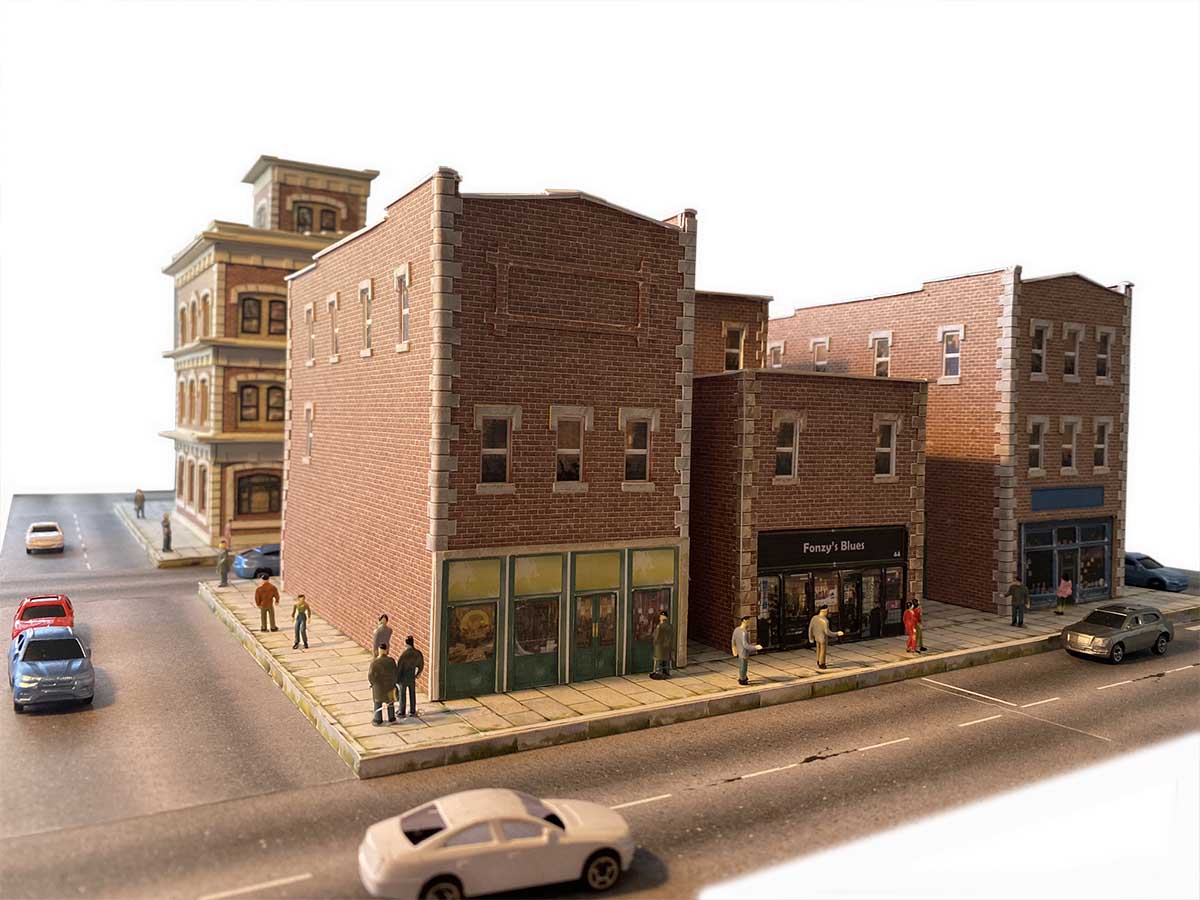
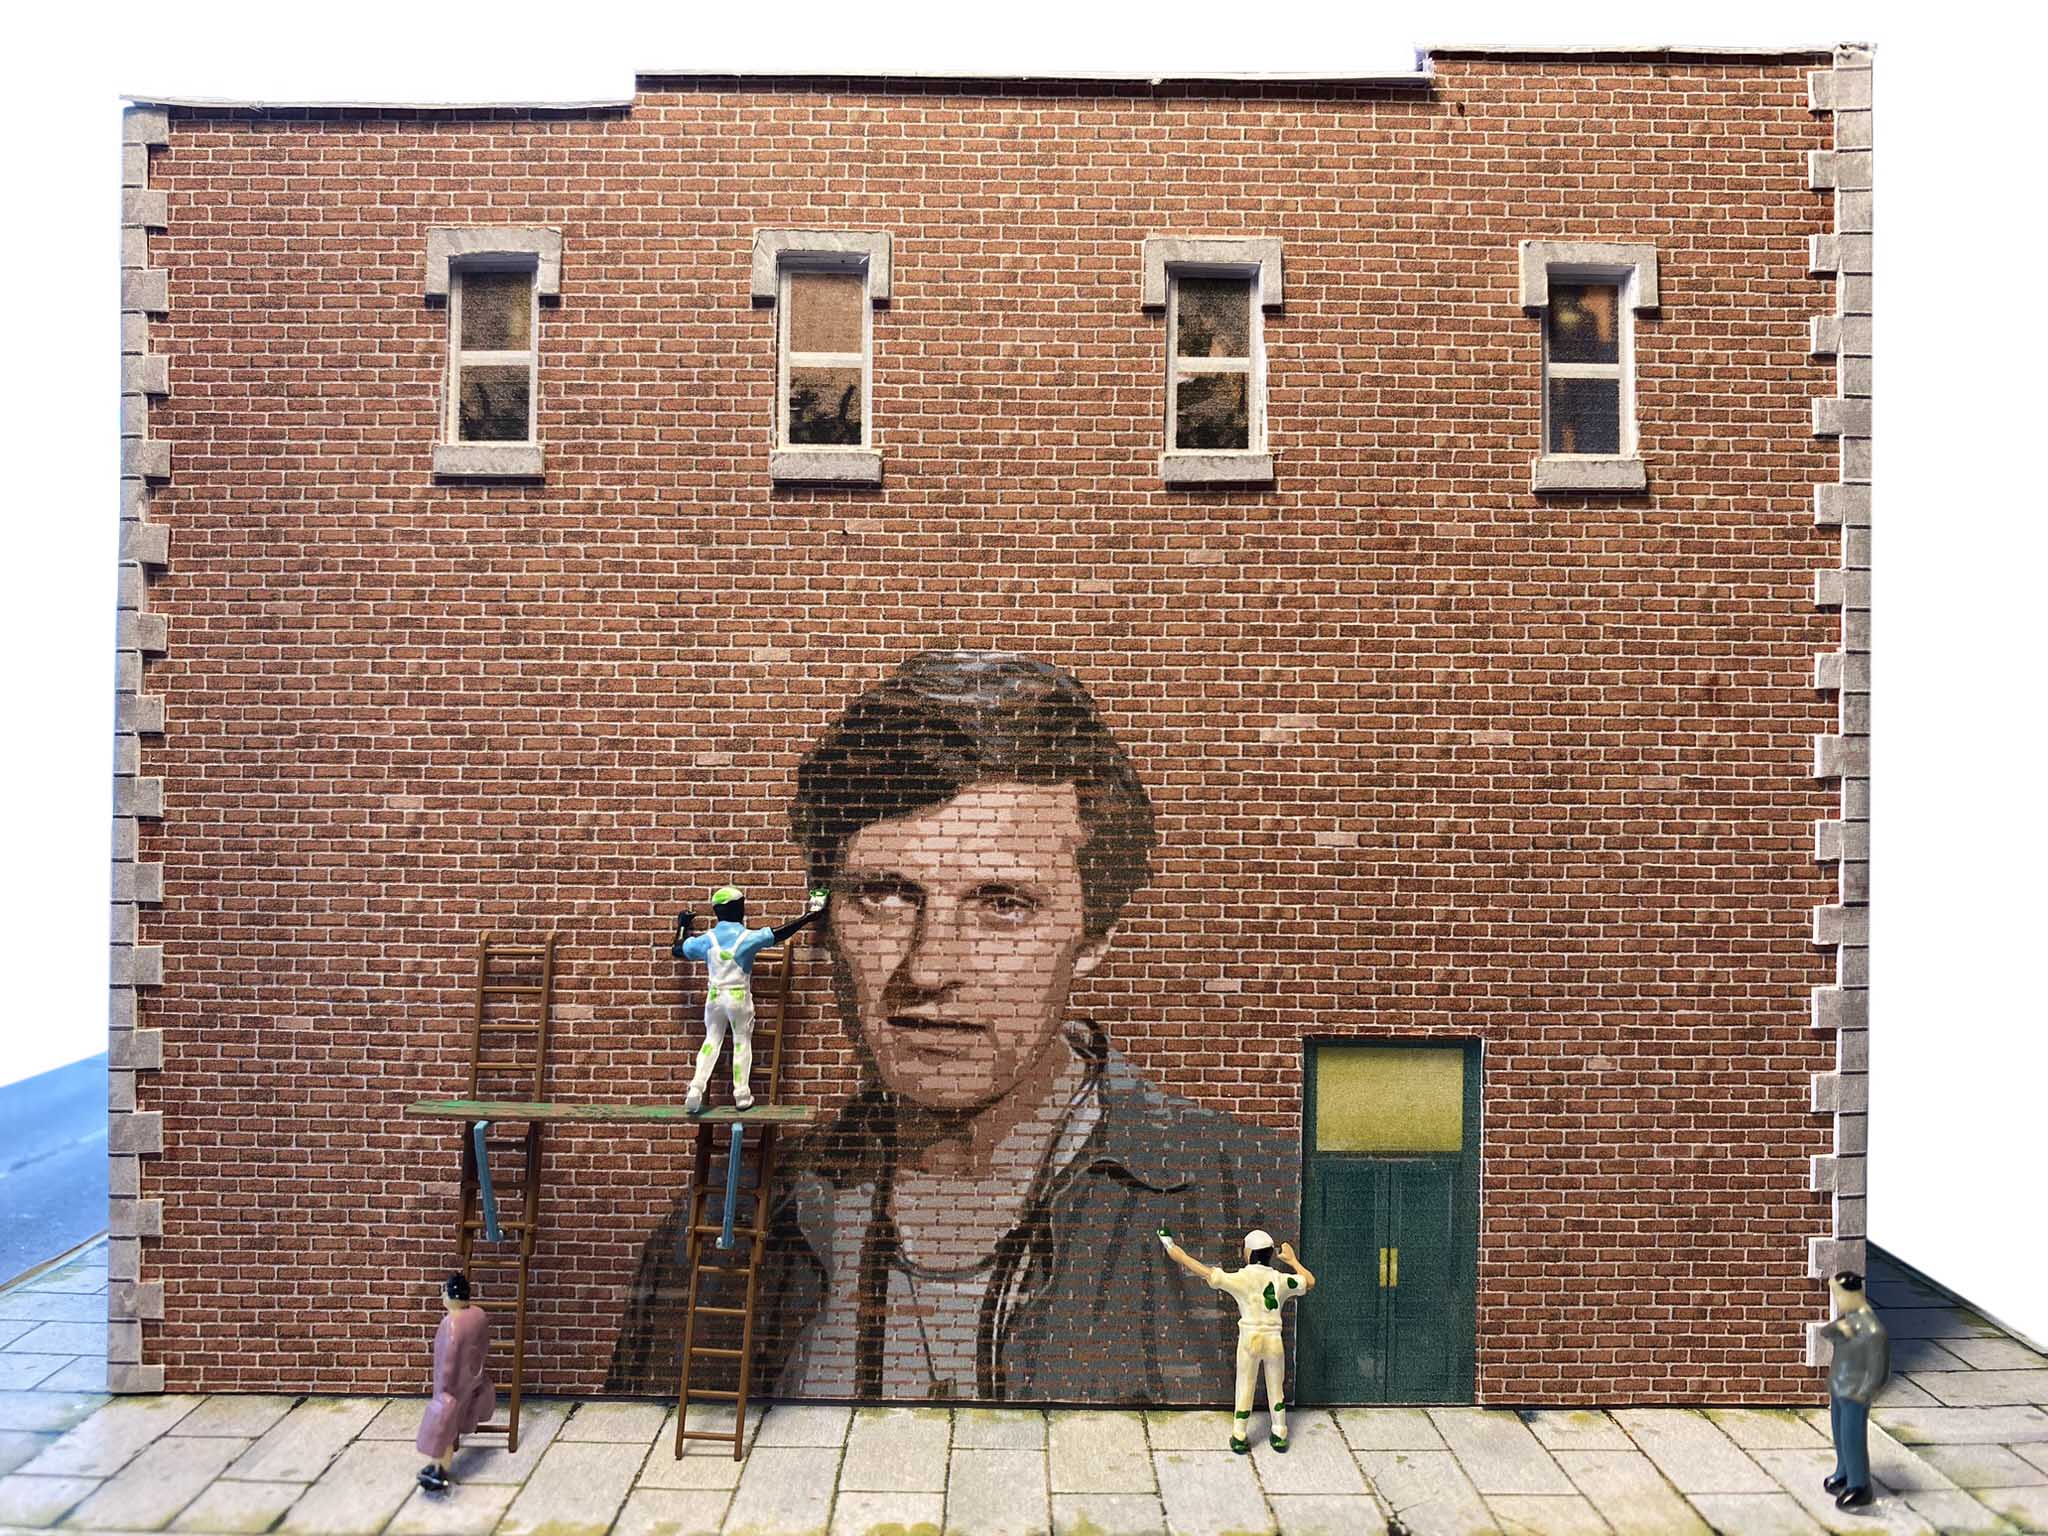
I’m always banging on about making a start and Richard has done that with his N scale buildings and structures.
In fact, you don’t need trains or track to make a start – as Richard proves:
“Hello Alistair,
I’ve really been enjoying the emails, blogs, photos and “how to’s” from your site.
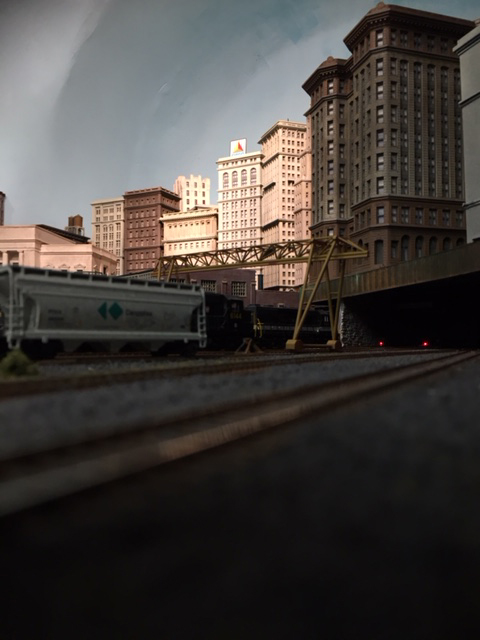
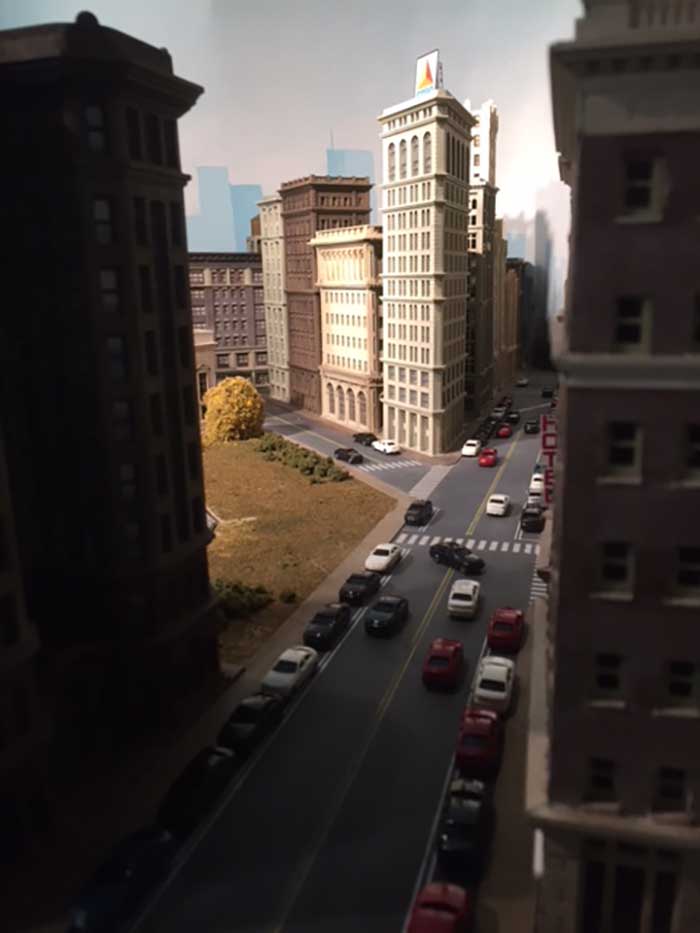
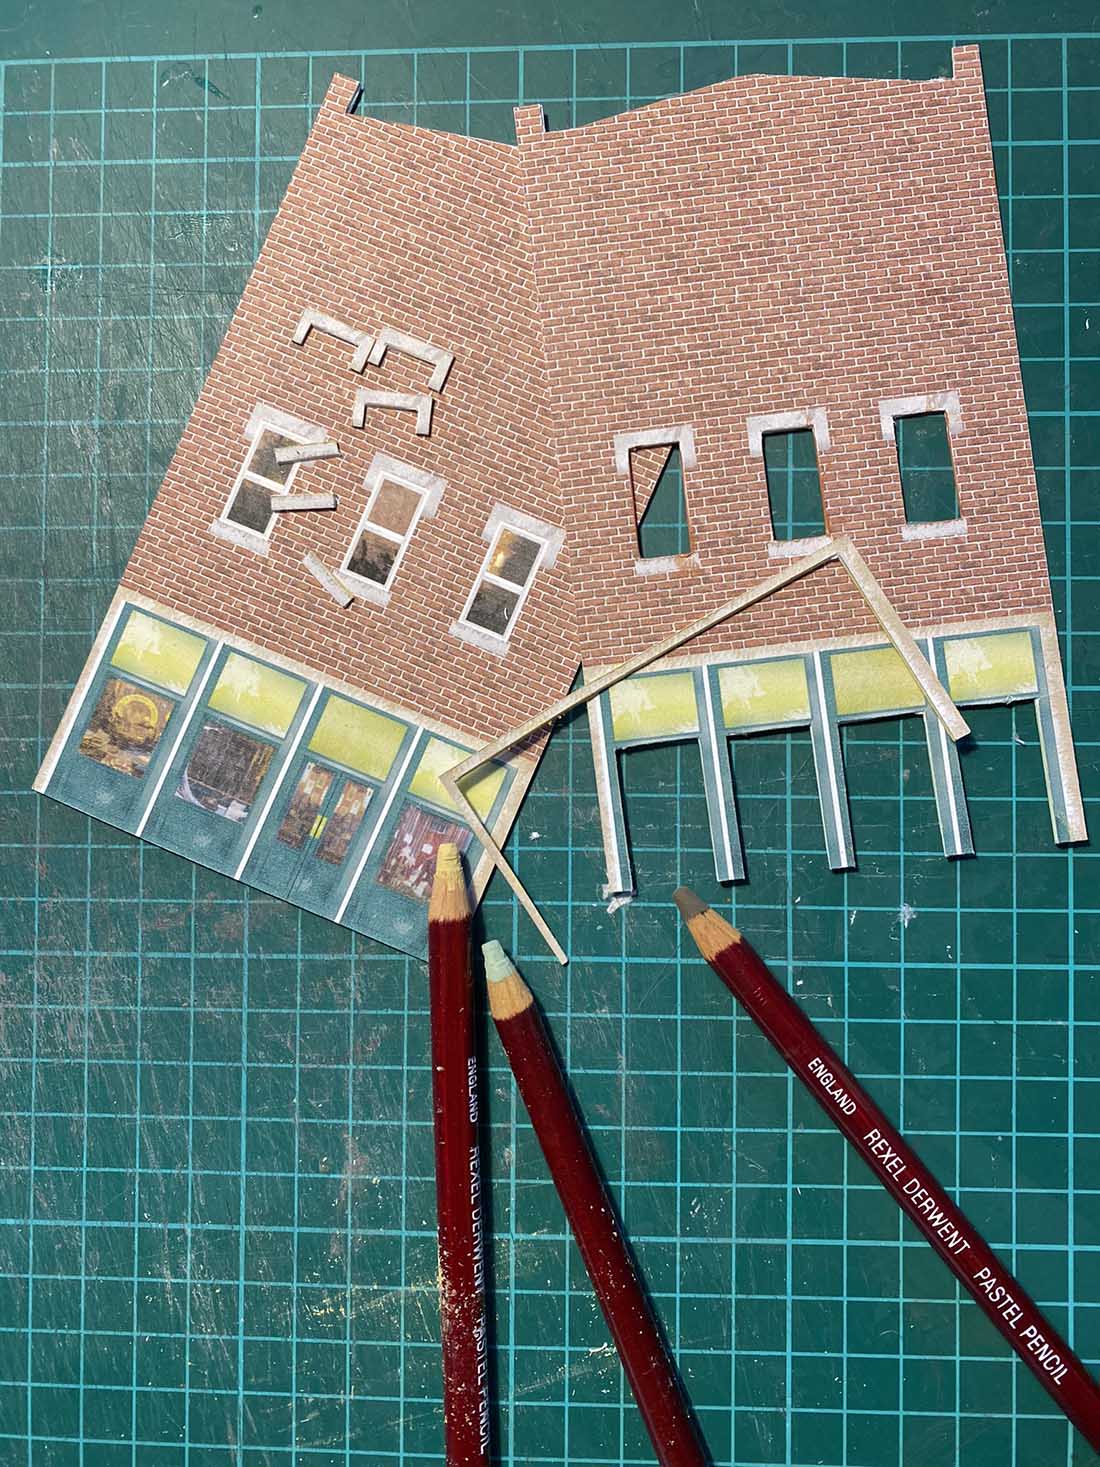
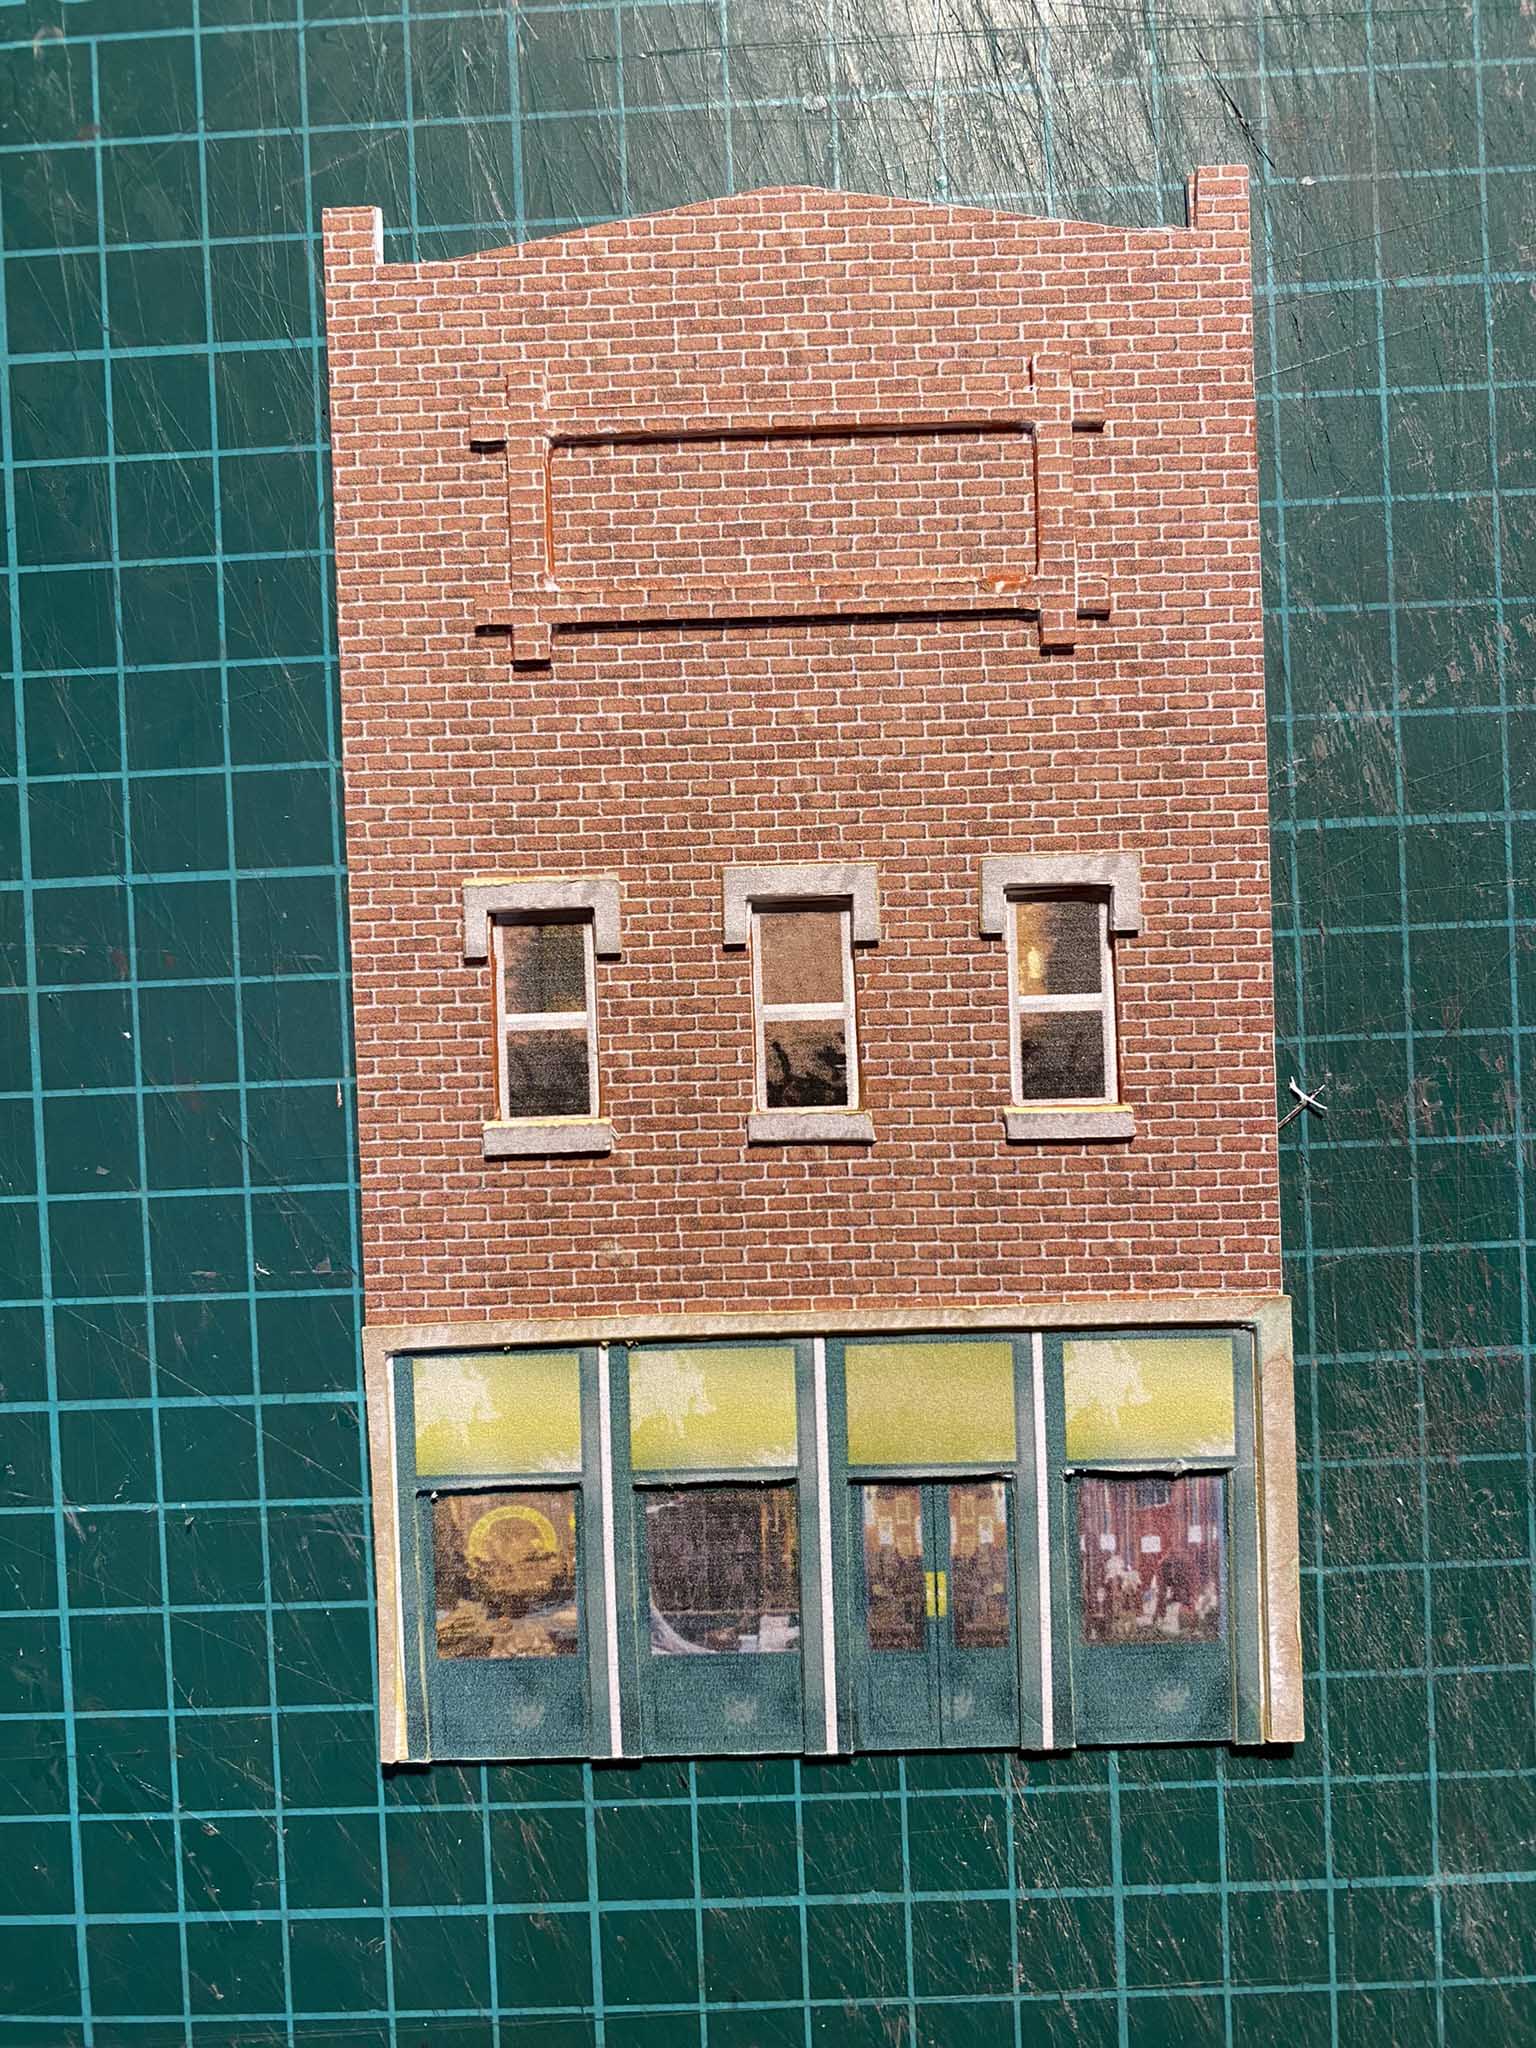
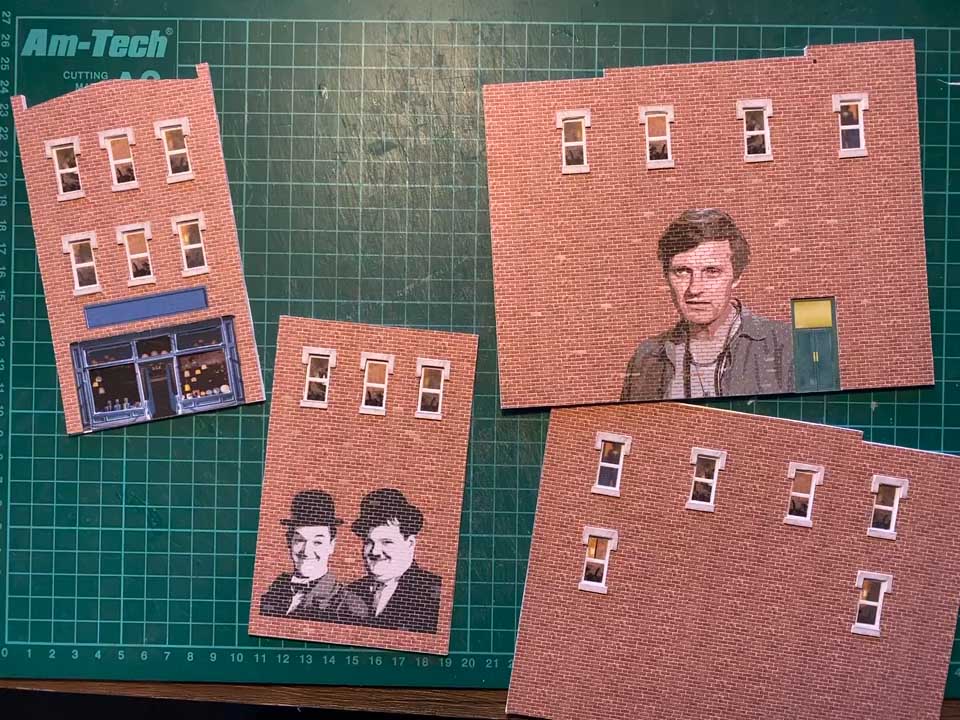
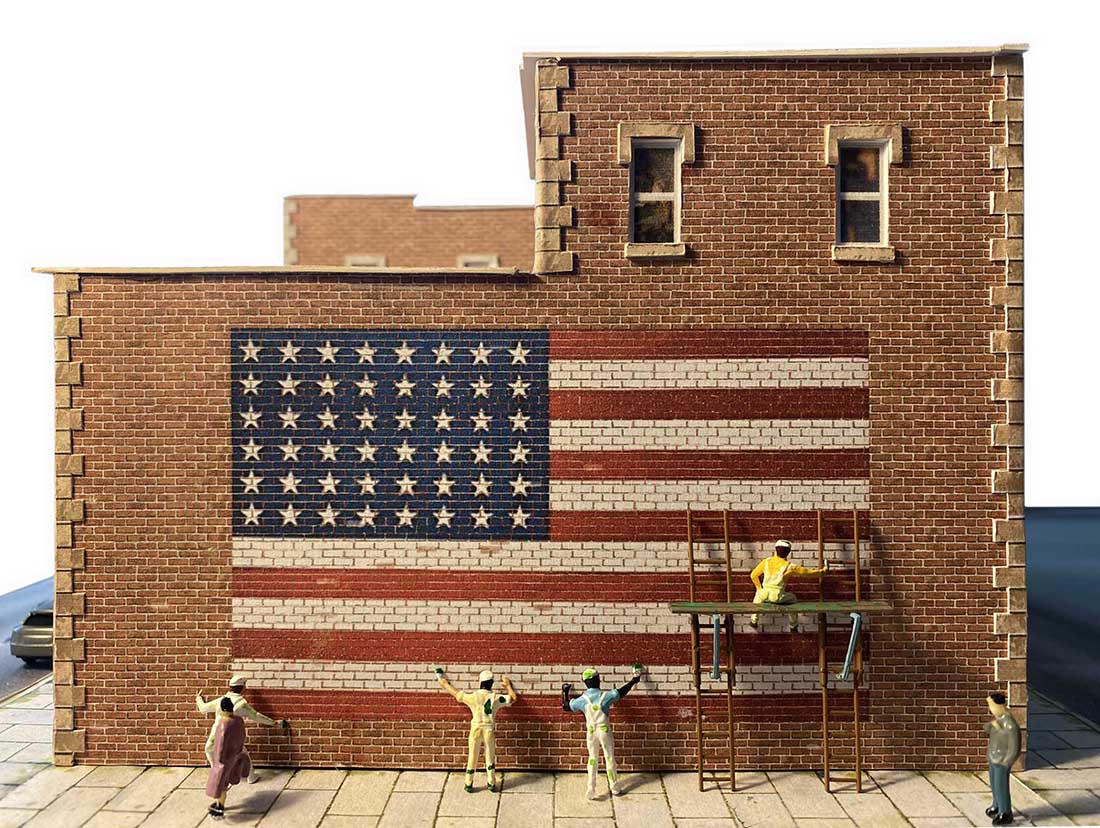
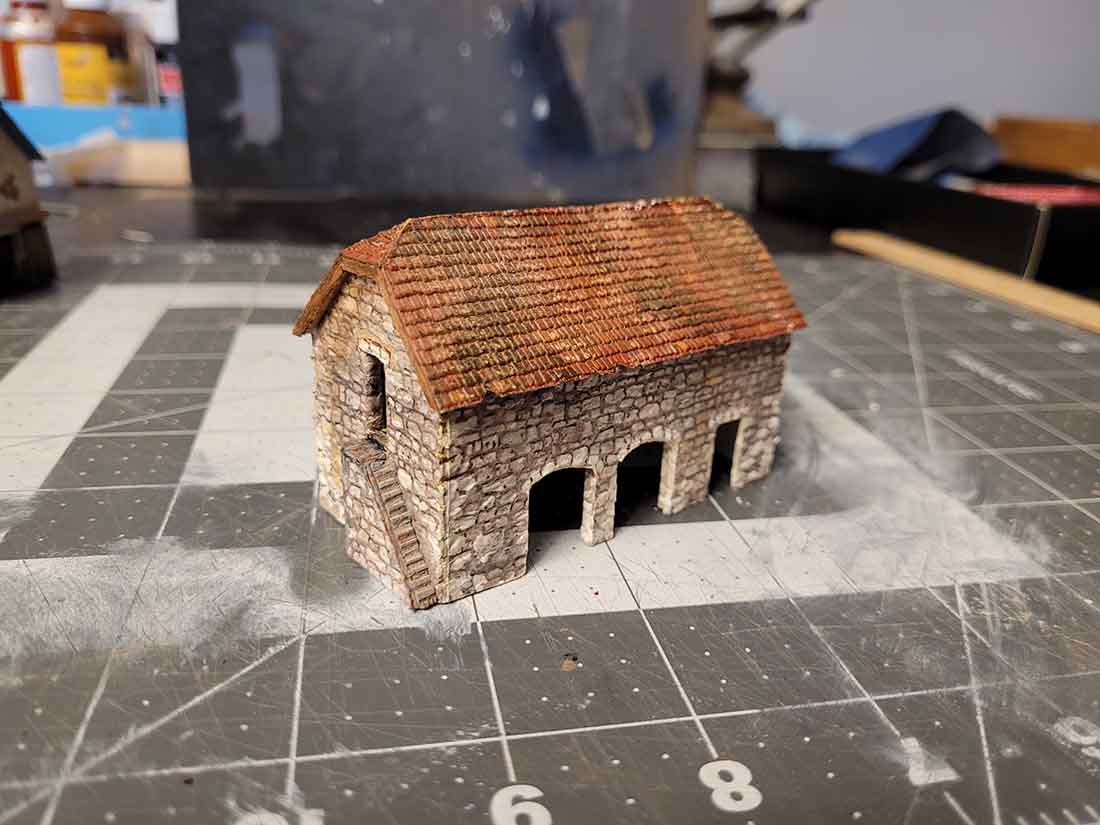
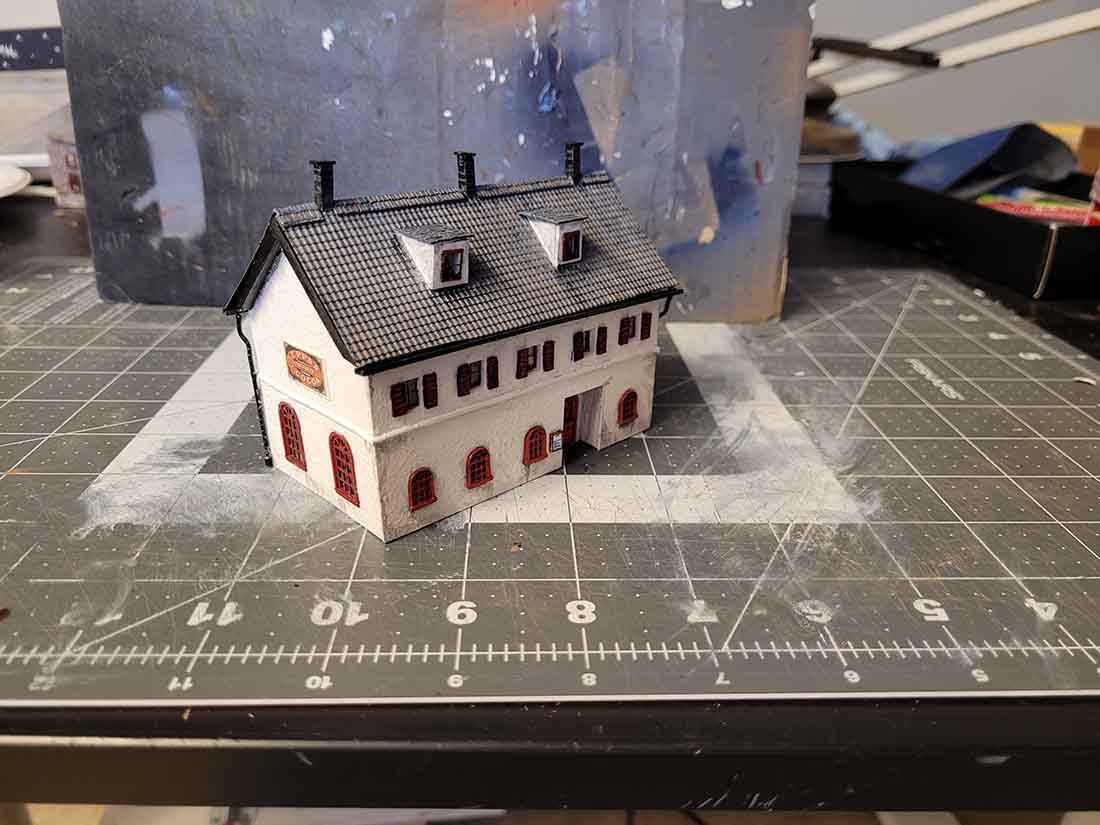
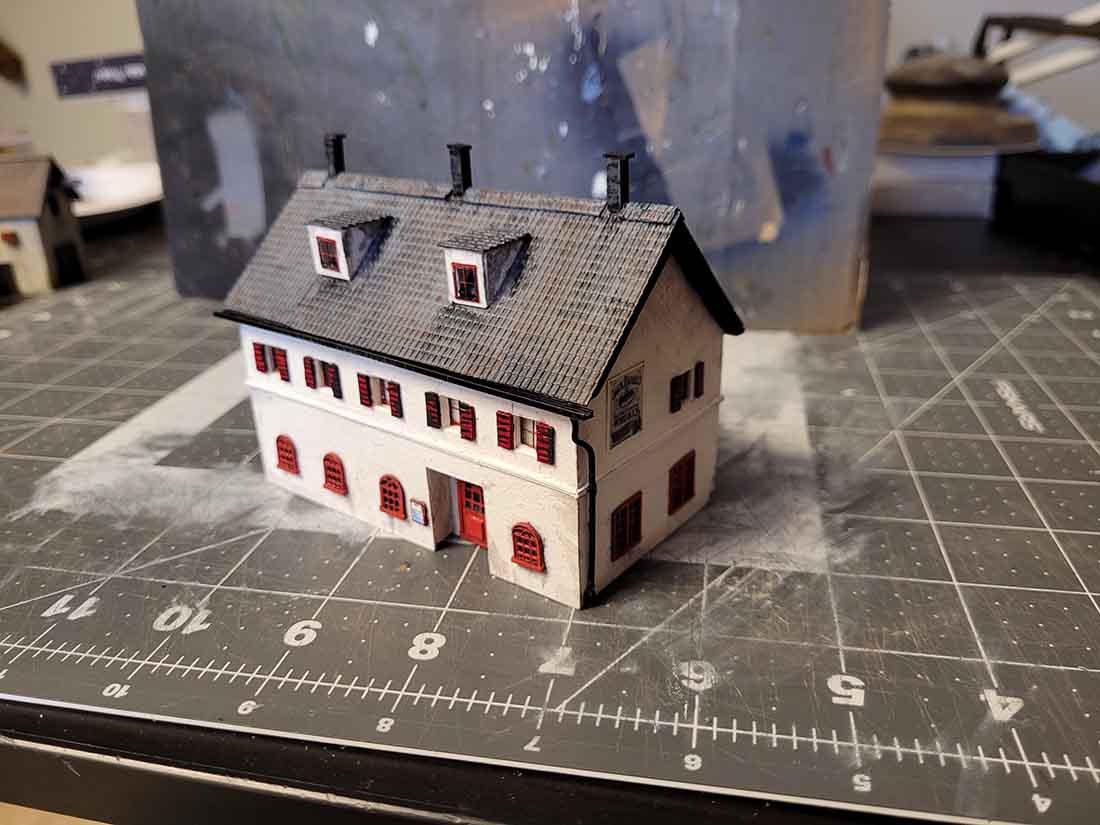
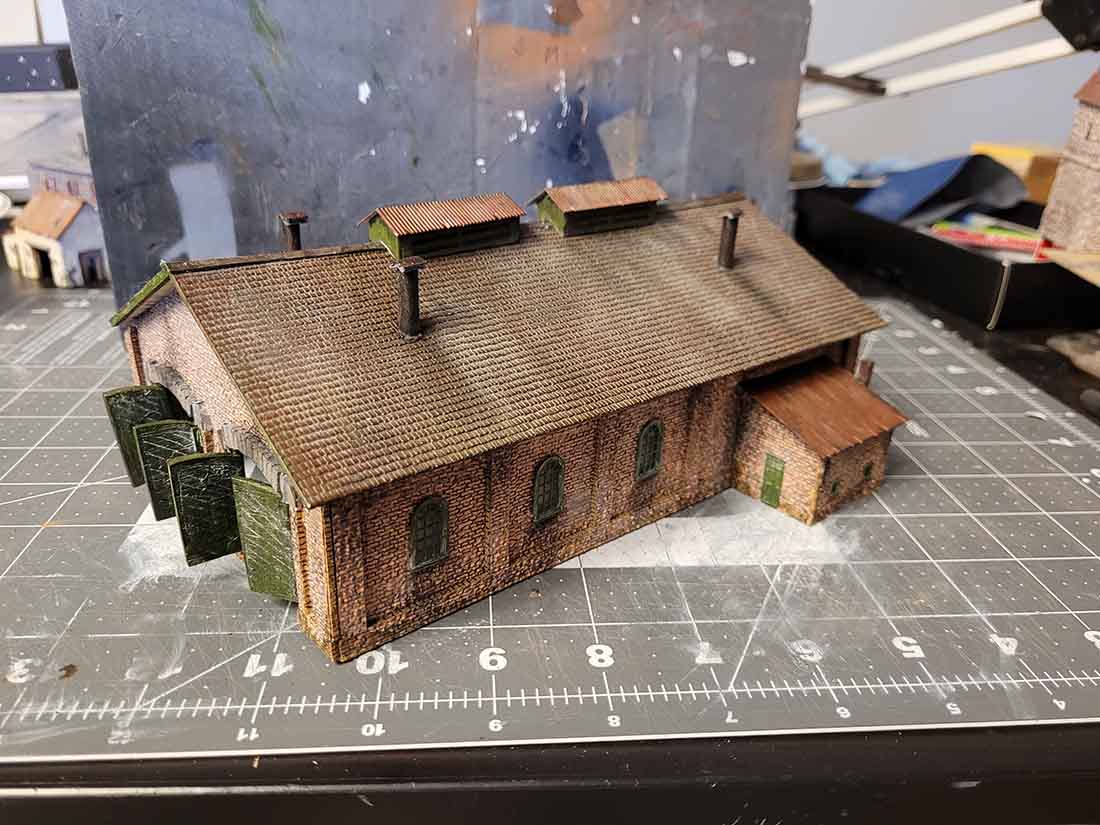
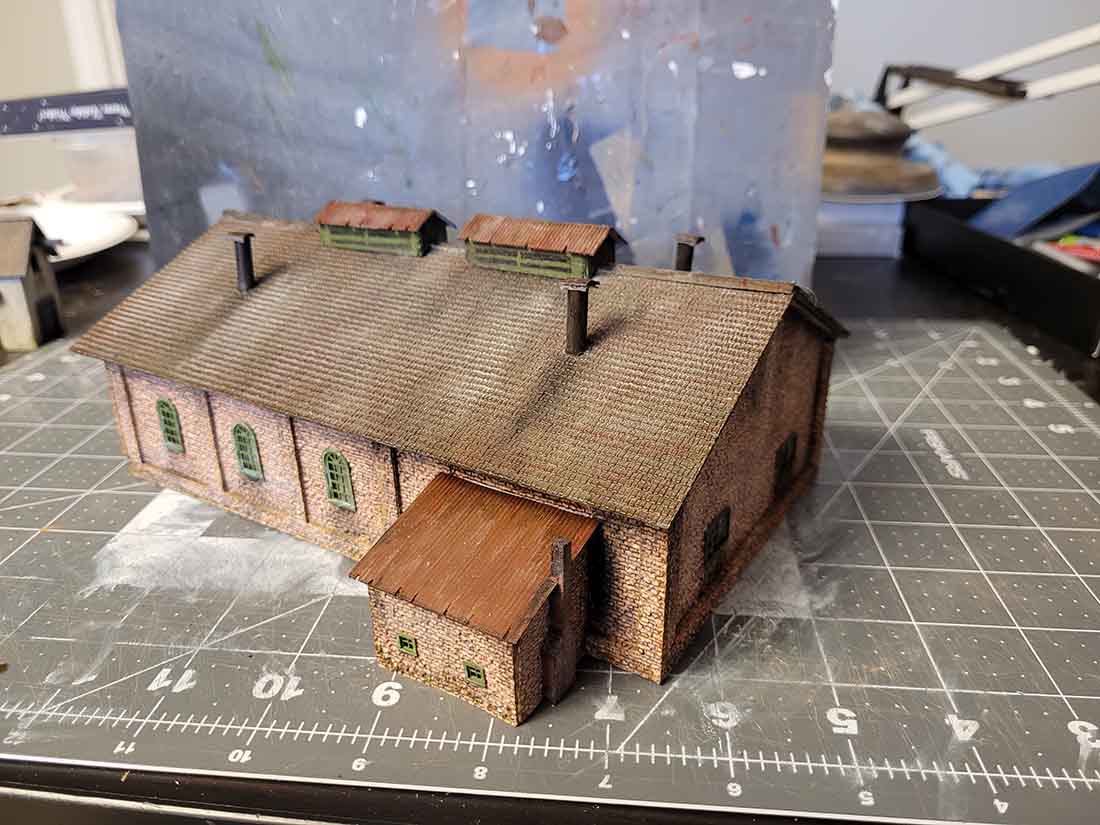
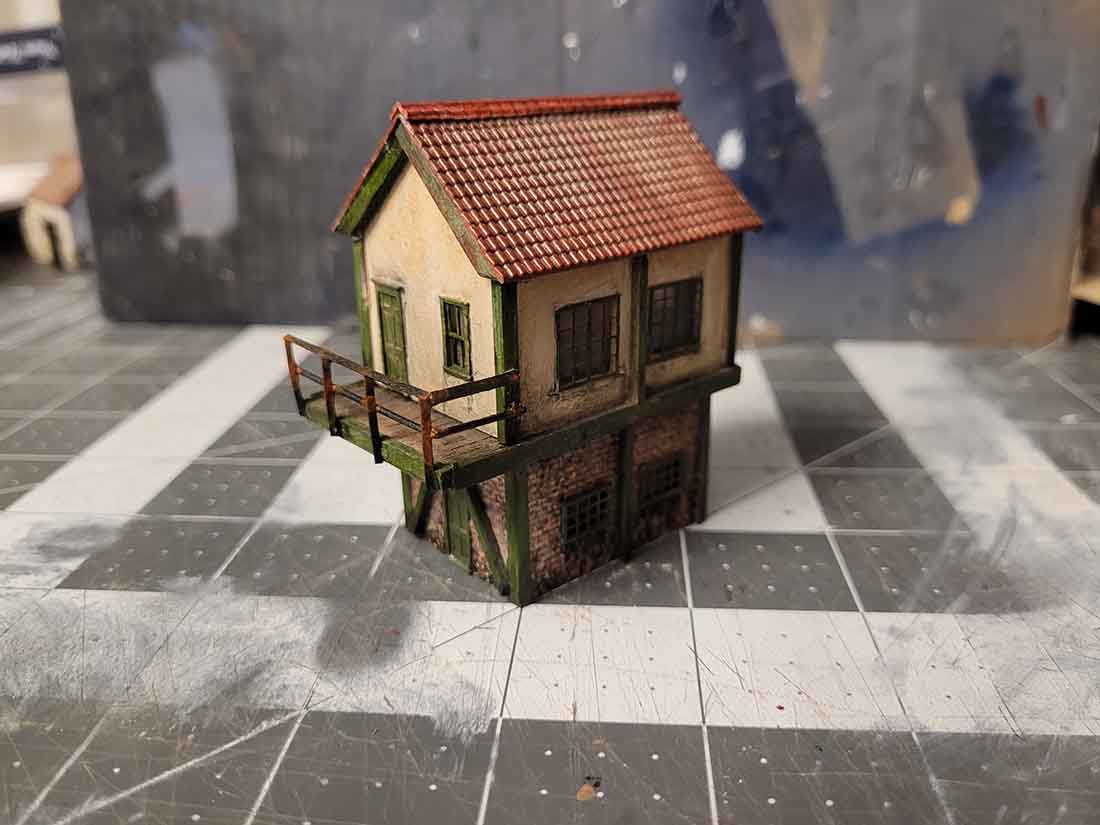
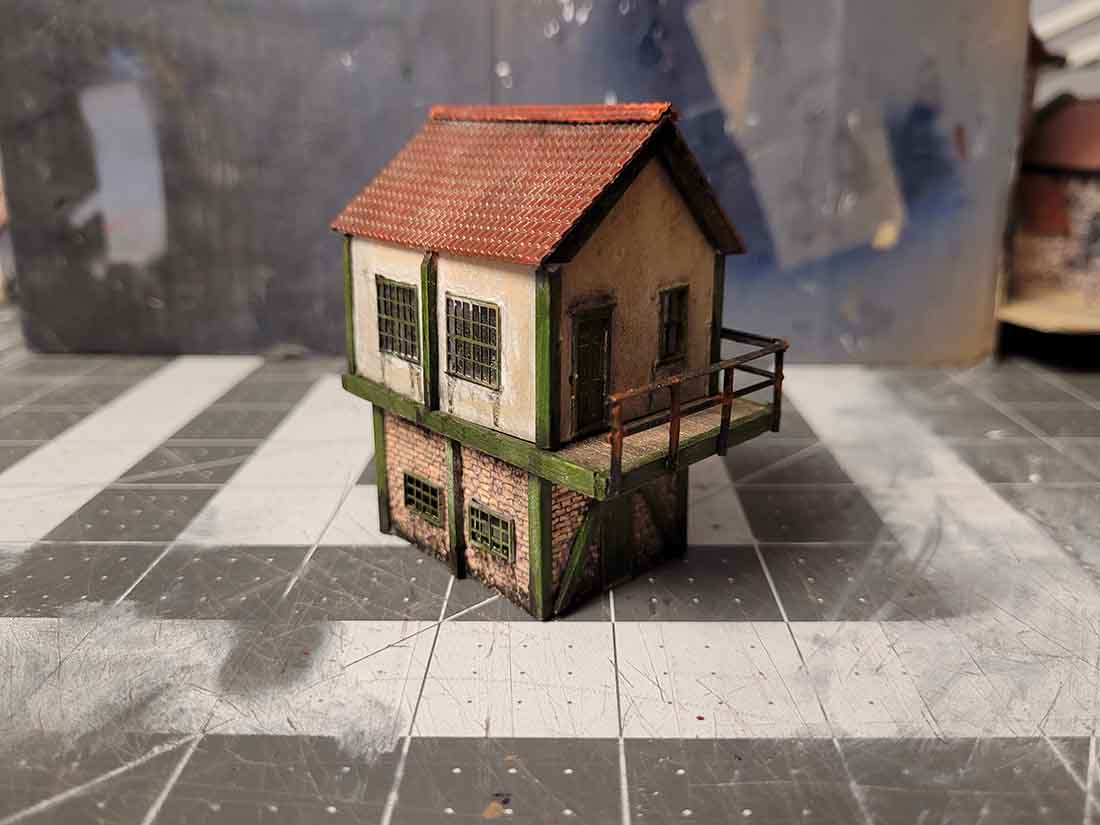
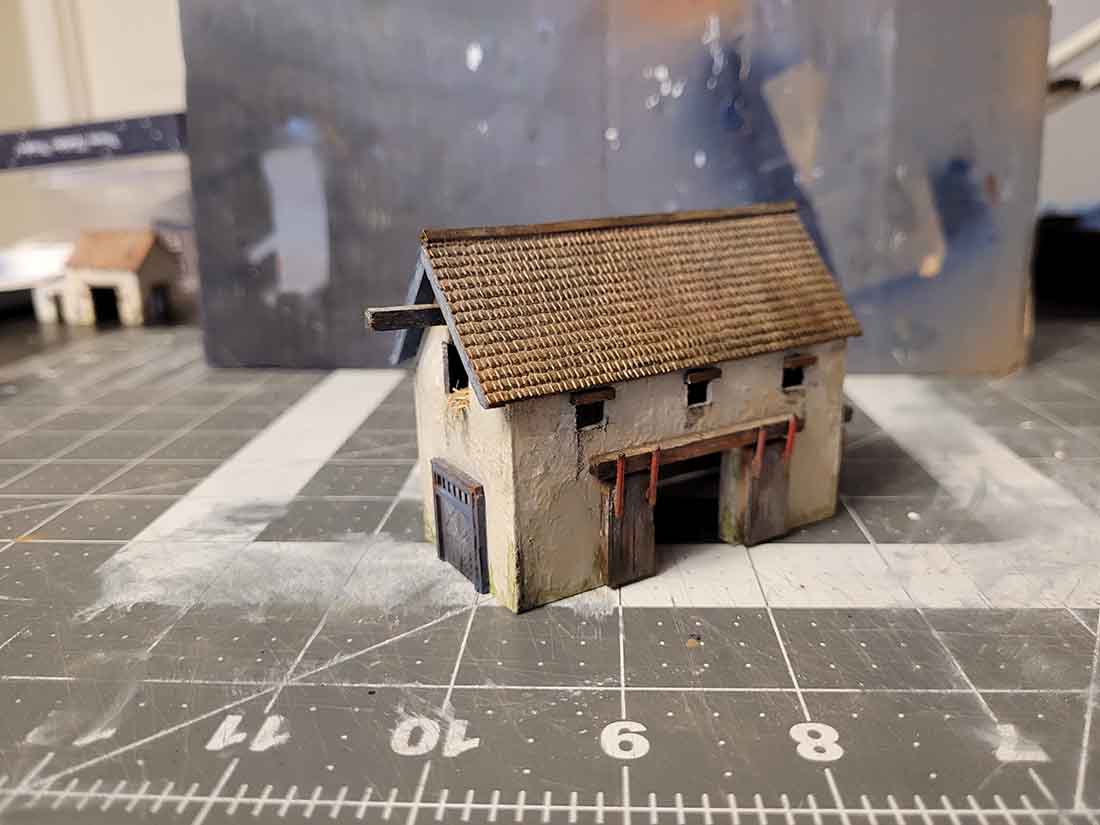
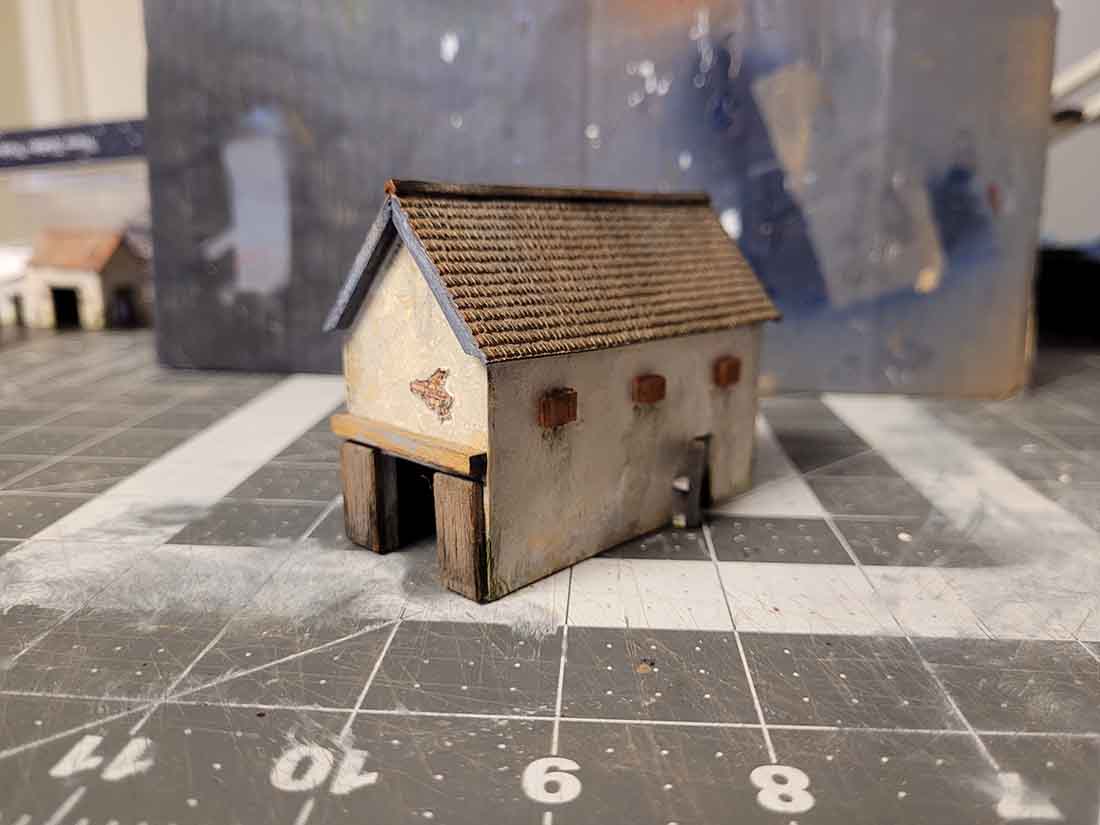
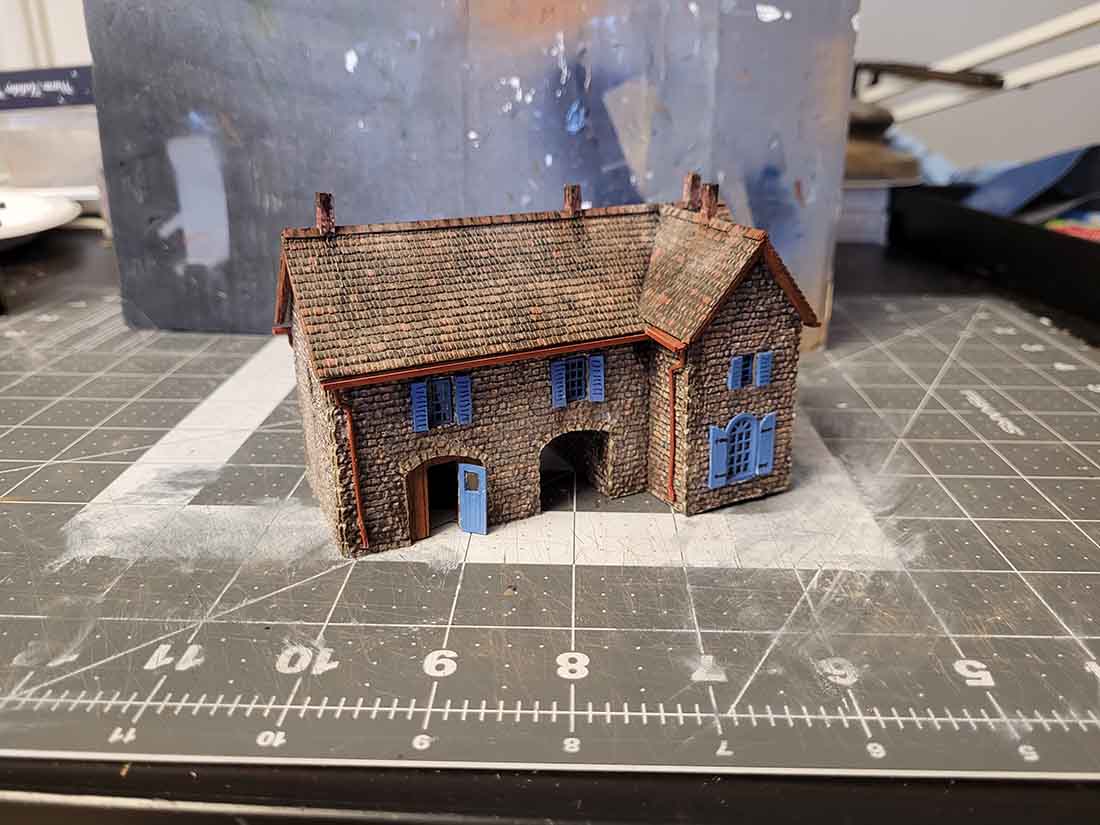
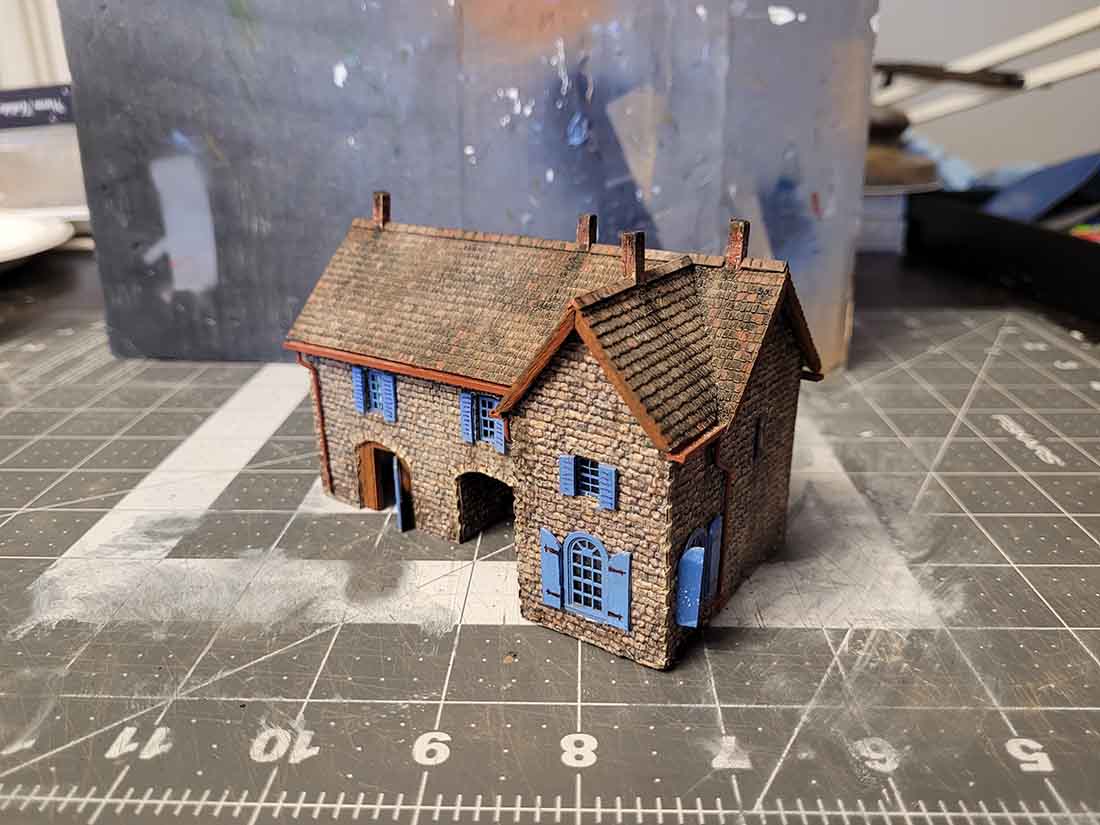
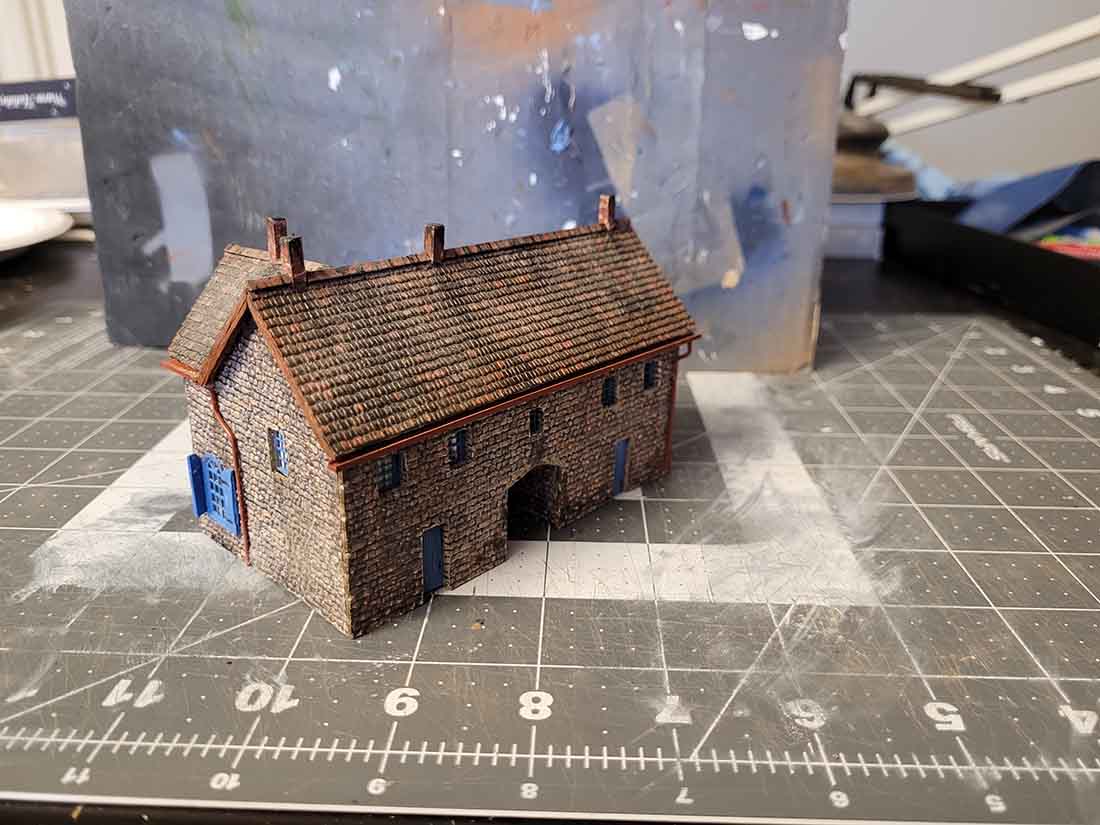
Thought I’d throw my 2 cents in with some photos of my first few scratch N scale builds.
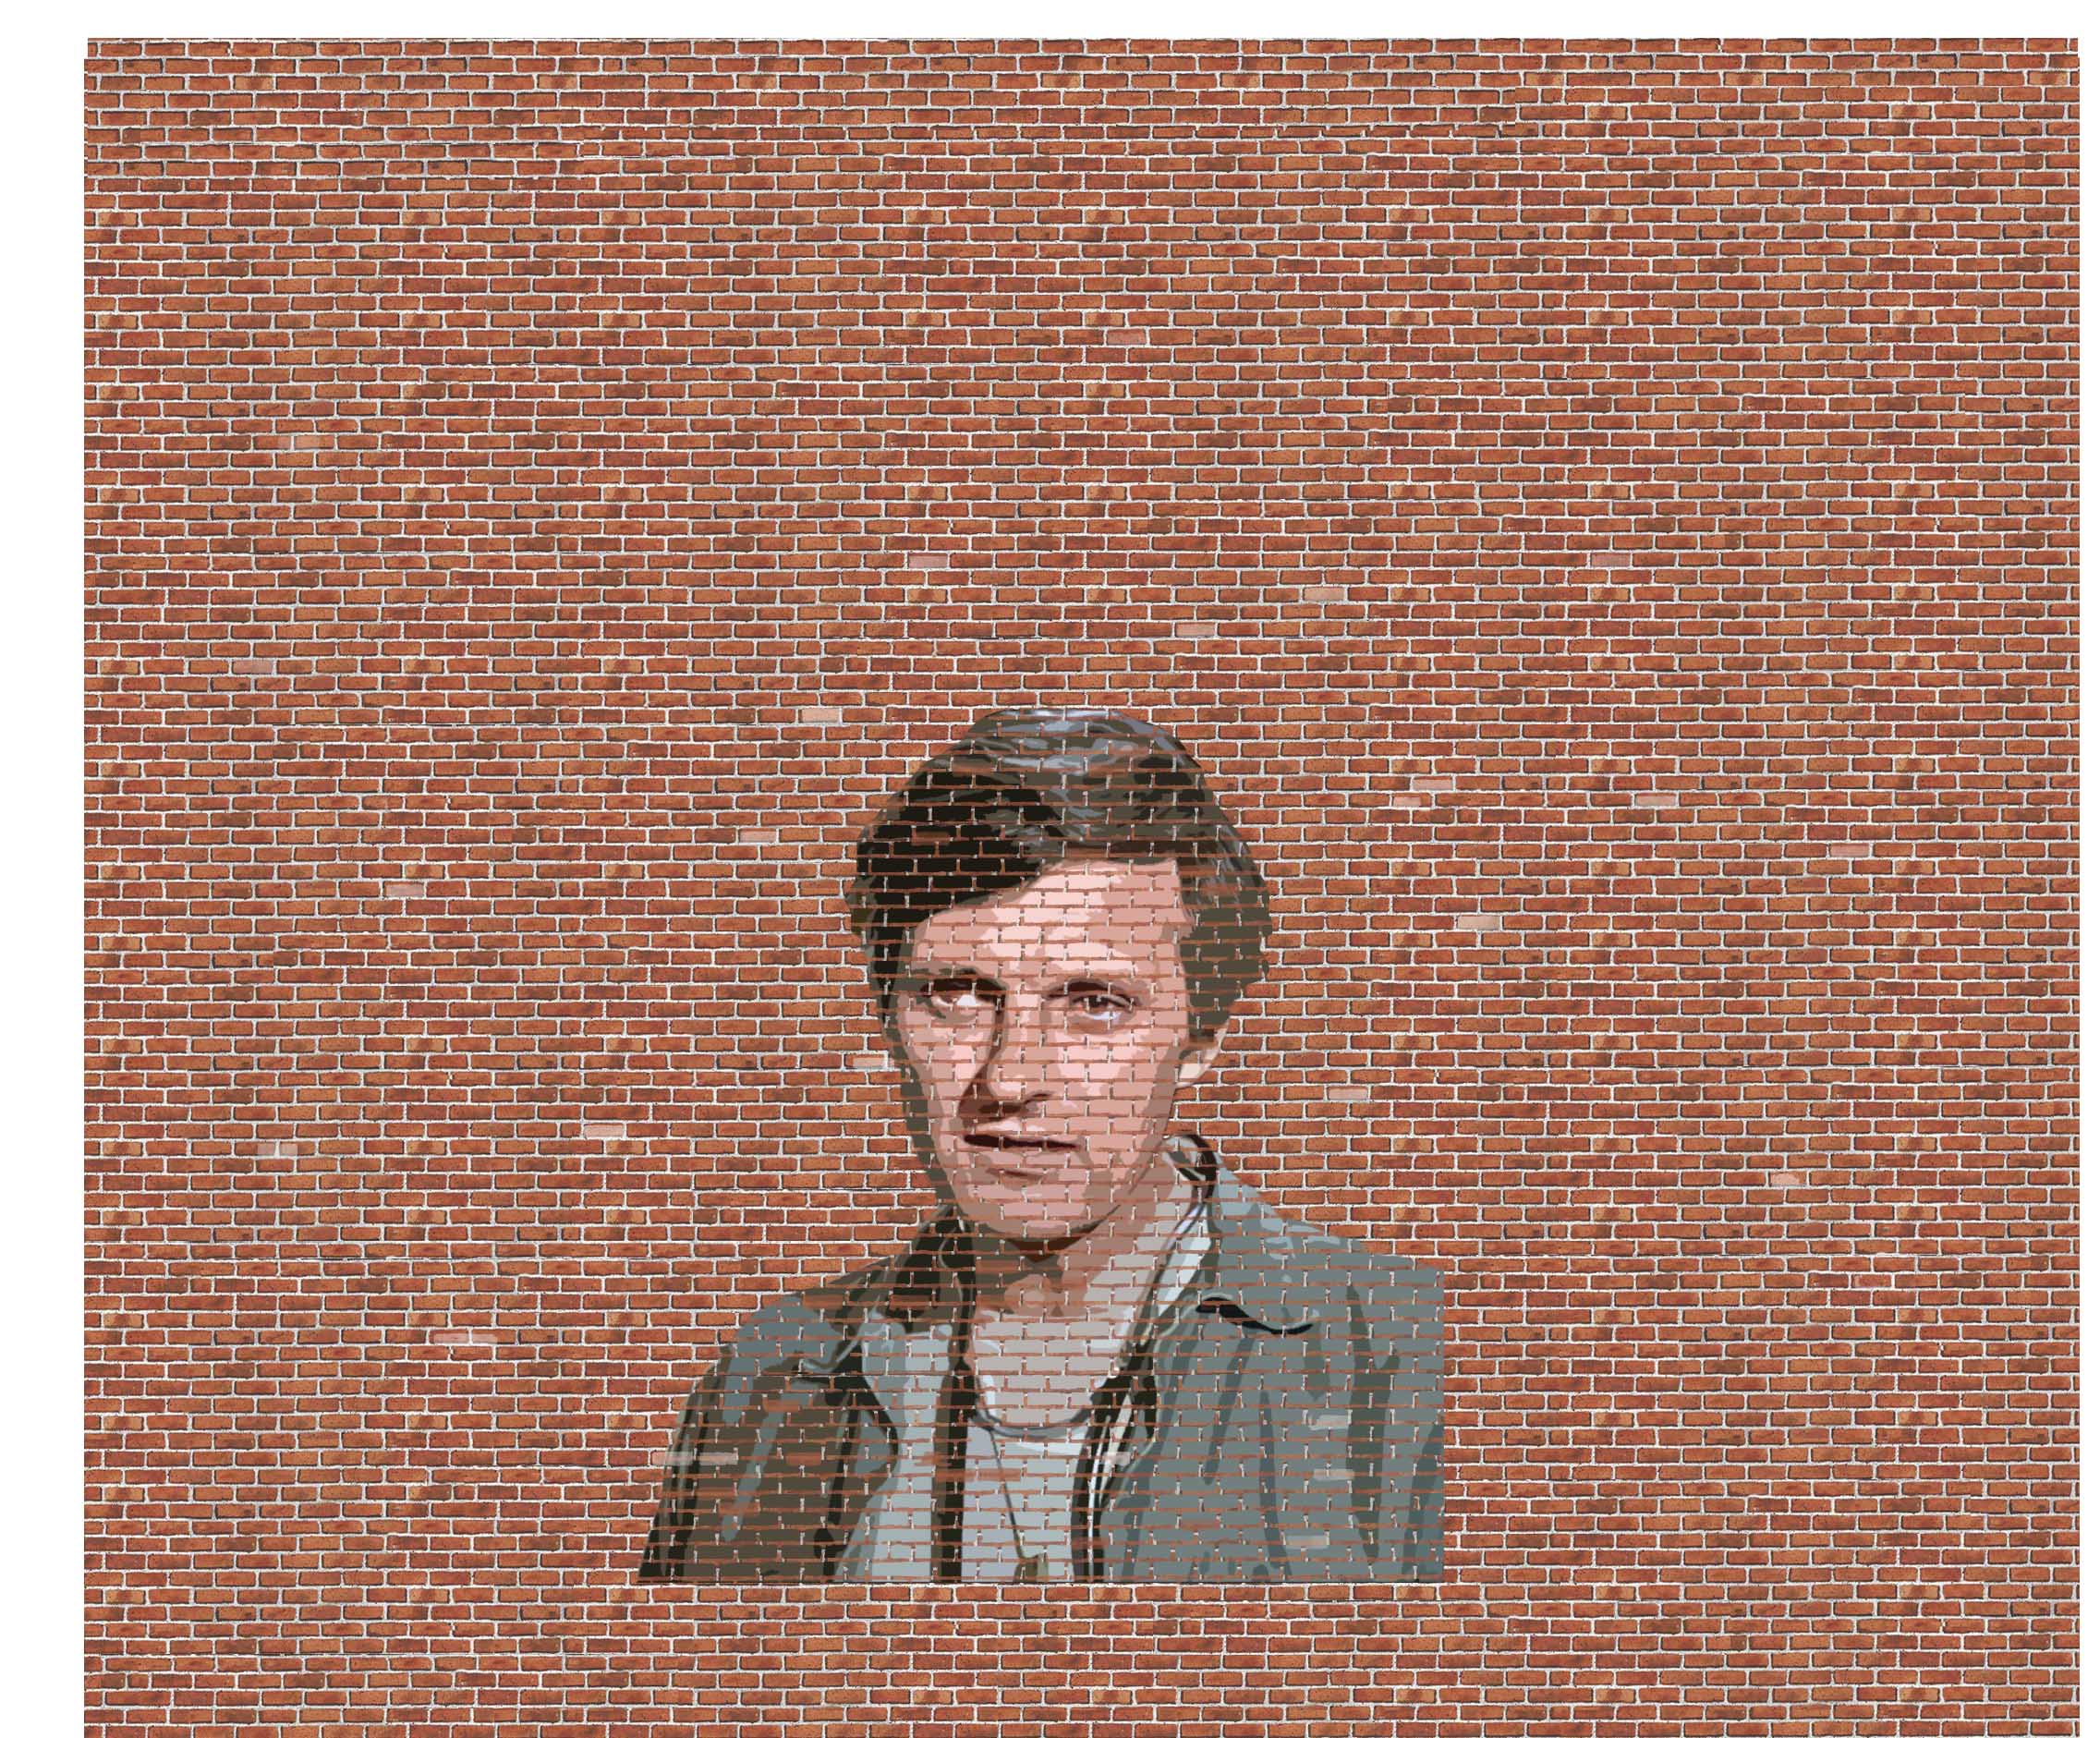
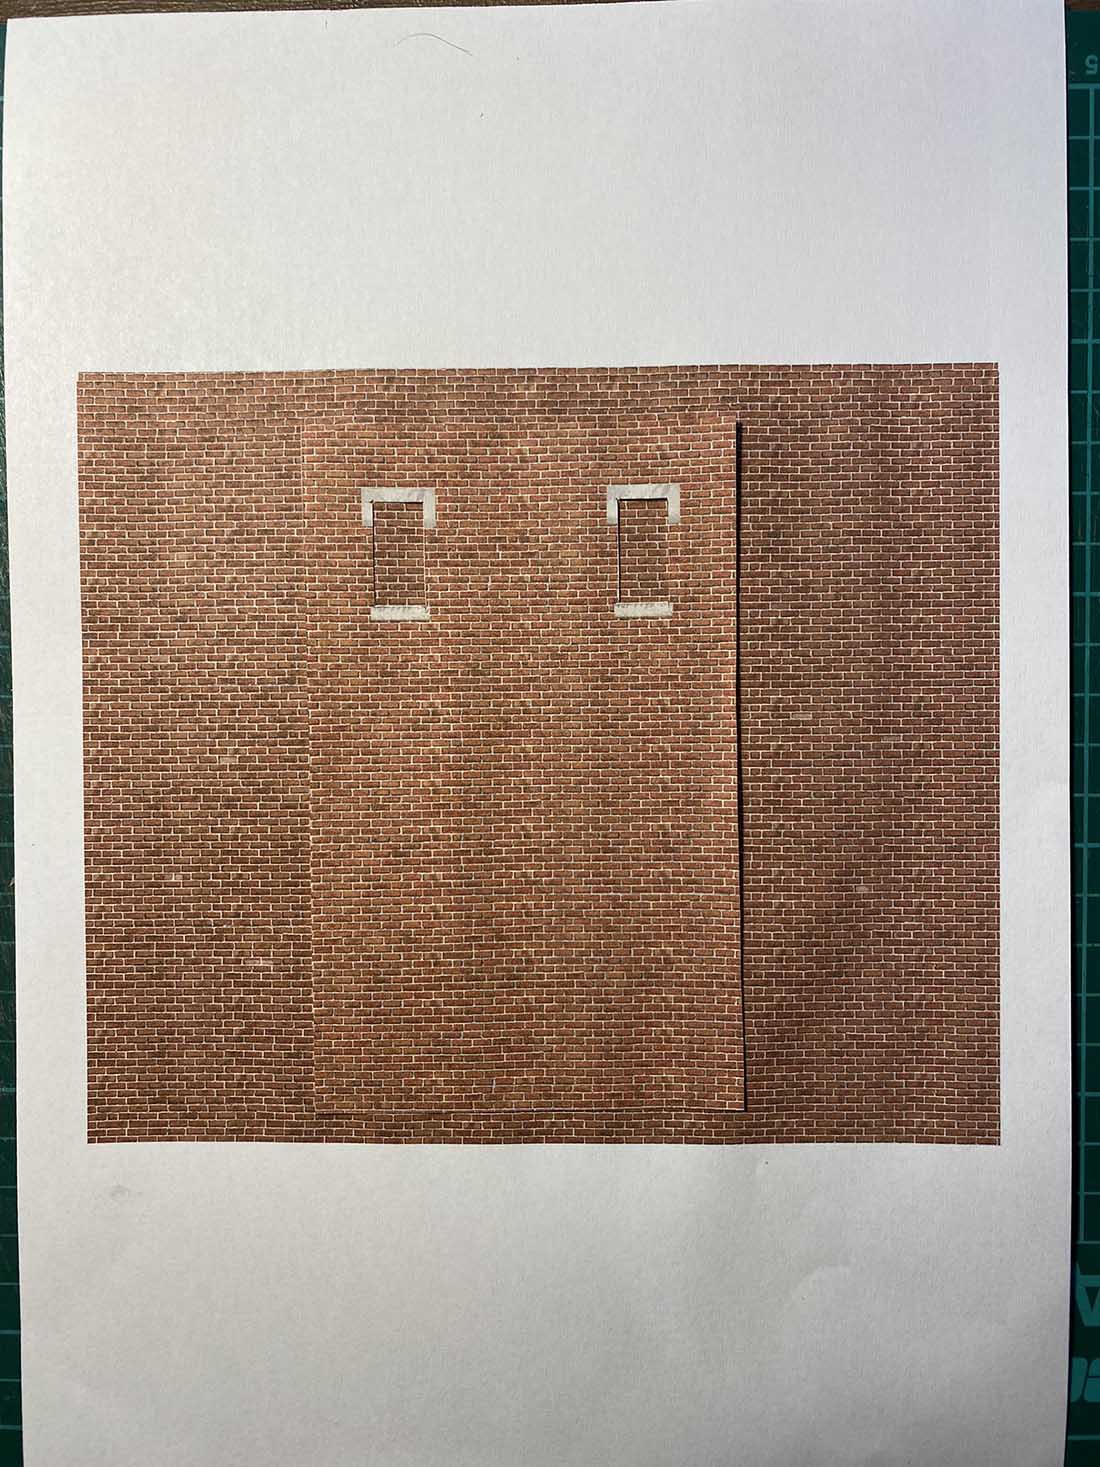
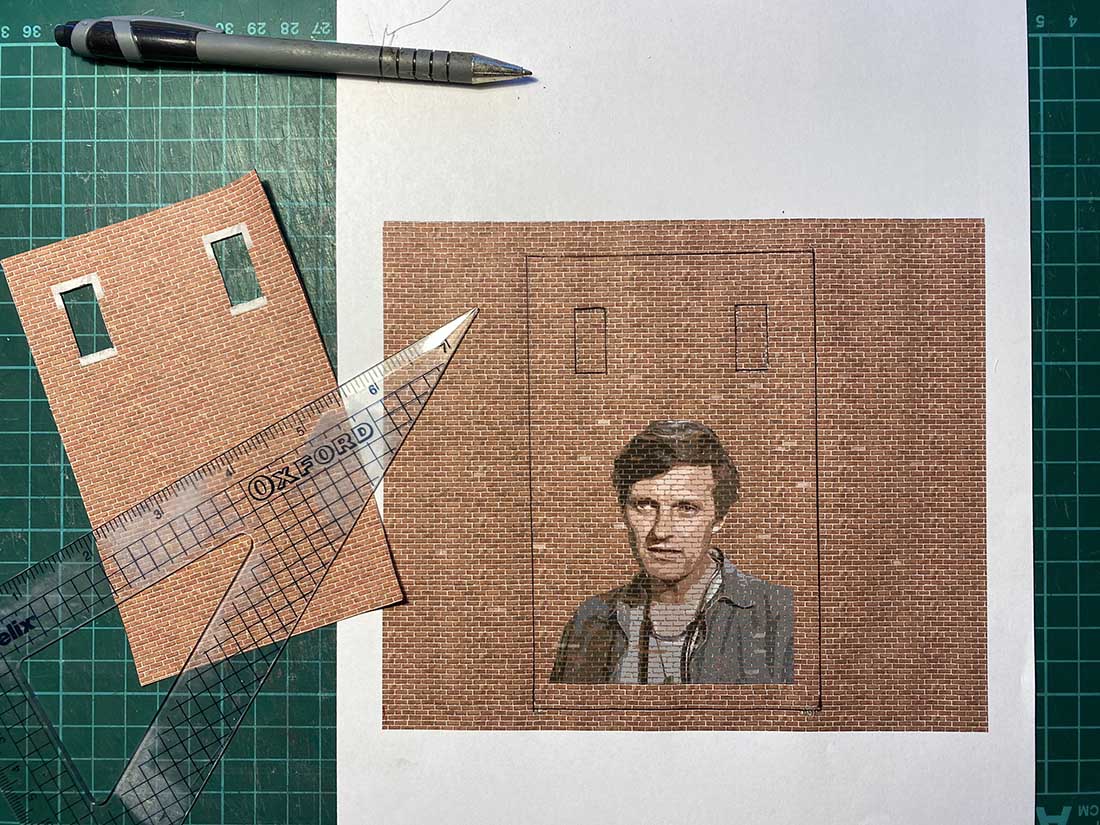
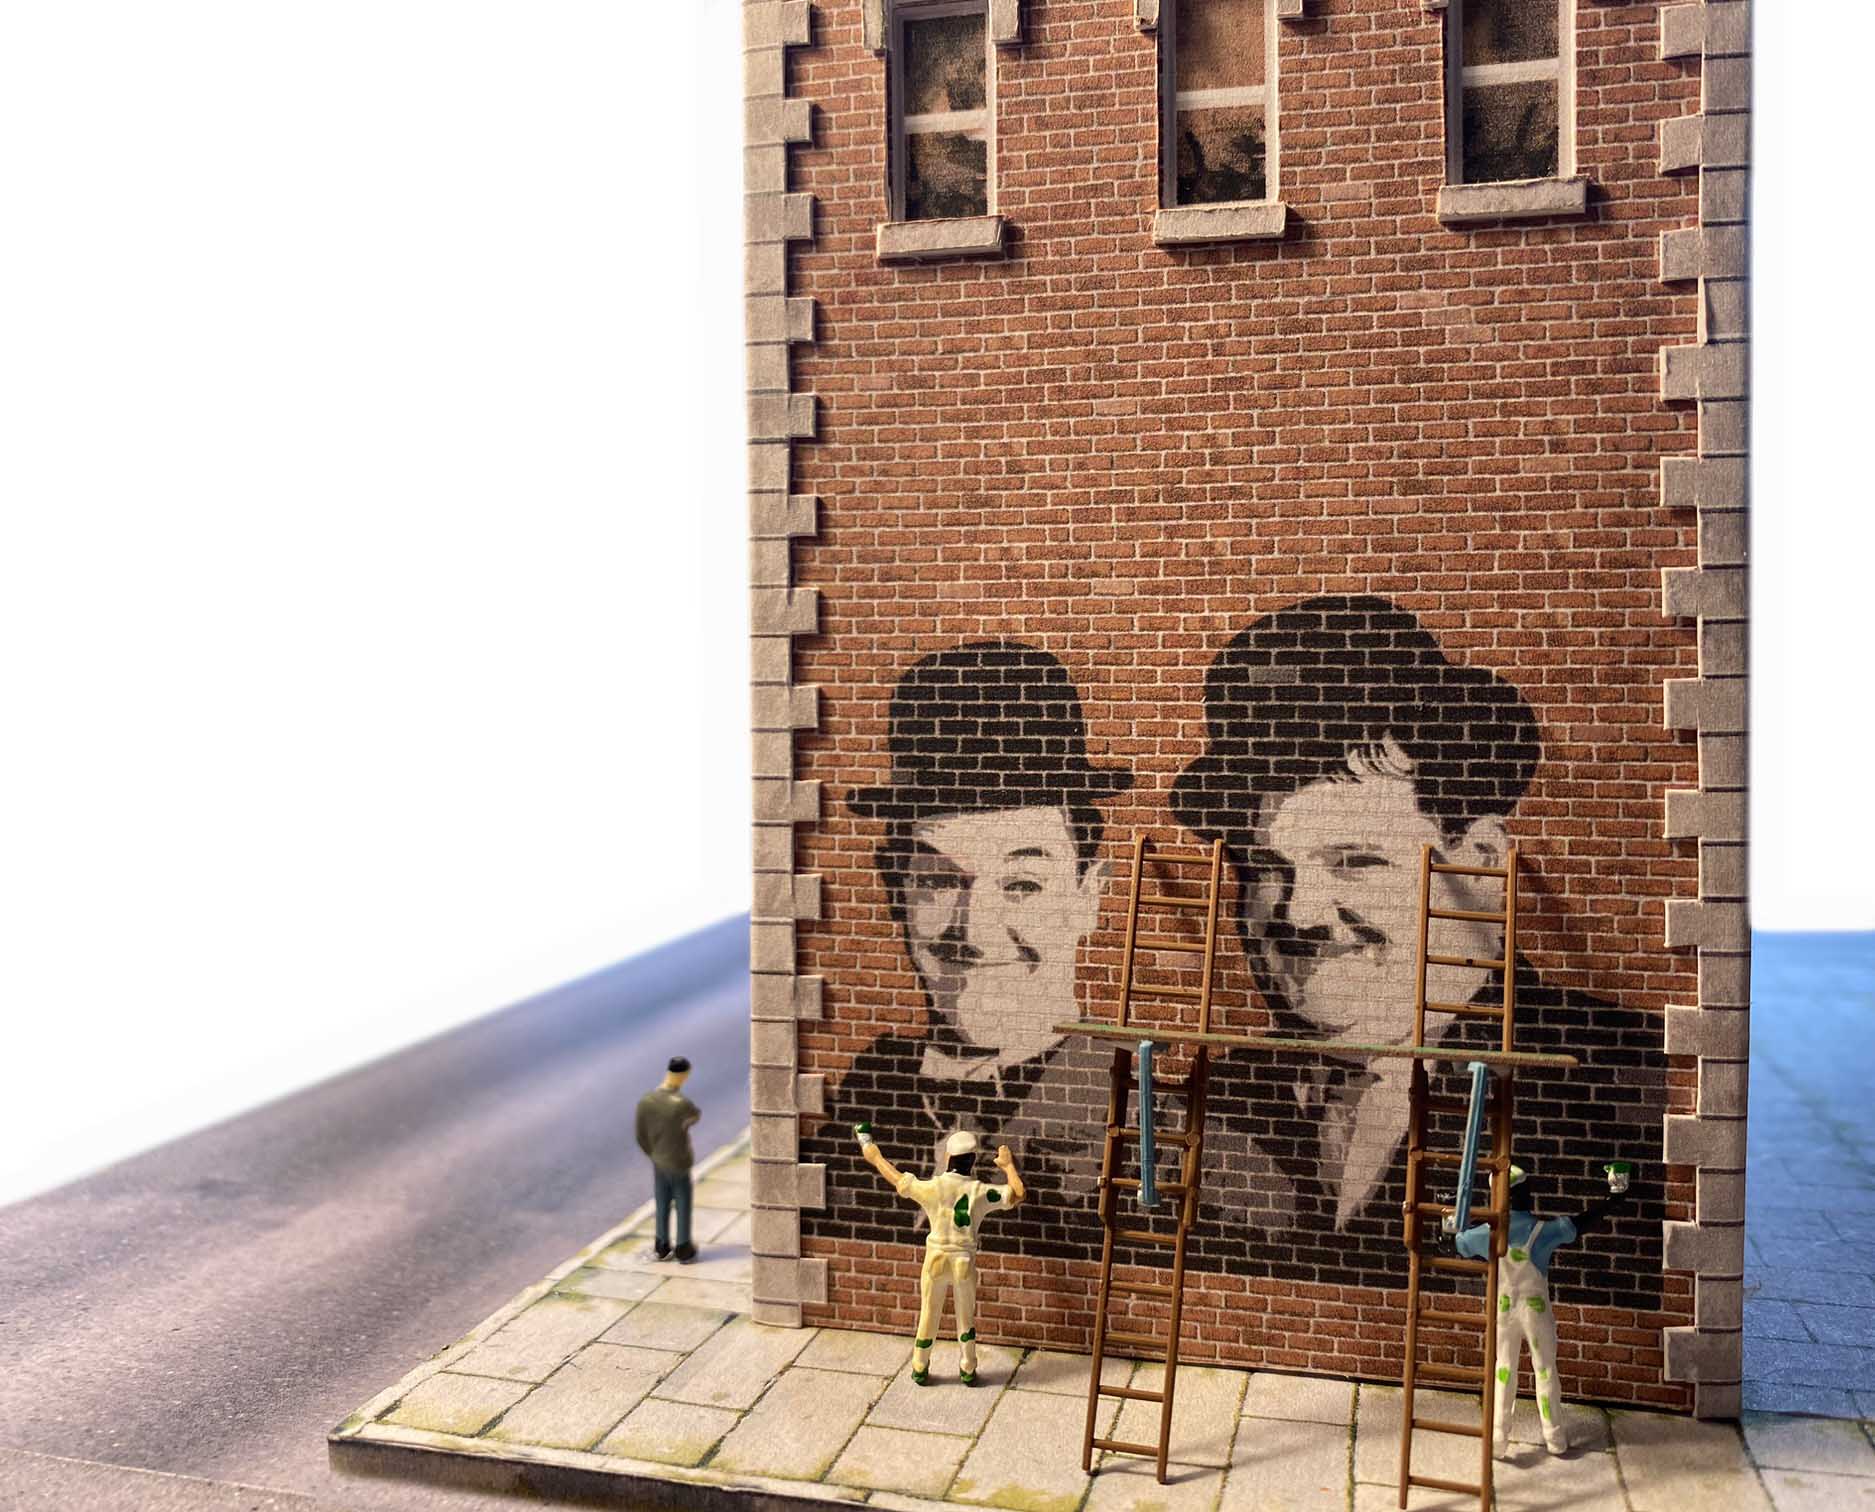
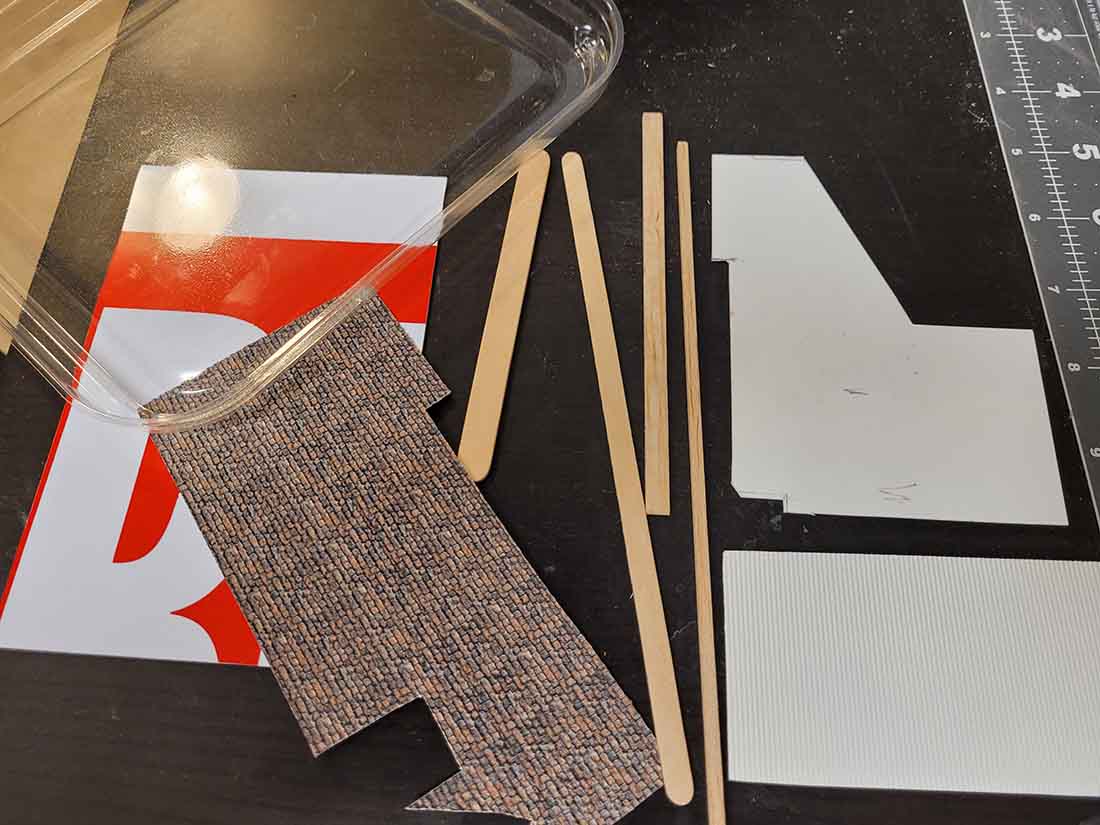
All of these are made from balsa strips, popsicle sticks!, 0.03 inch thick styrene, a 0.06″ “For Sale” sign (purchased at my local hardware store for $2.00) , brick and stone paper printed on the back of wall paper, and styrene roofing sheets.
Most of the windows were purchased on ebay, but some were 3D printed (I’m still on a huge learning curve for this!).
I’m using the scale of 1/155 – 1/160 and therefore One foot = approx 2mm.
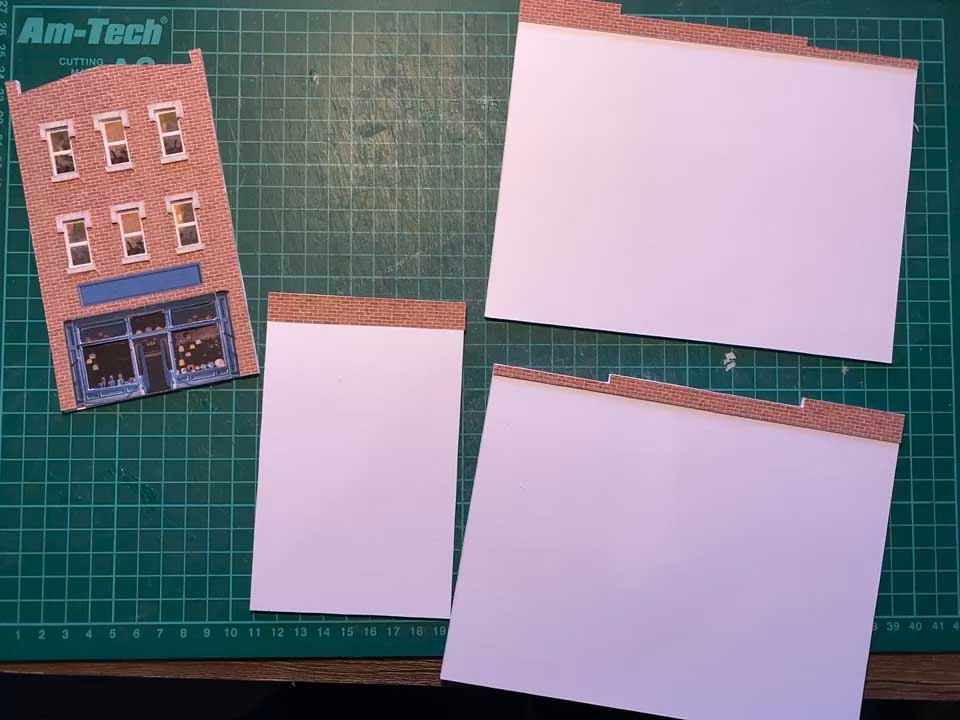
Some are complete but others have a few details to finish.
The first photo shows some of the materials that I use.
The funny thing is that I haven’t laid an inch of track yet! I wanted to have some buildings ready to go before I start my layout.
Thanks for letting me post!
Regards,
Rich”
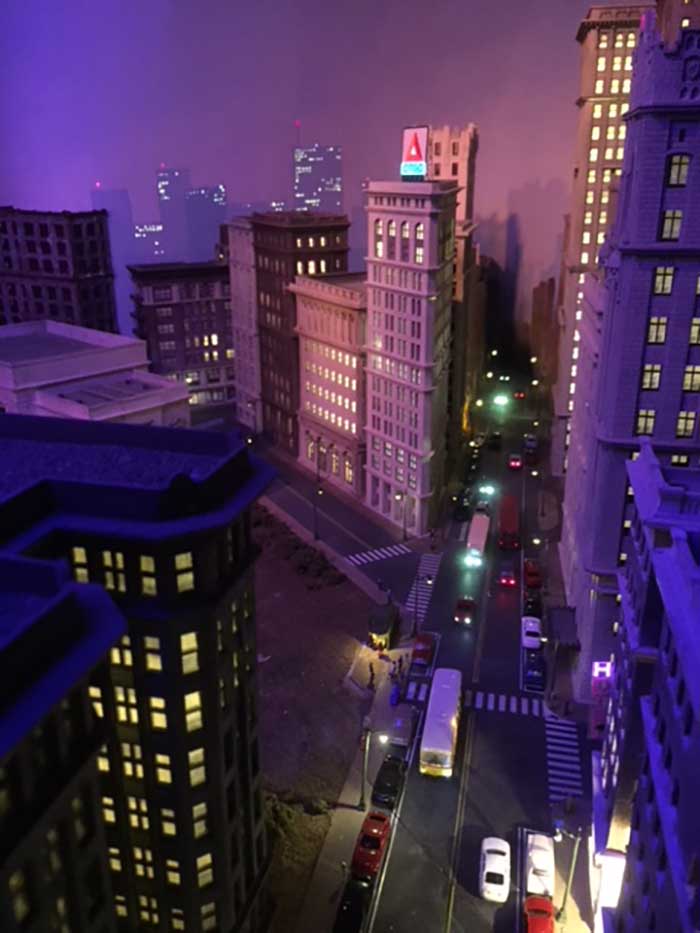
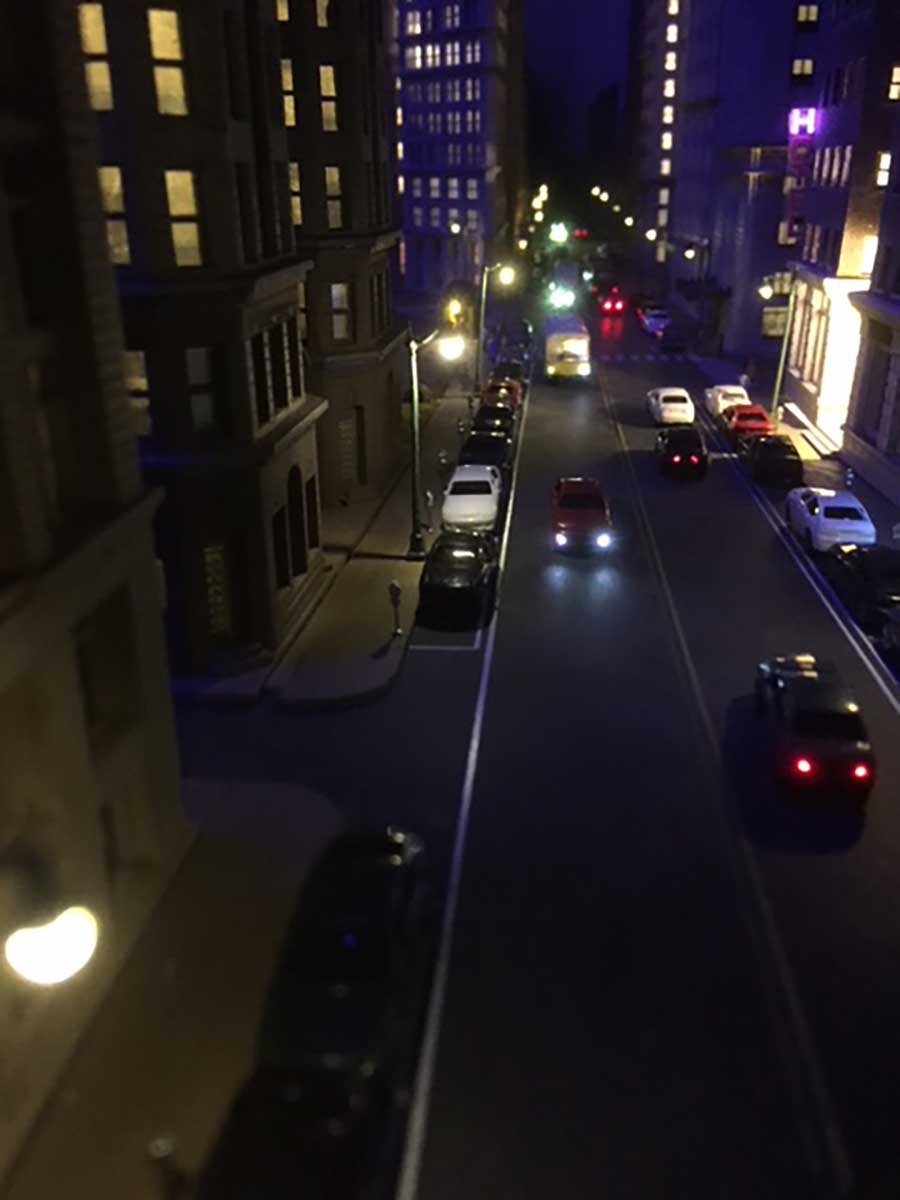
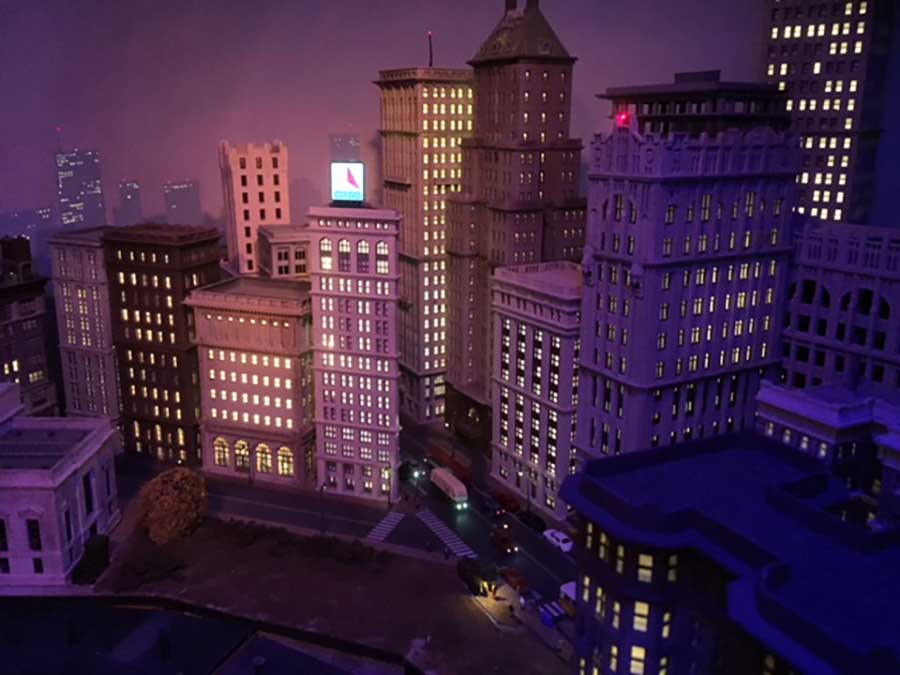
Richard’s pics reminded me of Jim’s: N scale buildings.
Clarke’s too: N scale city layout.
And can’t forget Robert’s: N scale buildings.
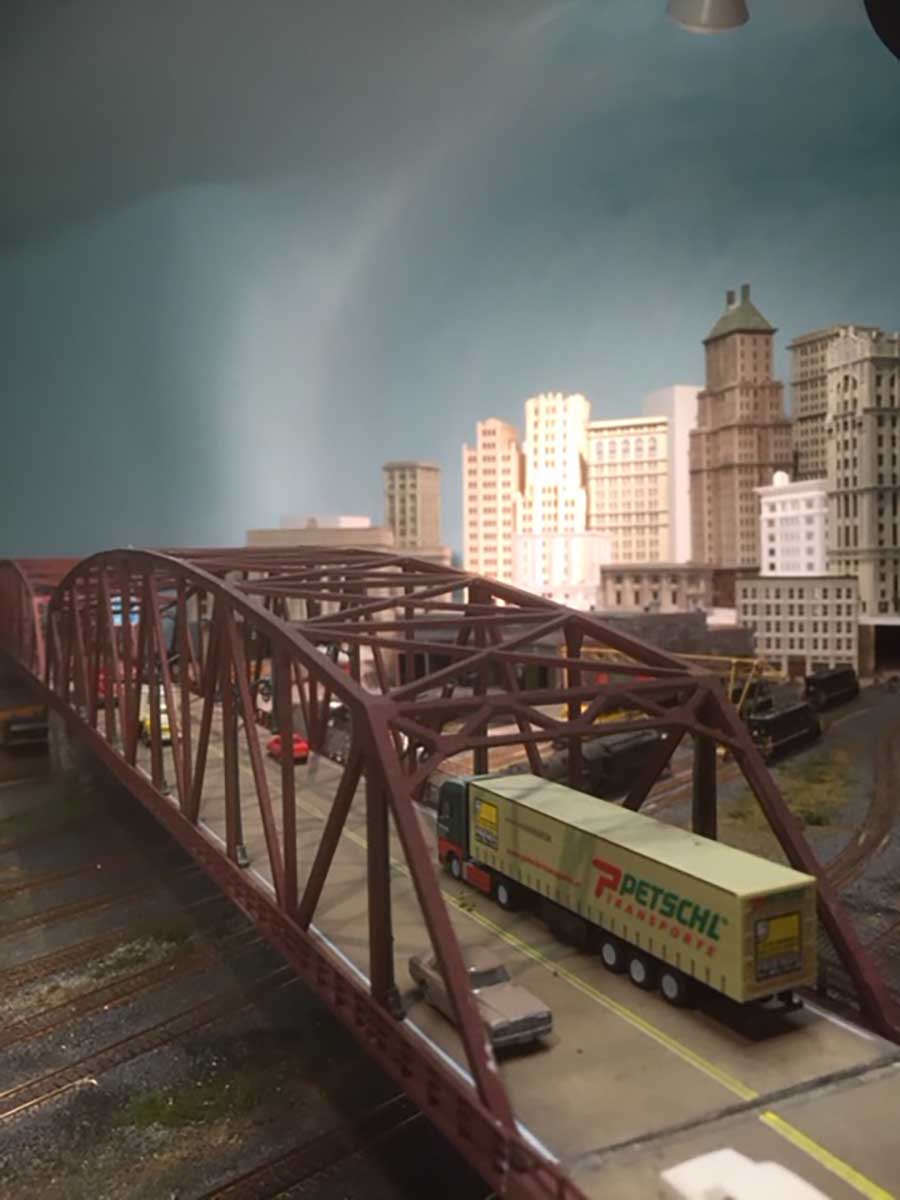
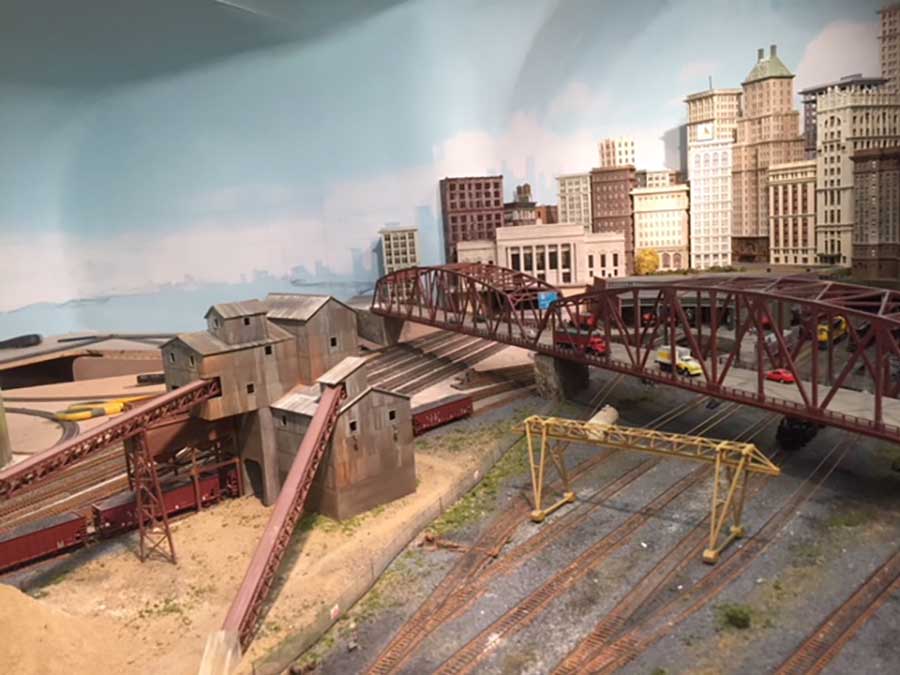
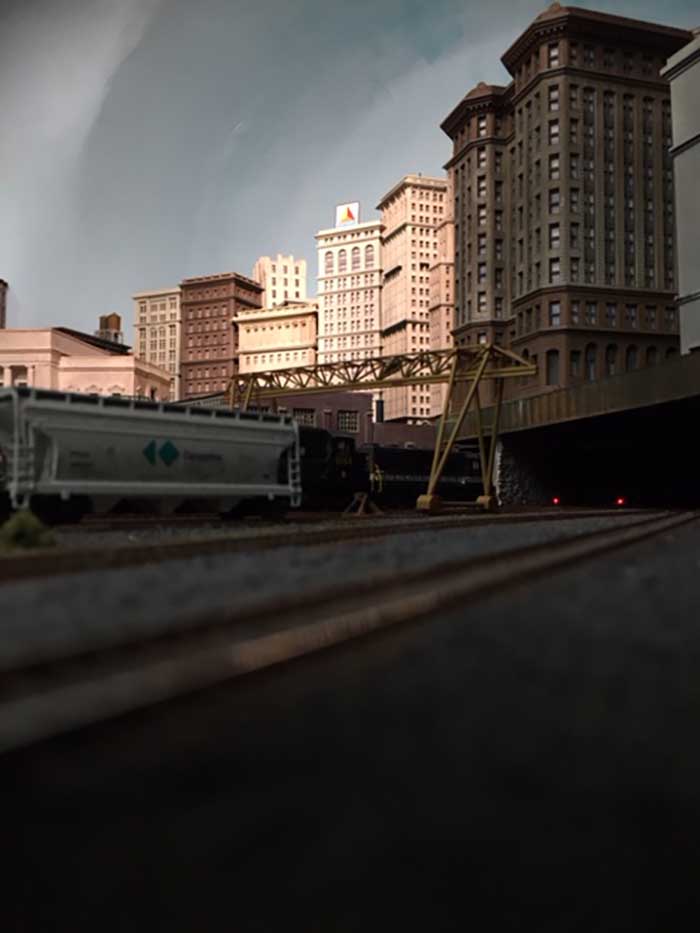
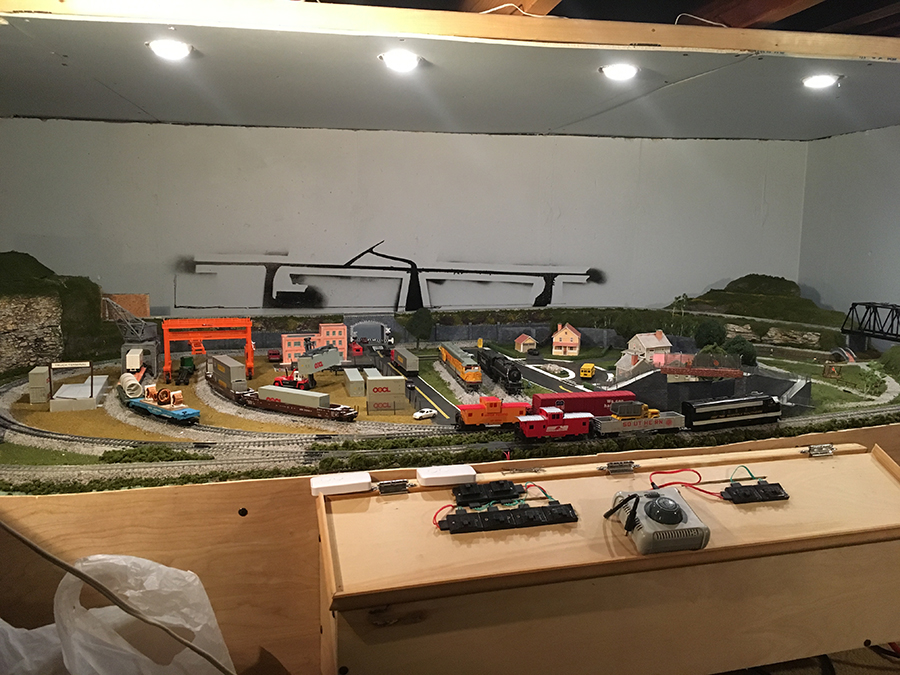
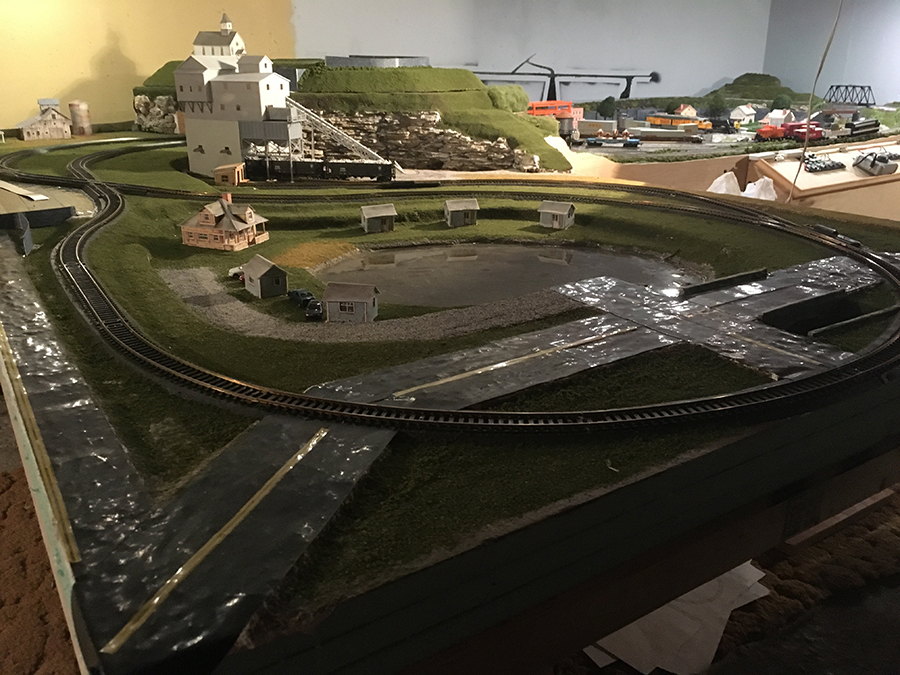
“Al,
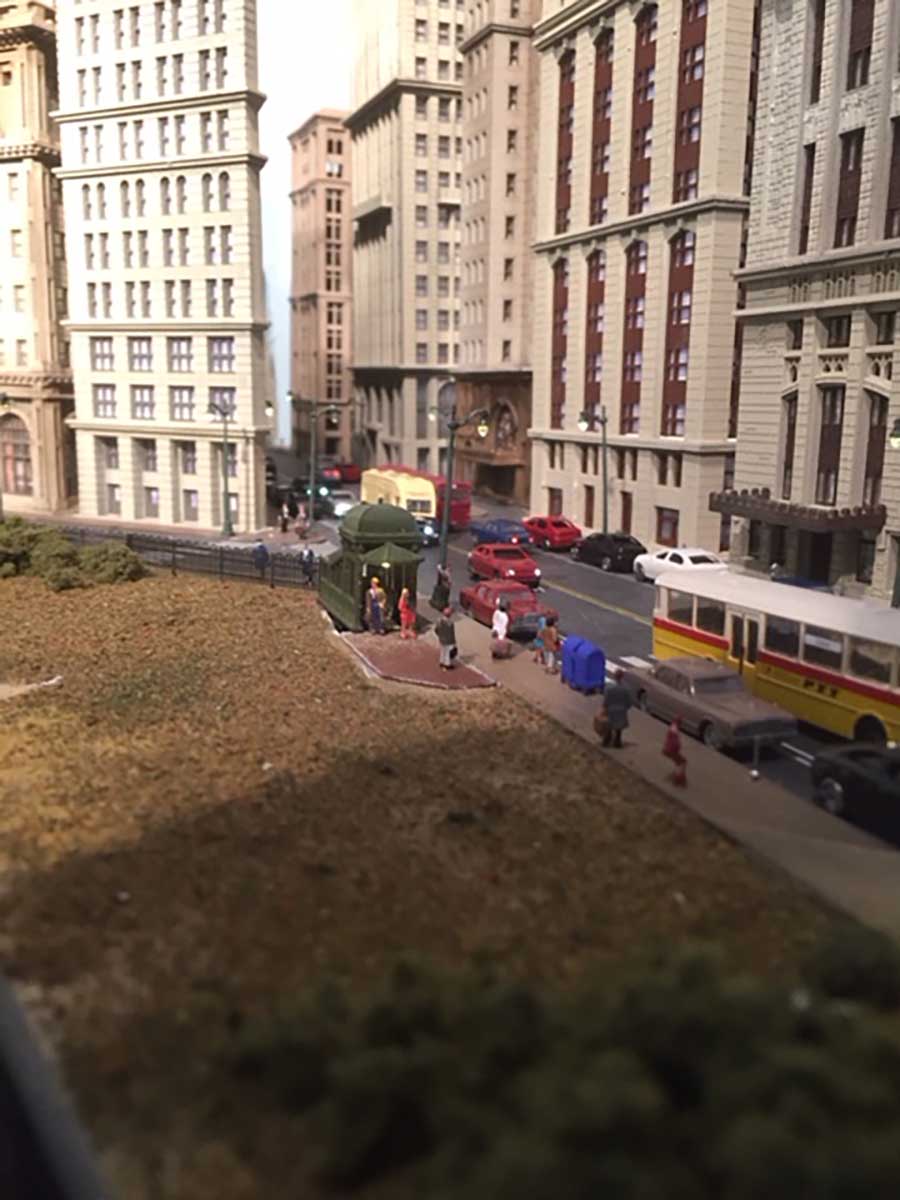
Attached are some update pictures on the expansion of Grand Junction.
The first picture is the original 8’ x 4’ setup.
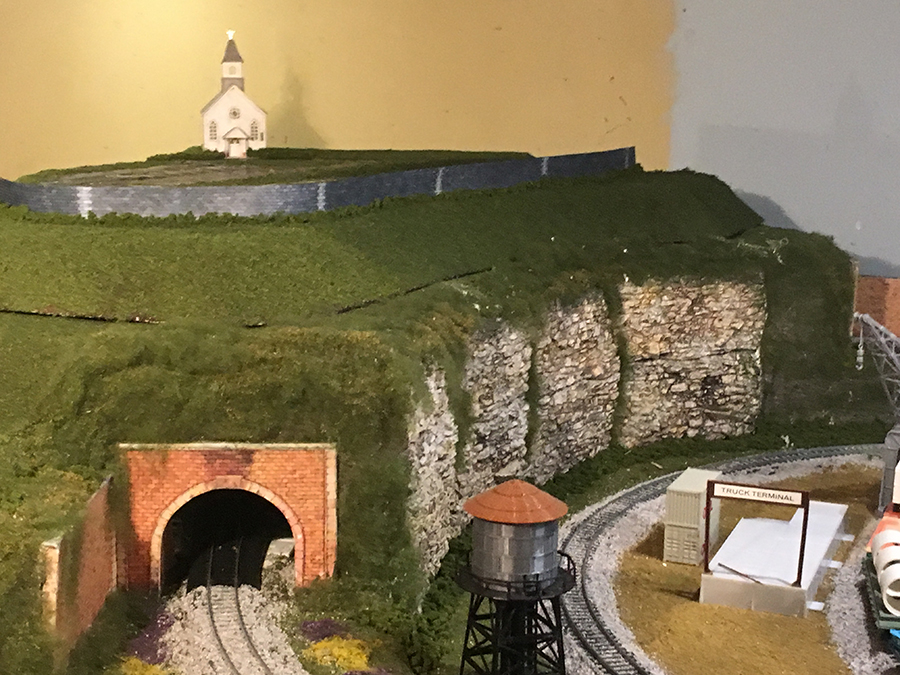
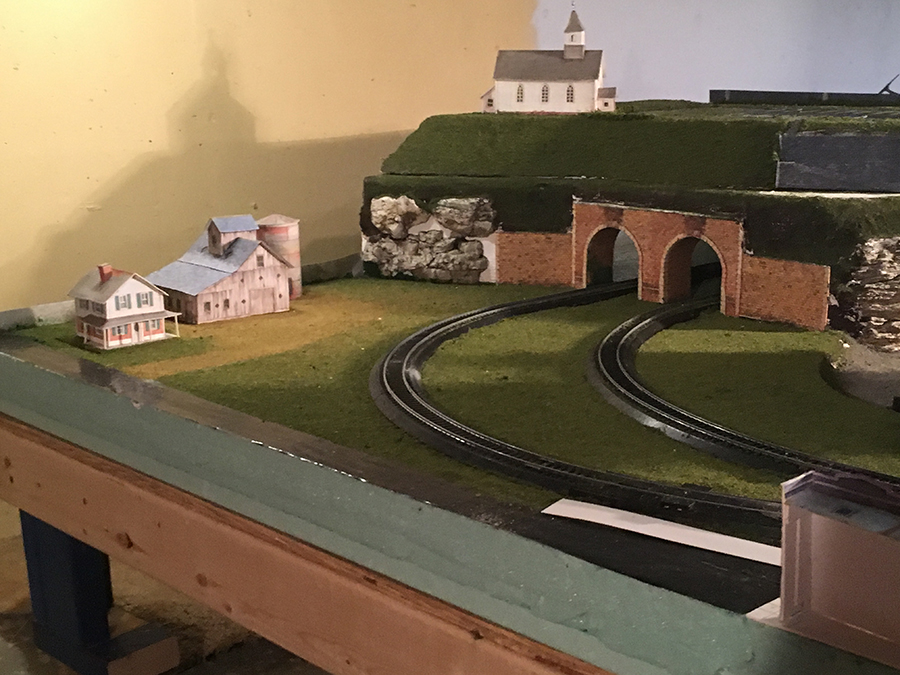
I added another 8’ x 4’ section to form an L-shaped layout in my 40” crawl space. I expanded the tunnel on the left to create a triangle of track under what is now a hillside church scene that will eventually have a wedding in progress. The entire hilltop comes off in case of train derailment.
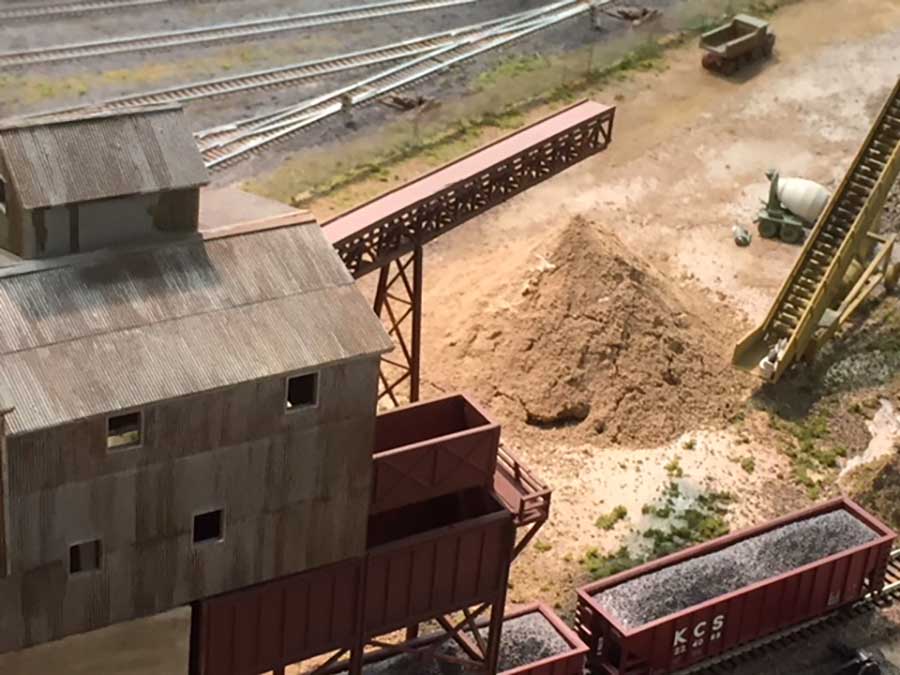
On the new expansion is a gravel construction site, a camp around a lake with several cabins for rent as well as a farm in the back behind the gravel site and the town. The entire setup is on wheels so I can get around the back of the layout for repairs and maintenance.
The landscaping (mostly trees) is next on the punch list and we still need to ballast the new track and start adding people around the lake, the town and gravel site. As you can see, other than the gravel building and the water tower on the original layout, I’ve made good use of your printout buildings.
As always, thanks for posting these updates as I look forward to what the community is up to!
Rick”
A big thanks to Rich for sharing his N scale buildings and structures – and to Rick too.
Great to see so many of the printable buildings on Rick’s layout too, especially the church.
That’s all for today folks.
Please do keep ’em coming – I can’t tell you how very, very quiet it is this end.
And if today is the day you get started on your layout just like Rich, the Beginner’s Guide is here.
Remember, it’s the start that stops most people – don’t let that be you!
Best
Al
PS More HO scale train layouts here if that’s your thing.
Need buildings for your layout? Have a look at the Silly Discount bundle.