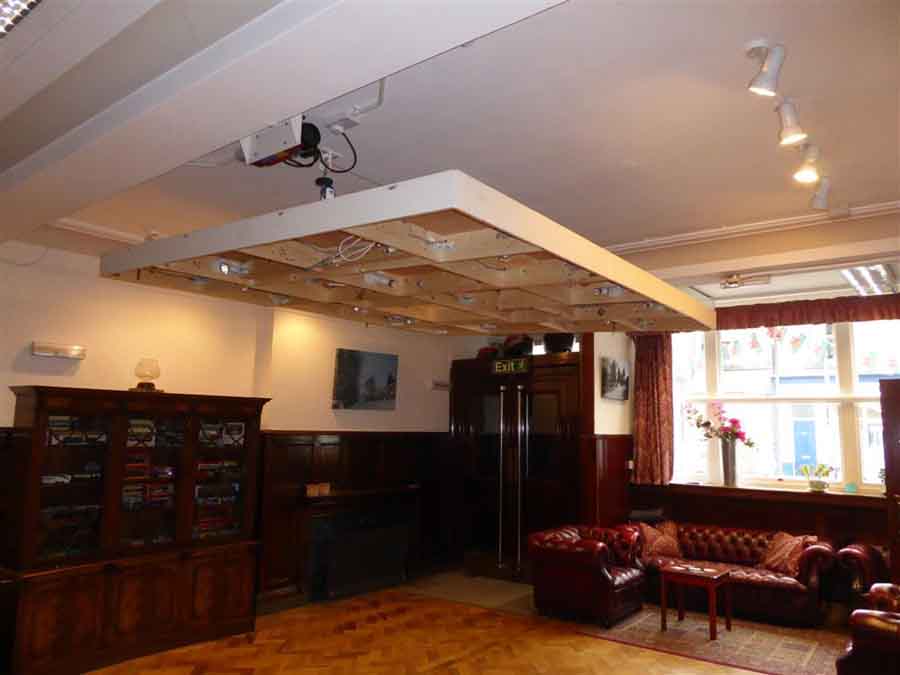
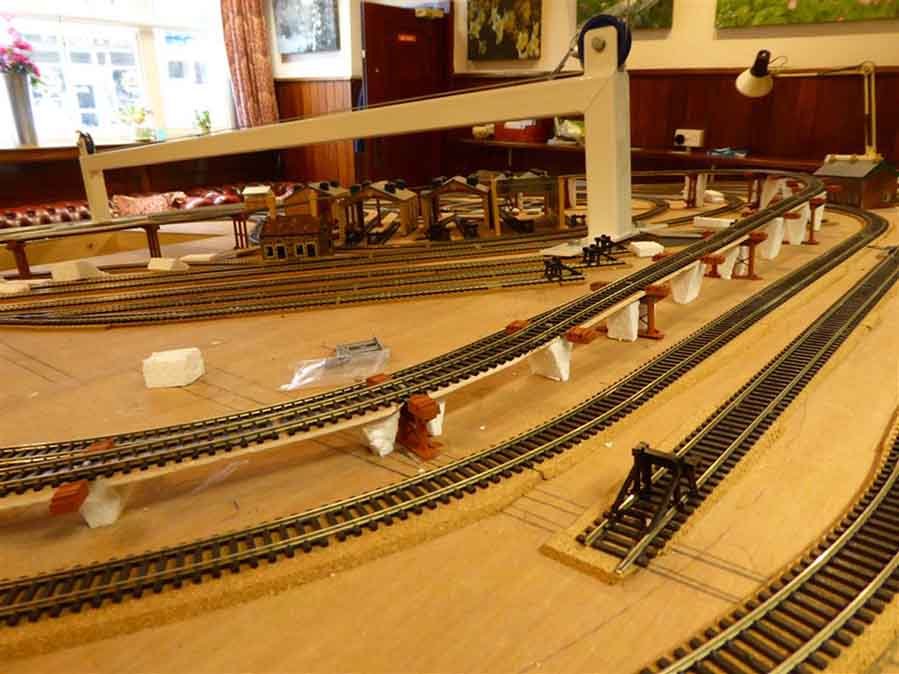
Peter’s been in touch with his suspended model train track:
“Good morning Al,
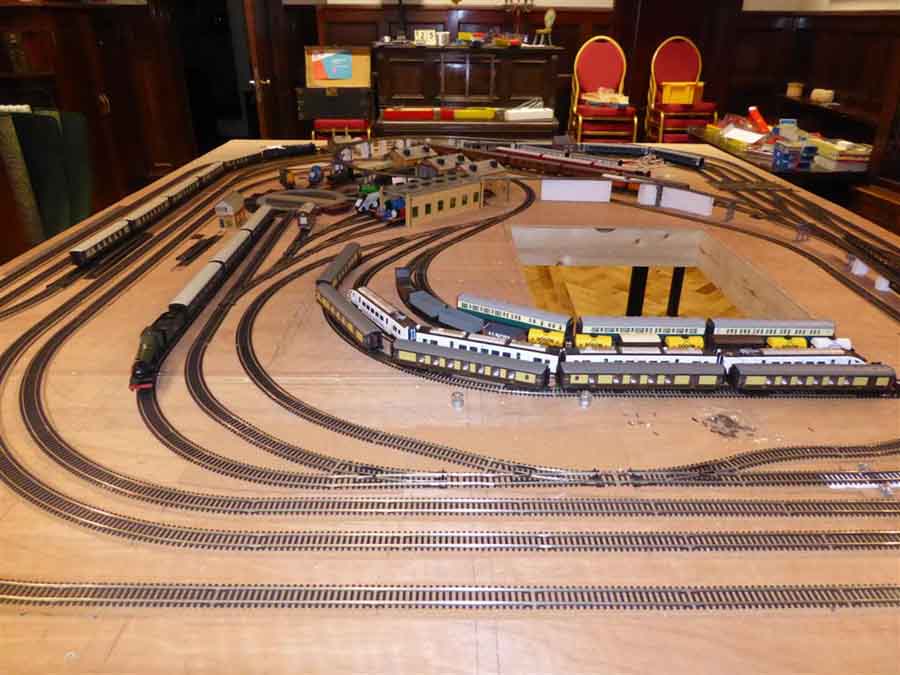
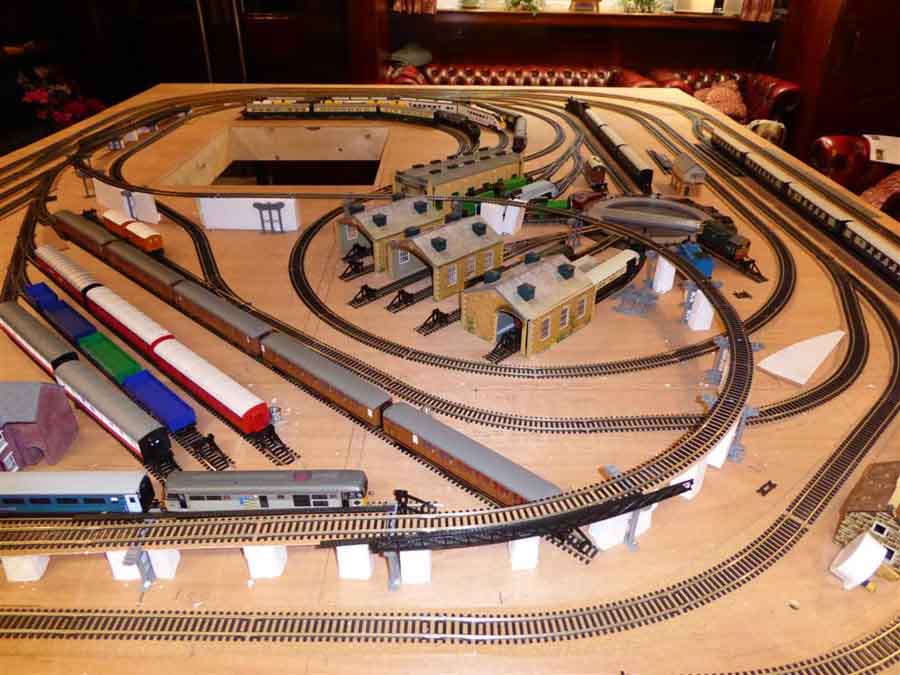
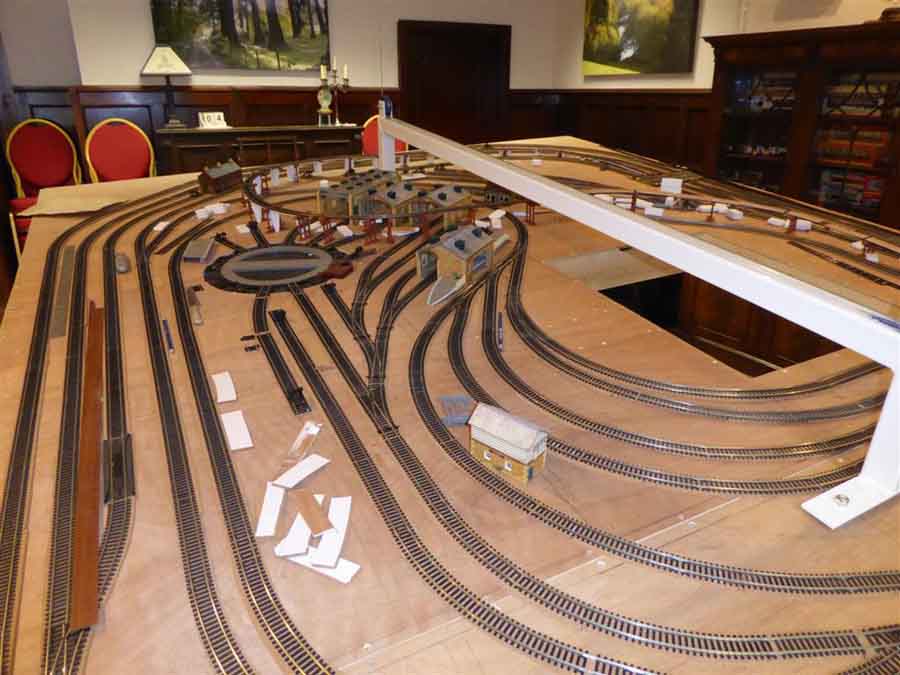
Last year I bought your Beginners Guide – very useful, thank you and each day when I receive an e-mail from you I look with interest as my 10′ x 8′ layout is just starting to take shape.
So my plan is to construct a railway with all rolling stock bought with grand-children in mind (or by them) so the theme has to be from all ages.
We have a hall that is multi-functional (dances, meetings etc) but I have ceiling space for the track.
Tomorrow I plan to start wiring all the points, I am trying to leave wiring the track until later – play time would be too tempting!
Later I will try to find some theme park rides (fun fair), but that could be a good year down the line (Ha!).
Look forward to hearing from you.
Cheers,
Peter”
And now from Peter’s suspended model train track to Gary and his ‘grass how-to’:
“About 4 years ago I started making my own ground foam. Found that the process was very simple and inexpensive to to do.
I use it for making my trees, bushes and grass on my layout. Most of the tools needed I was able to buy used.
I picked up my food blender at a yard sale. Got my cookies sheets at Goodwill. I did purchase my Magic Bullet eBay new.
I found a local upholstery shop a bought a large garage bag of seat cushion foam for $20.00.
I have also used, used foam that I found from chairs and couches people had put out for trash. Although I recommend inspecting them before you use them for pet or food stains.
I mix up a batch of stain in a clean 5 gallon bucket. I have used latex paint, and Rit Dye. But I have found the best thing is a product called “Tints All” (which I purchased on EBay)
It’s available in a variety of colors. And I have found adding a little latex paint helpful for changing the color.
Then I take the ground foam and cut it into small pieces. Usually about 1” x 1” squares.
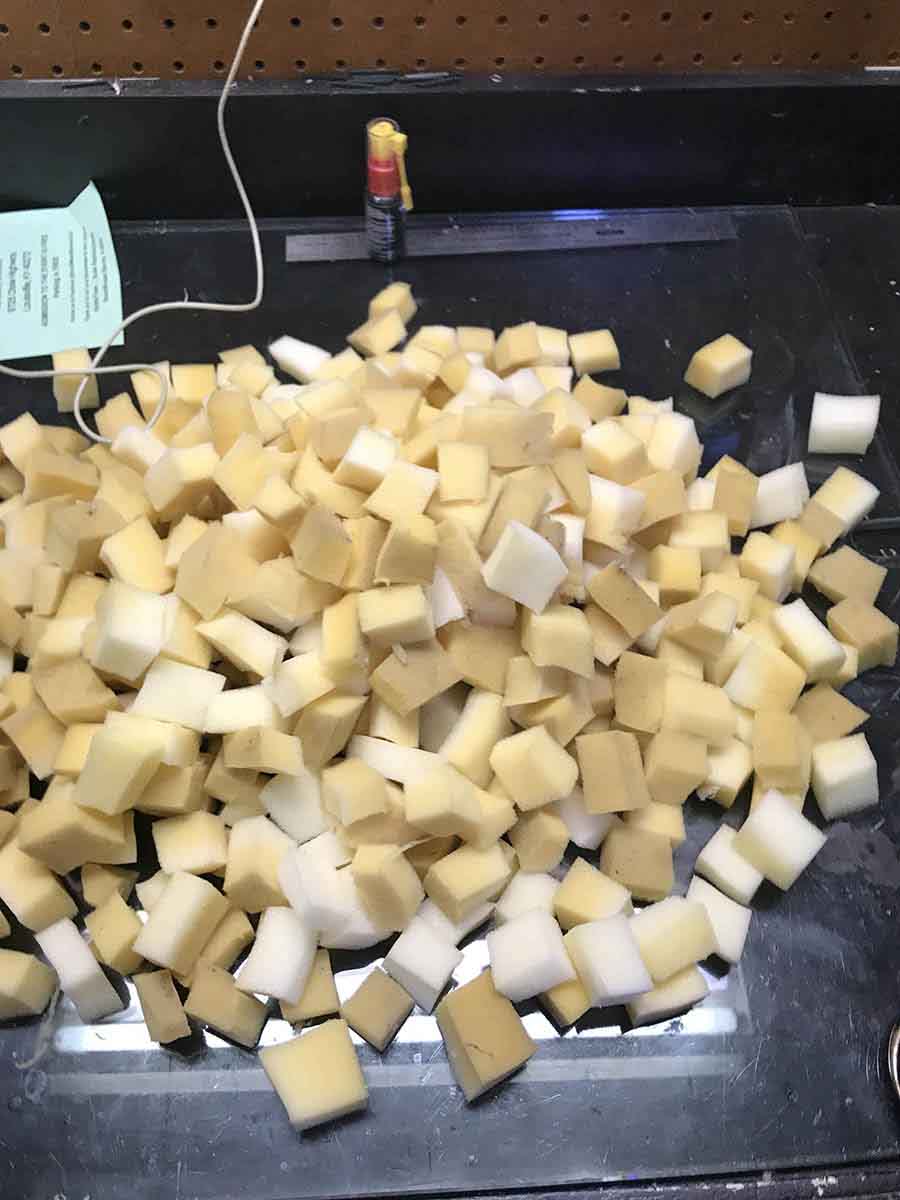
Then I put them into the blender. Filling it up about 1/2 full. I then add about 1 1/2 cups of water to start and turn the blender on high for about 10 minutes.
I sometimes remove the little cap on the lid to add more water if I notice that the water has soaked into the foam so much that it’s blending up well.
After the foam is blended good I drain the water off of it and then remove it from the blender by hand squeezing it in my hand to remove as much water as possible.
I then dump it into my 5 gallon bucket with the dye in it. I usually put 5 to 10 blender into the bucket before continuing on.
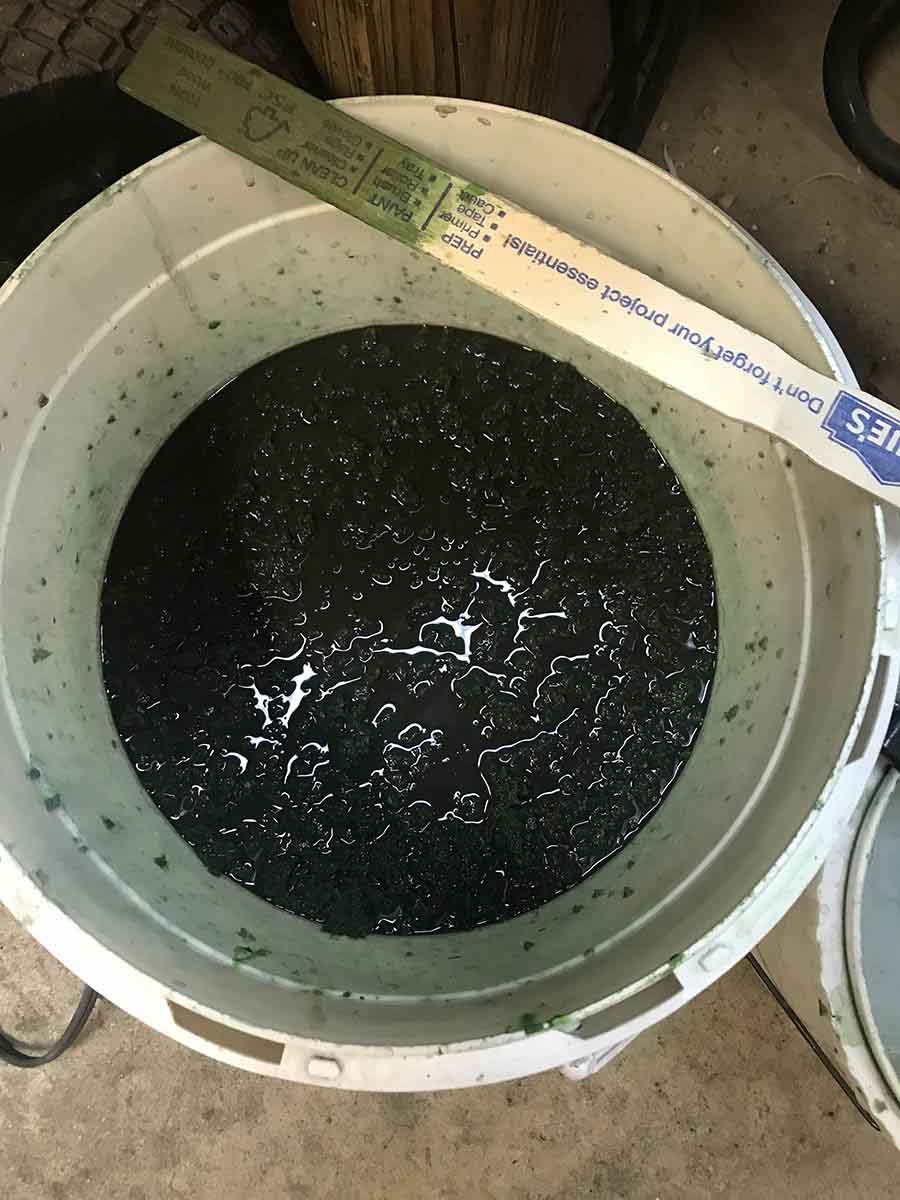
Once I have enough I then stir it really well and let set in the bucket for 2 to 3 hours. I have just left it in the bucket over night.
I then start removing it from the stained foam from the bucket with latex gloves. I wringing the excess dye out back into the bucket.
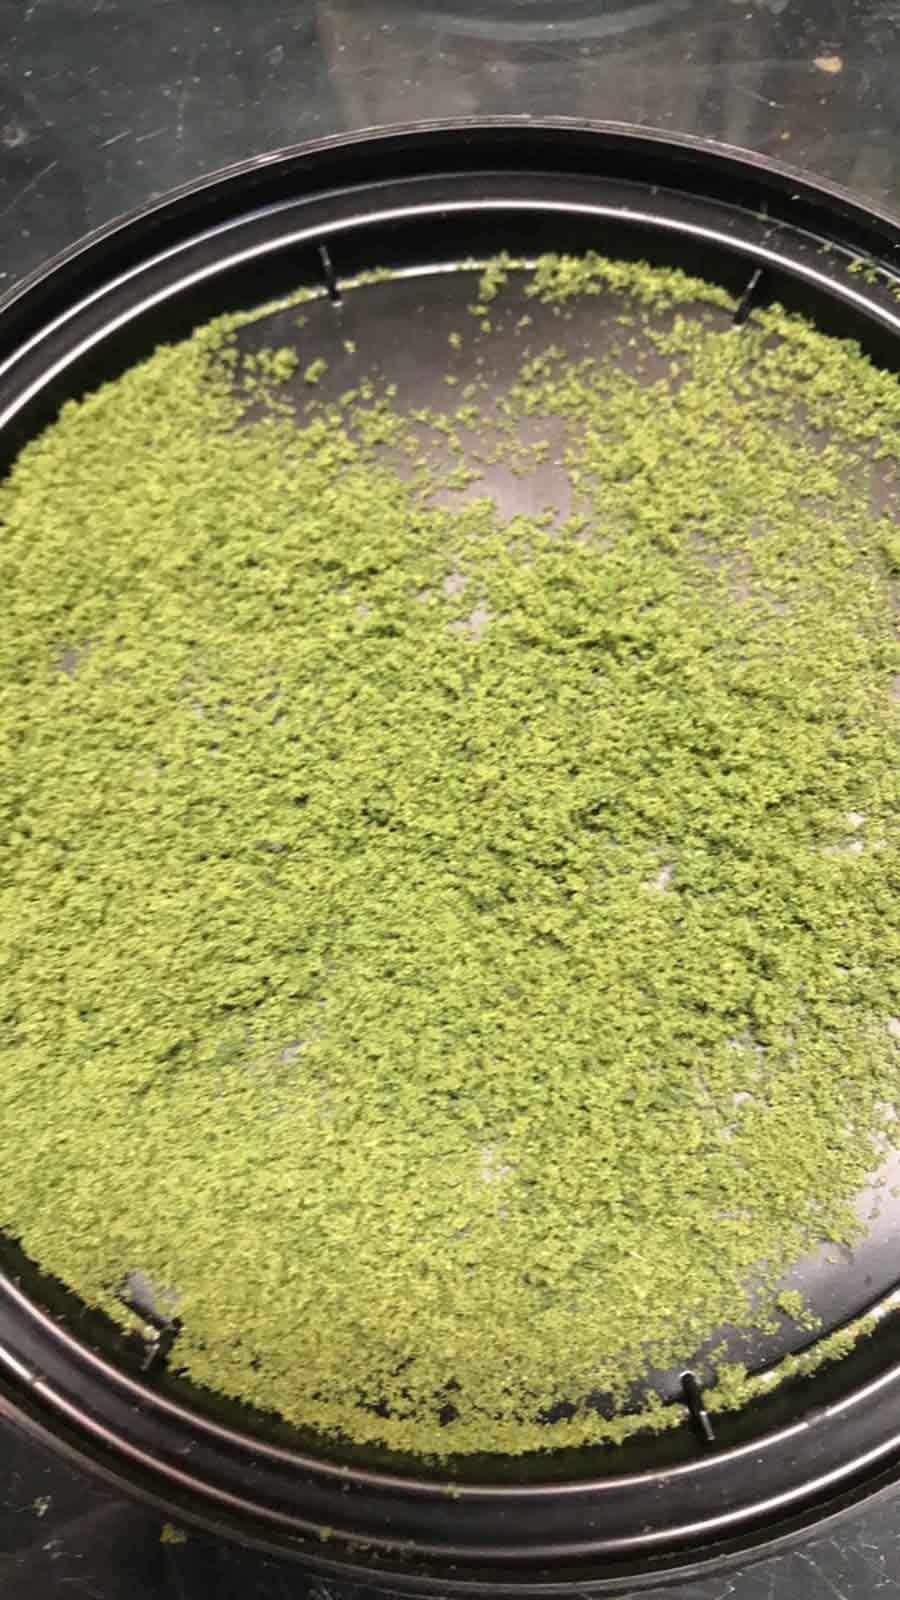
I then place the foam on cookie sheets that I had already prepared with layers of paper towels on them. And leave the out overnight to dry. I have also put them out side in the sun. But, you need to make sure it not going to be windy. Because as the foam drys out it becomes lite enough that it can blow of the cookie trays.
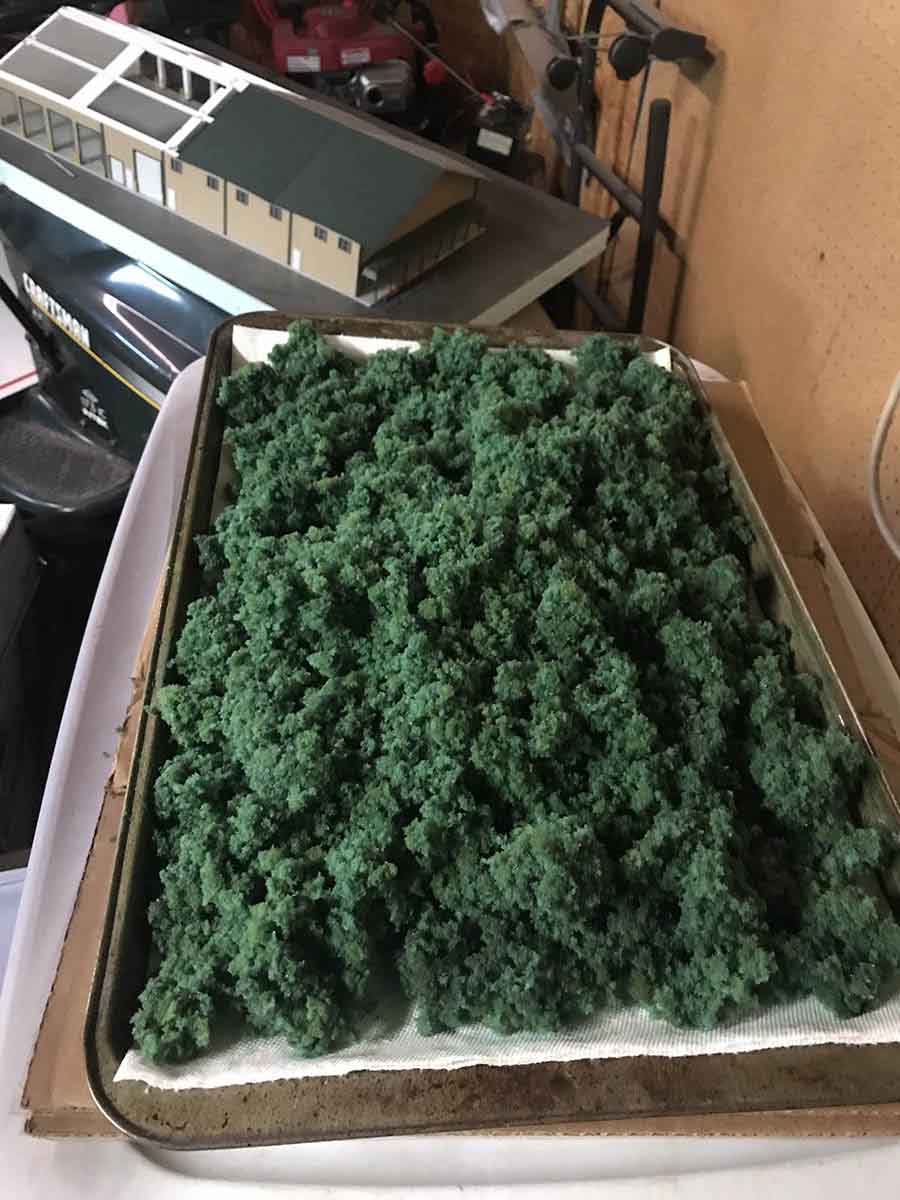
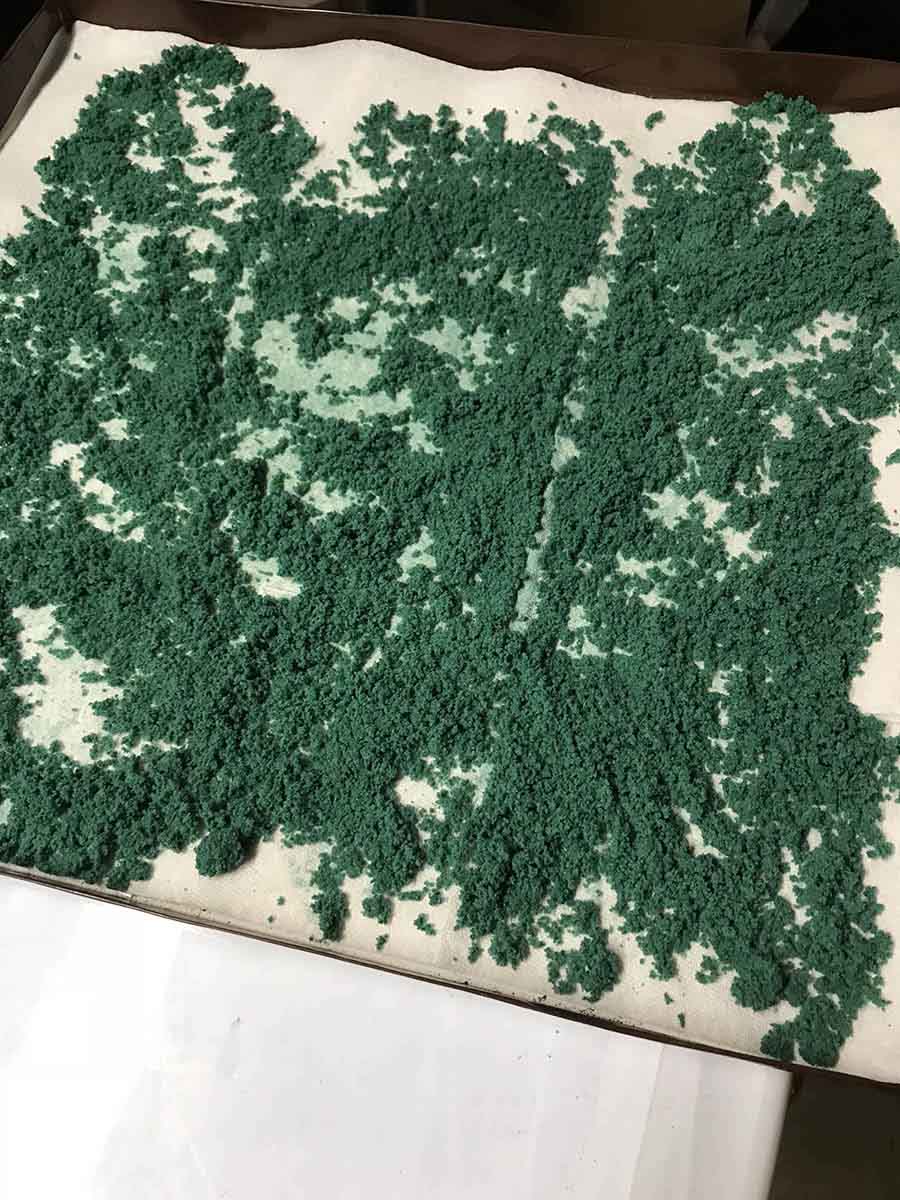
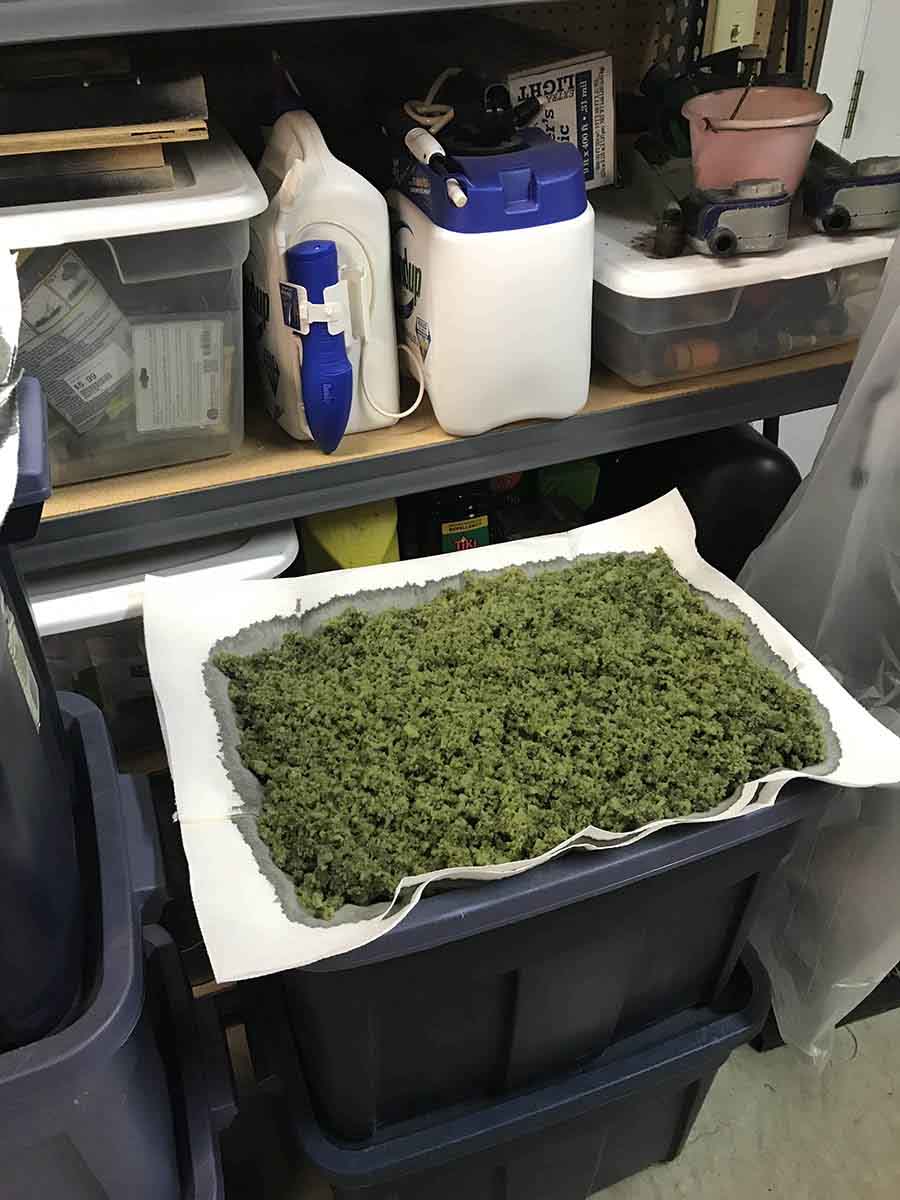
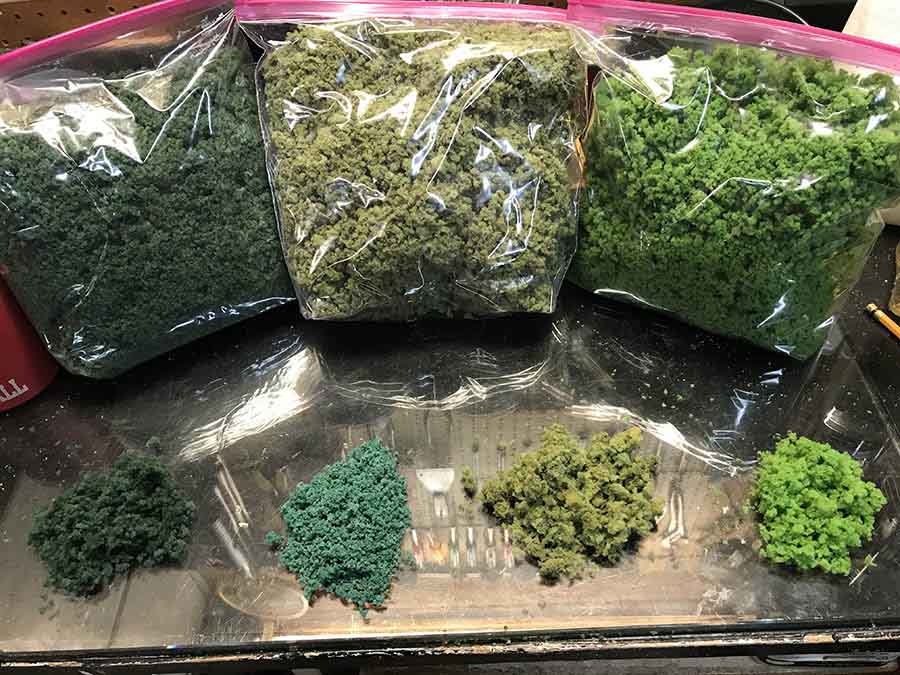
It’s not just for model train grass – this size will work great for using them for bushes and trees.
For bushes I set some to the side and put them in a smaller bucket and add some Elmers glue and mix throughly. When that drys, you end up with a product very similar to Clumped Foliage from Woodland Scenics. Which you can easily tear apart as needed.
For Fine Foliage I put some of the dried foam into the magic bullet. It grinds it up and makes great Fine Foliage
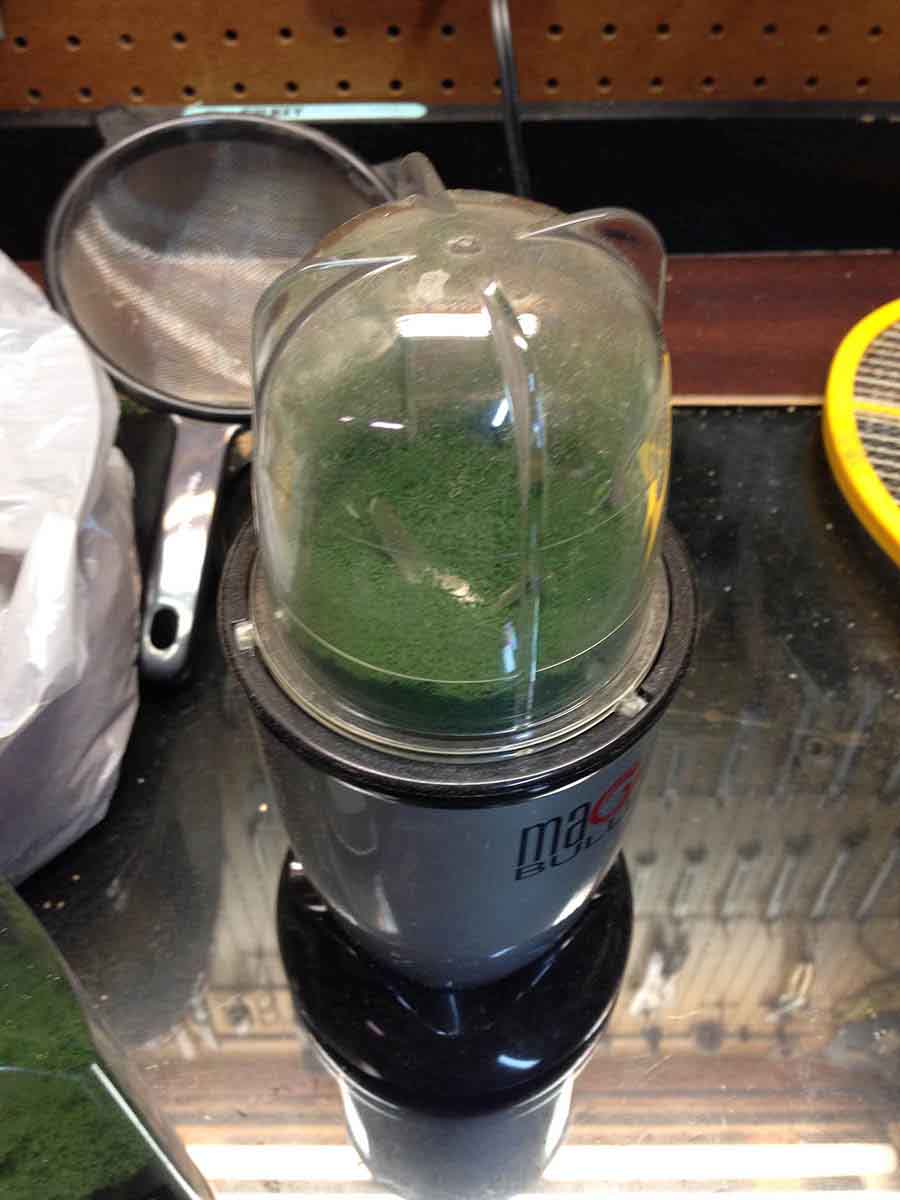
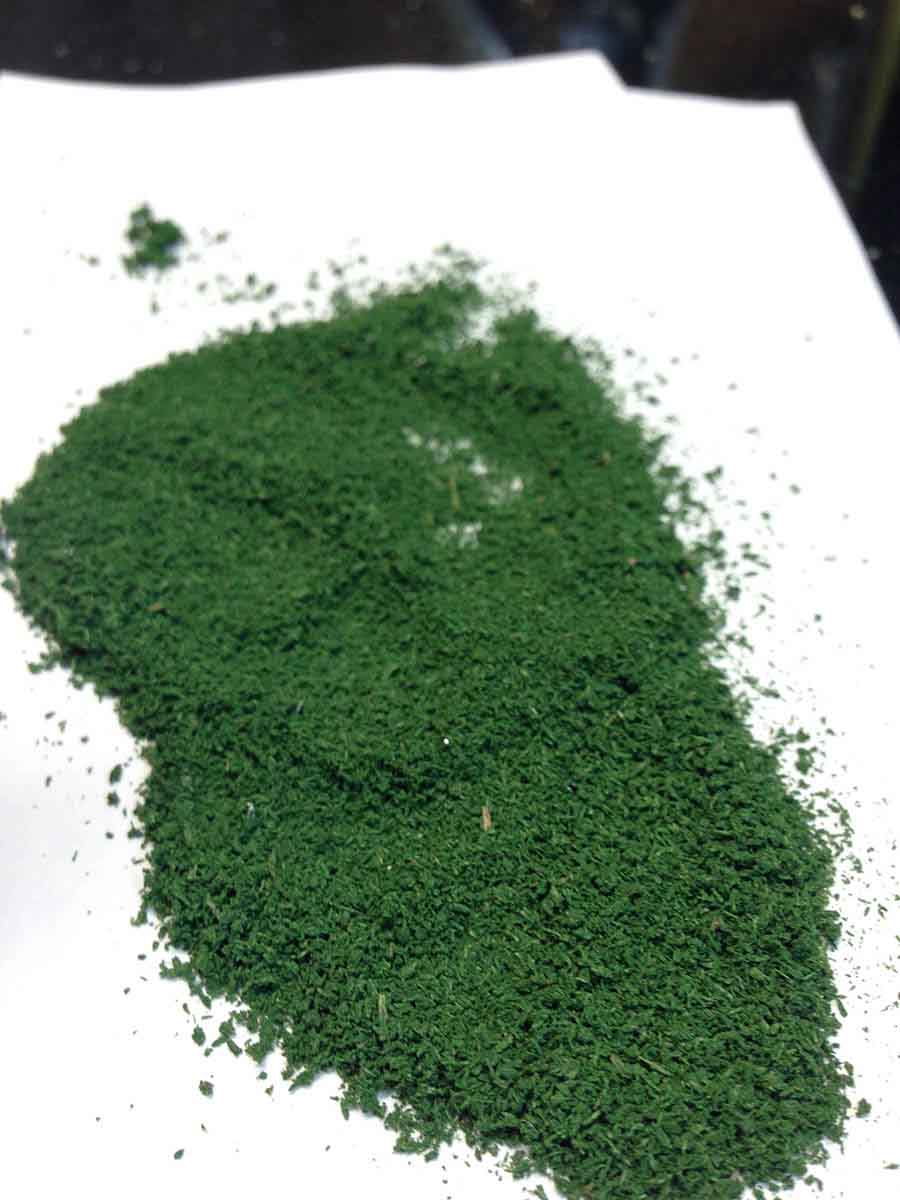
I then put it in old Parmesan cheese containers. Which work great for storage and applying it.
I also use ziplock bags to store the clumped and coarse in.
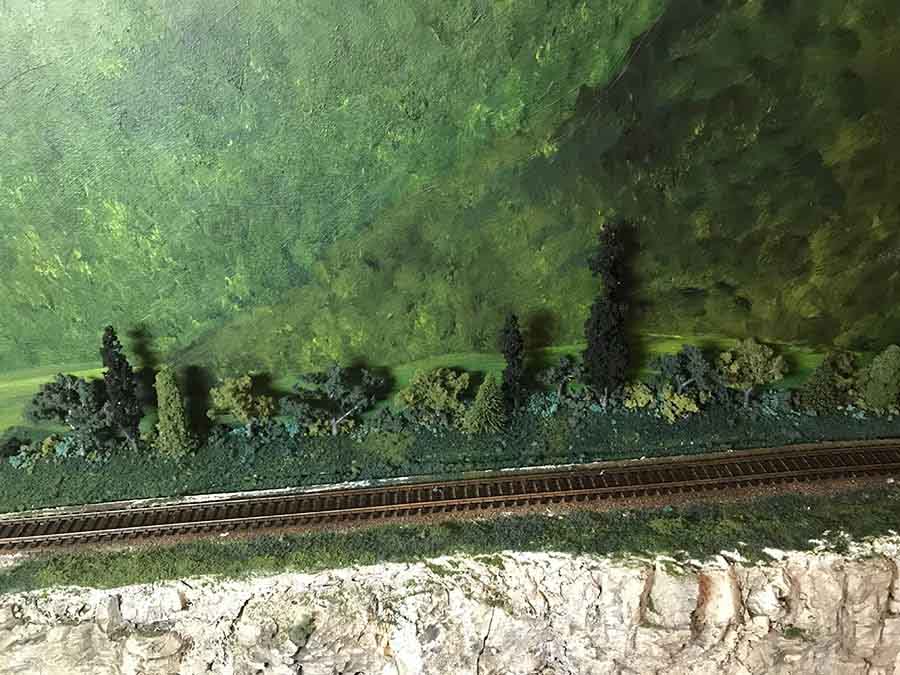
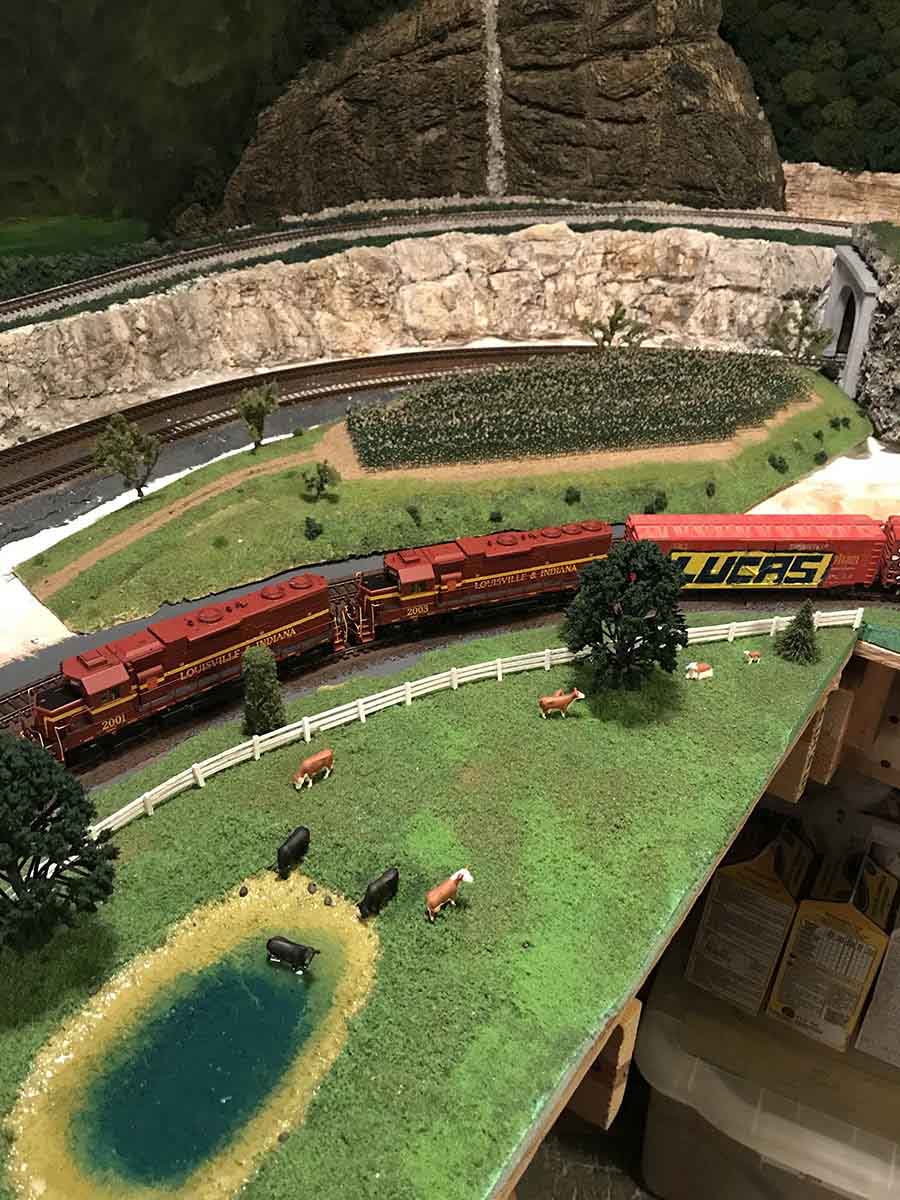
Trees in the cow pasture picture are from Menards and not ones I made.
Always enjoy your emails. This is such a fun Hobby. Just glad a can share a little knowledge with others. And hopefully some will enjoy it and find it useful.
Gary
Indiana”
A big thanks to Gary and to Peter for sharing his suspended model train track.
That’s all for today folks.
Please do keep ’em coming.
And if today is the day you get started on your layout, the Beginner’s Guide is here.
Best
Al
PS Latest ebay cheat sheet is here.


Your invesigating mind shows great forethought and experimentation, well done this will help so many modellers all over! Brilliant deduction and aplication old boy
regards
Peter in Australia
Gary
It’s really nice to know how to make ground foam and clump foliage! You can certainly go through a lot of the stuff, so making it yourself would certainly help economize. Also, the colors can be customized.
Guys
Sorry to be so stubborn but it is so often that the author does not start with the scale of the layout and that is the MOST important part of the blog.
Peter
Impressive hoisting method.
Gary
Really helpful and useful. You use a lot of this stuff and I like the economy and the custom colors.
Peter…..unbelievable…….that is really cool…..
Gary……. That’s a lot work but the result looks great.
Gary,
Your idea for making ground foam is excellent, but I must wonder if all the time and effort is really worth it with the prices of manufactured foam and foliage being fairly cheap.
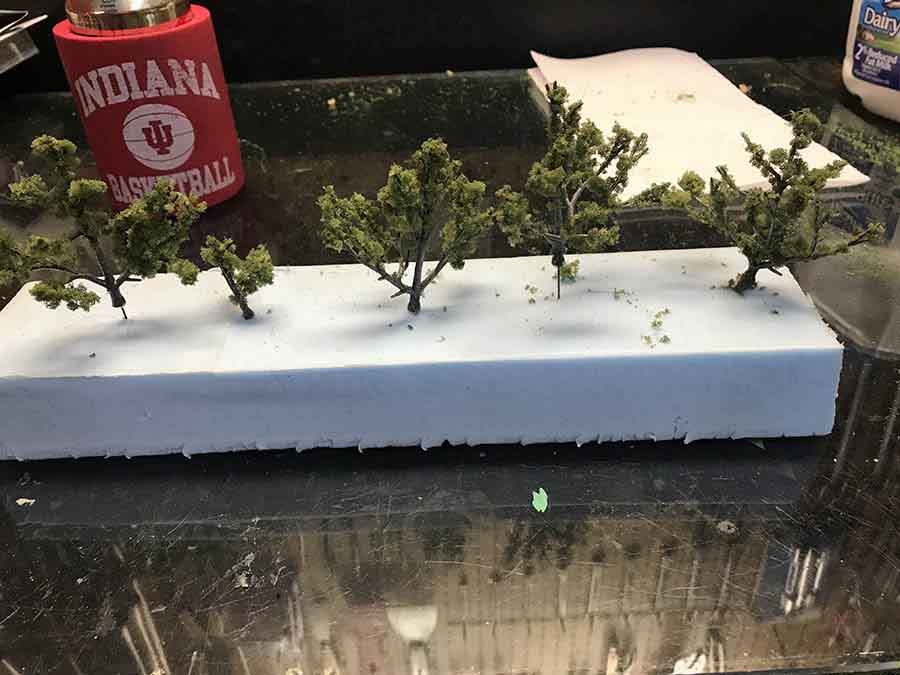
. . . Really like your idea of using repurposed foam for shrubs AND grass . . . curious about the tree trunks, are those simply branches from shrubs or tree limbs from your yard? I was working in my yard yesterday trimming and cleaning, and just now realized those dead branches have that “real” look. Combined with your foam follage and “ah another DIY project” for those of us in our twilight years . . . GRINS …. con una sonrisa
Genius idea! Love it! Looks really great, too!
Bravo, Gary! I will try your recipe for my layout because you really need lots even for a 4×8 foot layout. Thanks to you, Al and everyone for making our hobby so wonderful!!
Merry Christmas and Model On! 🎄⛄🚂🎄
Nancy from Sequim
Gary.
Great How-To on making your own ground foam scenery materials. Seems like it will be a lot cheaper than buying Woodland Scenics ground foam materials.
awesome idea