Dana’s been in touch with his HO scale layout 5×14.
Like most of us, his layout grew and grew… but that’s all part of the fun:
“Hi,
Have enjoyed your site for years.
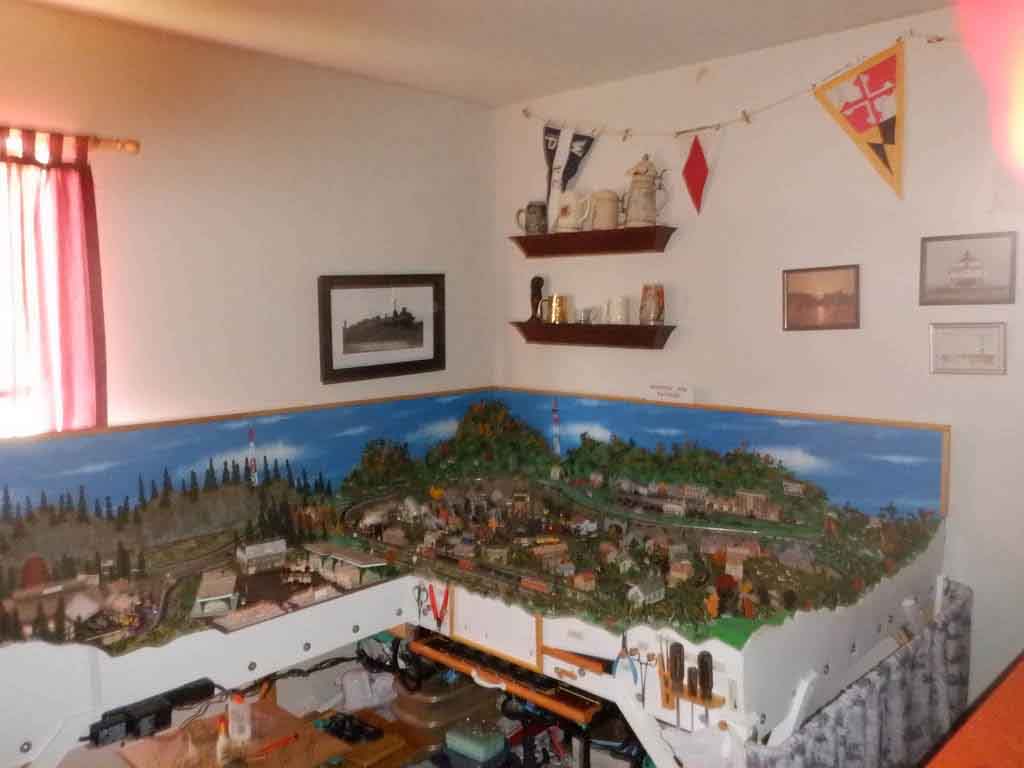
Anyway, thought I’d send a few photo’s of my new, currently under construcution layout, in HO scale.
I’m 80 years old so it’ll probably be my first and last layout. I am trying to do my best after obtaining many, many HO items these past years.
It started out as a 4×4 and soon went to 4×8.
This then went to a 5×8, then 5×10 and until I have now a 5×14 to work with. Funny how one always needs more space!
Instead of just doing one thing and then another I’ve decided to finish one end first and then the next section and so forth. It’s not correct but like the old saying goes,
“It’s my railroad and I’ll do what I want!”.
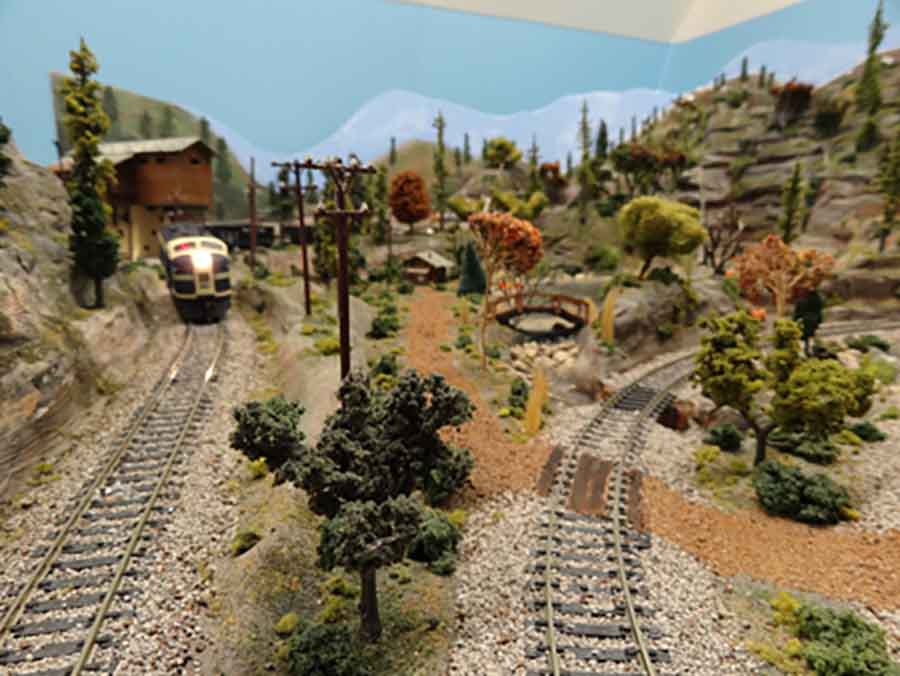
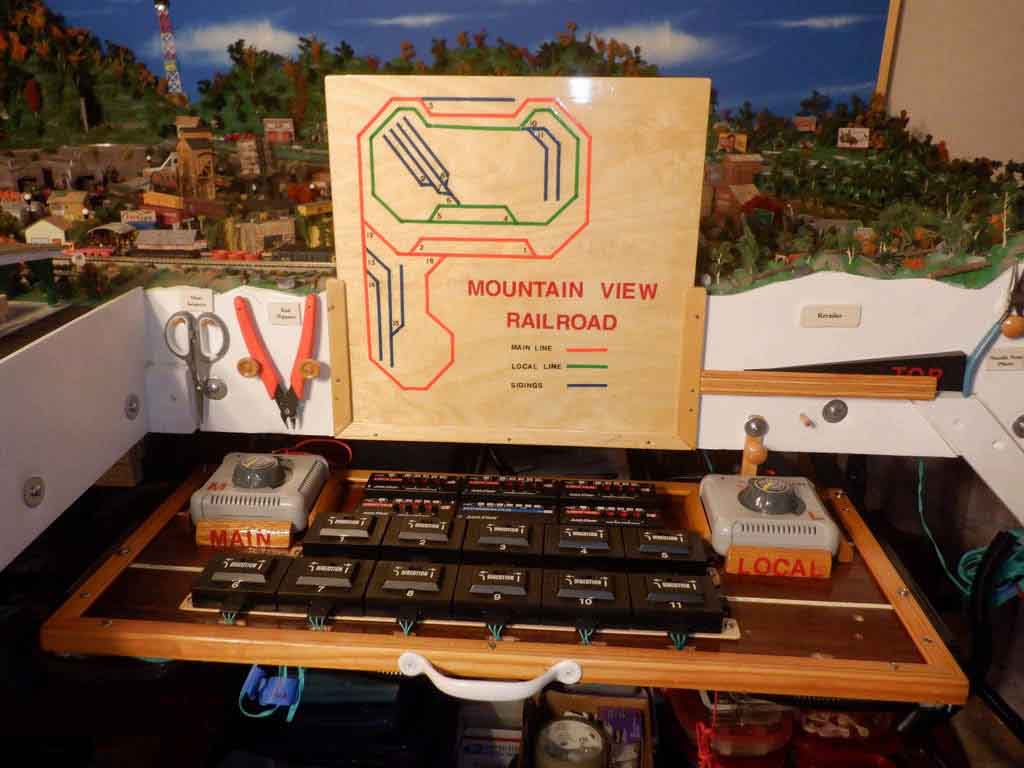
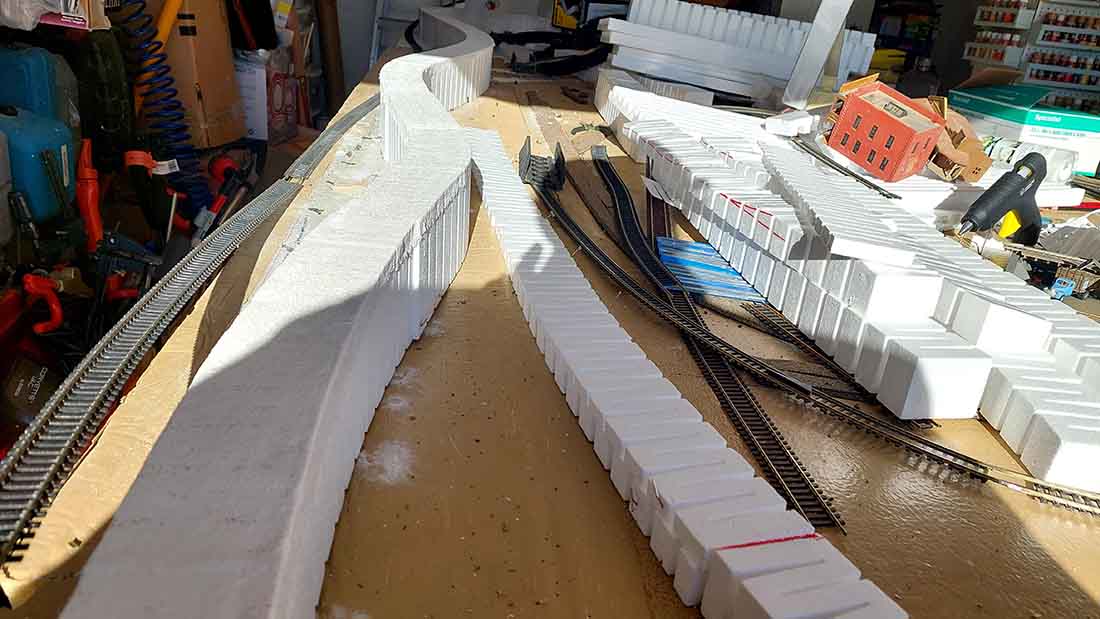
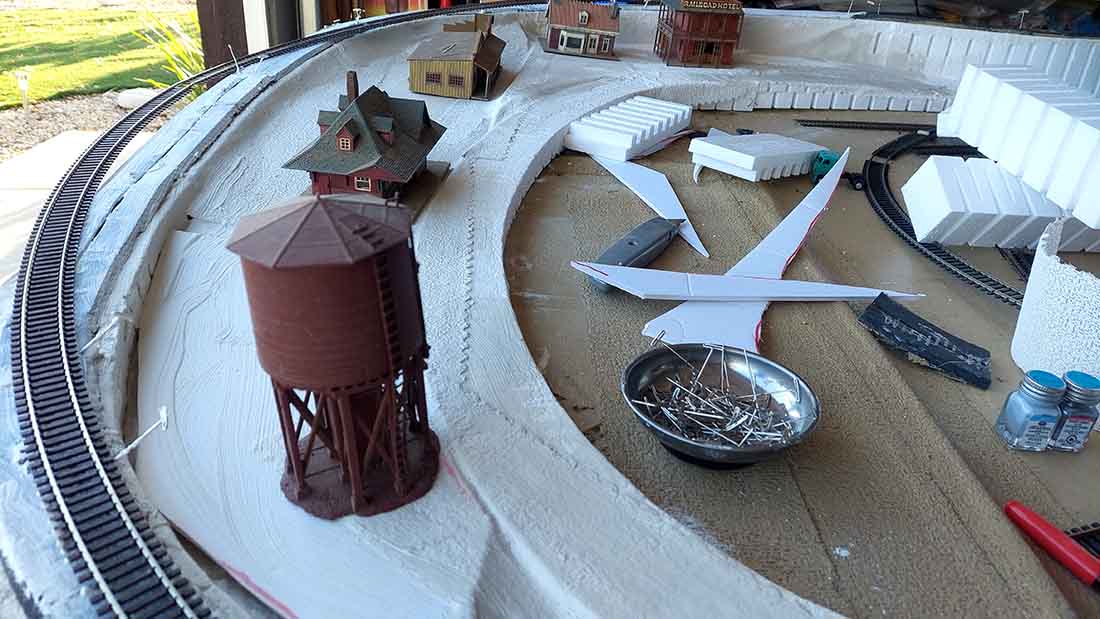
I’ve laid the outer main down and soldered the sections together. I tested it with a loco I have and everything worked fine.
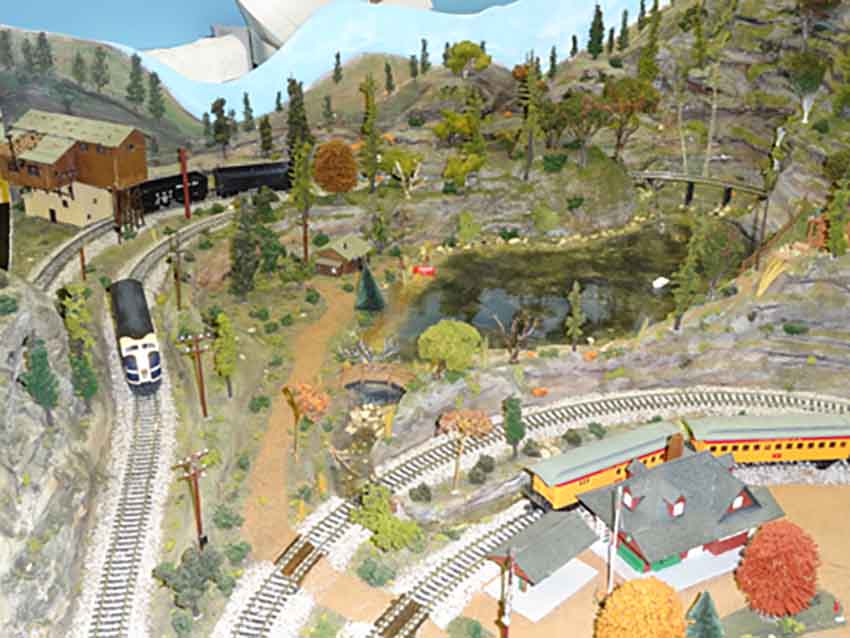
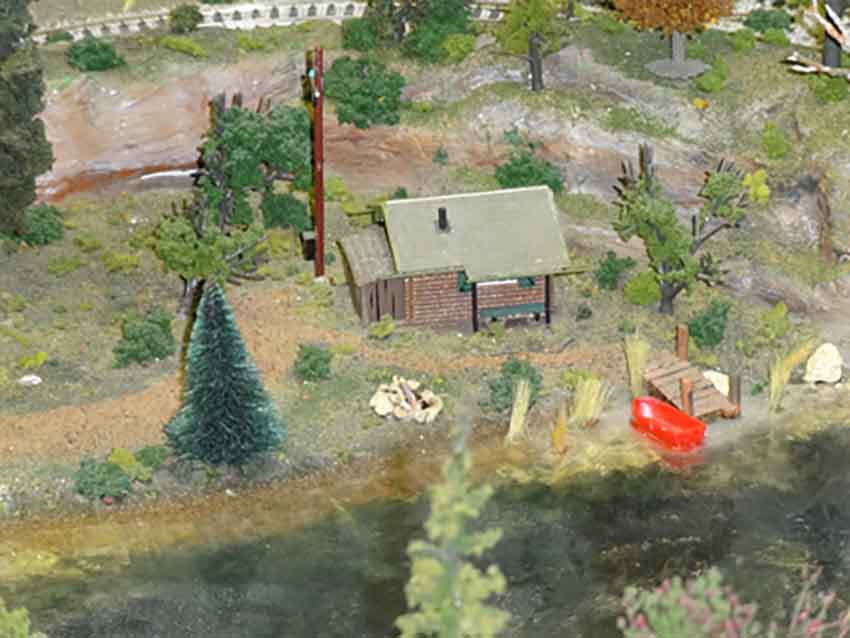
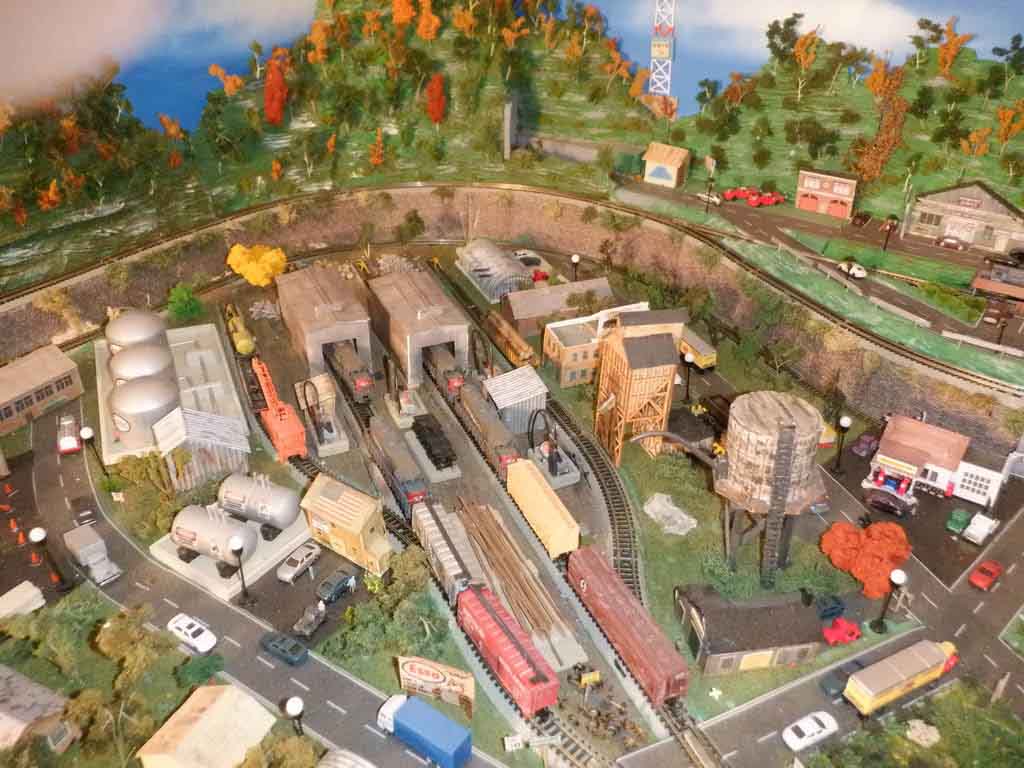
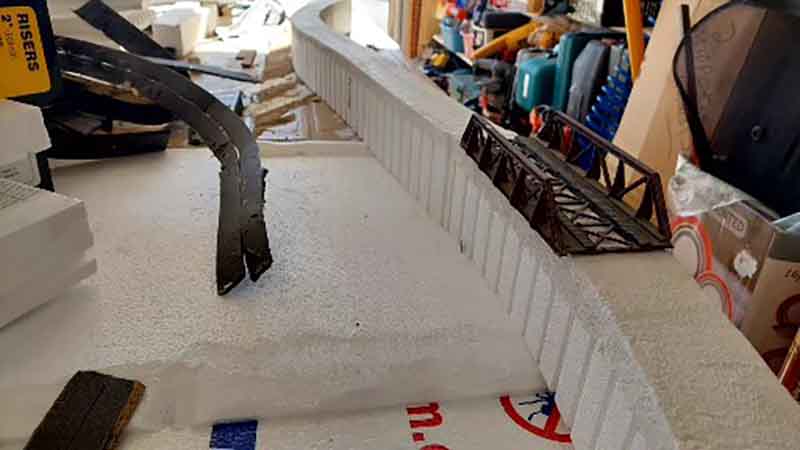
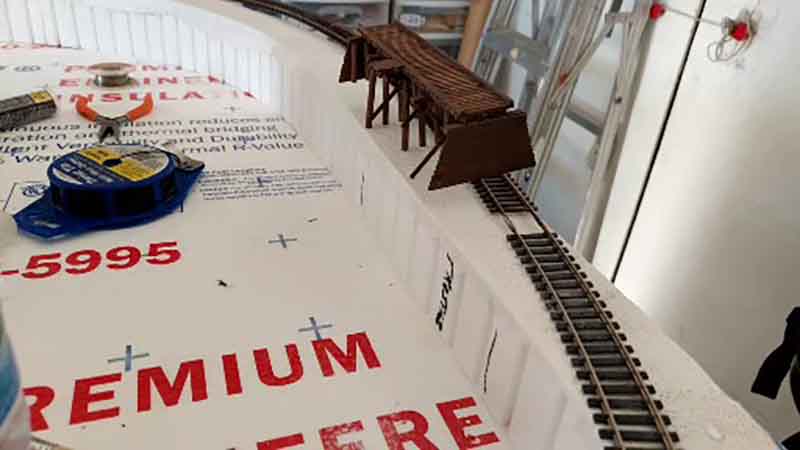
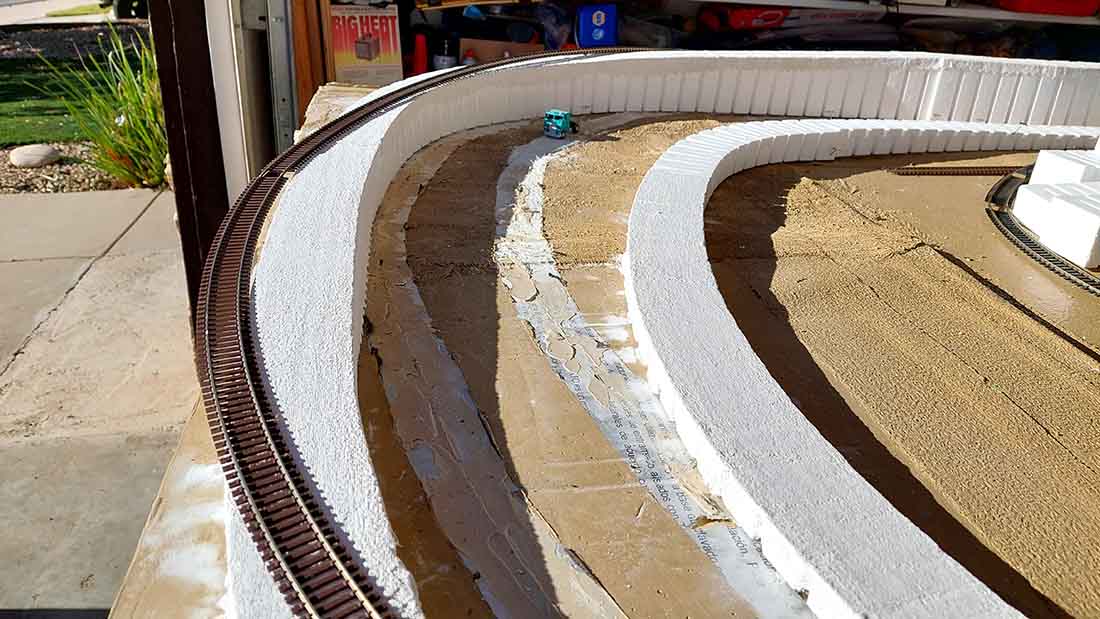
Then I placed 2 inch and 4r inch risers, covered them with plaster cloth, thin coat of Plaster of Paris and painted that section brown.
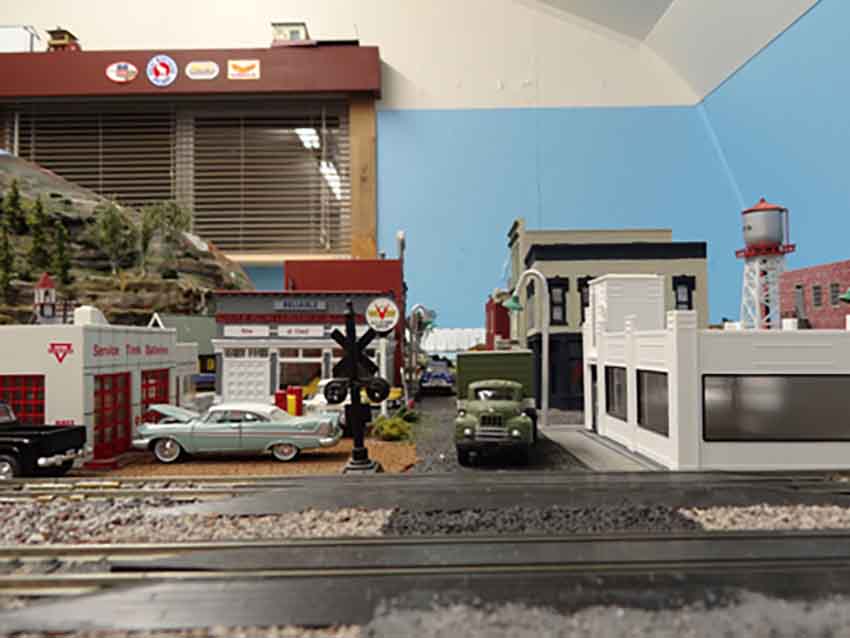
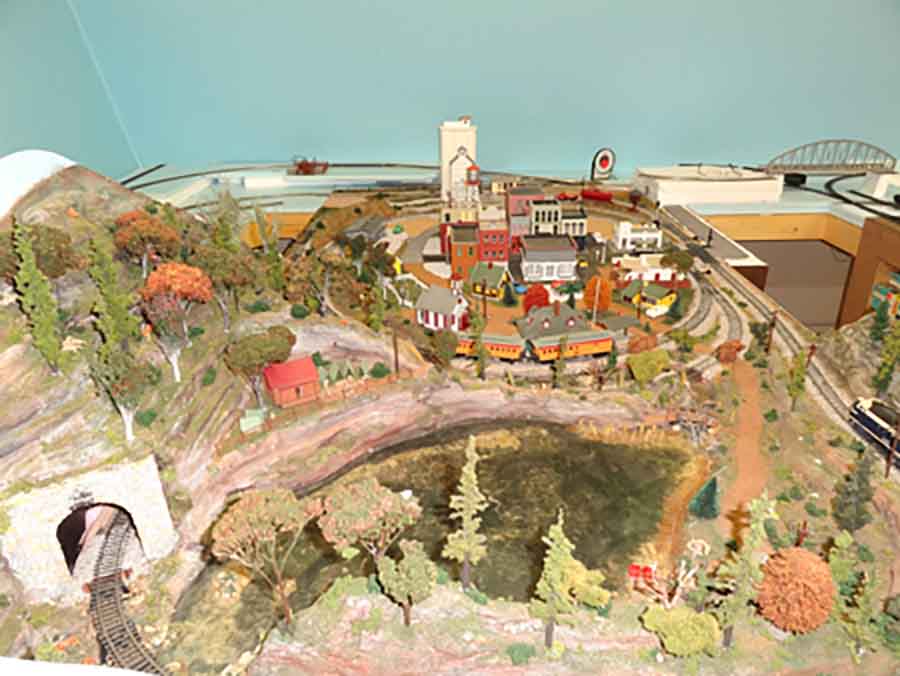
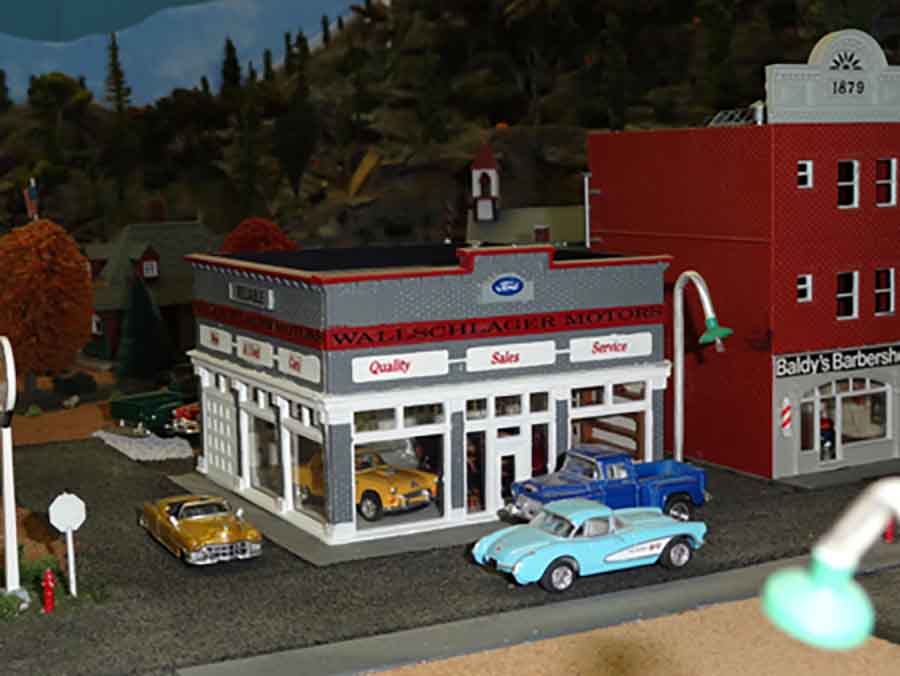
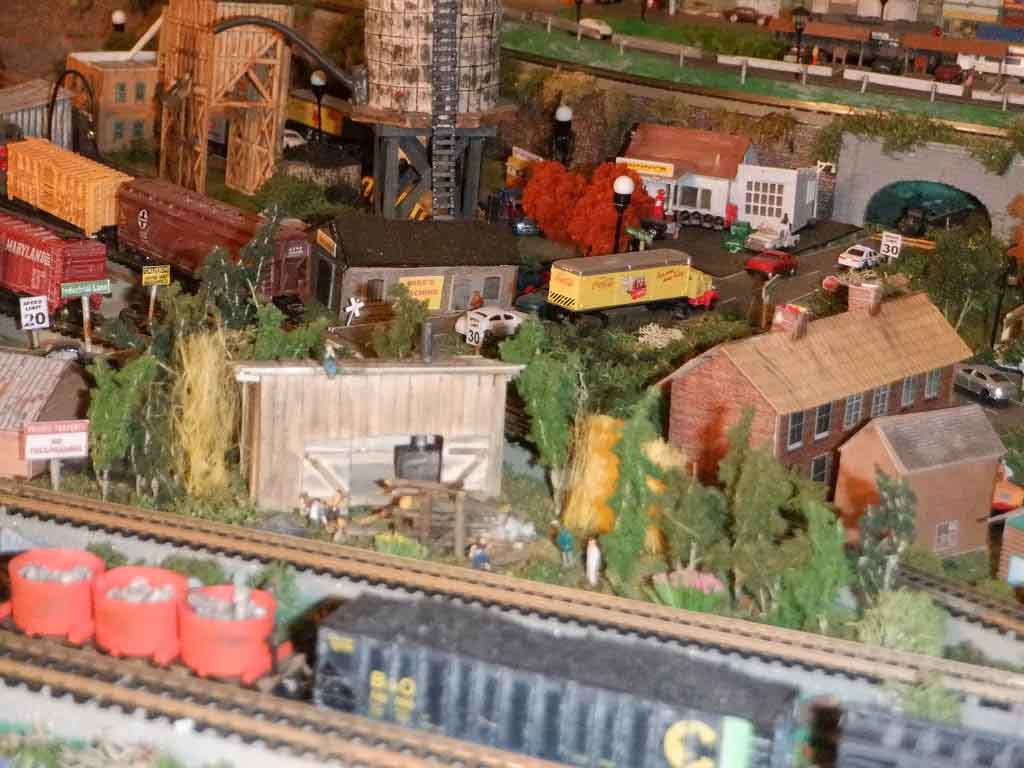
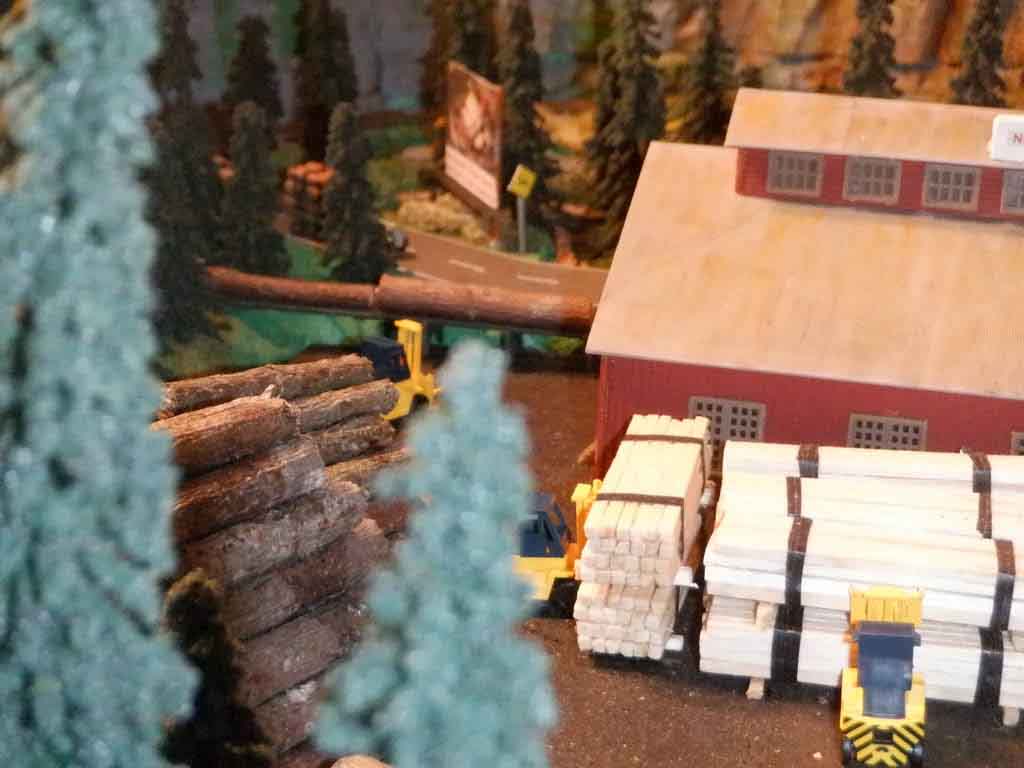
I temporarily placed some buildings on it just for fun. They still need lighting and some detail work (people, interiors, cats and dogs, etc).
Even your buildings will get lighting after using poster board as supporting material. I’m even thinking of cutting out the windows and doors and installing Tichy items in their place.
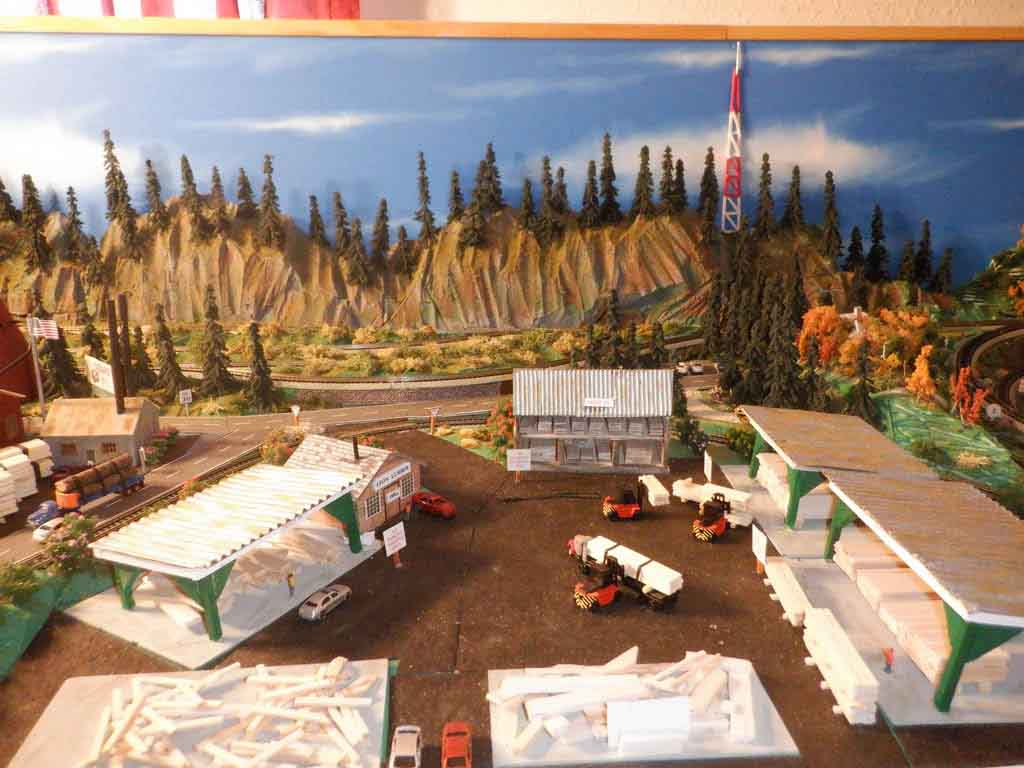
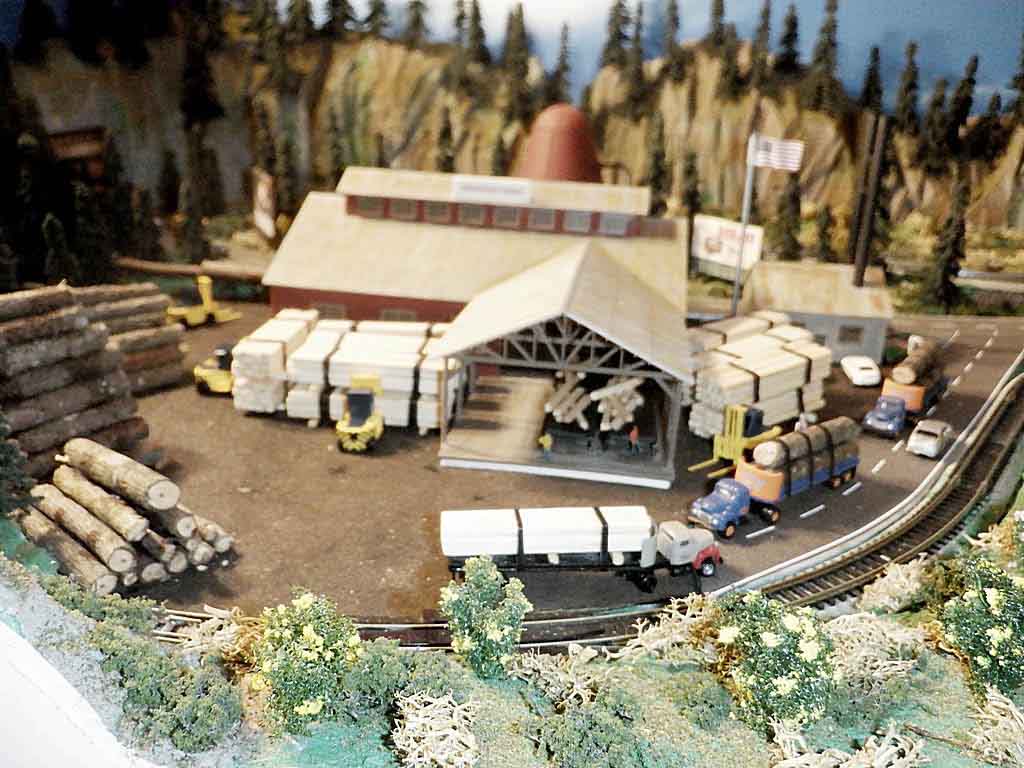
I do my own decals to help keep costs down. I just finished a fleet of semi-trailers for a major carrier in the 50’s, Navajo Freight Lines.
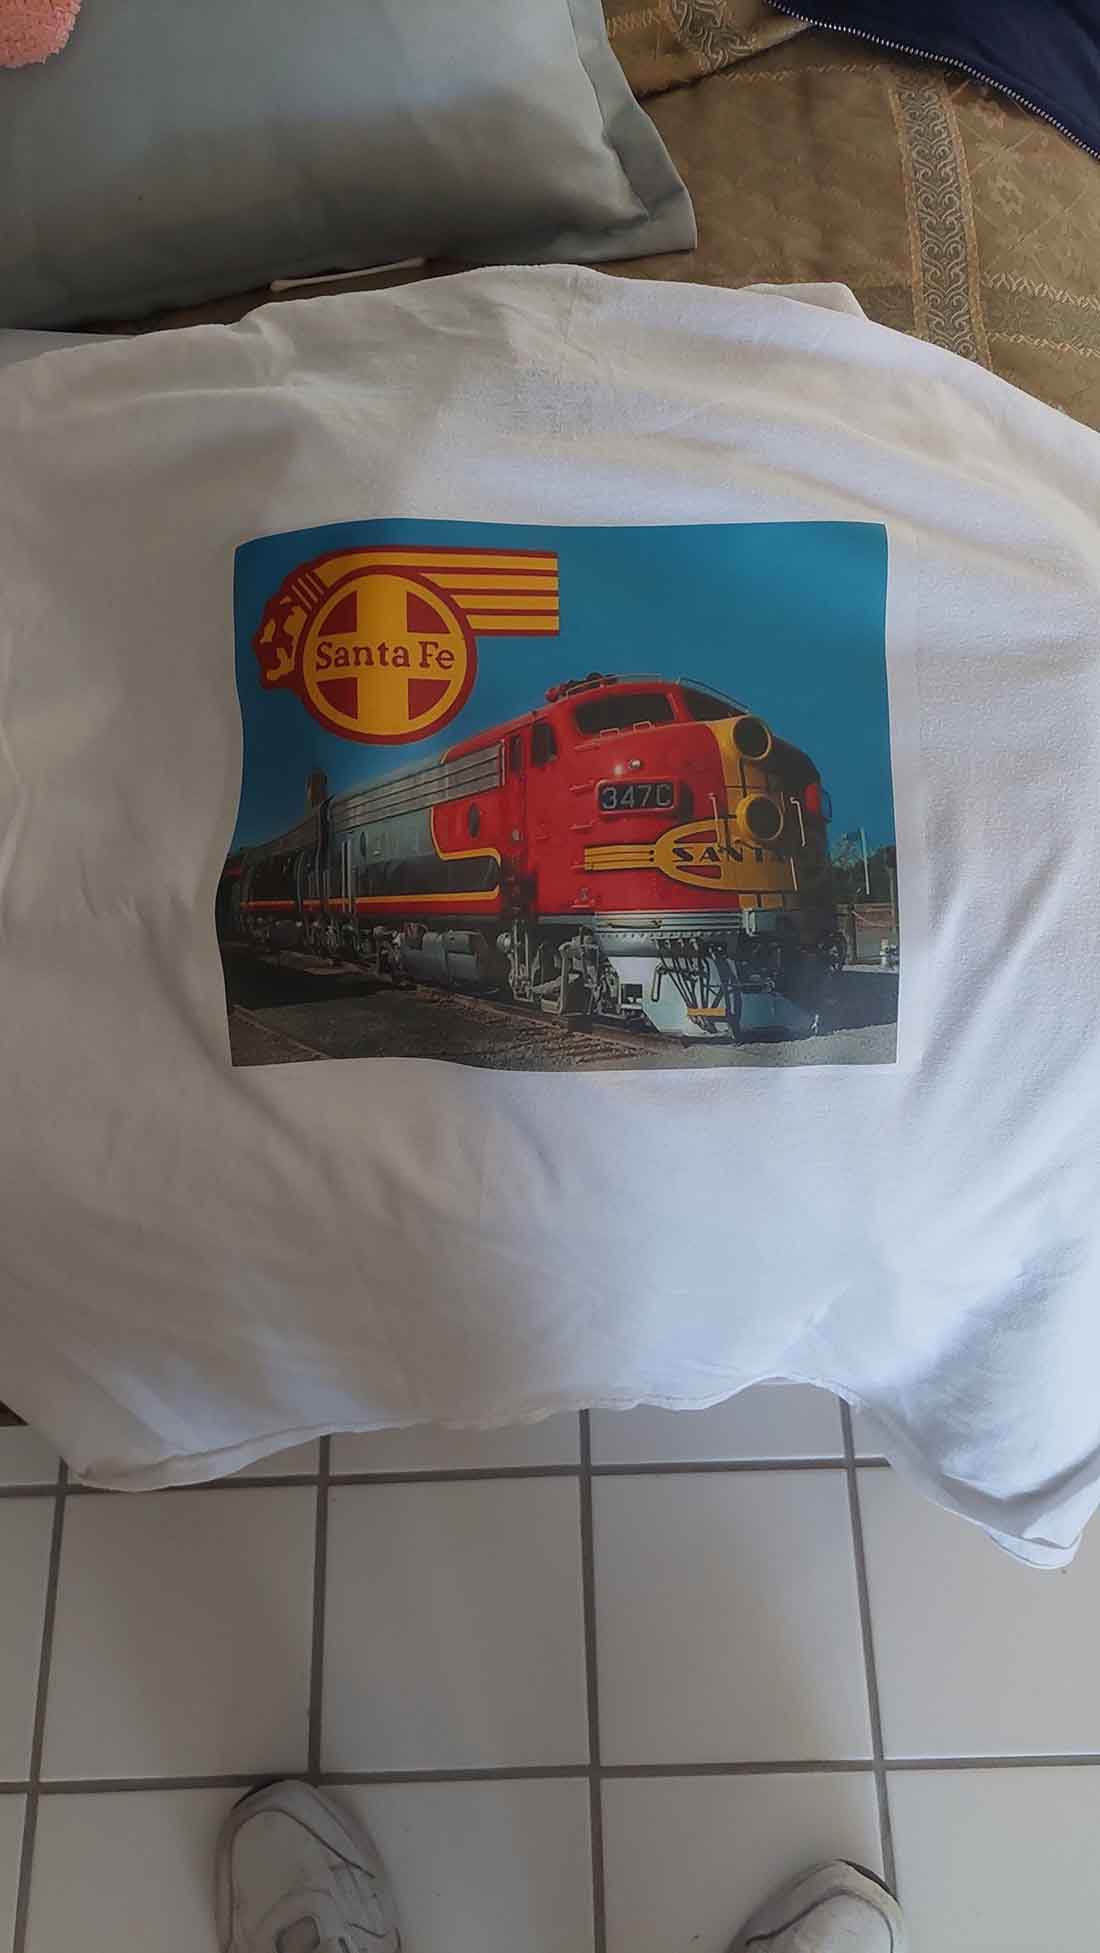
I’ll be building a freight terminal to place them loading and in the yard. . I also stenciled a tee-shirt with my favorite railroad, The Atchison, Topeka & Santa Fe Railroad.
I hope your readers can forgive an old man his mistakes as I go along with the build.
It’s such an enjoyment to spend time doing this.
If, by chance, you wish to publish this, please feel free to edit as you please.
Thanks,
Dana
So. California”
A big thanks to Dana for sharing his HO scale 5×14 layout.
There’s one particular line in his narrative that I absolutely love:
“It’s such an enjoyment to spend time doing this.”
That’s what it’s all about – otherwise what’s the point?
That’s all for today folks.
Please do keep ’em coming.
And if today is the day you stop dreaming and start doing, the Beginner’s Guide is here.
Best
Al
PS HO scale train layouts here if that’s your thing.