Rob’s been back in touch. In this missive he is adding railway telegraph poles to his layout.
“Hi Al,
You sure have sent out some great content lately. I have been enjoying your email links. I read them in the morning with my coffee and if they didn’t arrive, I would miss them terribly. It could ruin my day.
My subscribers have told me they want videos with information geared to building great scenes for their trains to run through. Along those lines, I have created this linked video.
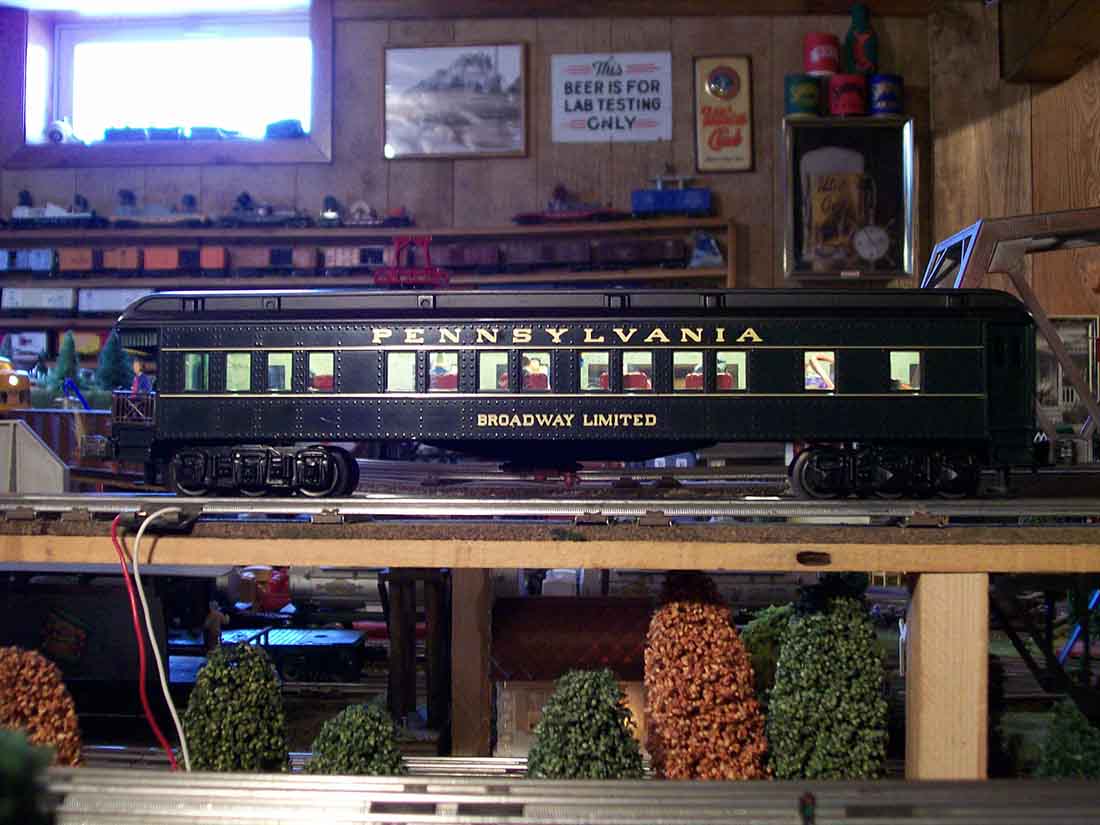
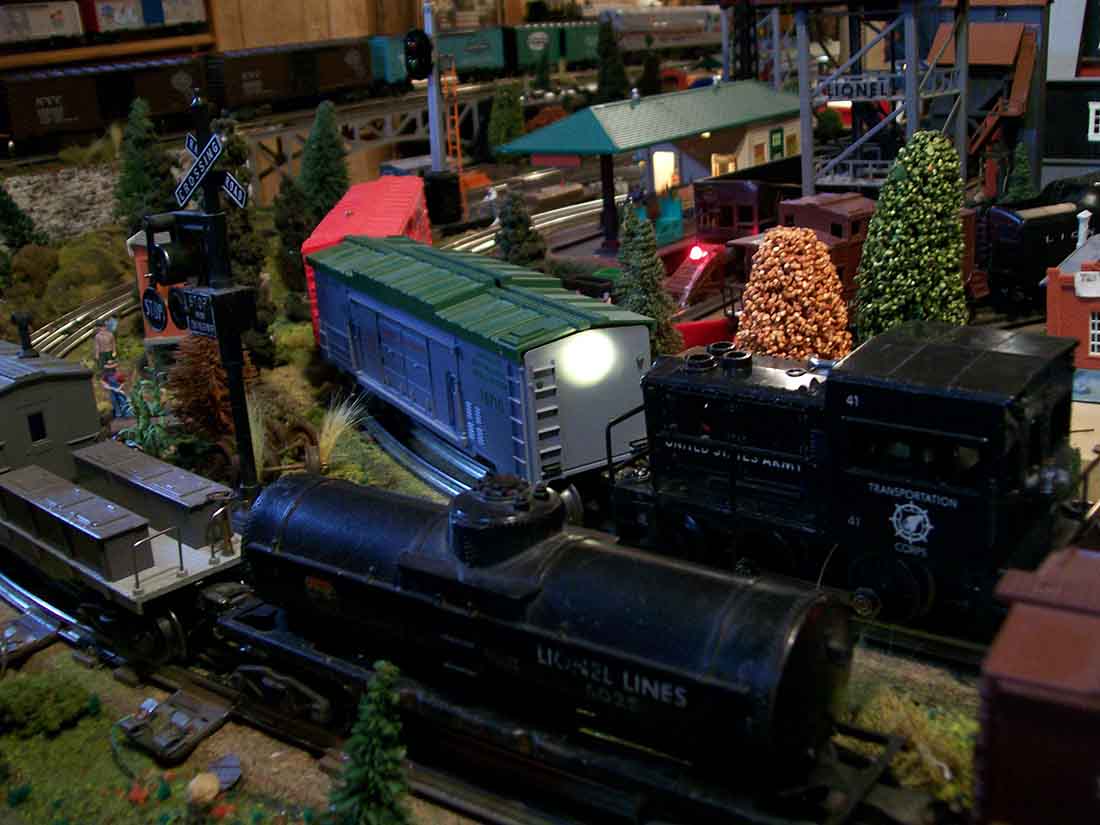
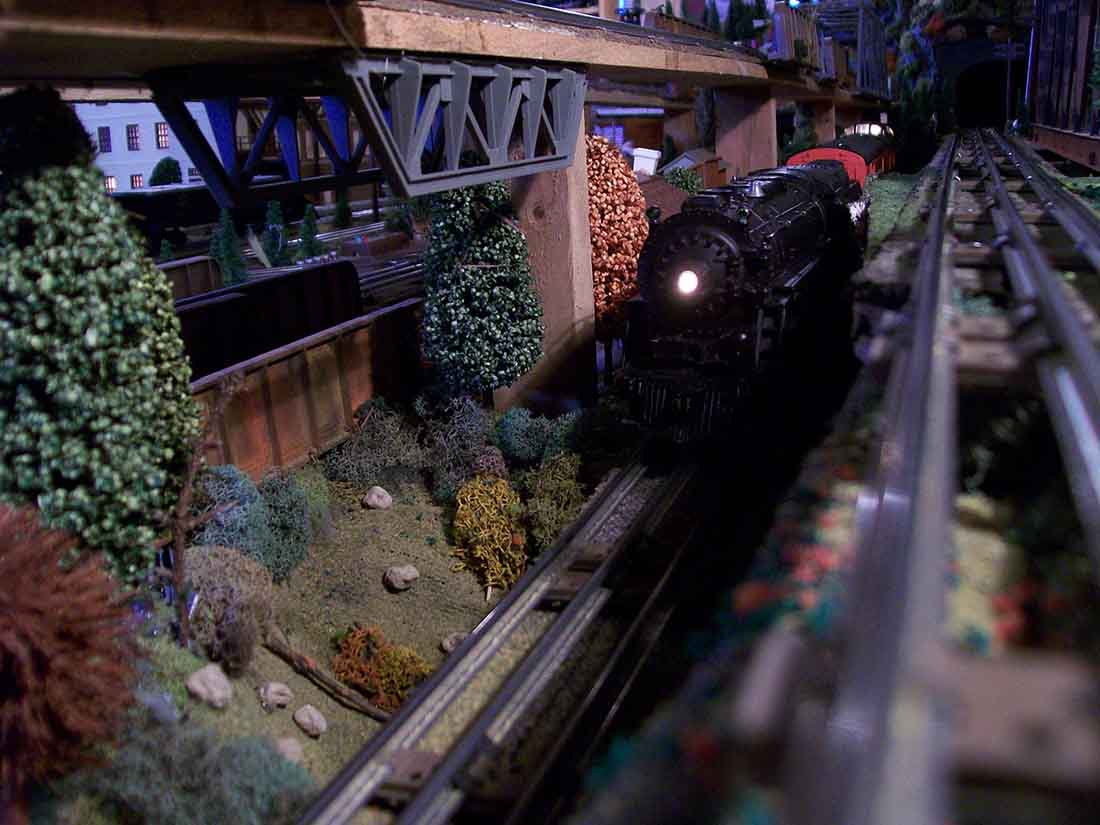
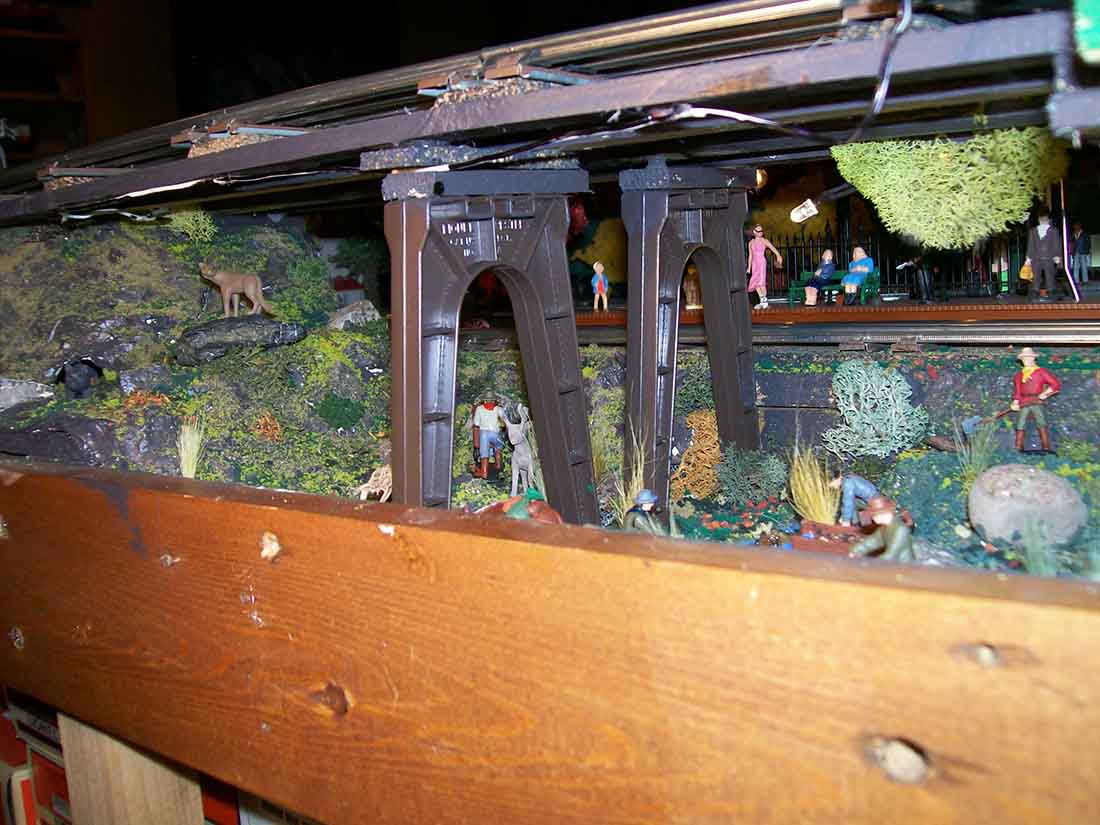
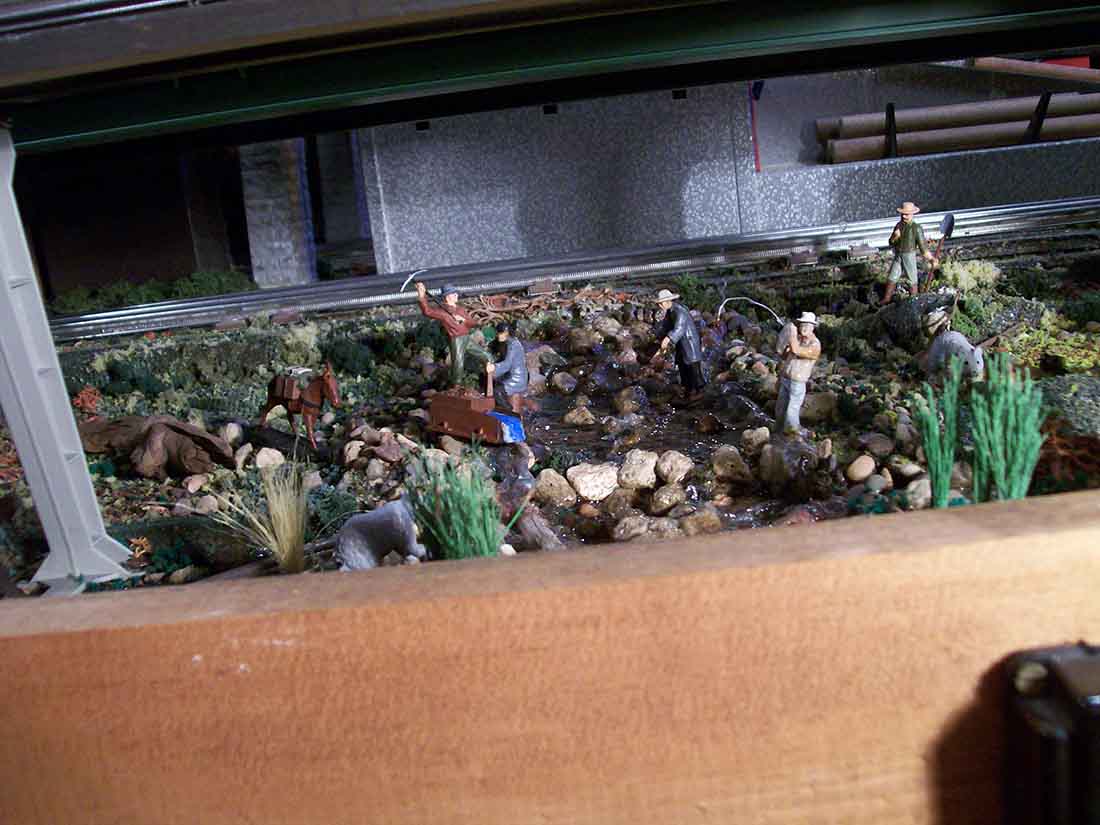
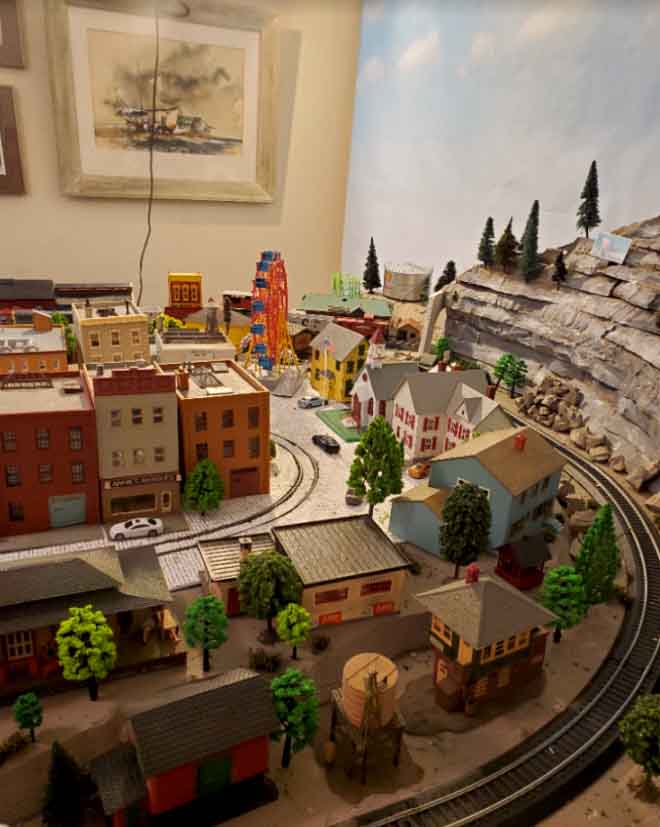
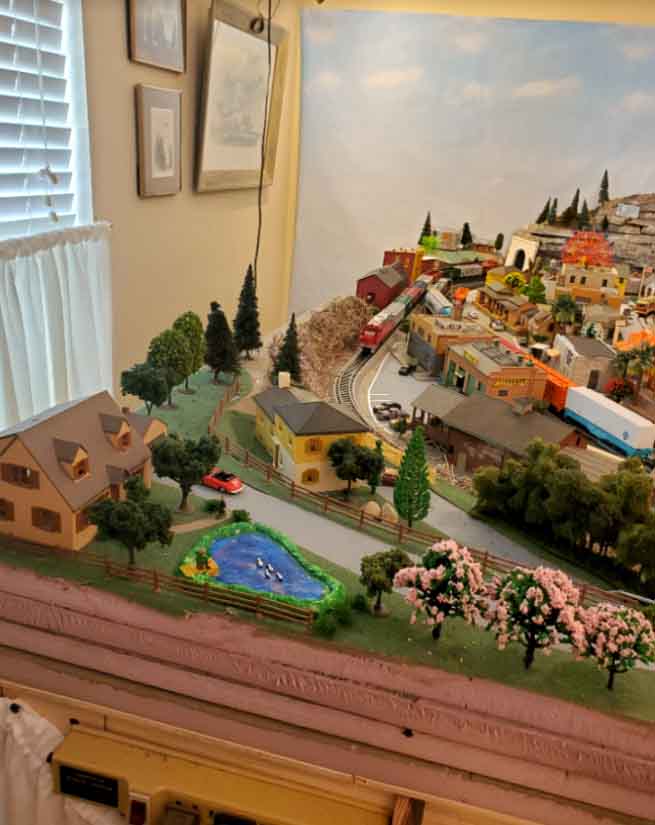
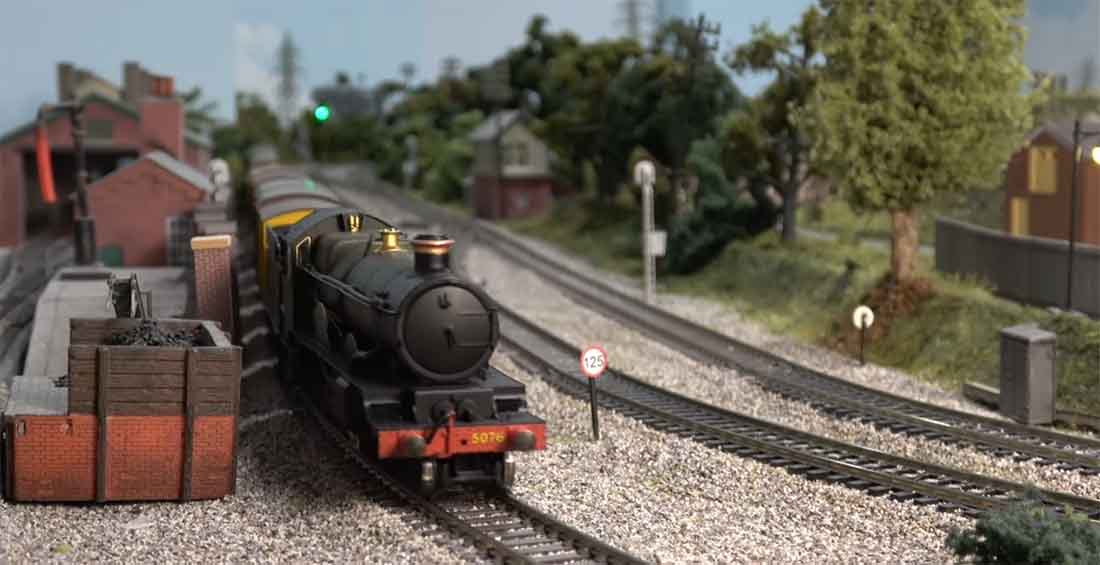
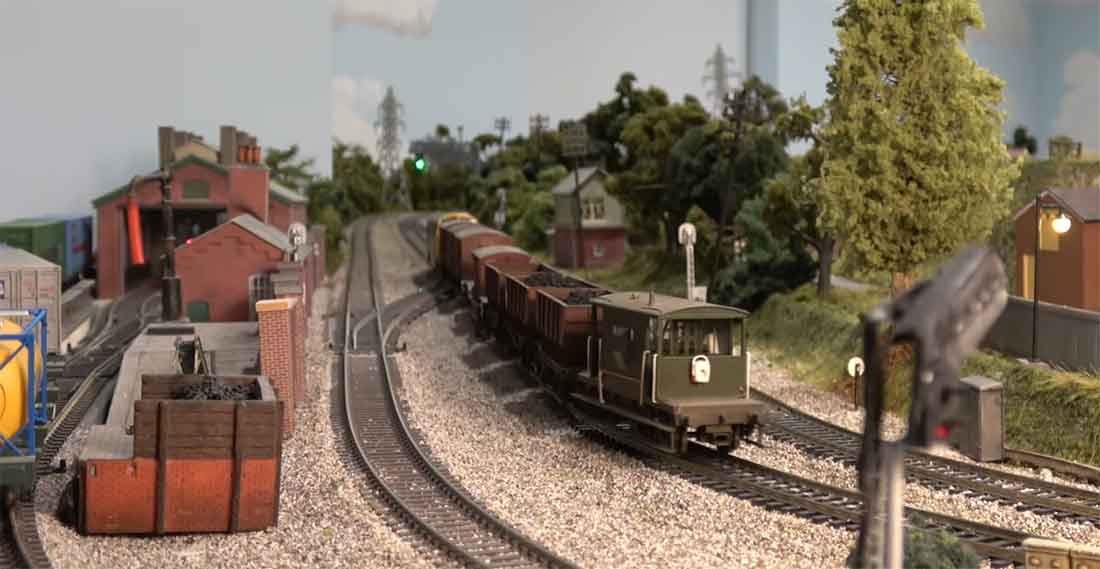
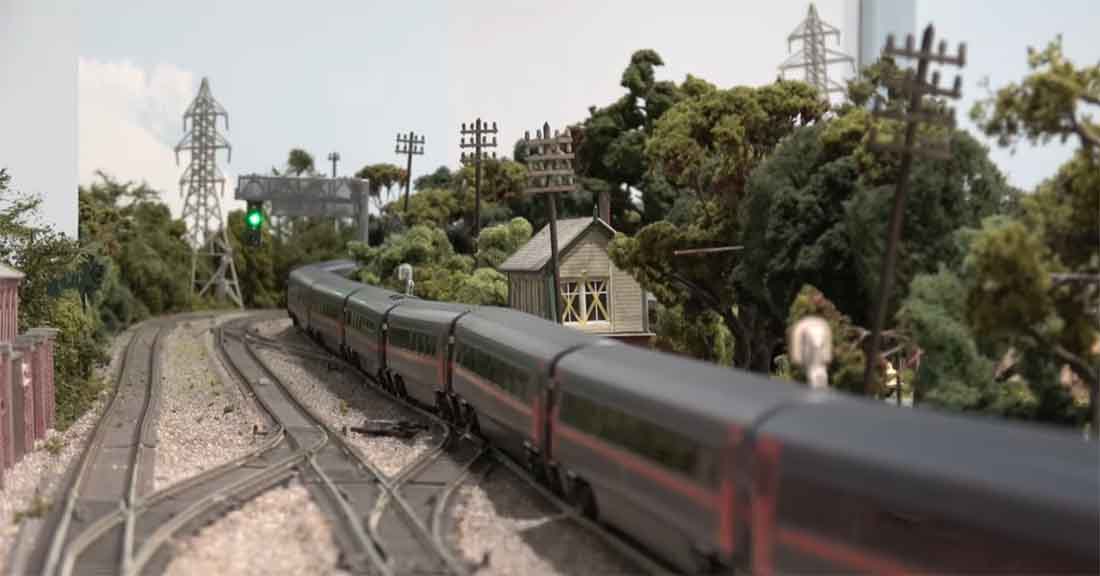
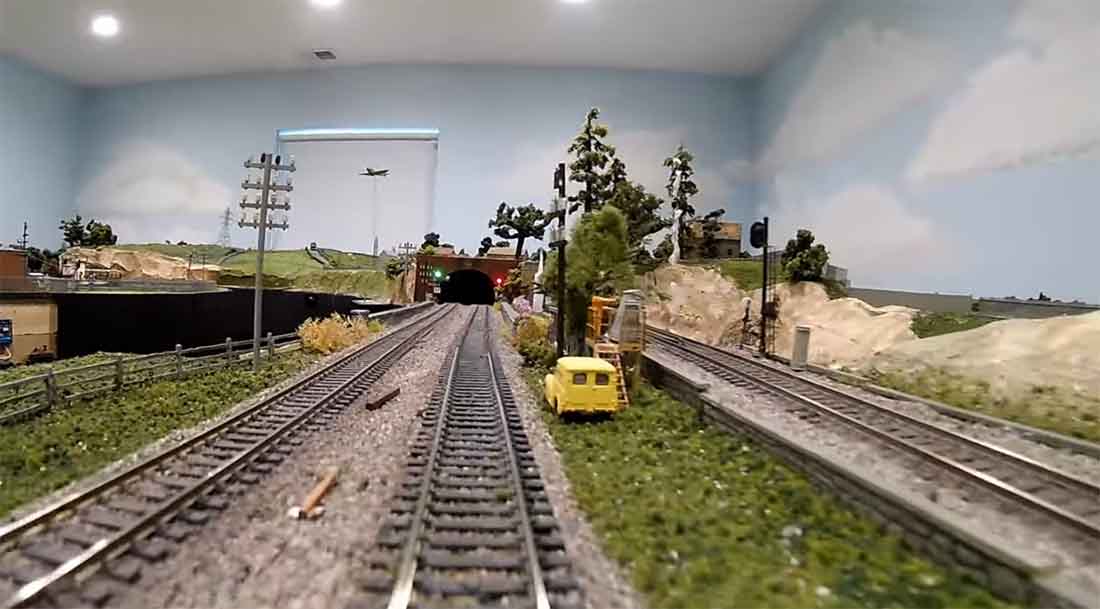
I have always liked how my trains look as they traverse this subject section of the Farland Howe layout. With that in mind, I thought it would be greatly enhanced by adding railway telegraph poles.
In North America as in other places in the world, control circuits for the safe passage of trains were carried by overhead wires for many years until the advent of well-insulated cables that could run along the ground in cable trunks, be buried, or in the case of some railroads in the modern era the signaling circuits are linked by microwaves or radio digitally.
I felt that a series of telegraph poles would enhance this long view as I call it.
The images of trains running toward or away from the viewer in this section would be enhanced and the distance somewhat defined by the addition of and the interest the telegraph poles could add.
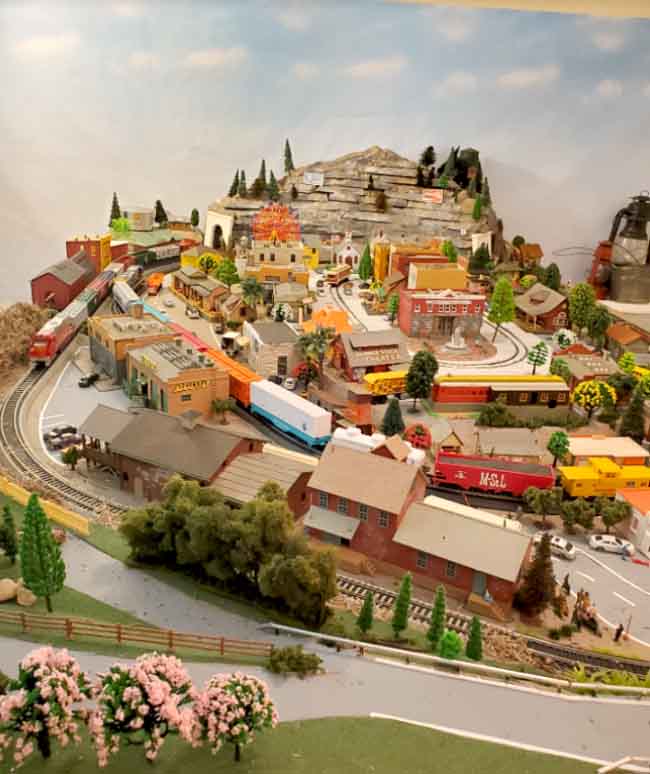
I embarked on the discovery journey of building telegraph poles and the history and use of these things along the railways and railroads of the world earlier this year when I got back into my Farland Layout after spending a year or so working on an n scale project, 1:160 scale.
I tried to build these poles as close to scale as I could and as I improved my methods and designs, I got closer and closer to actual scale as I went along.
In the process of building these and experimenting with design and materials, I ended up with many examples of various designs for them in varying approximations of scale.
The materials available and my methods and skill at fabricating these things improved over time and trial and error Practice makes improvement. The new telegraph poles on my Longview are the culmination of these experiments.
Besides the video about enhancing this section of the layout, I have provided a link to another video where one can see the various iterations of design from the track level that I have created to arrive at my current telegraph pole modeling level.
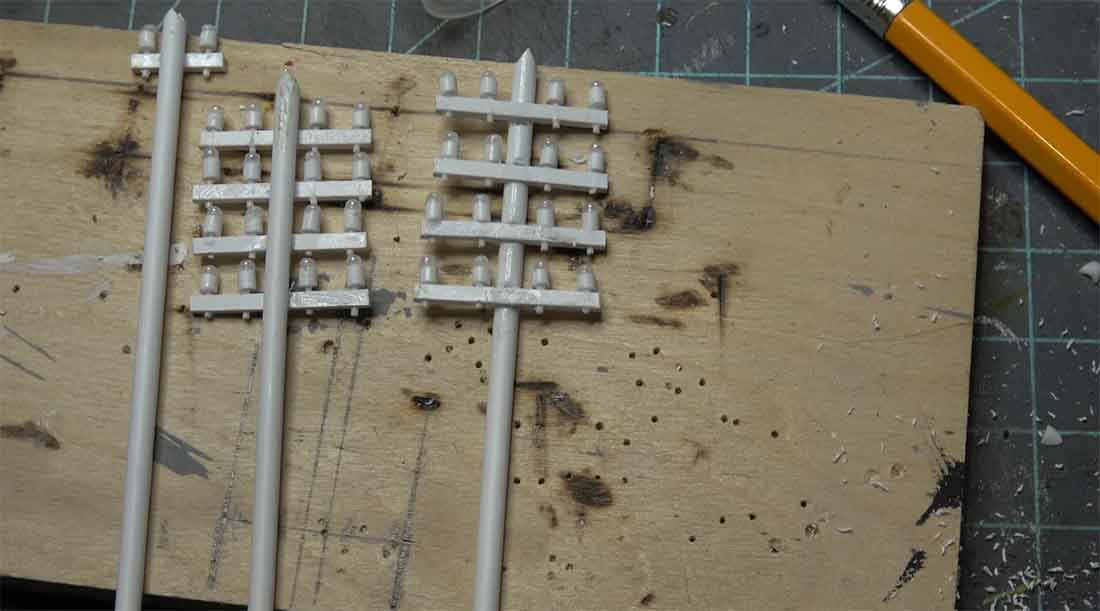

Here is the short telegraph pole video of my various experiments:
Here is the link to the video of me enhancing my Longview section of the layout:
Thank you so much for all you do for the modeling community around the world,
Rob – Farland Howe”
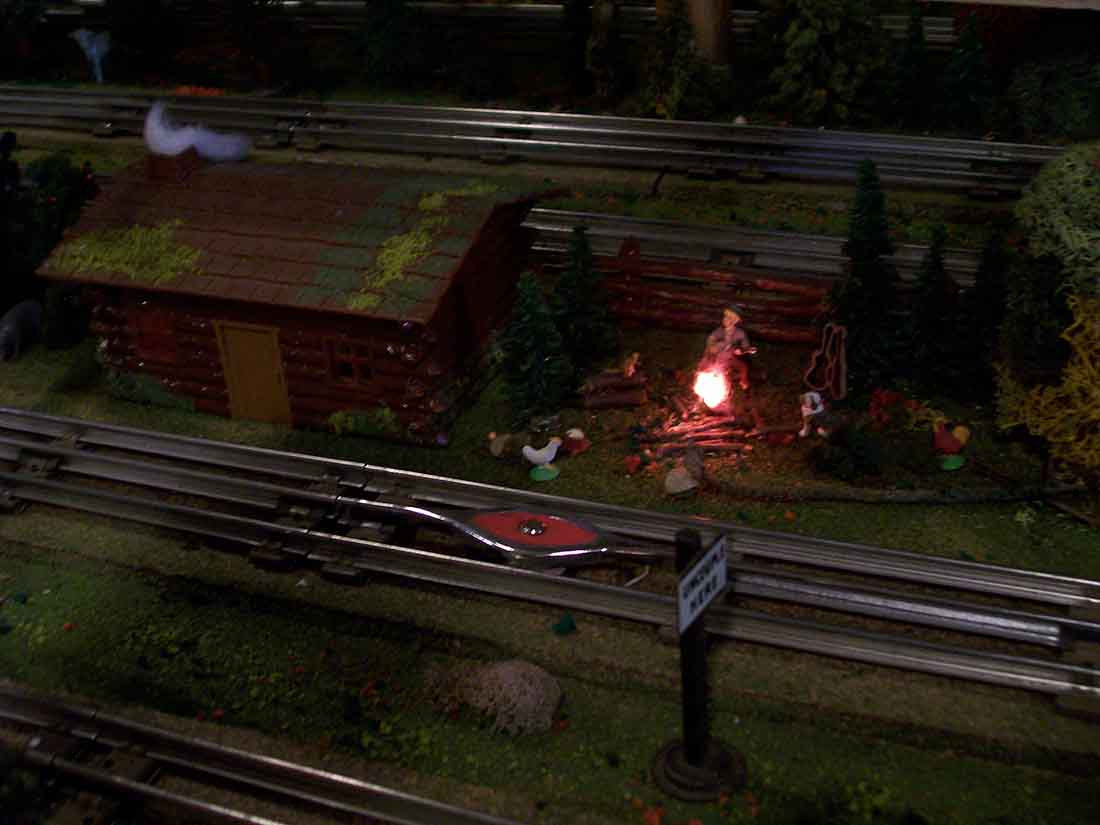
A big thanks to Rob for sharing – sometimes it’s the tiny little details like adding railway telegraph poles that make all the difference on a scene or layout, and Rob really is diving deep.
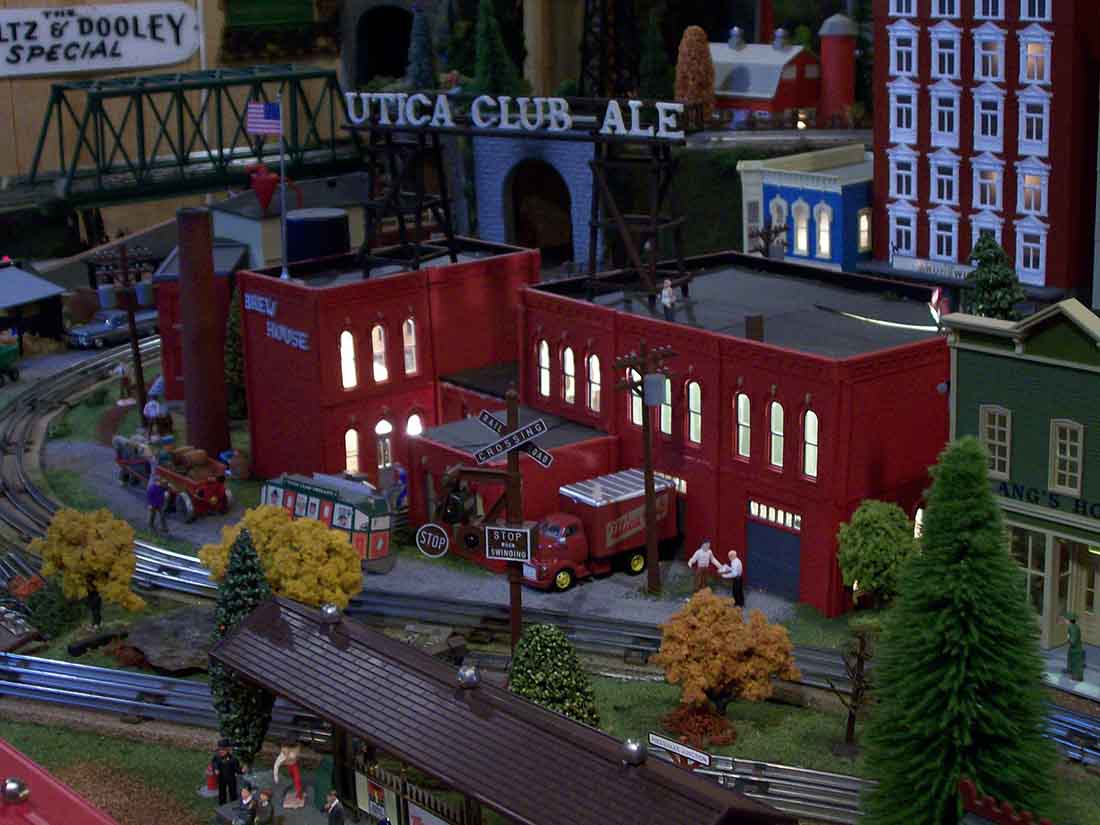
In his last post he made a signal gantry.
And there is also his scratch built crane.
Rob also did a post on making car tracks.
There’s also the Faller Road video, which makes his cars and trucks move.
There’s also more of Rob’s stuff in the Hall of Fame.
That’s all for today folks.
Please do keep ’em coming.
And if today is the day you get started on your layout, the Beginner’s Guide is here.
Best
Al
PS Latest ebay cheat sheet is here.