I do enjoy seeing your model train layout ideas pop up in my inbox.
And Peter has been in touch with a theme that I don’t think I’ve seen before – a train museum!
I liked it for two reasons:
1) It’s a great theme to put lots of trains in a small space.
2) Layouts with a clear theme always seem to turn out well.
I know I’m always banging on about making a start, but coming in a close second has to be picking a model train theme.
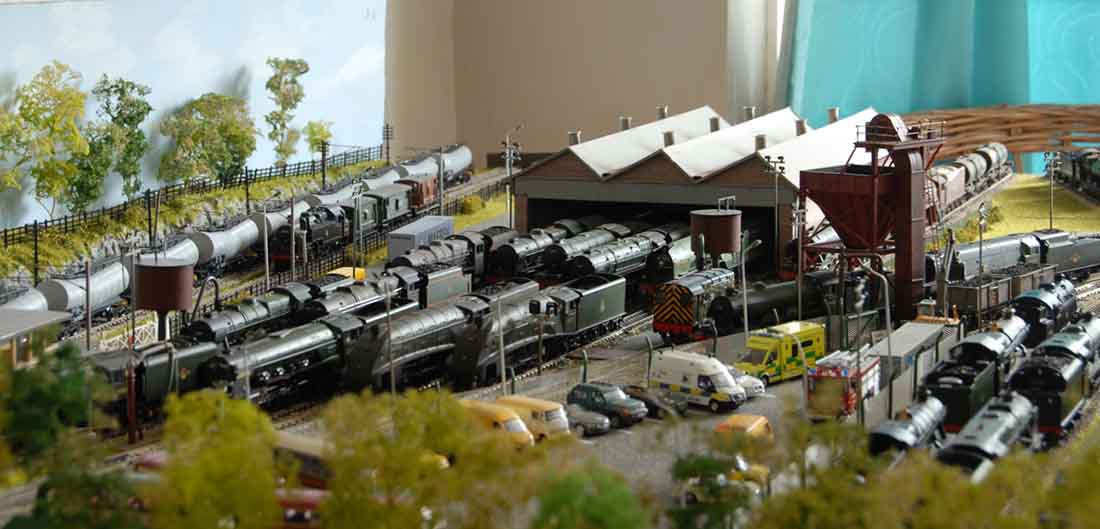
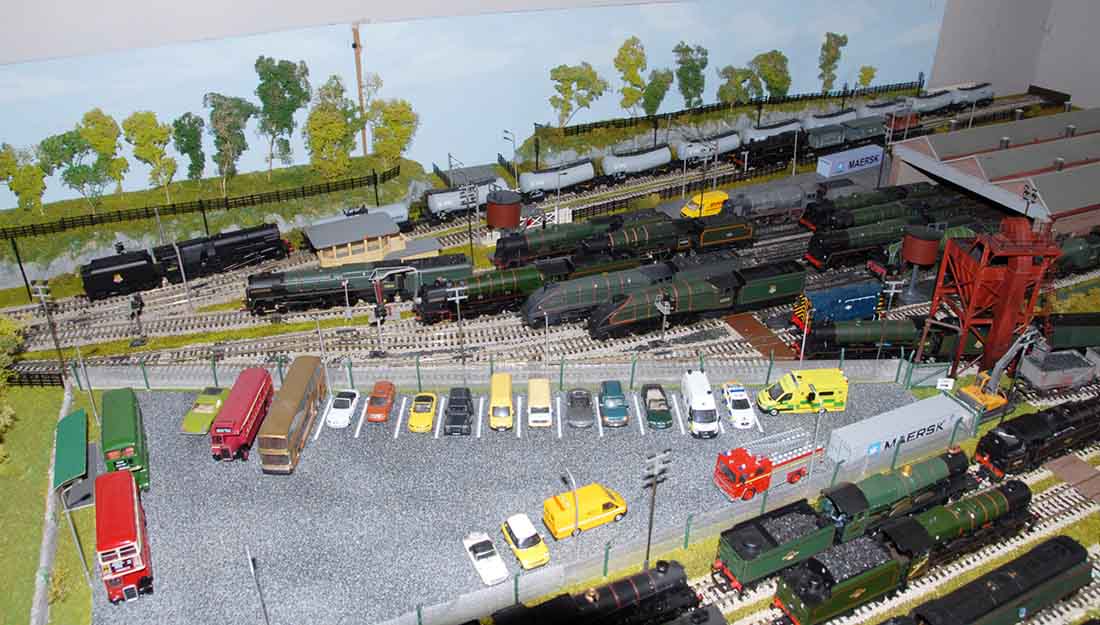
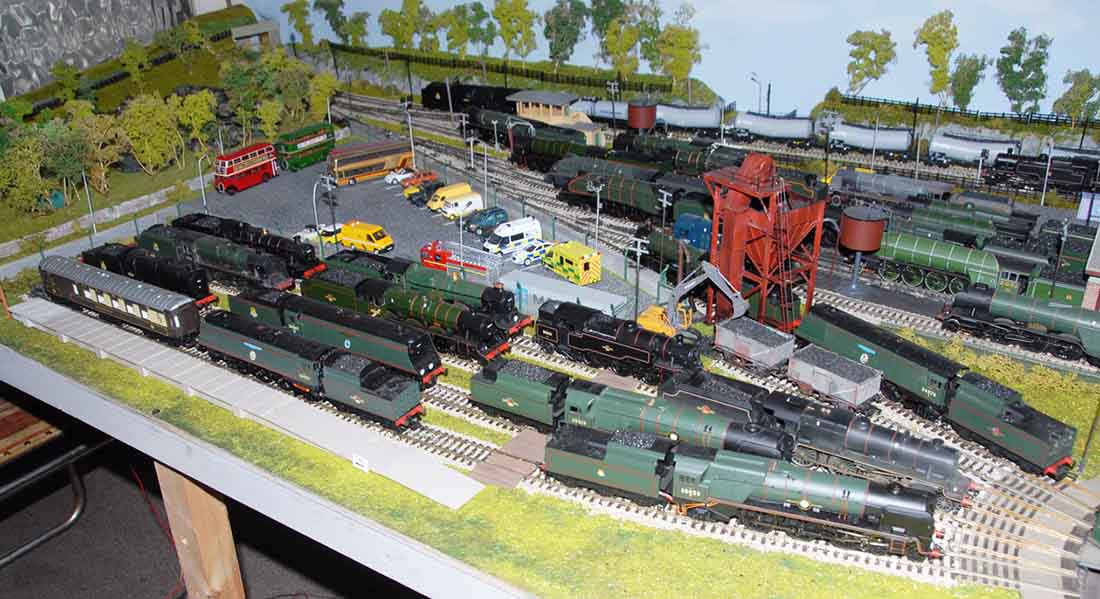
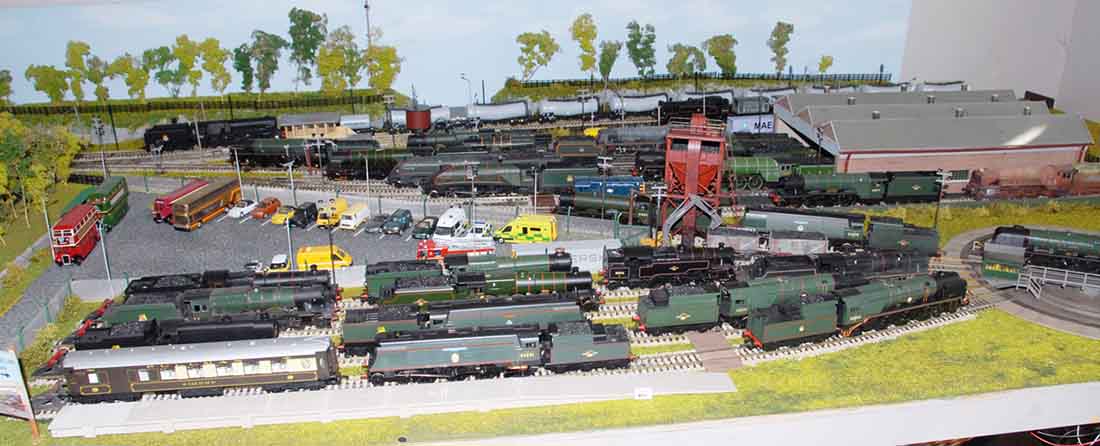
Now let’s have a look at Peter’s layout:
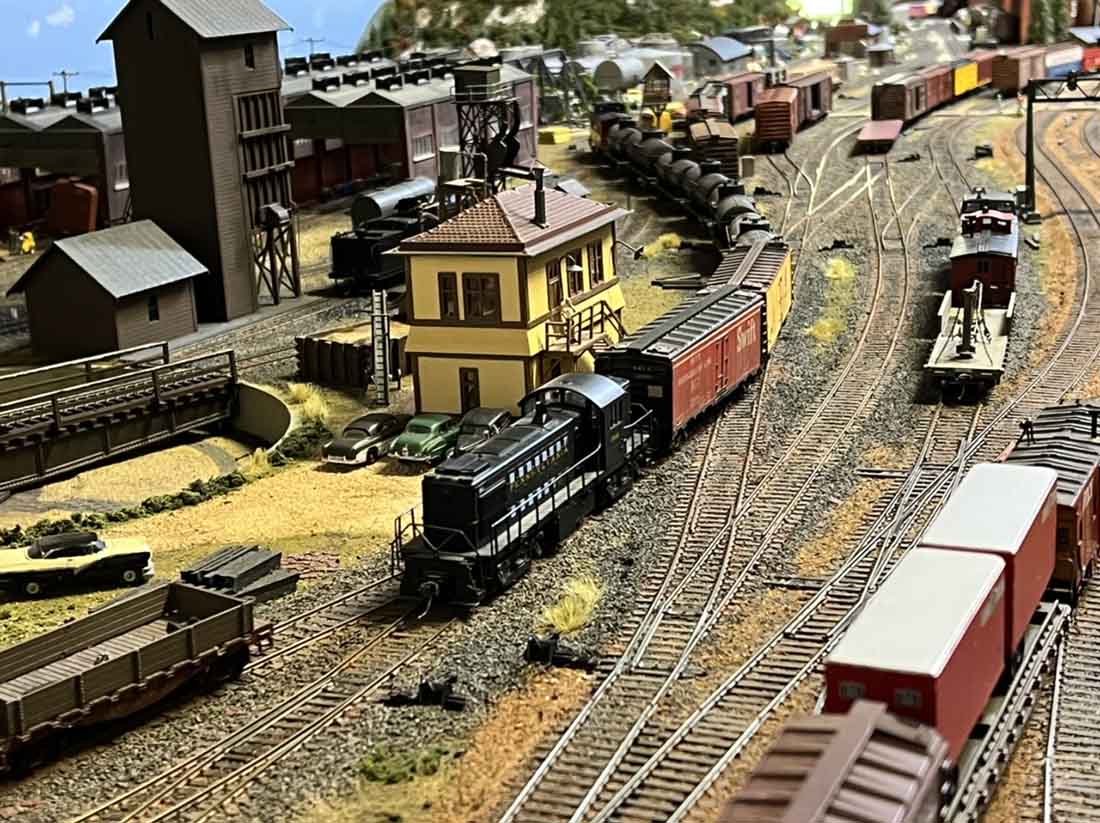
“You have published a few of my layouts in the past….all H/O continental layouts etc..and decal application:
I thought I would have a go at some UK modelling…
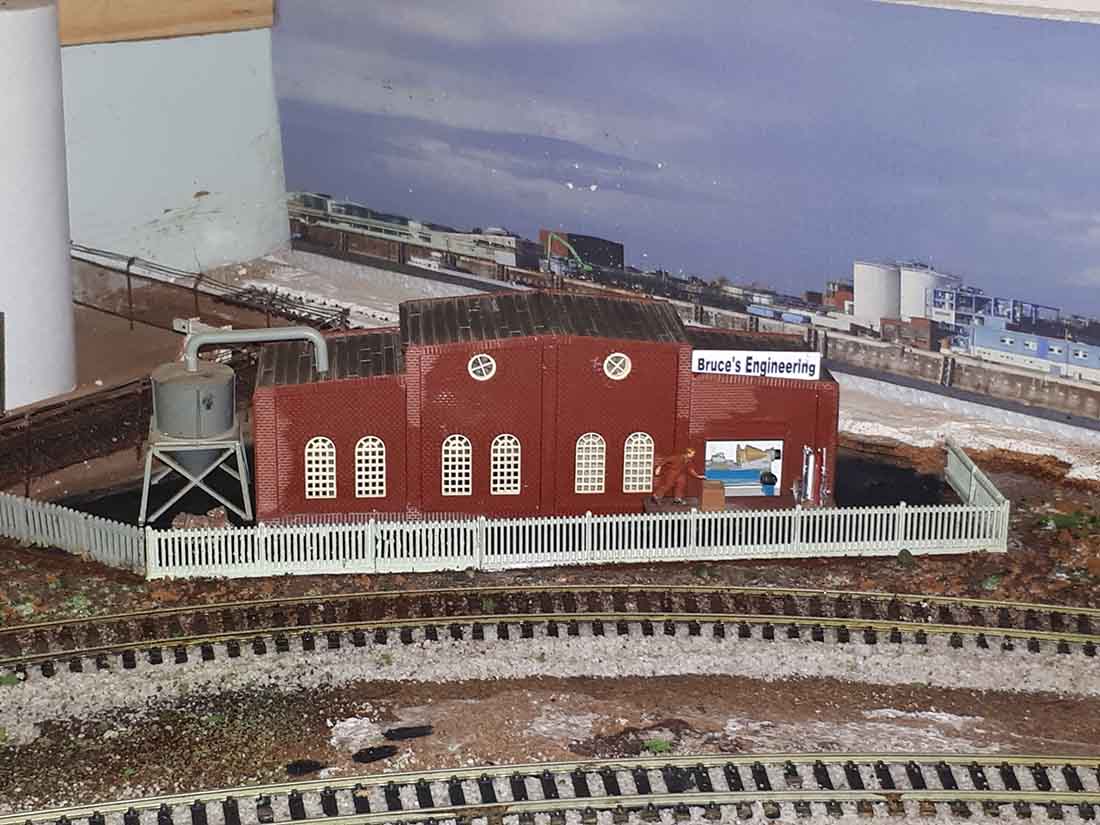
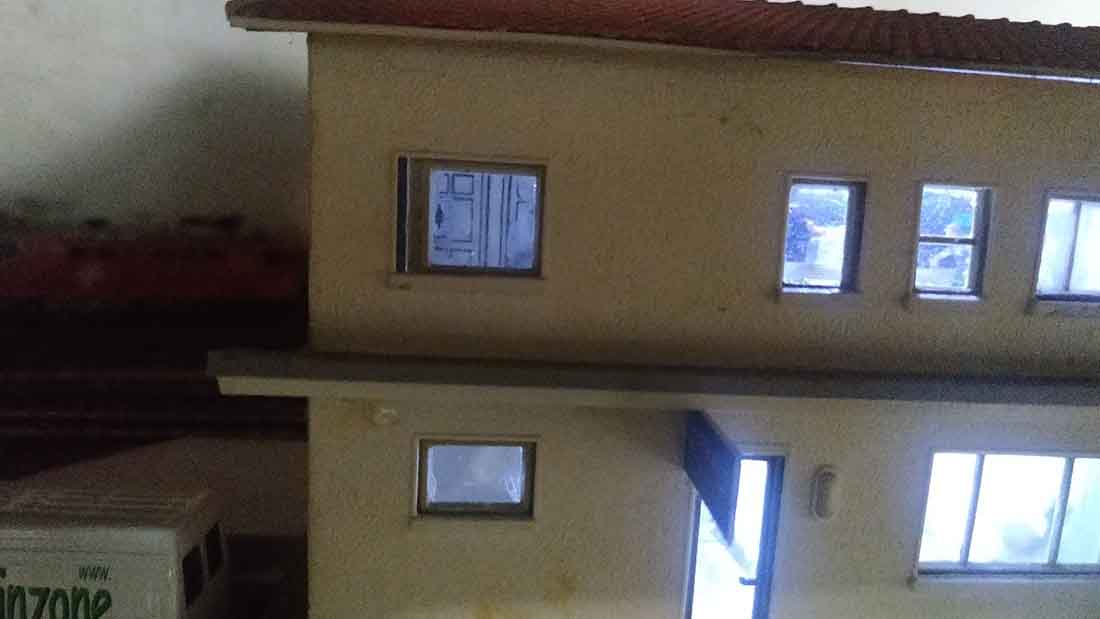
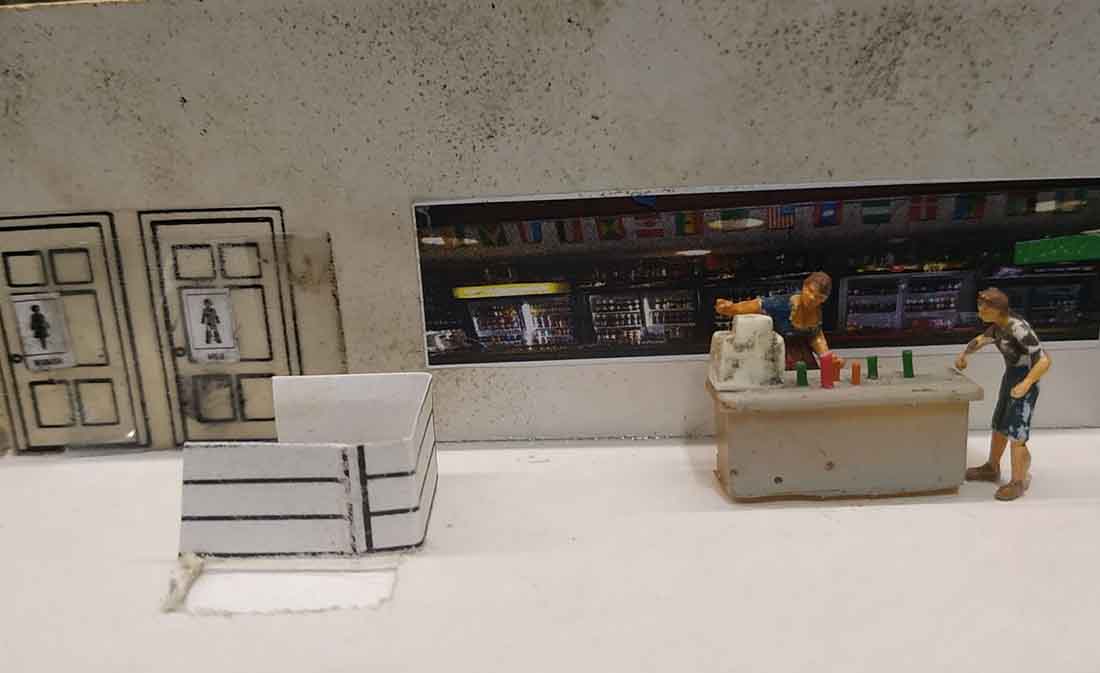
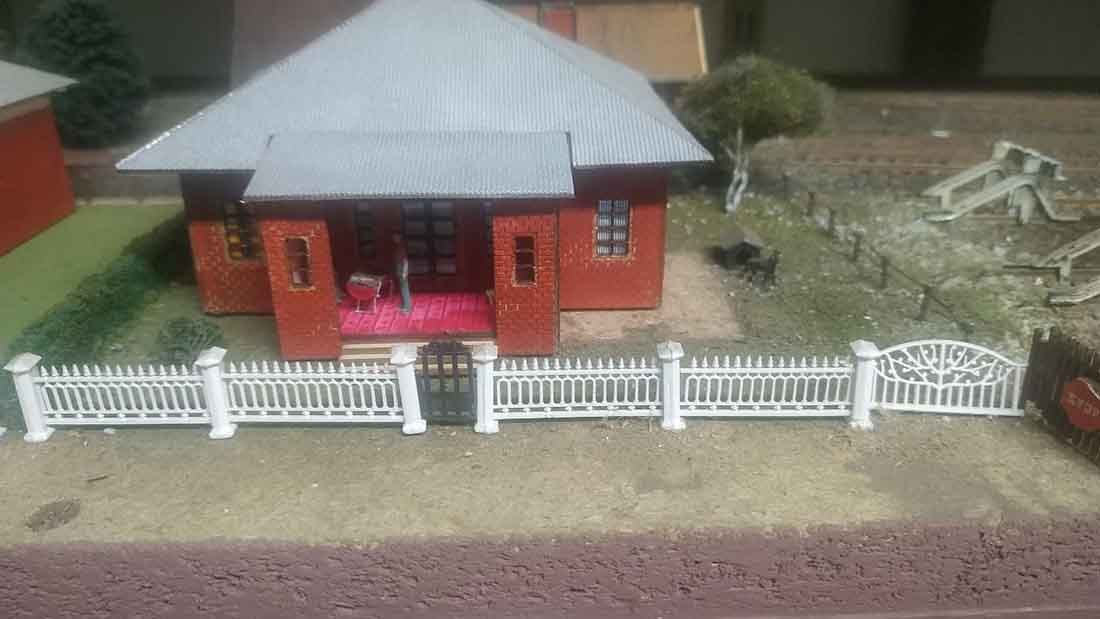
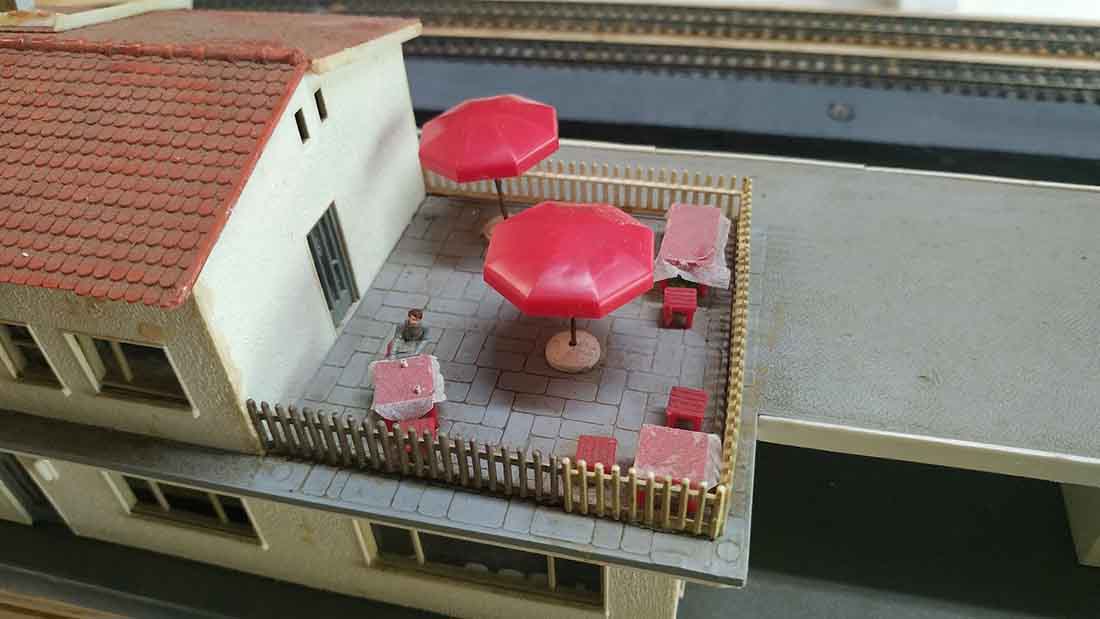
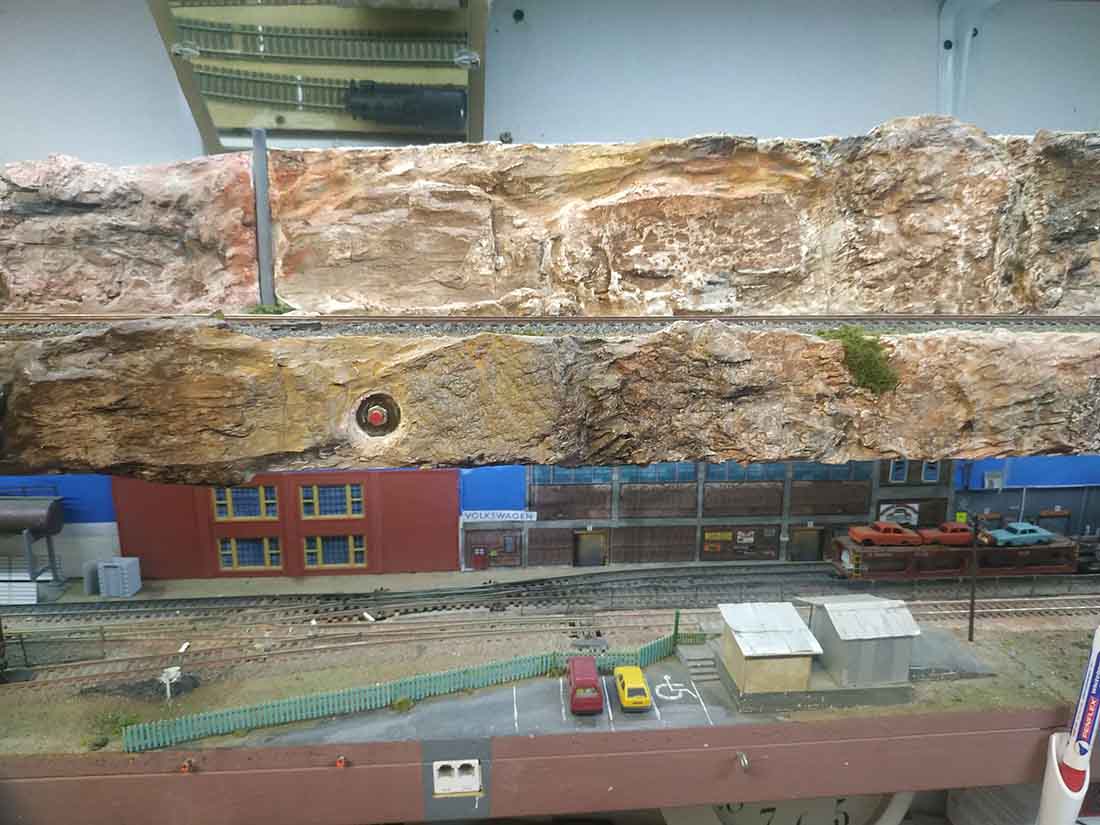
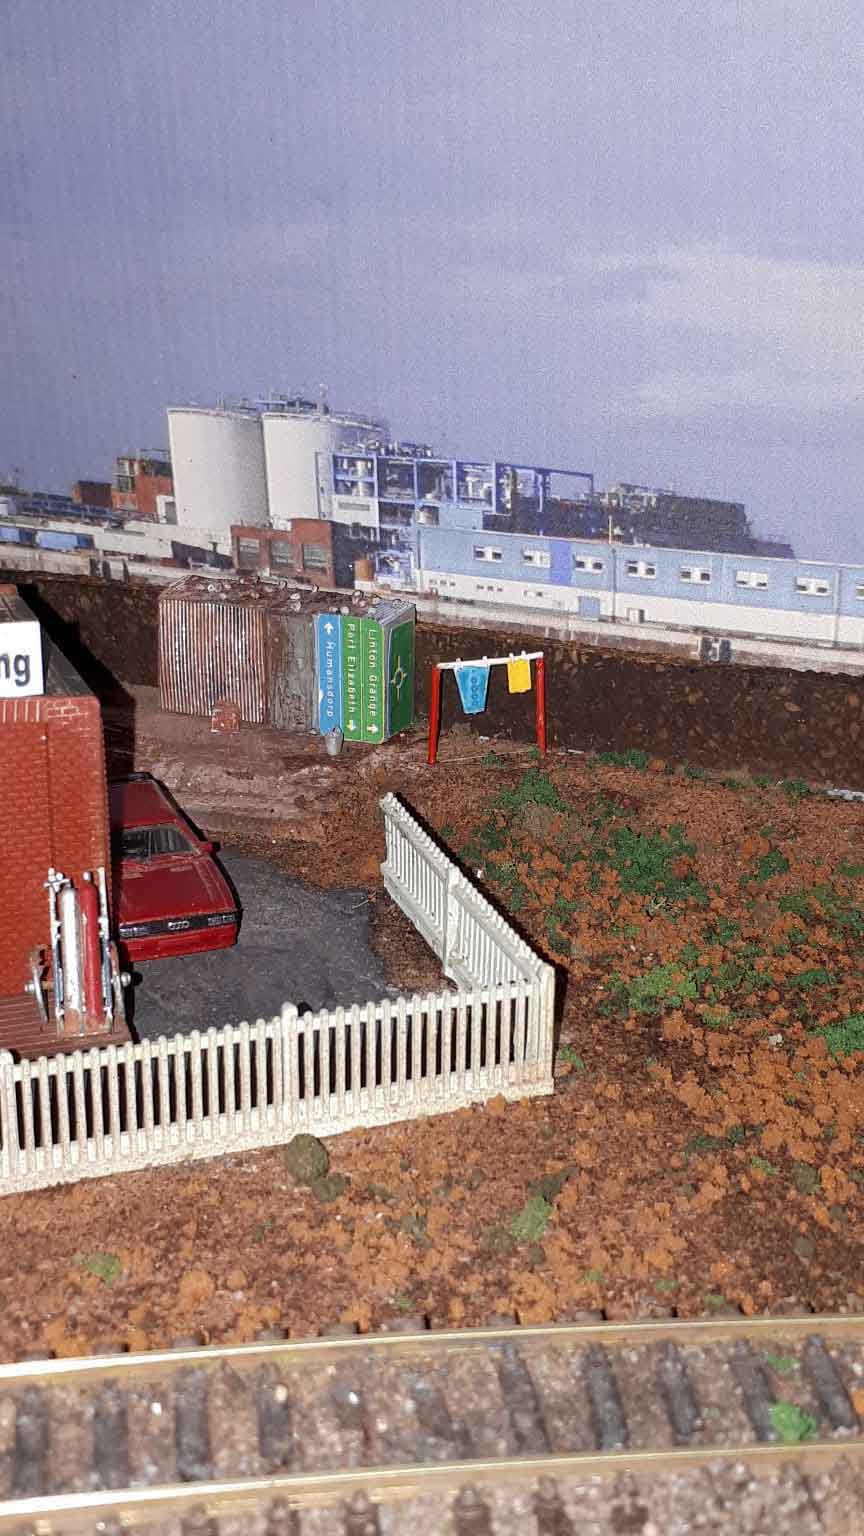
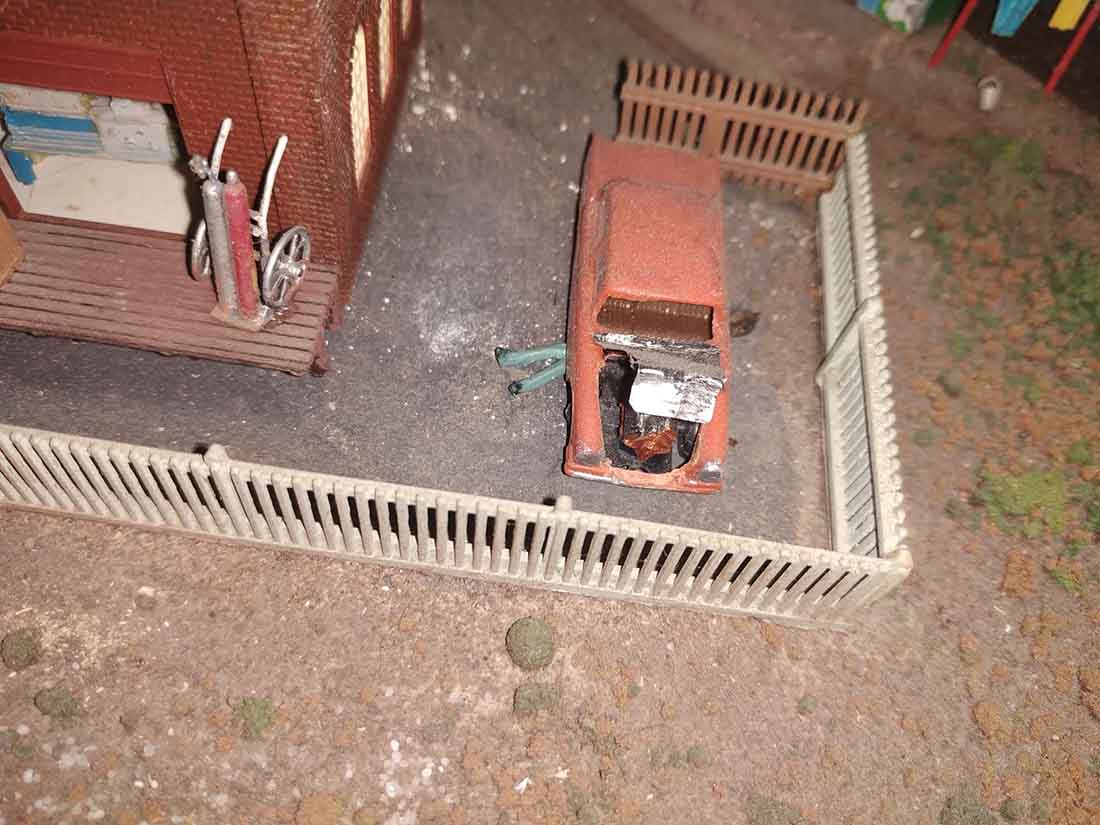
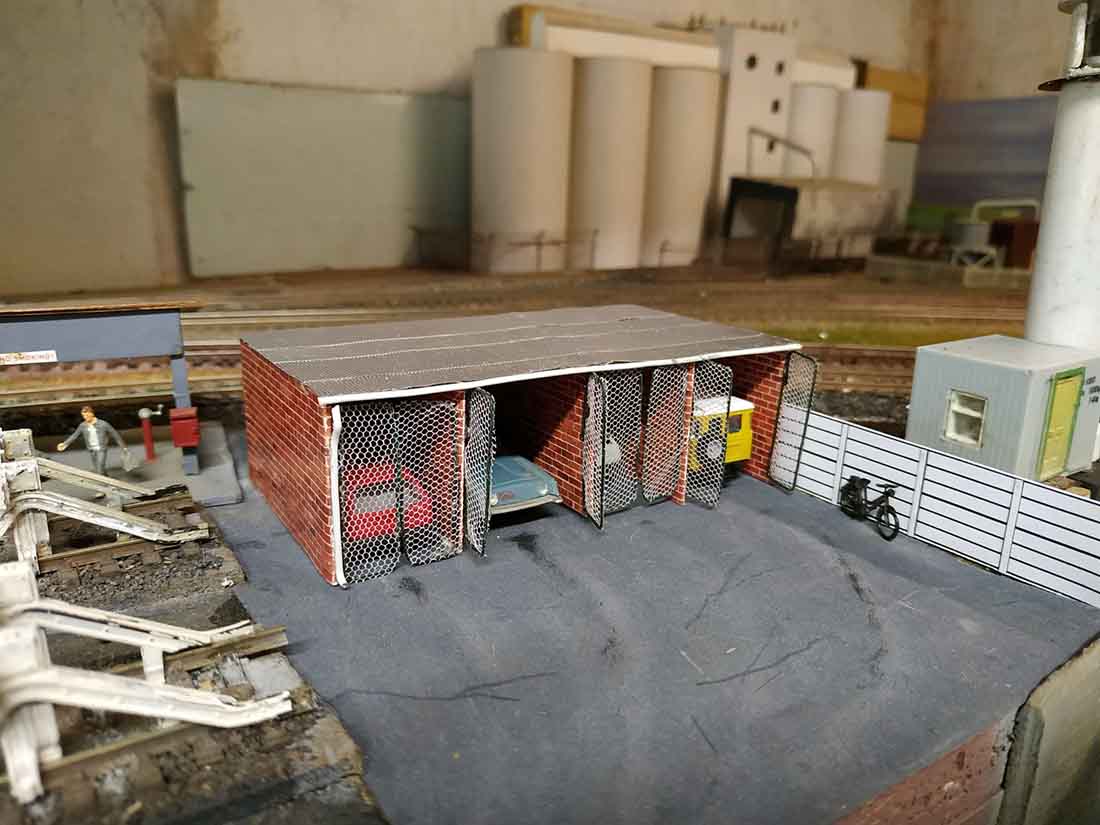
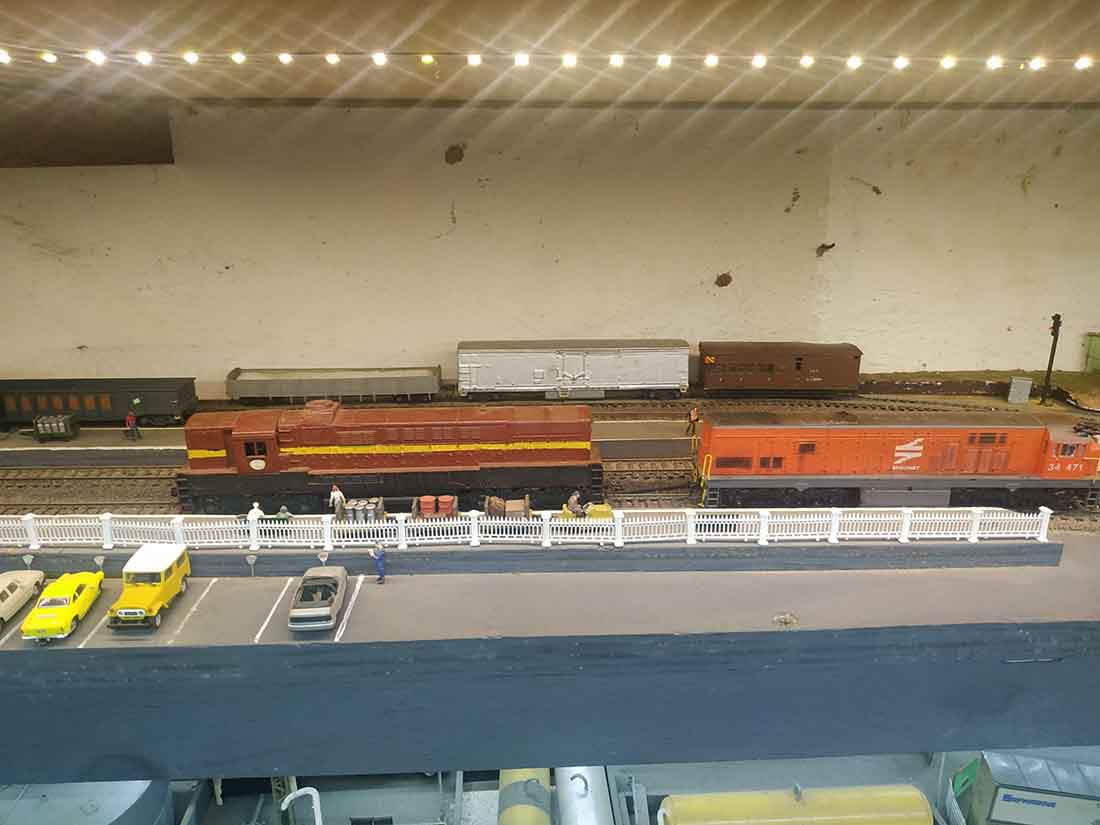
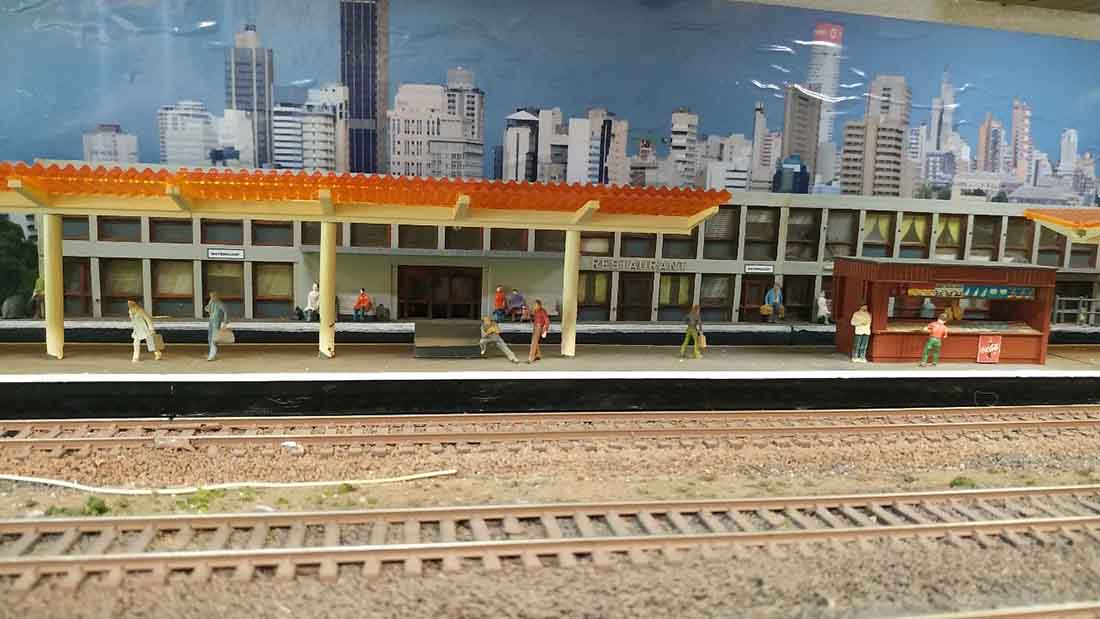
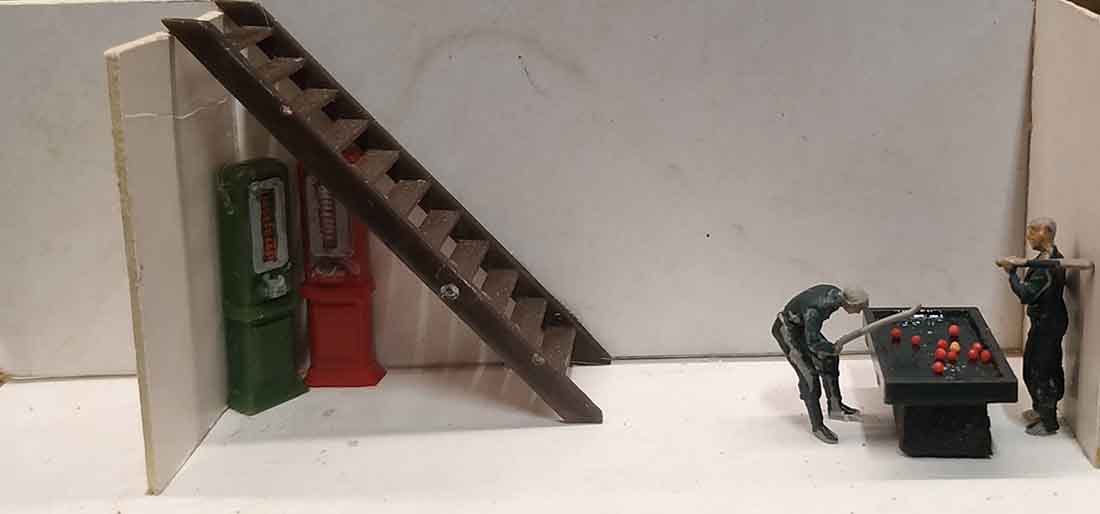
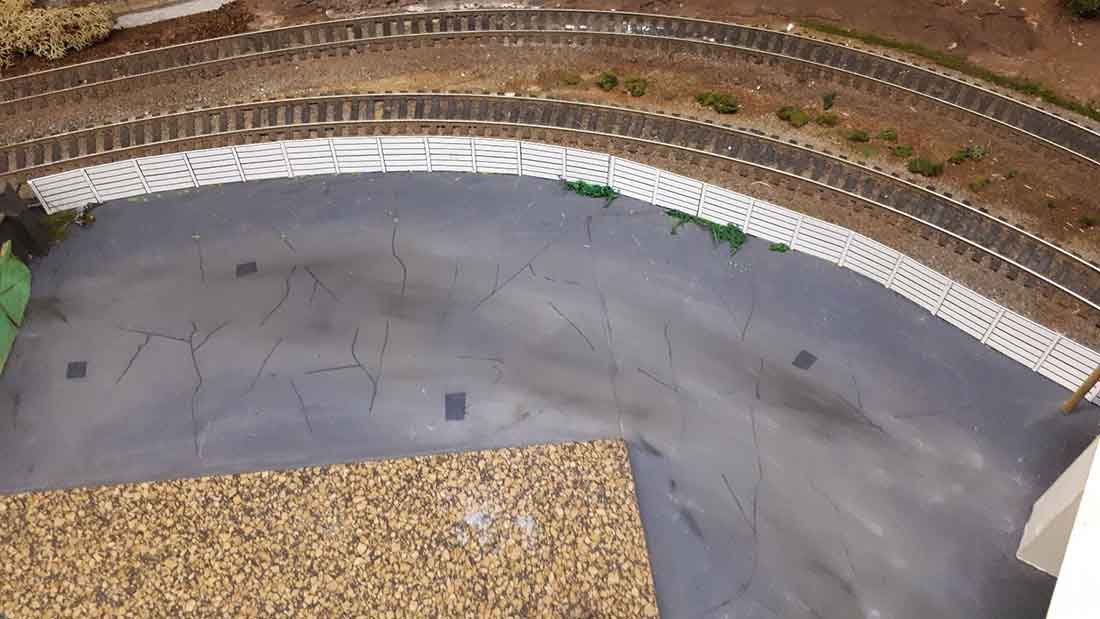
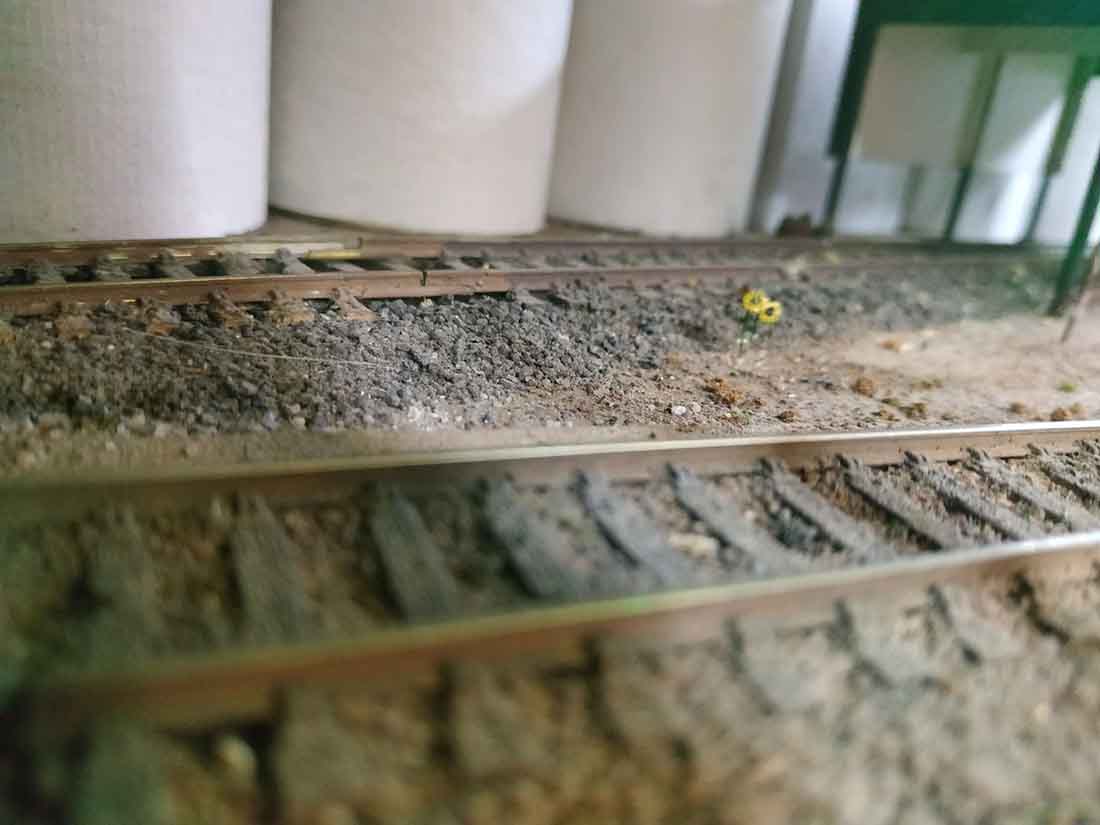
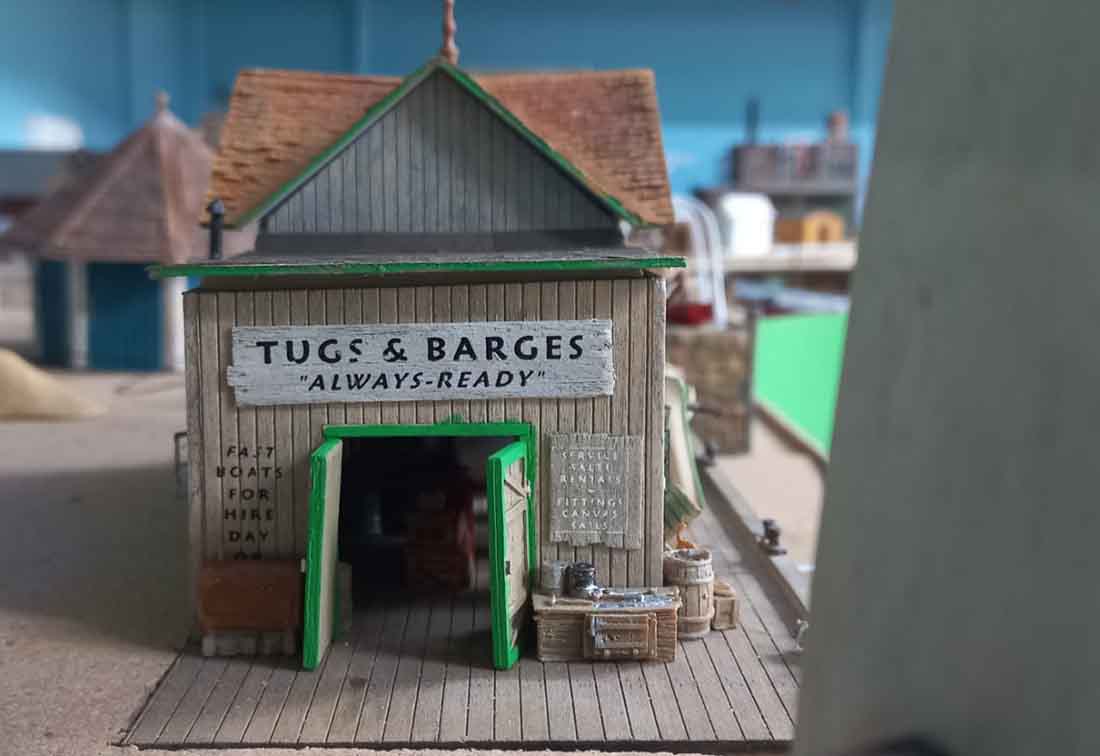
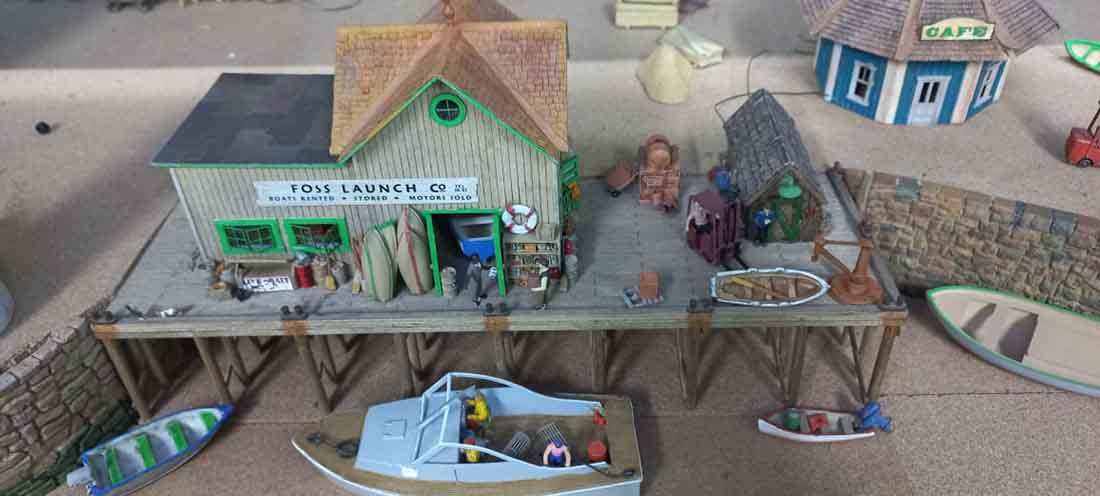
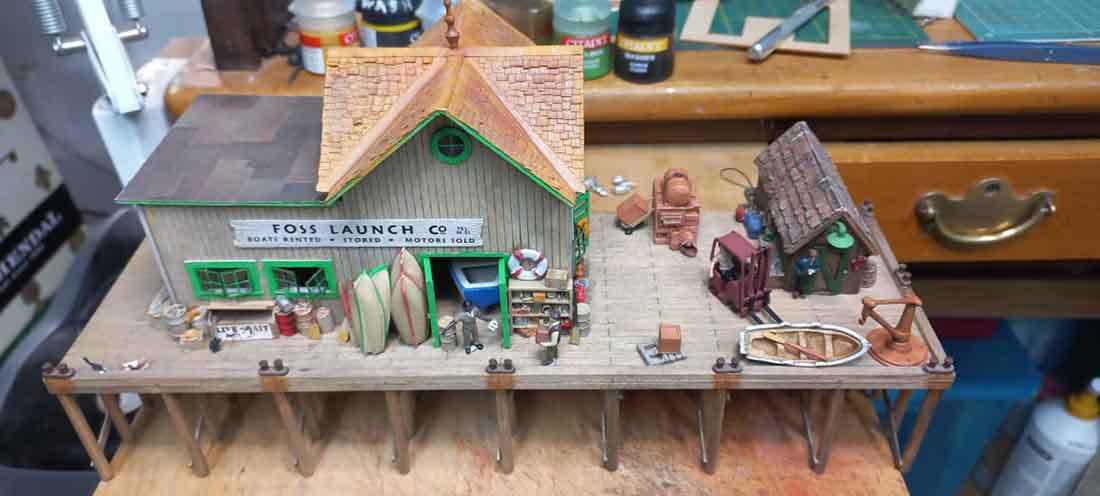
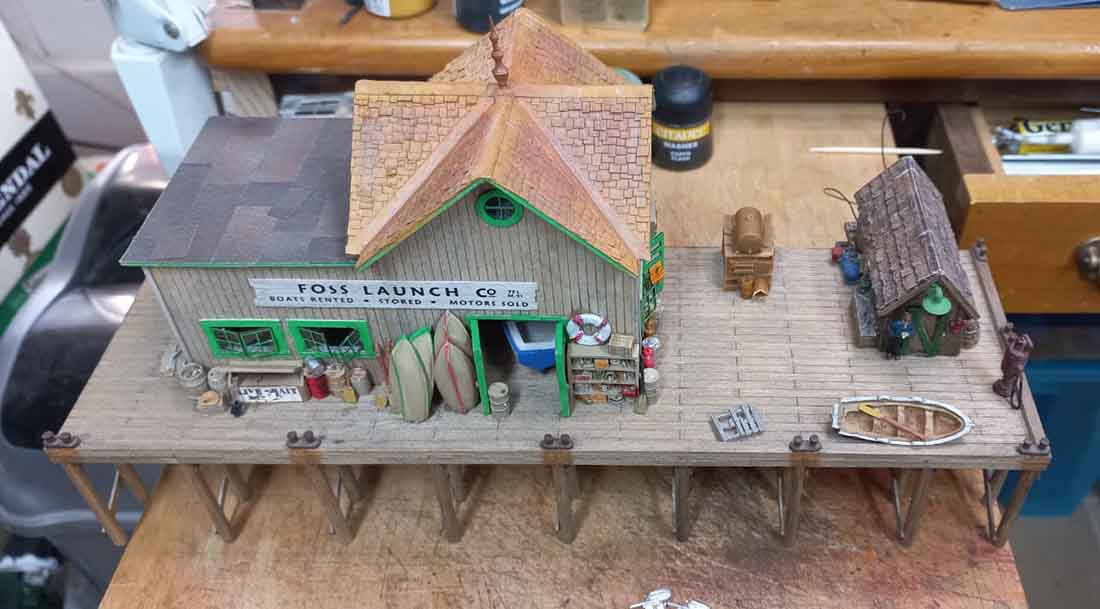
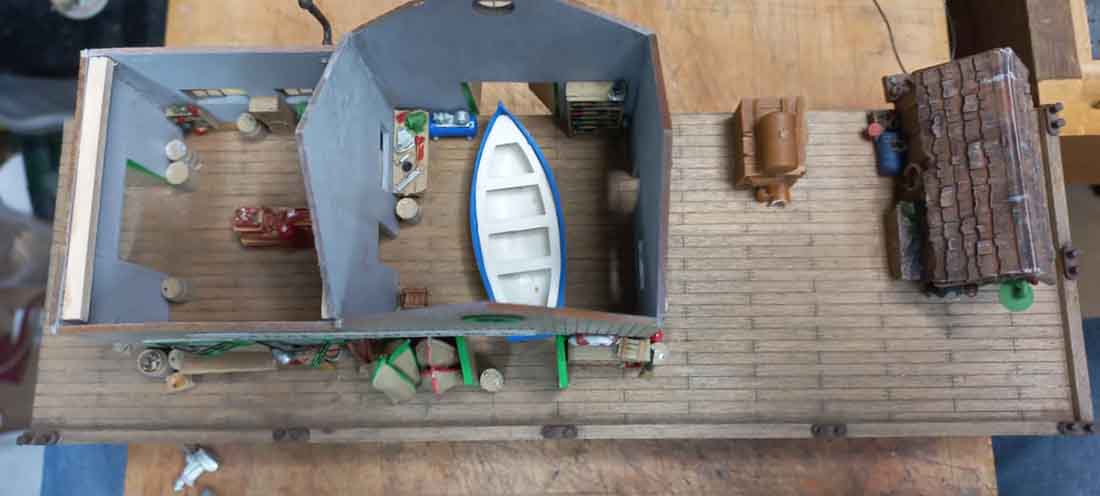
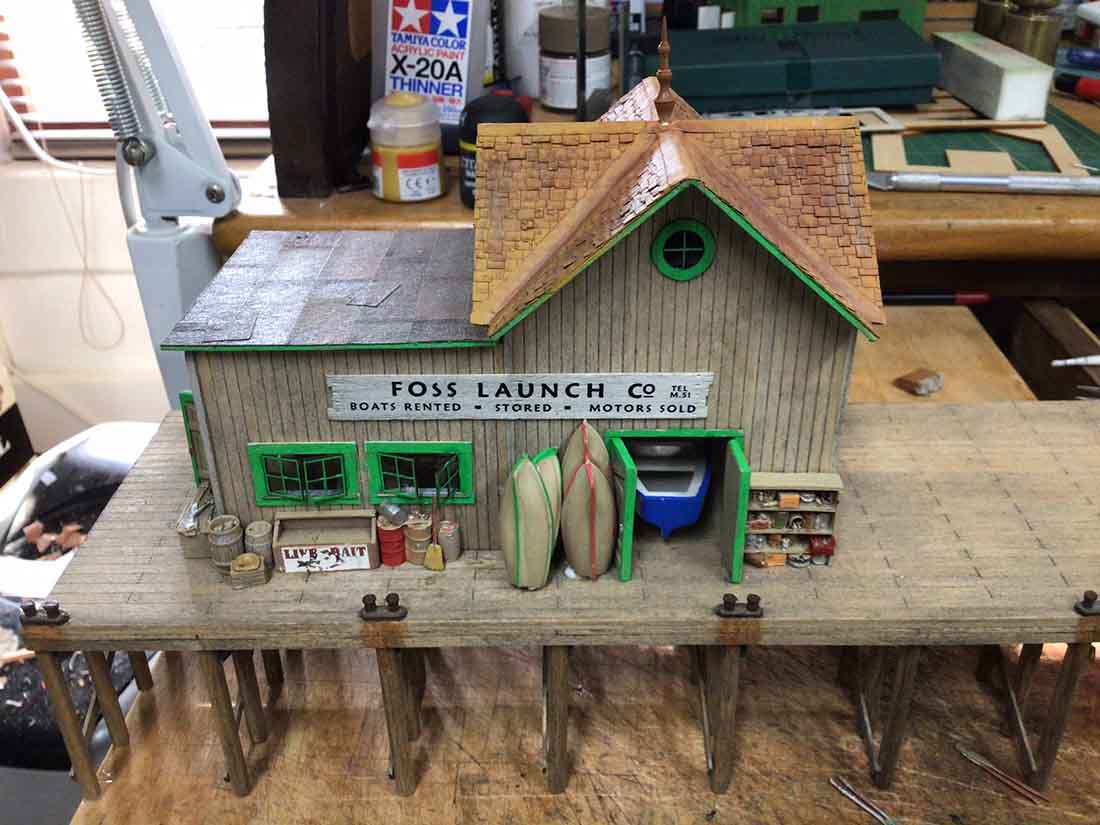
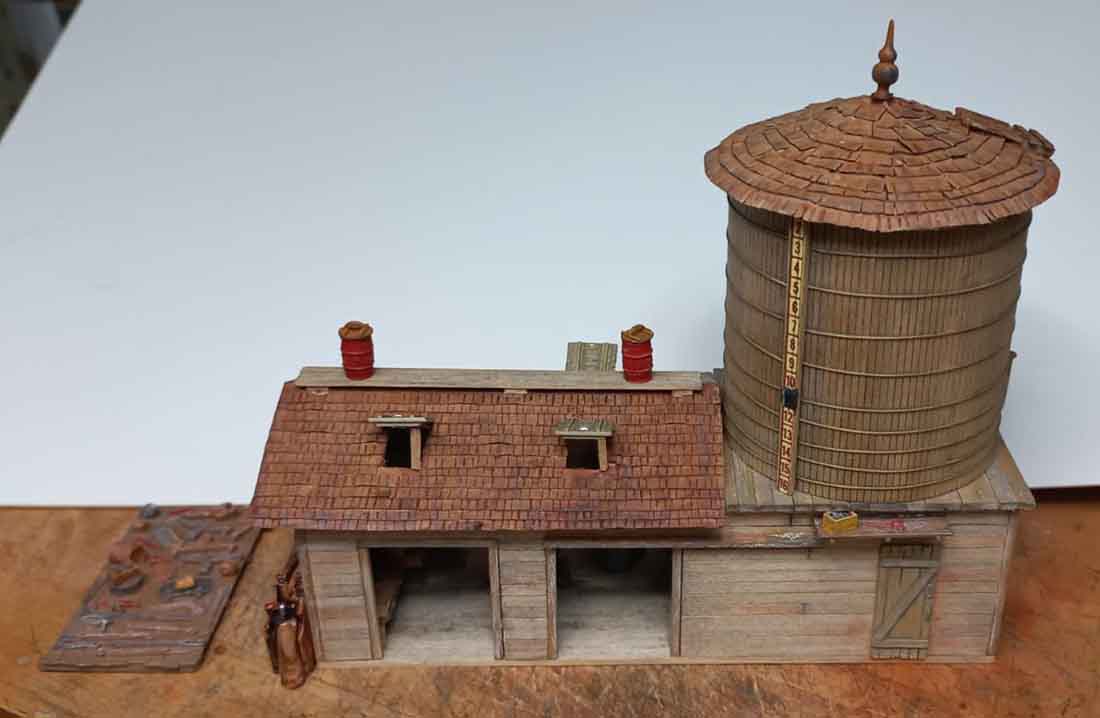
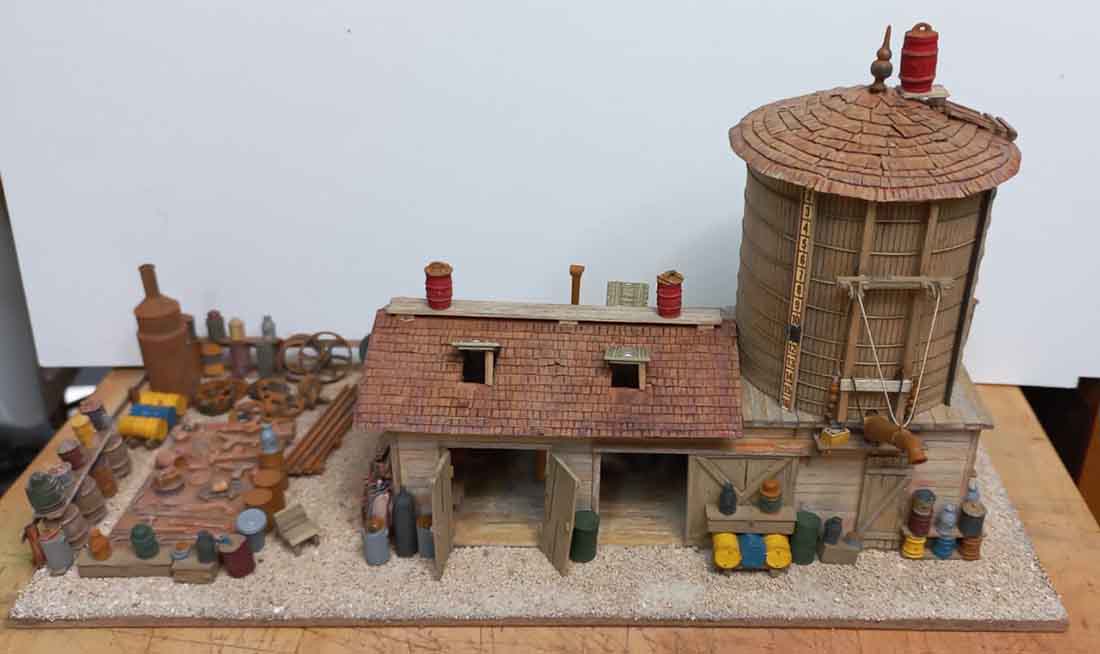
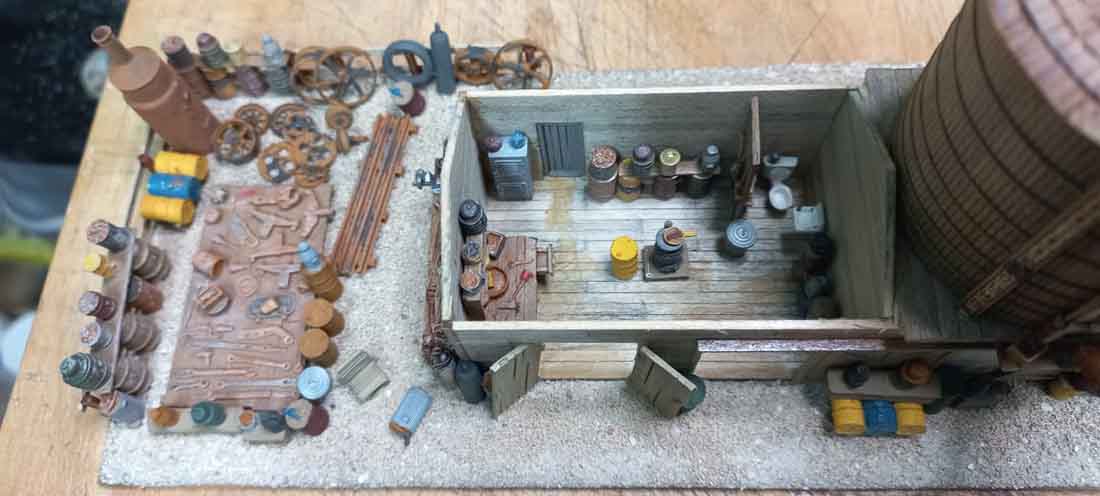
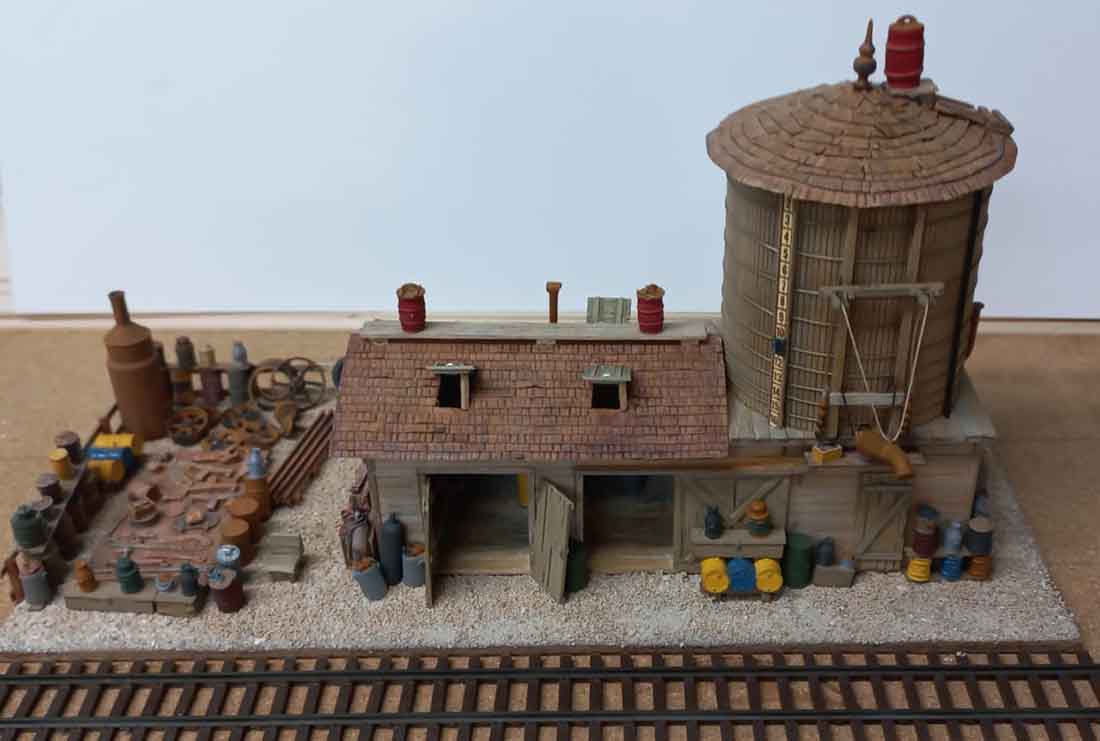
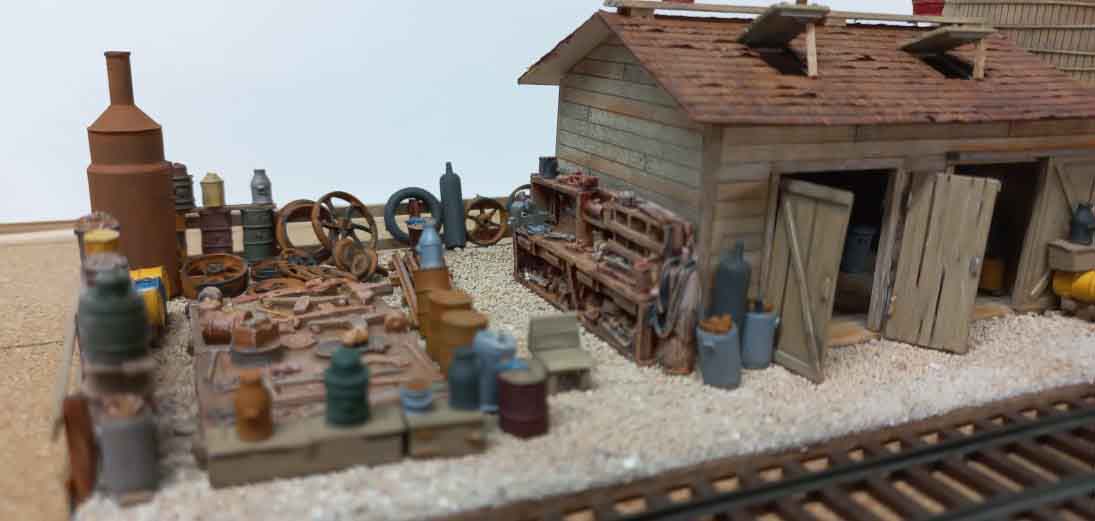
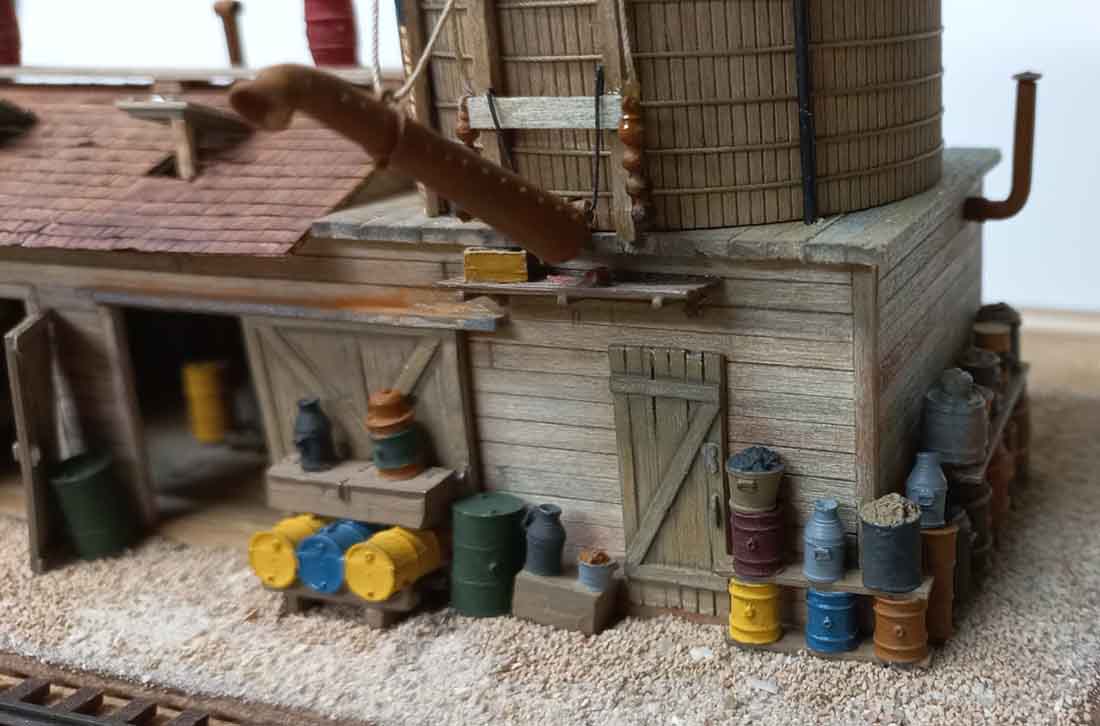
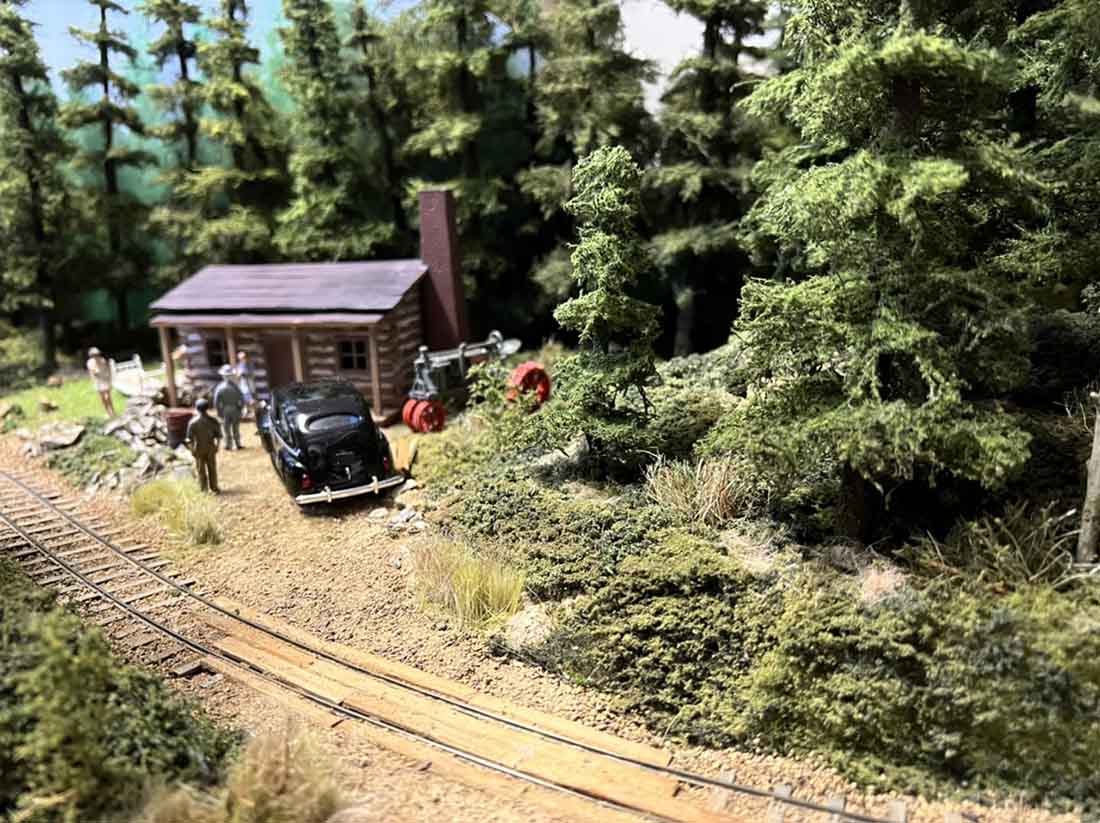
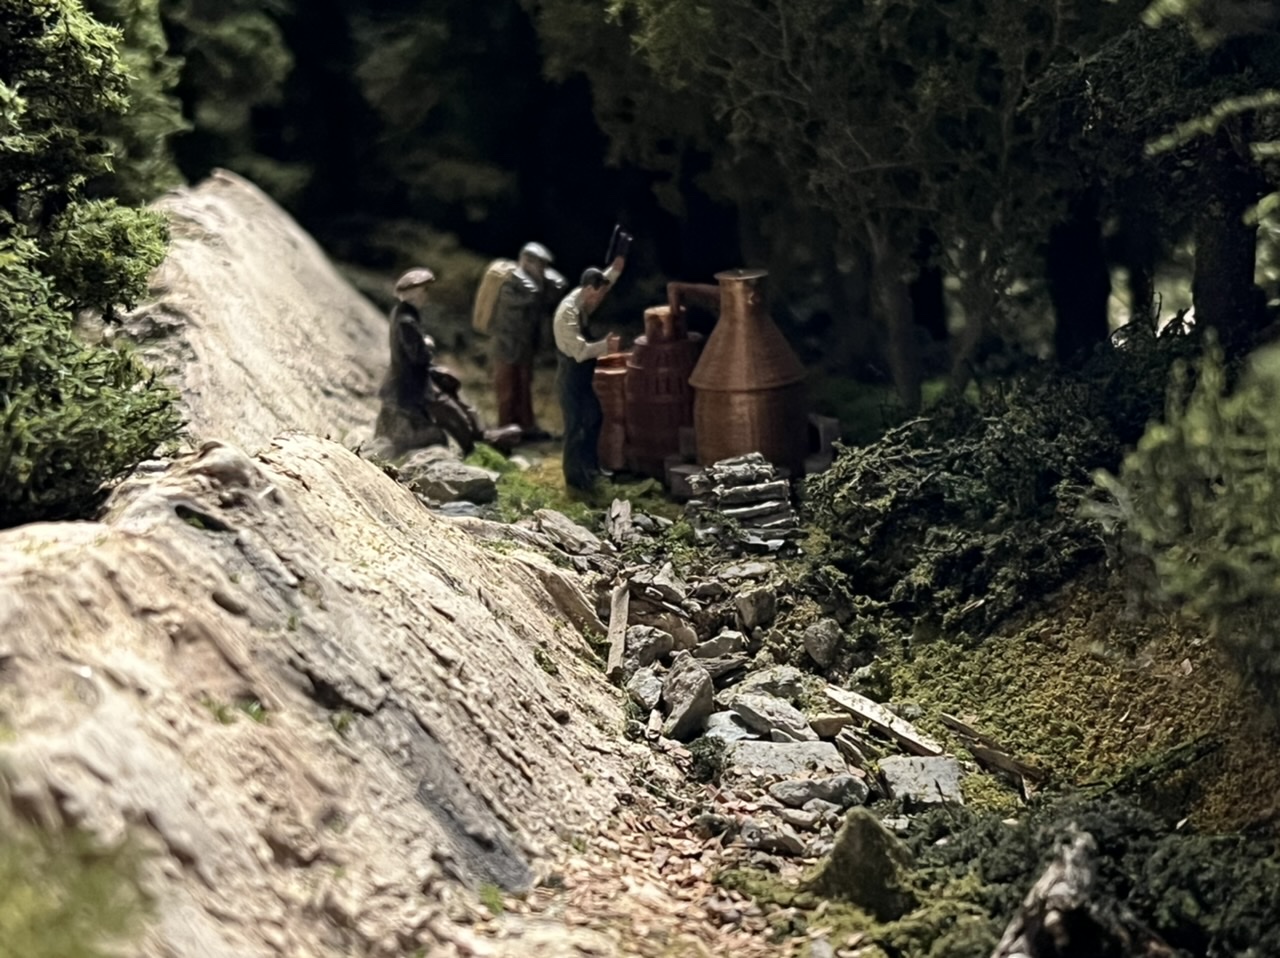
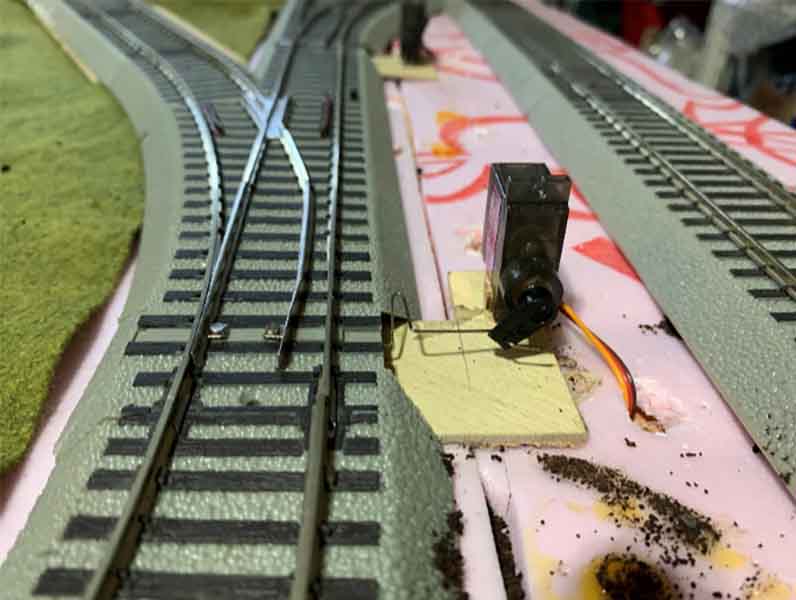
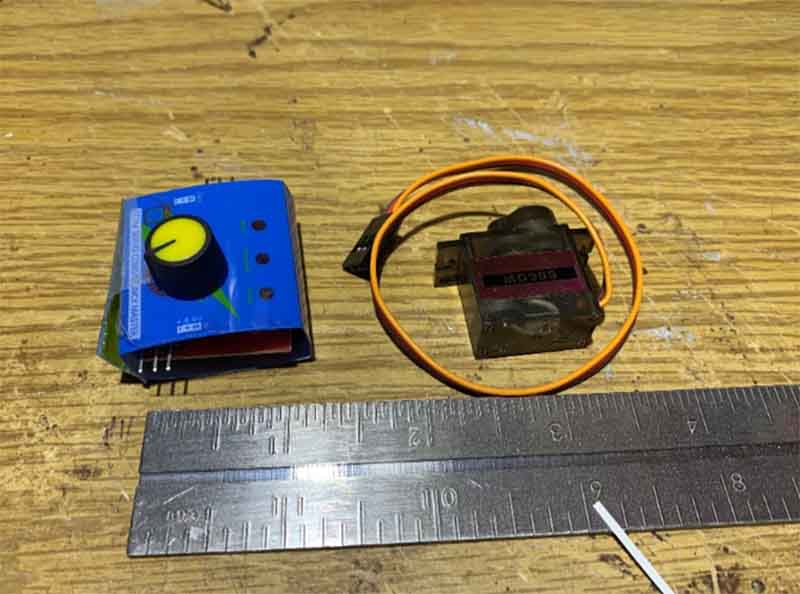
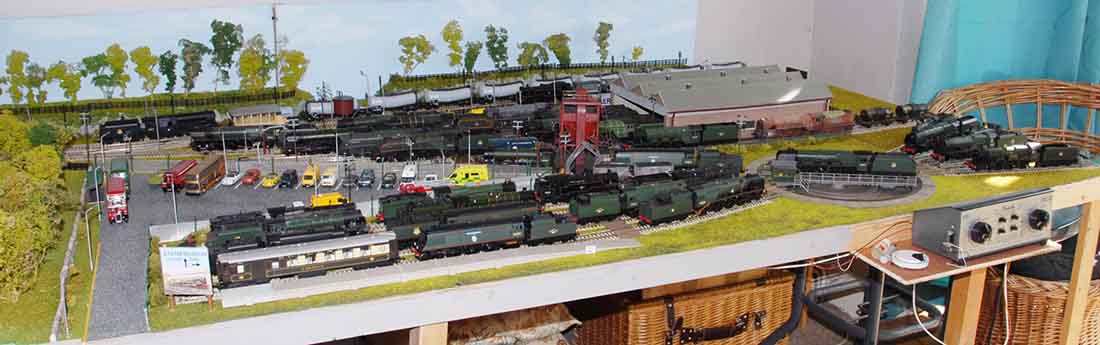
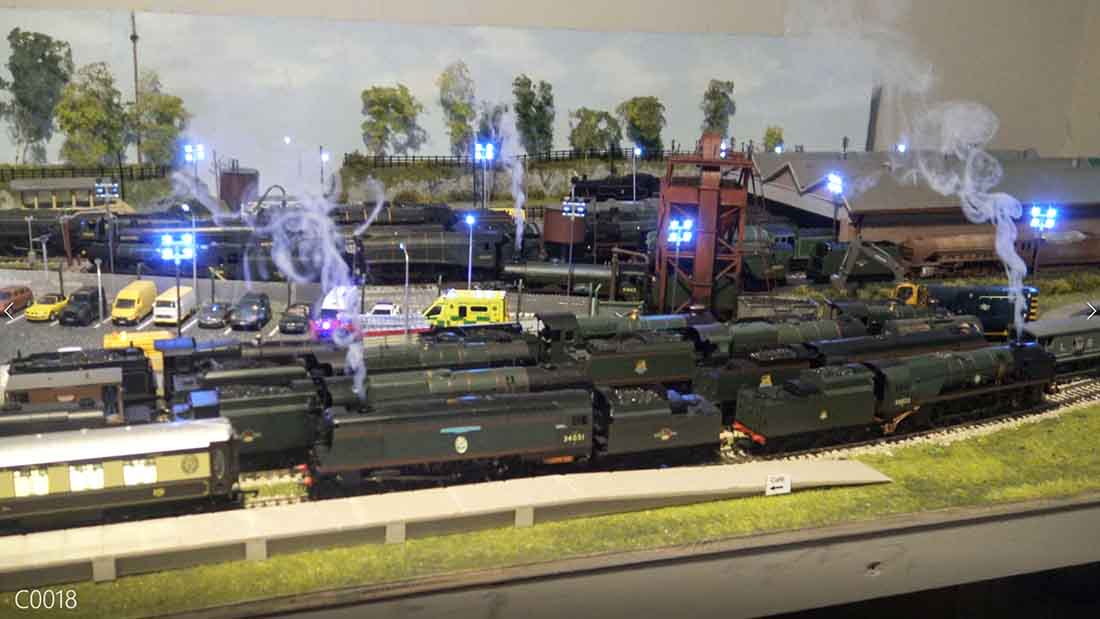
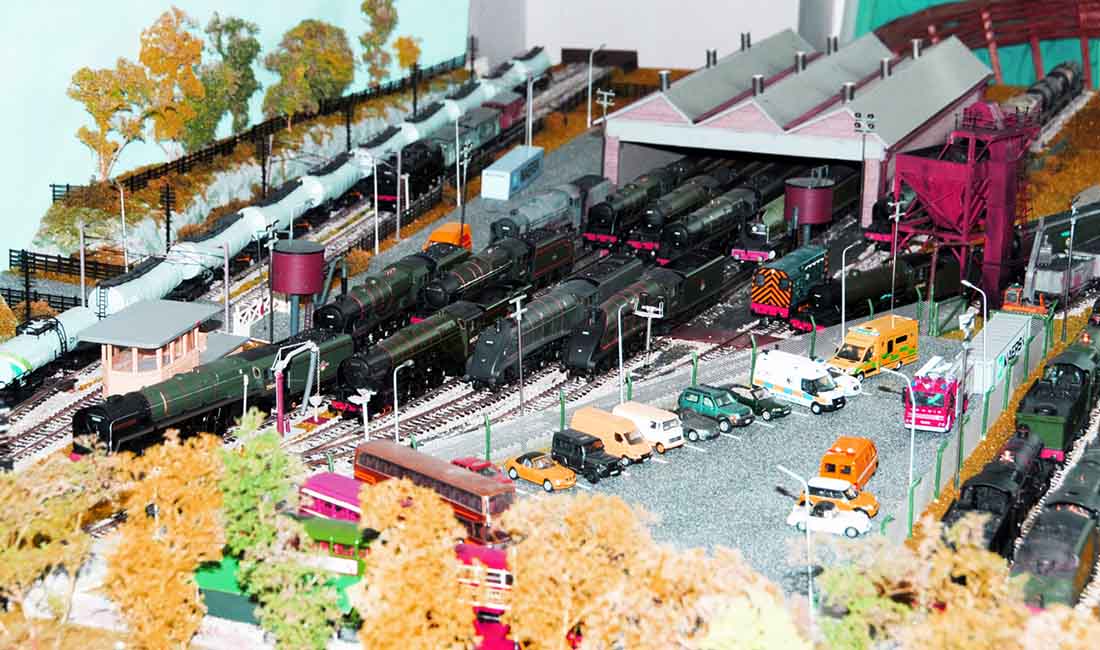
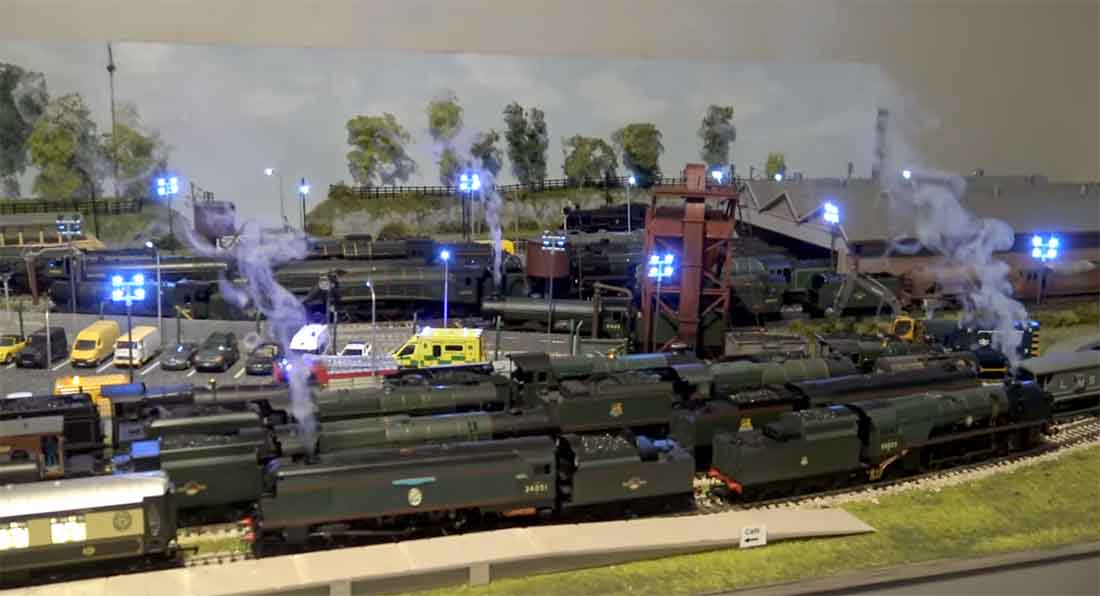
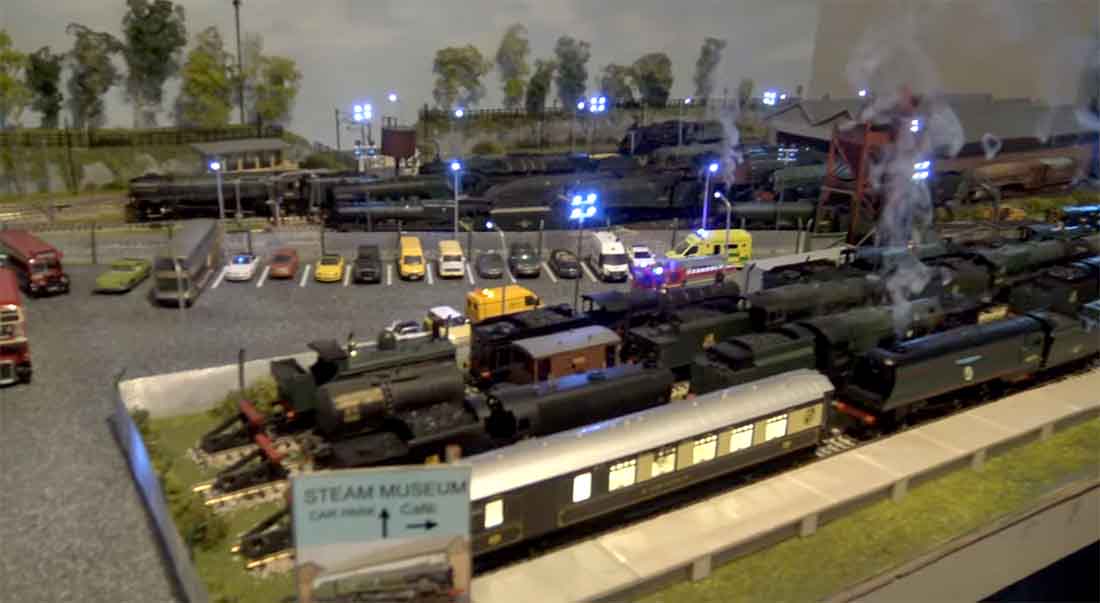
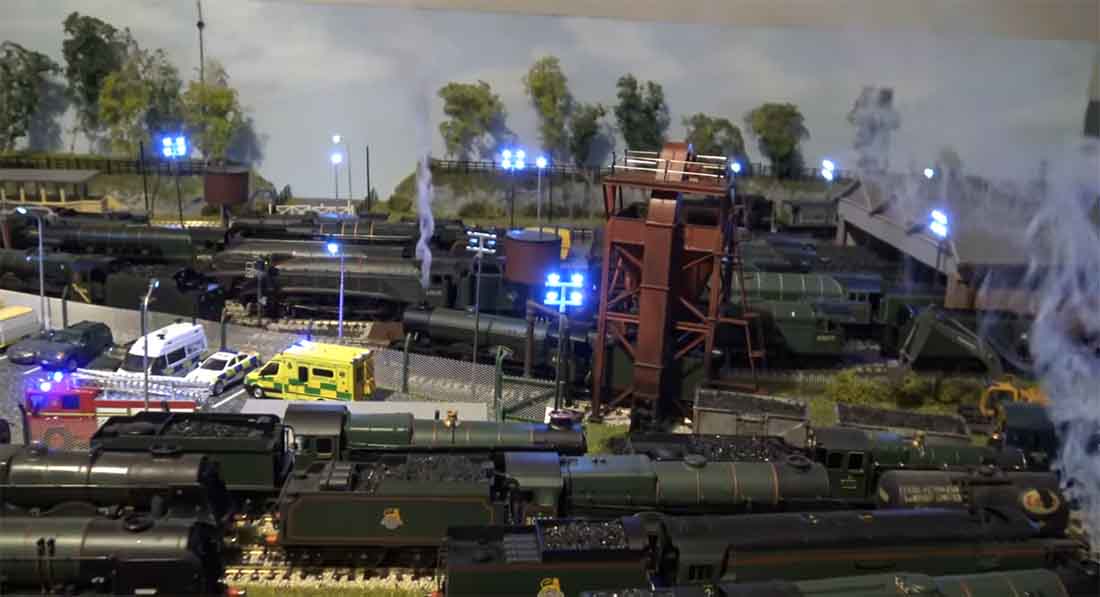
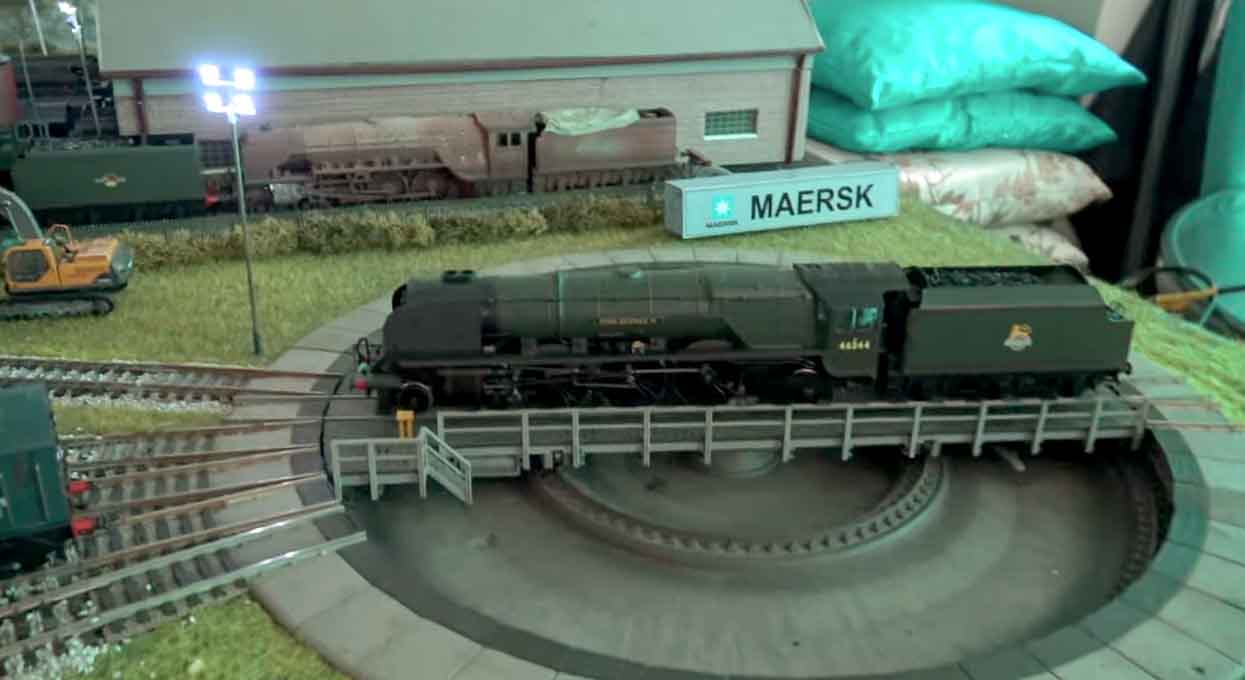
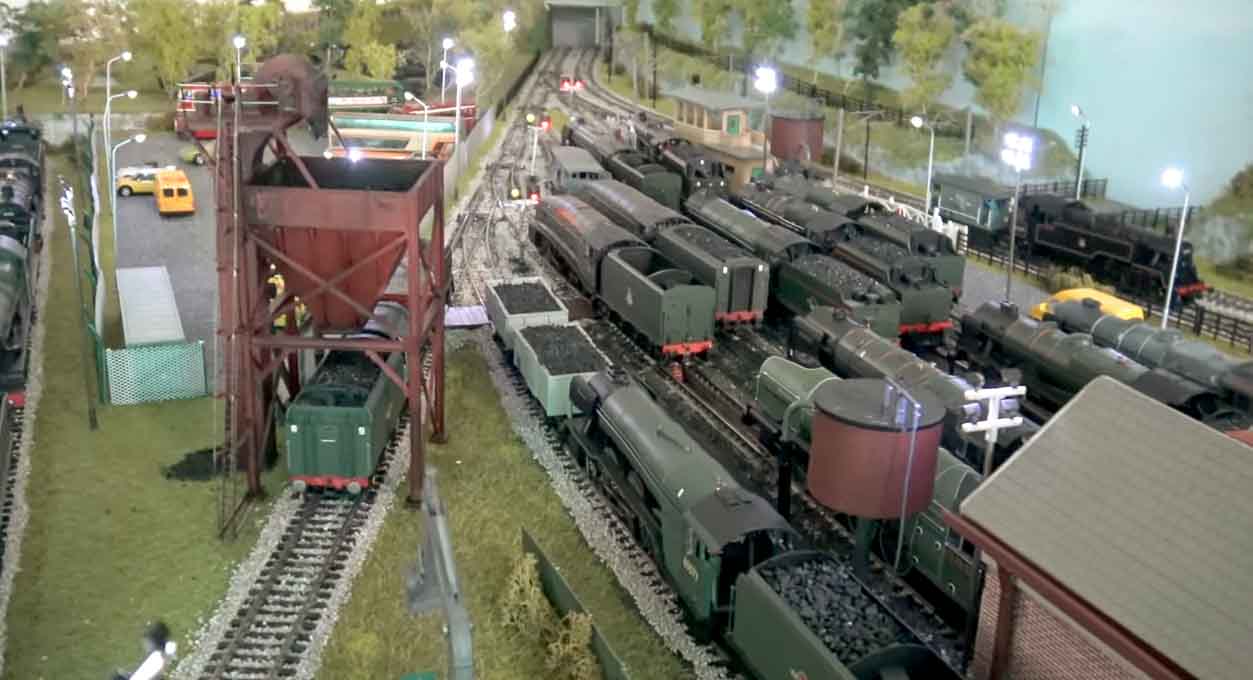
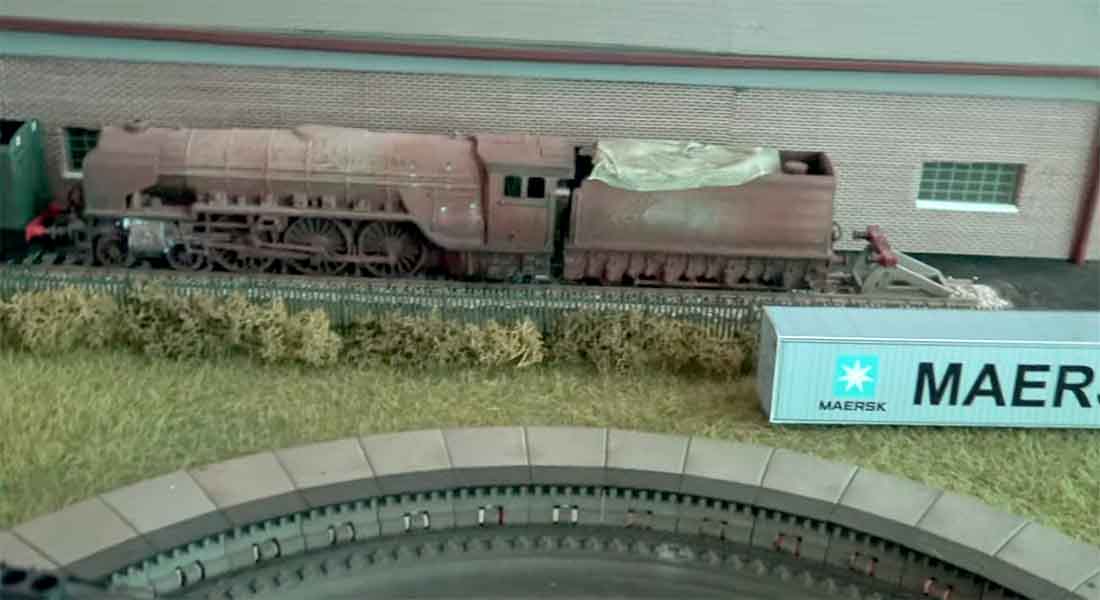
The pictures are of a ‘Steam Museum’ I knocked together in a few weeks..
After purchasing some second stock from E-Bay..mostly DC with a few DCC loco’s..
The tanker wagons are ‘Roco’ European not UK….but they sort of fit in ok..
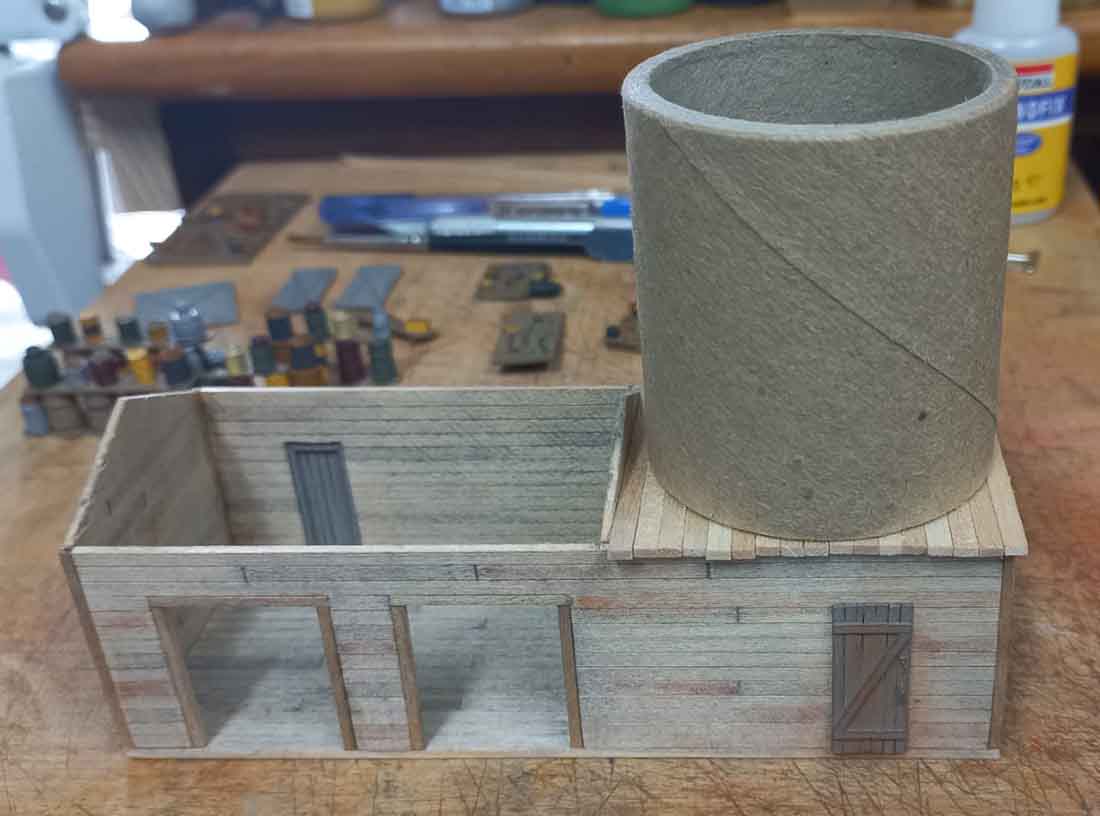
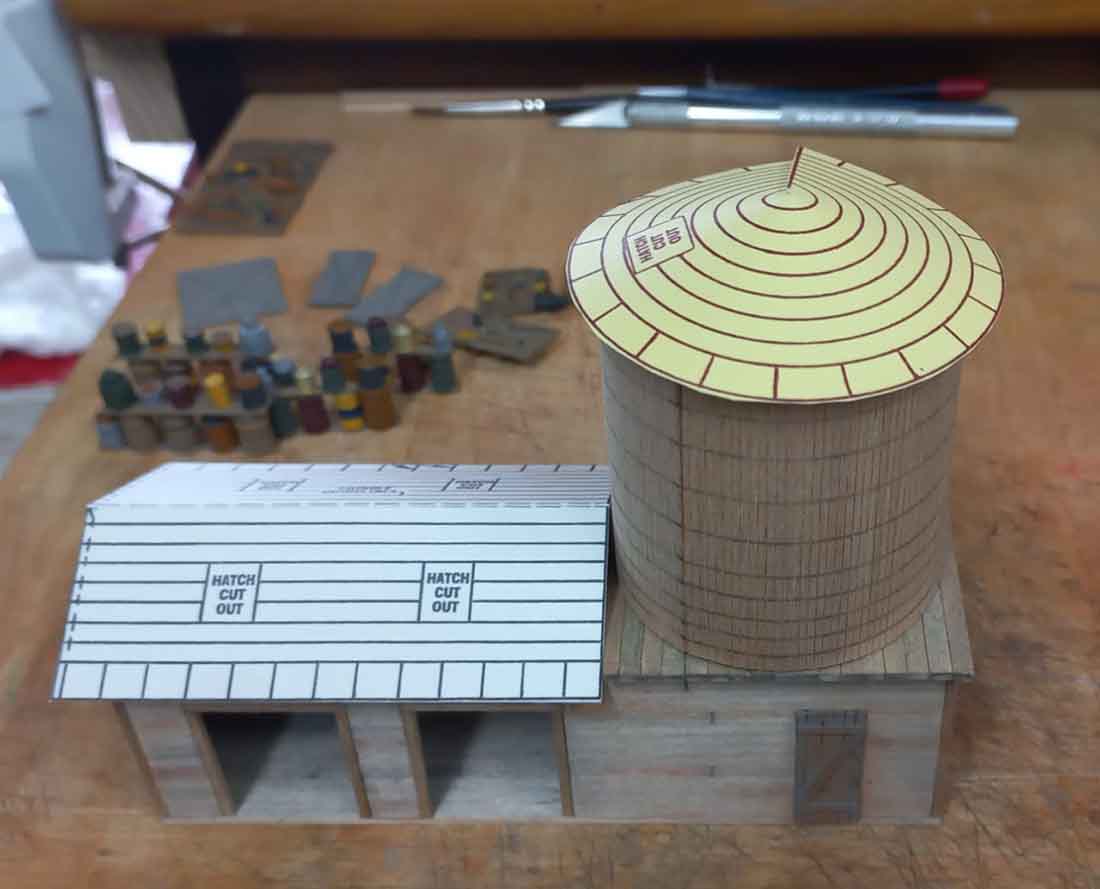
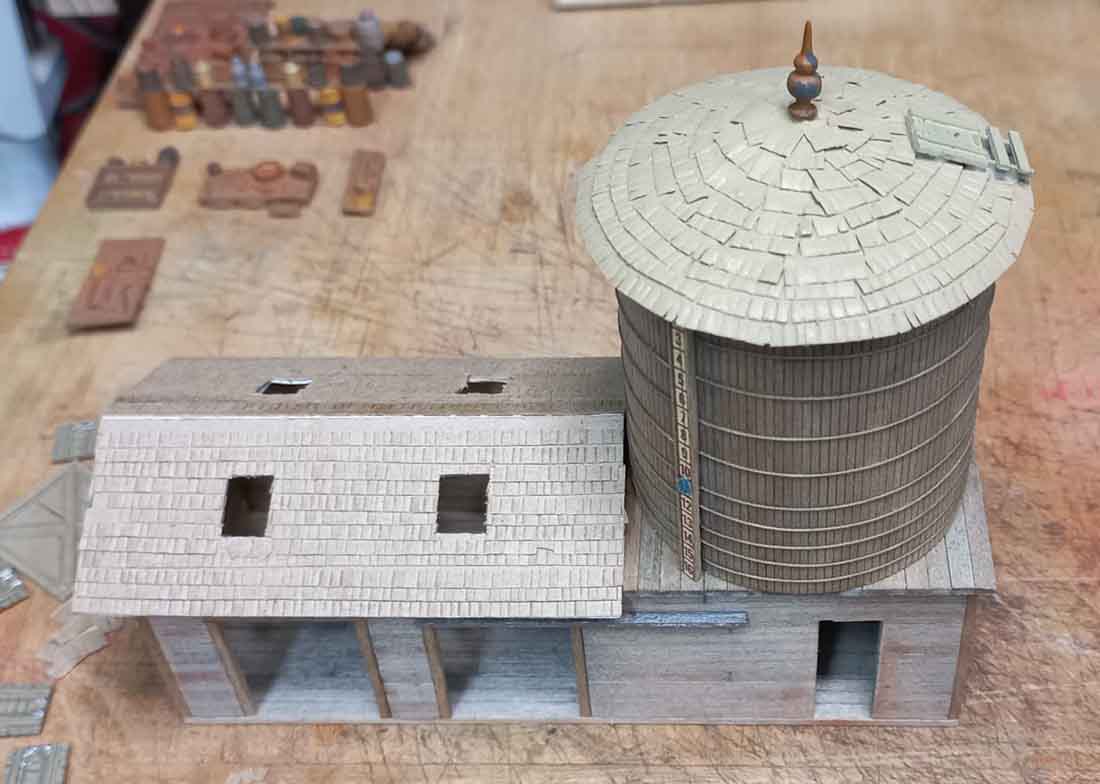
The engine shed, just home made..
The led lighting from E-Bay ‘China’..very cheap.
Regards
Peter, Liverpool.”
A big thanks to Peter.
Hope you enjoyed this one – your model train layout ideas always keep me entertained. There’s something about this hobby that gets deep under your skin – I got this from Ken that sums it up well:
“I don’t have any trains Al except a couple of used HO cars I bought at a 2nd hand store just because I could.
I’ve love trains since I was a kid in the 50’s growing up in a small town in lower Michigan with a freight line running through and a spur for the feed mill.
My brother and I walked the rails for miles in the summers. In 1960 we moved to another small down and our bedroom window was 50 feet from a DT&I line that ran a freight thru at nite around 2 am.
My brother would get a flash light out and give a couple of quick blinks to the engineer who the started doing the same. Some times we opened our curtains quietly and turned the room lights on so they could see us waving. Got the same from the cab. Made our nite and hopefully brightened up the crews nite.
When we both went to college, the line was torn out so our younger brothers missed out.
To this day, i have lived close enough to lines to hear the whistles and horns through the day and night. Always seems to be a comfort to me and a reminder of special days and nites.
Ken”
If you feel like Ken, and a tinkering with a layout is an itch you really want to scratch, my advice is pick a theme and make a start.
The start is everything.
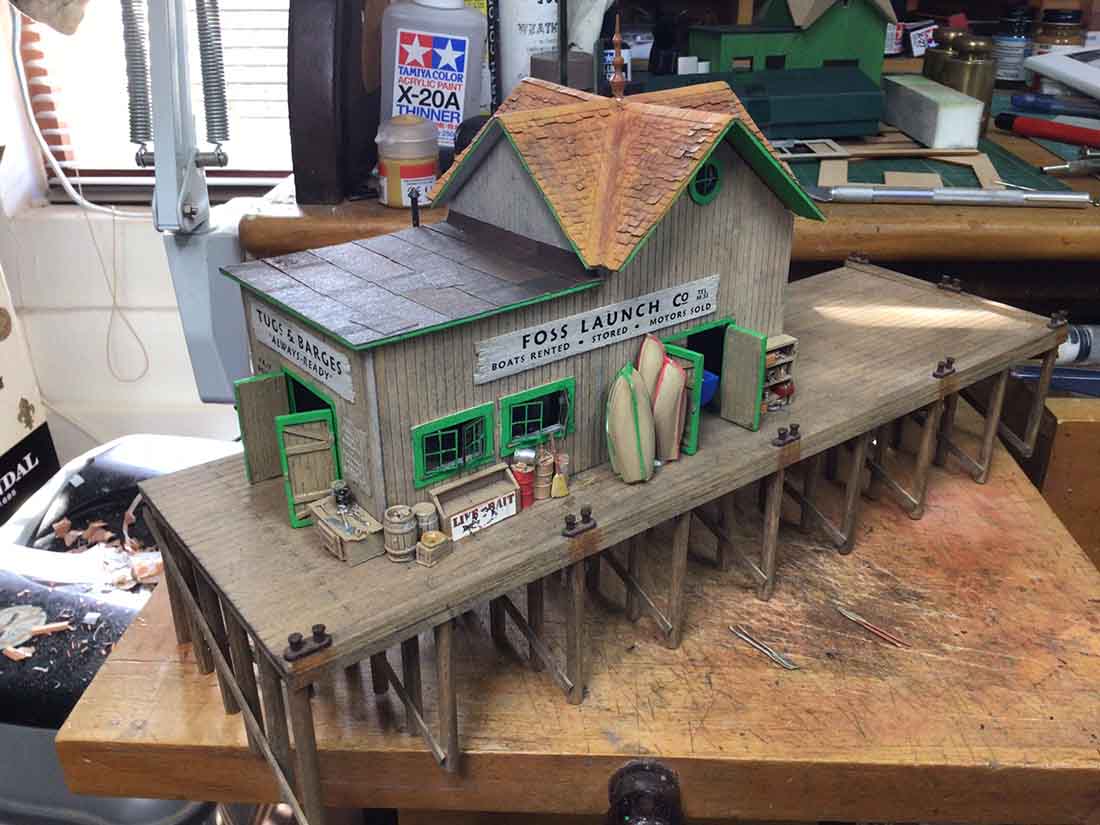
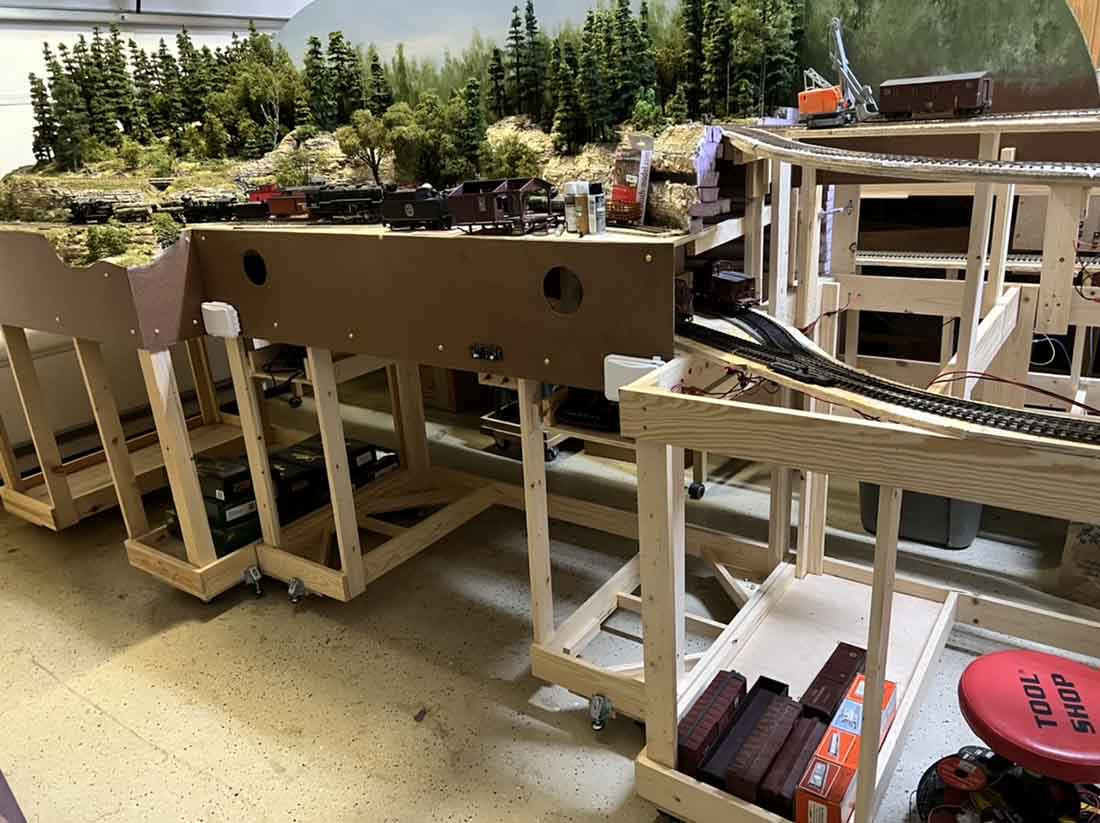
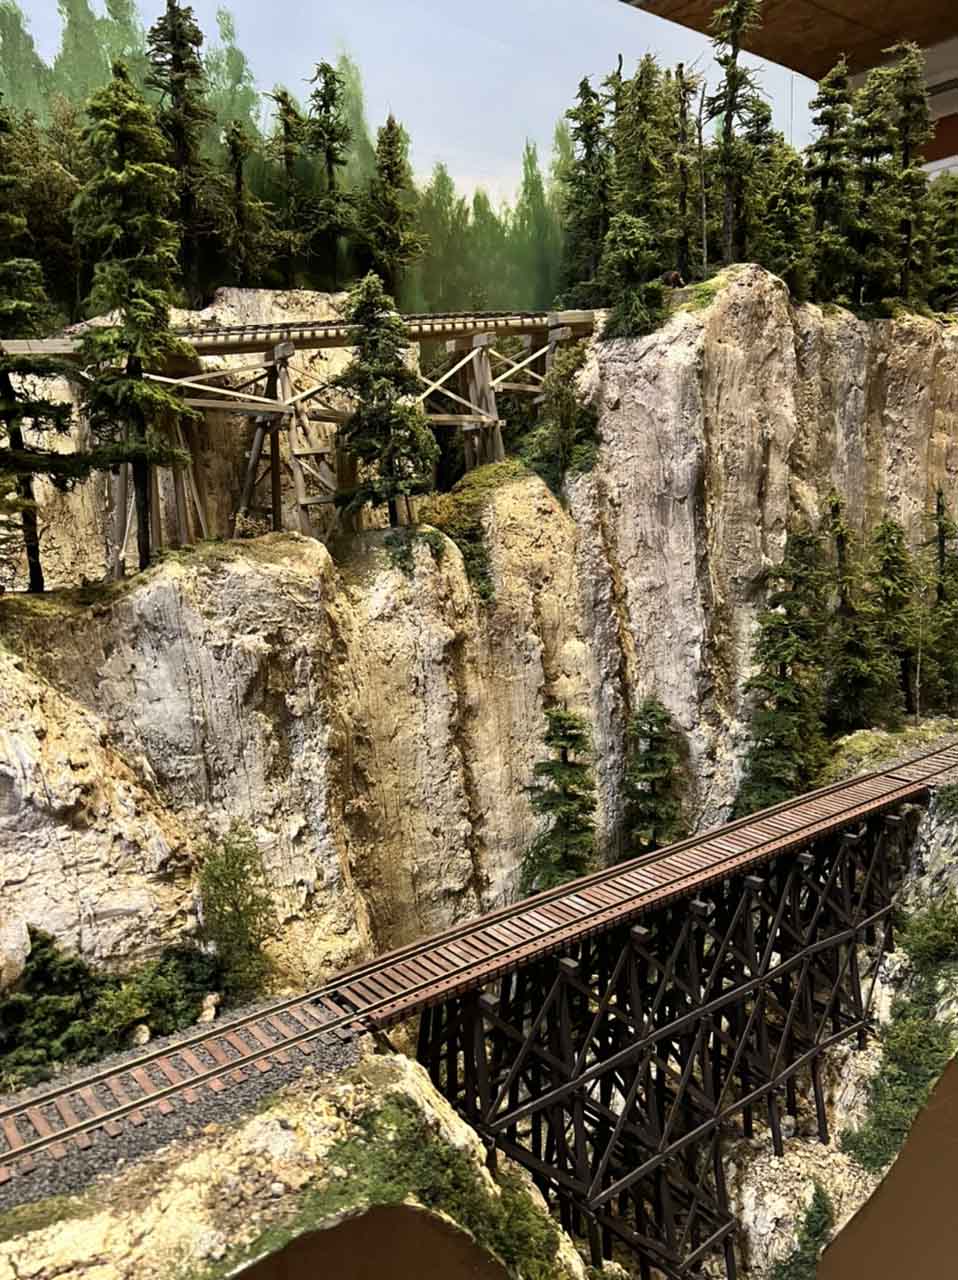
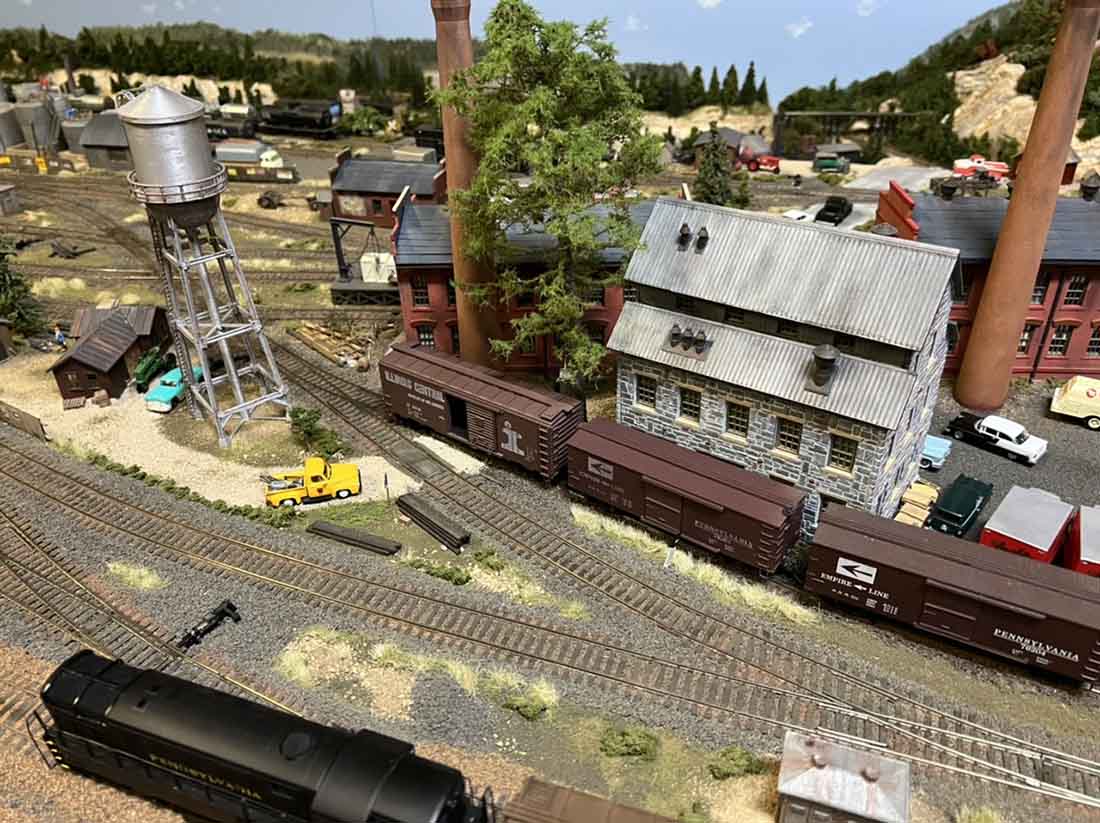
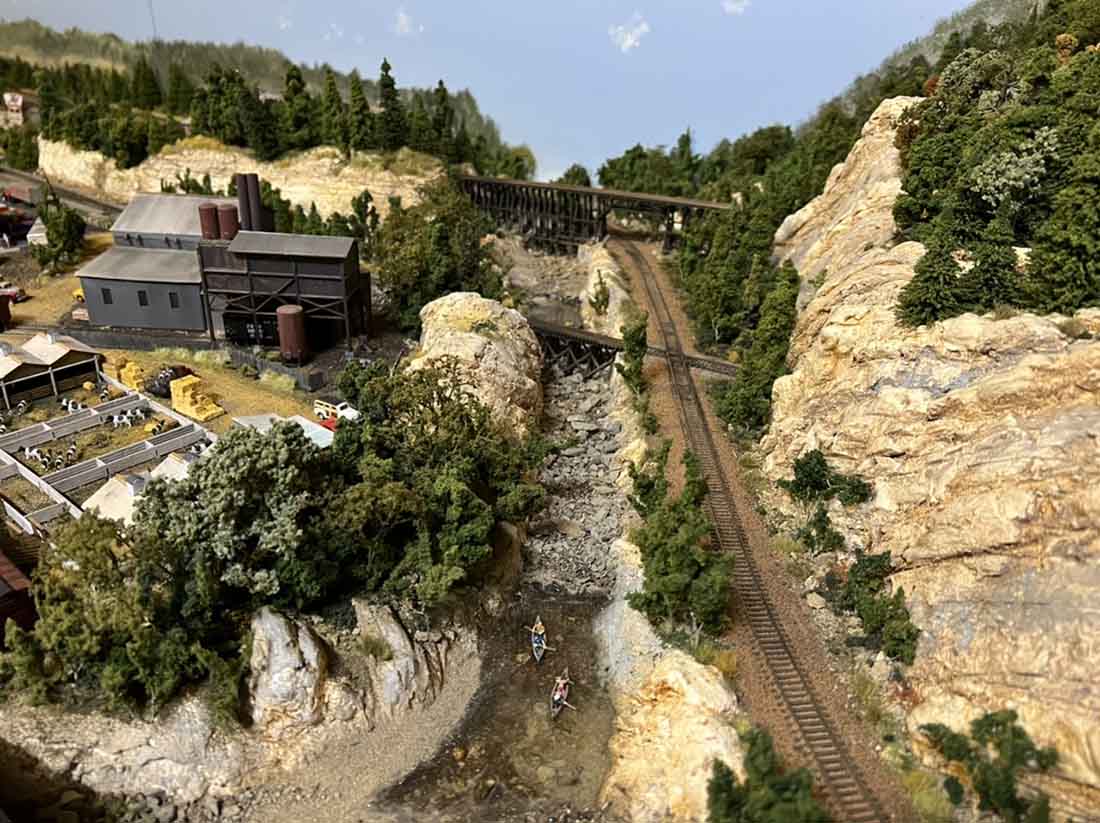
Here’s Peter’s start:

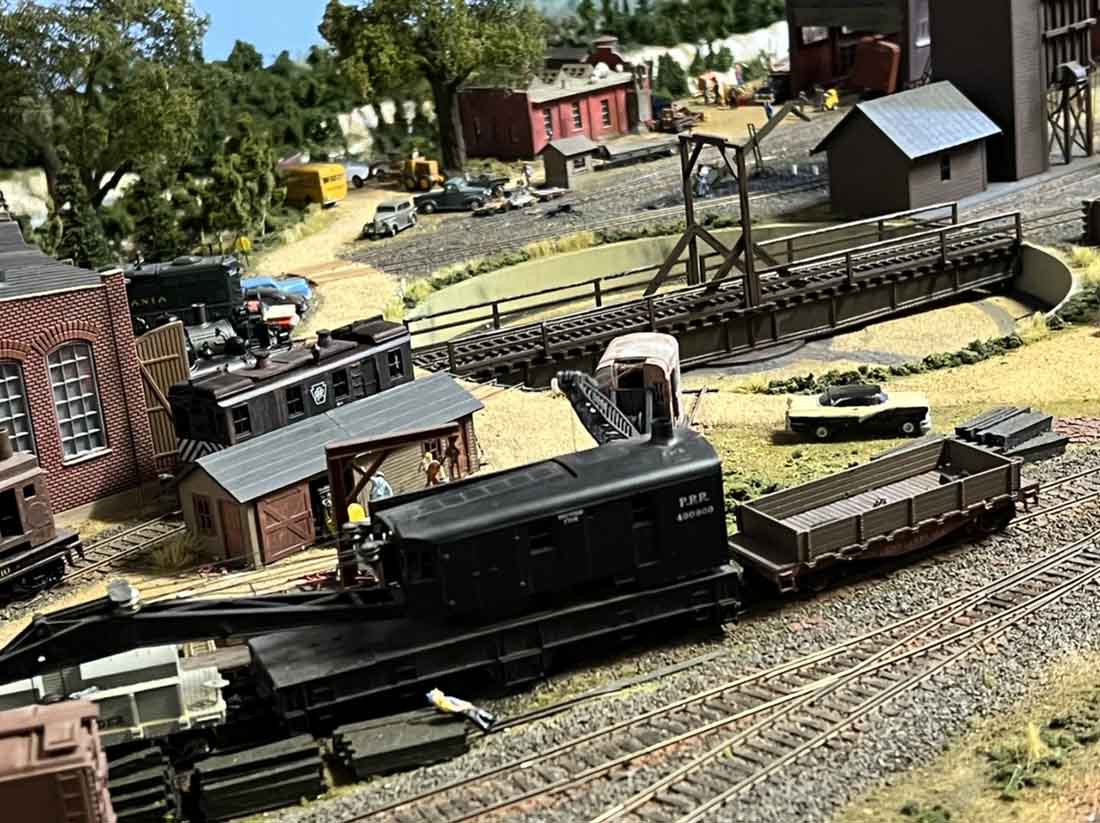
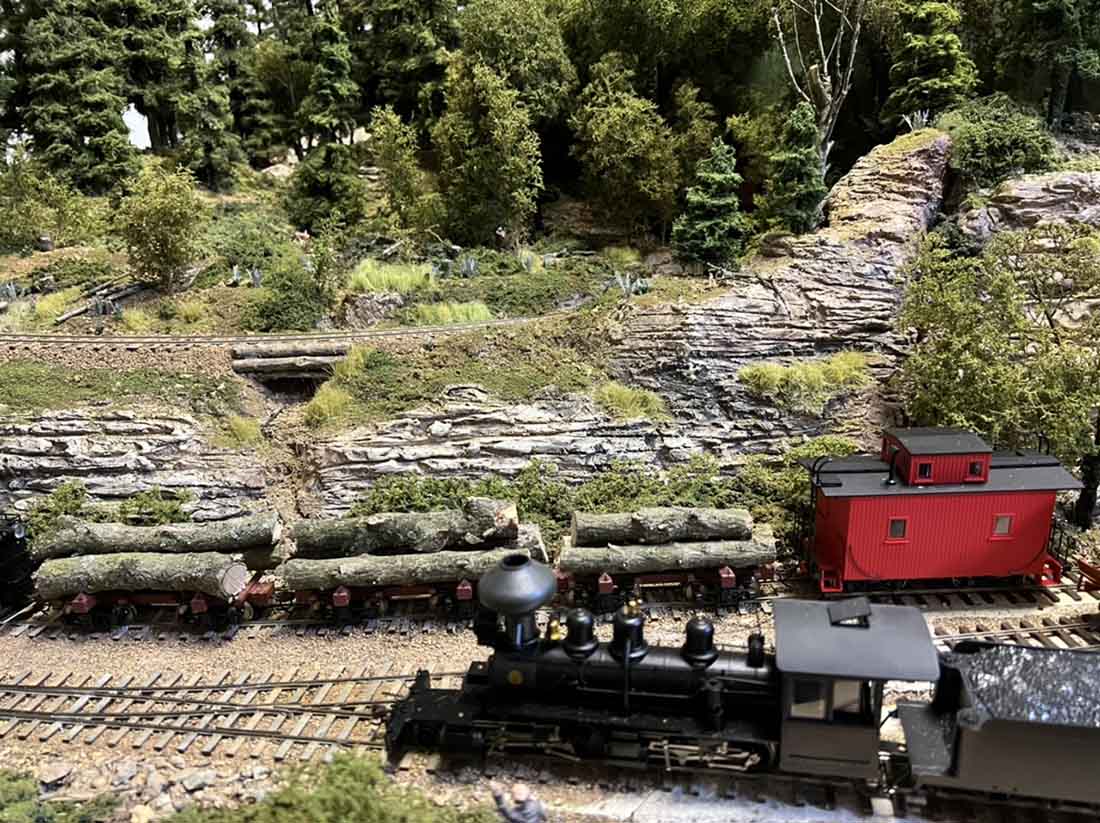
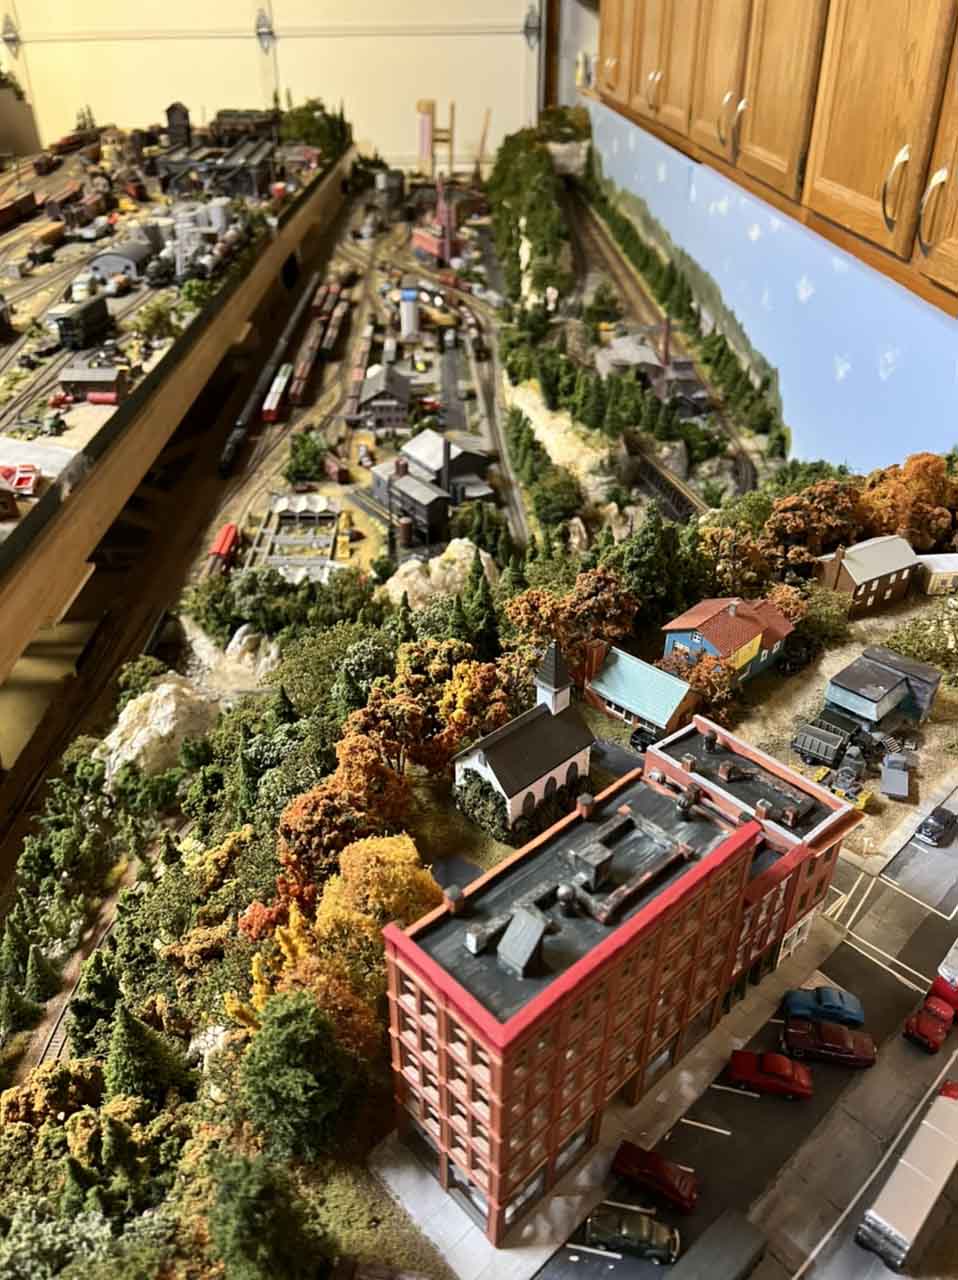
Look what he ended up with! On quite a small space too.
That’s all for today folks.
And if today is the day you press the fun button to see what you can do, the Beginner’s Guide is here.
Best
Al
PS More HO scale train layouts here if that’s your thing.
Need buildings for your layout? Have a look at the Silly Discount bundle.