John’s been back in touch with another instalment on his KATO Unitrack system:
“Good evening, Alistair
I check my mail every day to see what you’ve posted. Thanks so much.
I enjoyed sending you may first post to you a while back, and here’s another one.
As I’ve shared with my Bermuda Railway friends on Facebook, I’ve embarked on a new adventure, which I call “BDA3.0.’’
I’ve written you before about BDA1.0 (kit bashing rolling stock with Shapeways models and Tomytec chassis) and BDA 2.0 – the desktop layout called “2-1/2 acres.).
I’d been planning to add a fiddle yard to 2-1/2 acres while building some structures for a diorama of Front Street, Hamilton, but I changed my mind.
The fiddle yard will have to wait for a 32” x 72” desktop layout of Hamilton.
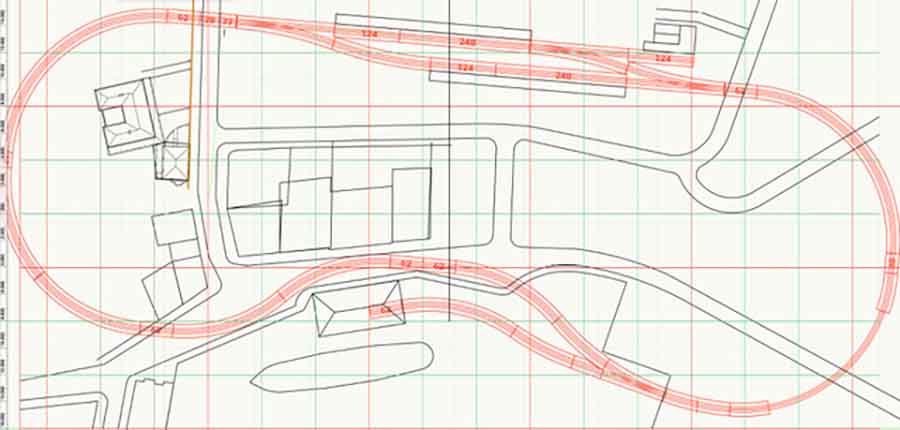
I decided to try out the KATO Unitrack system by tracing a .pdf graphic of their components using the CAD software from my architectural practice.
This is the original design, which as only 32” x 64” showing the track adapted to a compressed version of Front Street based on Bermuda’s GIS files that are publicly available.
I followed Kaustav Chatterjee’s advice about adapting a real setting to a model that he posted a while back.
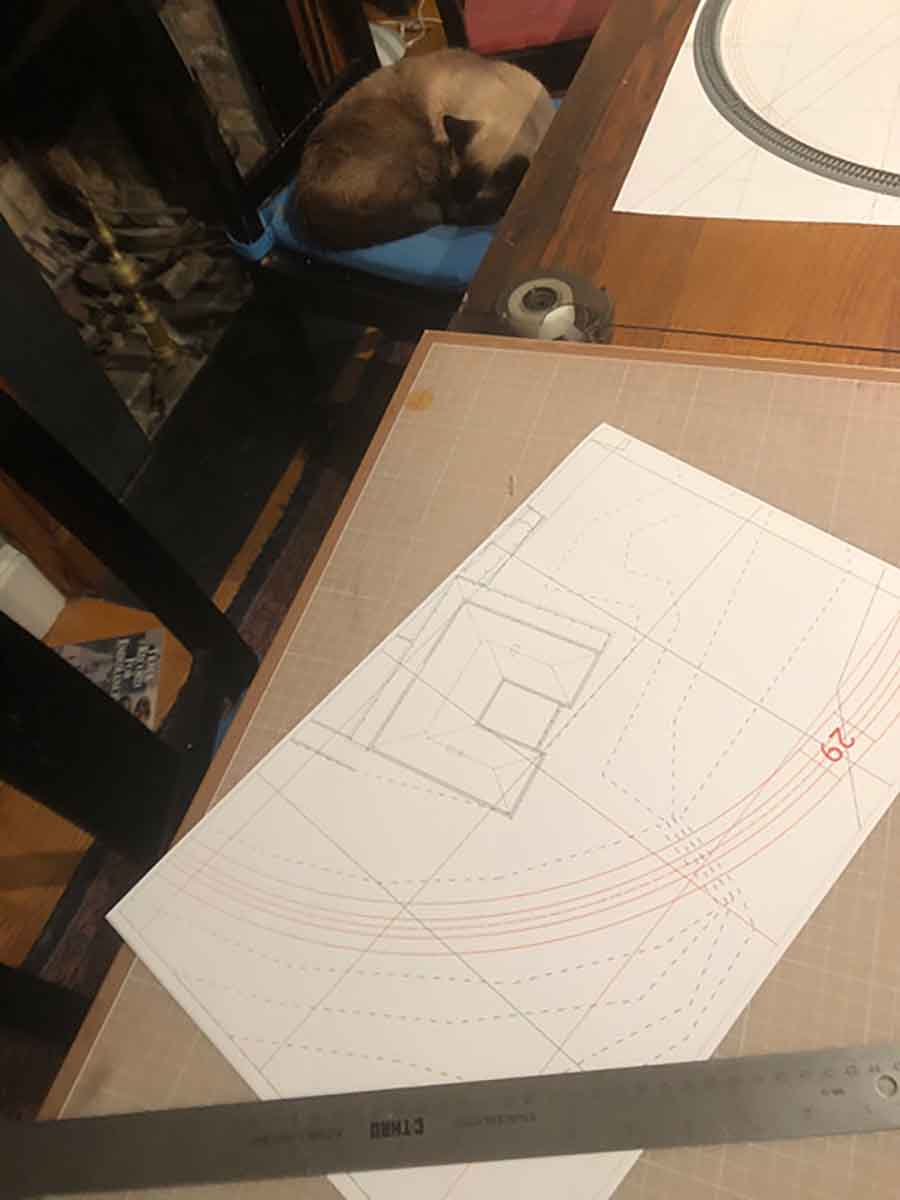
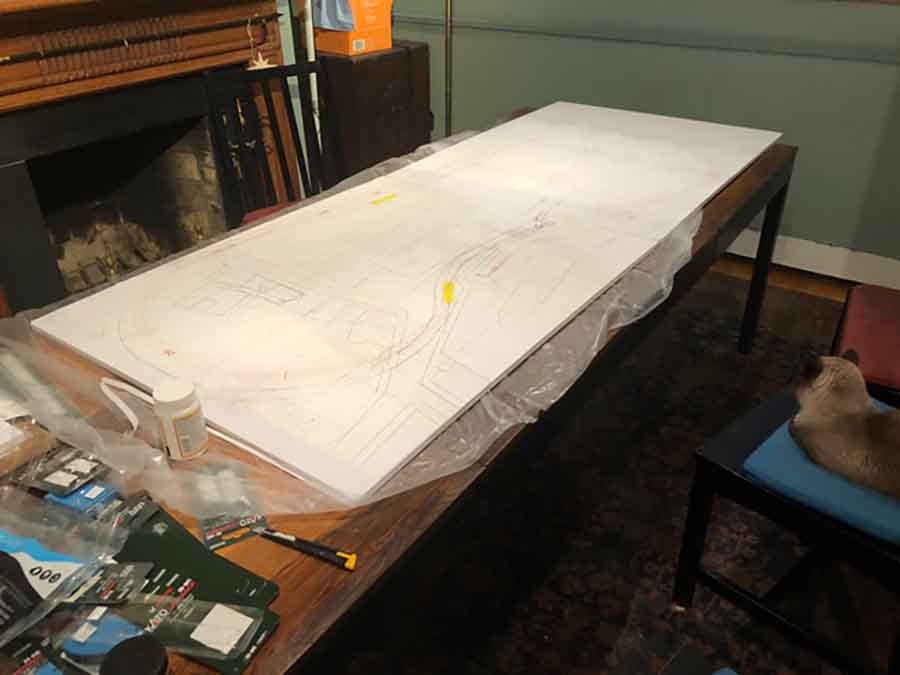
I printed the layout on 11 x 17 paper, and pieced it together.
Here’s my paper composite laid out on the dining room table.
I bought some Gatorboard for my base instead of going with plywood and styrofoam, because I intend this layout to be a desktop one, too. Gatorboard is totally flat, and very light.
It has a plastic coating instead of paper, so it stands up to water and glue.
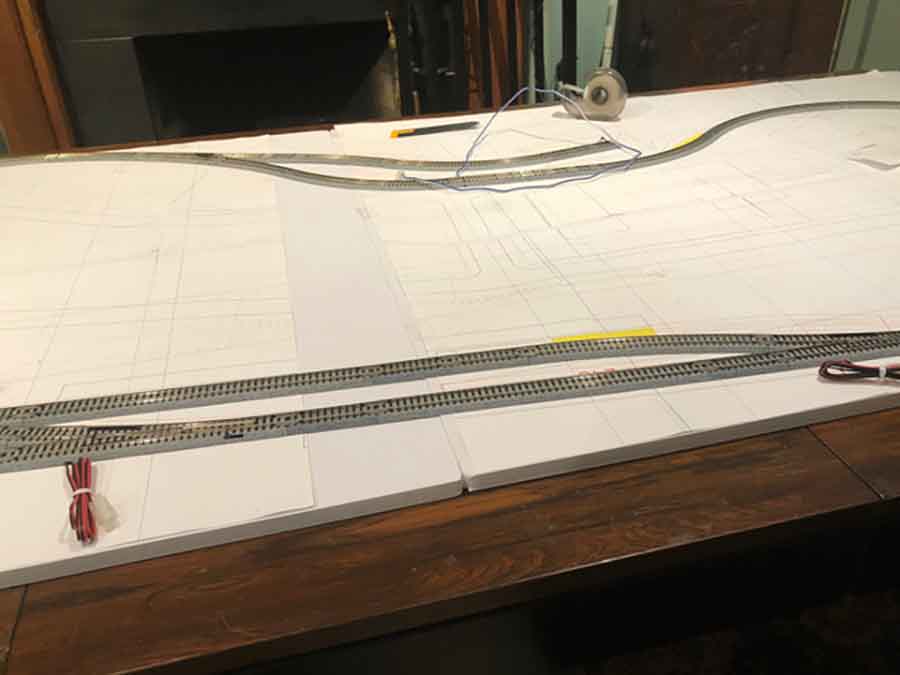
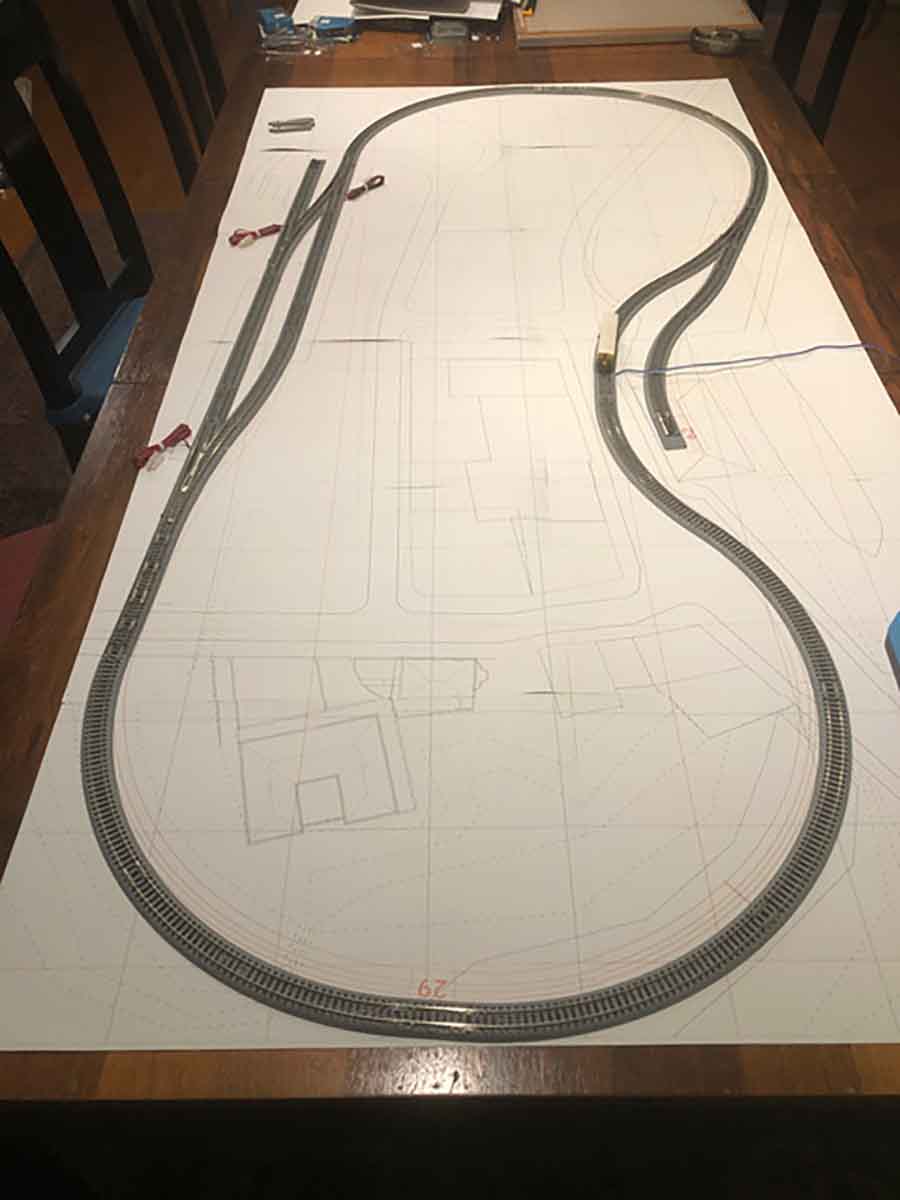
Here’s the end result just before I started nailing the Unitrack to the board.
I got some advice from a thread that Unitrack comes with holes on the underside of each piece that can be drilled out to allow for doing traditional track laying.
Gatorboard hold the nails well enough, but the advantage over plywood is the nails can be pulled up easily without damaging the track.
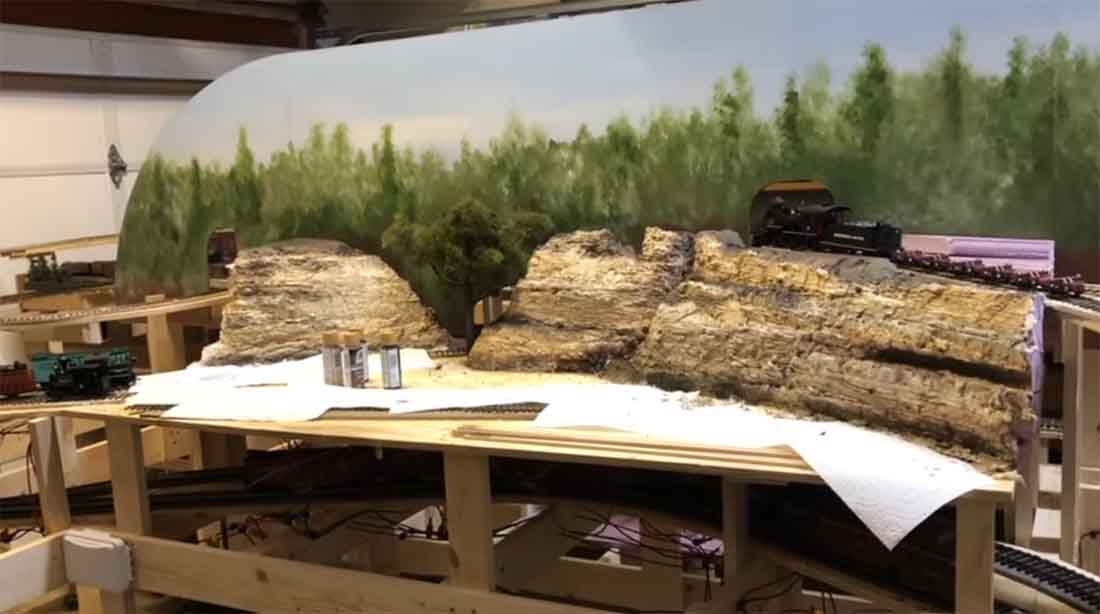
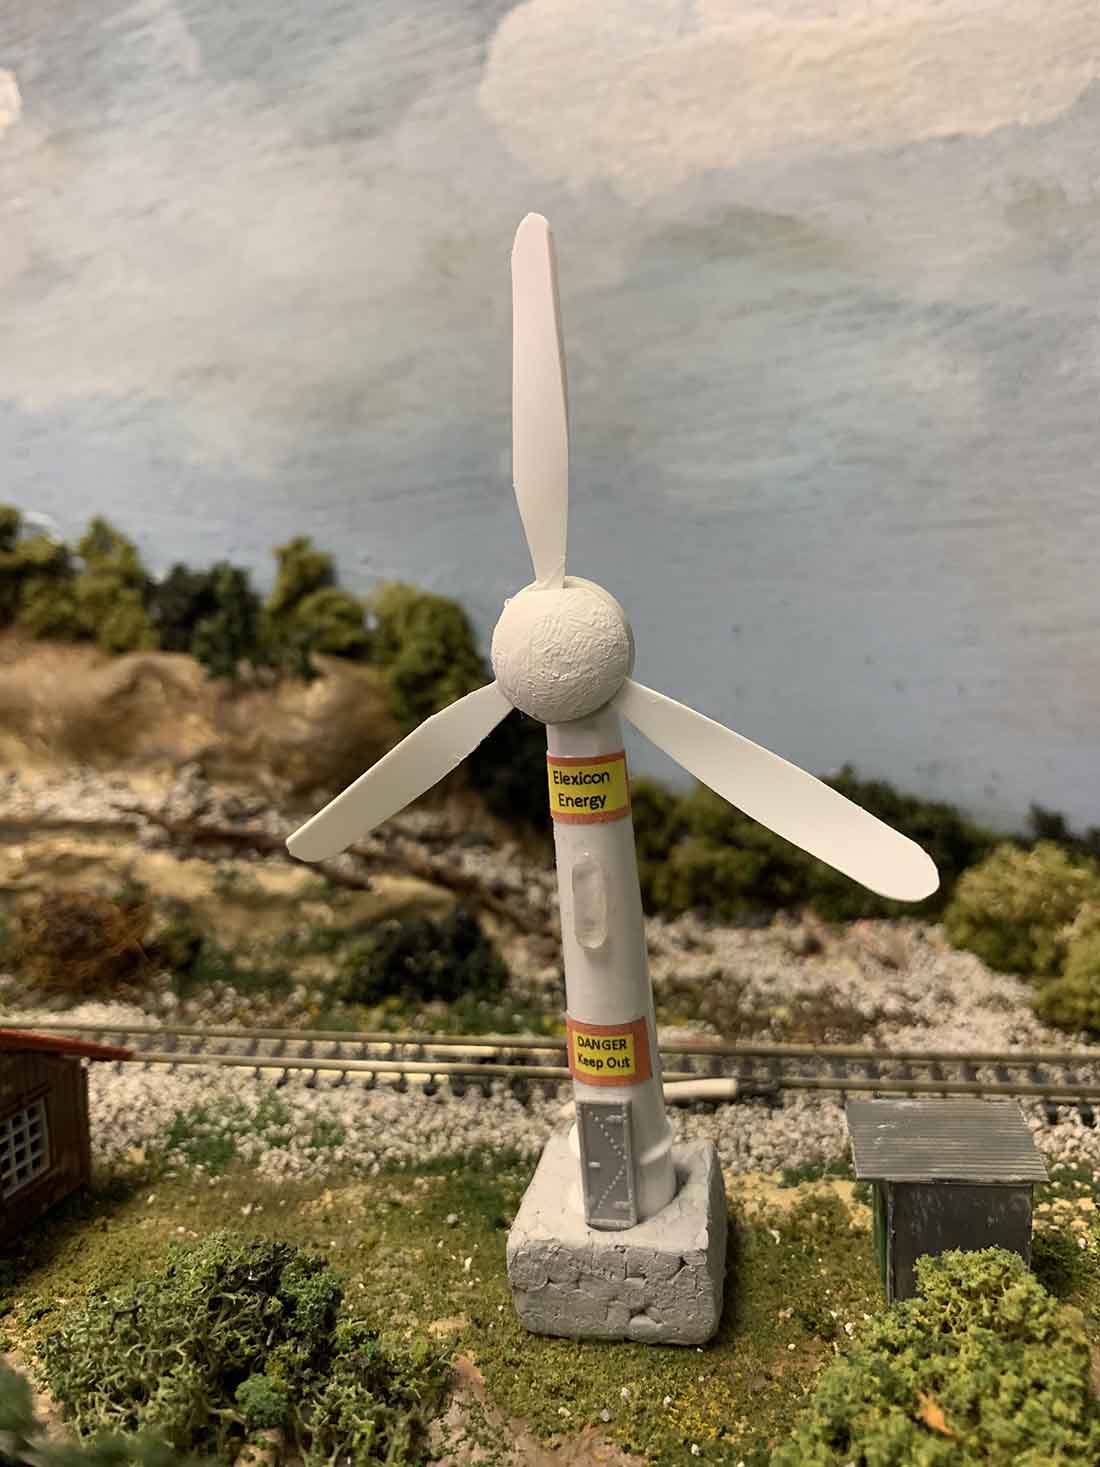
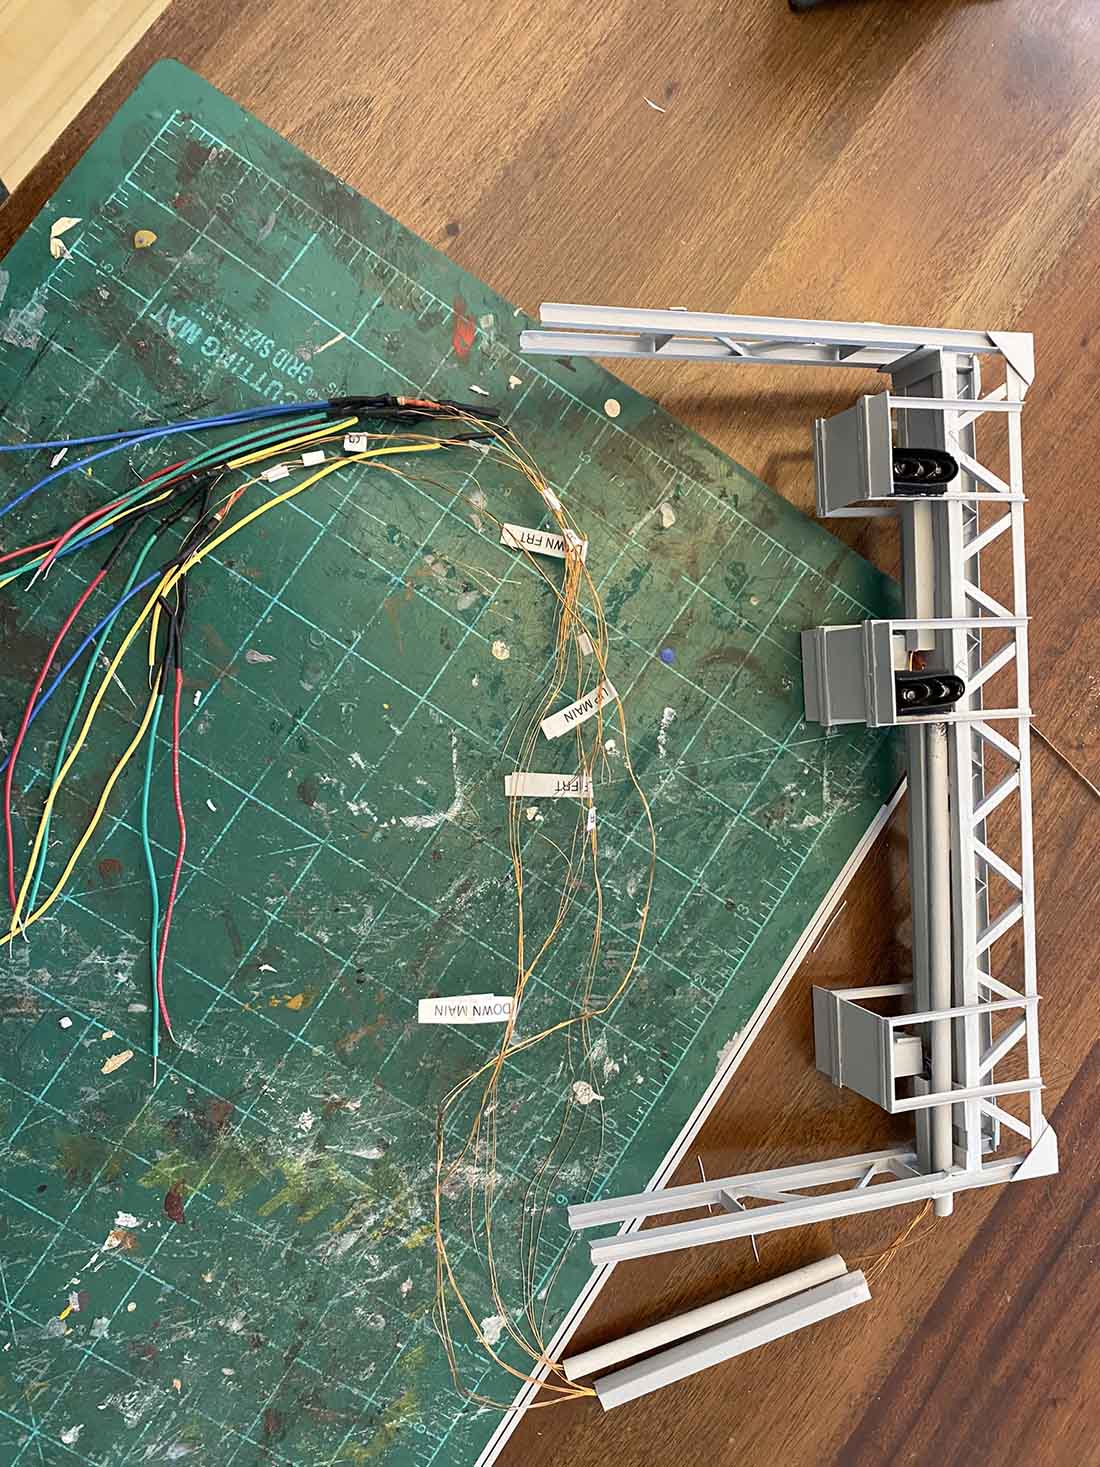
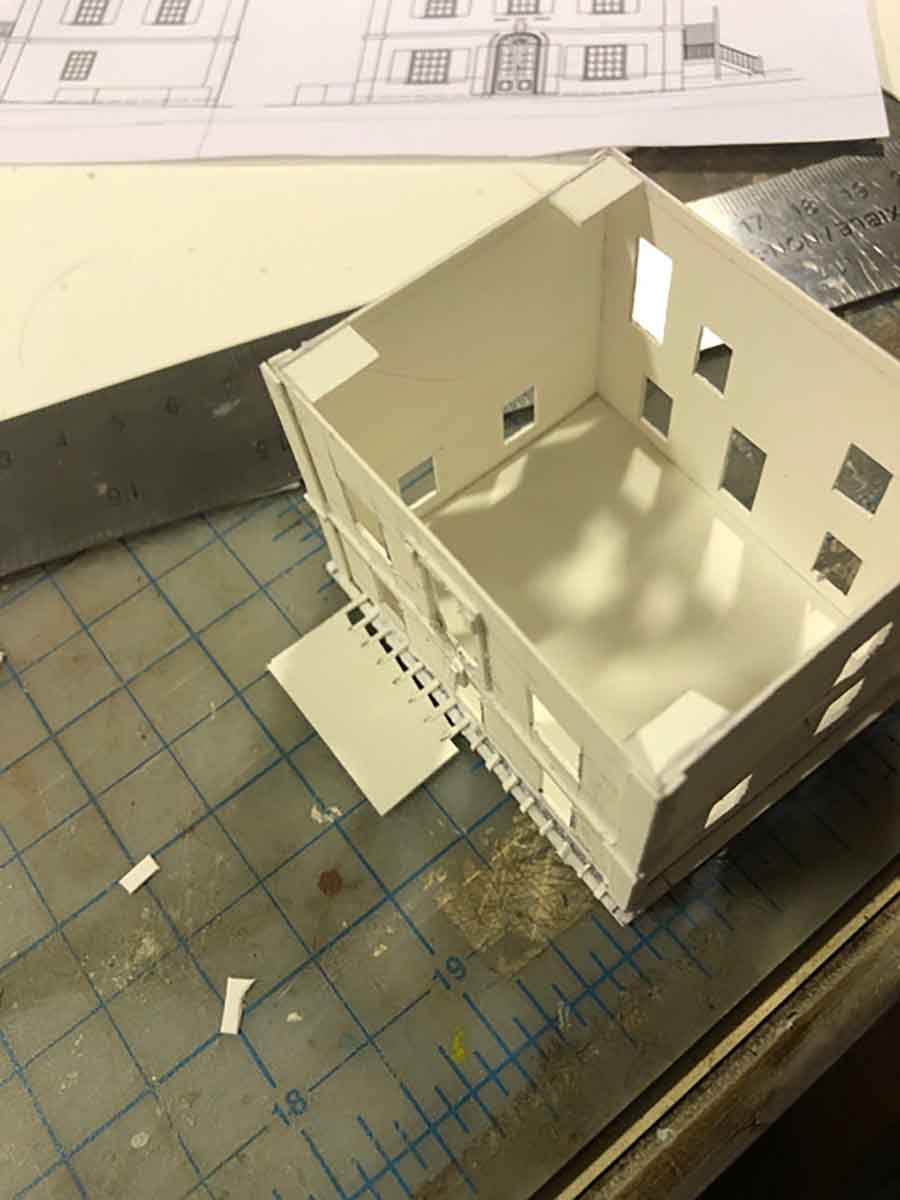
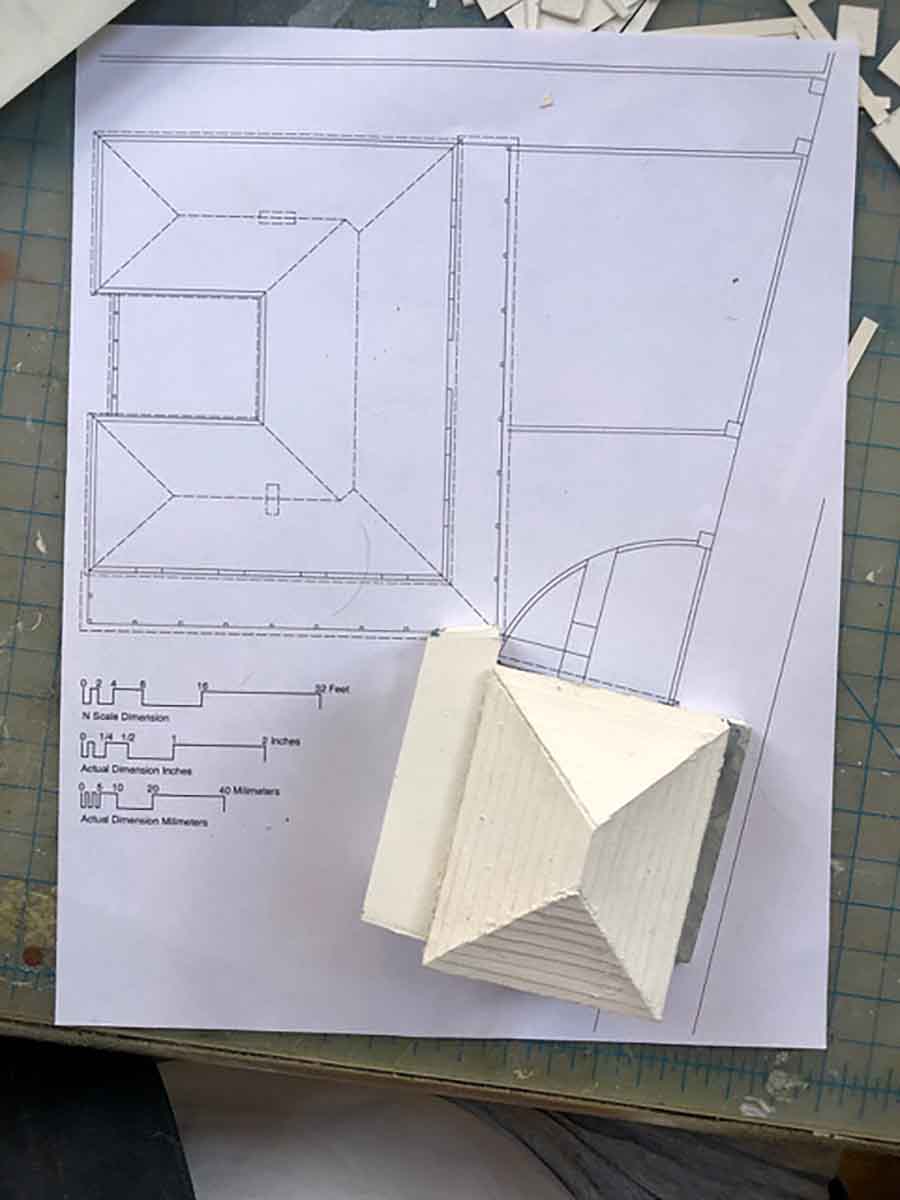
Next are photos of the first of a number of scratch build projects that I’m doing that will result in a diorama emulating Hamilton Bermuda.
It will show the railway line that ran down Front Street and then went into a tunnel under what is now the Queen Elizabeth Park.
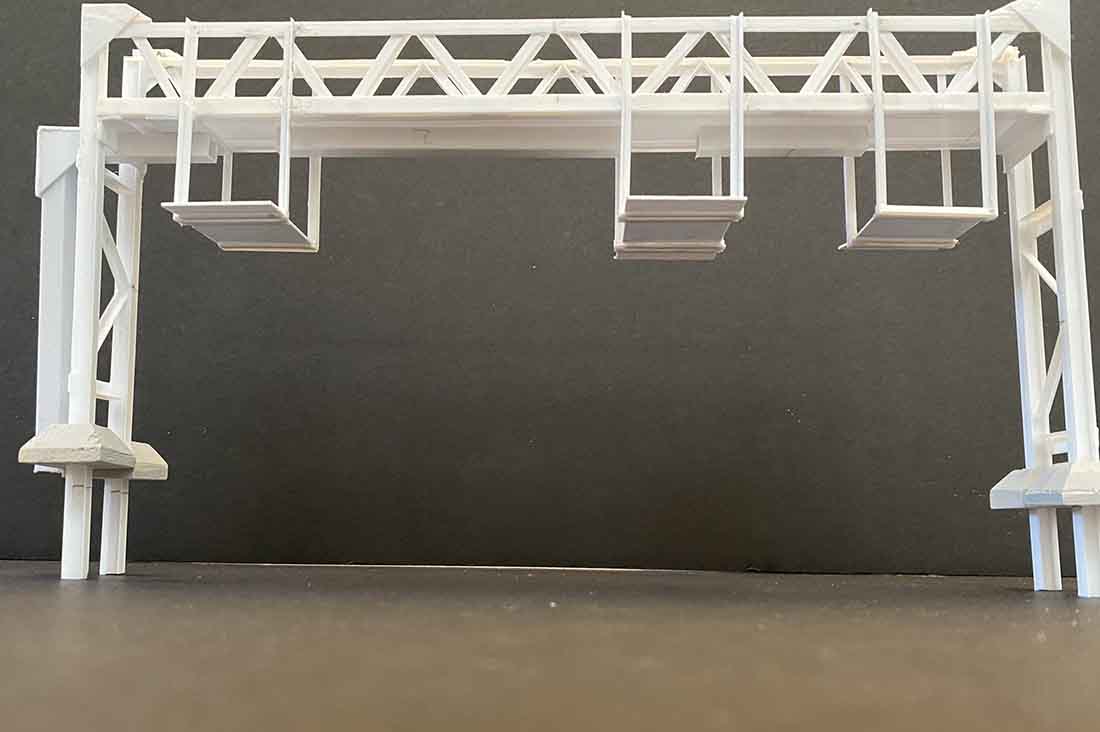
This is the fourth scratch built structure I’ve made based on this theme.
The others show up in the video and photos I sent a year ago.
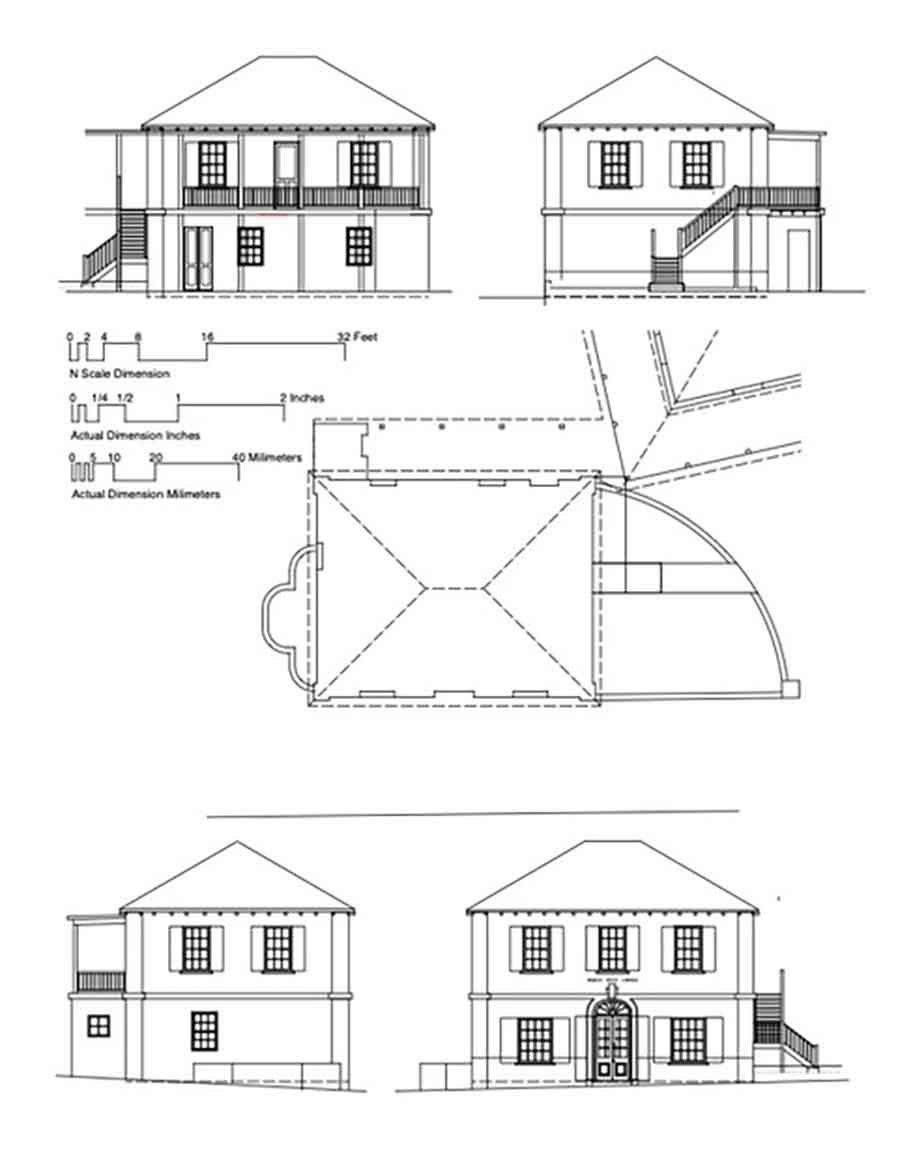
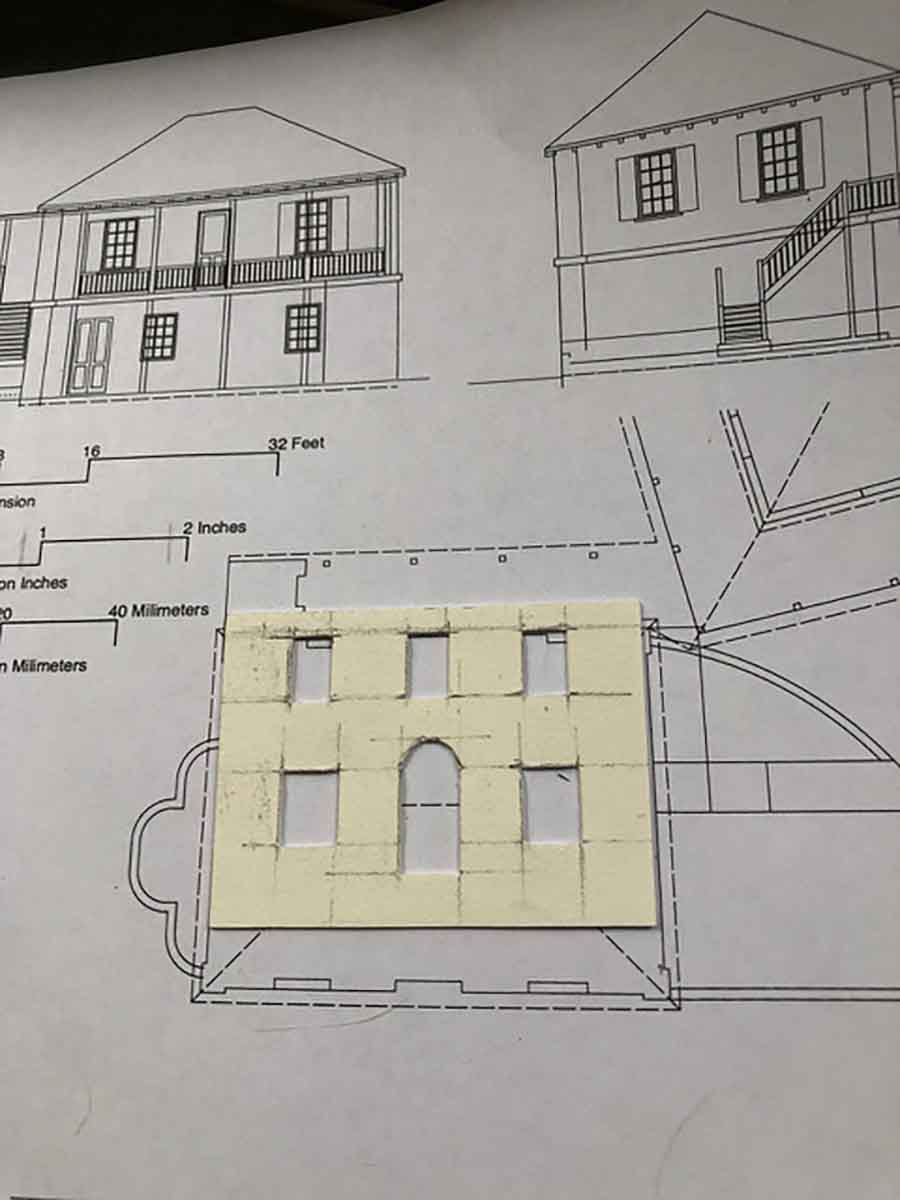
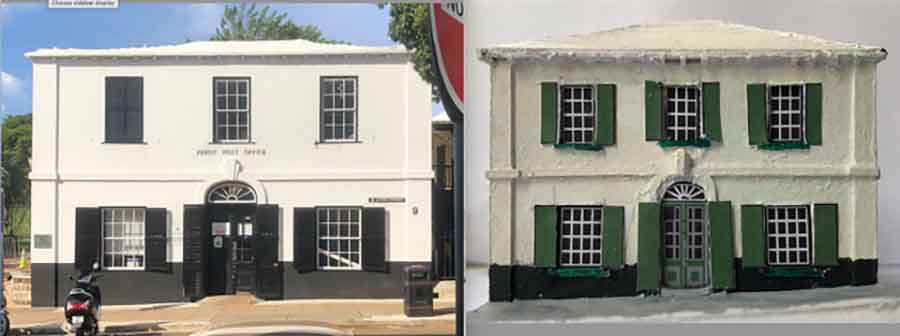
The structure I chose to start with is the Perot Post Office, which is famous because the Postmaster created Bermuda postage stamps – one of only two instances in the history of the Empire.
The drawing is the result of taking photos on site this last November and combining them with GIS parcel information available from the Bermudian government.
I’ll be doing more structures as time allows.
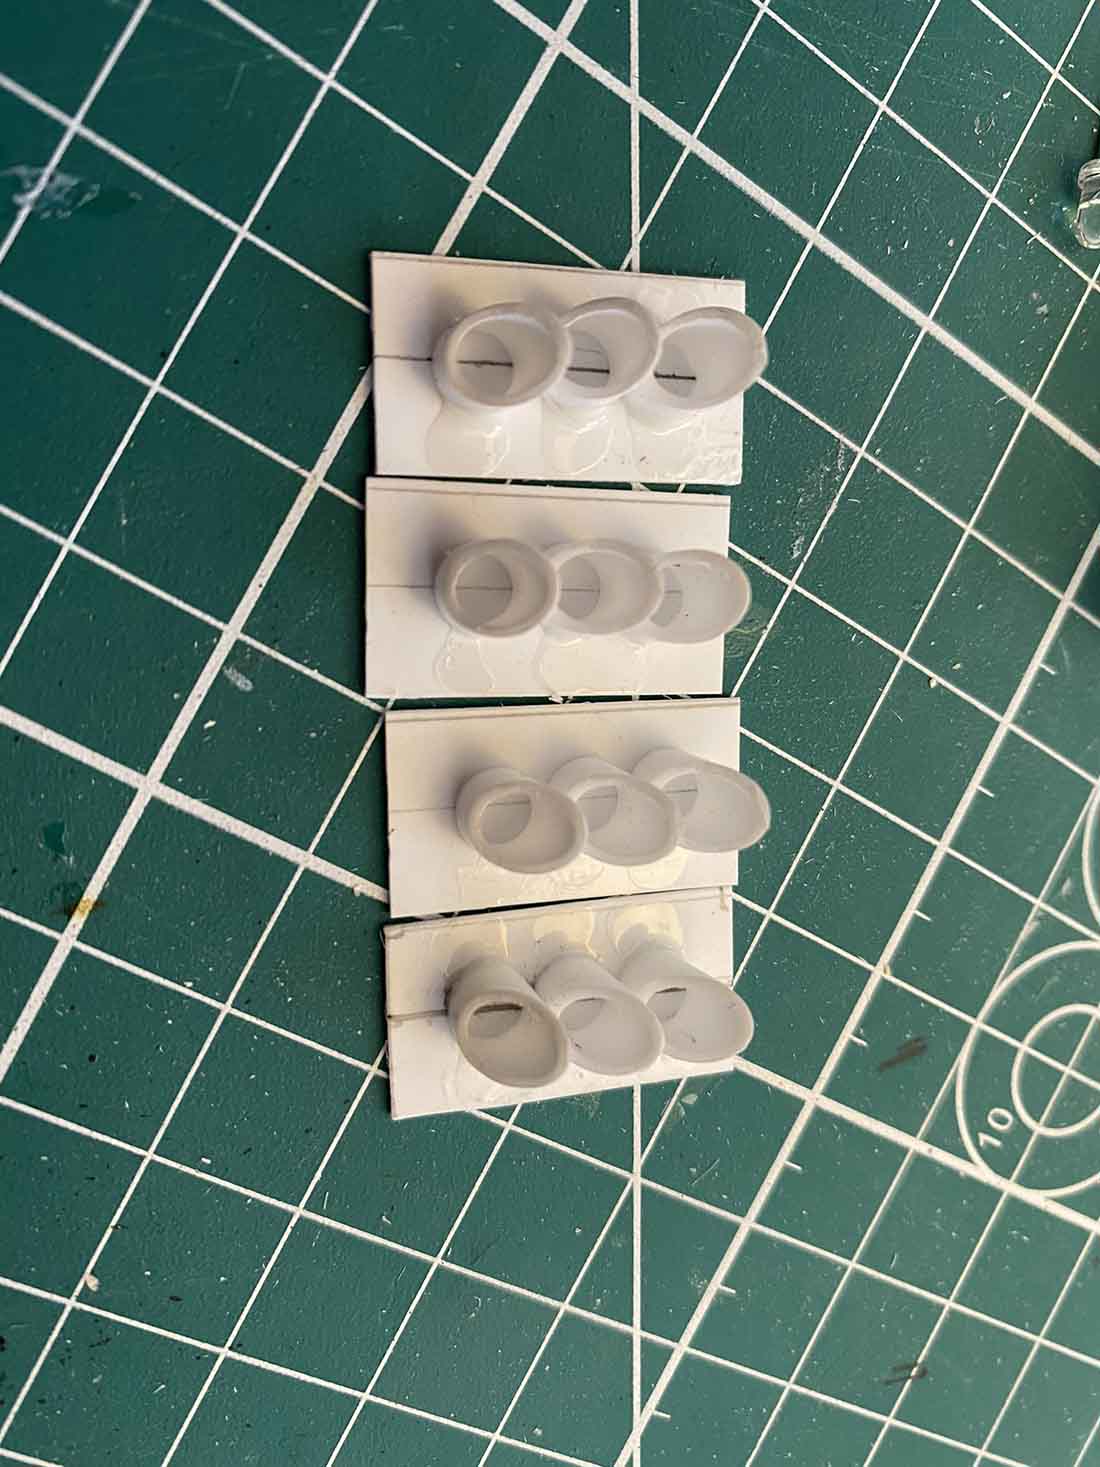
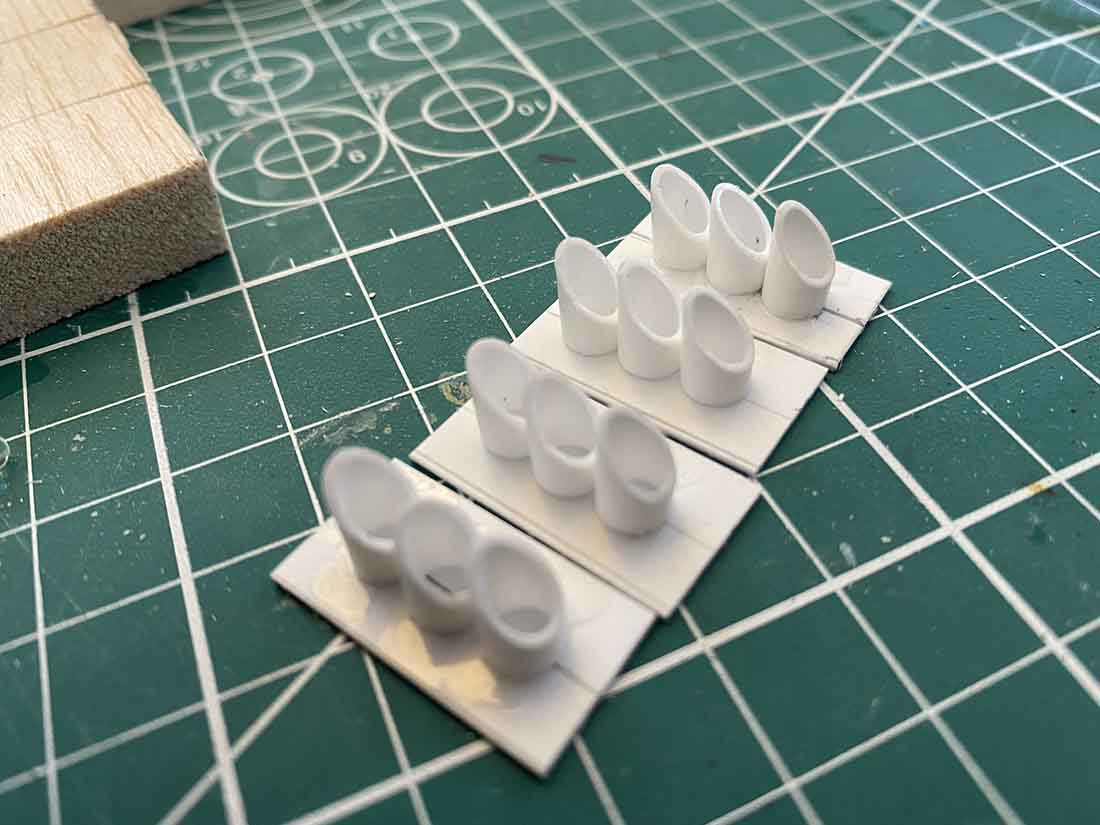
The model is done with Bristol board which has a thickness of about 1 mm, which translates into about 6 inches in N-scale.
The posts in the model are 6 x 6 in scale, then. The tolerance for the build is about 1/2 mm, which is the result of the board, the thickness of the pencil point, and the knife.
I learned a lot during this two week build. I need to get a knife with a finer point to cut cricles, and I need to control my glueing to minimize residue. I need to buy new gesso (the jar I used is more than a year old).
Same deal with some acrylic paint that I wasn’t able to scrape it off when I was too impatient for the art store to open. Net result is a facade that’s lumpy.
The windows, shutters, and doors are colored and ink jet printed. I did the railings by printing on translucent address labels.
I’ll be tackling the build for the stairs when I take on the next structure. I have an idea how I can do it with paper thinner than the Bristol that’s cut and folded.


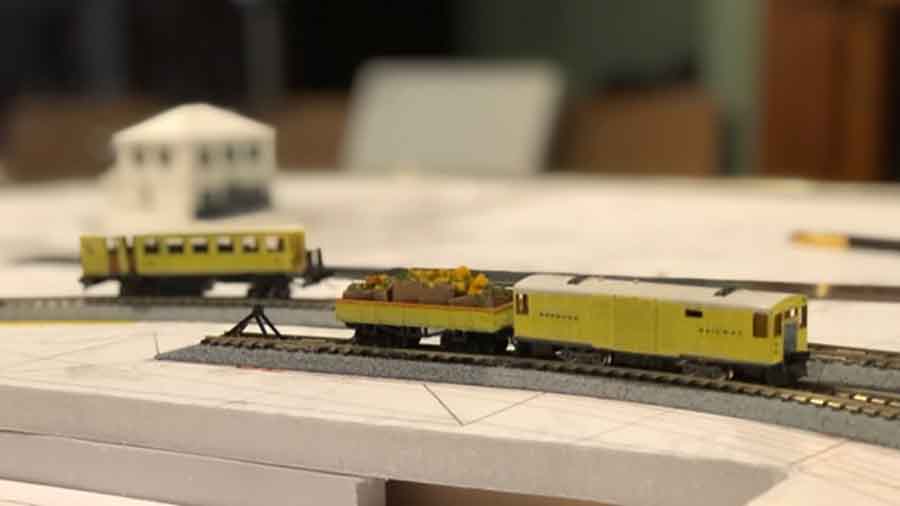
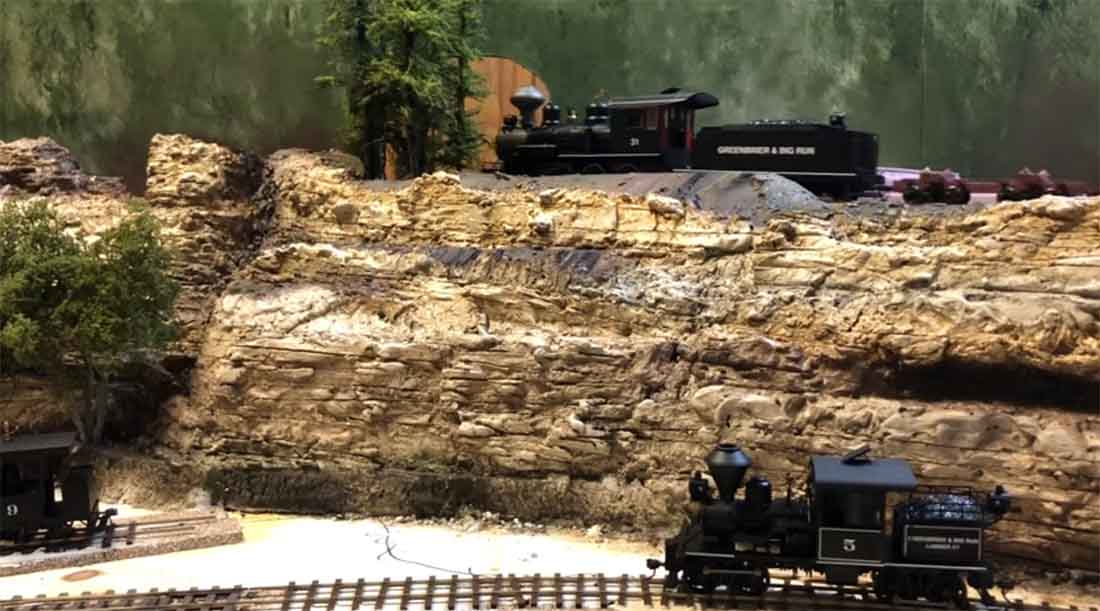
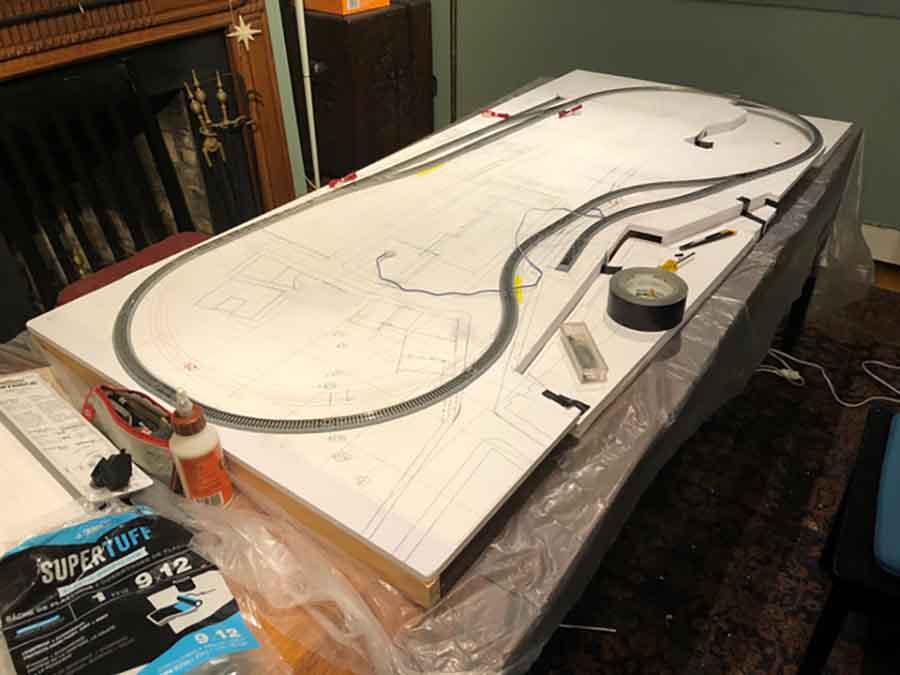
Here are the BDA1.0 builds on the BDA3.0 layout. They run great.
Next step will be to create the roads my using corrugated cardboard.
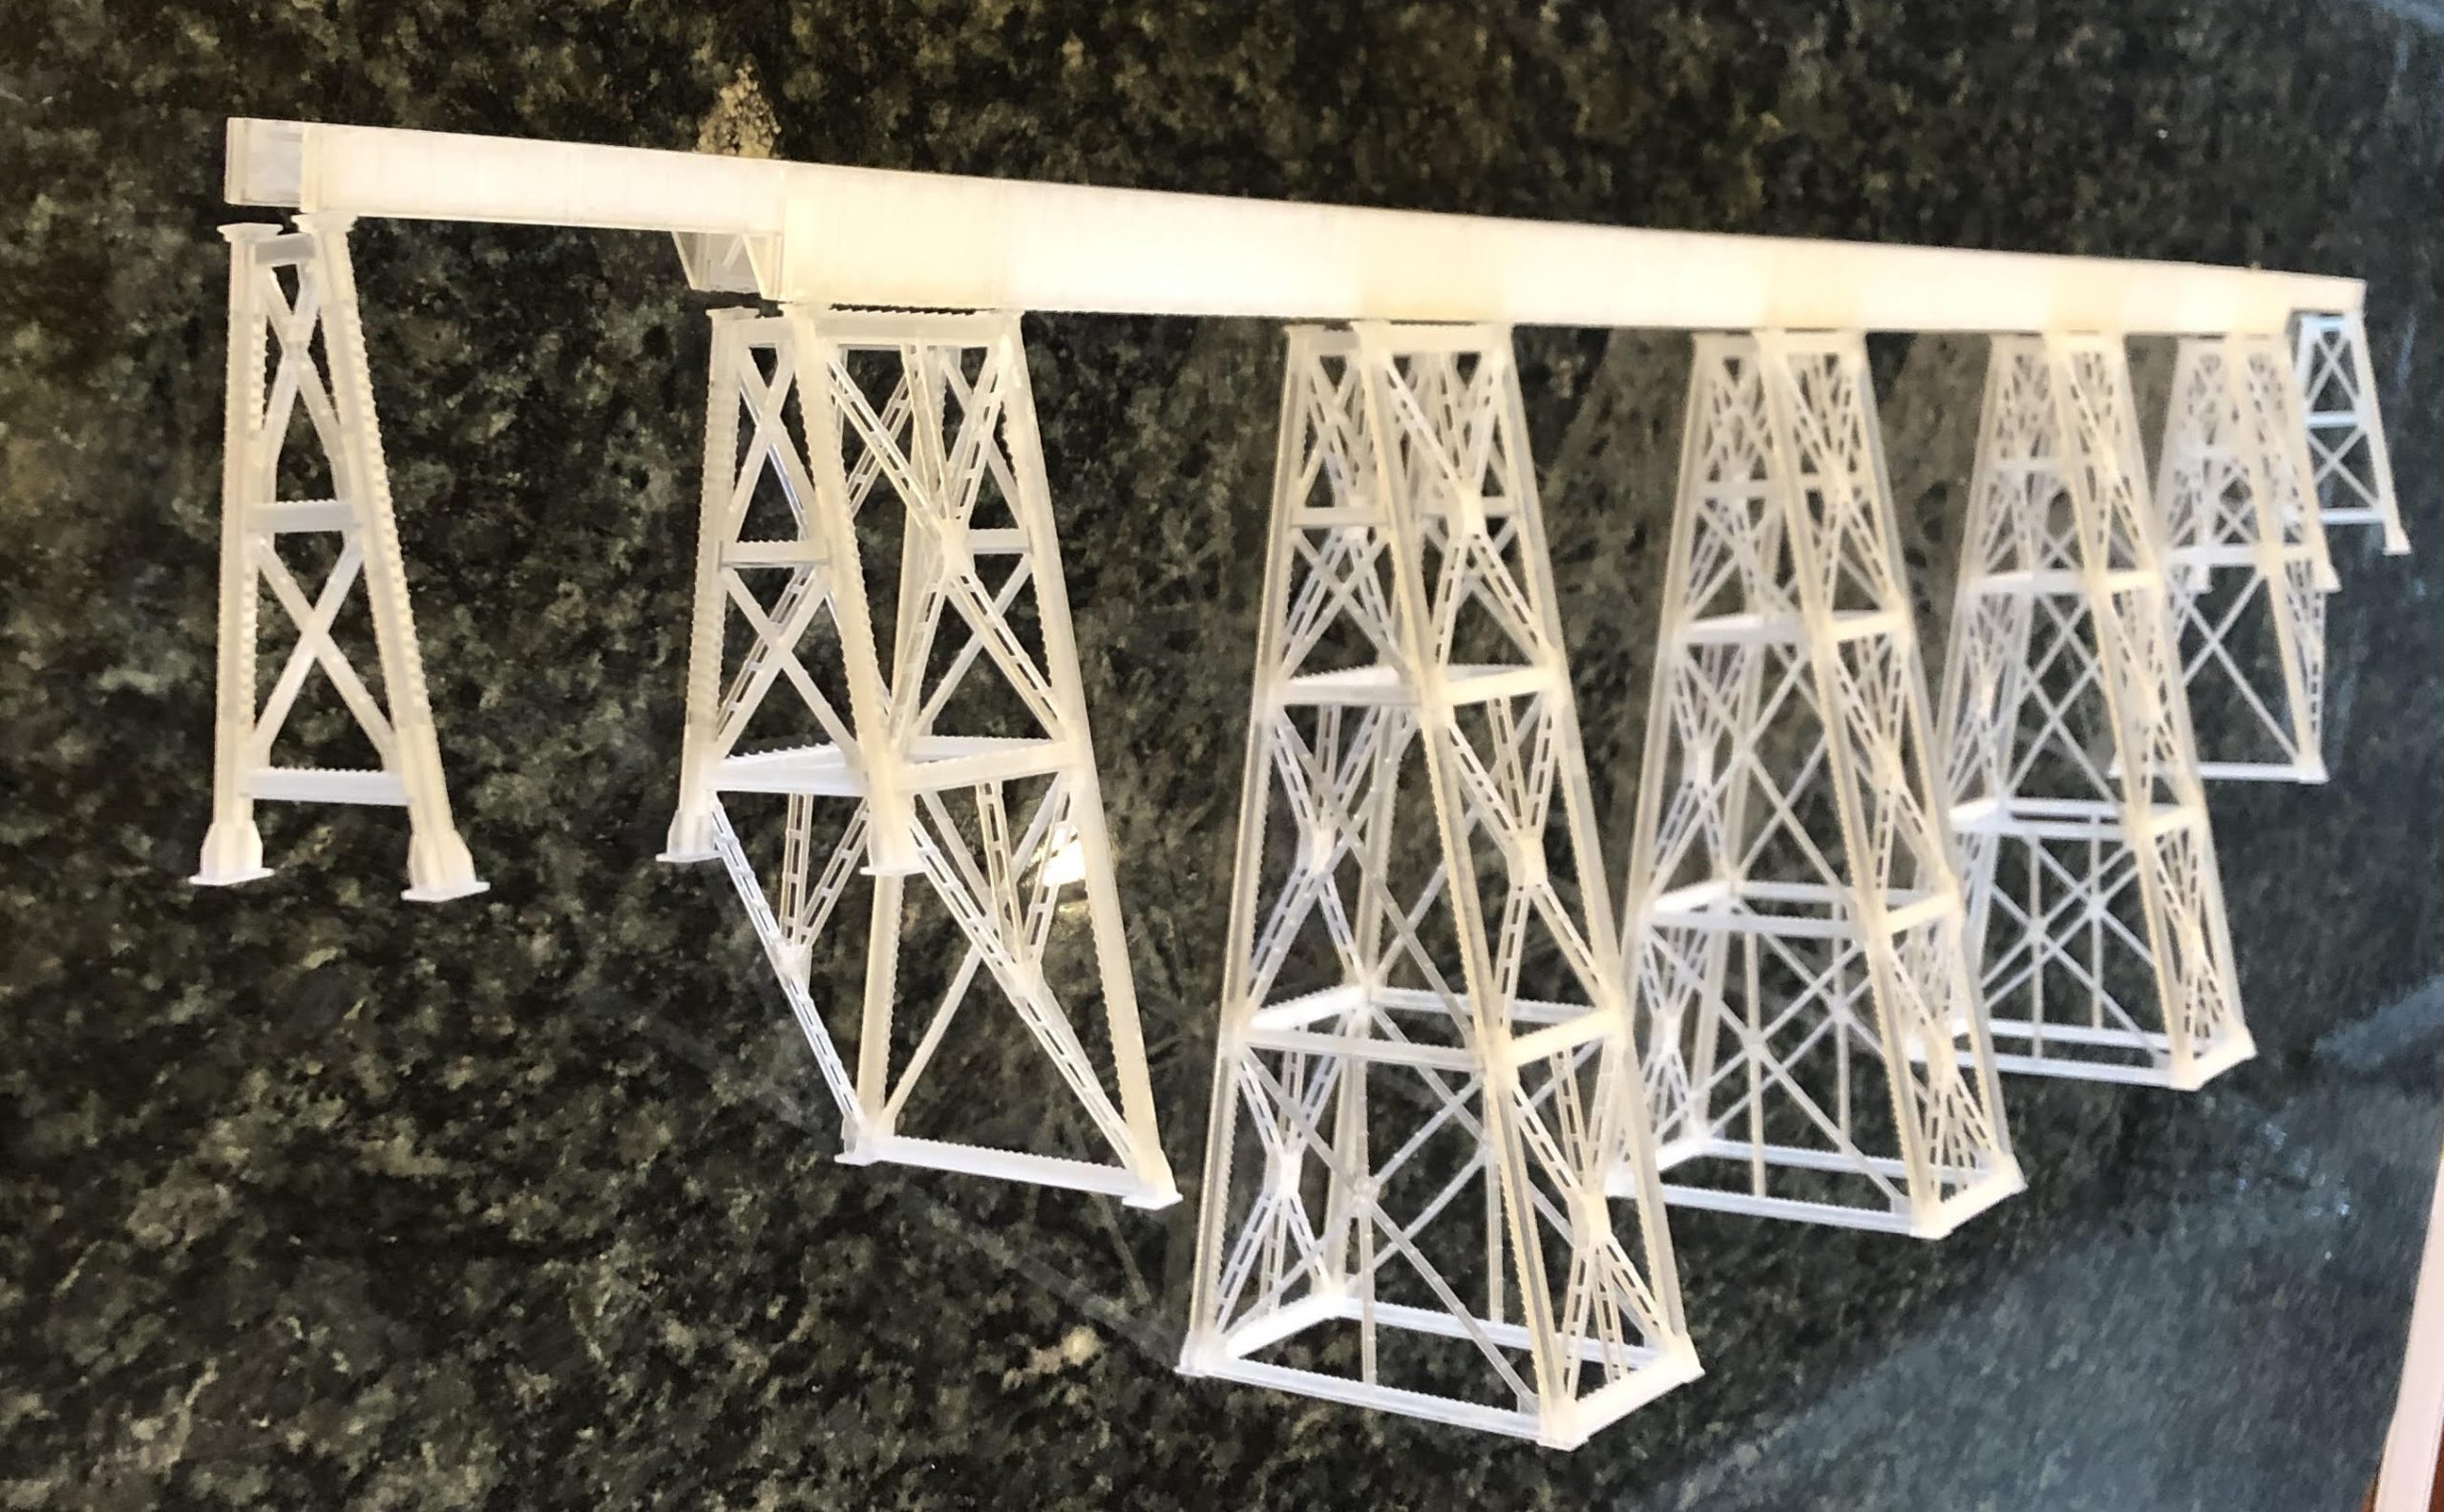
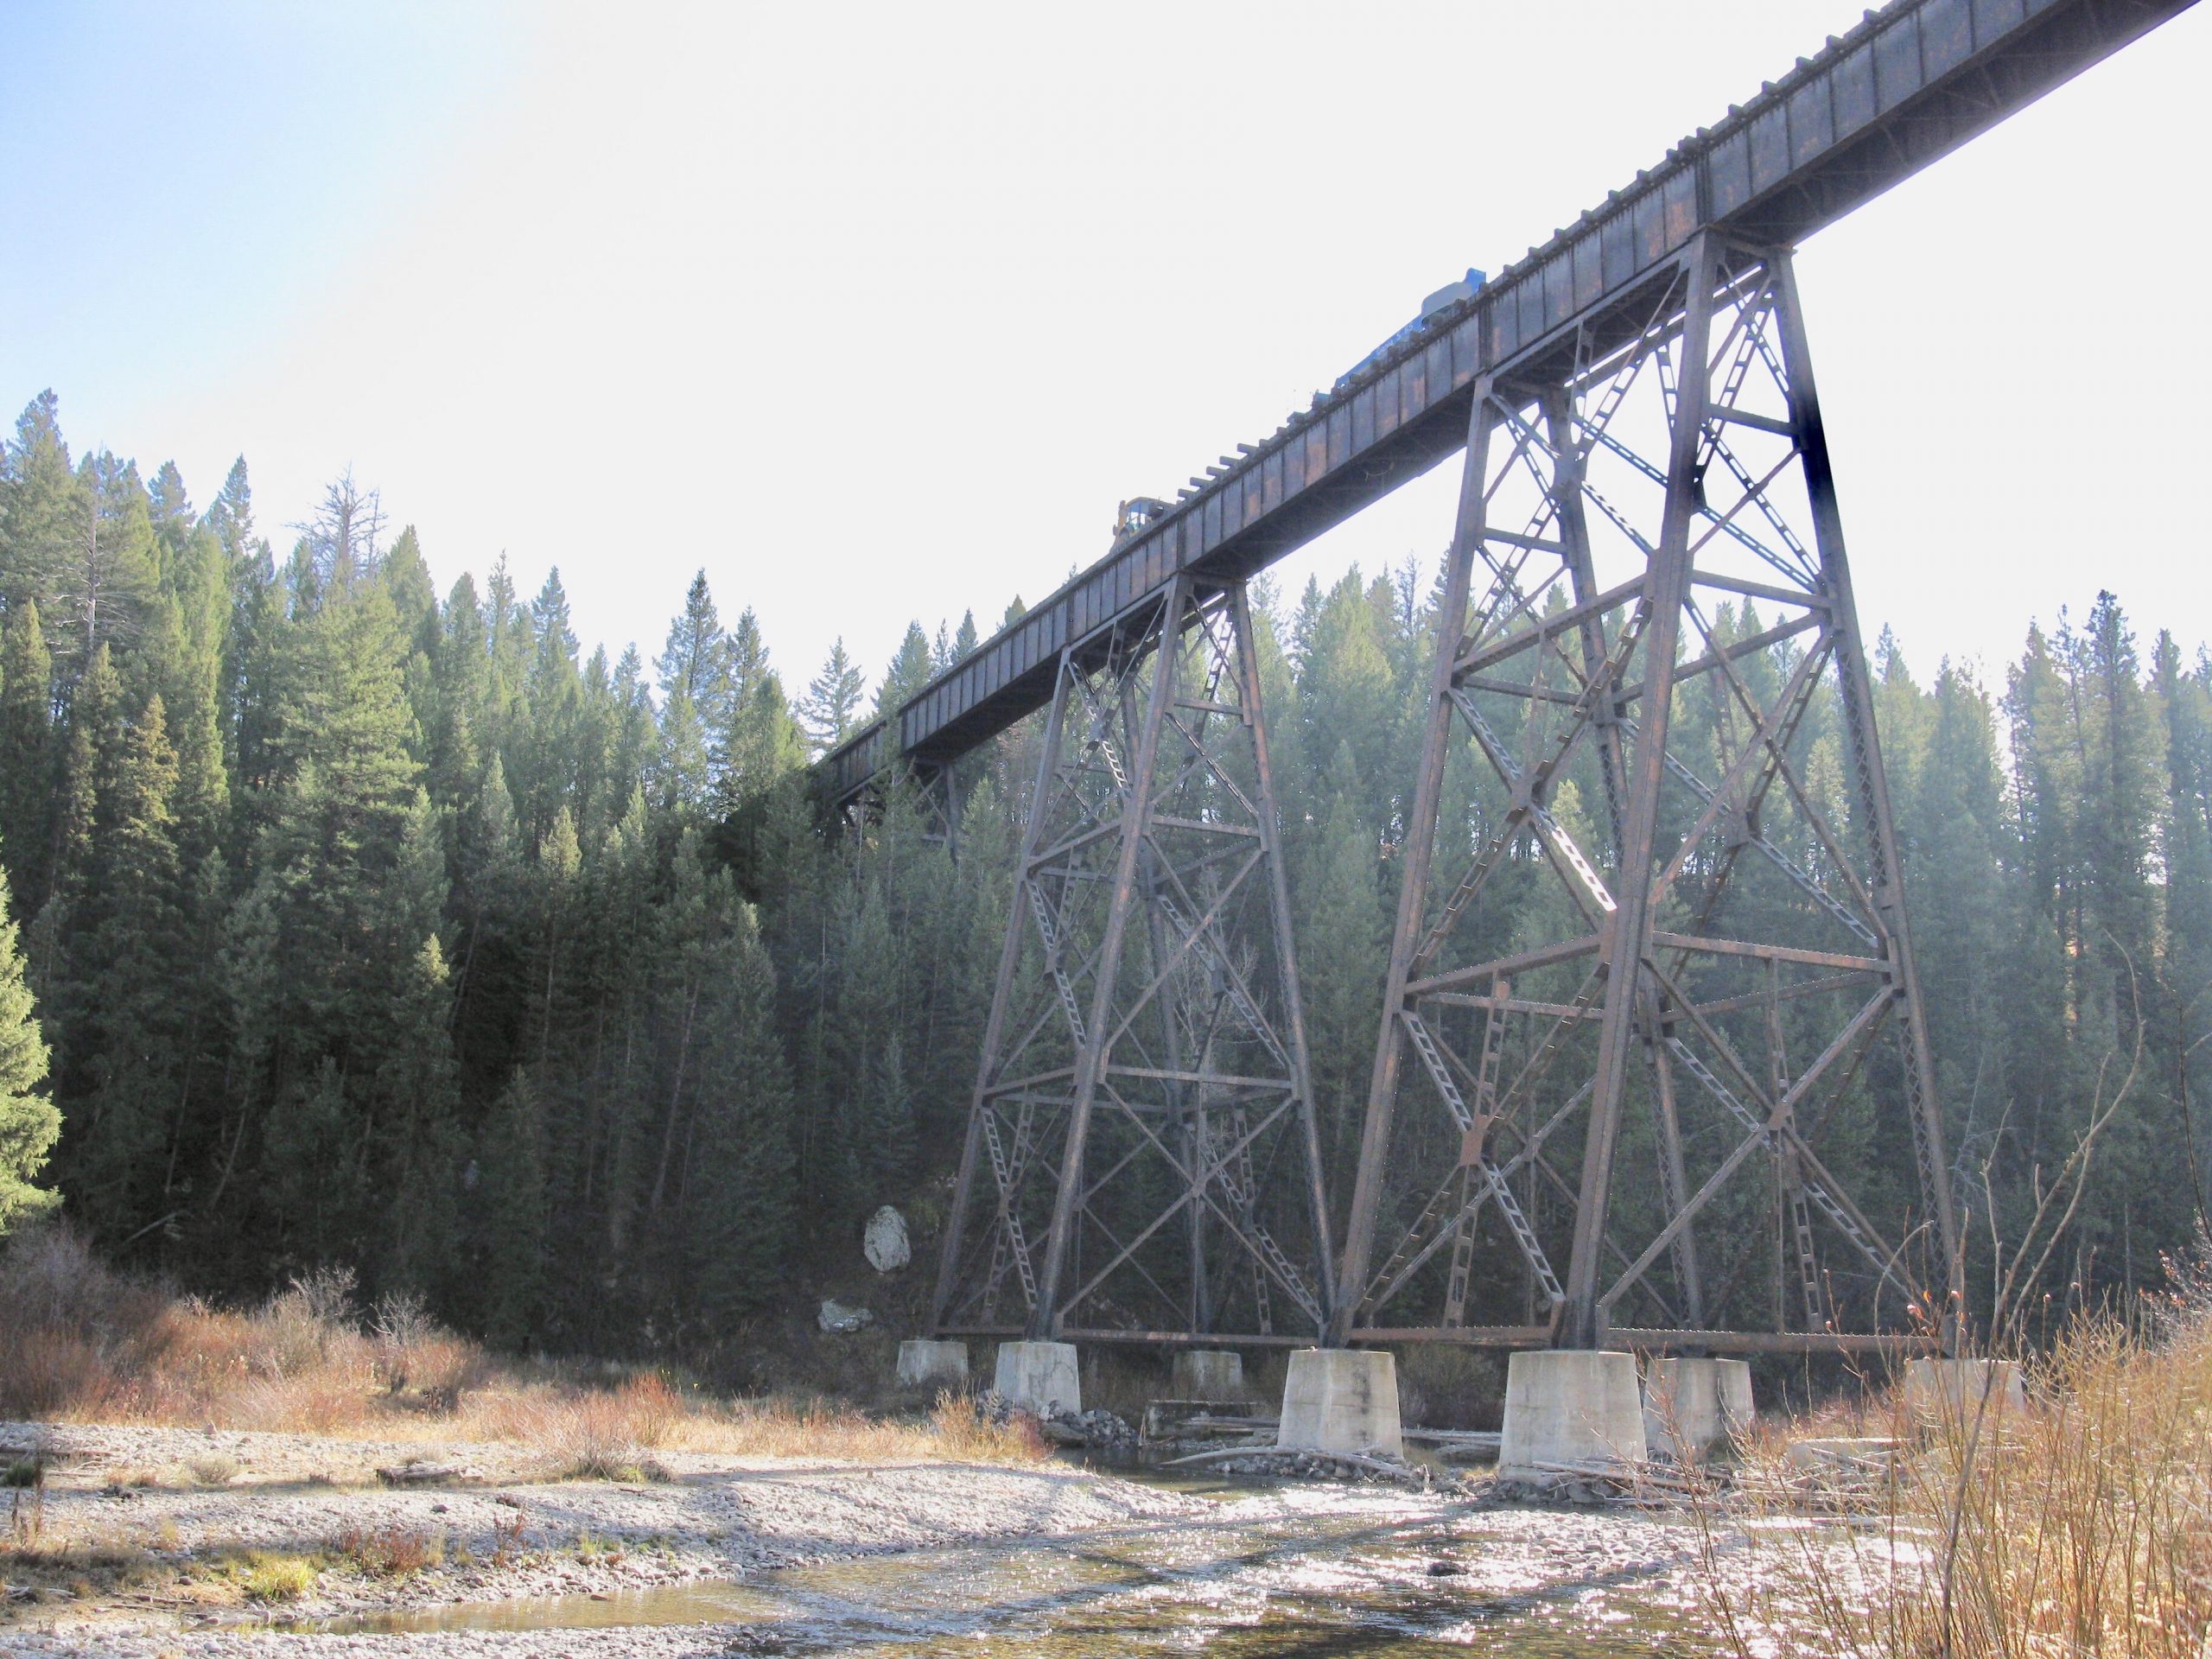
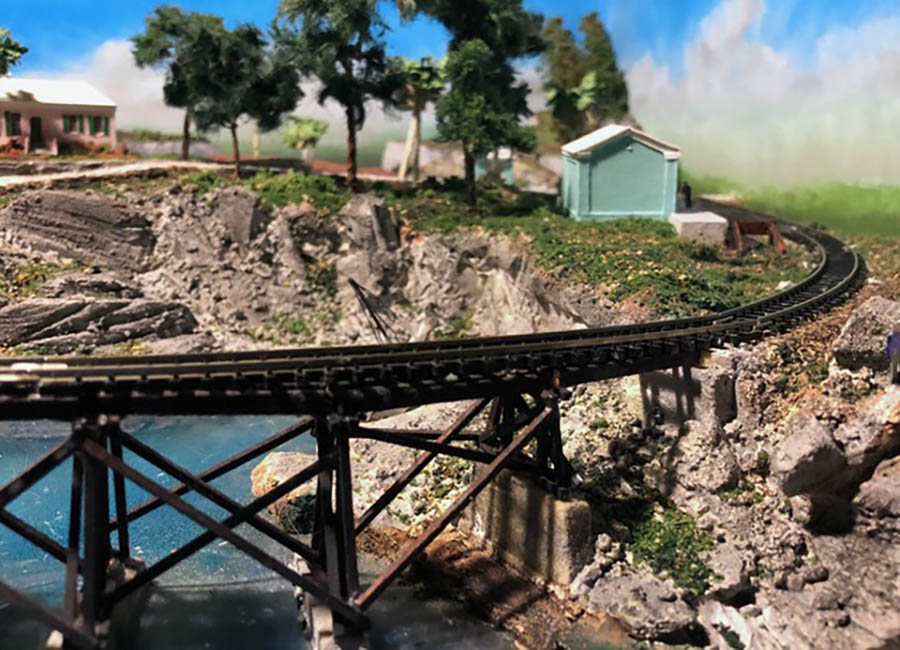
After that, I’ll start building another trestle using the jig I created for the one on 2-1/2 acres.
Best
John”
A big thanks to John for his KATO Unitrack system railway update.
His last post is here – the pic below also links to it.
I do love seeing how you all create your layouts. There are so many different approaches – there’s no right or wrong way.
Do you know what I also love? People making a start!
That’s all for today folks.
Please do keep ’em coming.
And if today is the day you decide you’re not missing out on any more fun, the Beginner’s Guide is here.
Best
Al
That’s all for this time folks.
Please do keep ’em coming.
And if today is the day you get started on your layout, the Beginner’s Guide is here.
Best
Al
PS Latest ebay cheat sheet is here.
PPS More HO scale train layouts here if that’s your thing.
Need buildings for your layout? Have a look at the Silly Discount bundle.