How to make a cliff face

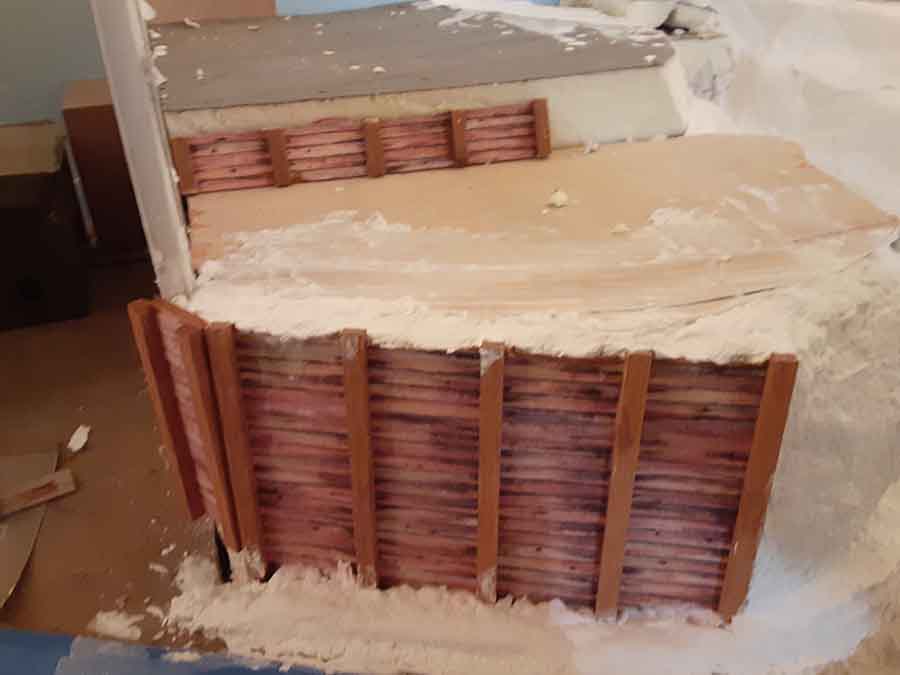
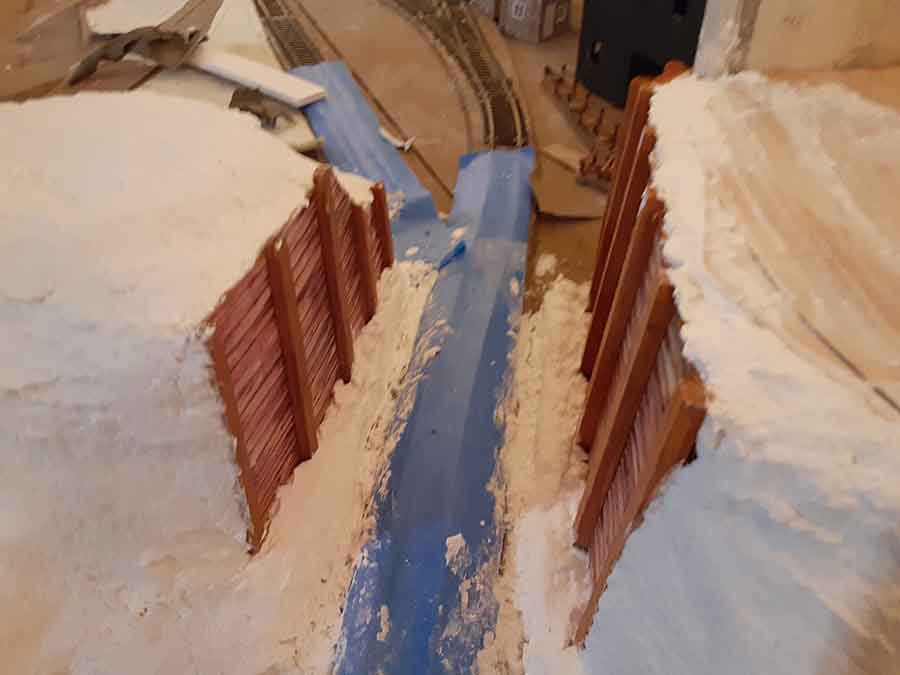
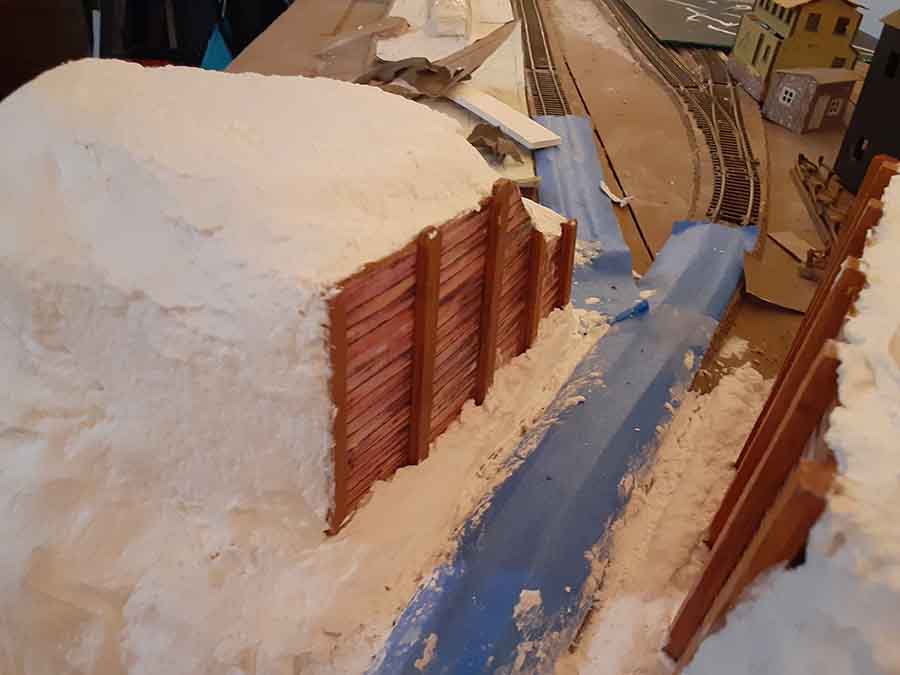
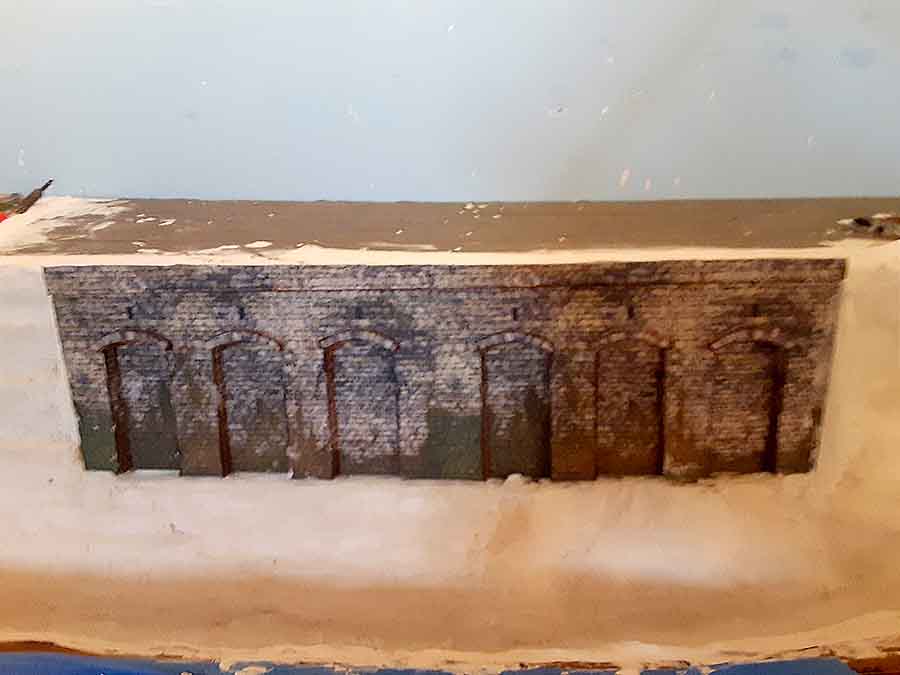
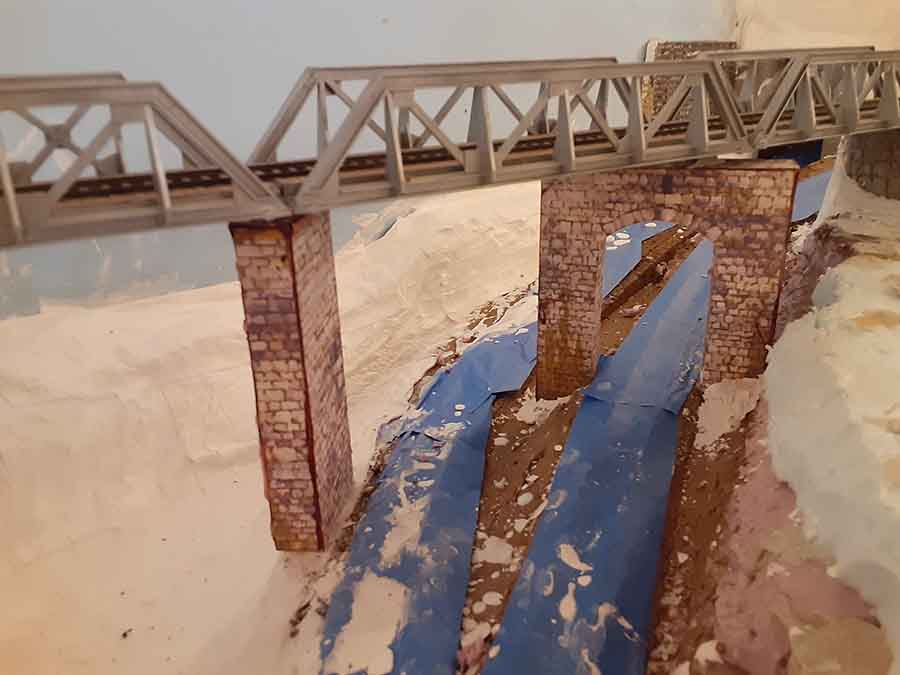
Bill’s been in touch again with a step-by-step on how to a make a cliff face:

“Hello Al,

I’m sending in a link to the follow up video that showed how I made the cliffs on my O/ON30 layout.

This one shows how I color the cliffs and also shows scenery starting on this piece .

Thanks for all your continued support of the hobby!

I still cannot thank you enough for your blog as it got me out of the chair and back to modeling!

Cheers

Bill in Virginia”

how to make cliff face

cliff face ho scale

How to make cliff face for model railroad

HO scale rock mountains

rock formation model railroad

HO scale steam train


A huge big thank you to Bill. His cliff face looks amazing, can’t wait to see more.

If you missed his last post, it’s here.

Now on to Roger who has been doing some scratch building:

“Allister,

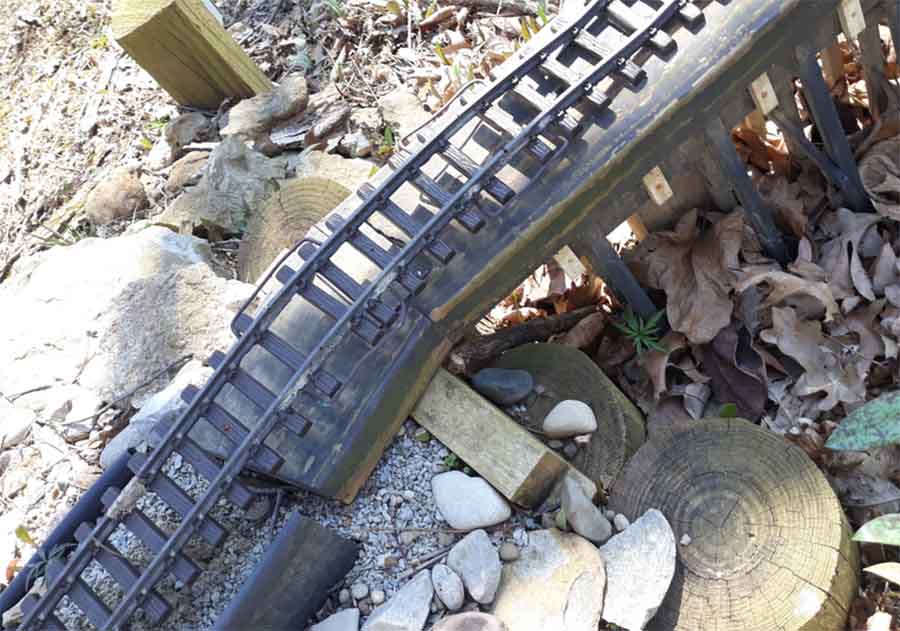
Here’s an N scale model of the Bitch Creek bridge in Idaho that I’m working on

n scale trestle bridge

trestle bridge

Really enjoy your web site

Roger”


Now on to Joe who has built a wind turbine for his N scale:

“Dear Alistair

Wind Turbine For N-Gauge Layout

Here are the steps to build a wind turbine for an N-Gauge layout.

I recently needed to change the brush head on my Oral-B toothbrush.

Having done so, and as a true model railroad fan, I wondered what use I might find for the old head.

As I stood the old head on the counter, the idea came to me – a wind turbine.

After some thought, here is what I came up with.

First, remove the bristles from the head with a sharp cutter.

If you can’t get really close, finish off what is left with sandpaper or a file.

Next, draw and cut out from very thin styrene or cardboard, one blade.

After trimming it to the shape you like, trace it and cut out 2 more blades.

Twist each blade to give it some propeller shape.

Glue the blades to the brush head.

Cover where the blades are glued with a button or something similar, and paint it white.

Add a hatch or door to the front (for “access”) and a “window” to cover a hole.

I put a small hatch door on the top too.

Also maybe some decals (to cover brand name, etc).

I mounted it on a concrete base (small square of styrofoam painted grey).

I then scratch-built and painted a small maintenance shack next to it (on the right in photo).

Other options – fence it in, use different or no base, etc

Joe”

n scale wind turbine

A big thanks to Joe, Roger and Hall of fame member, Bill.

I have to say, Bill really did make my day by saying:

“I still cannot thank you enough for your blog as it got me out of the chair and back to modeling!”

If the blog has prodded you back into the hobby, I’d love to hear from you.

That’s all for today friends.

Please do keep ’em coming.

And if today is the day you leap out of your chair and start on your layout – just like Bill, the Beginner’s Guide is here.

Best

Al

PS Latest ebay cheat sheet is here.


Rob makes a signal gantry

Rob’s been back in touch – this time he makes a signal gantry:

“Hi Al,

This time I am building a three-track signal gantry from scratch with styrene plastic in structural shapes.

I spent quite a bit of time watching UK cab ride videos and snapping photos of the screen as we passed interesting structures.

I finally started sketching up what I thought would be a good compromise between all the various designs I saw out on the railways and what would work both considering the strength of materials I had to work with and the shapes and sizes available.

You’ll notice the final form of what I have built is a bit fatter and thicker than what can be done full scale in steel. That is one of those compromises I mentioned.

It could have been to scale and I expect it would have supported itself, but it would have been fragile and I wanted it to be able to survive my clumsiness at least for a while.

I have done videos about scratch building the signal lamps before so I didn’t go into that part.

In order to prevent someone else from making the same mistake I made, when putting the wires in the cable trunking or conduit running through the gantry, put the resistors on later after you have pulled the wires through (Thank you Henry Best for that suggestion).

I used magnet wire to run all wires in the structure itself then soldered on extensions of regular hook-up wire to feed the conductors to my panel.

This video does not include the automation of the signals, which will come in a subsequent video if anyone is interested.

Rob”


gantry plan

traffic light scratch build

traffic light scratch build

gantry scratch build


OO scale signal gantry

signal gantry scratch build

signal gantry

signal gantry with lights

signal gantry lights

And here’s the post where Rob scratch builds the lights for the signals.

A huge big thanks to Hall of Fame member, Rob.

His signal gantry looks spot on.

I do so enjoy looking at the scratch builds and creative solutions you lot all come up with.

Please do leave a comment below and let us know your thoughts.

That’s all for this time peeps.

Keep ’em coming.

If Rob has inspired you to make that all important start, the Beginner’s Guide is here.

Best

Al

PS Latest ebay cheat sheet is here.


HO scale train layout

David’s been in touch with his HO scale train layout.

His journey is one many of us will be familiar with.

“Al:

I thoroughly enjoy your blog; reading it is a part of my morning ritual.

I have learned a lot from your contributors. Thank you for all you do to promote our hobby. You provide a great service to all of us train buffs.

These photos are a long time coming. It has been a journey for me.

It started 63 years ago, when my dad bought me a Lionel 027 train set, featuring a steam engine and tender. As you might expect it had smoke pellets.

Over time he bought me a switch engine and operating accessories. Then him and Mom decided I deserved to have a nice layout.

He built a 16’ x 8’ double track layout with switch track allowing the trains to switch loops.

The main feature, however, was an L-shaped 2 track tunnel made from wood and screen frame stuffed with newspaper and covered in an old sheet, which Mom painted with earth colors and Dad installed red and green lights hooked up to a 2-way switch at the entry of the tunnel. I was the envy of the neighborhood.

In my thirties, a friend and train enthusiast encouraged me to unpack my 2 trains and set them up.

This began a 35-year adventure, which resulted in a 20’ x 30’ basement filled with 14 O-27 trains and a bouser trolley and a Lionel bumper car trolley. Oh yes, the layout was filled with operating accessories. For me, the fun of the hobby became modeling.

Operating the trains did not have the thrill I had when I was a child. I moved 8 times during this period, so my benchwork had to become portable.

I used standard 2” x 4” legs bolted to ½” plywood framed by 2” x 4” frames.

The key lesson from multiple teardowns and rebuilds was that getting the track work right was critical. As a result, I used a lot of half-straight track in my curves to avoid derailments.

When I turned 70, I realized that my railroad empire was no longer fun, because I did all the modeling and building that my basement allowed.

I ended up selling my collection to an eBay trader for about 45% of the collection’s original value. The only thing I retained was my original steam engine and tender, in memory of my dad. It did not take long for me to have “seller’s remorse.”

After giving the idea of starting a new layout, I decided to convert to HO scale. I think, the pictures tell the story of my new adventure.

I love the realism of the HO scale and the building and scenery options are far more extensive Than O-gauge.

What I have found is that I am spending more time and detail in creating the scenery for my layout.

I hope your readers enjoy the pictures.

Best Wishes,

Dave”

HO scale passenger train

HO scale town


HO scale layout curves

HO scale train layout model railroad

HO scale mountains

HO scale tunnel

HO scale lumber

HO scale layout river

HO scale curves

HO scale layout harbor

ho scale tunnel

HO scale buildings

HO scale gas station

HO scale layout model railroad

HO scale freight train

HO scale layout

HO scale roads

HO scale apartments

HO scale factory

HO scale making tunnels

HO scale model railroad


A huge big thank you to David for sharing his HO scale train layout – I did enjoy his narrative.

So many of us started this journey with a Christmas gift when we were young and full of wonder.

That’s all this time my friends.

Please do keep ’em coming.

And if today is the day you stop dreaming and start doing, the Beginner’s Guide is here.

Best

Al

PS More HO scale train layouts here if that’s your thing.


Need buildings for your layout? Have a look at the Silly Discount bundle.