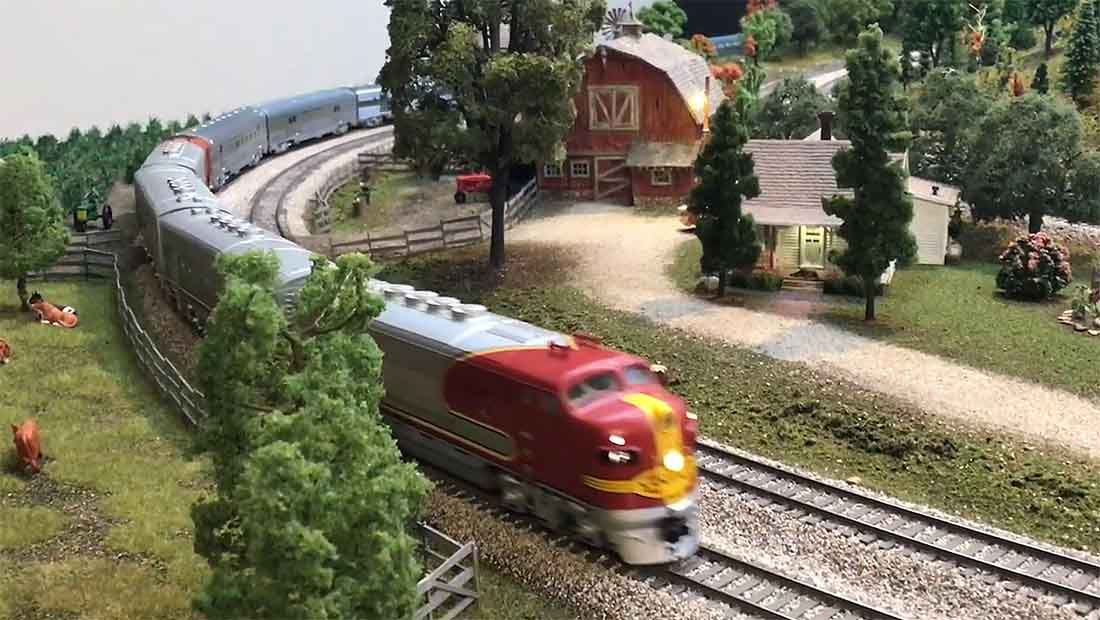
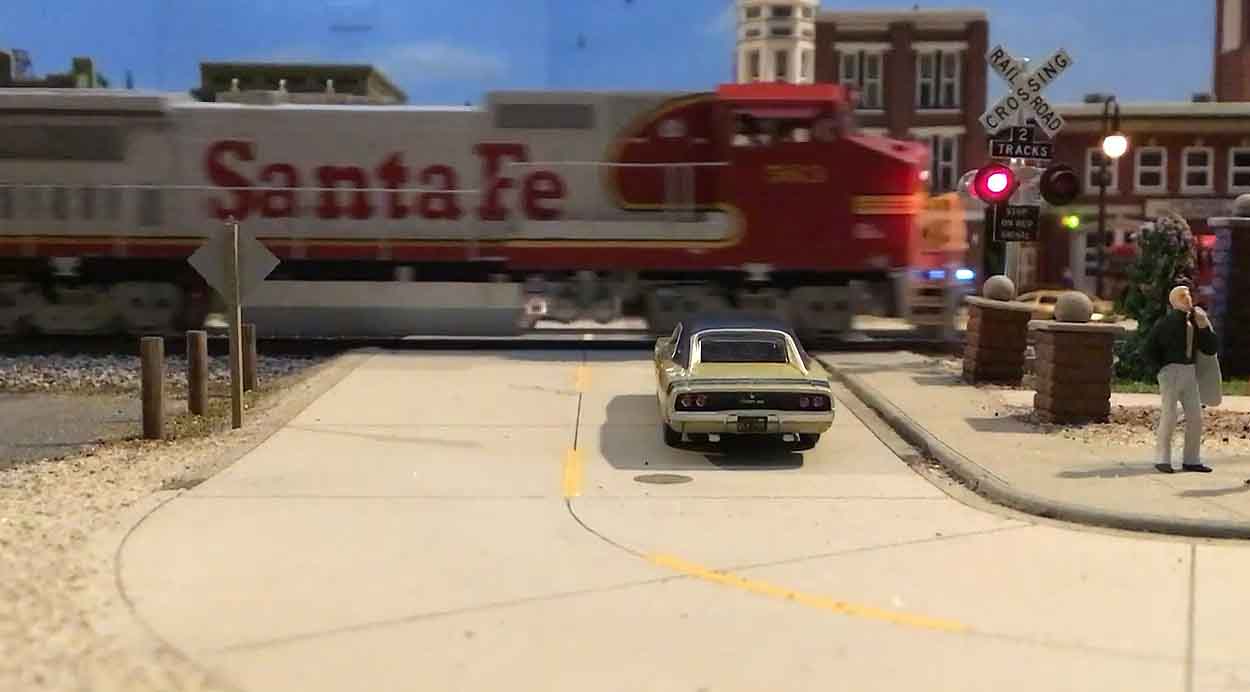
When it comes to model trains which scale is best?
Of course, there isn’t an answer because everyone has different likes, and different amounts of space.
Mike jumped back into the hobby after decades and it was a sharp learning curve when it came to finding the best scale for him.
And his missive below just goes to show that creating a layout is a learning process from start to finish.
Everybody has different budgets, spaces and available time – they all have a bearing on what is possible.
Mike’s post below is a good example of this.
It will make more sense if you remind yourself of his earlier post, which is here.
“My friend AL:
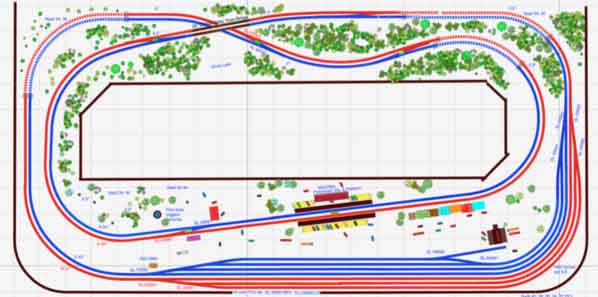
It has been a while since I checked in on progress with latest n-scale layout.
After a minor stroke and five days in hospital back in November, I am finally ready to continue my model train adventure.
First, I must say, we never stop learning from our mistakes. A few years ago, I thought a train layout would be a great way to engage my grandson into the hobby.
It worked at first, but I soon realized these video game kids today need to be active in real time.
My poor decision of choosing old style DC motivated trains where all trains were either moving or stopped was the wrong decision.
My grandson most enjoyed the brief time we had Lionel LionChief trains that could be run individually by remote controllers from an iPad.
But those trains occupied too much space inspiring a move to HO-scale and then finally n-scale.
Instead of going with DCC, I took the cheap way out and settled for a nice large layout powered by one control source.
So, with that mistake made, I am going to start over again, but I have a lot of research to do with regard the best, yet economical way to create a DCC layout. Advice is welcome.
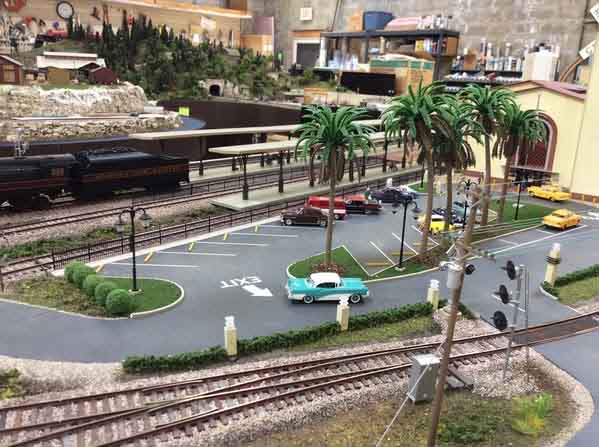
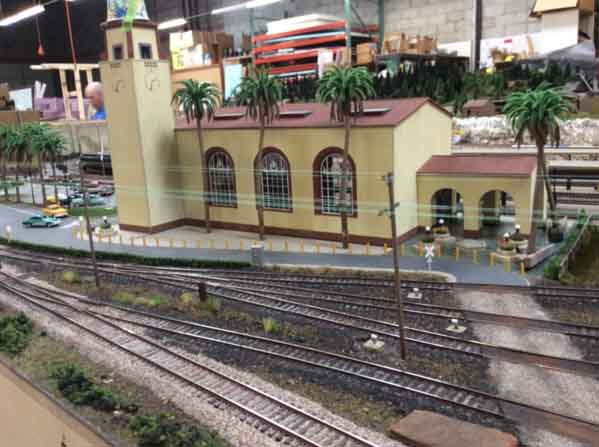
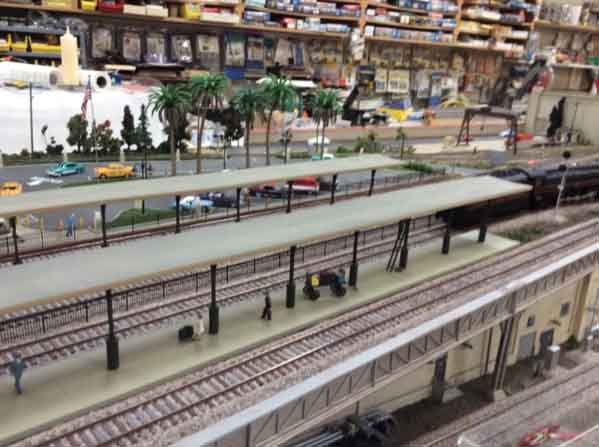
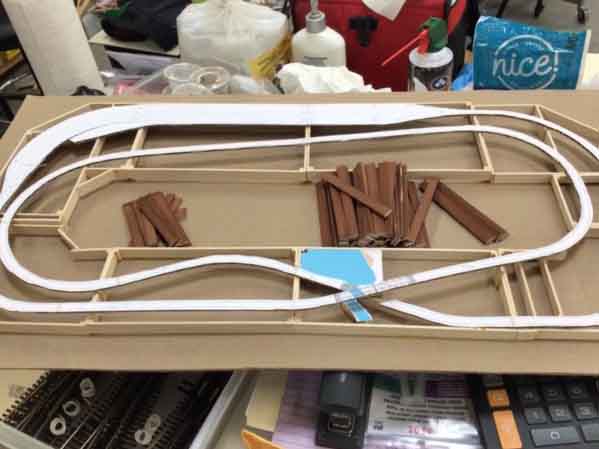
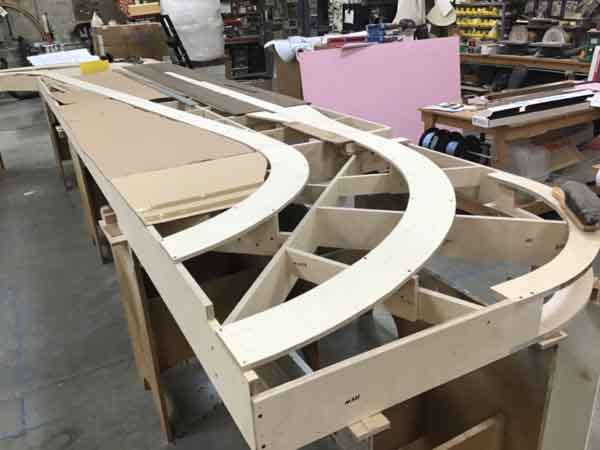
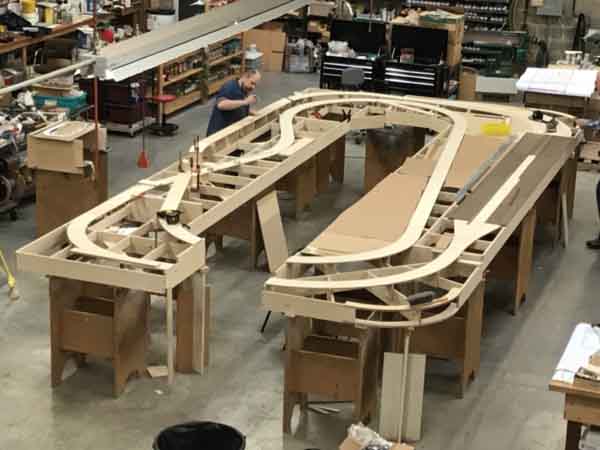
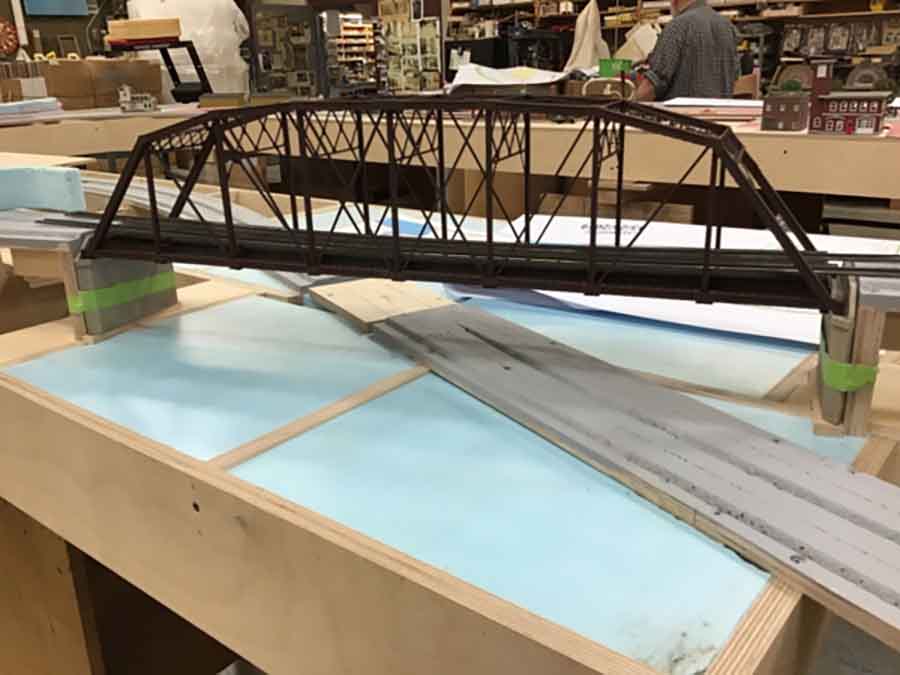
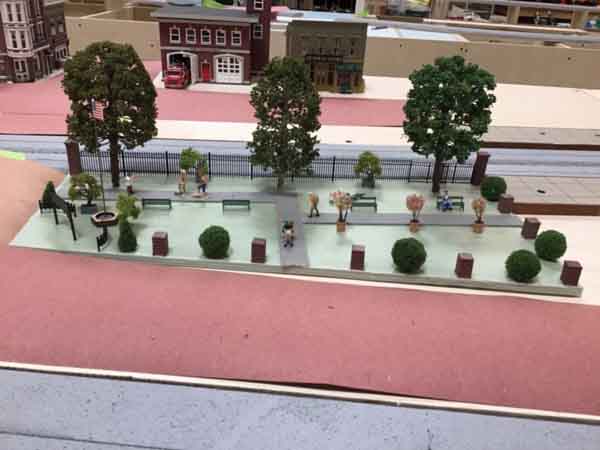
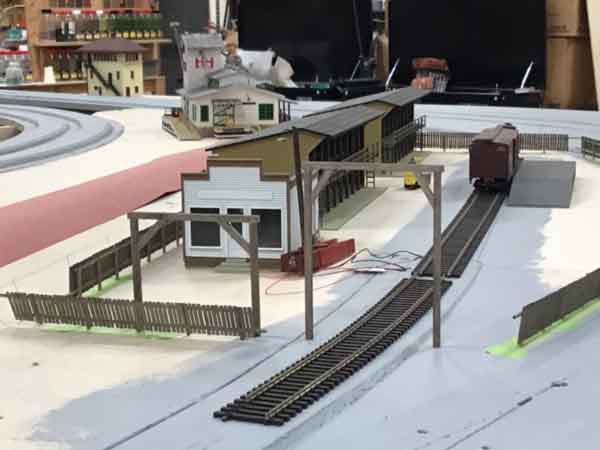
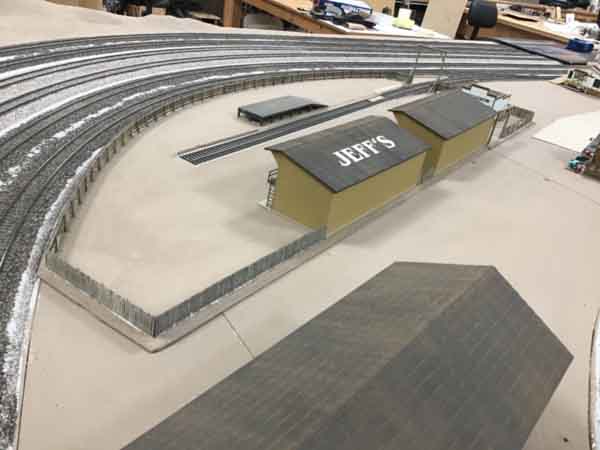
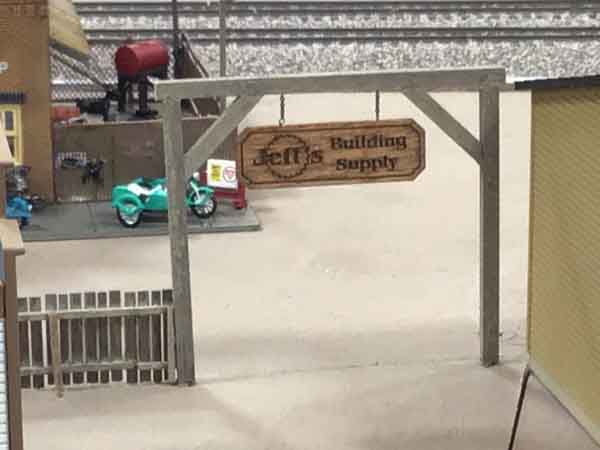
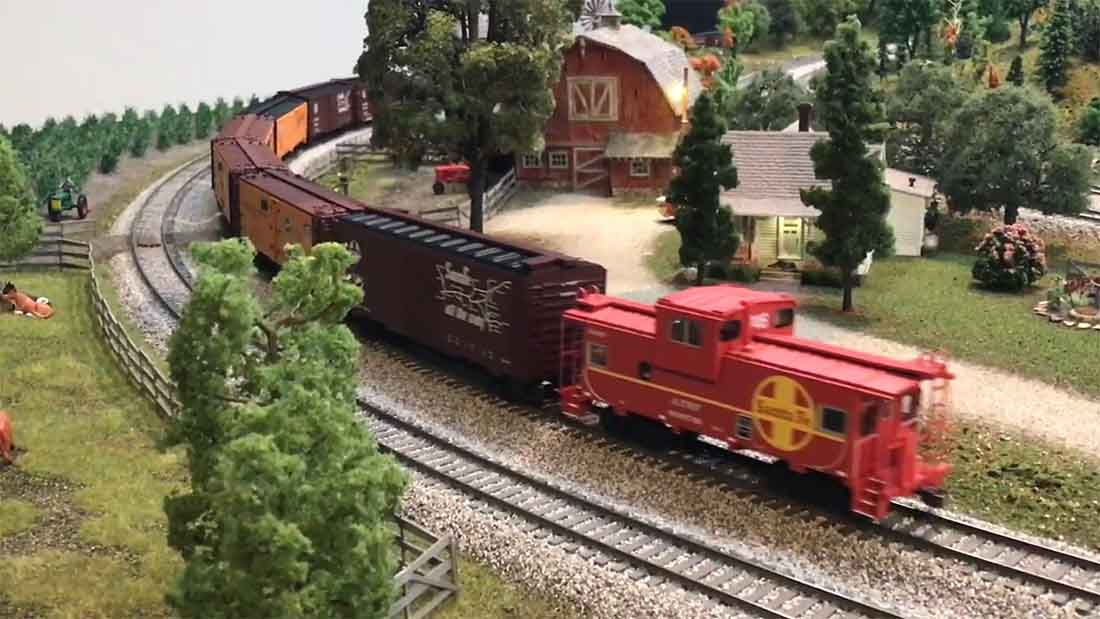
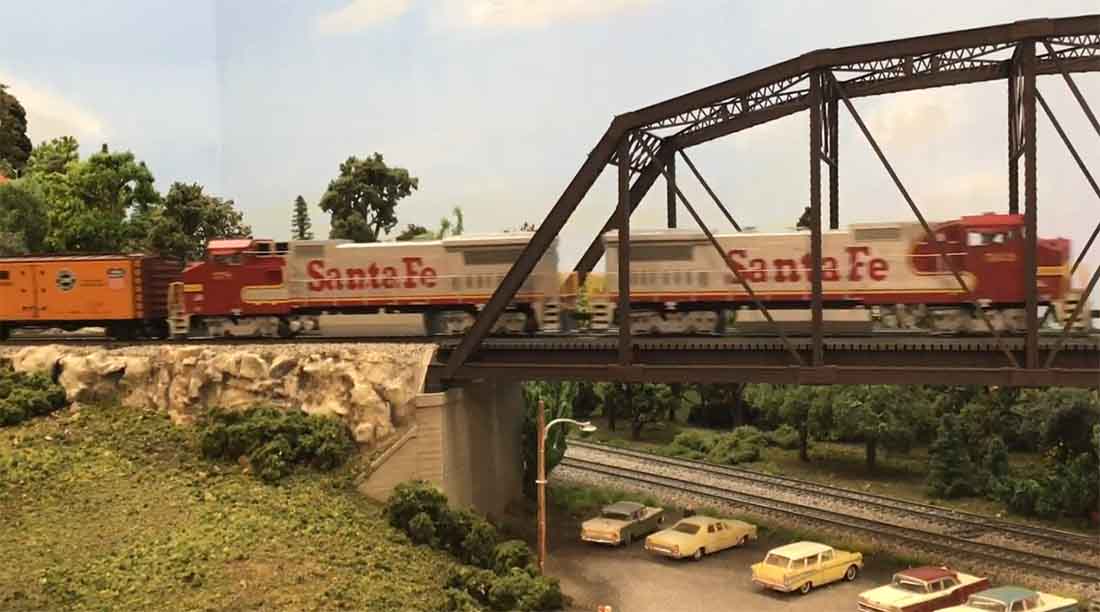
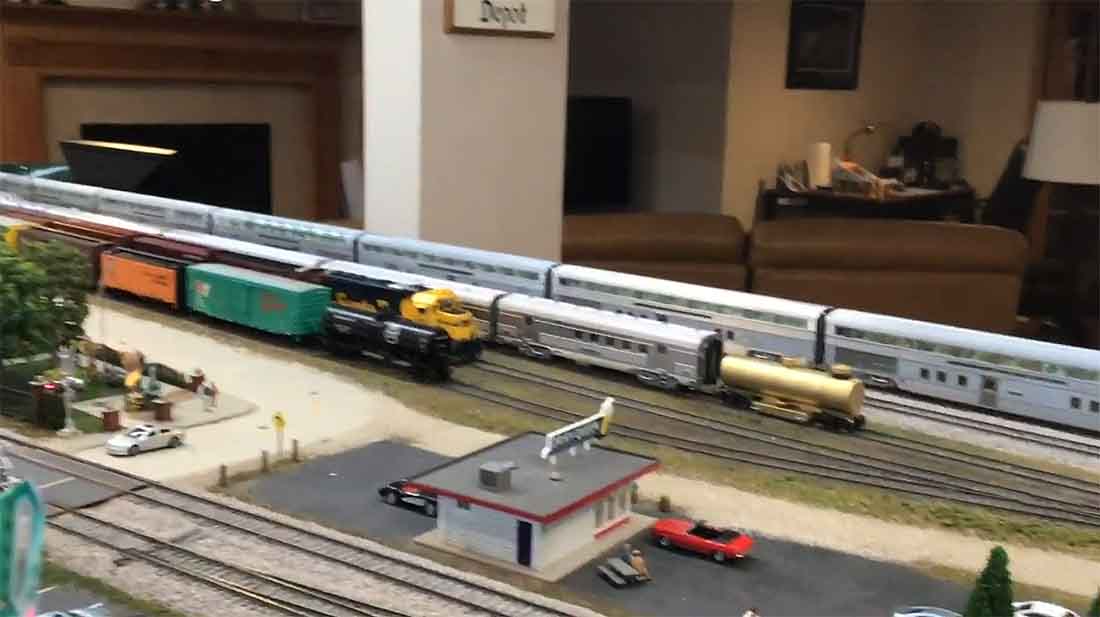
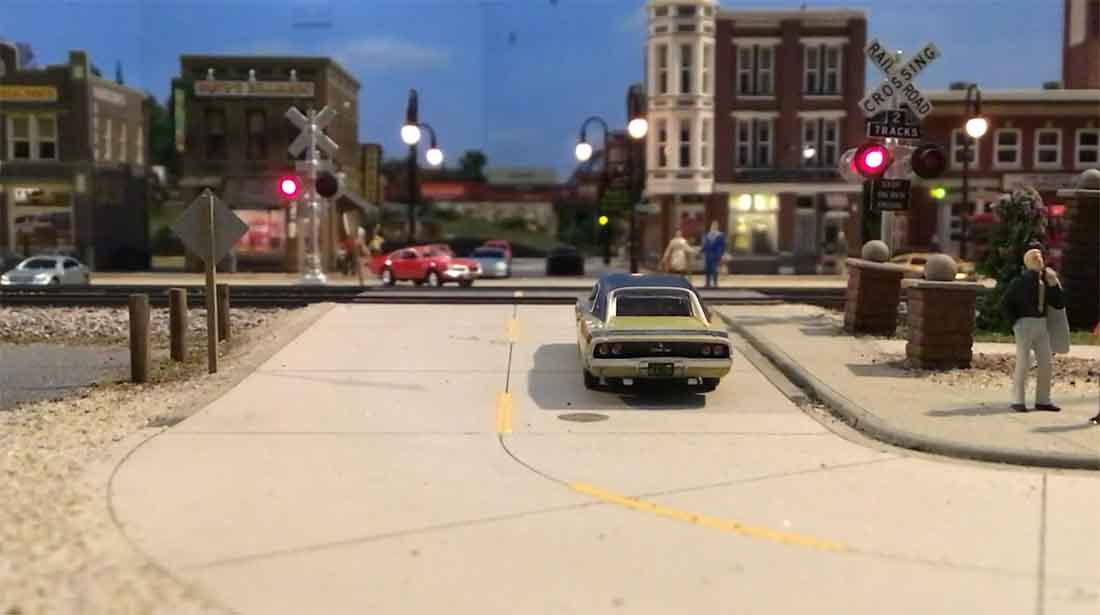
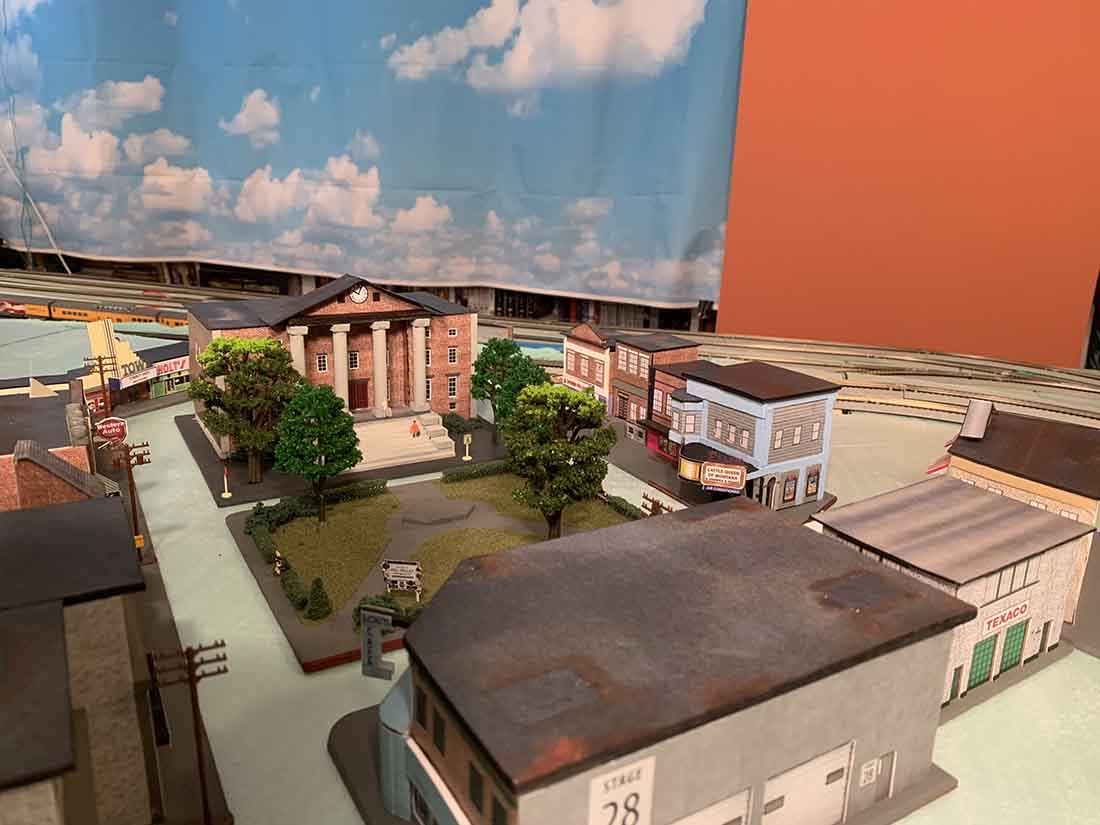
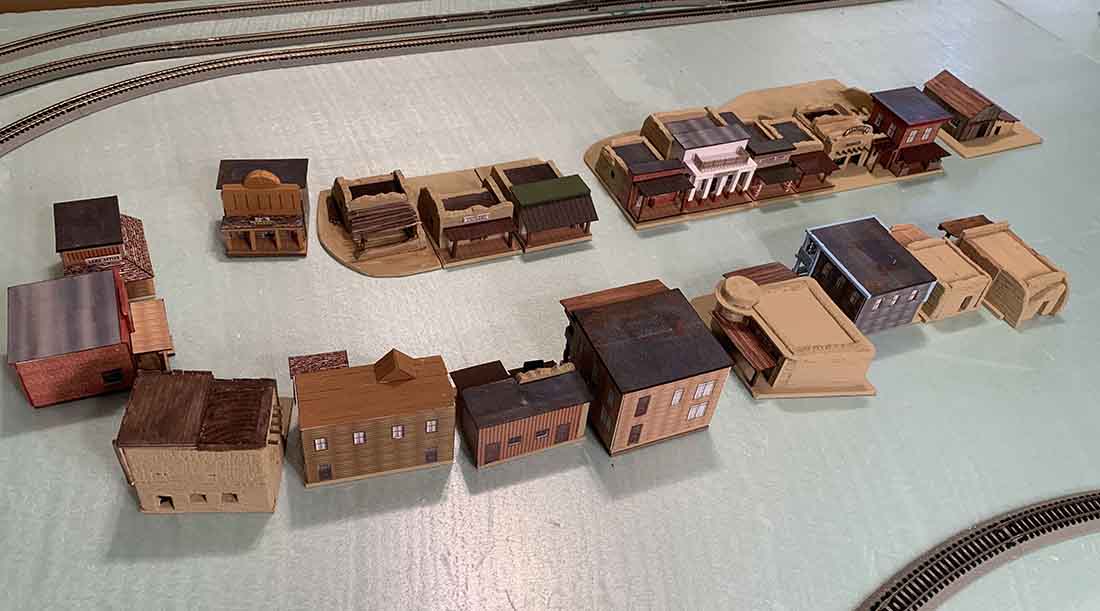
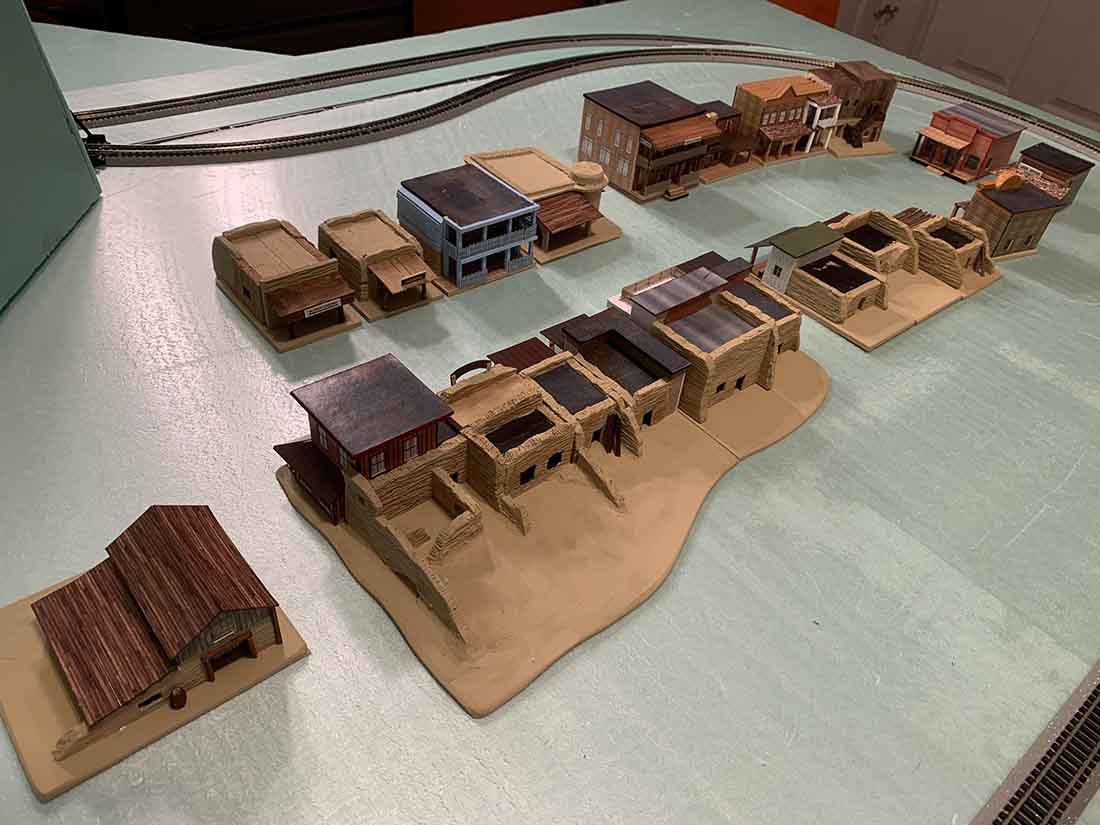
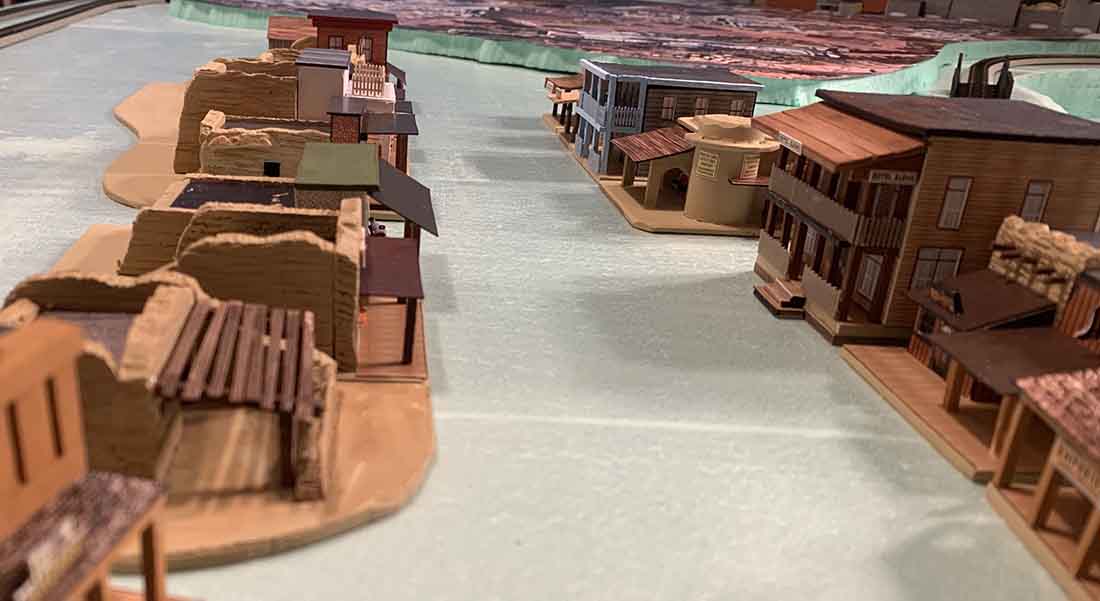
Meanwhile, here in photographs is what I managed to accomplish before coming to this point.
Some may recognize what I tried to accomplish with the Western village from Old Tucson, AZ. and the backlot location from “Back to the Future.”
It was fun building it, but now it is time to move up.
Cheers, and thanks for all the inspiration gained from all the train fans who post on your site.
Mike
Michigan, USA”
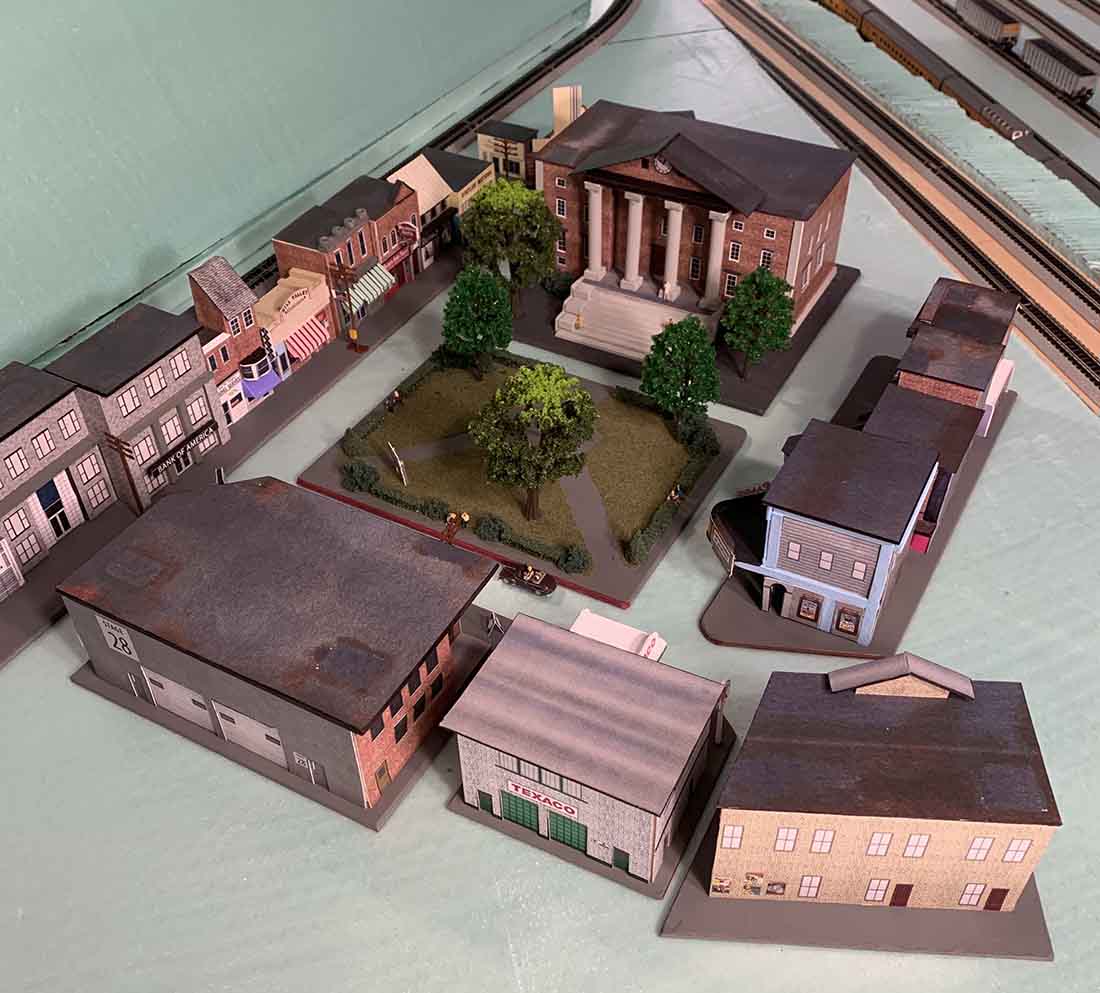
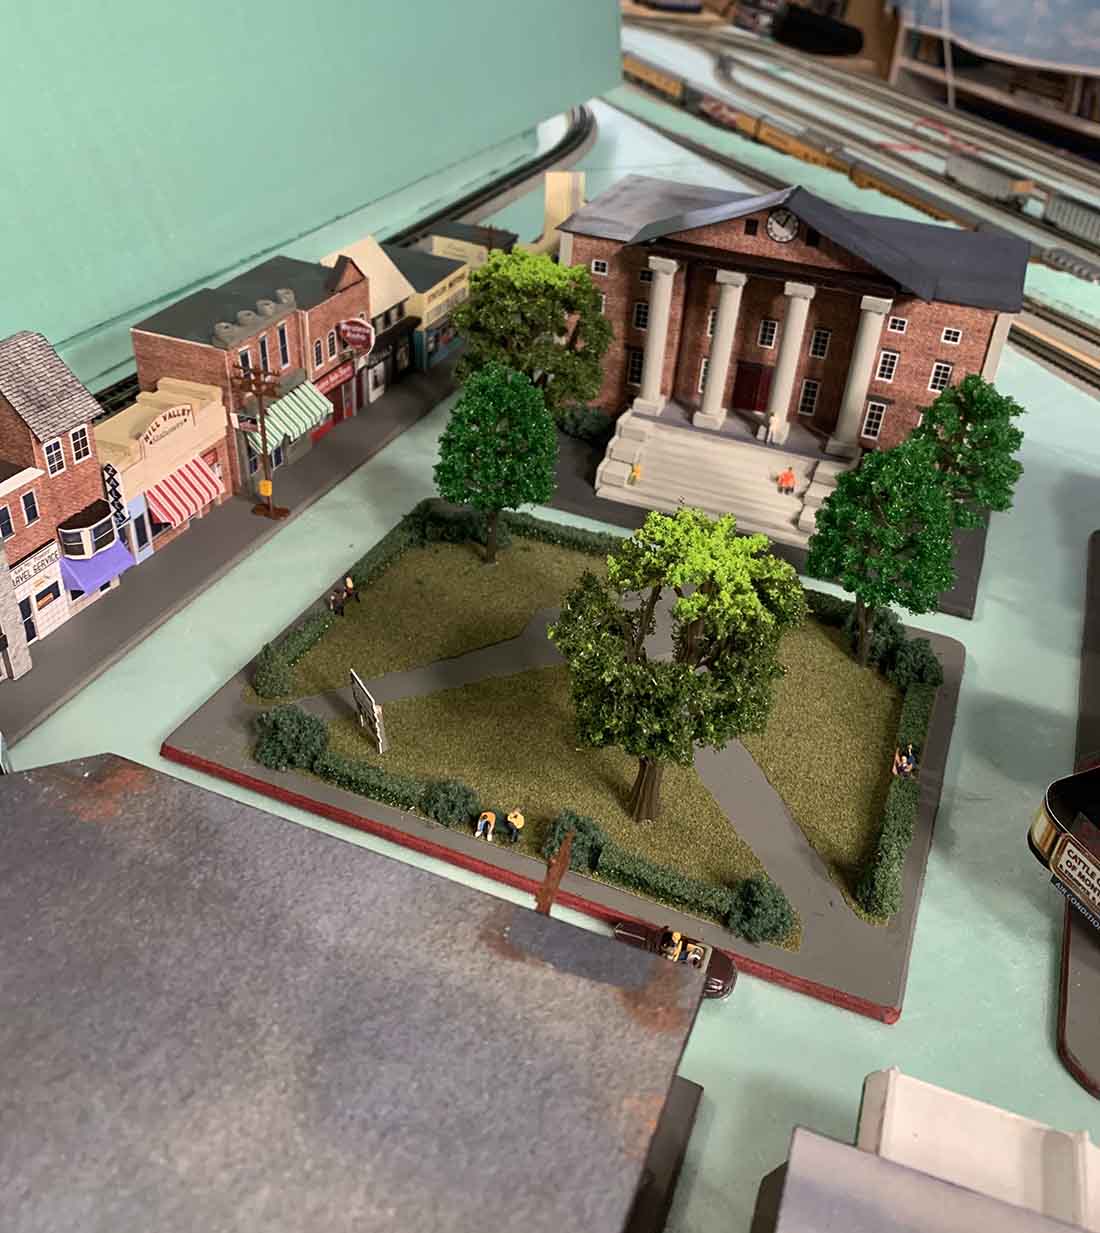
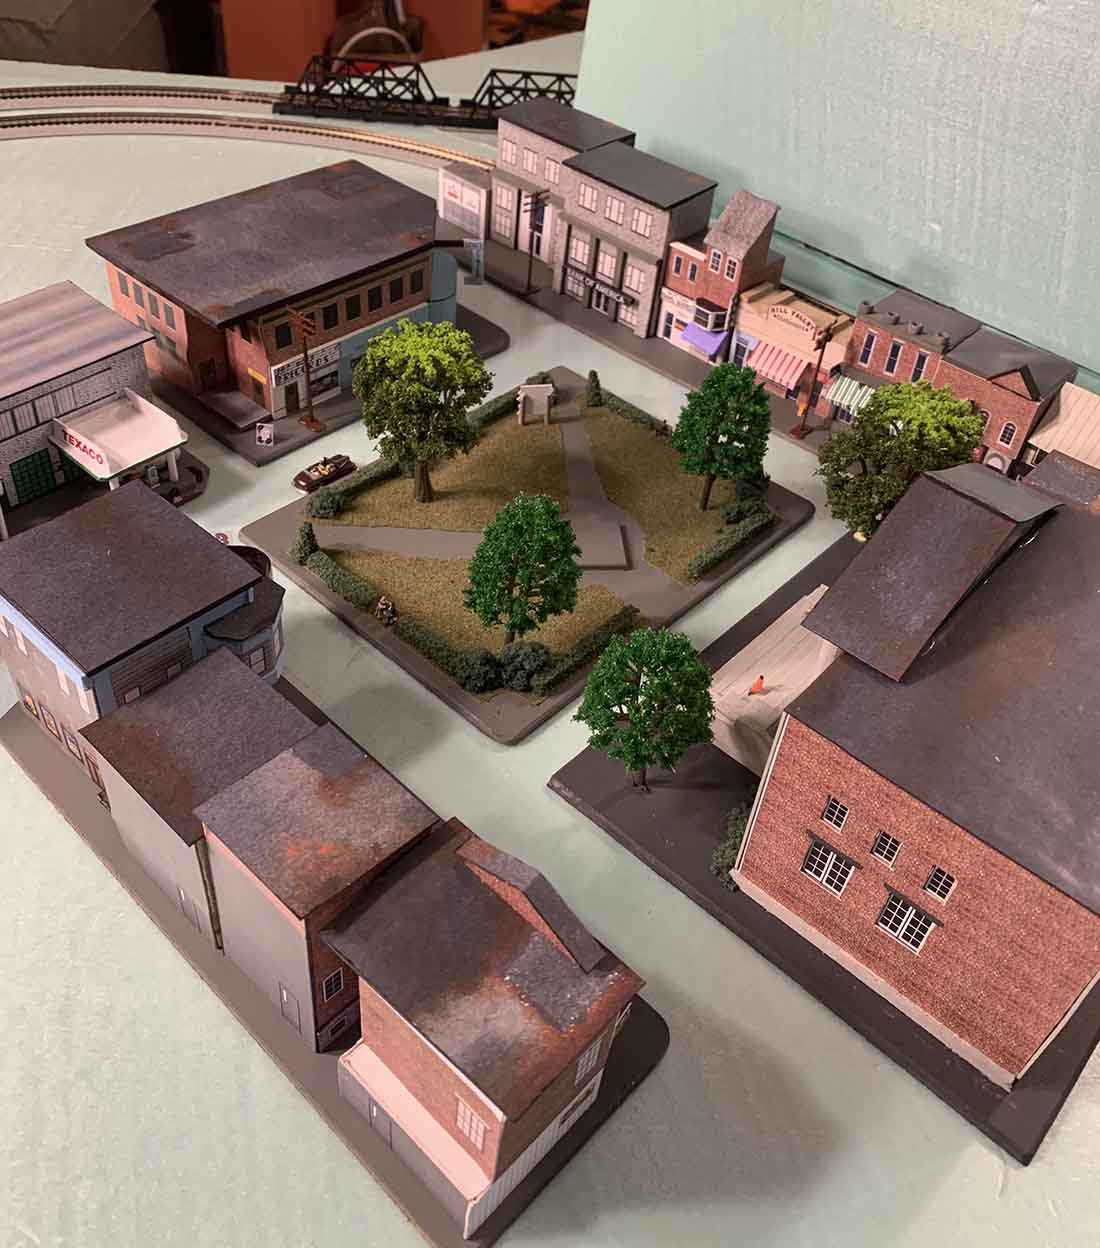
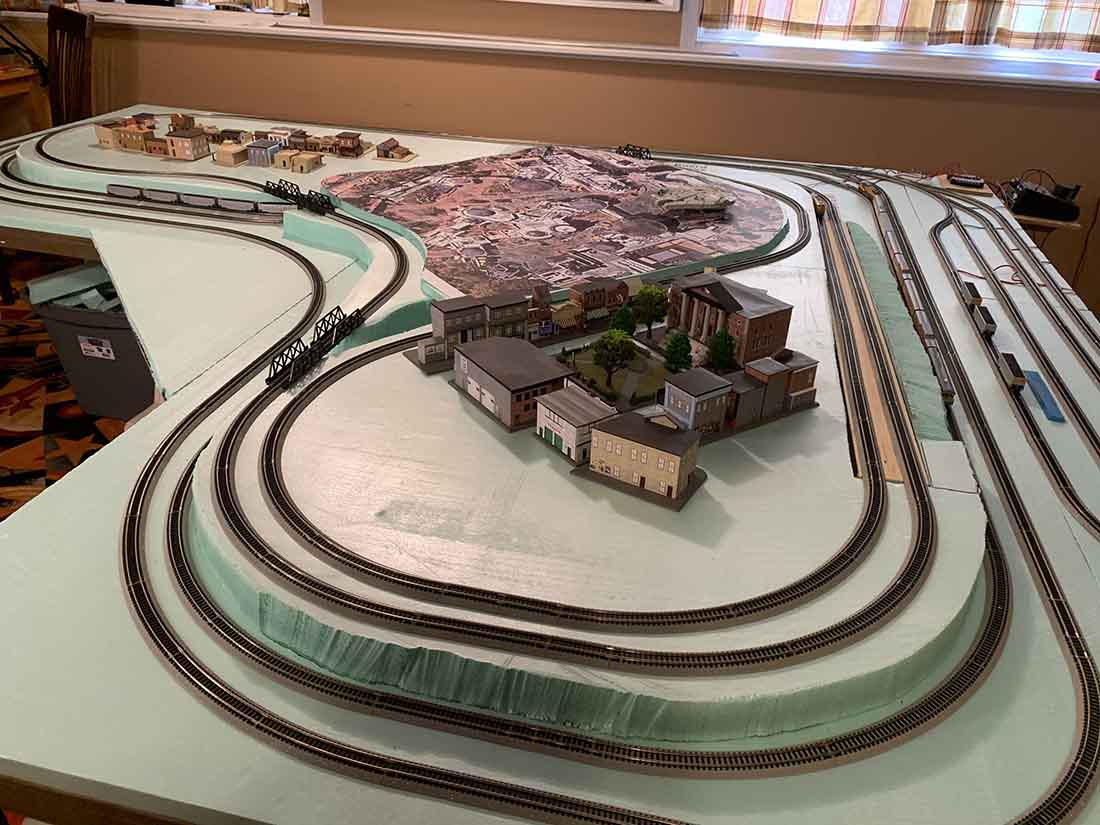
A big thanks to Mike. It just goes to show that when it comes to model trains which scale is best, only you will know.
And do you know what I like most about Mike’s layout? Simply that he made a start. That’s what this hobby is all about.
He just rolled his sleeves up and had a go.
I think some are put off by the mess making a start creates – but as the saying goes, you can’t make an omlette without breaking eggs.
Pete’s a good example of this – have a look below.
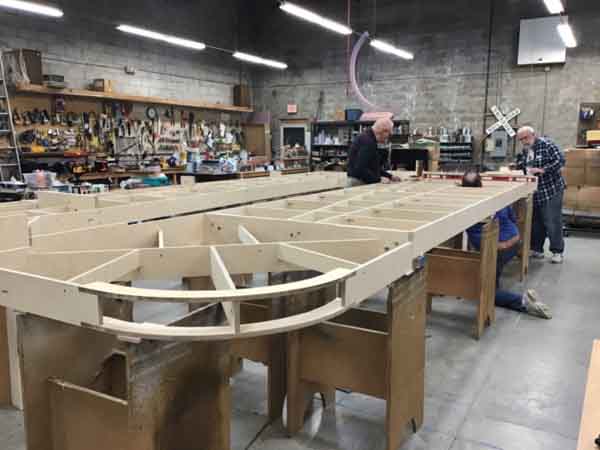
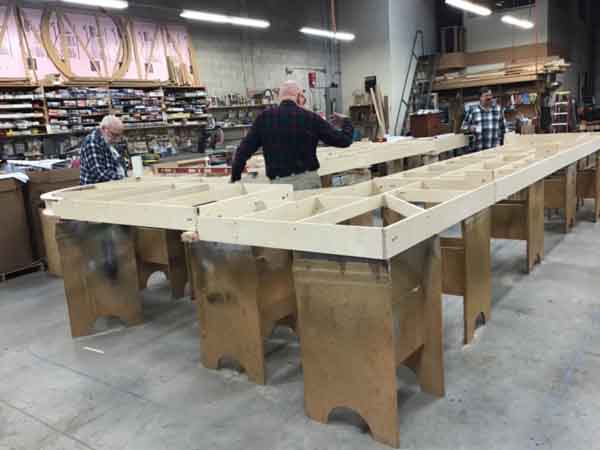
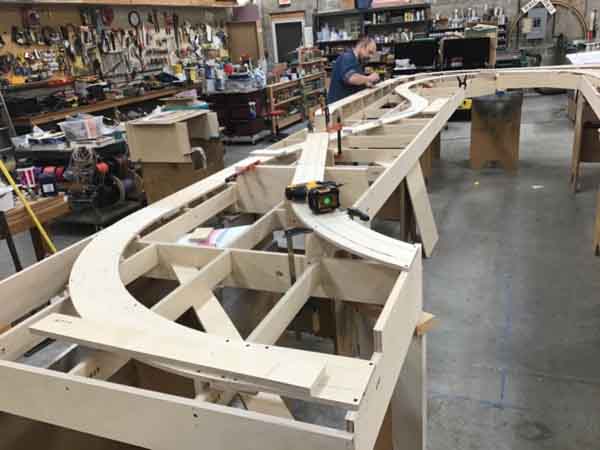
He’s not new to this, and as you can see, he’s not scared of the choas his new layout will bring:
“Hello,
just sending a few pics of my dismantling of my 10’x26’ HO scale layout to begin a new one
I will keep you posted as I go along but still not sure of my theme yet but one thing I am doing is splitting the table to work from the middle out
I want to run more steam engines they are my favorites I have some beauties in brass as well
All the best I will keep in touch
Peter
Happy railroad to you all 🇺🇸😃”
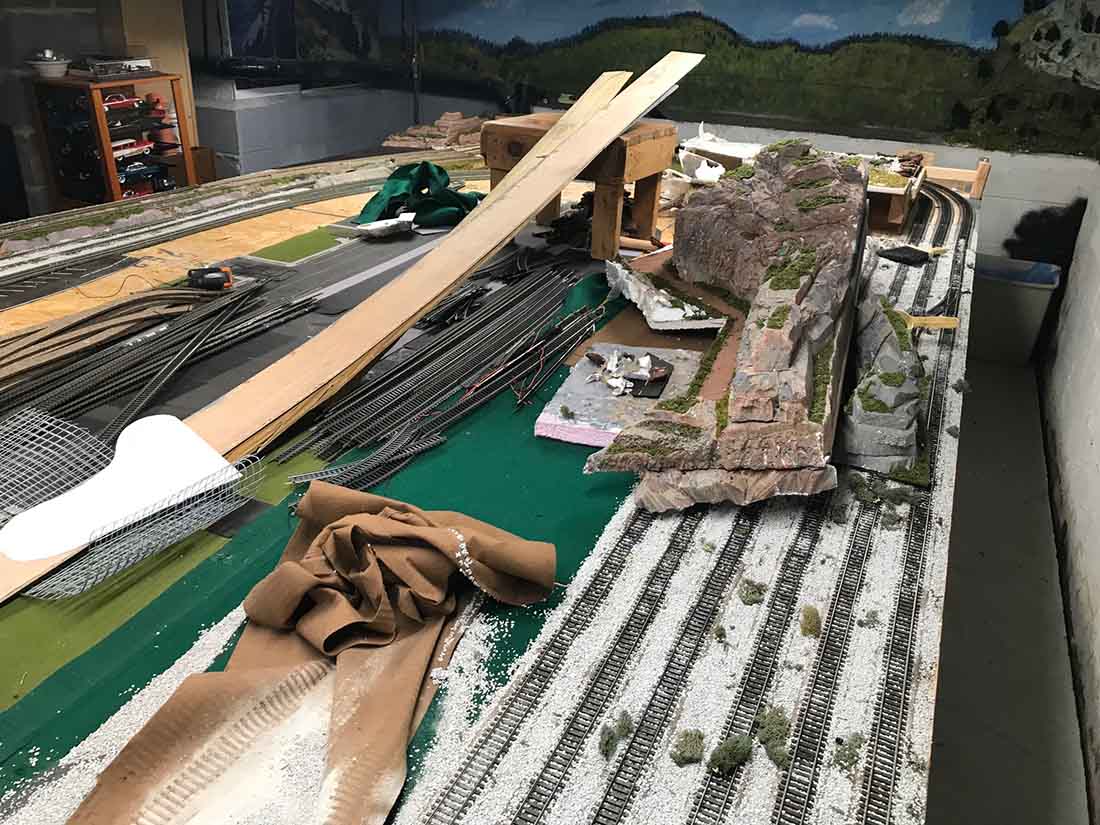
So there you go – roll your sleeves up and make a mess. Of course, I’m biased, but I think you’ll be glad you did.
That’s all for this time folks.
Please do keep ’em coming.
And if today is the day you press the fun button and get started, the Beginner’s Guide is here.
Best
Al
PS More HO scale train layouts here if that’s your thing.
Need buildings for your layout? Have a look at the store.
They are great fun to make and great value too.