Dan’s been back in touch and added to the model train displays on the blog.
As you’ll read, there’s a difference between a display and a model railroad:
“Al,
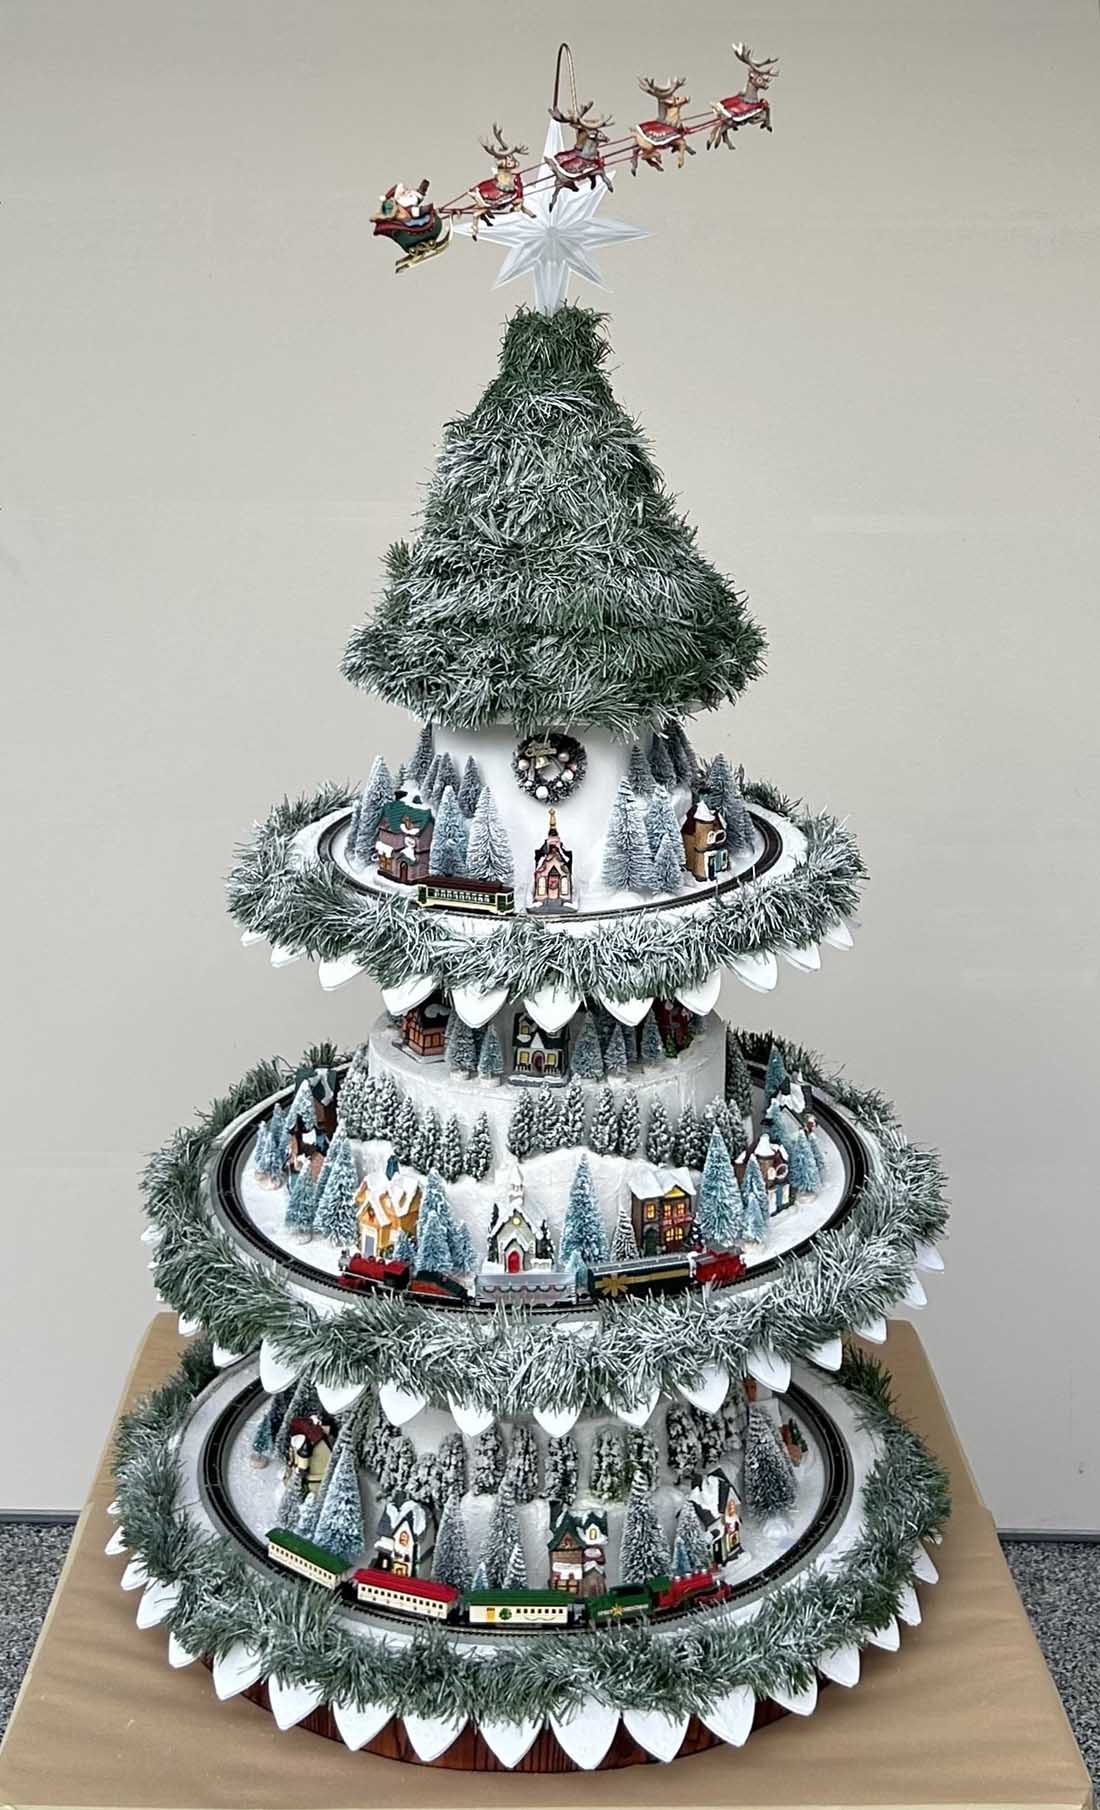
I have found time to show the trains I run during the Christmas season at KeyBank in Martinsville.
One of the visitors, who has been coming to the bank display since he was 2 years old and is now 14 years old, took some video. I have included it with his permission. The TV station video is also on YT.
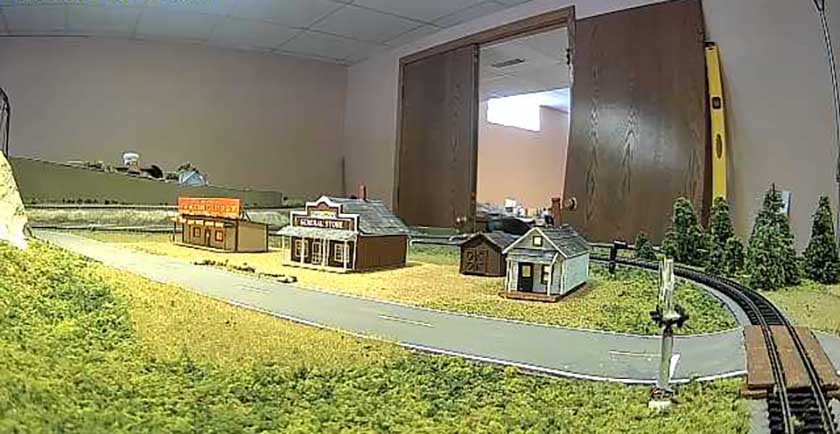
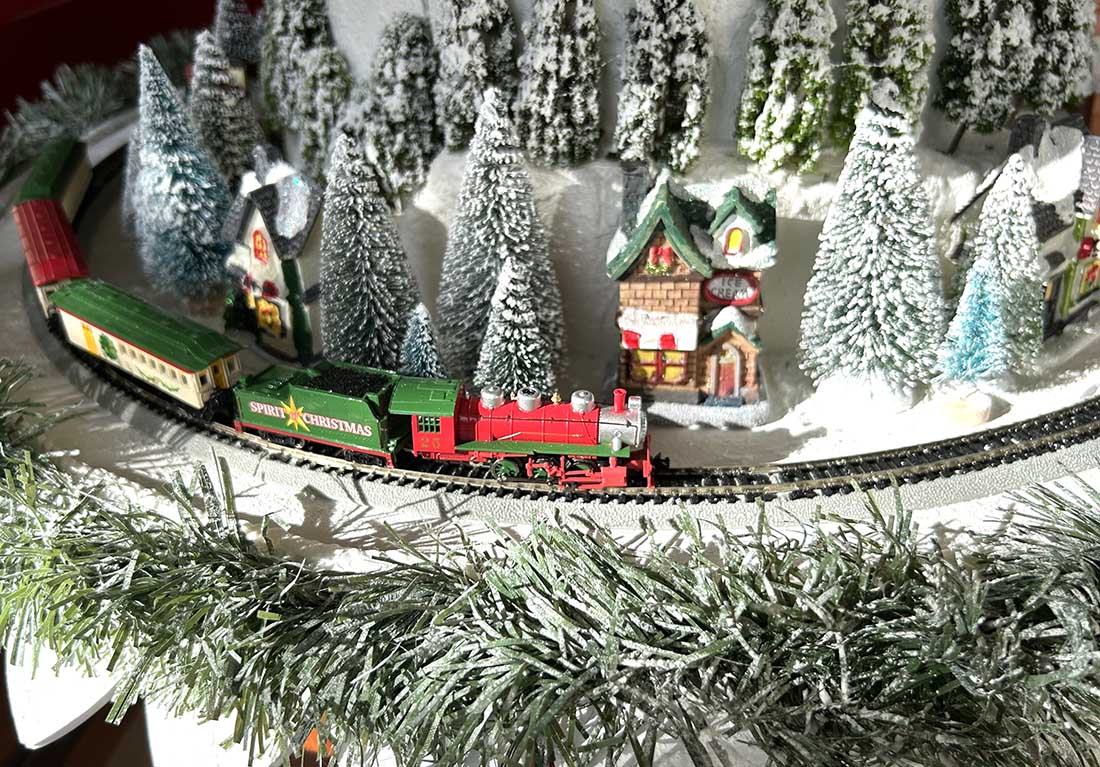
This is a model train DISPLAY. It is not a model railroad. It must be dismantled after each 4 week run at Christmas. I explain the difference between a display and a model railroad with photos of my home layout. Most visitors just like to see trains run. I have picked up several model railroaders for my club over the 34 years I have been doing this.
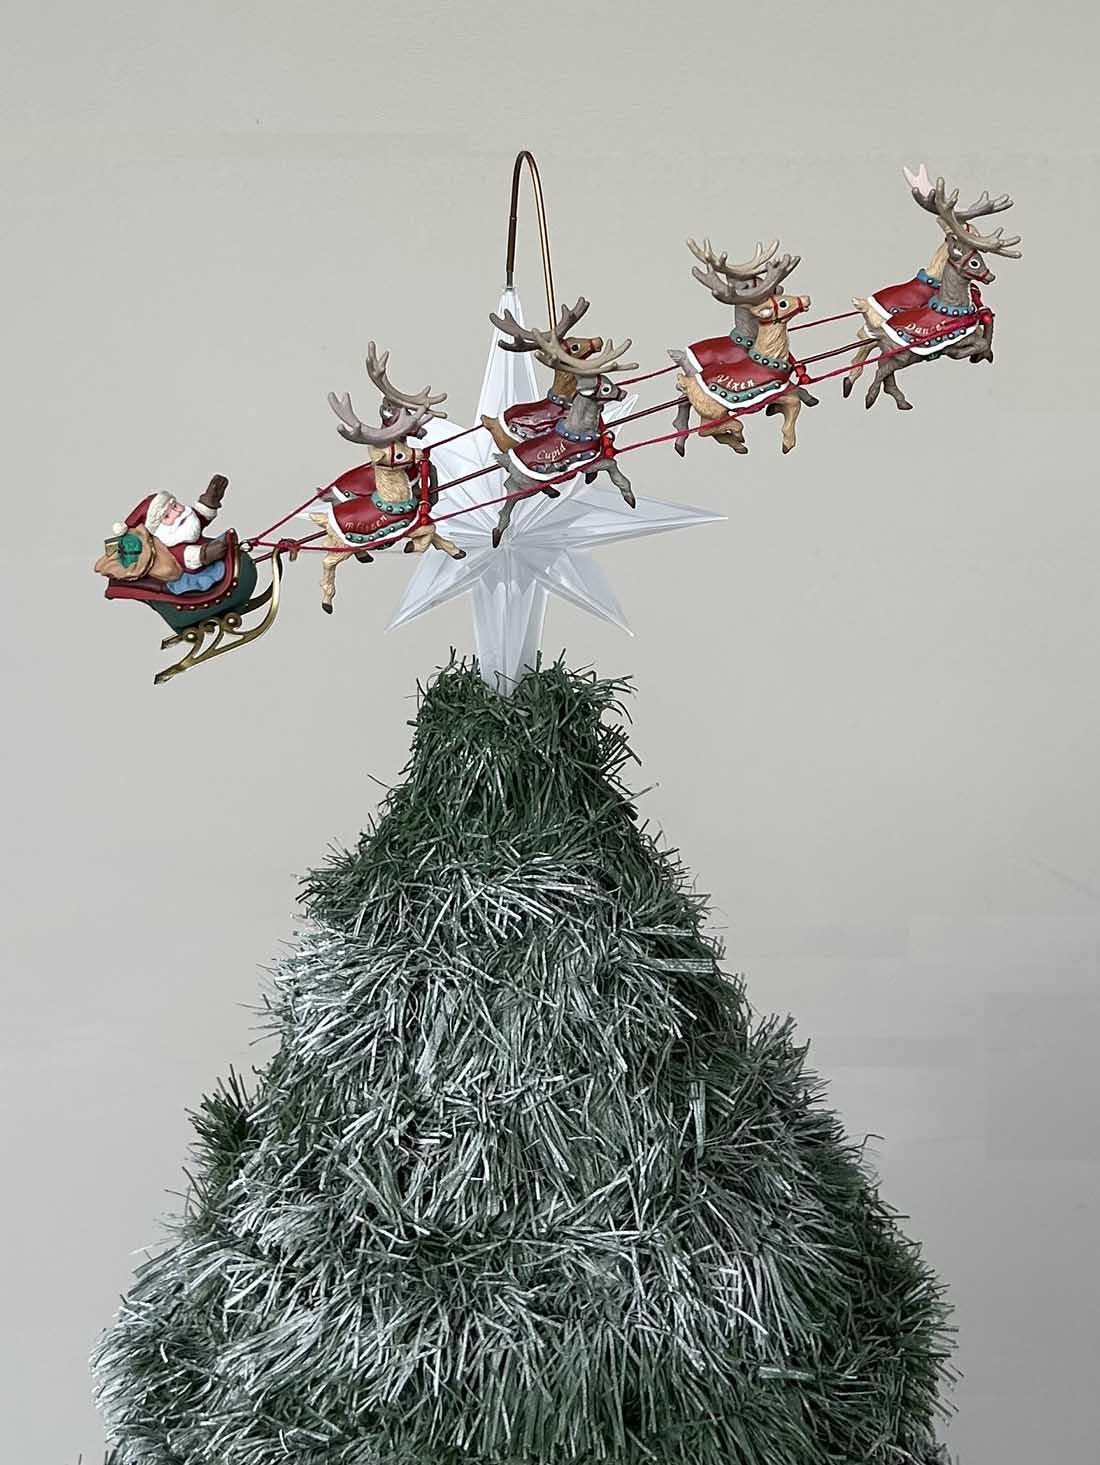
The display has features that change over the years. Just certain parts stay the same for the most part.
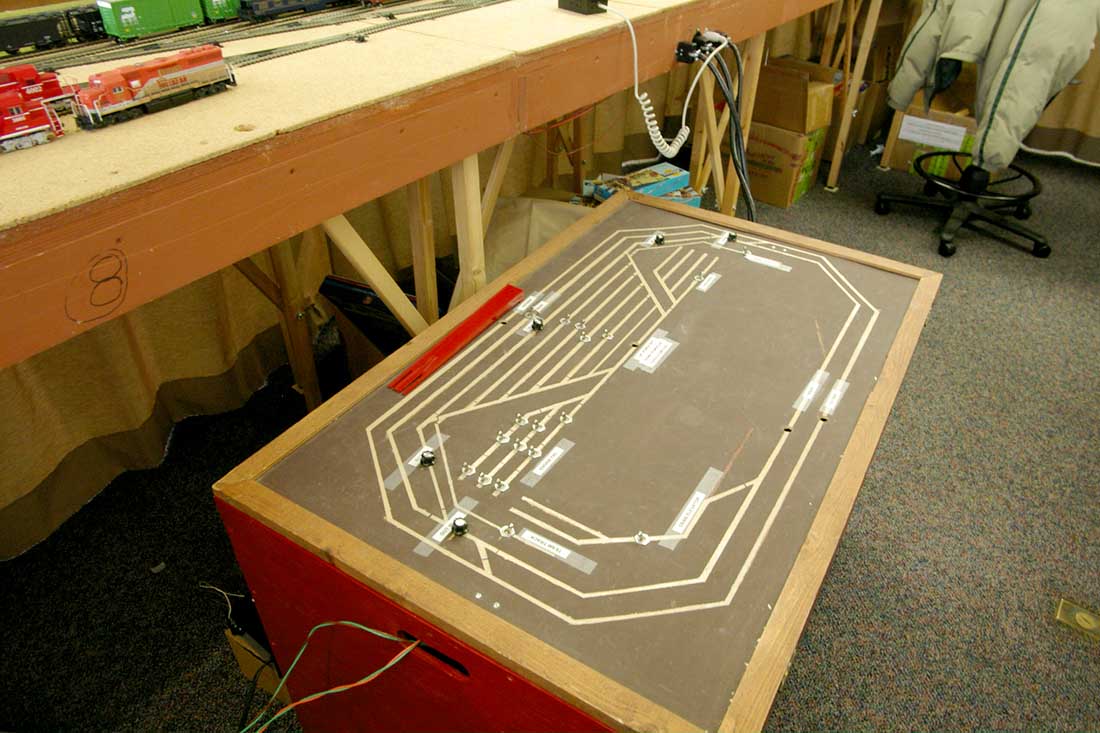
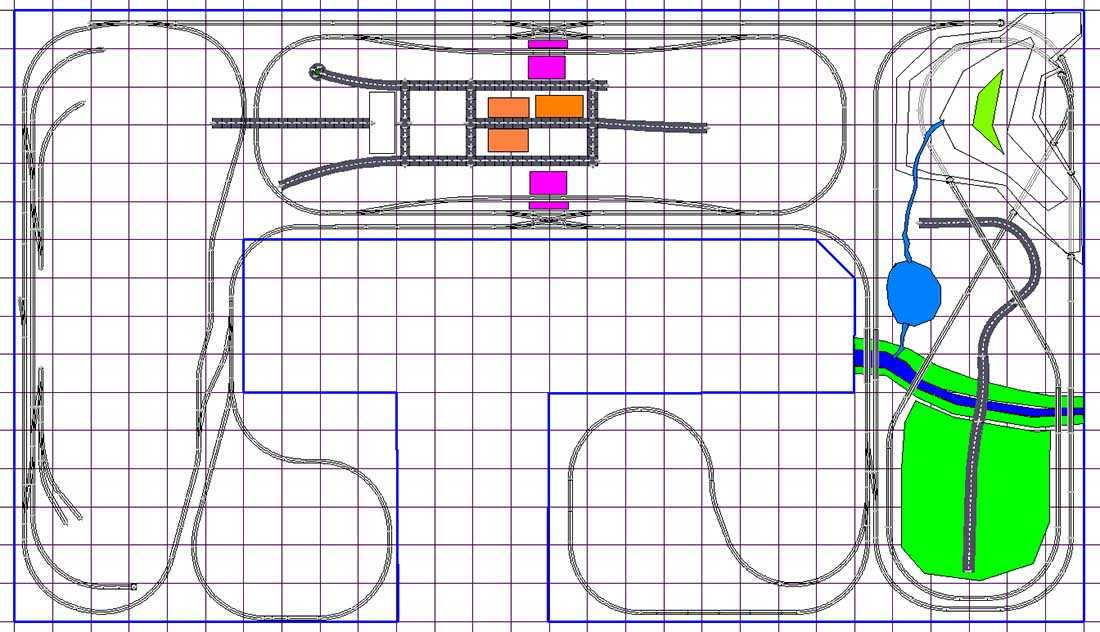
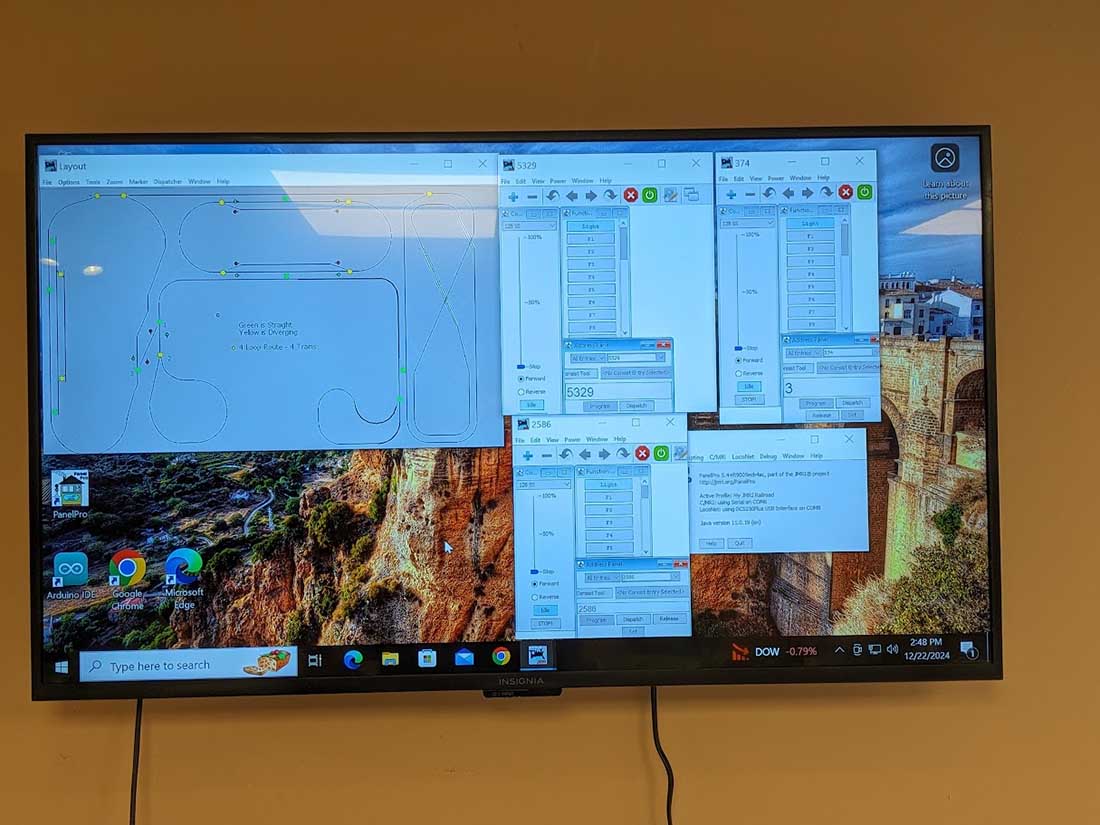
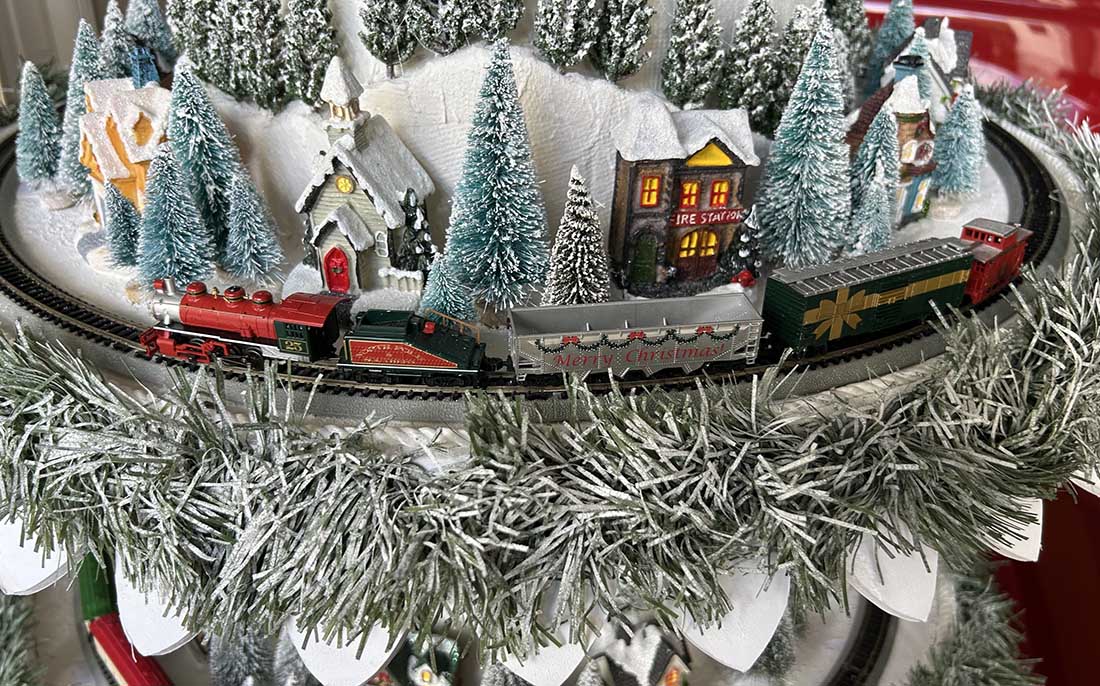
The track plan for the display. It is basic DC with blocks. I have two trains running all the time and make up trains while they run.
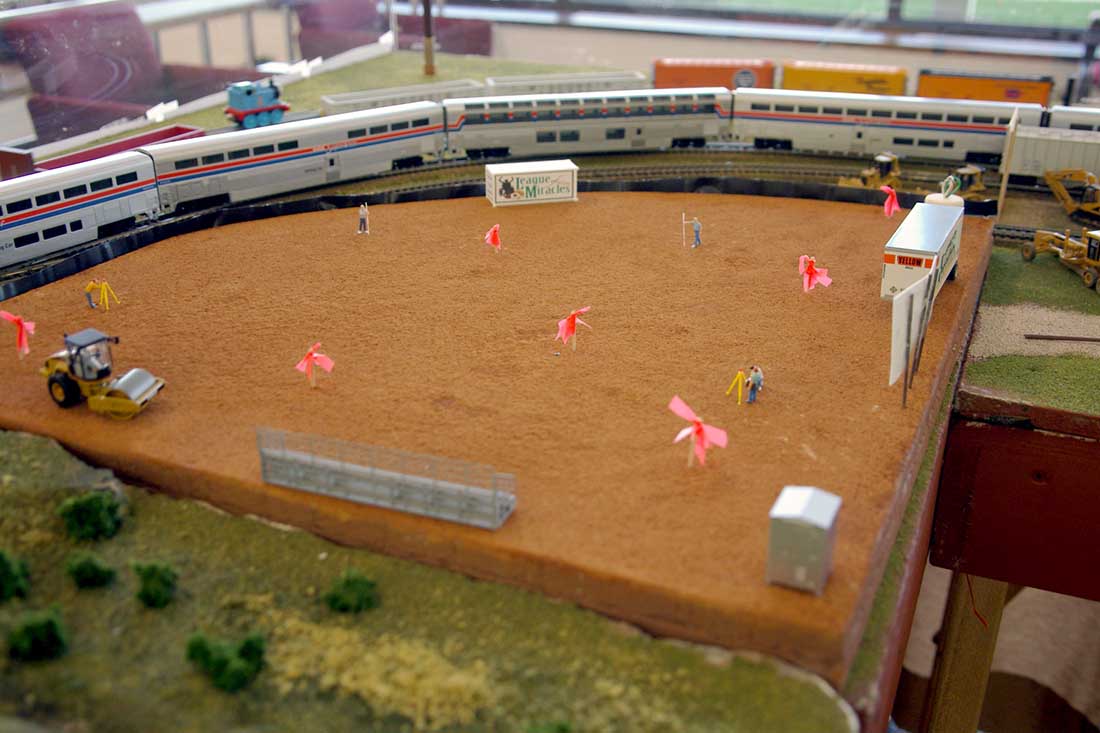
Our area was selected for a ball field for handicapped kids. Here the area for the ball park is being readied.
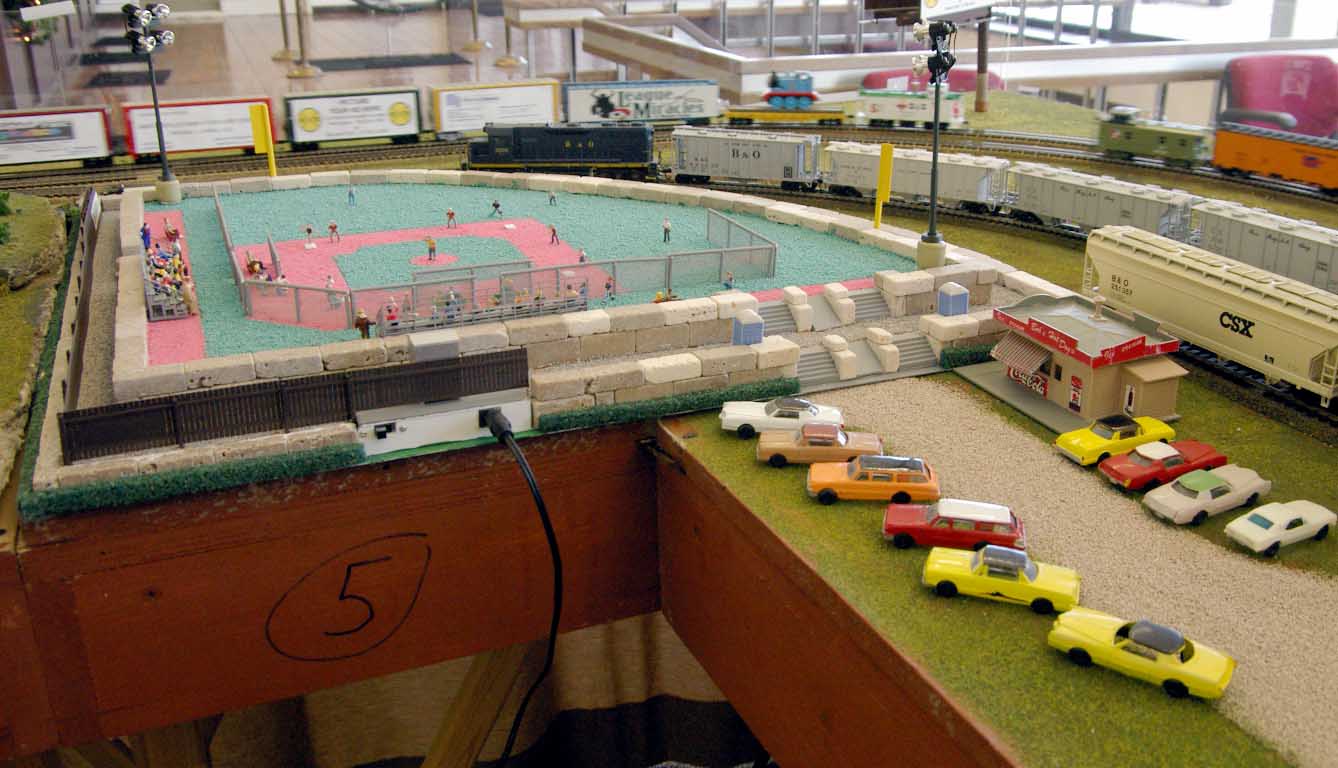
The finished ball park.
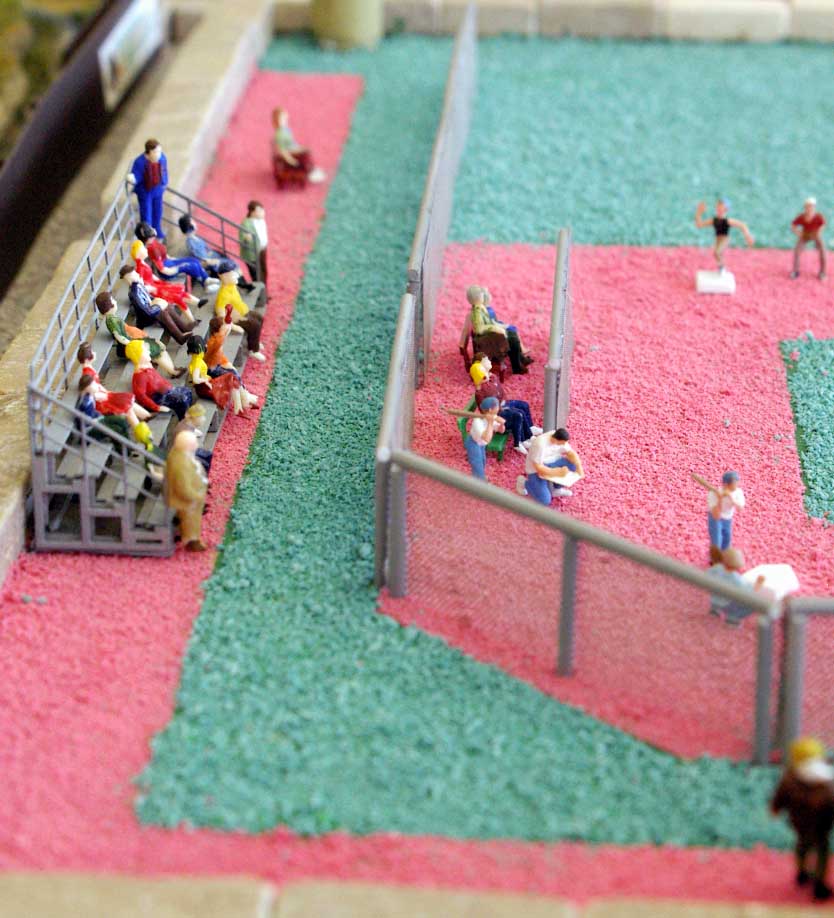
Fans watching.
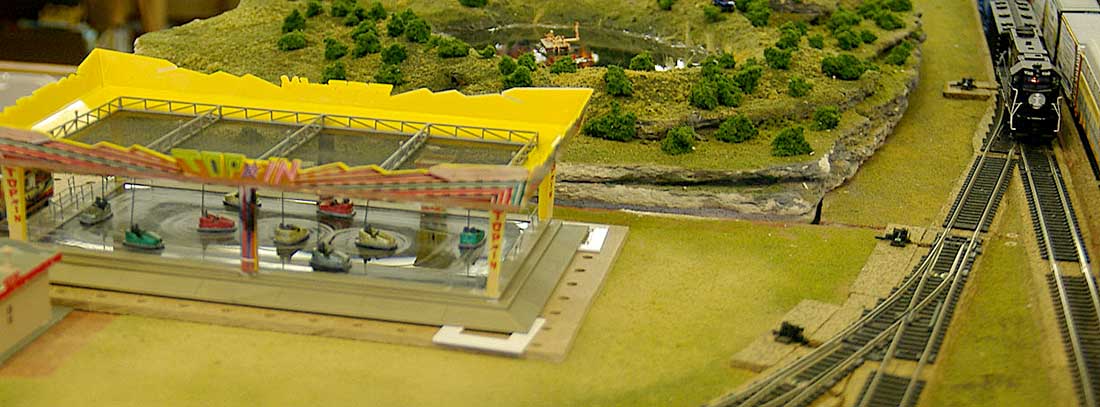
Four years later the display featured a fair. Here is a working bumper car ride.
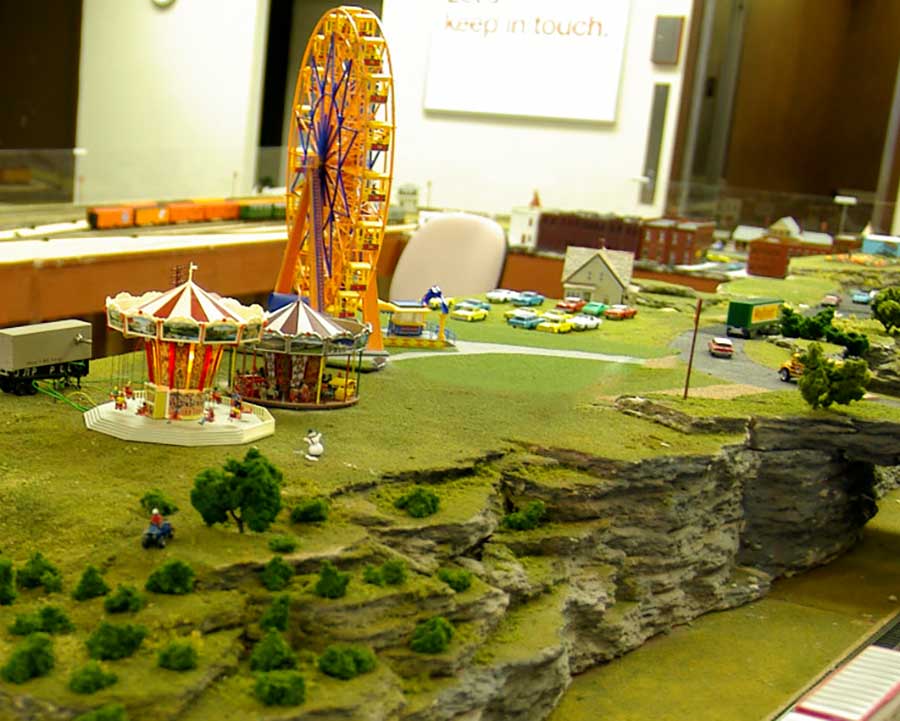
The merry-go-round and swing set and Farris wheel were featured for several years.
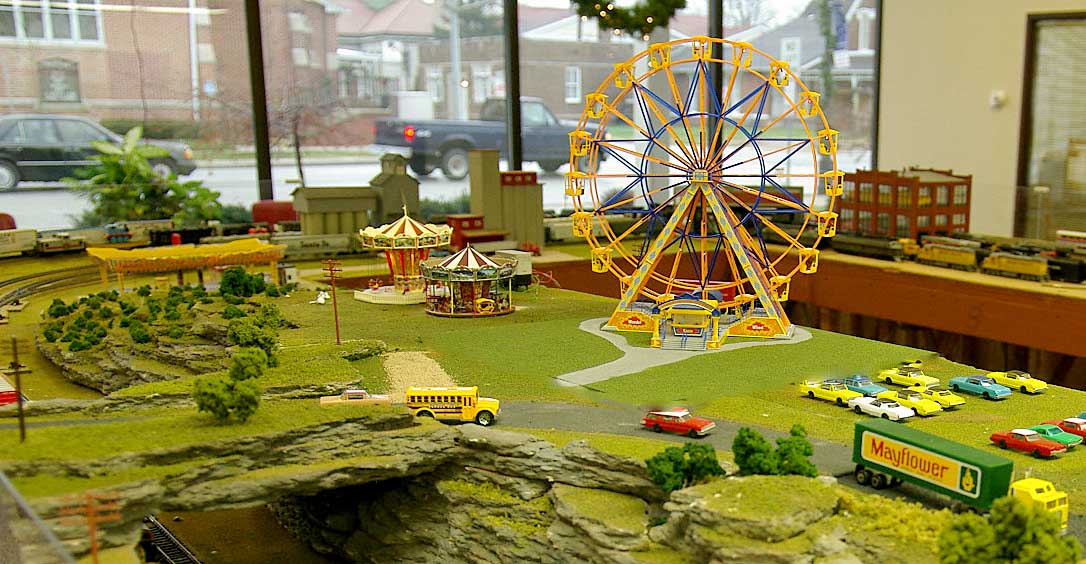
Another view of the rides.
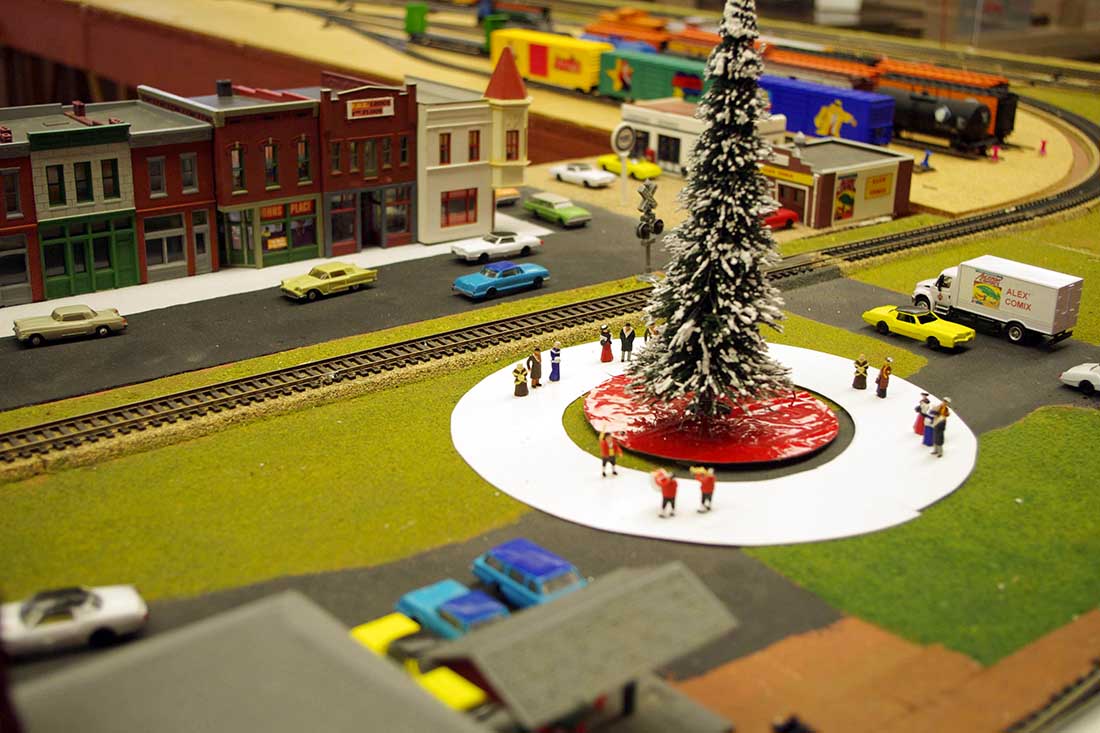
One year we had carolers singing around a Christmas tree.
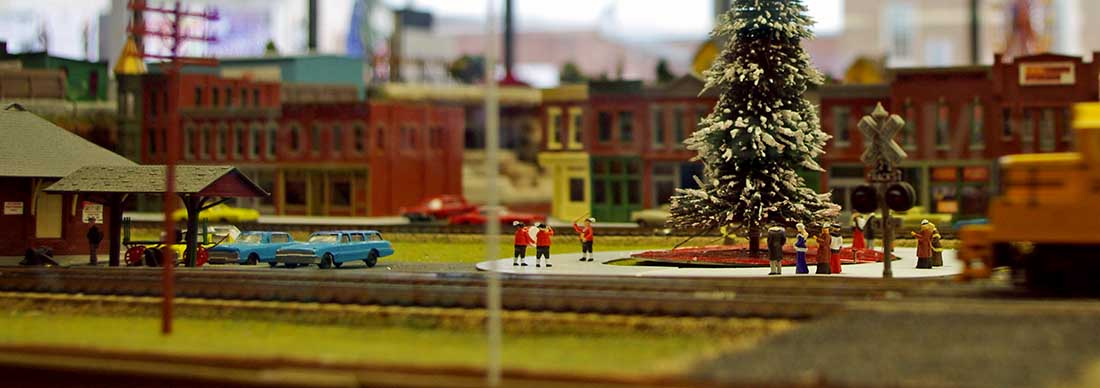
Another view of the singers and small band.
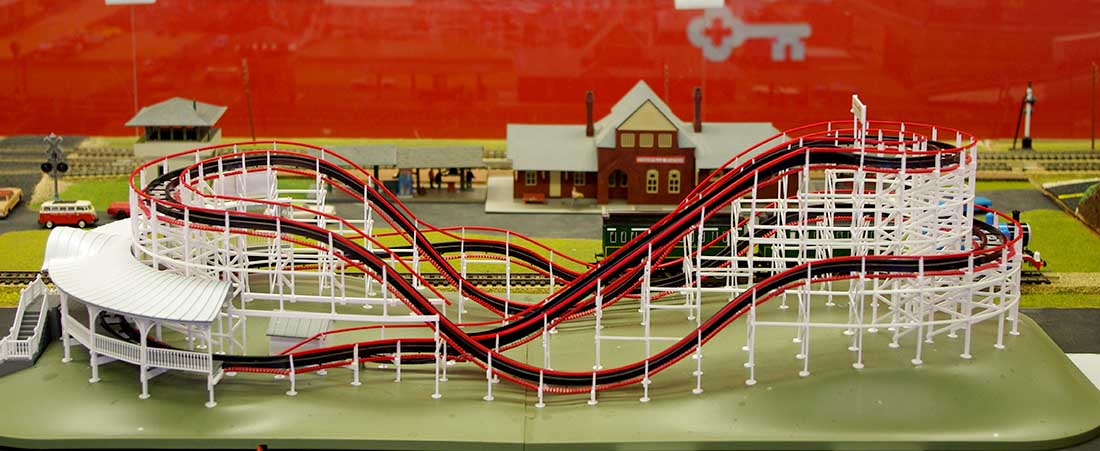
I had an expansion of the fair for two years with the coaster The Comet. This was one of the most difficult models I ever built.
Here are some videos taken this year and one that was from a few years ago when the Indiana University PBS station did a feature.
Dan”
A big thanks to Dan for adding to the model train displays on the blog – you can see his previous post on this here:
That’s all for this time folks.
Please do keep ’em coming.
And if you feel like you’re missing out on the fun, the Beginner’s Guide is here.
Best
Al
PS Latest ebay cheat sheet is here.
PPS More HO scale train layouts here if that’s your thing.
Need buildings for your layout? Have a look at the Silly Discount bundle.