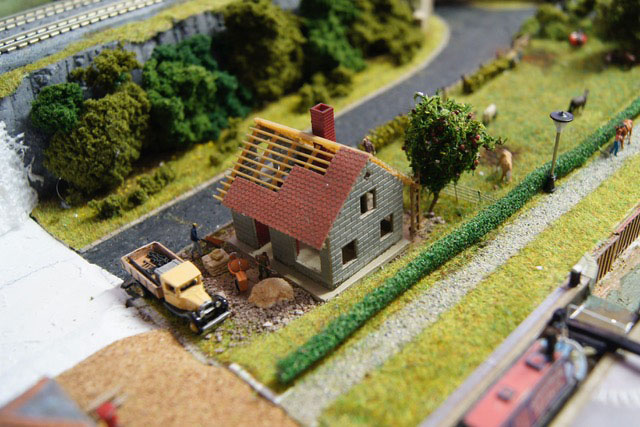
“I have just completed part of a new LED lighting project I’ve undertaken on my N scale SV&GS Railway layout.
It addresses the issue of the valley side of the layout being too dark since there was no direct illumination there.
A prior video you posted on my nighttime operations on the SV&GS made that very apparent to me. So I decided to install LED illuminated lampposts along the park, train platform, roadways and cliffs near some waterfalls.
I also installed LED lighted autos I obtained and modified two buses I had by installing LEDs on the interior to illuminate the passenger areas.”
Common model railroad mistakes – Michael seems to have made them all, just like the rest of us.
The difference is, he’s been kind enough to document them.
And he really has started from scratch again, as many of you do.
His last post, which is called ‘Two years of trail and error’, is here.
It’s worth revisiting it to get a feel of what Michael is doing.
He really is chopping out the bits that he didn’t like – common railroad mistakes we all make:
“Alastair –
I thought I would share a major course correction I am working for my railroad. I played with that configuration for quite a while. I learned a lot, including what I did not like.
I decided there were some significant weaknesses with the old design. That design was basically two large irregular ovals one above the other connected by an incline. The design lacked a coherent “operational story”, in other words, the railroad did not have a clearly defined job to perform.
Also the design was an island design in the middle of a large room otherwise used for storage. I decided the room itself was poorly utilized and there would be no way for me to achieve the “Wow! factor” I was really looking for.
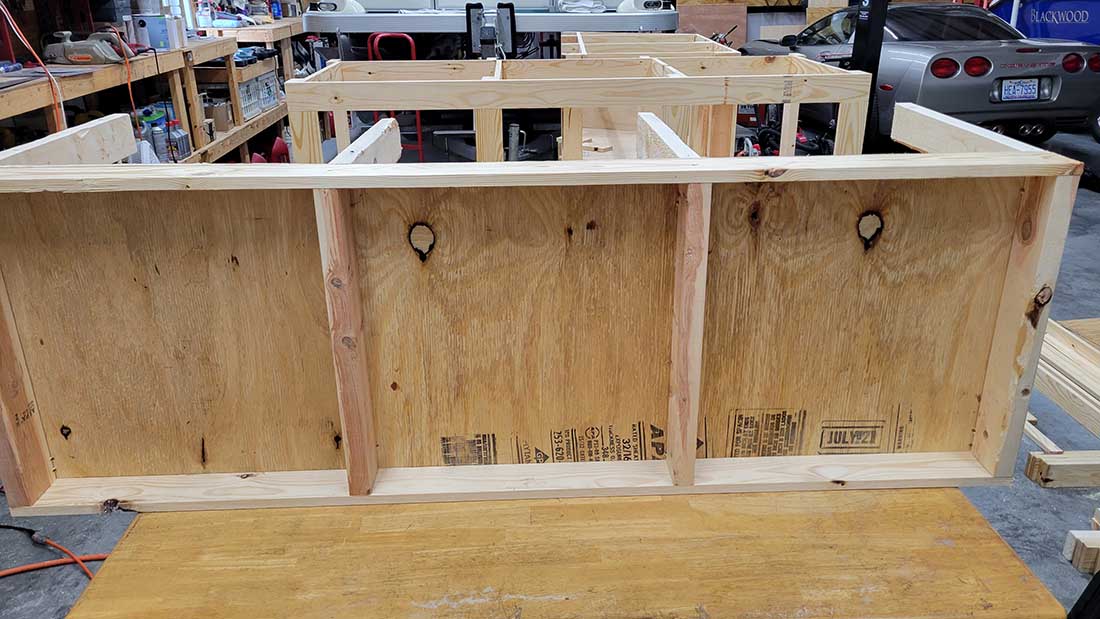
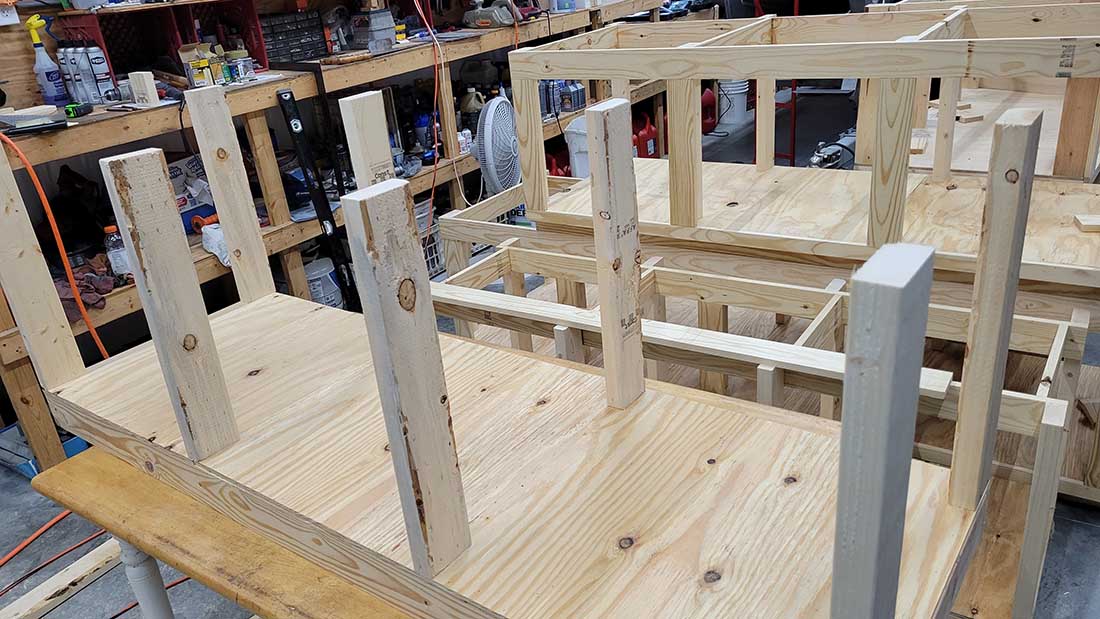
So this past summer I tore it all down; removed all the ugly and junky storage; I had the walls and floors finished and greatly improved the lighting.
While the room was being reworked I designed a brand new around the walls and peninsula design for the railroad.
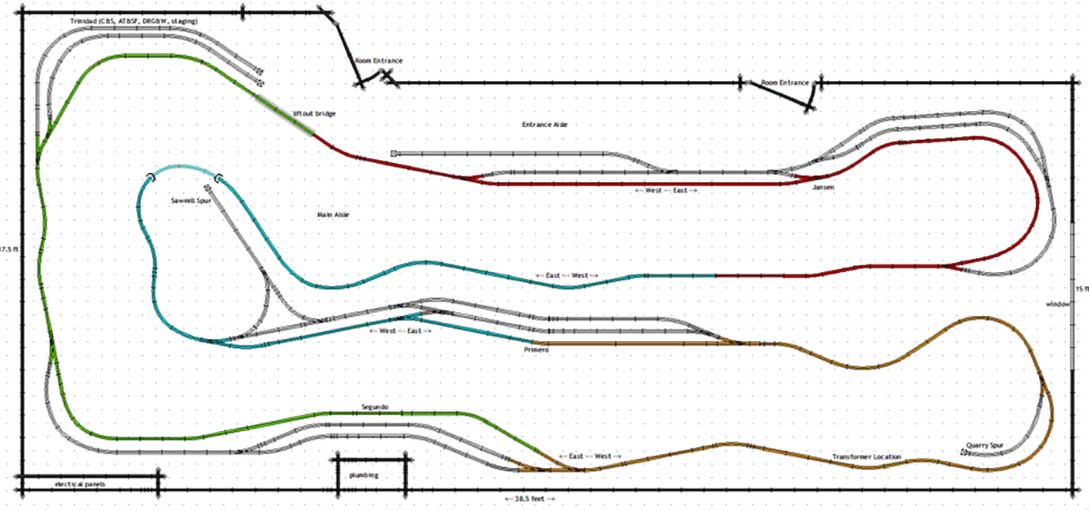
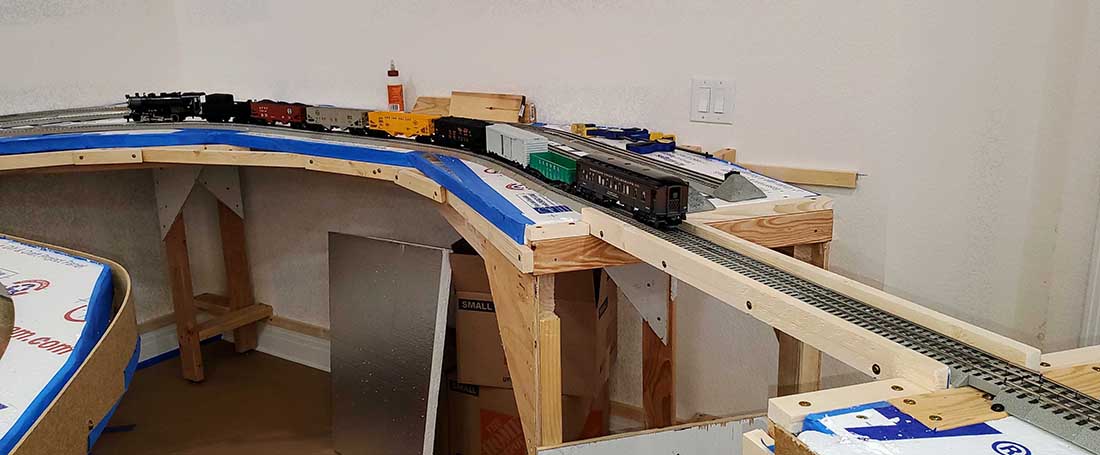
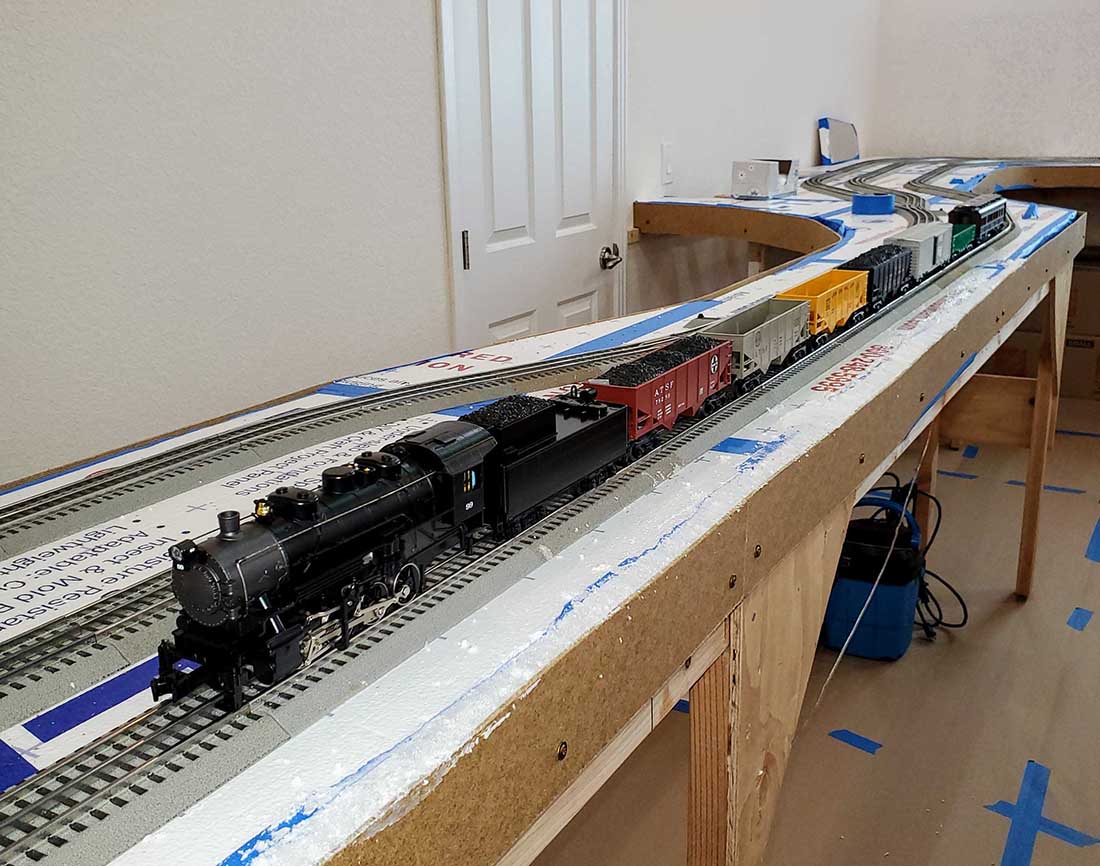
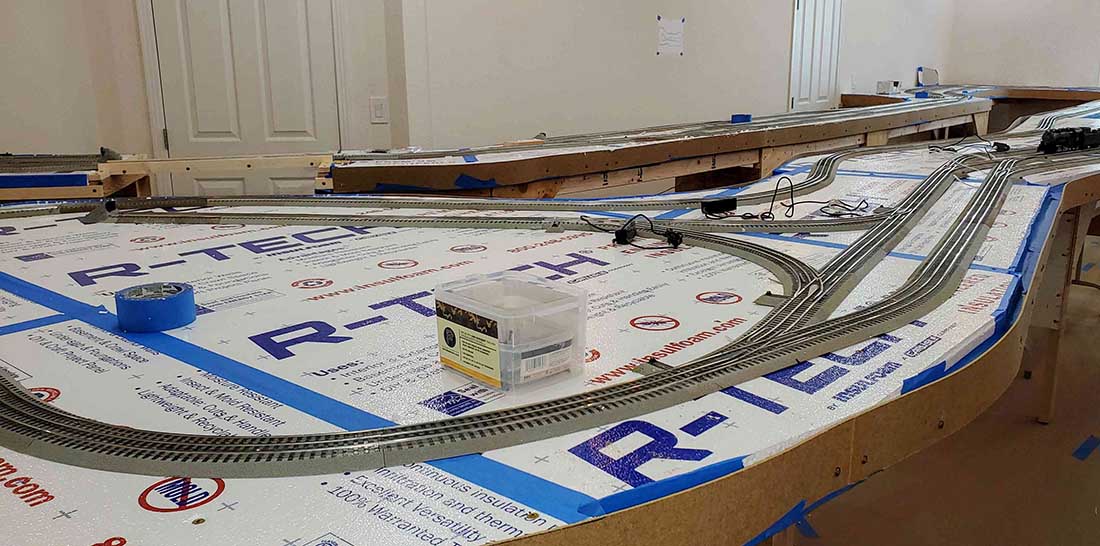
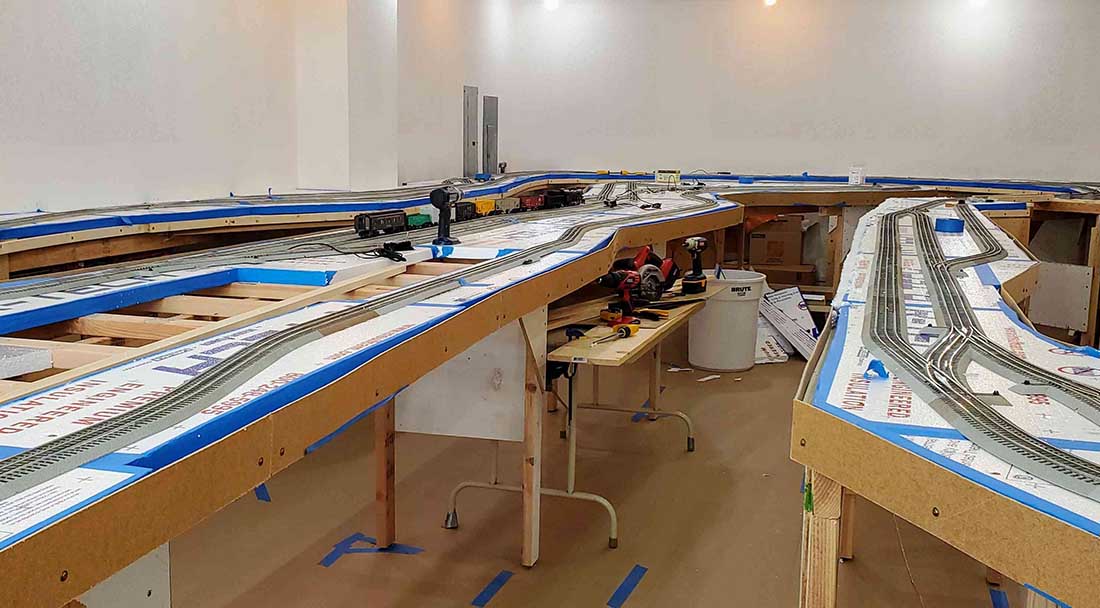
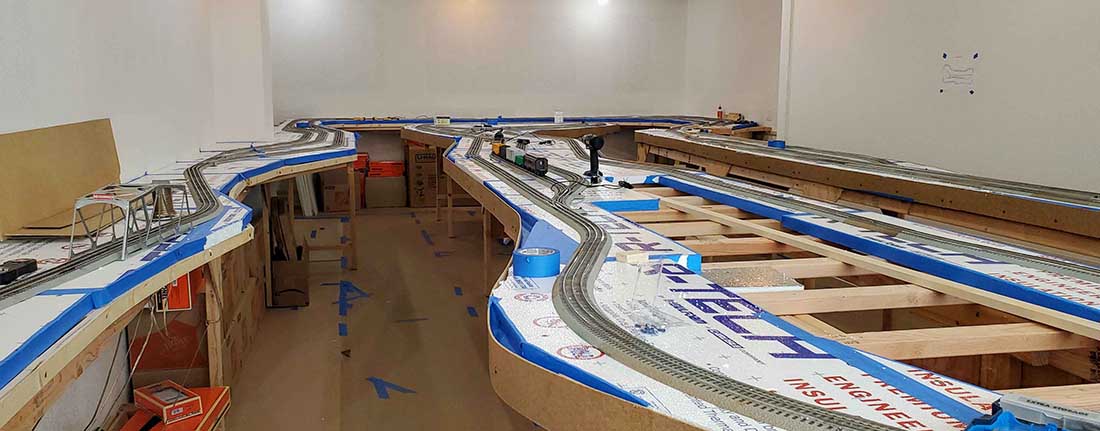
The pictures I am sharing today are of the as-built design on new benchwork before any paint, scenery or structures goes on the layout.
As a reminder, the sole purpose of this railroad is to run my fifty to sixty year old vintage Lionel O-gauge equipment. (HO is not an option!)
The new design preserves all of my original layout goals, but without the common model railroad mistakes.
There are several improvements with this layout:
Much larger footprint;
* old design was 11 x 27 feet, ~300 sq. ft.
* new design is 17.5 x 38.5 feet, ~670 sq. ft.
* Interestingly, the total amount of track is almost the same: just over three scale miles.
The uninterrupted main line is more than a half scale mile longer.
All reverse loops are removed; reverse loops on 3-rail O-gauge aren’t an electrical problem but they do take up a lot of space and can be hard to reach in some areas; they are not particularly prototypical.
Turning trains is accomplished by using a wye.
The incline is removed. This track didn’t get used much and became a source of irritation. The new design is flat all around. I will obtain the appearance of grades using scenery and forced perspective. Additionally, having a grade is not operationally important in this case.
Simplified wiring.
Larger more sweeping curves; longer straight sections.
Can reach all track easily.
Better designed aisles; The narrowest pinch point is 21 inches wide, and there are many areas where the aisle width is greater than 36 inches. So there is plenty of room to walk around. The interior main aisle is accessed using a very simple lift-out bridge.
Benchwork is about 7” higher than before.
The biggest improvement is in the operational story.
This railroad is very loosely based on the Colorado and Wyoming Southern Division.
The Southern Division carried coal from the mine at Primero, to the coke ovens at Segundo, and then onward to the Colorado Fuel and Iron steel mill at Trinidad. There were interchanges at Jansen and Trinidad with the Colorado & Southern, AT&SF, and Rio Grande railroads.
The new design includes areas on the track for Primero, Segundo, and Jansen and provides for interchange traffic using the two staging tracks labeled Trinidad. With this design the railroad has a clearly defined job moving coal, coke, steel and other products between the different locations.
I’ve worked out a good deal of operational detail (at least on paper).
The overall plan and room outline drawn in SCARM
View of Trinidad and lift-out bridge
View of Jansen
View of wye at Primero
View of train room from Janson
View of train room from Quarry spur
Enjoy!
Mike”
Now on to Lawrence:
“Al
My O scale train layout is still in progress.
Delay has been due to
1) covid problems
2) working on train puzzles and crosstitch
3) leather holster generation.
There is title pages, a number of pictures, and then video of trains moving.
Thanks for all that you have done for all of us that receive your daily emails. You are surely appreciated.
Thanks
Lawrence, Madison Virginia”
A big thanks to Mike and Lawrence.
I do enjoy seeing all your updates, corrections and ideas.
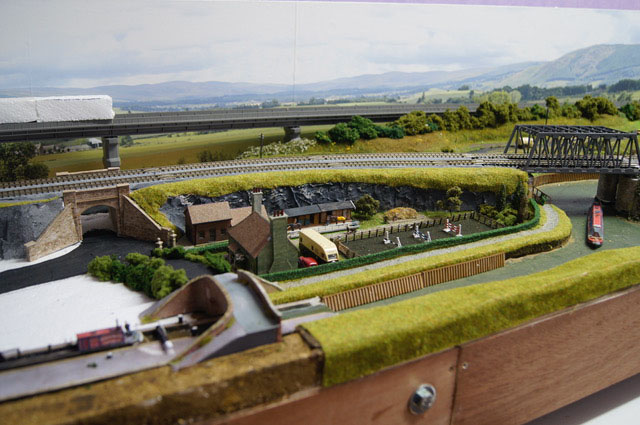
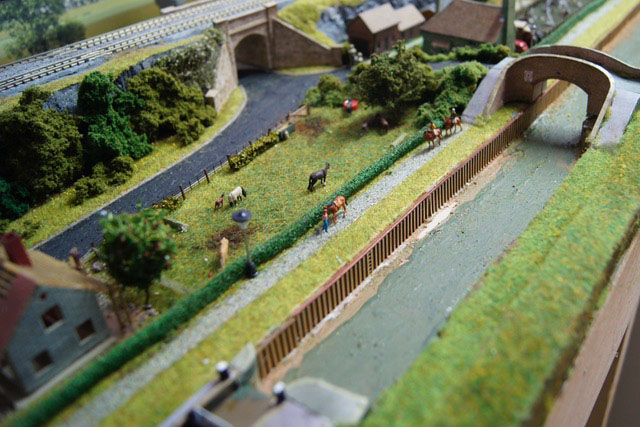
Thought you might be interested in my modelling skills, I started on my latest layout after my Daughter left us to go and live in Australia.
I already had layout 6’x2’ in a small room upstairs so I moved into her room which was some 18’ longer and decided to add to it.
So I bought two 6’x3’ boards and started to build.
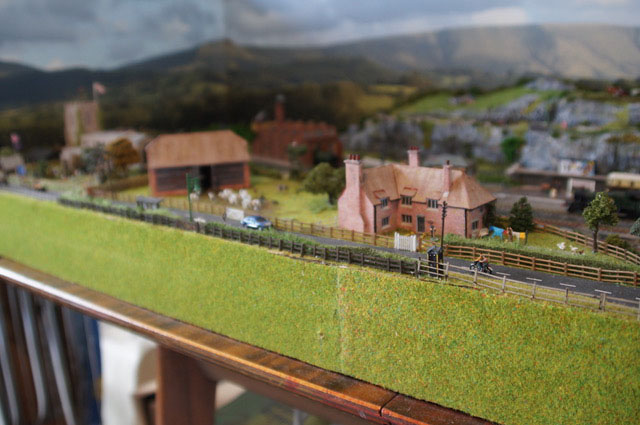
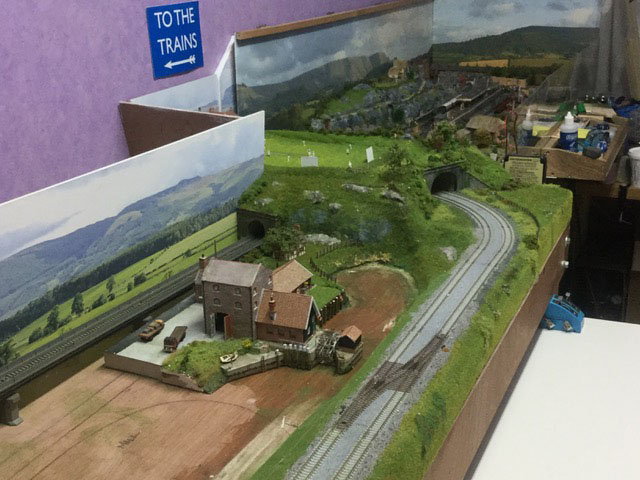
The layout of old was called Meadow Falls and is a small end of line station and surrounding countryside.
I decide to join it to the larger layout I was building so that it would run to a small station at the other end of the layout with a small station and turntable, the gauge for both being N Gauge.
Then I when on to my main board which I am still working on but have at present got Carpal Tunnel Syndrome in my Right hand so it is making the job very difficult
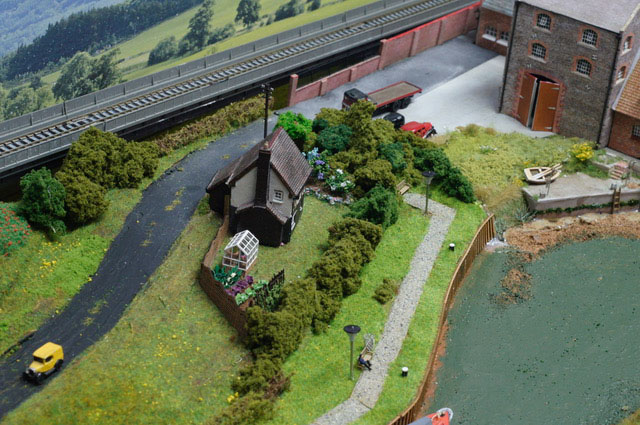
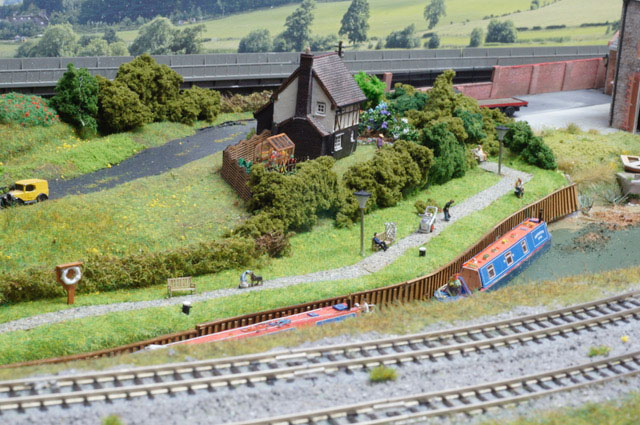
The Mill is based on the one in Battlesbridge, Essex but the remainder of the layout is form my imagination and with the help of input from my Daughters, hence the riding stables.
I still have a lot of work to do as the far end at the left has scenery and a stone etc to build. But until I have had and operation on my wrist it will all have to wait a while.
I run mainly Graham Farish and Dapol on a DCC unit by GaugeMaster on the extension , but Meadow Falls is DC. The track and points are all Kato.
Hope you have enjoyed my pics if the want to see more please contact me.
Keep up the good work it really helps us to get so enthusiasm to continue with our work.
Yours Sincerely
Barry”
A big thanks to Will and Barry.
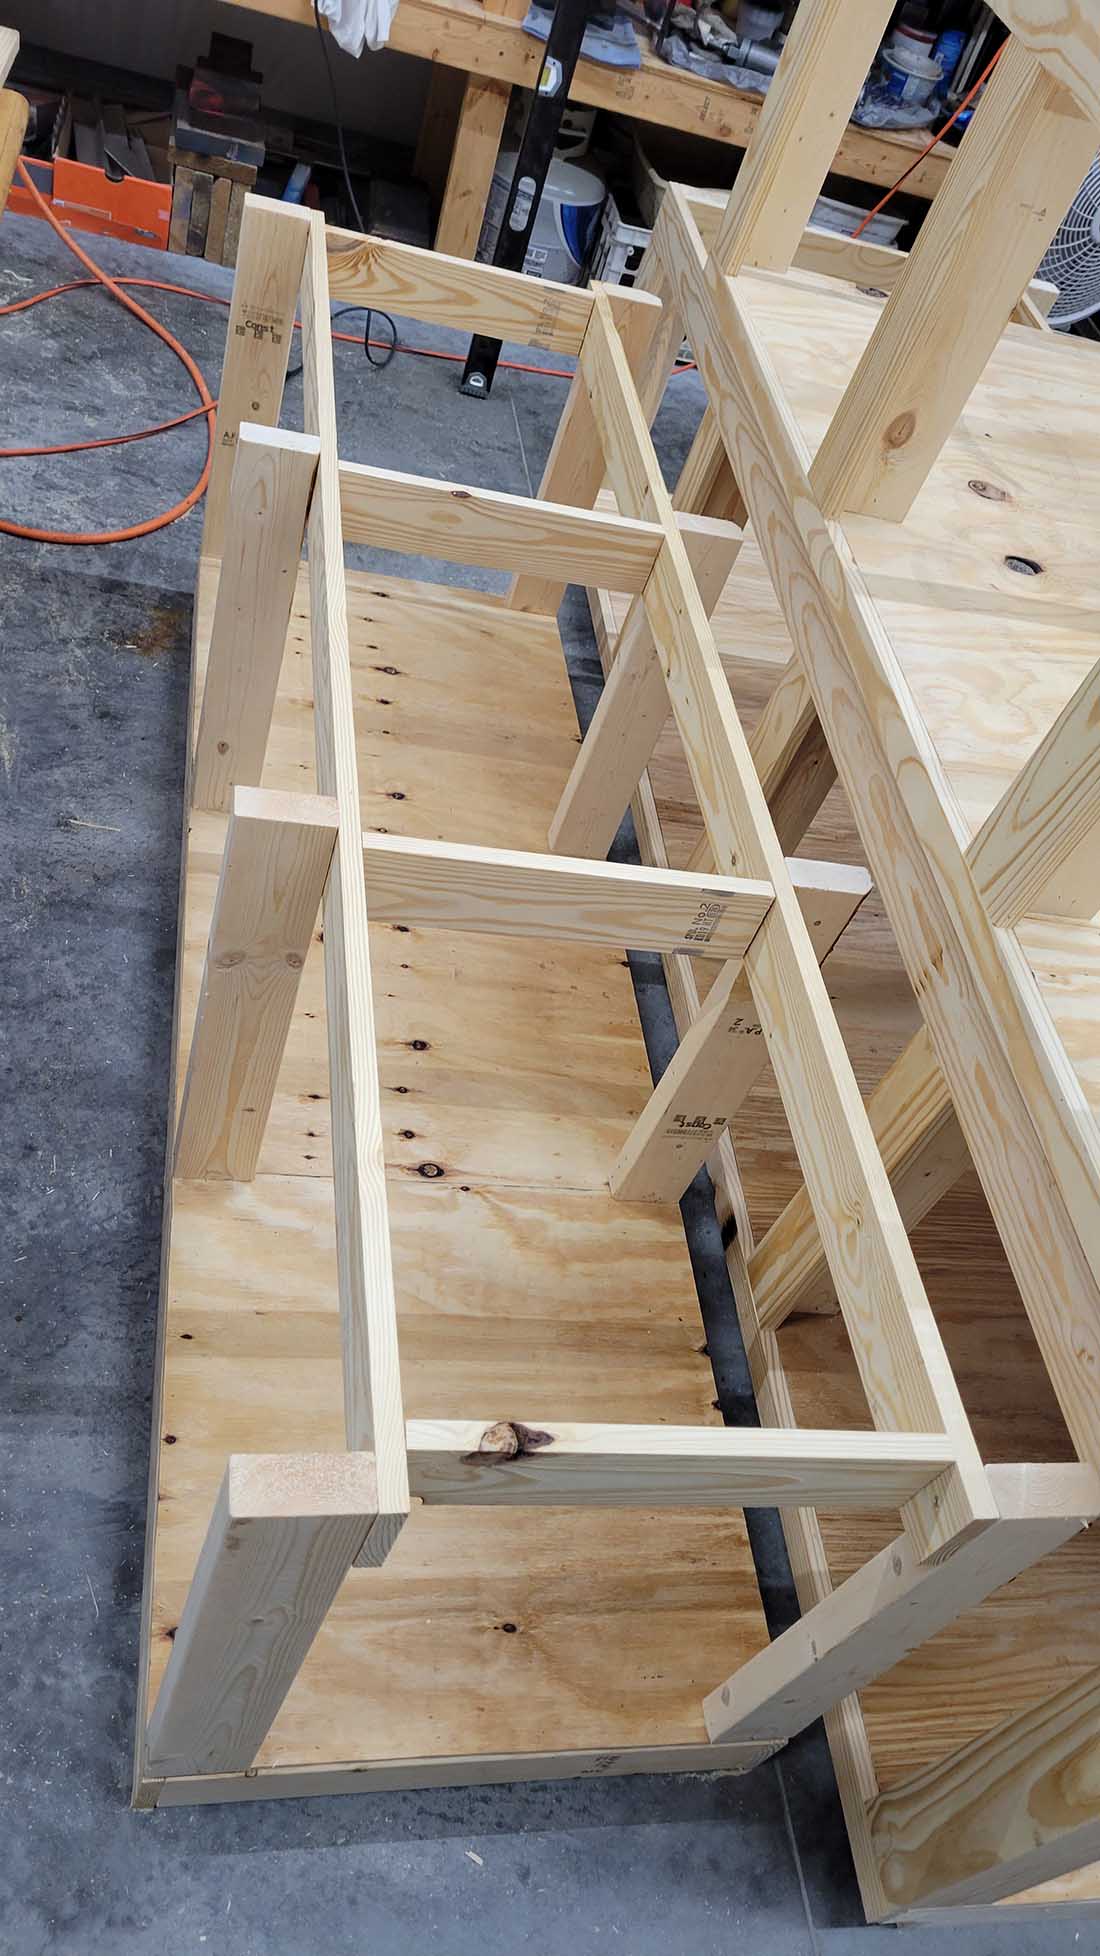
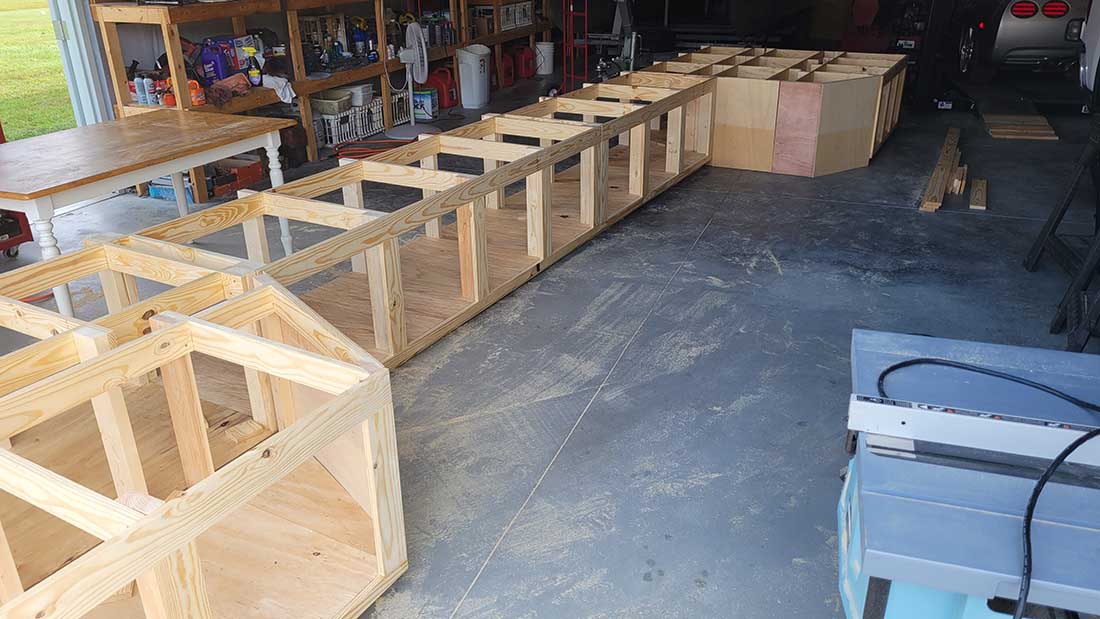
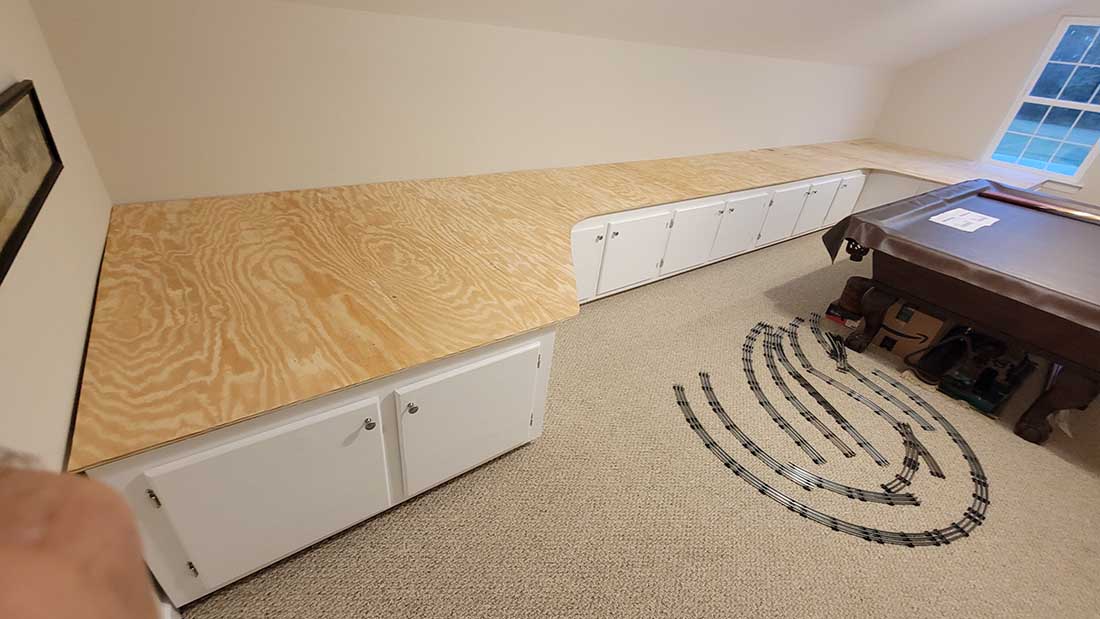
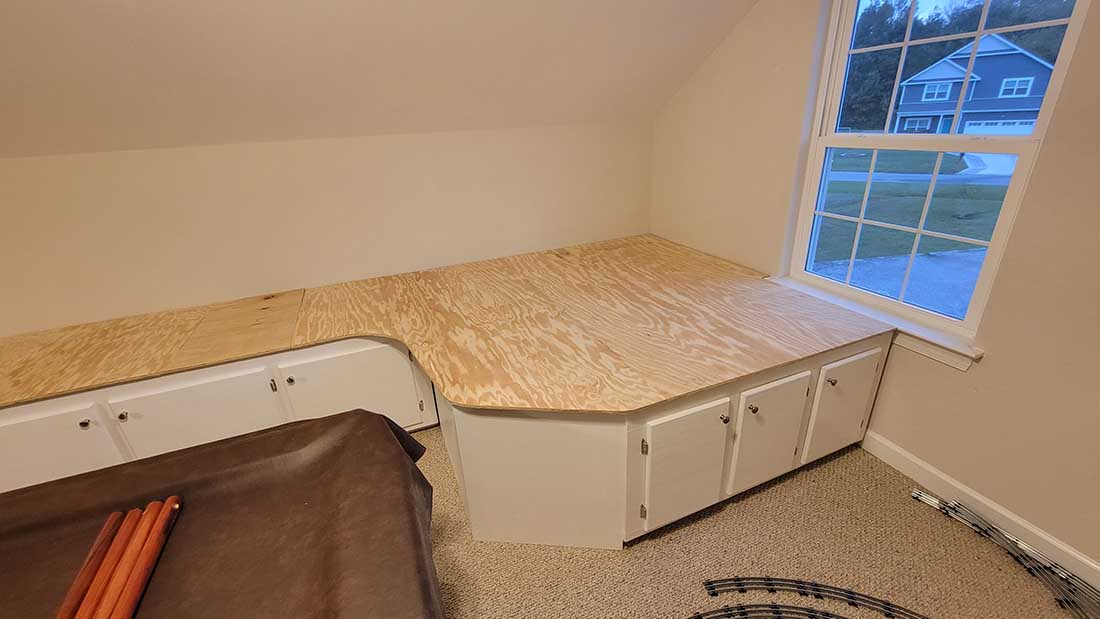
I know some of you will wonder why I post pics of benchwork. It’s because, if you get your bench / table / platform wrong, you’ll soon give up. Too high, too wobbly, too low, not level, too wide (access!), the list goes on and on… and they all drive you nuts.