Ray’s been in touch with another fab update – and if you’ve ever wondered how to run multiple trains on one track, just do what Ray did…
… make a start and enjoy the problems a layout throws at you.
Here’s his first post if you want to see just how far Ray has come:
I love seeing how the problems melt away over time and a beautiful layout magically appears.
“Hi Al,
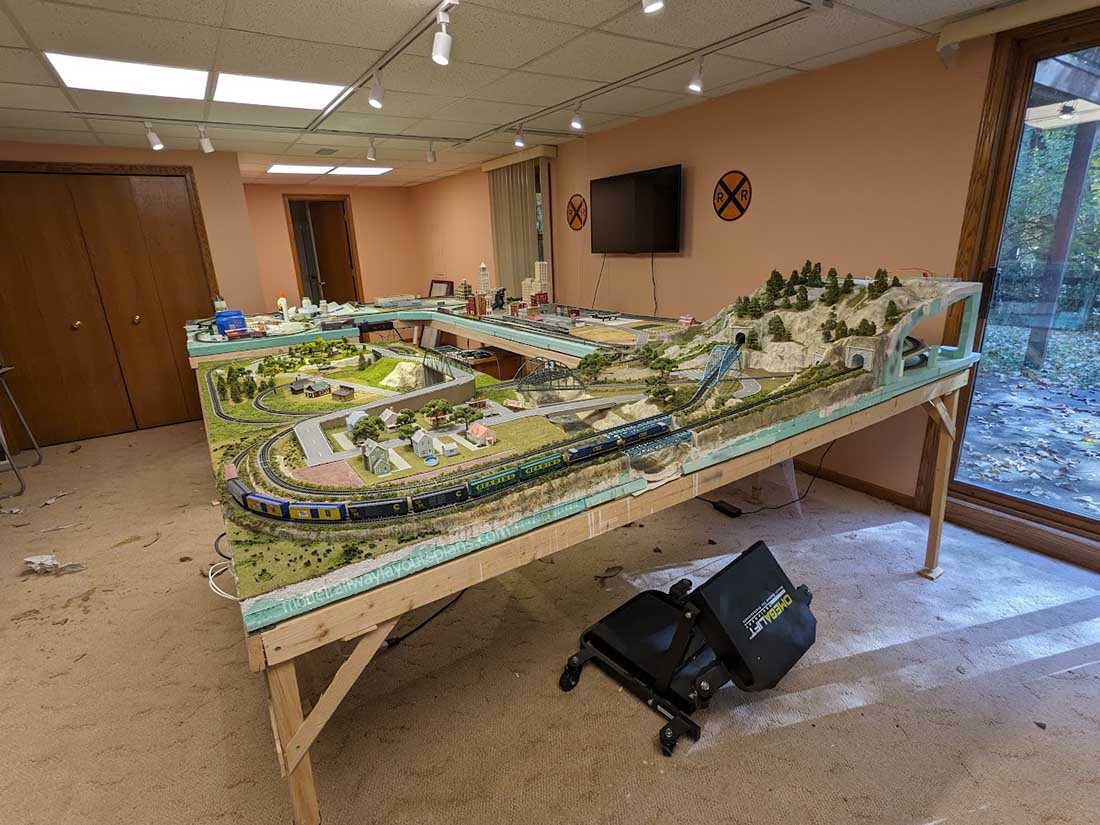
It’s been 7 months since my last update and I have got a lot accomplished since then!
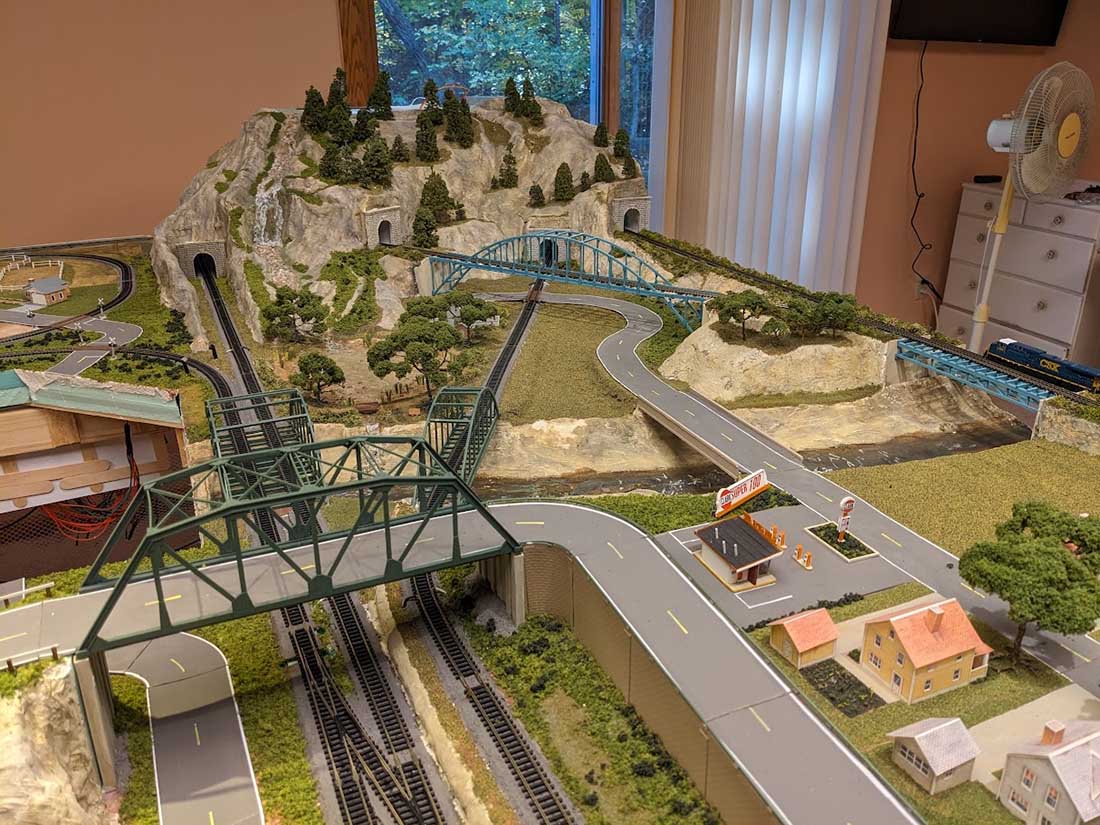
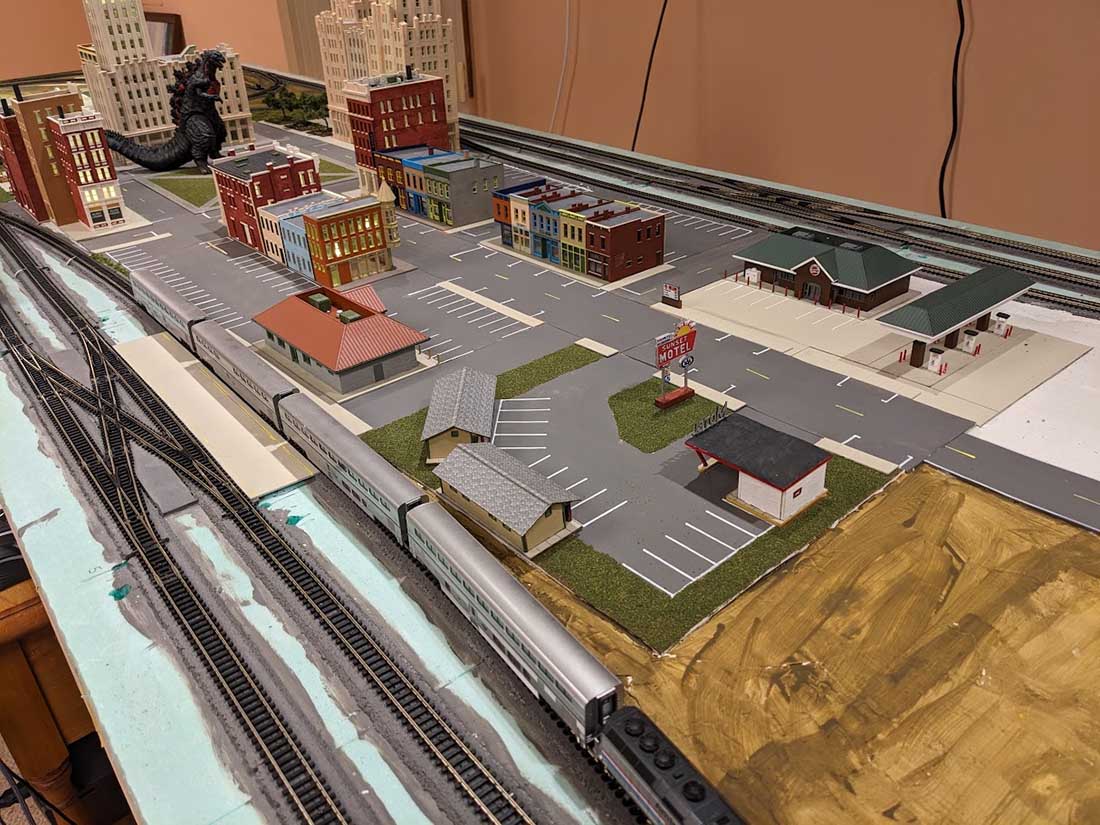
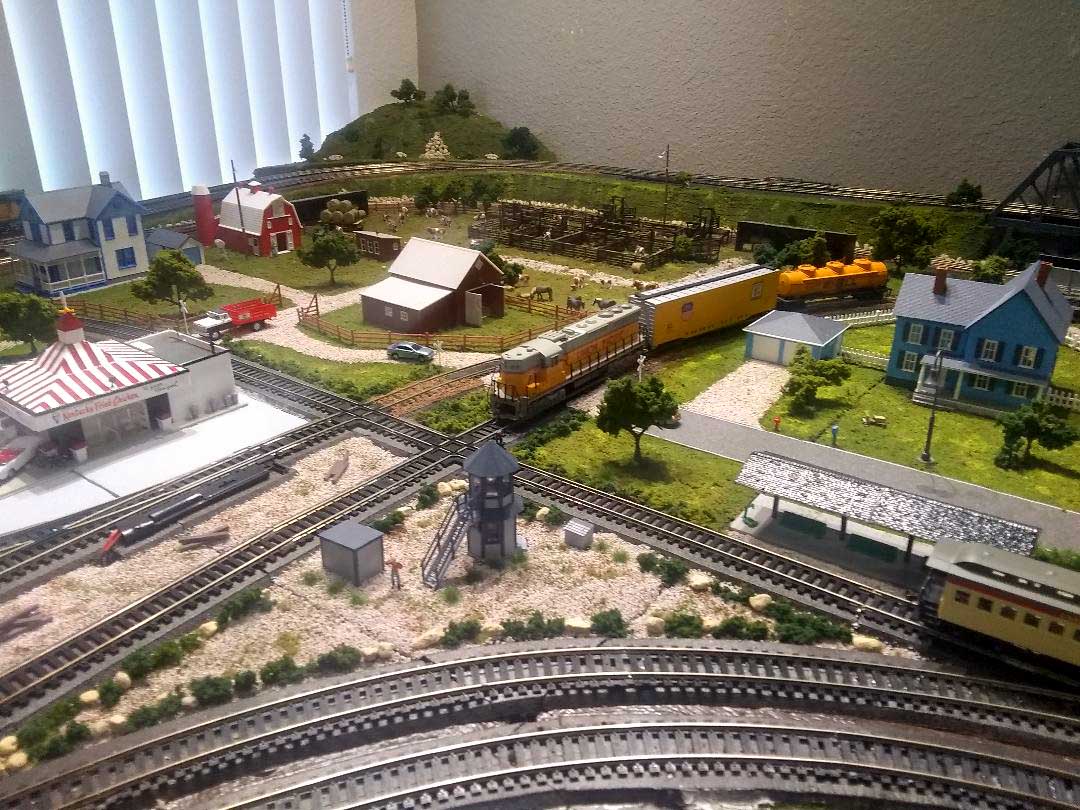
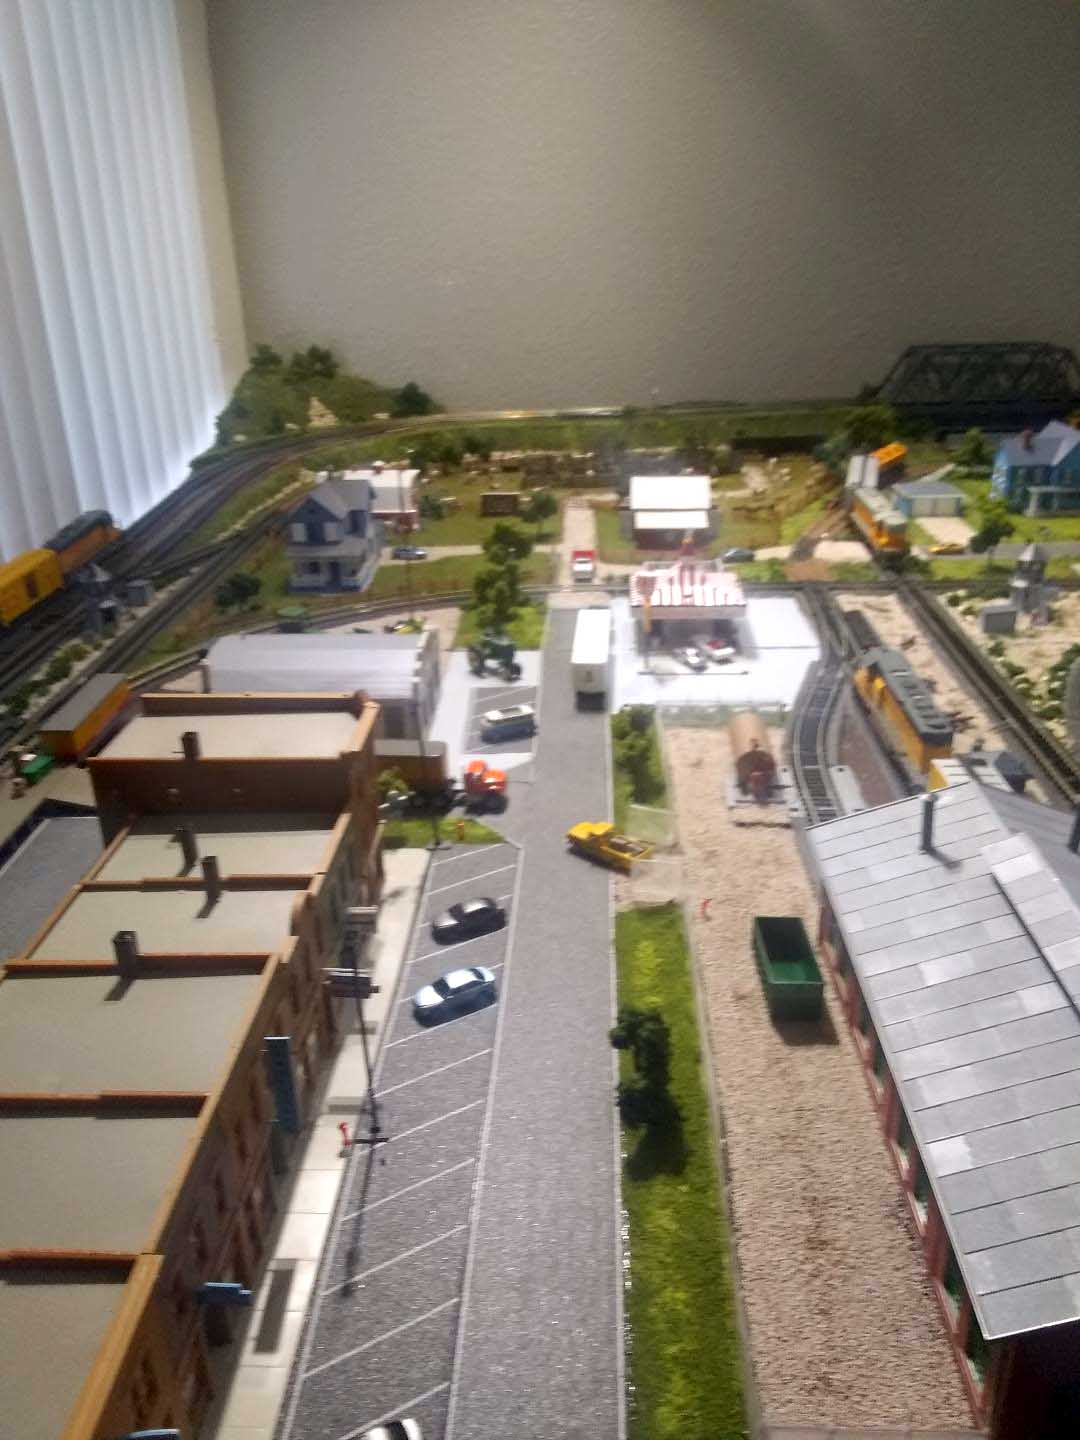
I’ve added a commercial district to the last 4’x4′ section of my layout, I am really proud of the donut that I painted on the donut shop as well as the roof on top of the Kentucky Fried Chicken restaurant!
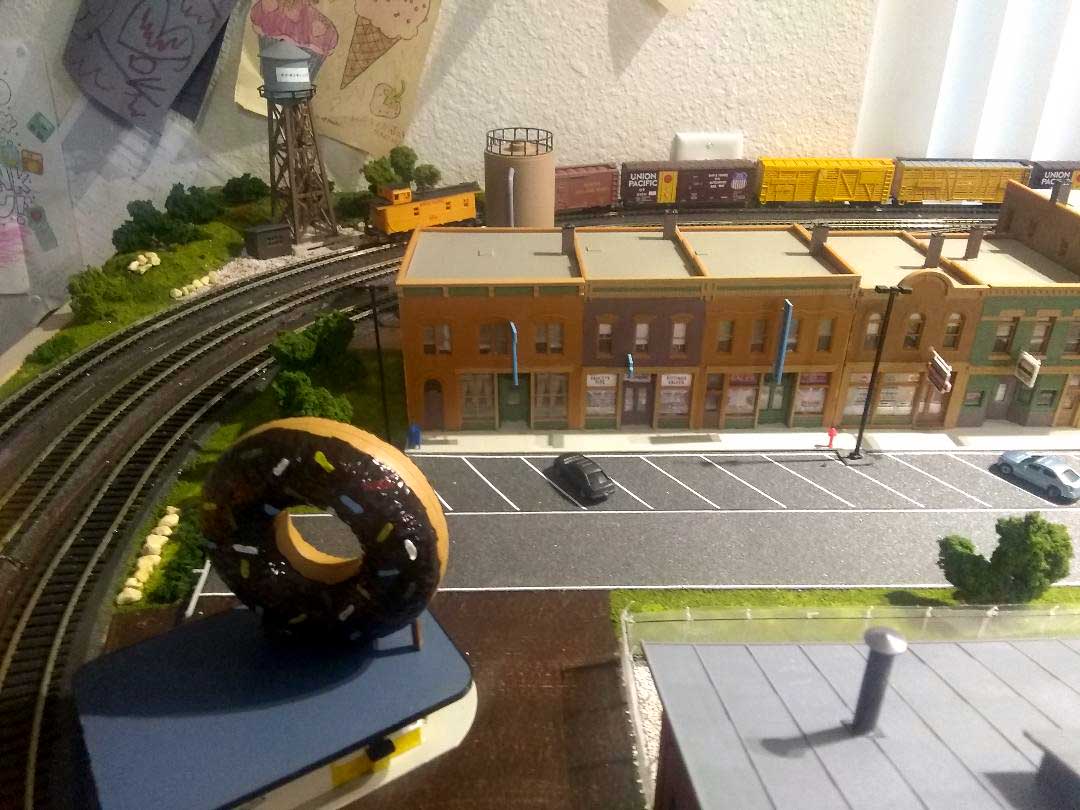
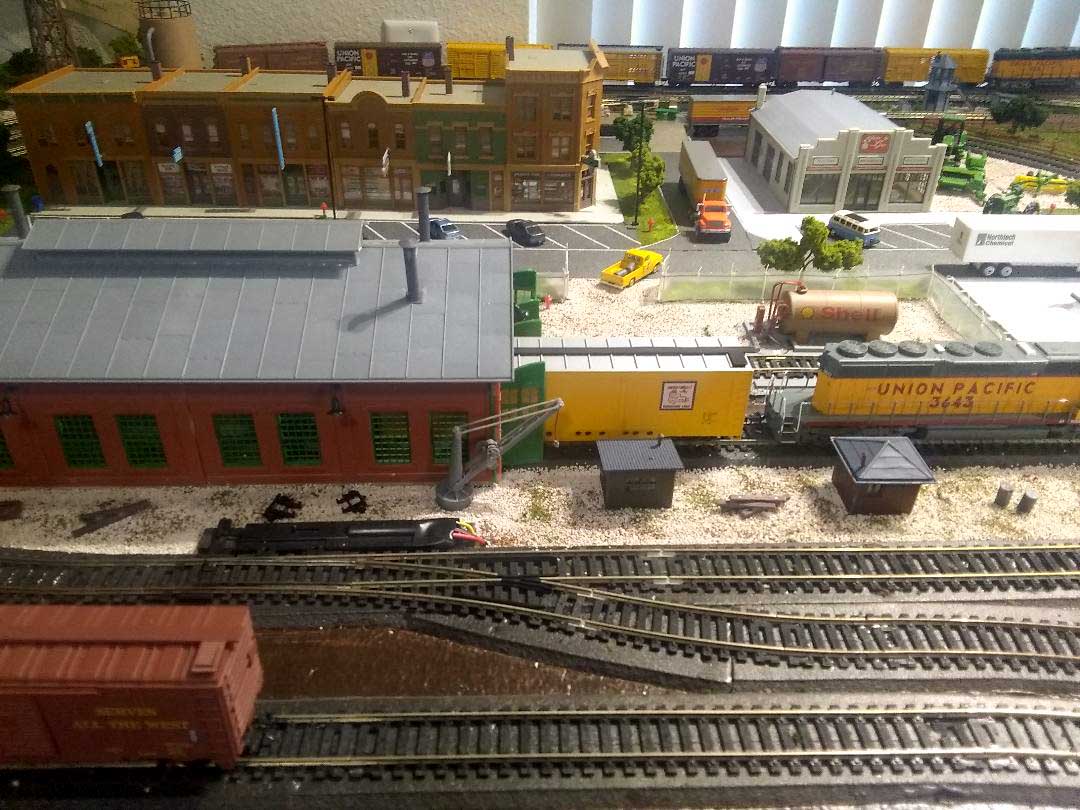
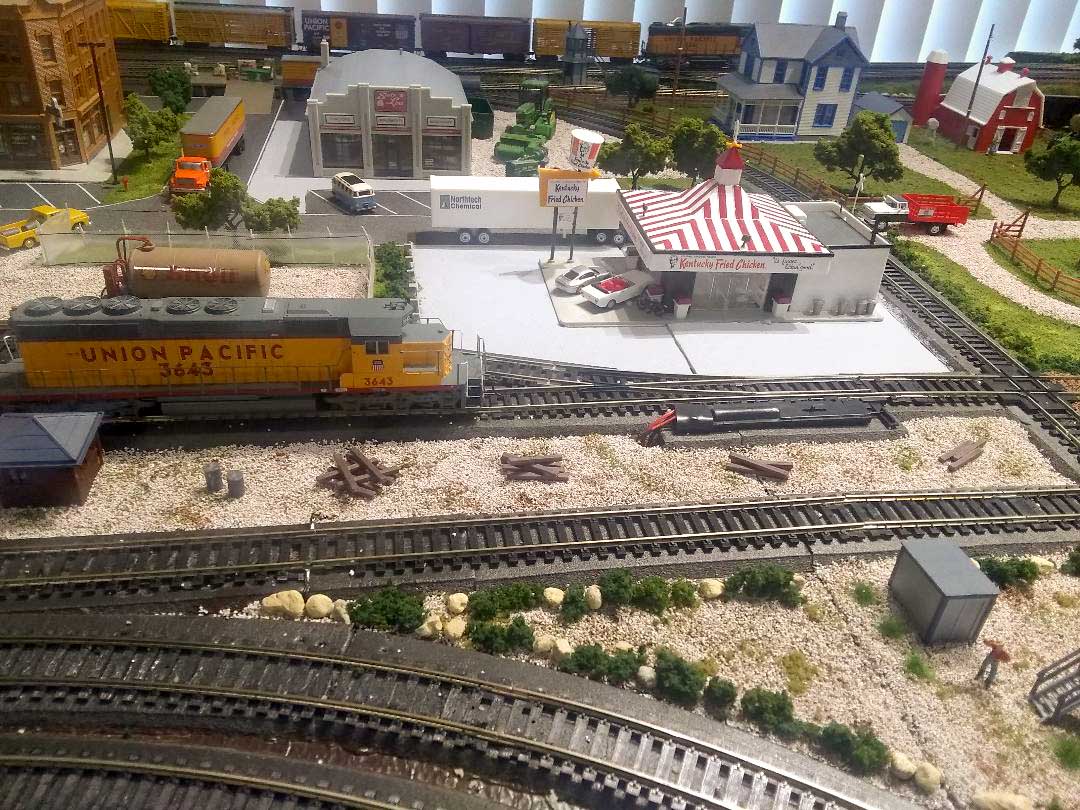
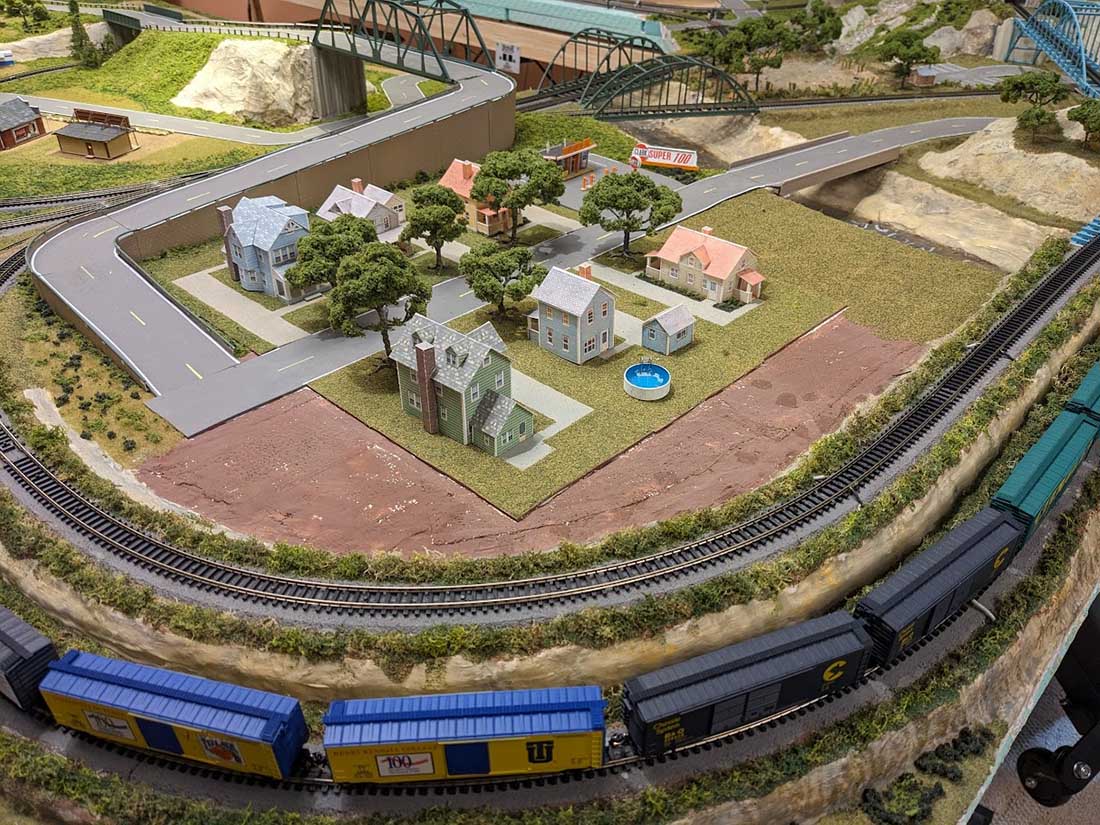
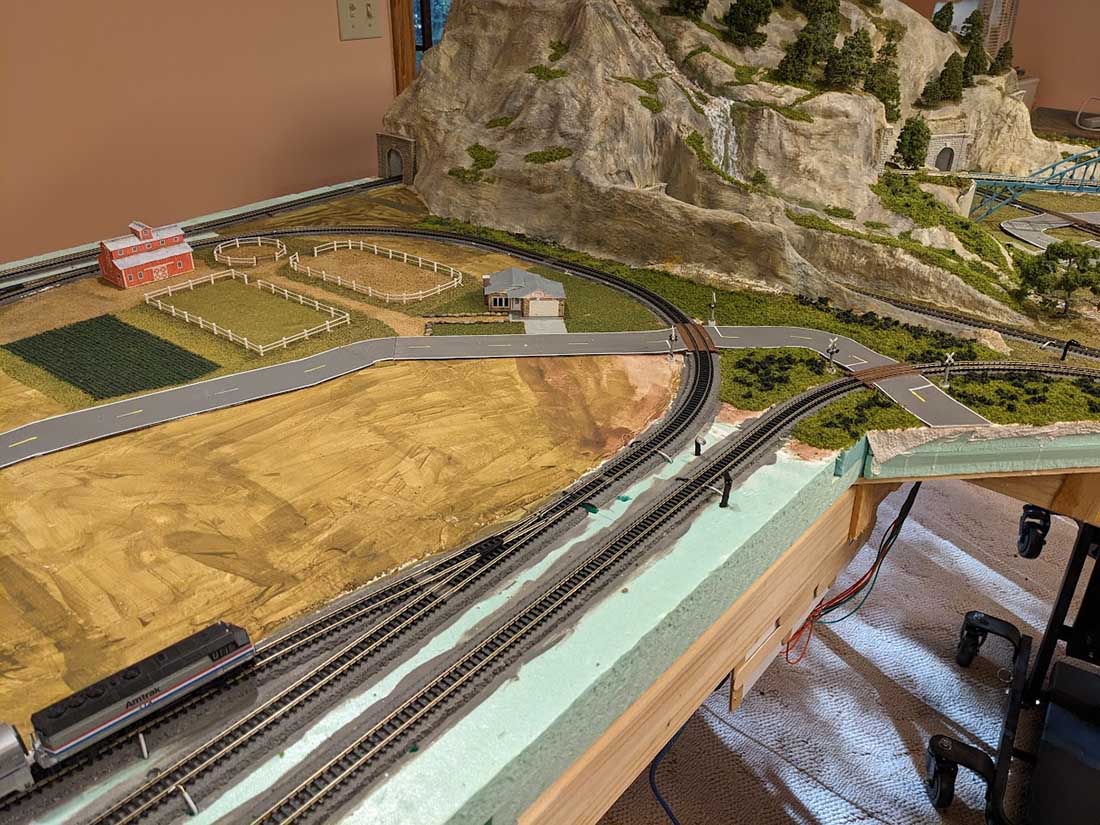
I managed to fill in my corners which I thought would be difficult but it was easy and I think they turned out well;

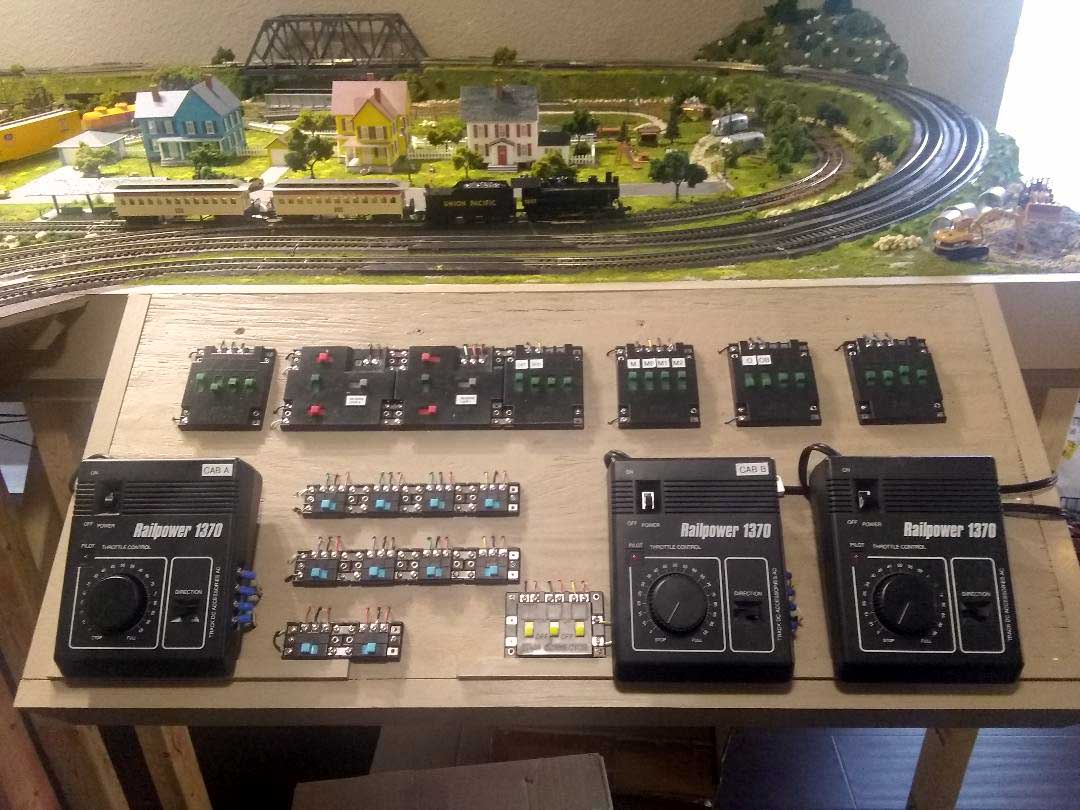
I’ve updated my control board, so I can run 3 trains at once, one on each loop!
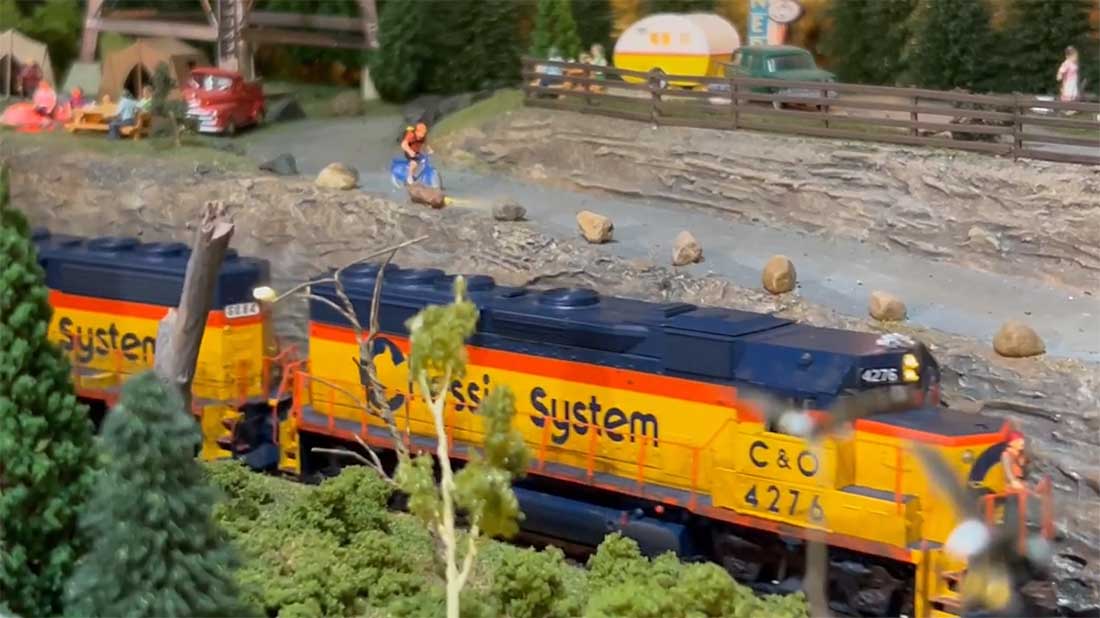
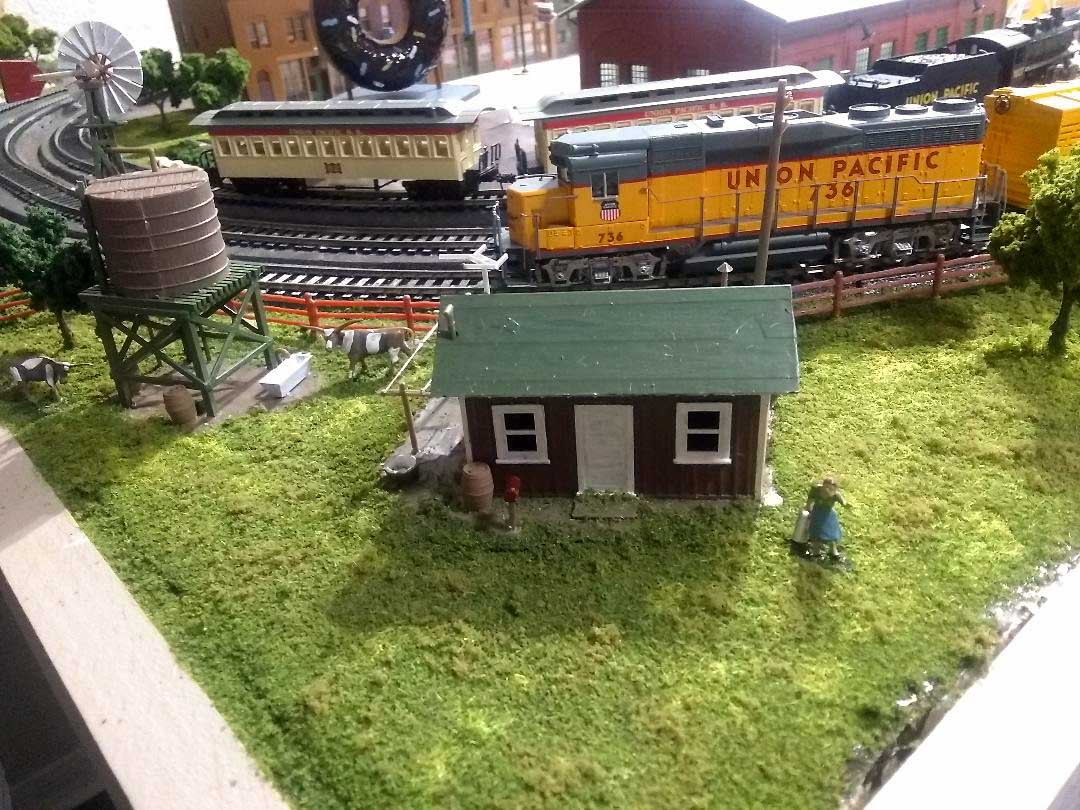
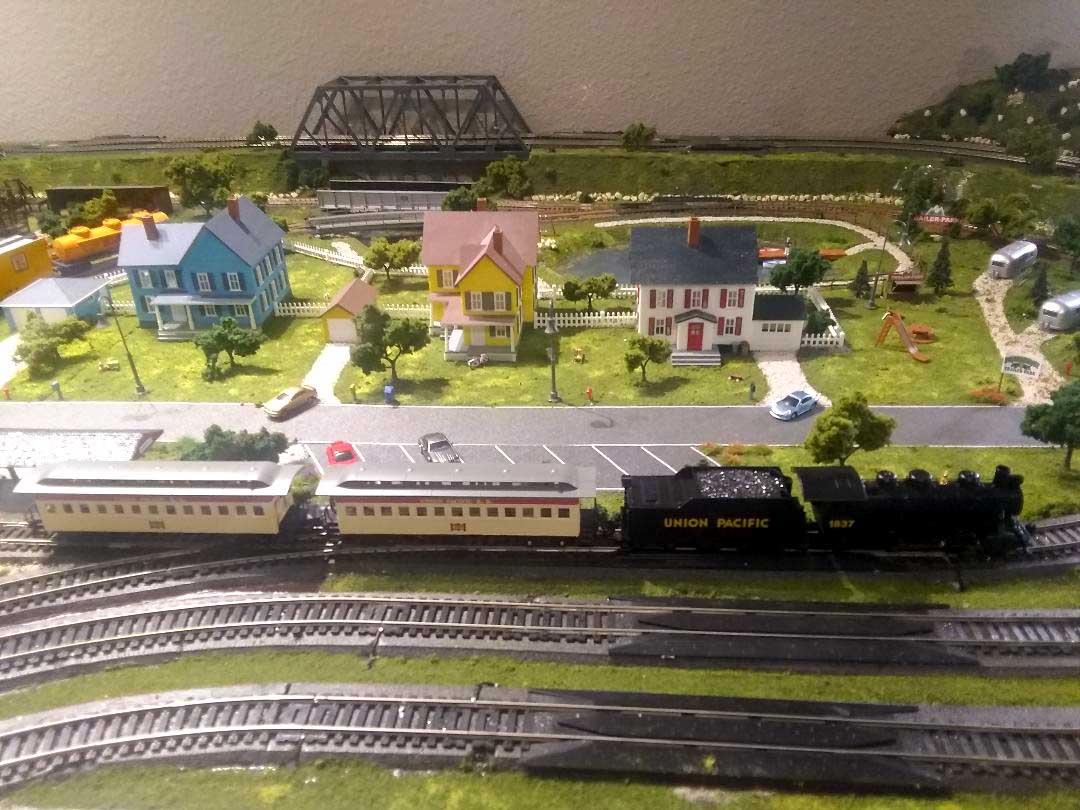
I’ve added a steam locomotive to pull my two passenger cars! It’s a small 2-6-2 but it blows smoke!
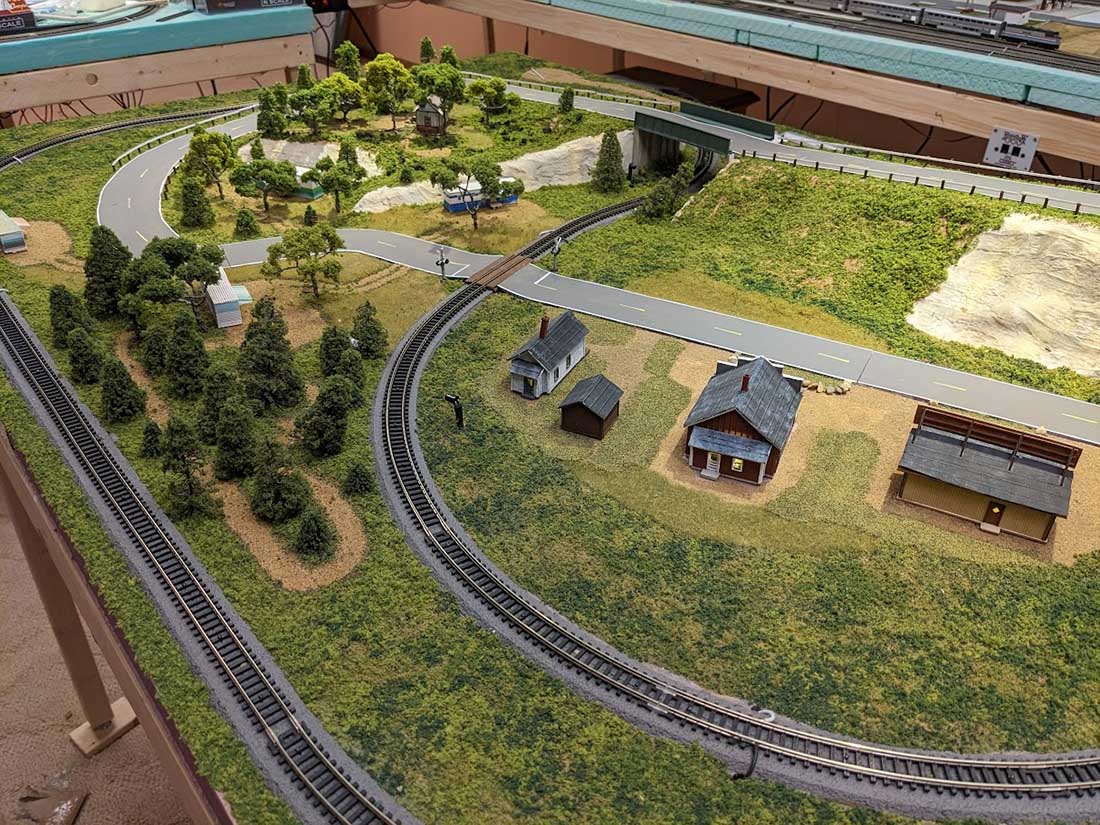
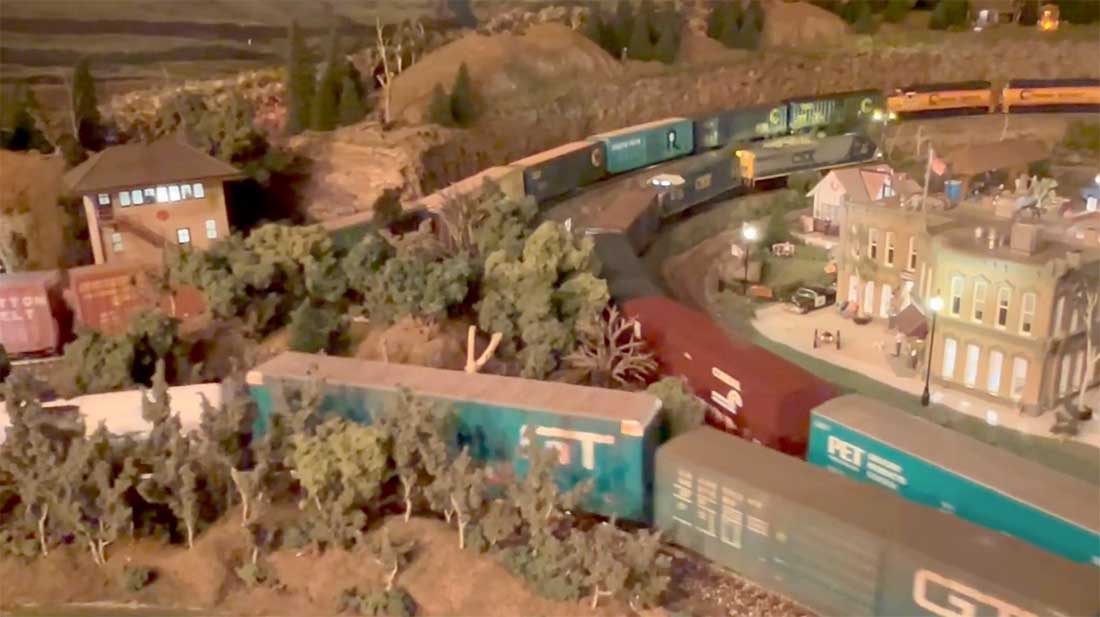
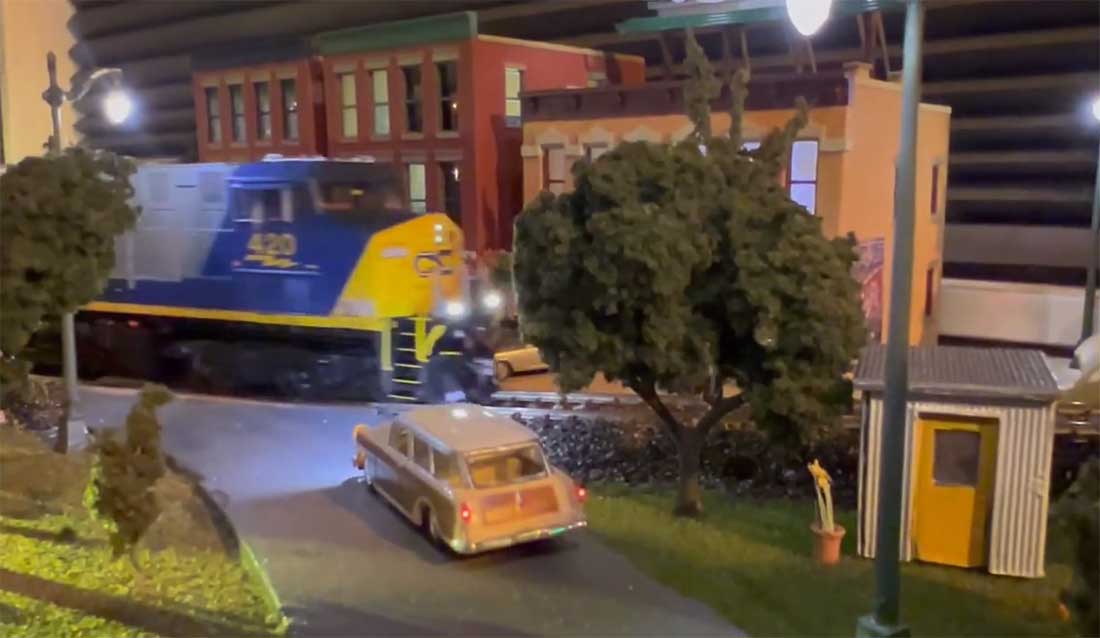
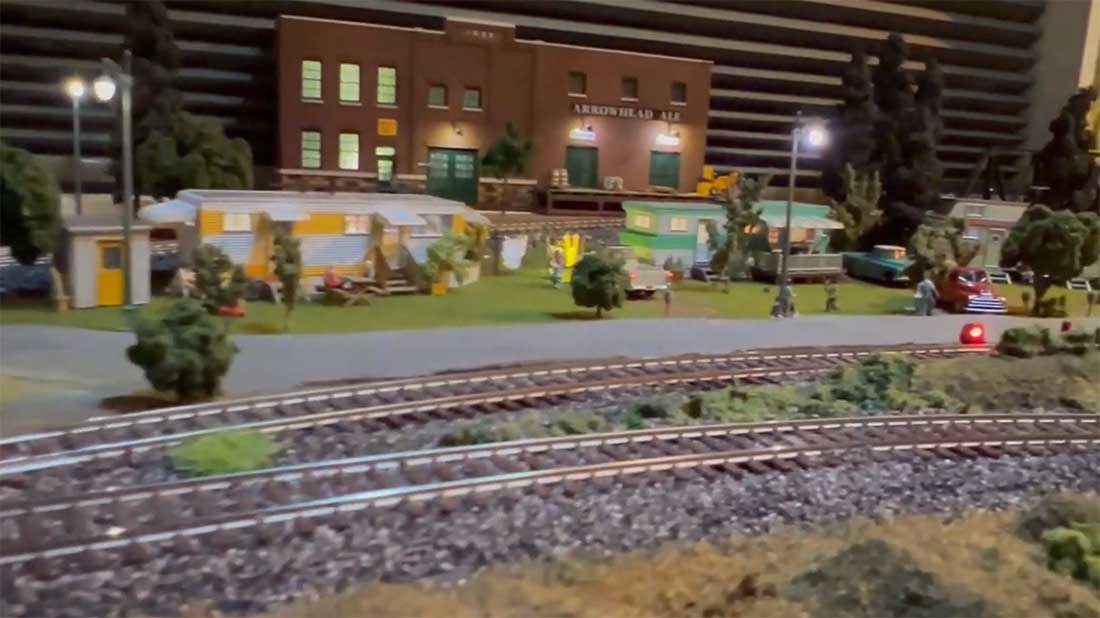
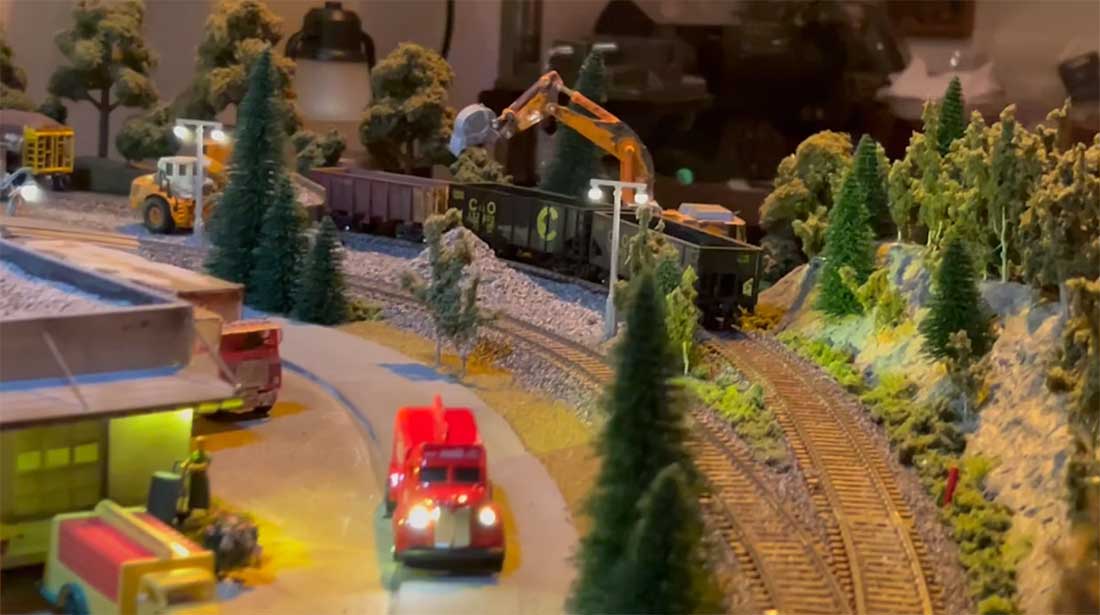
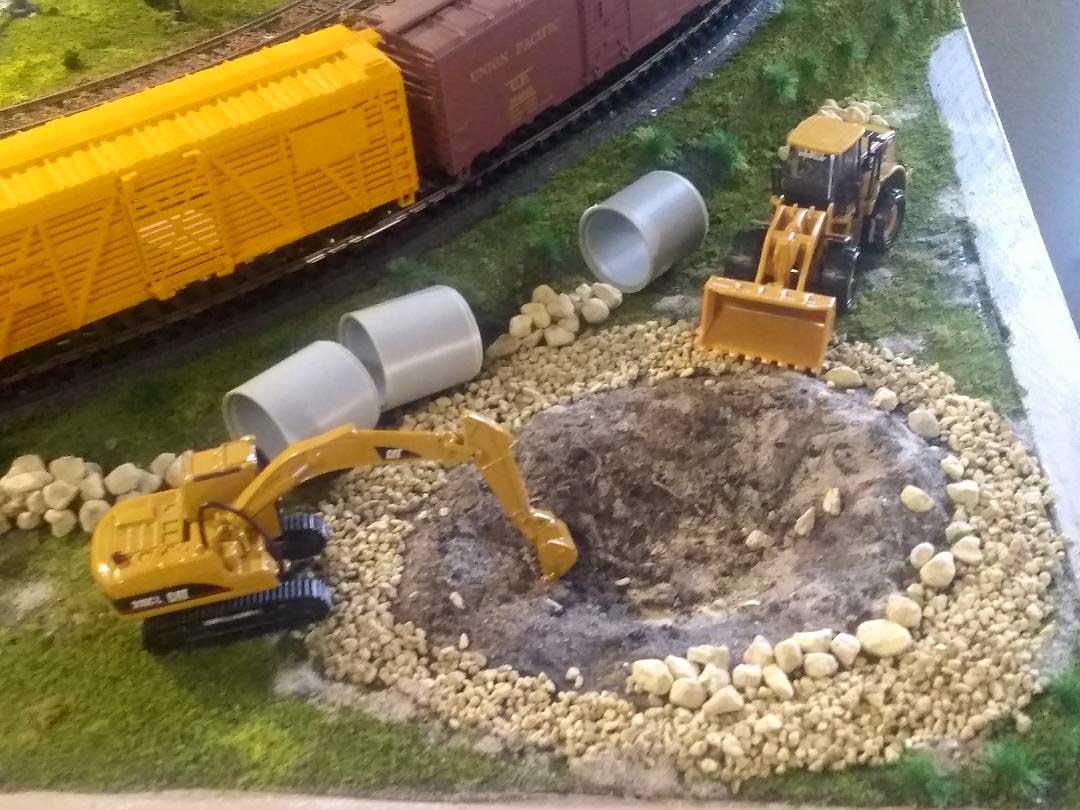
Here’s some additional pics to show some other details:
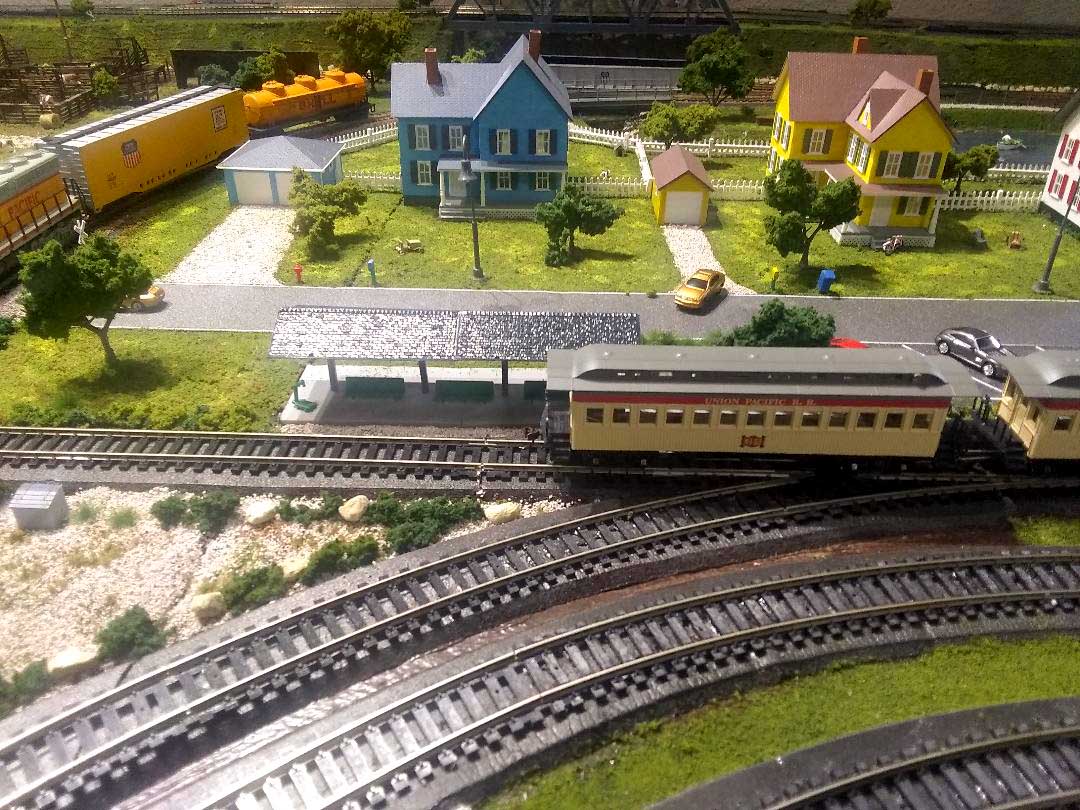
Still lots to do, mainly ballast and background on the walls, other than the pics from my grandchildren!
I look at your posts almost daily and it inspires me and gives me lots of ideas! The comments I get are helpful and motivating!
To everyone that reads this post Merry Christmas and best wishes for a healthy and happy New Year!
God Bless you and yours and thanks for maintaining this blog.
Ray in Southwest Florida”
So there you go, if you’ve ever wondered how to run multiple trains on one track, just do what Ray did – make that start!
Here’s his first post:
And here’s his second:
I know I keep saying it, but it’s all about that start…
That’s all for this time folks.
Please do keep ’em coming.
And if today is the day you press the fun button and get started, the Beginner’s Guide is here.
Best
Al
PS More HO scale train layouts here if that’s your thing.
Need buildings for your layout? Have a look at the Silly Discount bundle.