He’s not a man of many words, but it’s still good to see:
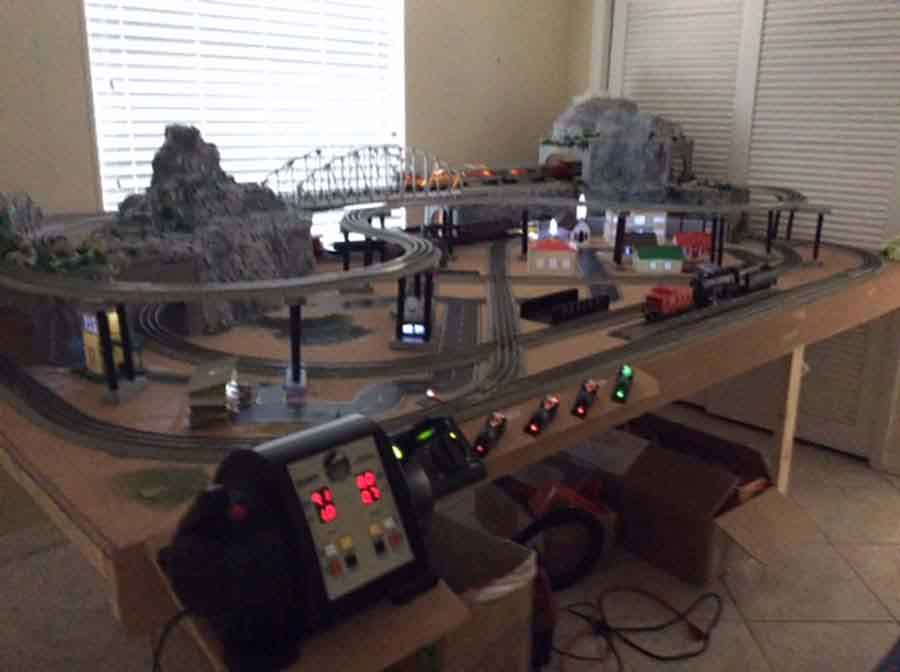
“Here’s my progress on 5’x10’ O Scale
Will”
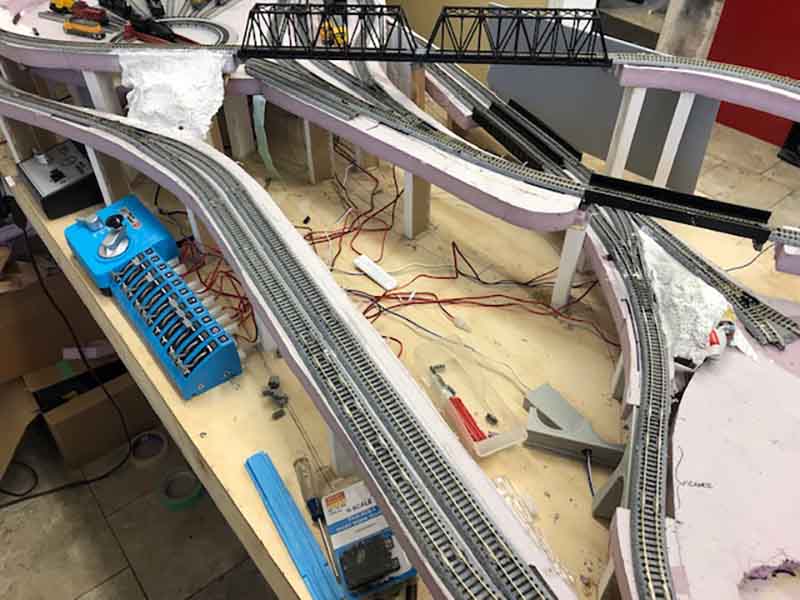
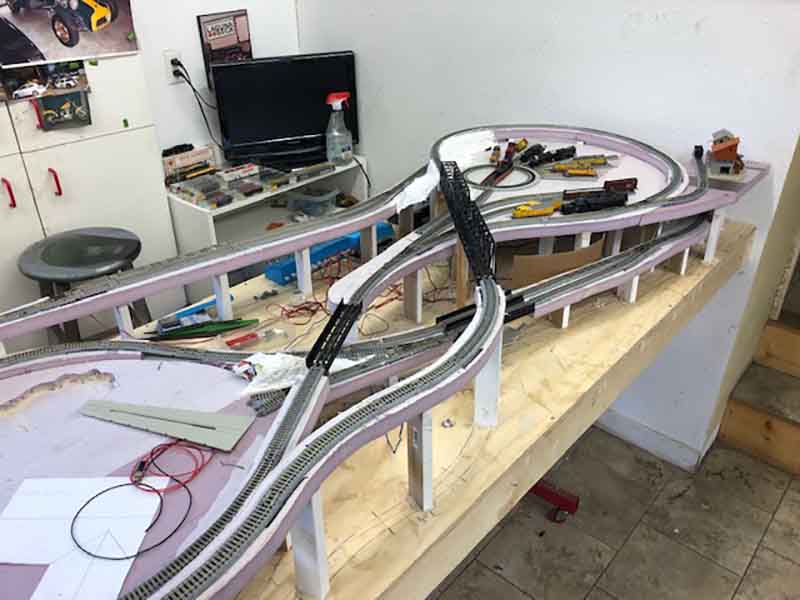
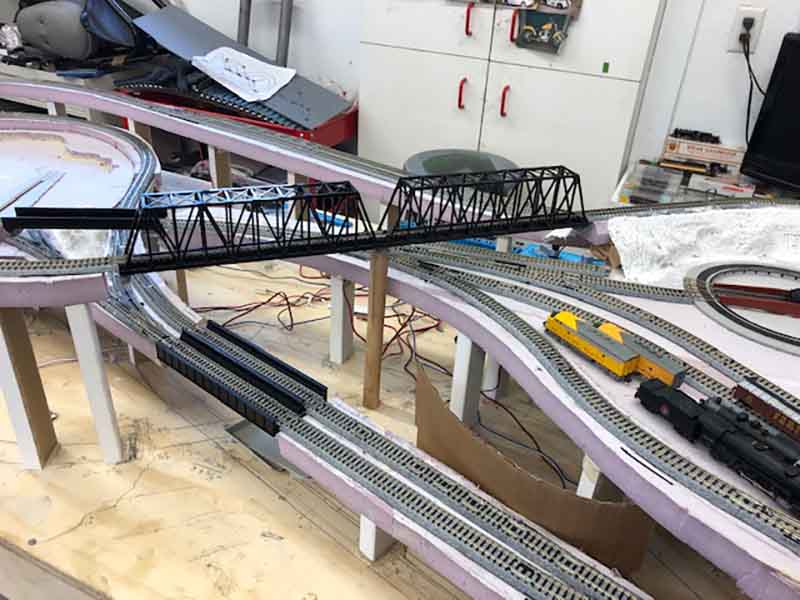
“Hi Al
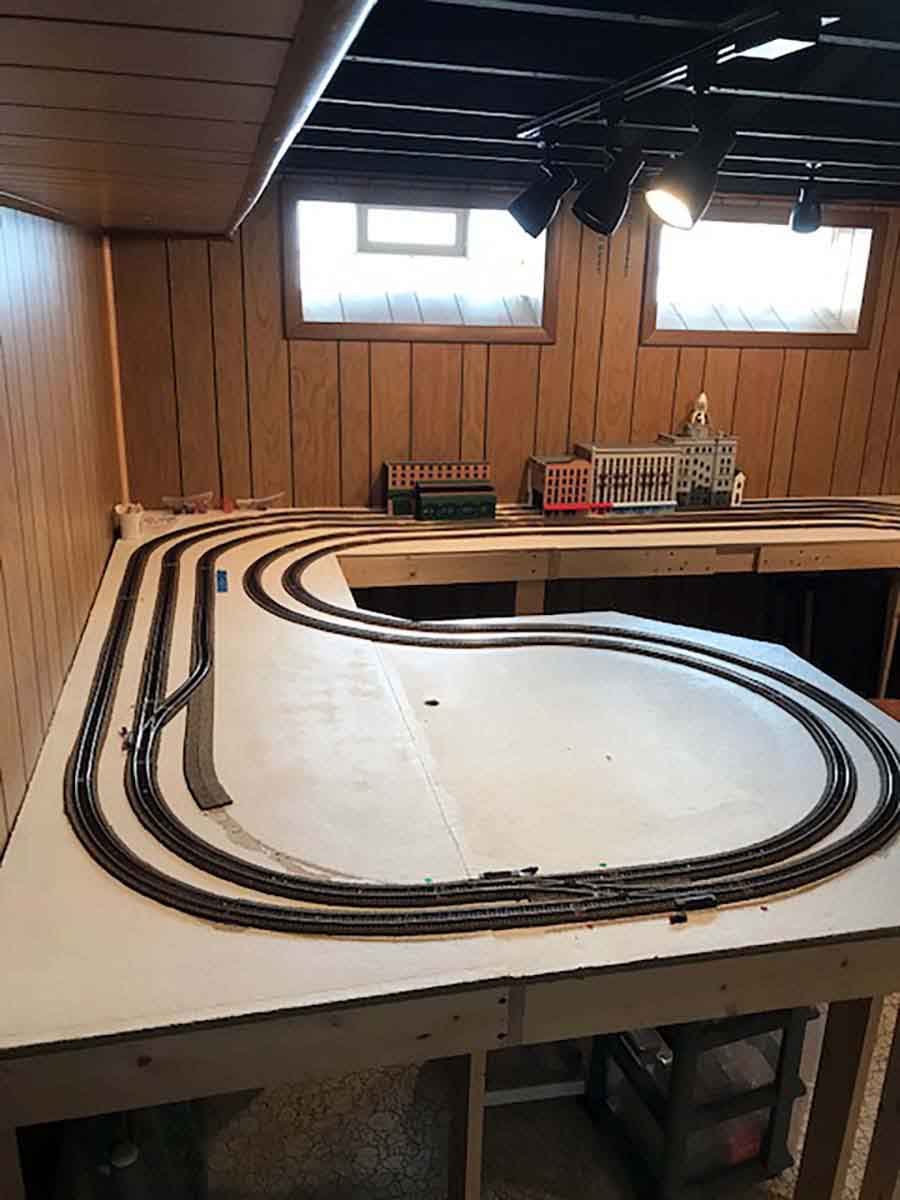
Arnie from the west coast of Florida across the pond.
My wife was so happy that I shared the room that I got to expand my layout from the first one I sent in.
It had to many curves and enclosed is the new layout double the size since I added another table.
This one has the long run straight run and is a folded double loop with sidings a bypass and an 2% incline as denoted in the layout. I am using Bachmann tracks for those that are interested in N scale.
I am attaching a pdf of the layout for your fans.
Still working on hiding the wires and making buildings for it.
Will update soon
Arnie”
(You can see more of Arnie’s stuff in the Hall of fame.
And now on to Bob:
“Hi Al… I have been following for a while.. great layouts and great ideas… Thank you…
I have recently started a layout after several years of hiatus. Attached are two photos.
As you can see, it’s very early in the whole experiment.
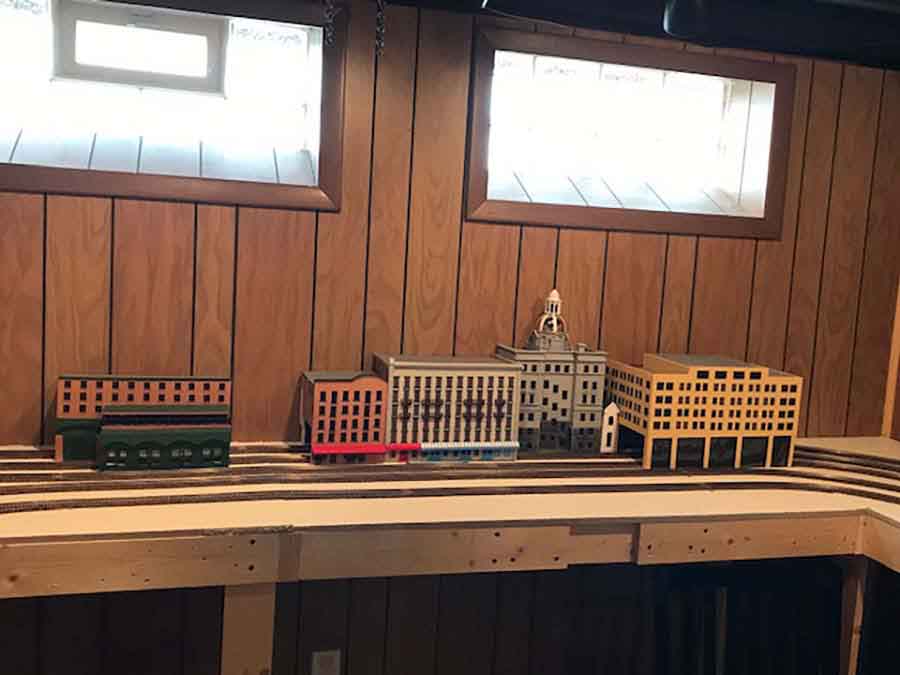
My layout is similar to Bob’s HO… mine depicts Savannah’s River Street for a start
All structures are scratch built and are all in need of more details I’m working on it … will send more pics as things move on !!
Bob”
I do like showing the layouts in the early stages because that’s what this hobby is all about – making a start.
That’s all for today folks. A big thanks to Will for sharing his 5×10 O scale layout – and of course the same to Arnie.
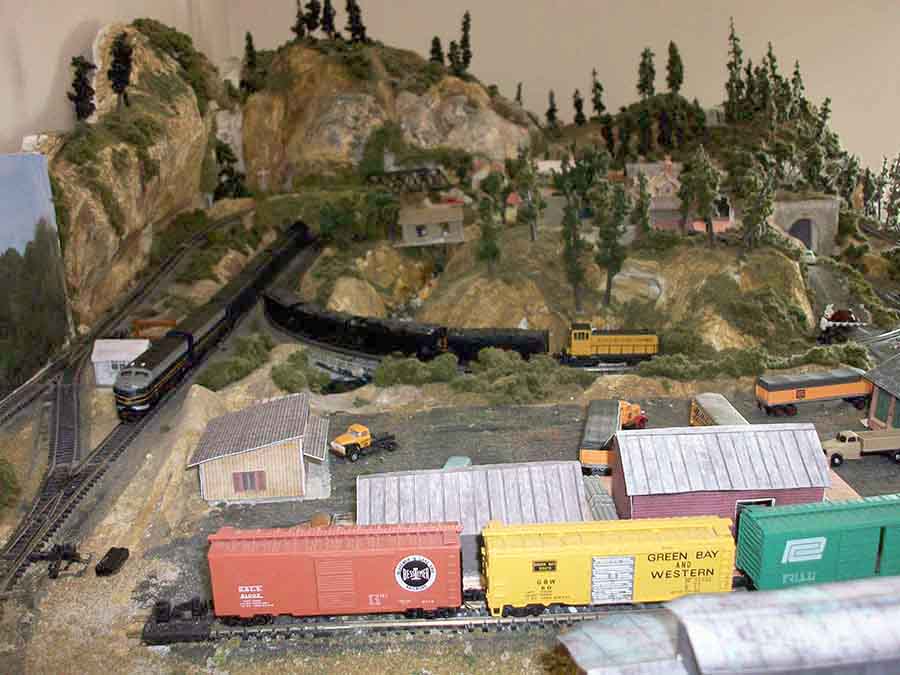
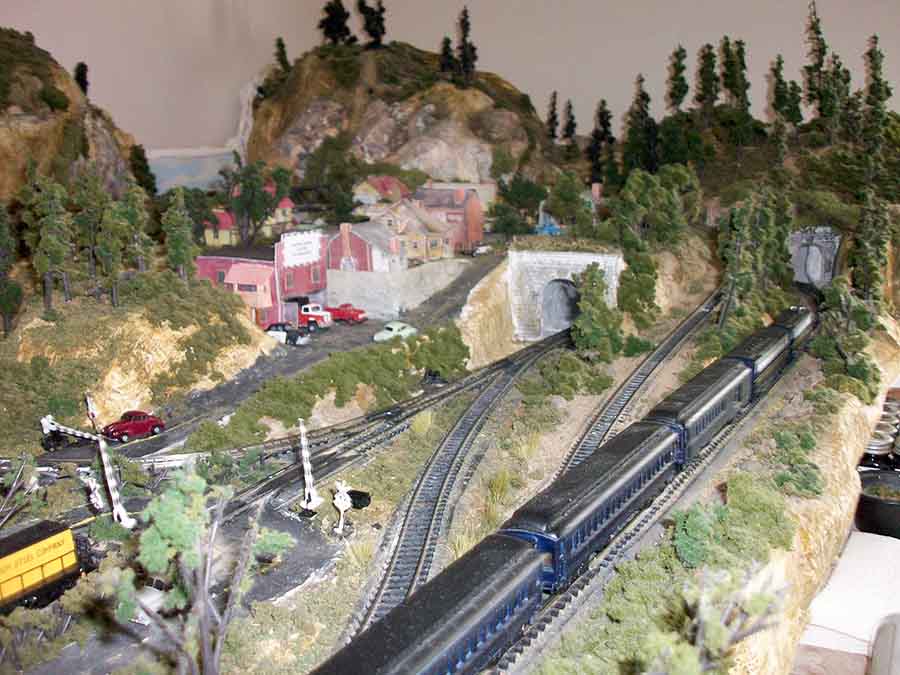
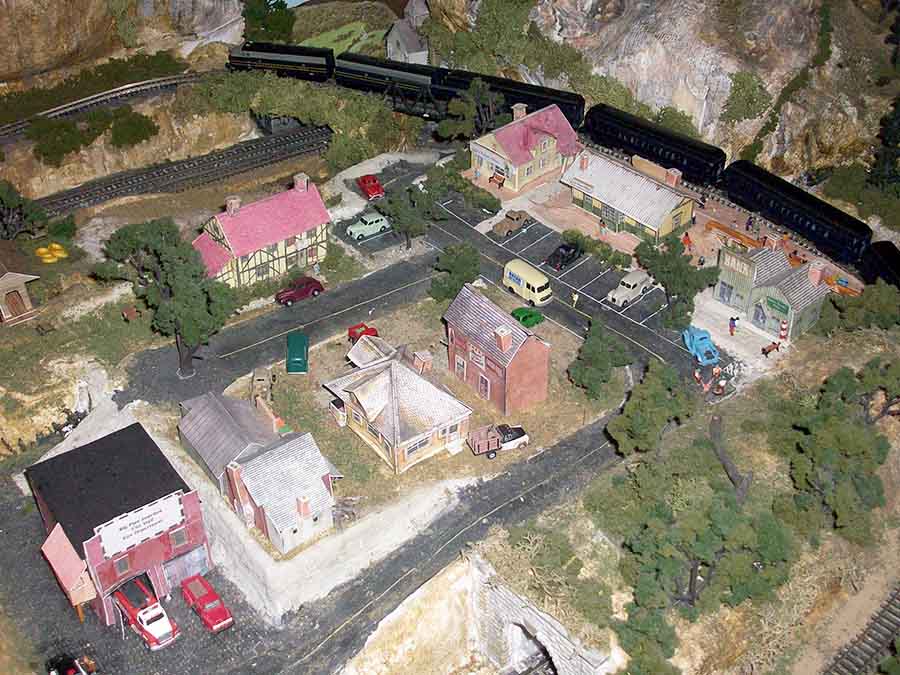
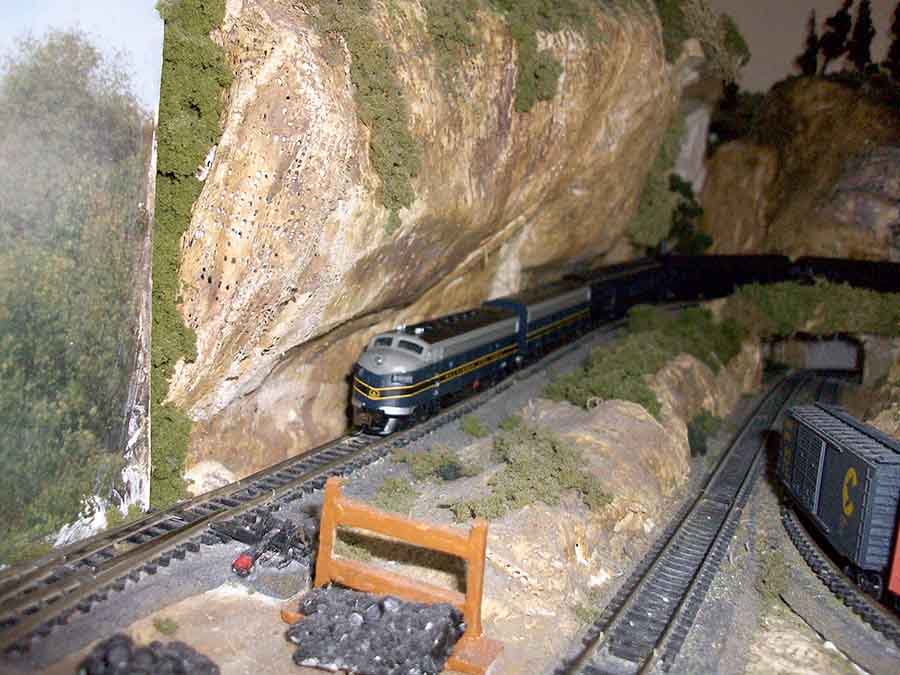
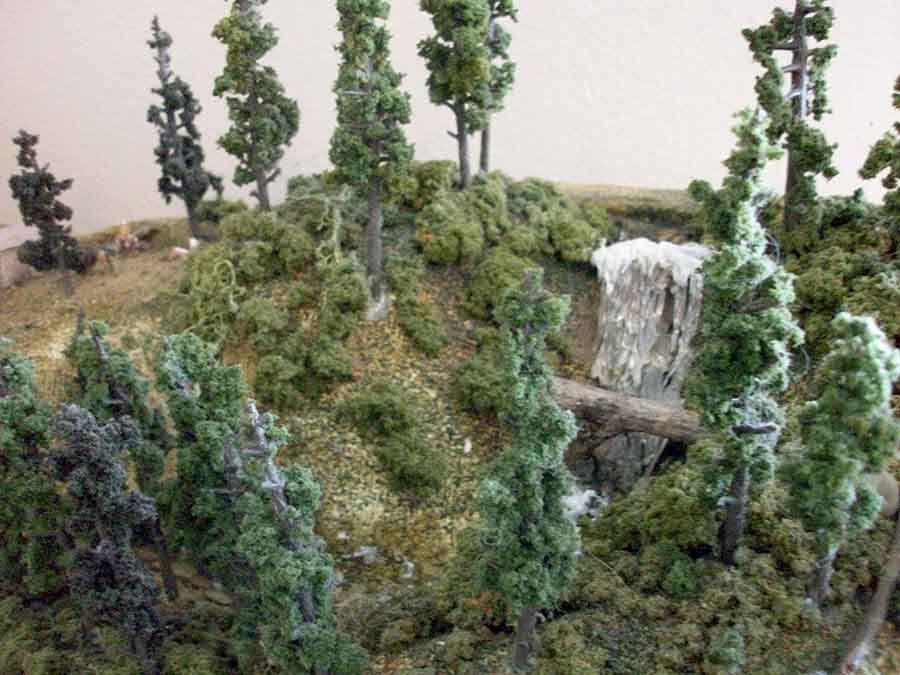
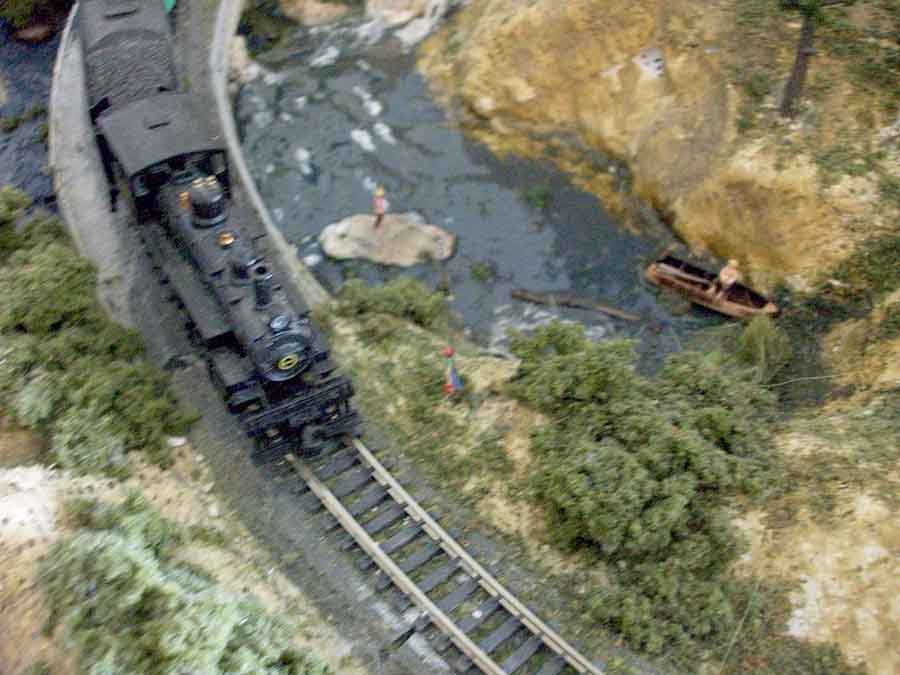
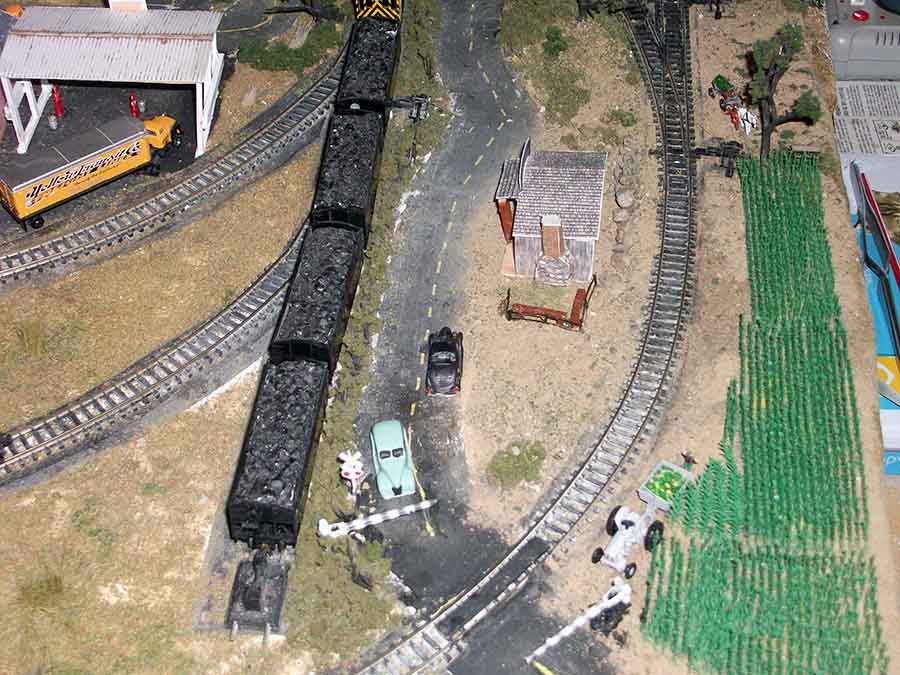
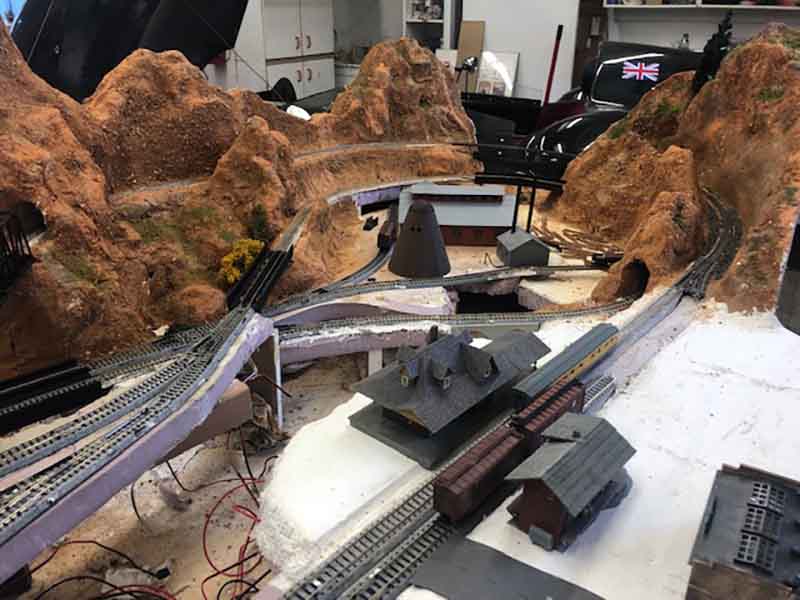
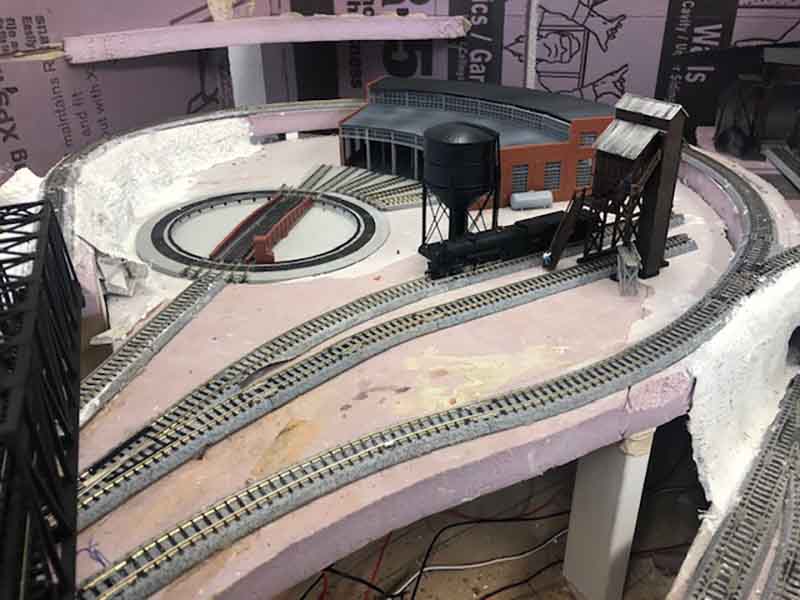
What I have been working on this past year is bring my plan to life.
Using woodland water I built the rapids and the water fall area.
All my building are card stock and I am presently looking to replace them because I believe I can do a better job framing them.
The other thing I learned is the size of the curves. Being a first timer – I wish I would have used curve track vice bending my own. The reason I would like a greater curve is be because the largest steam engine I can use is the 4-6-0 .
This layout is a light weight all form layout.
Tom”
(All images are clickable.)
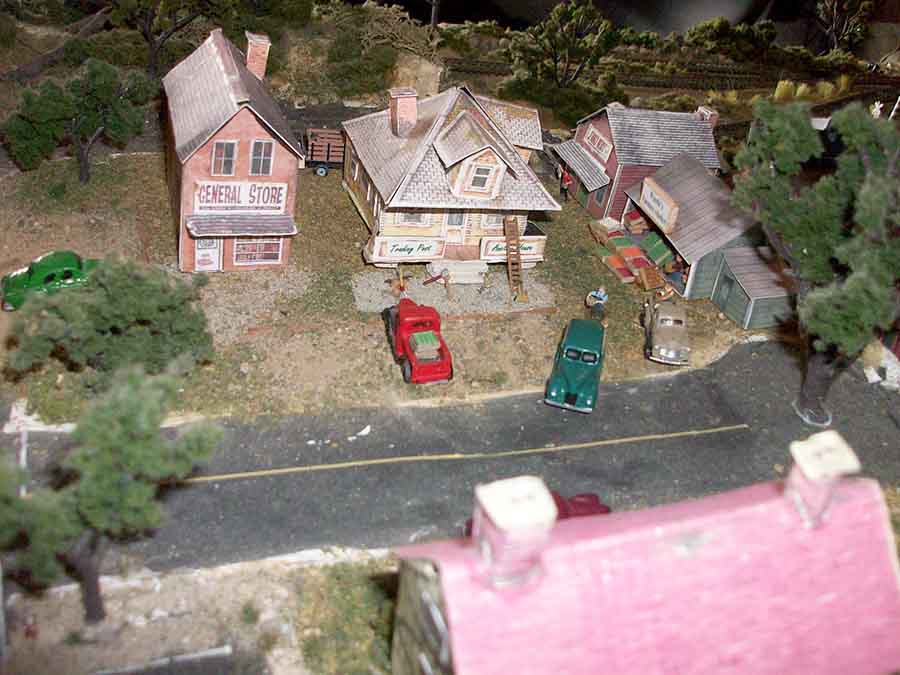
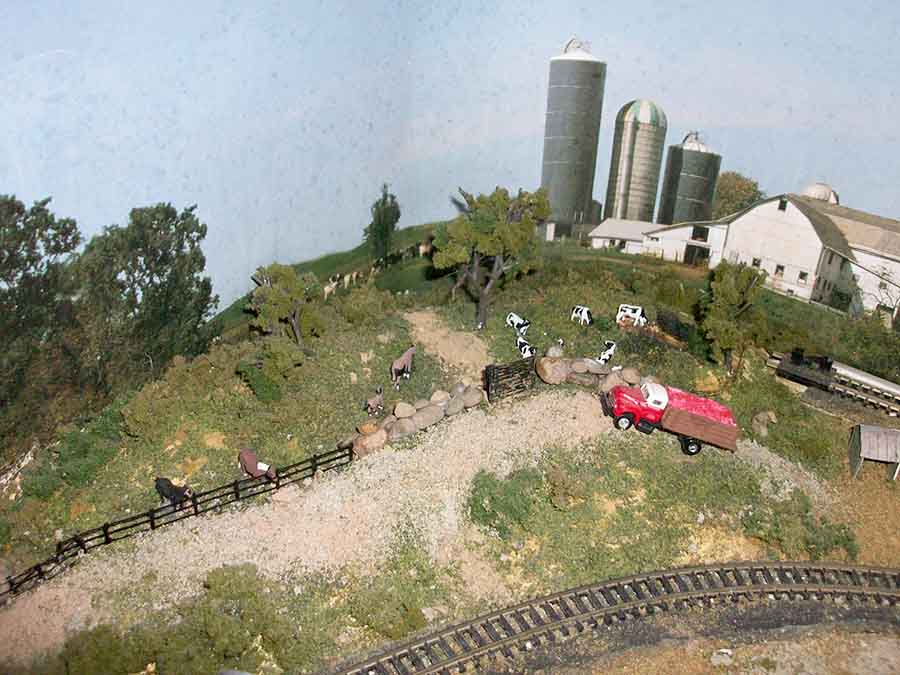
Tom’s doing a great job on his 3×5 N scale – although he isn’t using any of the printable buildings from the blog, I know what he means. You need to take your time with them, otherwise they look ‘wobbly’.
If you look how John makes them in his tutorials, they look amazing.
And now on to James:
“Hi Al.
Quick note from another new guy. Long story short.
Worked in a hobby shop as a teenager and loved all of it but the trains stayed with me.
First Lionel as a kid then HO in high school and in and out of it till a few months ago when the isolation began because of the dangers of the virus.
Jumped into N gauge because I could do a door sized layout in the corner of my shop that is normally full of old Brit sports cars (have about ten of them) mainly MGs but just about all of the 50’s and 60’s over the years and that’s a lot of years as I’m now 82 but still kicking.
Railroad wise I’m well along with my mountain style layout with a lot of scenery in that little space.
Keep up the good work. I enjoy the variety of projects on your site.
Best regards to you and fellow enthusiasts.
James”
A big thanks to James and Tom for sharing his 3×5 N scale.
Before we get to Jeff’s wiring for DCC layout, here’s a quick missive from Dwight:
(Or just scroll straight down if you want to get the wiring missive!)
“Hi Alastair.
A while back I mentioned that I had dismantled my 12 year old N scale pike, with the intention of starting over with a fresh approach to design and construction.
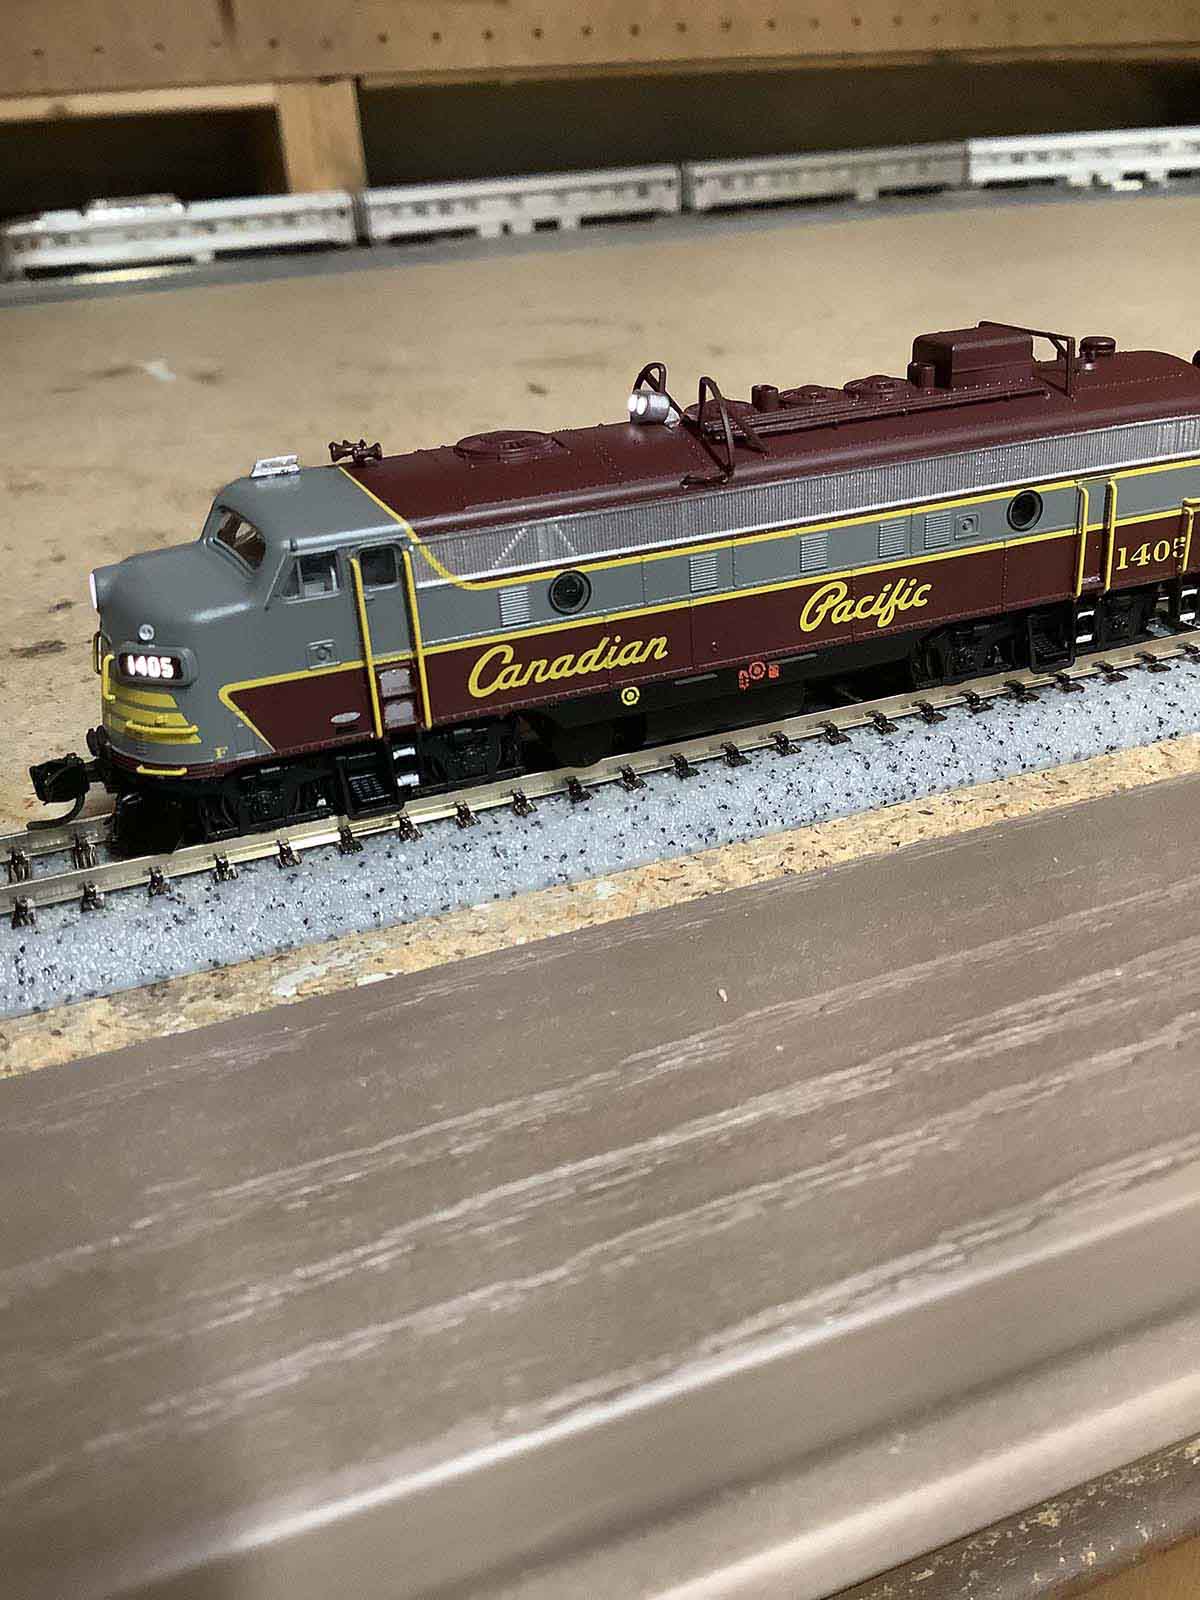
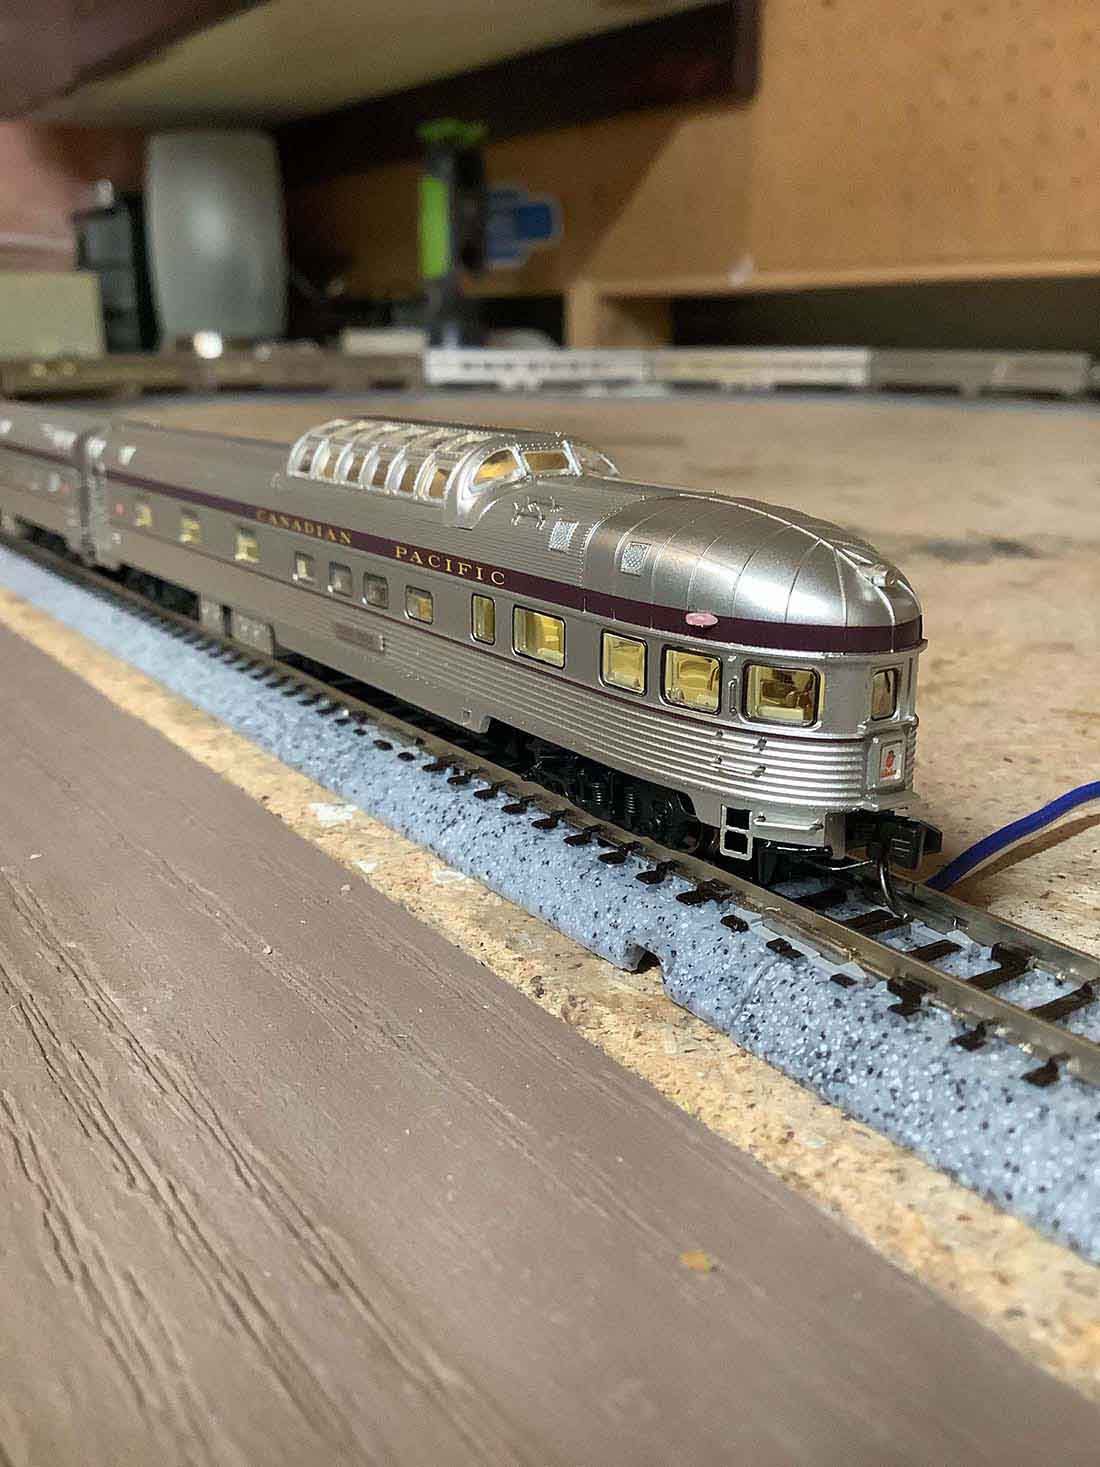
I have yet to make that re-start, but in the meantime I took delivery of a rather special N scale passenger train… “The Canadian”, which was released by Rapido Trains earlier this year.
And to top it off, Rapido just delivered two of the FP9A locomotives that originally hauled this iconic train.
I’m sure many of your readers are aware of this recent offering. However, given your international audience, there’s a chance that some of our friends might not otherwise see it.
So, I wanted to share a a couple of pics in the hope that others will be as impressed as I am with the unprecedented quality, detail, and attention to prototypical accuracy represented by these models.
Seeing as I am between layouts at this time, I had to cobble together a Kato Unitrack oval on my workbench, so as to see the train in operation, and to break in the locomotives. I hope that my mediocre photographic attempts do them justice, since they truly are quite extraordinary. Remember folks, this is N scale!
The passenger cars are lighted, feature accurate interior upholstery colours, superb under-body detail, metal-etched grab-irons, and the beautiful silky-smooth aluminum exterior that precisely duplicates that of the originals.
The locomotives are equally super-detailed, with full sound and lighting.
Note the roof-mounted spotlights in one of the photos … apparently, these were a Canadian Pacific publicity “stunt”, used in the early years to light up cliff faces and scenery as The Canadian traveled through the Rocky Mountains after dusk!
I have vague memories of travelling on The Canadian from Winnipeg to Toronto as a five year old lad, with my mom and my younger sister.
I can still recall the layout of the roomette, the excitement of the dome and dining cars, walking through the vestibules, and my nose constantly pressed to the window watching the northern Ontario wilderness rush by. It made a life long impression on me, and to acquire this model 50 years later is a momentous and satisfying event.
Thanks for letting me share these sentiments; best regards.
Dwight in Toronto”
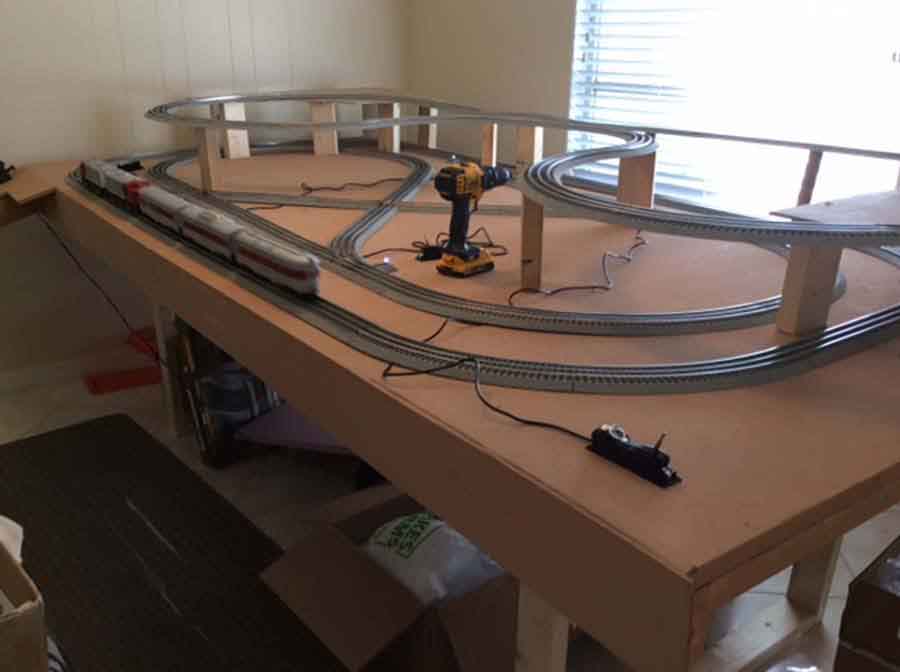
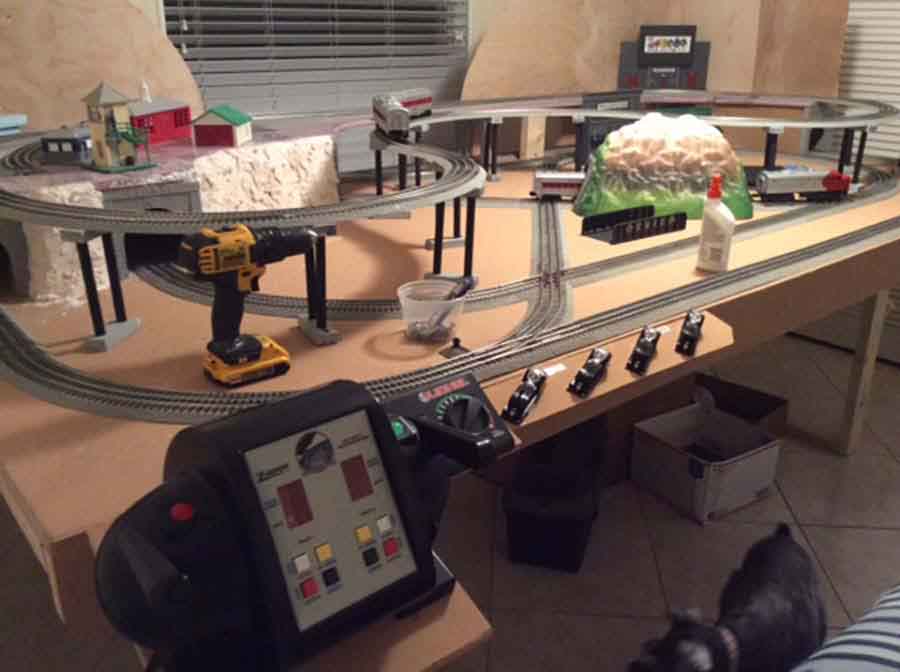
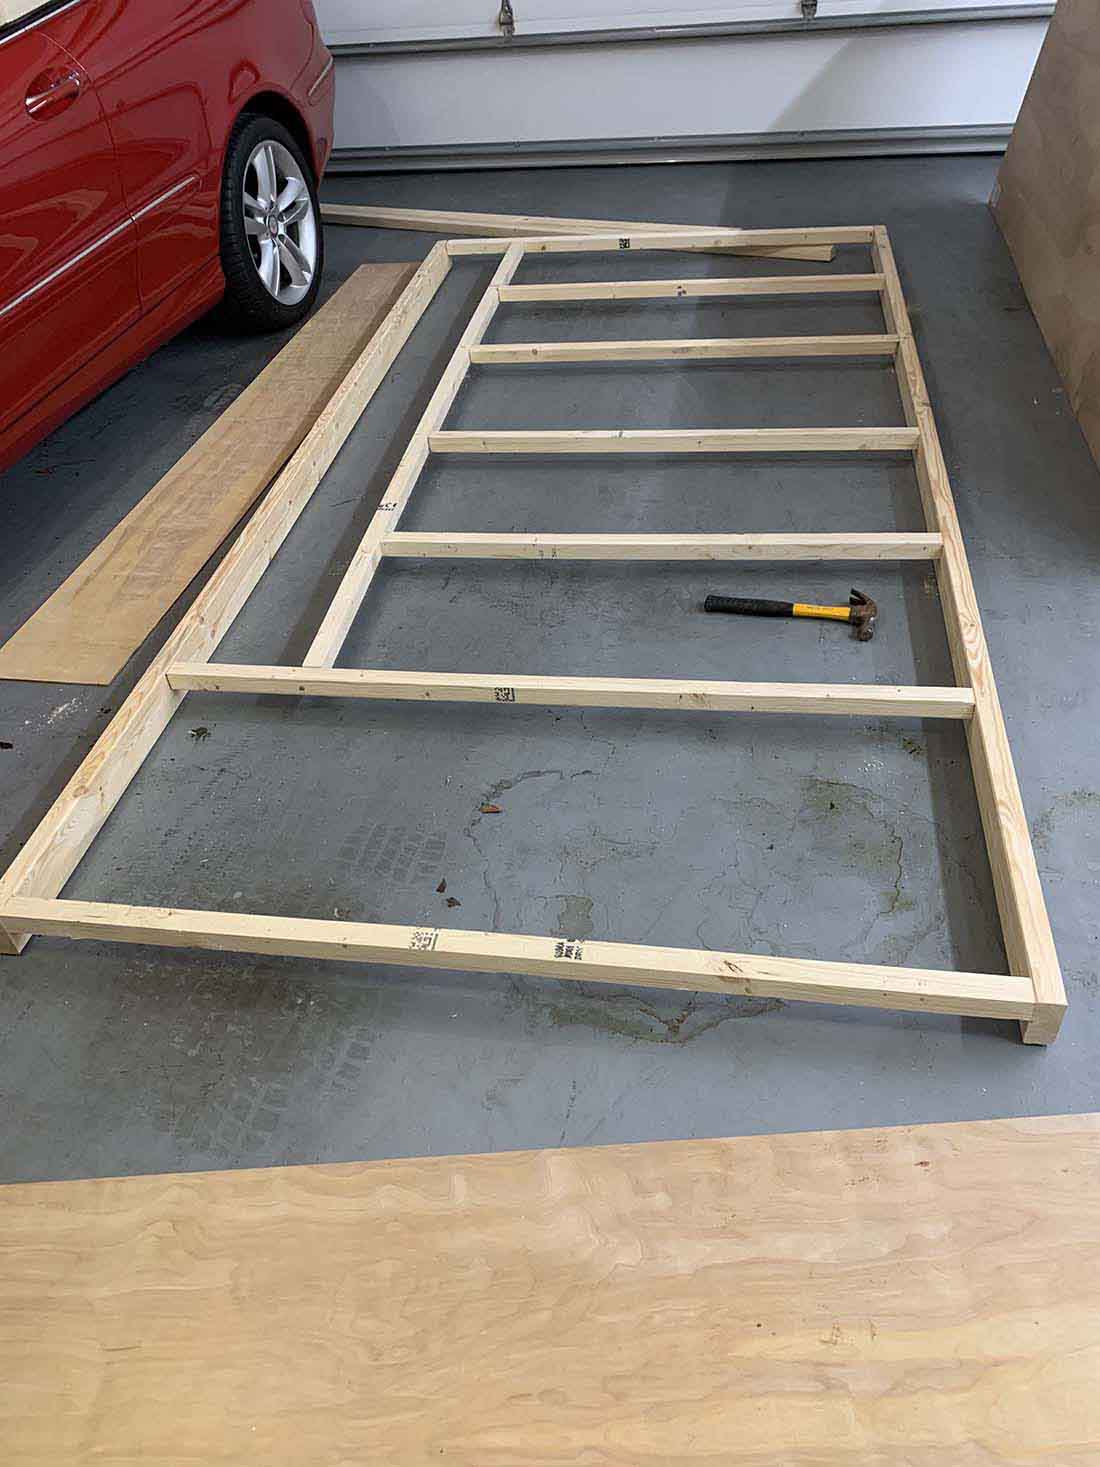
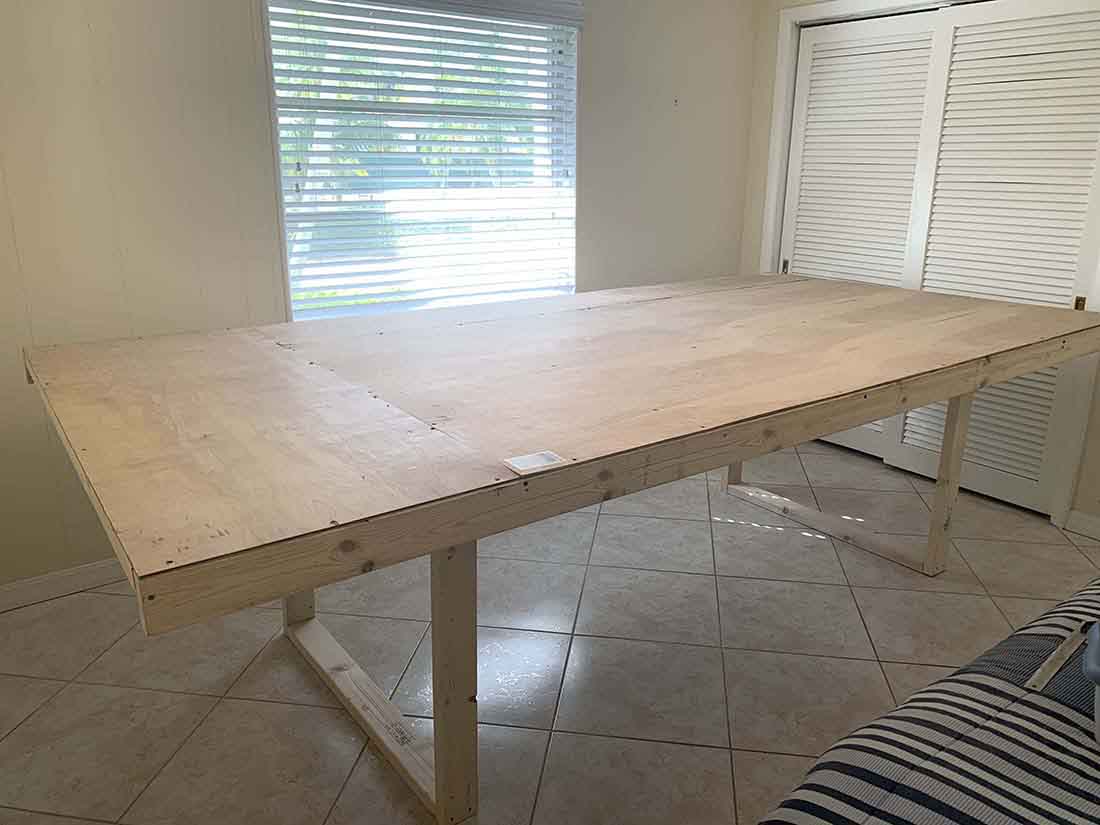
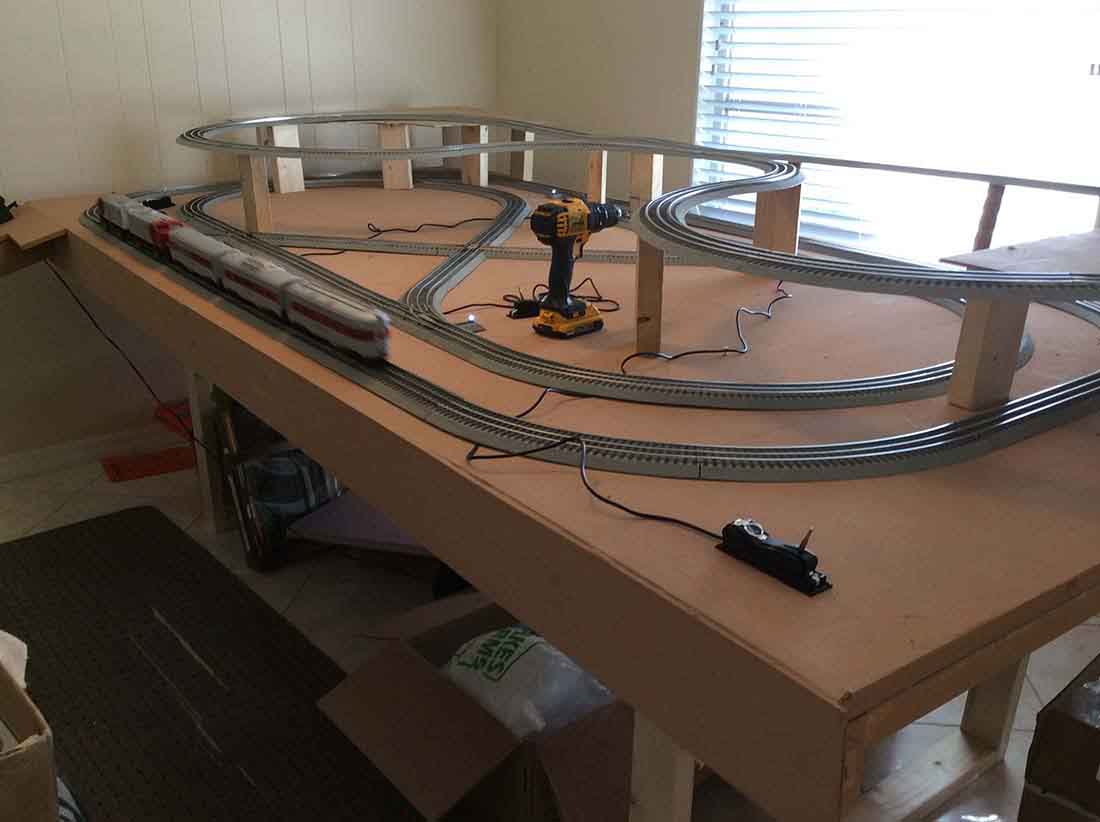
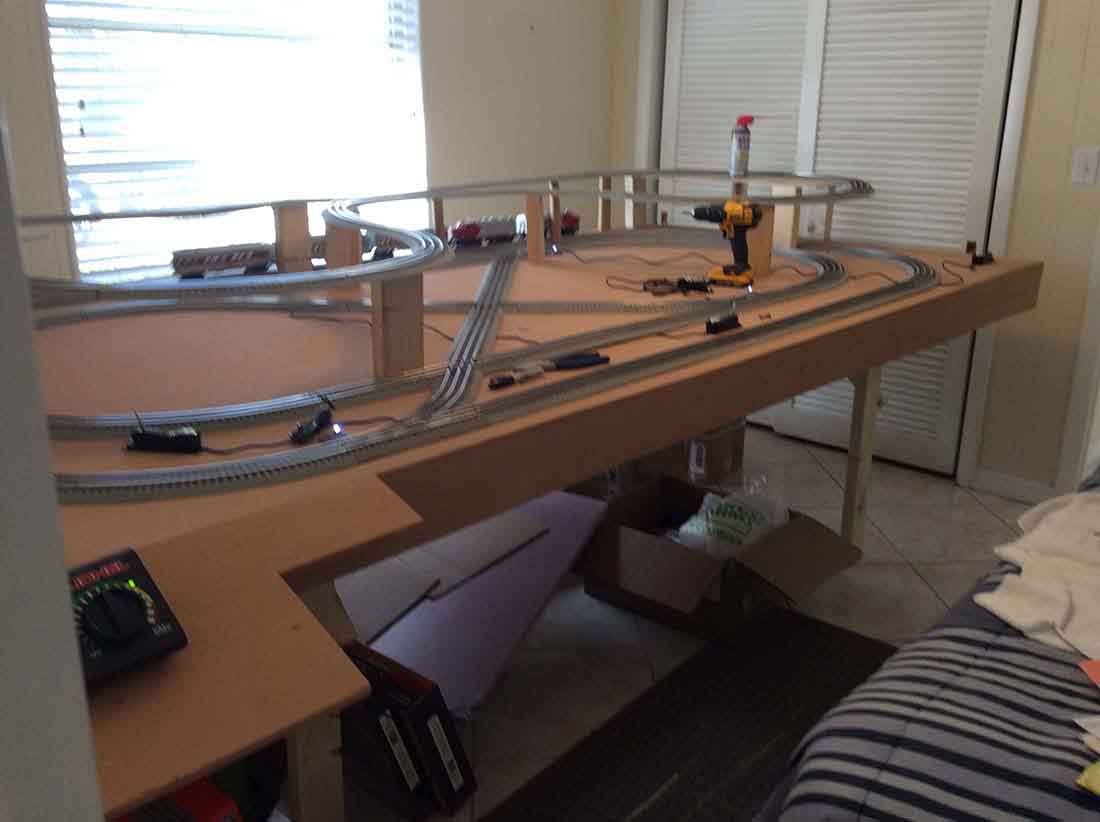
Now on to Will, who has made a start:
“The beginning of a 5’x10’ Lionel Fastrack 2 level set/up.
Will continue to post as I move along.
Will”
Although Will is a man of few words, I thought I’d post simply because he’s made a start.
Like most things in life, that’s what this hobby is all about – starting.
And it’s the same for wiring… and wiring for DCC layout is something that appears often on the blog.
This leads us to Jeff, who has a small problem with his wiring. Who can help?
“Al, i’ve been reading your blog for the last 2+ years and look forward to it every morning, learning sooo much from others.
I have not contributed before but i now find myself in a bit of a ‘pickle’ and could use some help.
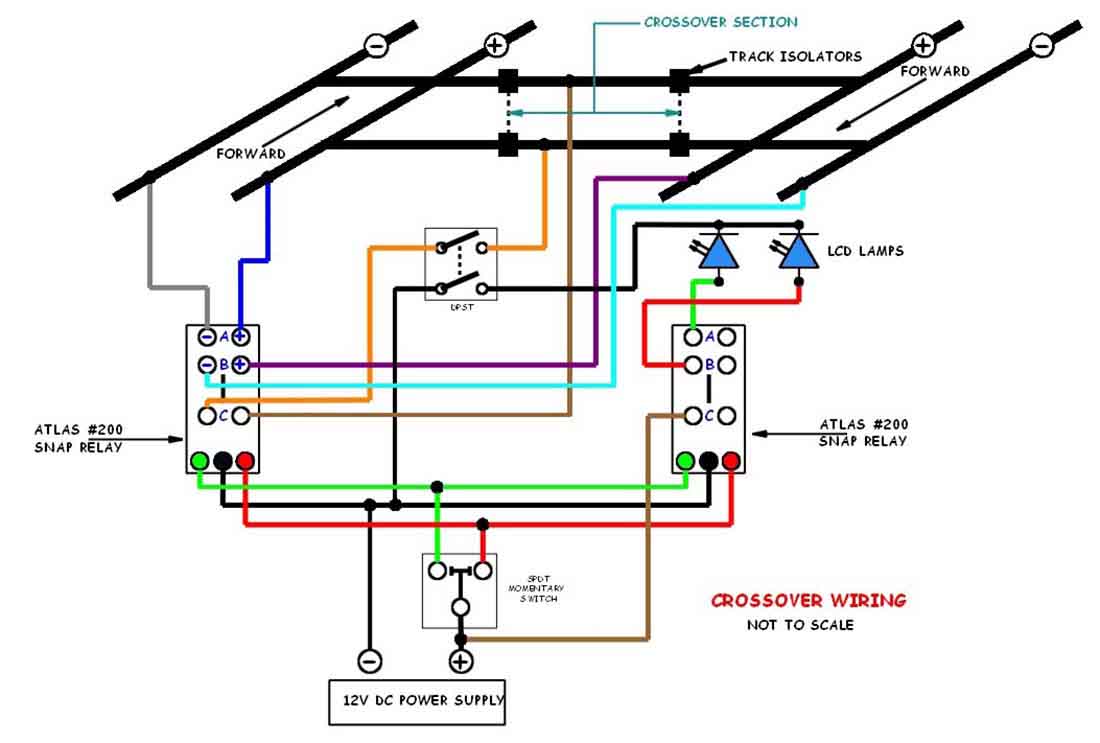
I’m in the process of designing a layout which will have 2 separate sections, a switchyard and mainline, using separate dc cab controls for each. (i’m a bit of an “old schooler”) i would like to incorporate a crossover track joining both sections but by doing so i create a “reversing section” because polarities of each section are in opposite directions.
By using an atlas #200 relay (controlled by a spdt momentary switch), i can direct power to the crossover from either the switchyard cab or mainline cab, knowing that the section i’m entering needs to be set in the opposite direction (forward or reverse) of the section i’m coming from.
I would also like to incorporate a switch that could control power to the crossover section so i can power off the section to eliminate the possibility of accidents. by using a dpst switch (and a 2nd #200 relay), i could also control 2 leds indicating which cab control is powering the crossover.
Can someone assist in either confirming my wiring suspicions or telling me i’m totally wrong and suggesting what i need to do? i’ve included a wiring diagram which i drew to assist in explaining my “problem”. all comments are greatly appreciated.
Jeff “pops”
I’m not sure if Jeff has seen Rob’s post on wiring from yesterday, but anyway, can assist? Please do leave a comment below if you can help with wiring for DCC layout.