Mike’s been in touch with his 2×8 HO scale layout :
“Dear Al,
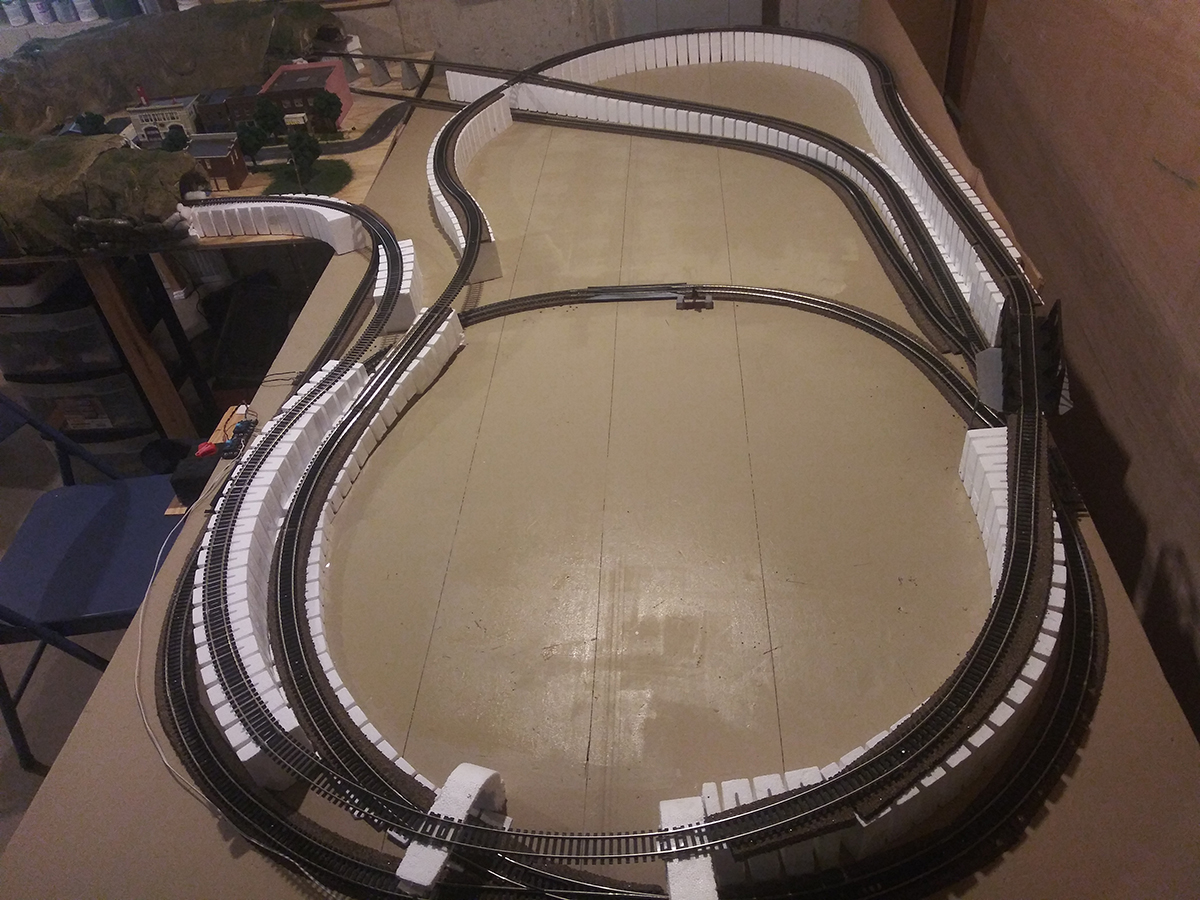
I have been enjoying your emails and website and thought I would send you a plan (attached) and some photos (to follow) of my 2×8 Kansas City Time Saver layout that I have recently completed.
I used Bachmann EZ Track for this layout as it was my first and I went digital with a NCE Power Cab system so that I could have it as a stand alone layout or as a module.
I am currently working on two other layouts, a 9×5 and a 6×4, that will link with this eventually.
Hope you like it.
Mike”
And now on to Bob:
“Alastair,
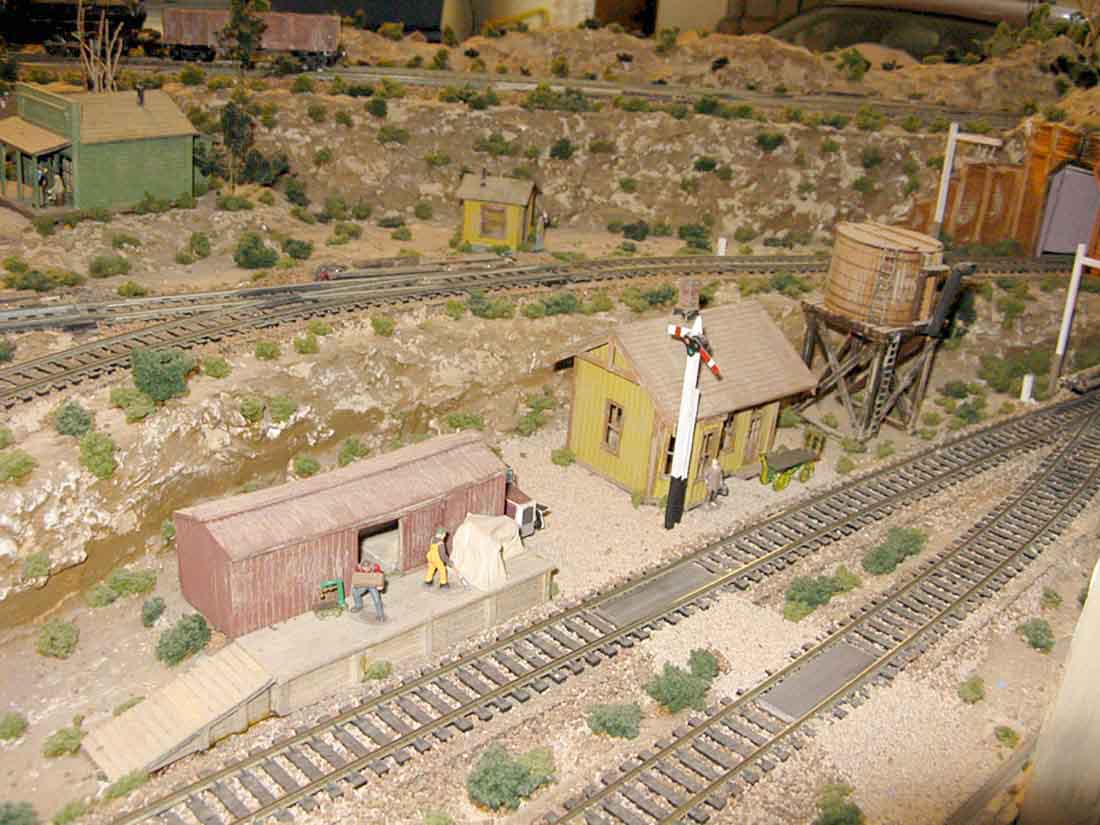
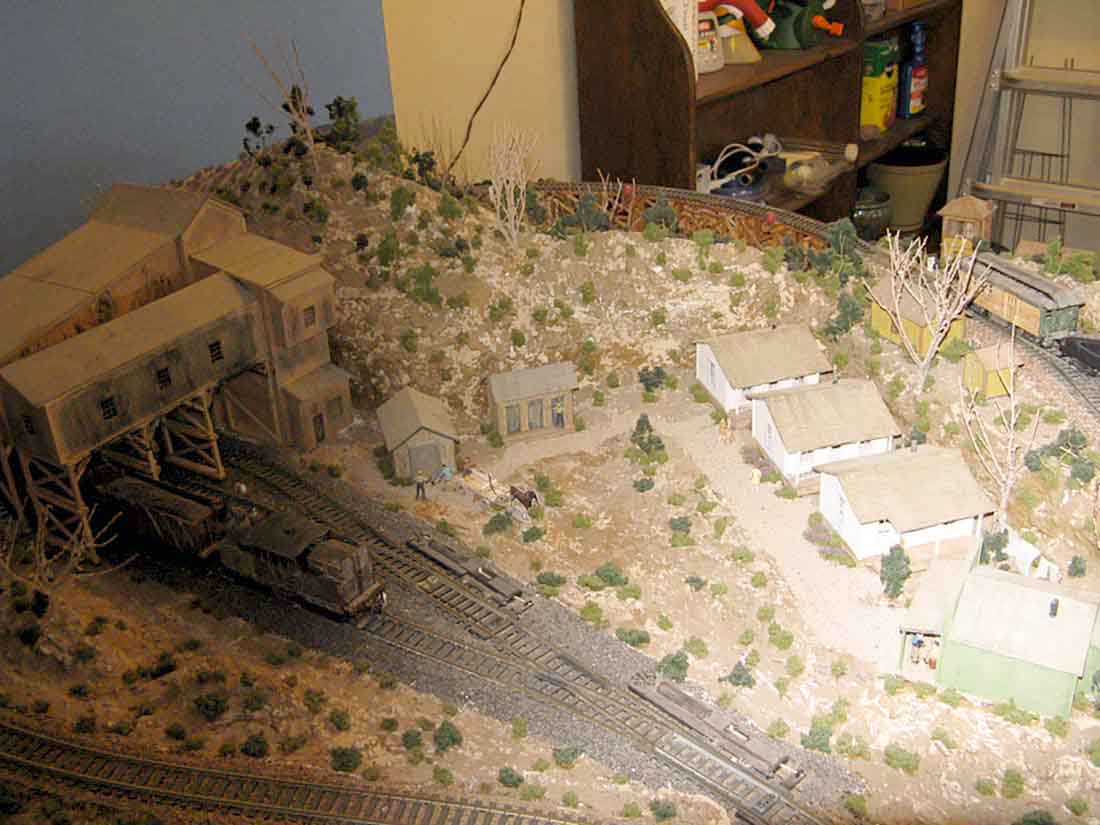
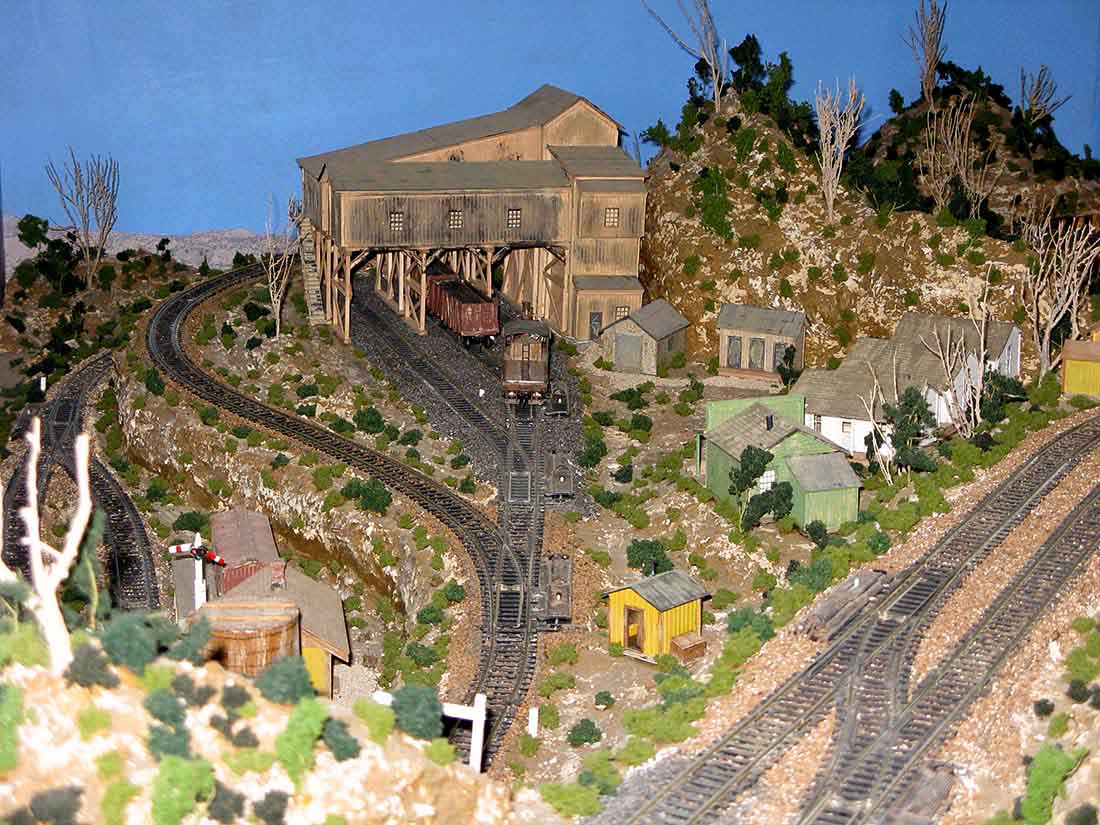
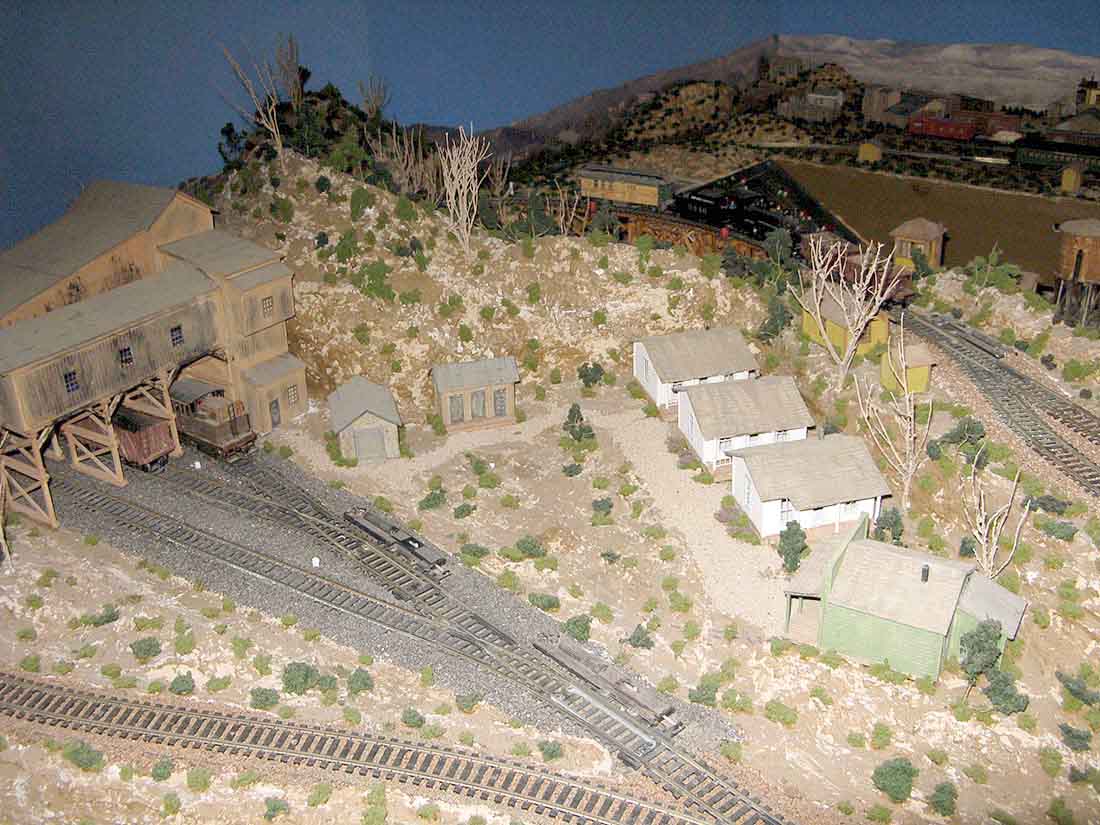
Here are some of my scratch build N Scale (1:160) buildings
I proud of them hope you enjoy.
Bob,
Melbourne Australia.”
A big thanks to Bob for sharing his 2×8 HO scale layout. And too Mike.
What I like about Bob’s is he has a theme: ‘Kansas city’.
Over the years I’ve noticed the layouts that look more convincing and have more charm, are always the ones based on something. They have a theme – and the wonderful thing about this hobby is that theme can be anything you please.
That’s all for today, folks.
Please do keep ’em coming.
And don’t forget the Beginner’s Guide if you want to get going on your very own layout.
Paul’s been in touch with how to easily get a long model train on the tracks, without it spilling everywhere.
“Hi Al,
I imagine several people have problems (especially in N Scale) getting longer trains on the track.
The worst for me is a 10 car TGV that simply refuses to keep the wheels I’ve already managed to get right on the track whilst I sort out the rest.
I’ve found a solution.
In my favourite train shop in Zurich (Züri-Tech) there is an extensive second-hand/pre-owned section and I found a few pieces of Trix part number 4974 (see picture A) for 1 Swiss Franc each (about 75p).
As you can see they taper down from a thickness of about 4mm in the centre to 1mm at the edges. Their real use is as re-railers but my problem was getting the train on the track to start off with.
Picture A
It occurred to me that with a bit of modification (see picture B) I could put one of these at the end of a siding. Then, once the power car was on the track, I’d let it haul the rest of the rake on.
It works! As the engine draws forward (you have to keep the speed down, and it helps if you line things up as well as possible) the remaining coaches and trailing car are guided onto the rails. Now, after months of cursing I can get the TGV, Thalys, ICE, Ave, and just about anything else on the rails in seconds.
Best regards,
Paul”
A big thanks to Paul – I know how troublesome a long model train can be…
It reminds of Mal’s excellent post on derailments: Trains derailing.
Wow – that’s smart! A big thanks to Paul for sharing his long model train tip.
And now on to Barry:
“Al,
Here’s my story about my basement train layout.
This layout is in HO scale. I purchased these trains and supplies almost (20) years ago. I had just started building a layout back then but then went through a divorce and since then have never had enough room to build another layout.
My Grandson is almost 6 years old and is absolutely fascinated with trains. I asked him a year ago if he would like my train and help me build a layout in his parents’ basement for his Xmas and birthday present and he didn’t even hesitate with his answer.
My daughter (Porter’s mother) has also taken an interest in the building of this layout which we started in mid January and just completed it last week.
I mentioned before that they live 1-1/2 hours from me so I would travel to their house and stay 2-3 days maybe twice a month to work on it.
The total hours spent on it were approximately (140). I’m retired but have both a (30) year engineering and an (11) year General contractor (construction) background so I am quite detail oriented and have all the required to do this kind of project.
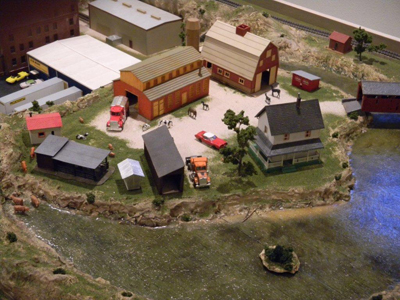
I designed the entire layout and track plan based on the buildings that I had from my collection over the years.
I made the trackplan basically an upper and a lower loop with a couple of sidings and spurs with mechanical turnouts and analog controls to keep it simple as he’s only almost (6) and mainly enjoys the trains travelling around their respective loops. I put an MRC sound system on it so he can make the appropriate sounds to add realism.
The layout is designed with the ability to add at right angle to the farm end another 4 x 8 portion that would include a double helix to get from one level to the other.
The outside will have stained door casing at the top edge and black or gray curtains to the floor to hide the under part and make it look like a piece of furniture.
The street light are functional but we haven’t installed the interior building lights yet.
Many of the items are scratch/scrap built. The gas station canopy and gas pumps I created from all scraps.
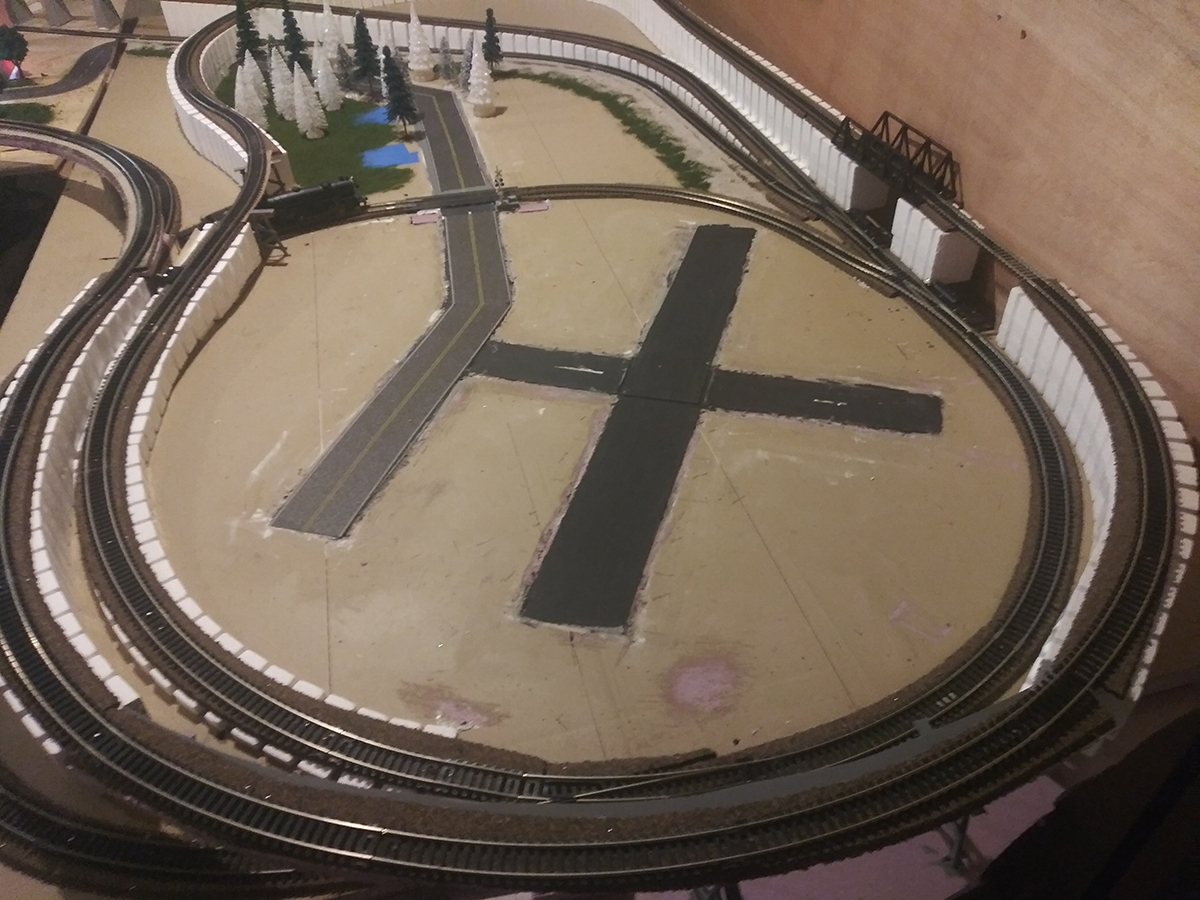
The asphalt road and sidewalks are made from residential roofing products with the sidewalks painted gray and the road lines are yellow and white tape cut down to strips approximately .040 wide.
The signage my daughter made on the computer.
The chainlink fencing is created from window/door screen cut on the diagonal and I use air gun nails from my construction tools for the posts.
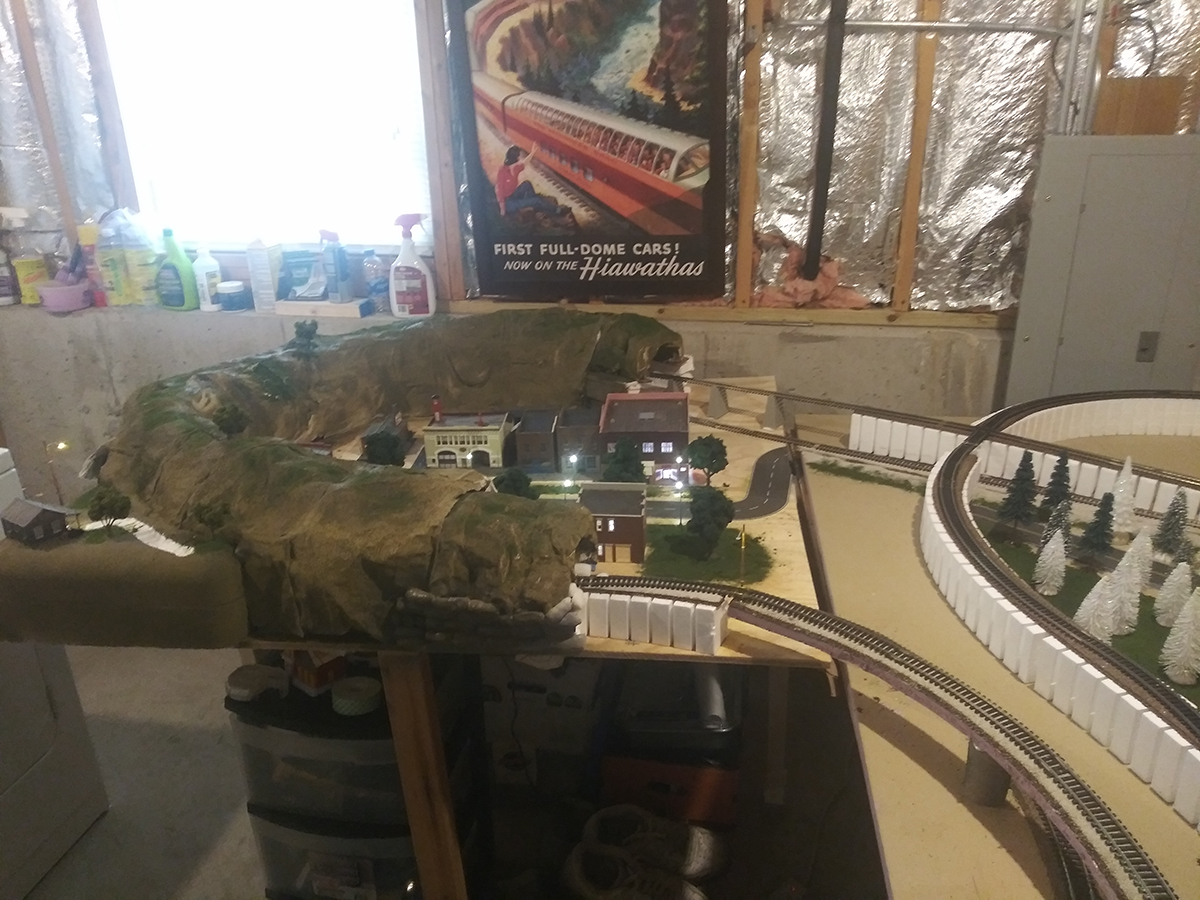
Most of the trees are made from real tree branches with Woodland Scenics’ clump foliage applied.
Most of the mountains and there’s a lot of them are made with cheese cloth from a crafts store and boxes of Plaster of Paris to keep the budget down in-lieu-of plaster cloth.
Once again, I thank you for all your interest and publishing our various stages of development. My Grandson, when he gets older will have theknowledge that his train layout was published and seen by modelers all over the globe.
Richard has been back in touch with more of his DCC 4×8 HO scale:
“Hello Alistair,
After you posted my 4 x 8 layout I realized I have more pictures.
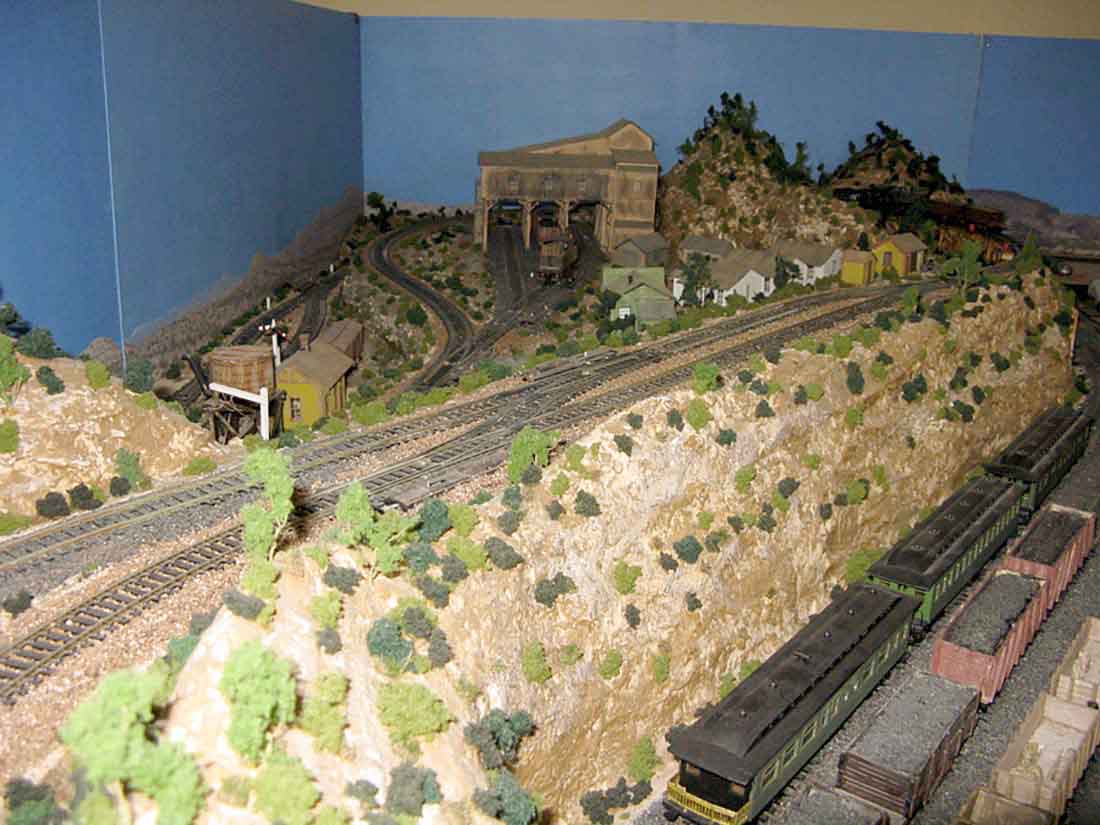
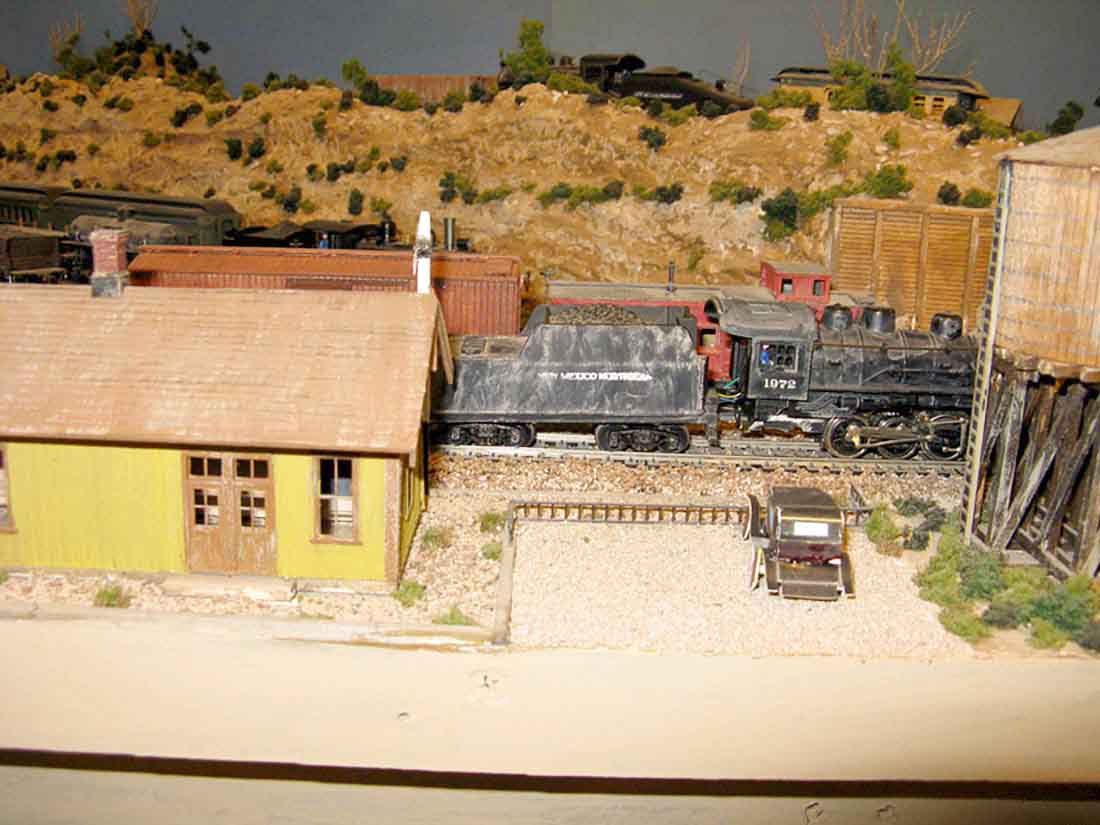
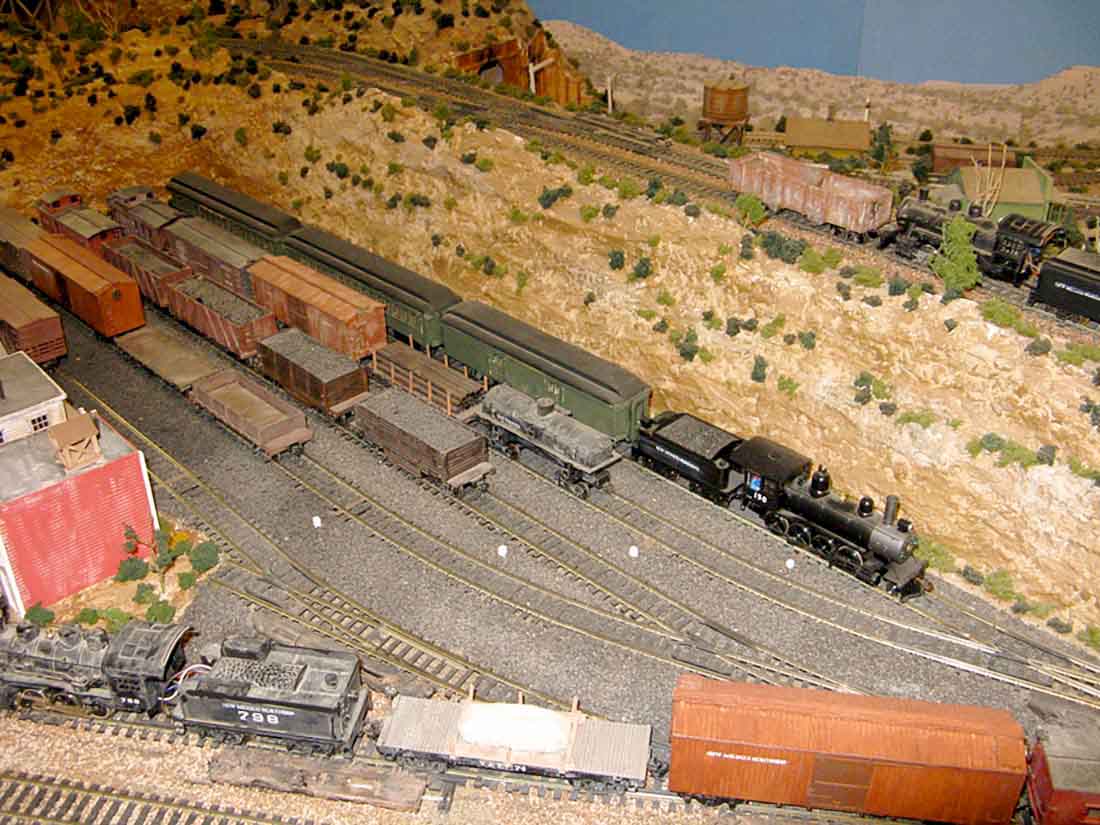
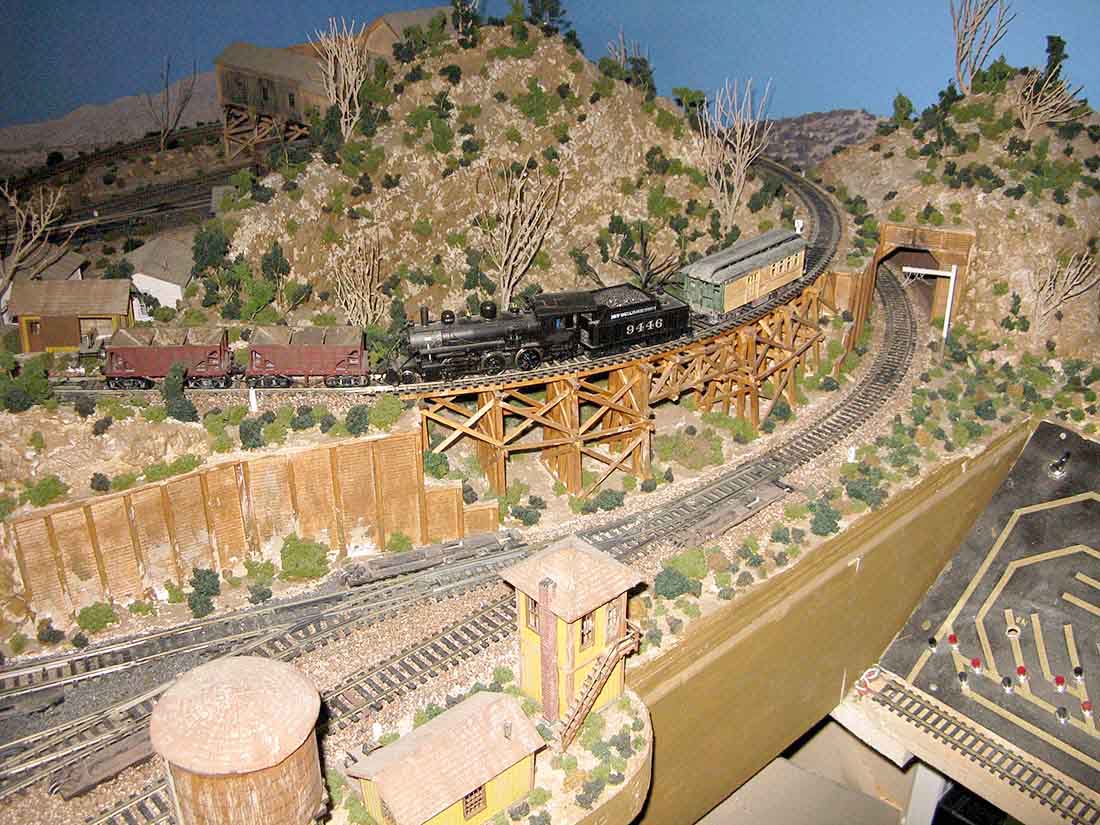
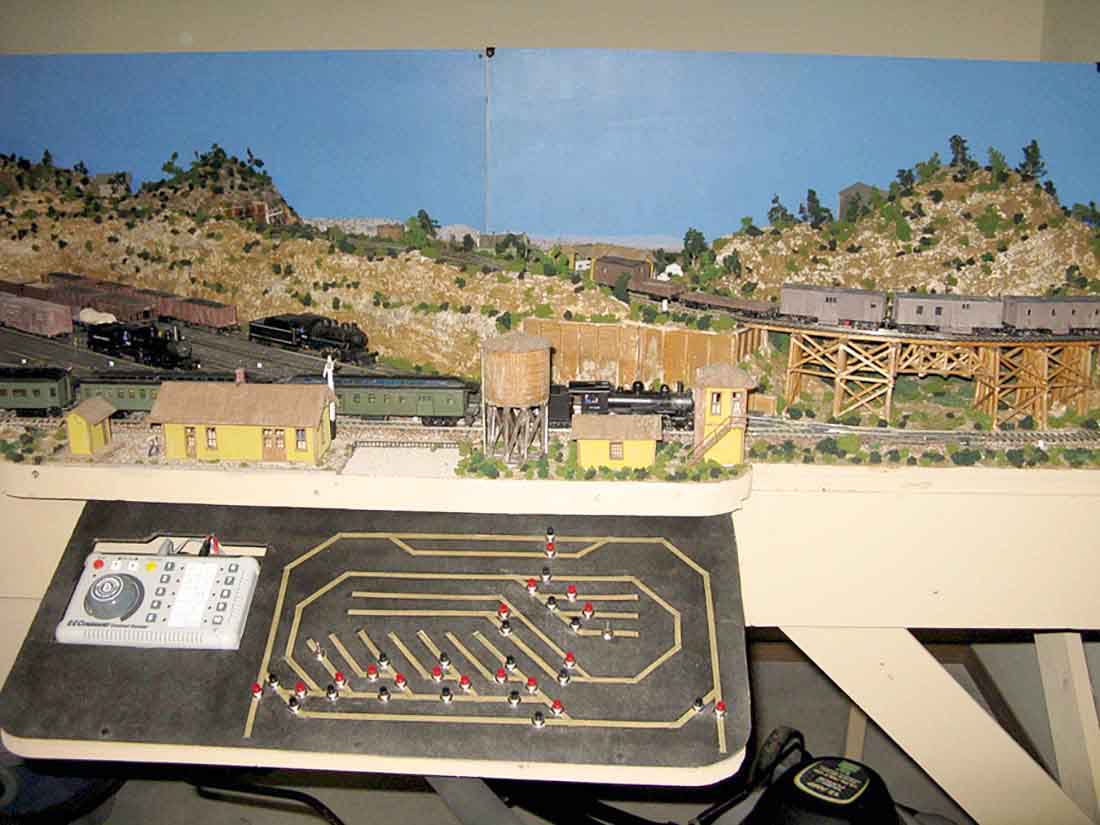
Alas, the New Mexico Northern is no more. It was dismantled to make room for a 16 track recording studio.
I will rebuild it as a shelf layout and I am working on a track plan now.
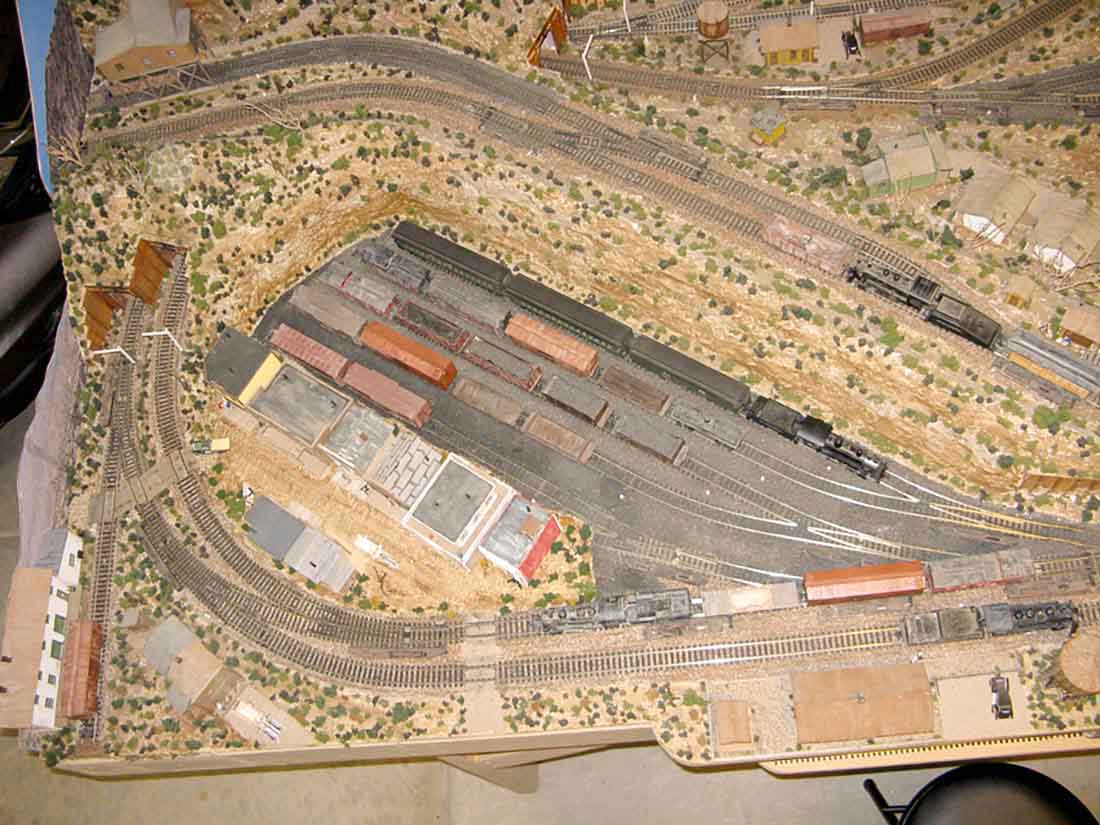
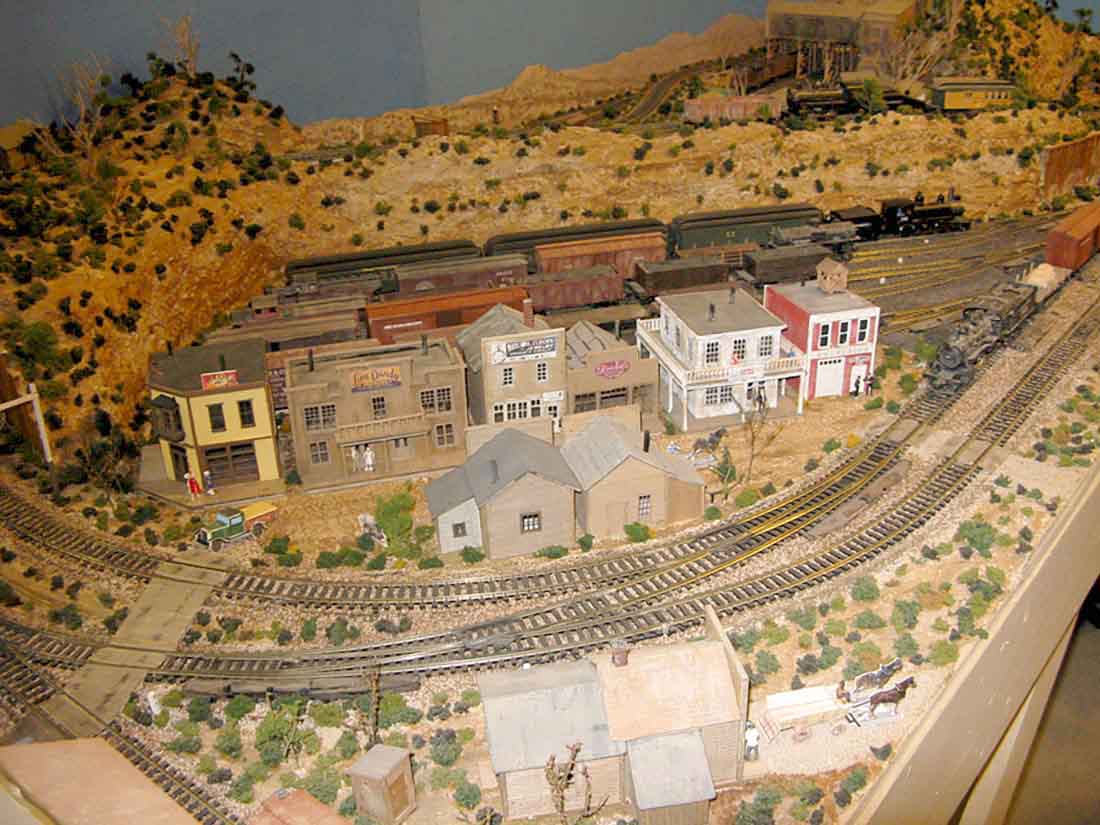
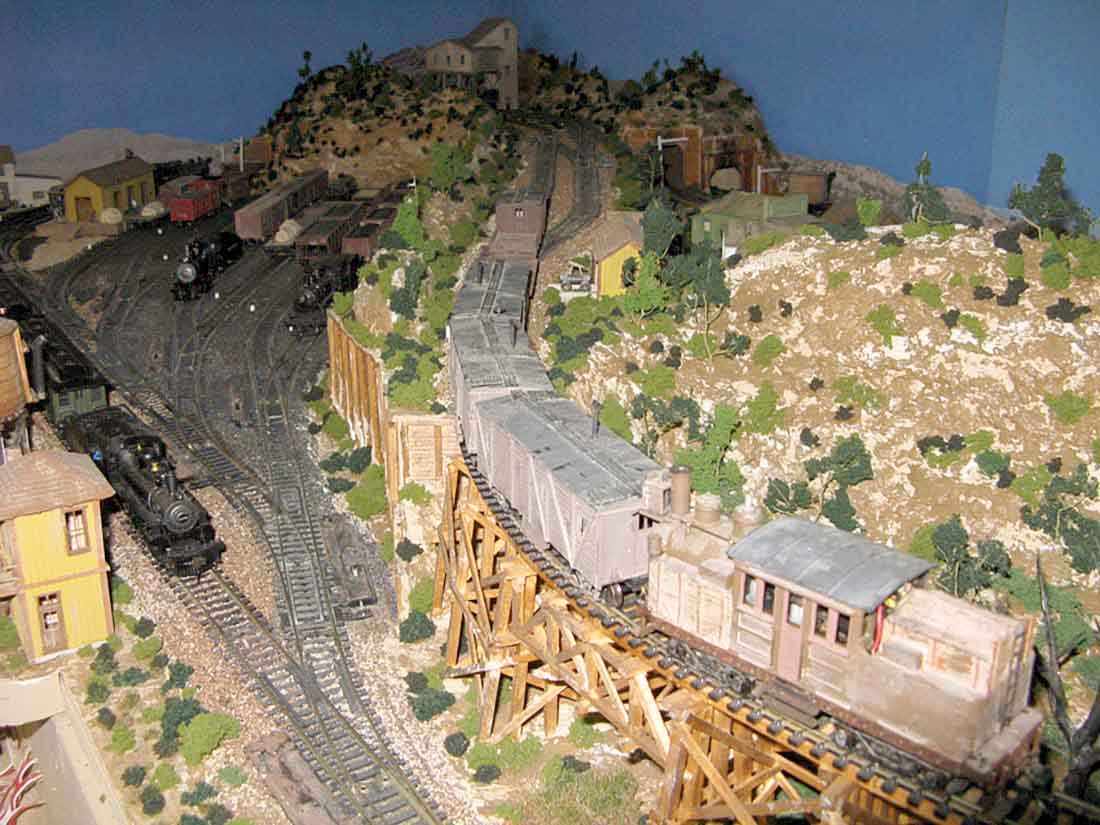
It was patterned after the Reid Gap and Virginian featured in Model Railroader magazine.
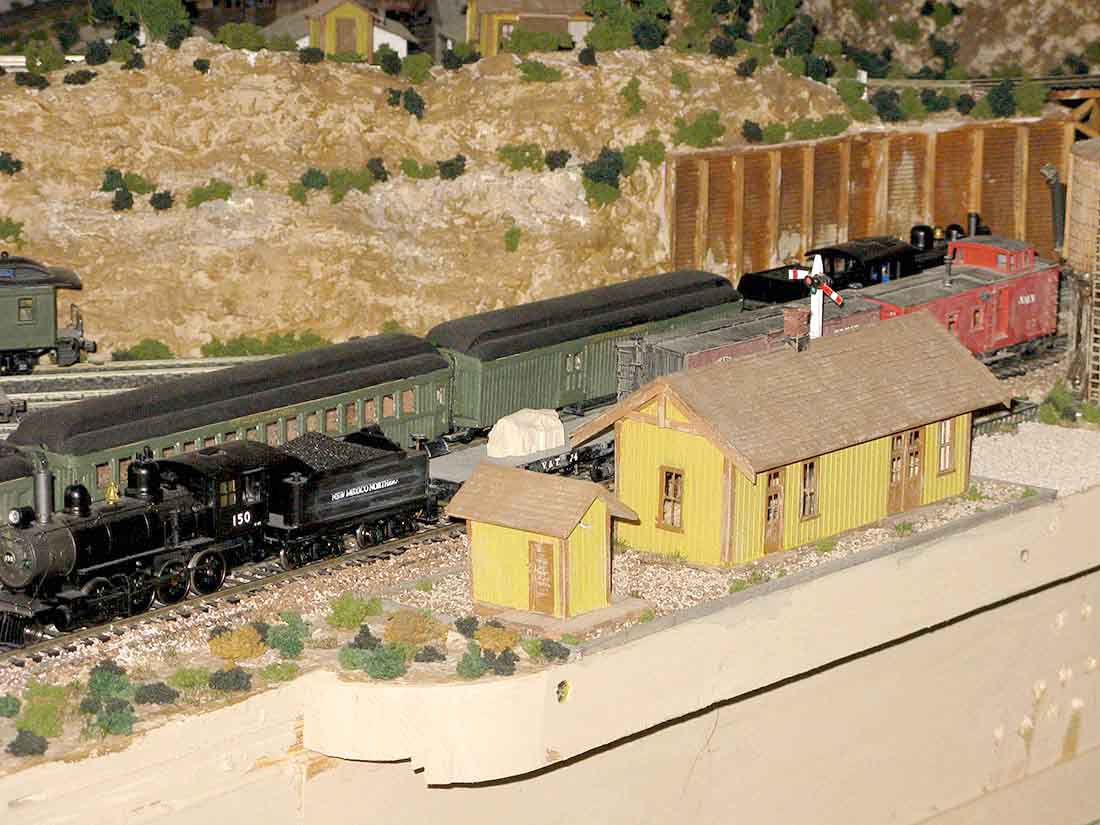
All the locomotives and rolling stock have been saved. Some of the locos and rolling stock are sixty years old.
All rolling stock is either scratchbuilt or built from LaBelle, Central Valley or old Roundhouse kits. All Locomotives are DCC conversions, some of which are old Mantua kits from the 1960’s.
All of the structures were scratchbuilt, the only purchased items being most of the windows and doors.
I am sorry I am not much of a Photographer. My fortes are modelbuilding and music.
Regards,
Richard”
I think Rich’s DCC 4×8 HO scale is another that needs to be added the HO scale train layouts.
I purchased a small camera on Ebay for A$10.50 (roughly 5.60 UK, or US$7.70) which seems to be a much simpler solution, recording directly to a micro sd card and having a built in battery. It also gave a relatively wide view of the track.
I attached it to a flat wagon with a bit of Blue Tac and pushed it ahead of the train.
The attached video was taken on the model railway at the Workshops Rail Museum in Ipswich Qld where I work as a volunteer.
I’ve attached a photo from the ad for the camera so you can see just how big, or small, it is.


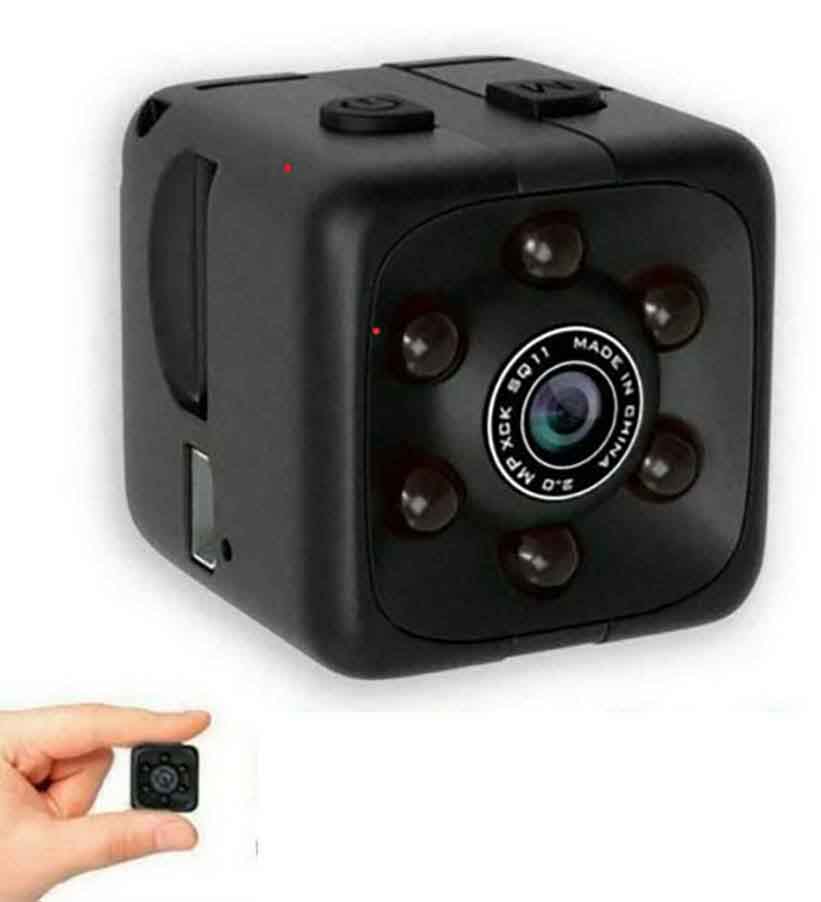
