HO scale oil tank cars

Wayne’s been back in touch with something for his HO scale oil tank cars.

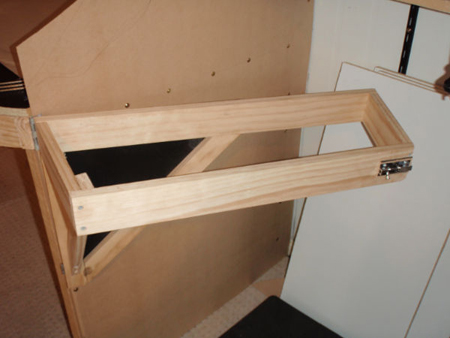
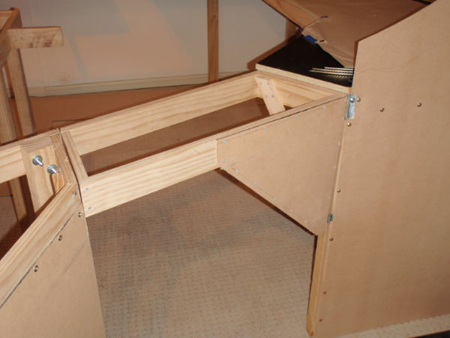
He wanted aloading platform for them but couldn’t find one. So he’s made one.

If you missed his first post, you can get up to speed here, it’s a real belter.

He’s been in the wars – he’s not been well at all but he’s still managed to dedicate part of his layout to his late brother-in-law:

“I haven’t done much on the layout except some small things.

I built a unloading rack for the tank cars, a yard office, cleaned the town of splattered plaster, and turned one store into a real estate office.

My sister and her husband own one. He passed away about two weeks ago, so now they have a place on the set. I got a couple more lights hooked up, and figured out how to soldier those ( 2 hairs and air ) wire together, without melting the wire.

I saw the post you did on some of the stuff I had sent you.

Please tell your readers, thank you for all the kind and helpful comments they posted.

I have a lot to learn, and not to long to do it.

My tank cars needed a way to unload to the tanks for the fuel distributor.

For such a little item I had to spend hours makeing it. It still needs to be weathered, that I can do later.

If you see anything I missed let me know.

Thank you.

Wayne”

HO scale oil tank cars

HO scale oil tank cars

HO scale oil tank cars

HO scale oil tank cars


HO scale oil tank cars

Now on to Cassio.

He was man of very few words, but thanks to the online translation sites, he’s now a man of some words!

“Dear Alastair

I send another movie made with Union Pacific locomotives in Bragança Layout.

I hope you enjoy sharing it with your followers.

Cassio”


A big thanks to Wayne for sharing his HO scale oil tank cars and their platform! And thanks to Cassio too.

That’s all for today folks.

Please do keep ’em coming.

And if Wayne or Cassio has inspired you, the Beginner’s Guide is here.

Best

Al


G scale garden layout

Larry’s been in touch with his G scale garden layout:

“Greetings Al,

This the second time I have submitted something for your blog.

My first post was a small ‘Z” Scale layout for my office a couple of years ago.

I am swinging to the other extreme for this go around and reaching out to all those “G” Scale outdoor layout folks.

I know how much you say “It’s all about making a start” when referring to this wonderful hobby of model railroads and that`s kind of where I`m going to end this post.

But first I would like to go back a decade and show some pictures of my outdoor G scale garden layout.

Here is a link to a Short Cab Ride video From that point in time, It only three-ish minutes long but helps to put the pictures in perspective:


OK now a few pics:

G scale garden layout

Pic 1 Train Yard view from the top of the trestle.

G scale garden layout

Pic 2 Train leaving the yard pulled by EMD FA & FB Locomotives.

G scale garden layout

Pic 3 Same train at the lower end of the trestle heading to the high
point of the layout.

G scale garden layout

Pic 4 4-6-2 Union Pacific Loco headed down the trestle toward the yard.

G scale garden layout

Pic 5 FA & B Locos leaving the layout high point tunnel.

Pic 6 Yard view from upper tunnel.

Pic 7 Far end of layout, 4-6-2 Loco headed down to the WYE
intersection.


Pic 8 4-6-2 approaching WYE, EMD train leaving WYE.

Pic 9 FA & Bs heading into the lower tunnel, Caboose of the other train
can be seen under the dragon.

Pic 10 FA & Bs waiting at other end of tunnel for the 4-6-2 Train to pass.

Pic 11 4-6-2 train`s caboose headed through tunnel to yard.

I hope I didn`t inundate you with these older pics but it’s important to my story, and here is where the story takes an ugly turn.

So back to my story:

I, like a good majority of your readers, am getting on in years (only mid-sixties but still…) and with that usually comes sore backs, stiff joints & and whatever else can go wrong with a person.

In the years that followed I found out that I had a skeletal condition and at the tender age of 50 had to have both of my hips replaced, two rotator cuff surgeries and a third rotator cuff surgery to reconstruct the joint.

Also during that period my wife had both knees replaced and both of her hips replaced. (So as you can see, I do know how to have fun. ??)

Although in reality none of any of that was in any way fun it did, on several levels, detract from my being able to pay any attention to my Trains.

So all the while those awesomely fun things were going on my lovely train garden was doing what all plants do if not tended to and that is grow wildly out of control, especially here in the Pacific Northwest.

So it`s time again for a few more Pictures:

Pic 12 An overview of the whole layout. ( the rocks are a whole other
story)

Pic 13 View looking up toward the trestle.

Pic 14 Same area looking in the opposite direction.


G scale garden layout

Pic 15 View of the trestle.

Pic 16 If you look real close you can almost see a pond here.

G scale garden layout

Pic 17 Underneath all the brush and shrubs is/was the WYE intersection.

Pic 18 Apparently tree roots don`t like turnouts, the WYE sacrificed itself…

G scale garden layout

Pic 19 Lower tunnels, left tunnel goes to the yard.

Pretty sad huh ? So what to do at this point ??

In reality the only practical thing to bring this all back to life was to start over. Trying to defoliate this mess was simply not an option.

The good news here is that there were things I was unhappy with in regards to the original track plan so now I can make changes to the layout starting from a clean slate, with some help from my favorite gardening buddy “John”.

Pic 20 This is a picture of my helper, power tools are only way to go.

So I guess the moral of this story for you “G” Scale outdoor layout folks is this, We all know how much work goes into creating a beautiful and functional garden railroad.

So if life does what it does and you think that you can leave your Railroad garden to it`s own devices for a while let me just say this, if you can take that extra minute to pull that occasional weed, trim that shrub, or whatever else you may notice happening on your outdoor layout you will be doing yourself a huge favor.

So here we are at the end of my post, which I realize it not the normal fare on Al`s Site but I thought it just might save someone from the same fate that I have bestowed upon myself.

So Spring is almost upon us here in Washington State and now that it is starting to get a little warmer as winter transitions into spring I guess it`s almost time to “Just make a start”…

Pic 21 A clean slate and place to “just get started”…

Peace Out

OLar”

A big thanks to Larry – or is it Olar?

It’s always fun seeing a G scale garden layout. Really looking forward to seeing the progress on this one.

When it comes to G scales, I always think of Tom’s stunner:

That’s all for today folks.

Please do keep ’em coming.

And if today is the day you get started on your layout, the Beginner’s Guide is here.

Best

Al

PS Latest ebay cheat sheet is here.
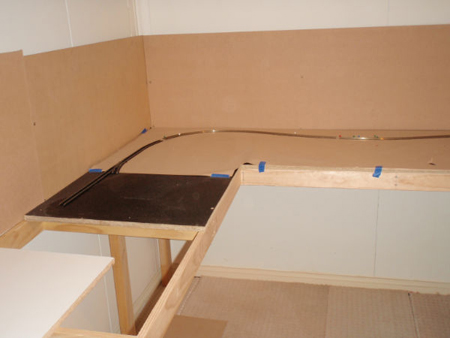
PPS More HO scale train layouts here if that’s your thing.


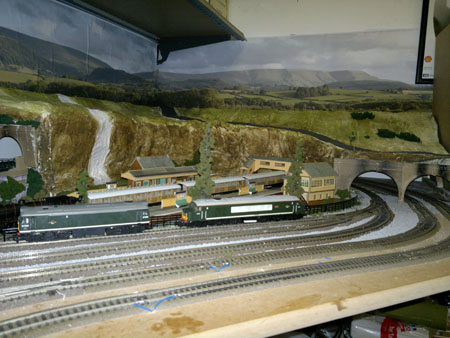
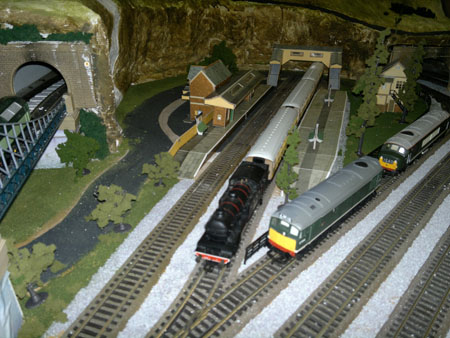
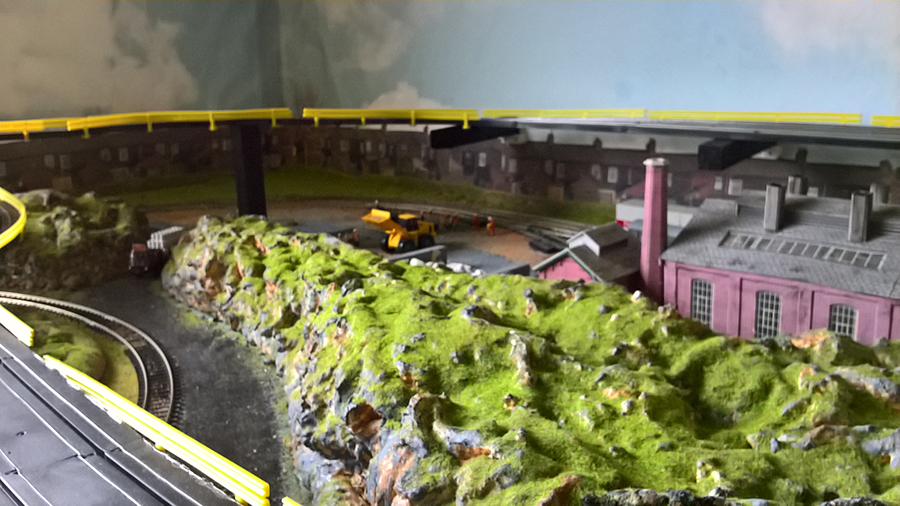
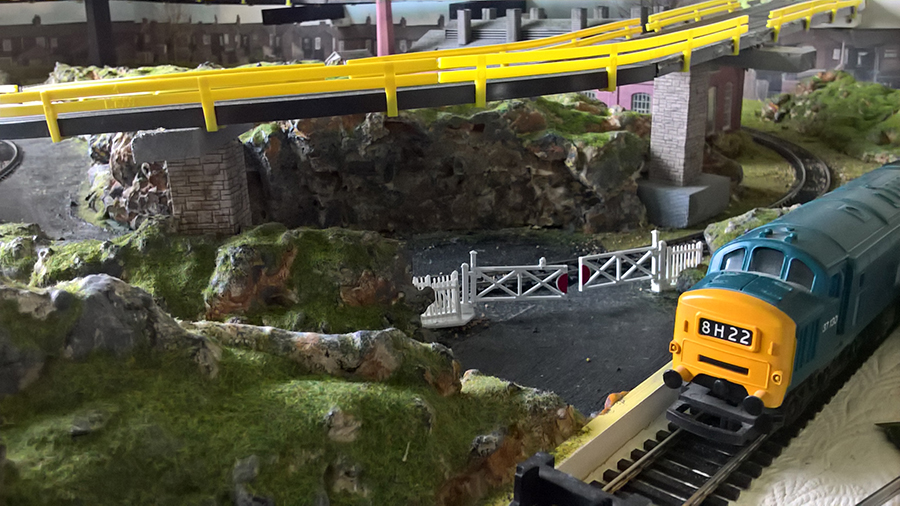
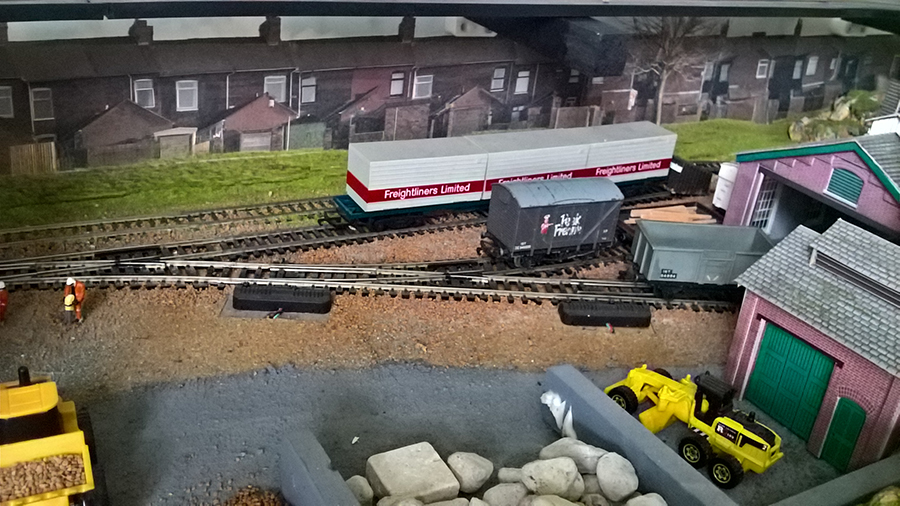
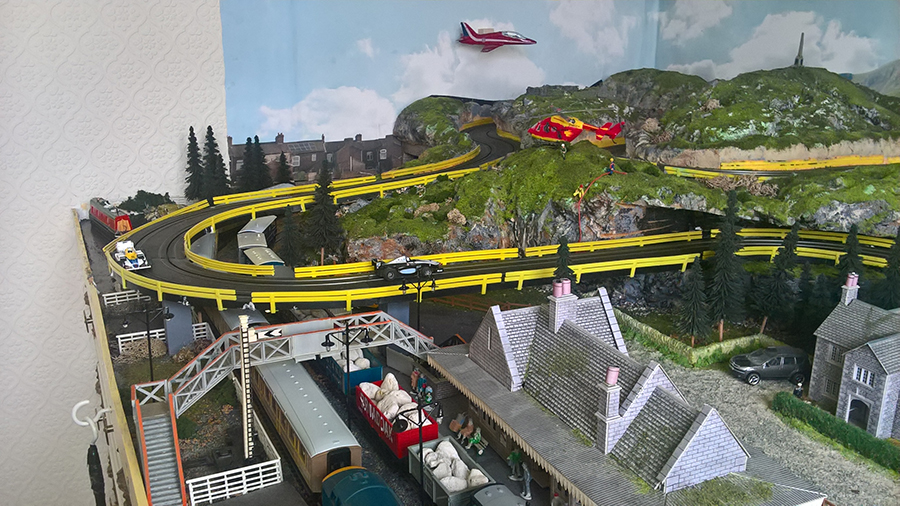
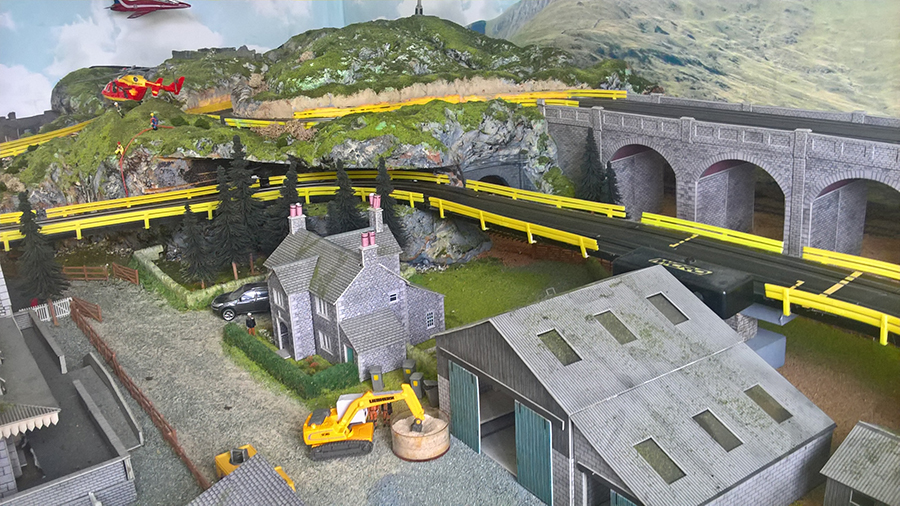
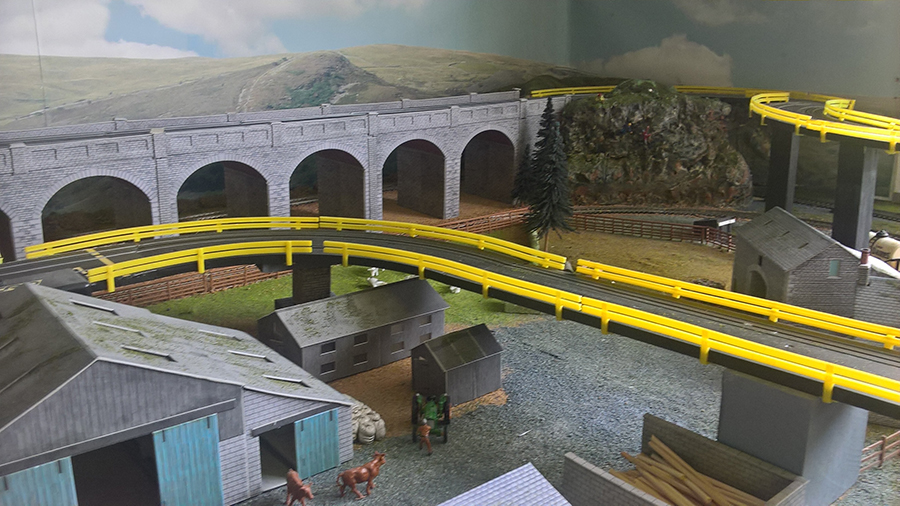
HO scale multi level layout

David has been in touch with his HO scale multi level layout.

“Al:

I really appreciate your daily emails. The pictures, videos and viewer comments are very helpful. Thank You!

I have collected 027 Gauge trains and Accessories for over 40 years; it started when my Dad bought me a Lionel steam engine when I was 10 years old.

My uncle worked for the Santa Fe Railroad; he would take me to the rail yards, knowing my interest in trains. What a thrill for a young boy.

I returned to the hobby when I was in my thirties and it has been adventure, since then.

Last year, I sold my 027 gauge collection to an EBayer and soon had “sellers remorse”. My 027 gauge layout was 4 levels and entirely took up our 20’ x 30’ unfinished basement.

After selling my collection, I decided to become an HO gauge convert. Not having access to the train shows and swaps that I would routinely attend really restricted my ability to get good deals for my new hobby.

I quickly became a shopper on eBay and began buying engines and rolling stock. I reused much of the scenery I developed on previous train layout, converting it to HO scale.

I have always enjoyed modeling scenery, but had to relocate 8 times for my job. As a result I crafted scenery from foam board and sculpted it using a “Hot Wire” cutter and a wire brush, depending on the effect I wanted.

My benchwork was constructed with ½” plywood and large bolts for easy reassembly.

My HO layout is a work in progress and I plan to swap out many of my repurposed 0 gauge scenery. Here are some photos to share with your readers, if you think they are worthy. I am sending you a 2nd email with my HO layout pictures.

I look forward to receiving your emails.

Best Wishes,

David”

HO scale multi level

HO scale multi level

HO scale multi level

HO scale multi level

HO scale multi level

HO scale multi level


HO scale multi level

A big thanks to David. When it comes to multi level layouts, I always think of Dan’s: Dual level HO scale layout.

Now on to Ken:

“Hello Al from across the pond,

I had a bit of a problem with running some old locos I had from the 1990’s. They would stall when crossing insulated frogs on the newer switches (points).

I realized that the frog was longer than the span of the two wheel pick up at each truck.

The trucks are three axles each for a six axle locomotive. Only four axles drive with a dummy axle on each truck.

I disassembled the trucks and studied them and tried several ways to make each truck three wheel pick up in stead of two wheel pick up.

The following pictures are what I came up with to solve the problem.

The first picture shows the truck.

The second picture shows the original contacts.

the third picture shows that I used 28 gauge copper to make a new contact.

The next pictures shows how I fabricated new contacts to include the third axle as a pick up wheel.

The final three pictures show how the contact was installed.


Now the locos have six wheel pick up and run smoother and don’t stall on insulated frogs. I will send some pictures of my lay out at a later time.

Good Day,

Ken from Pa, USA”

A big thanks to Dave for sharin his HO scale multi level layout, and to Ken too.

I thought Dave’s solution was very clever – I do like seeing how you all solve the issues that this hobby throws up.

That’s all for today folks.

Please do keep ’em coming.

And if today is the day you take the leap of faith and start your layout, the Beginner’s Guide is here.
Best

Al

PS – There’s also another new post on ‘myotherhobby.com‘ – Jim’s vintage cars!