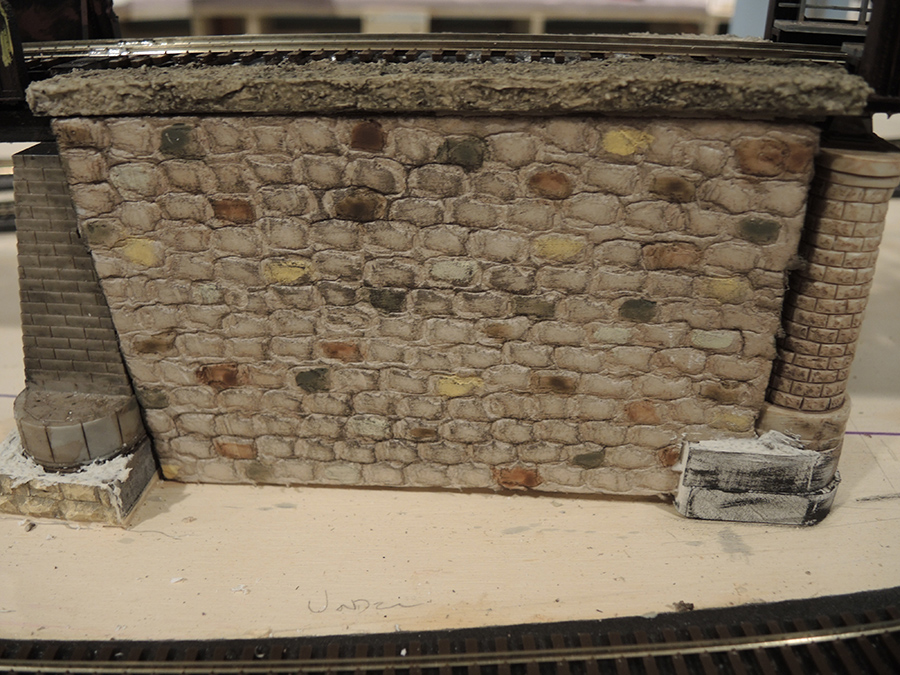
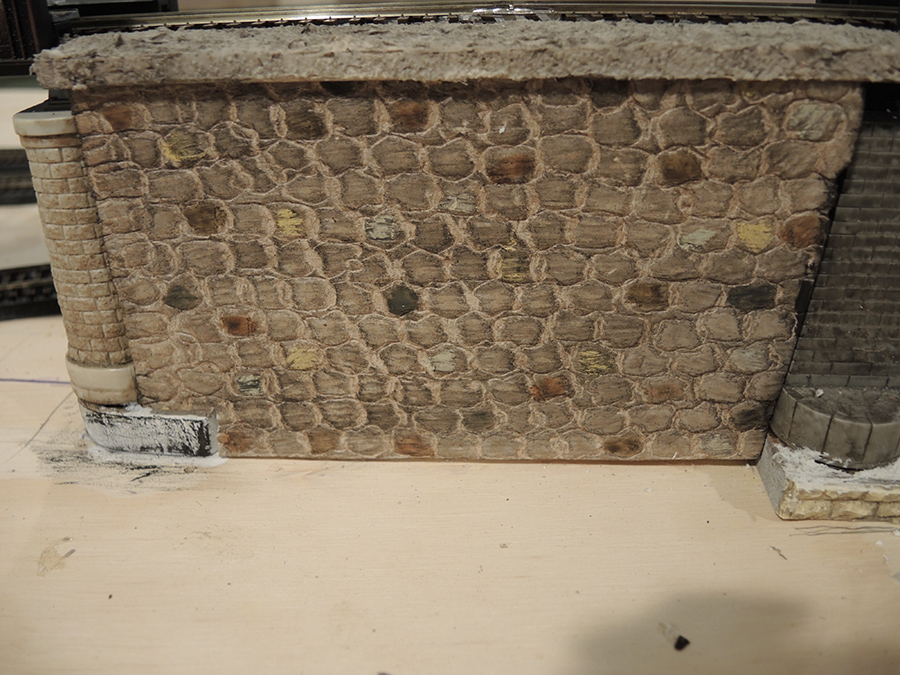
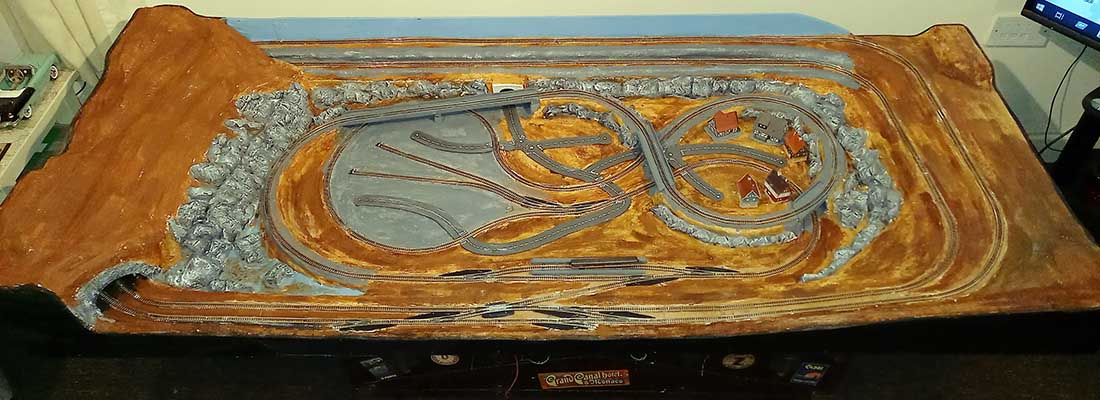
Paul’s been back in touch – he’s started on his Z scale scenery:
“Hi Al
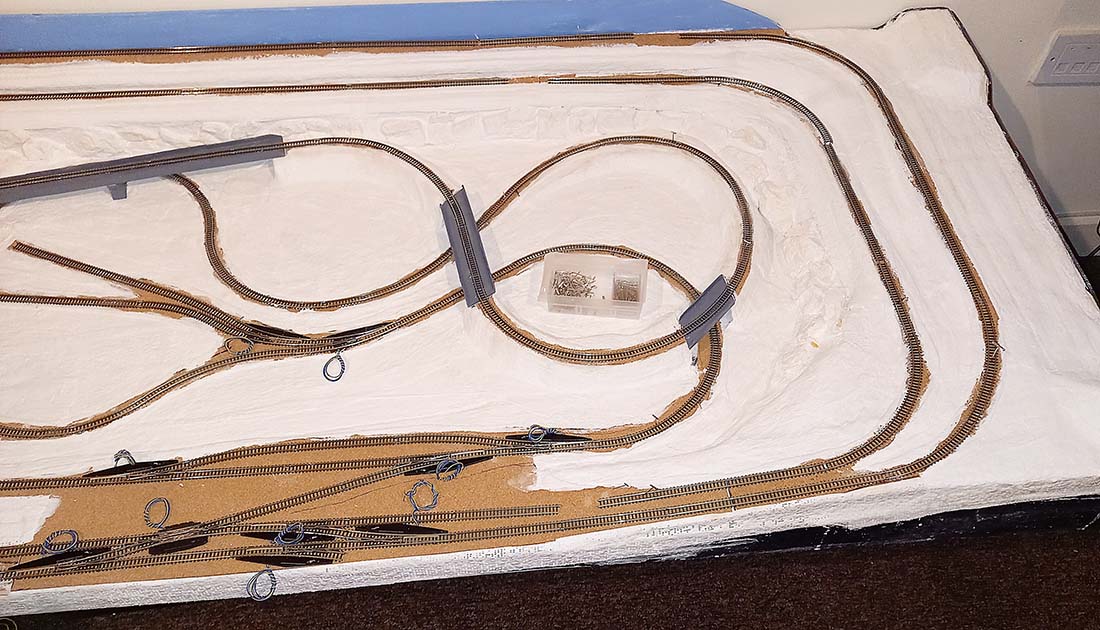
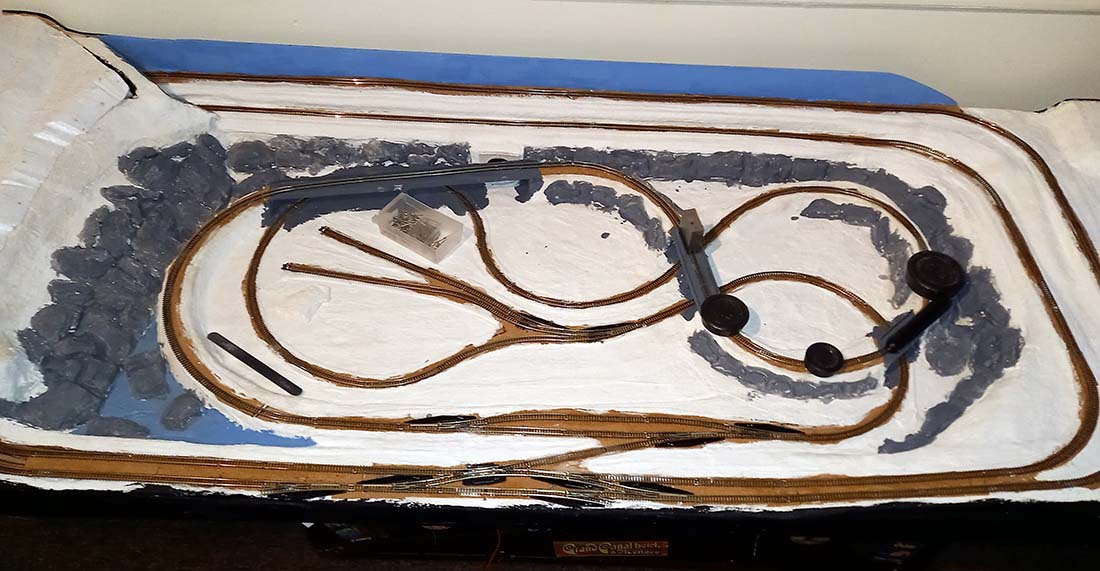
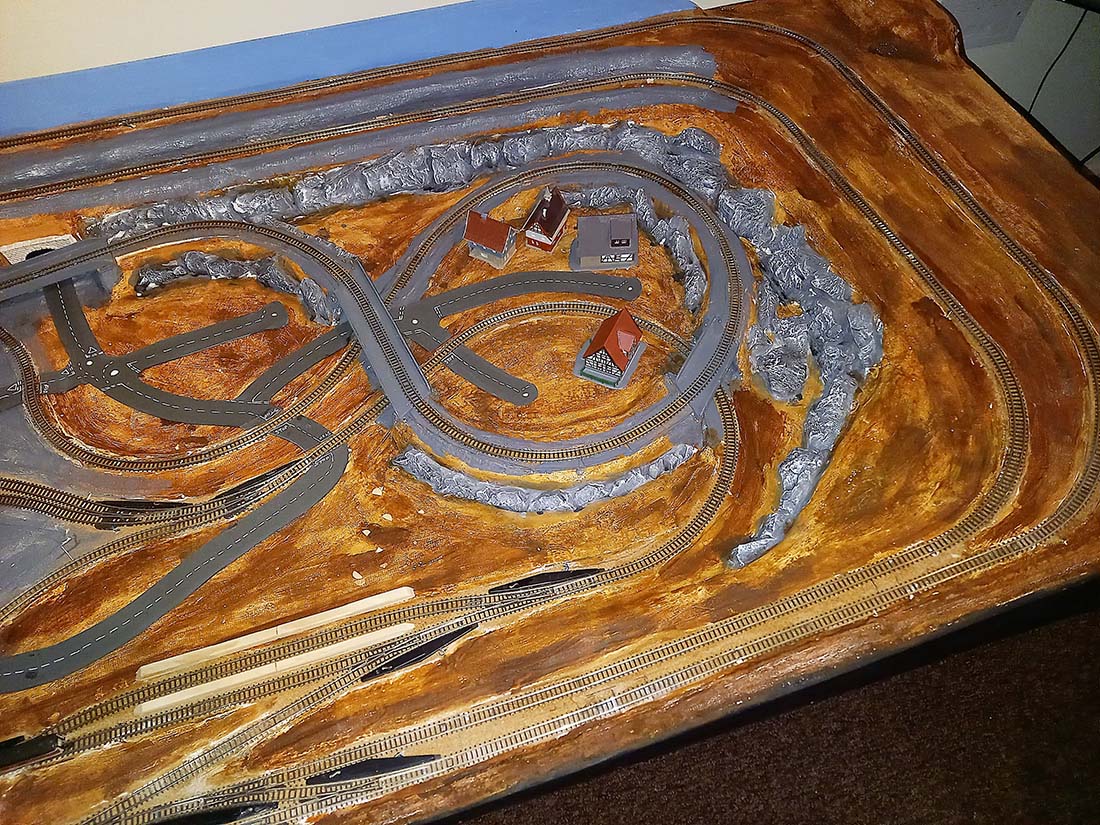
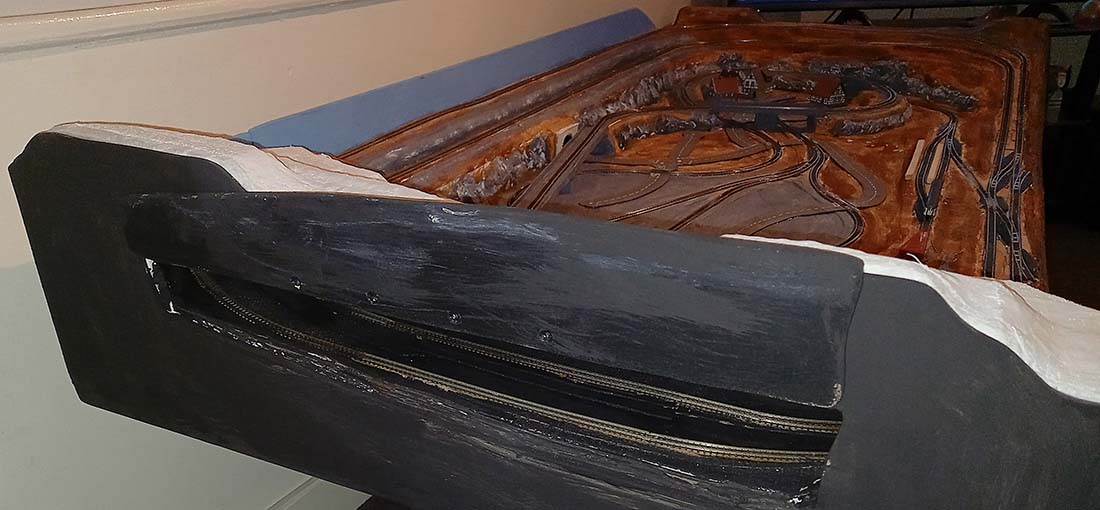
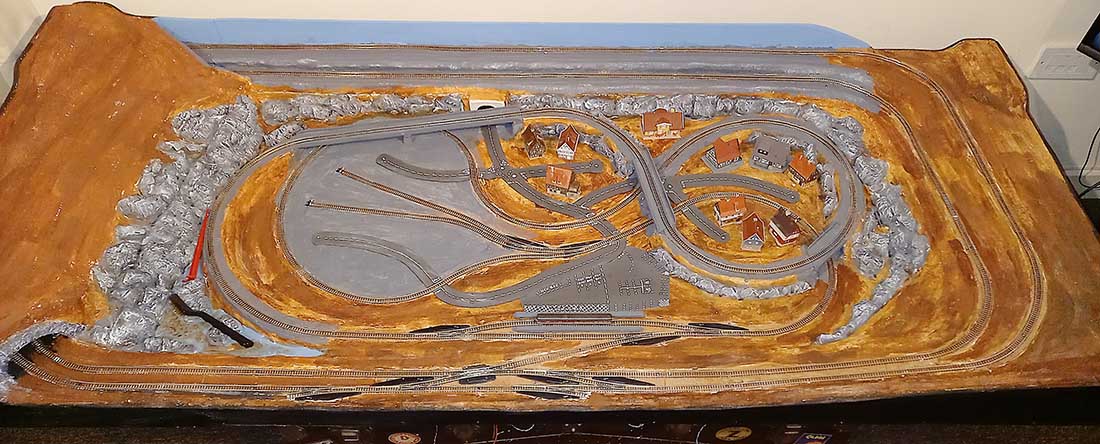
I have attached some more pics of my progress on my Z gauge layout the last picture being where I am now ive been making a few kibri and vollmer z gauge houses which has taken a while.
Also I made a road layout from some stiff grey card for cars etc and drew the road markings on with a 0.8mm tip white gel pen
I think it looks ok but I know a lot of your other members will have criticisms and I know I will deserve them, to be honest i’ve really been struggling.
Z gauge isn’t the easiest scale to work with there is very little in the way of scale stuff you can get like houses cars trees etc
And because it’s so small its really expensive and trying to scratch build stuff isn’t an option as its just too small to work with so its a nightmare, this is where im struggling,
Ive actually been thinking of just scrapping the whole thing and selling all my Z gauge trains & track etc as I feel like I’ve just cocked it all up and made a complete mess anyhoo that’s where I’m at right now sorry for the moaning etc
Hope the pictures don’t get too many negative reviews
Paul (giddykippa)”


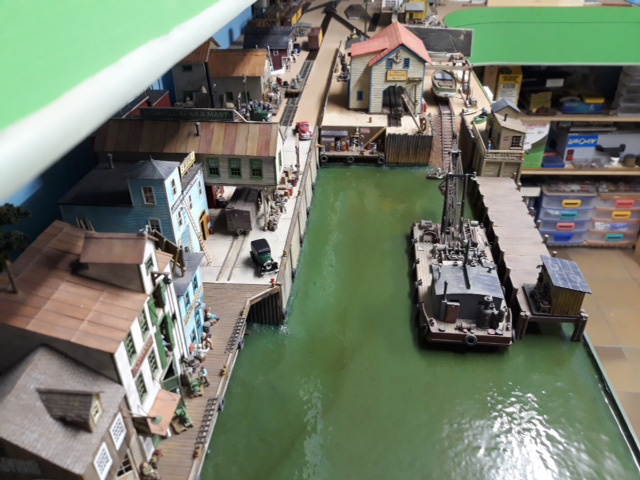
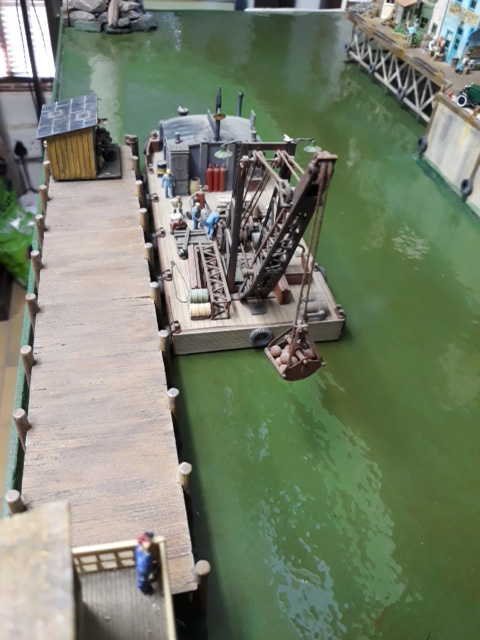
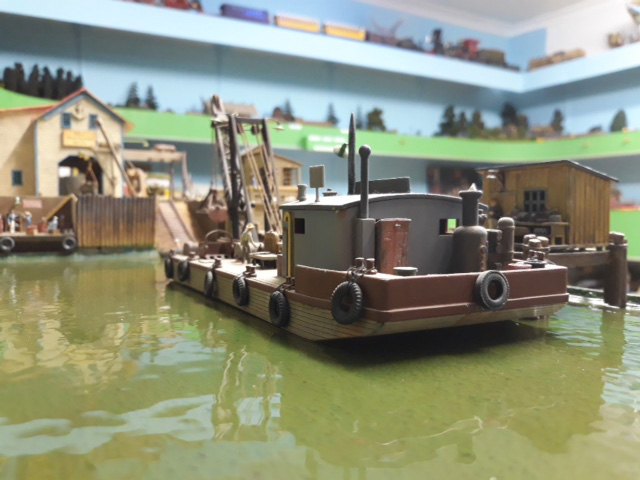
Now on to Cassio.
He’s never a man of many words because of the language barrier – but have a look at his layout:
“Hi Alastair,
My name is Fred Anderson and I am from Victoria in Australia.
I Have just started my first model train layout. I am 76 years of age (not old).
I first brought my train in 2014 but never had the chance to construct it until now. I purchased it through Bissett Magazines, once ever fortnight with a magazine and parts including Engine, carriages, track scenery etc for wholee village called “Little Benton”.
We have since relocated from Goldcoast in Queensland to Melbourne Victoria Australia. We have moved into a Unit from a 3 bedroom house to 2bedroom unit.
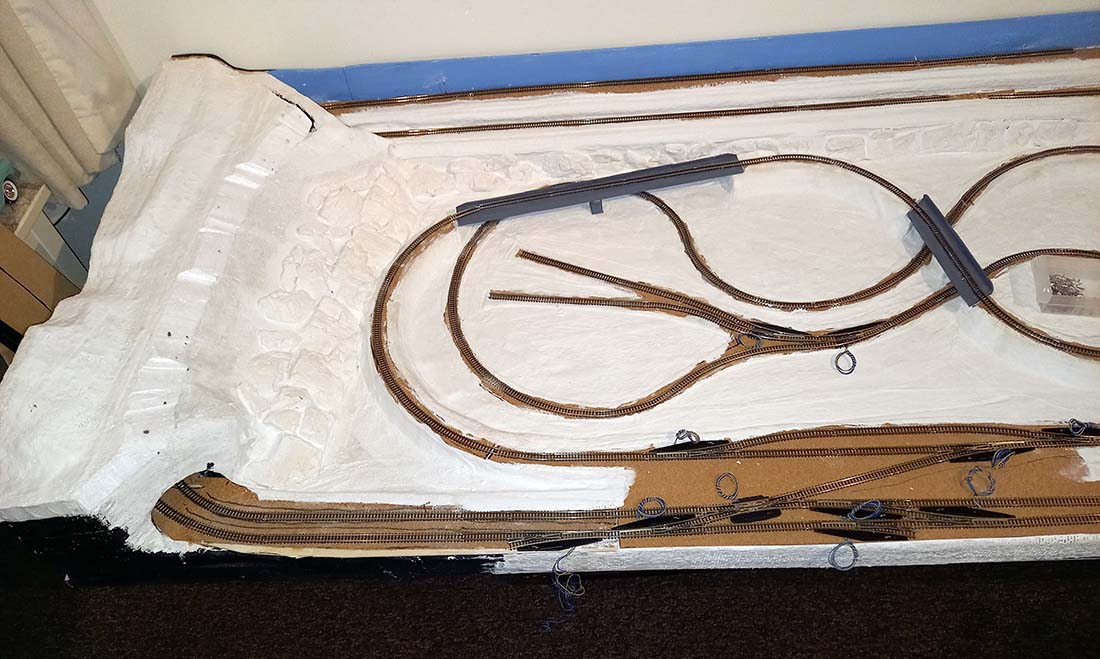
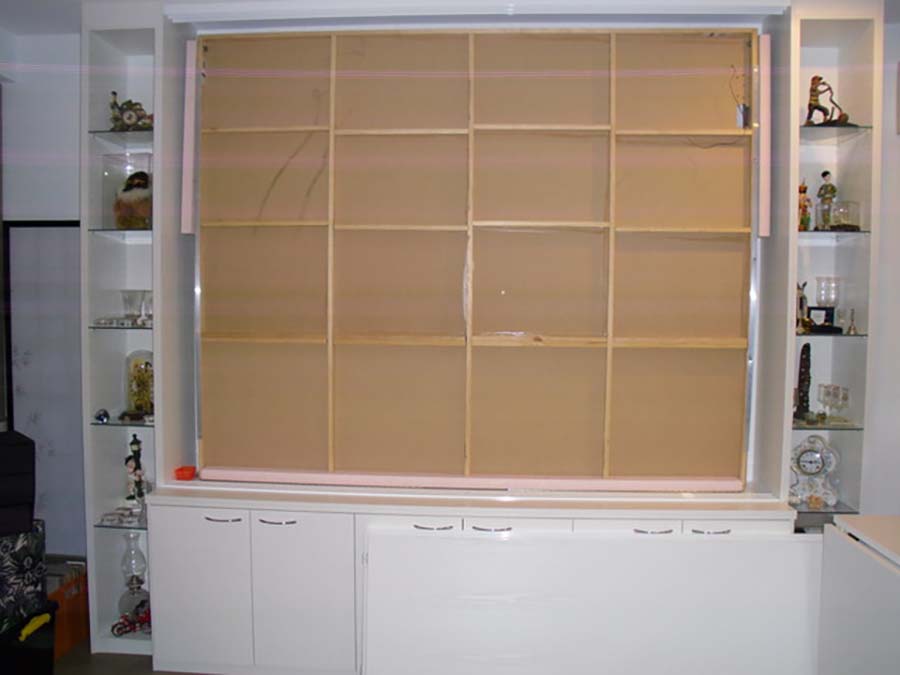
After many discussions with wife about having a 12inch around the spare bedroom and everything, we settled for an uplifting table into wall cupboard as per attached photos.
The size is 7ft 8” by 8’6” wide. This is as per plan supplied. Will send more photos and videos as I progress. I have learned quite a lot so far.
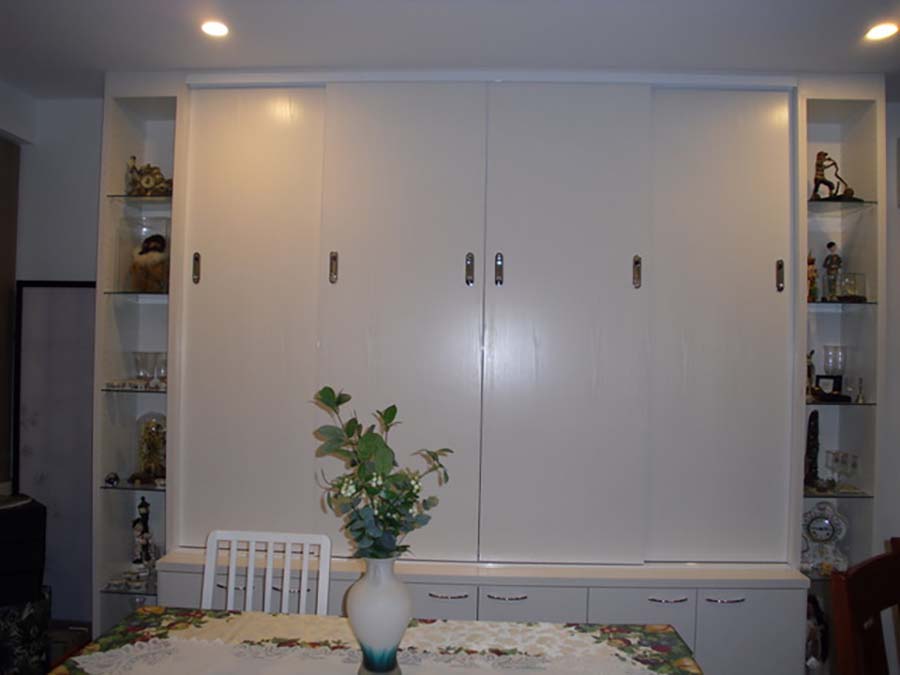
No 1 photo is cupboard closed
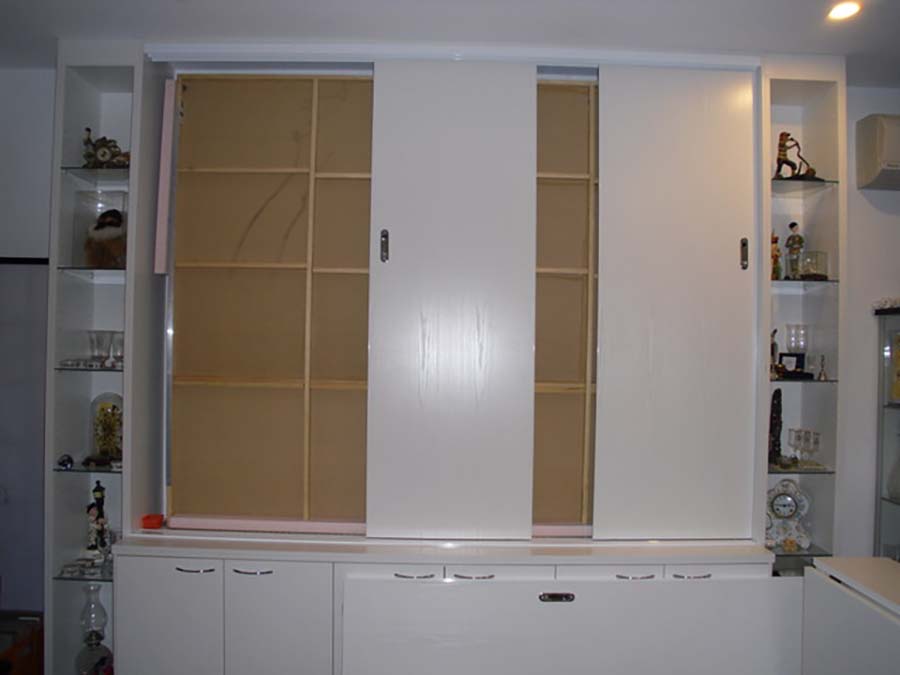
No 2 photo is 2doors removed and placed in front
No3 photo Table or Bench folded in place
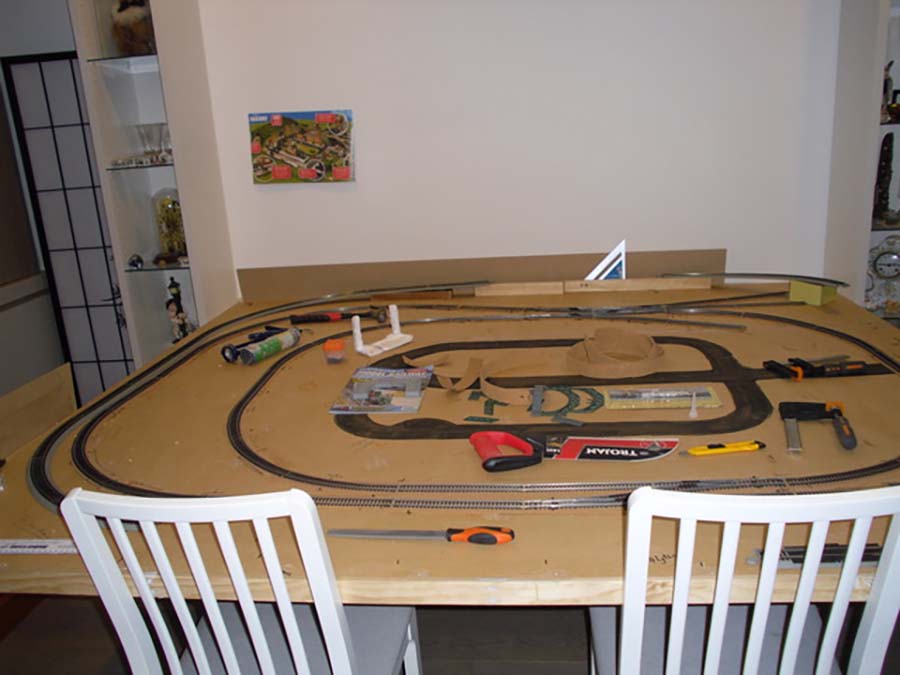
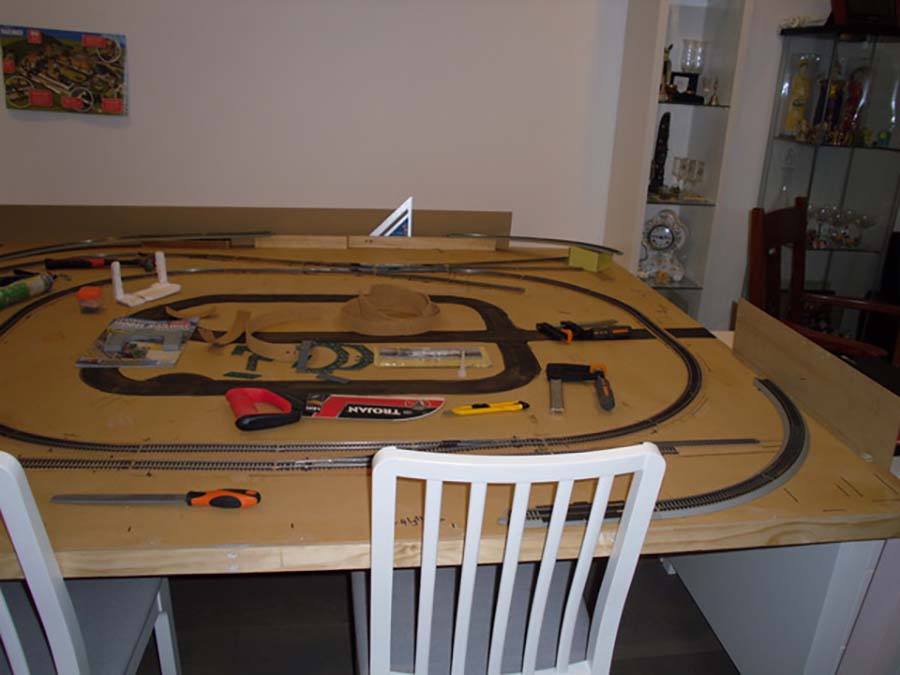
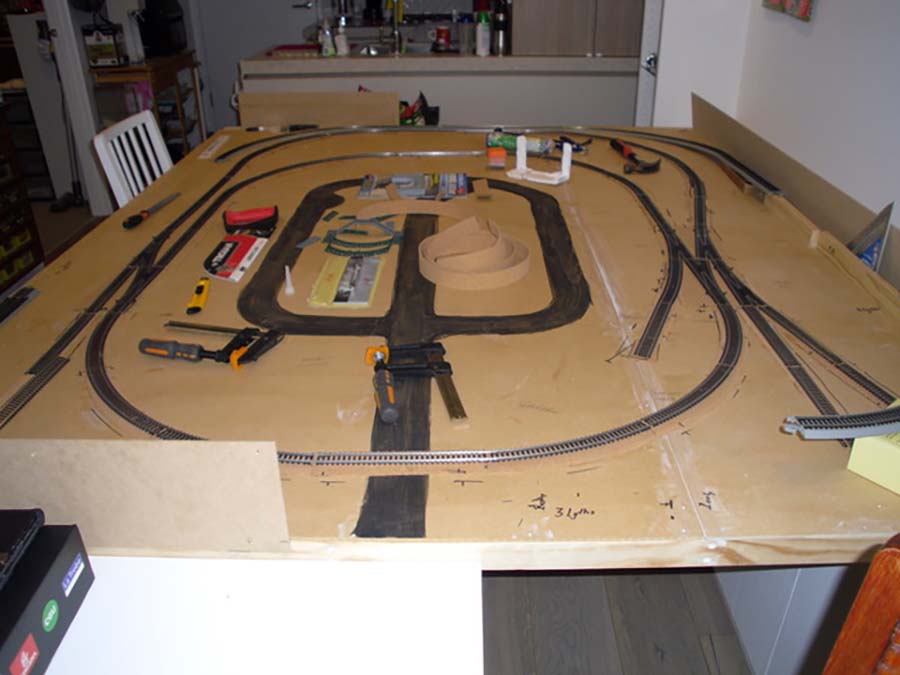
No 4 5 6 is layout as stands now
Thank you
Fred”
A big thanks to Paul for sharing his Z scale scenery, and to Cassio and Fred too.
That’s all for today folks.
Please do keep ’em coming.
If you’d like to share what you’ve been up to, just hit reply to any of my mails.
Please don’t send more than three pics per mail – but send as many mails as you need to get everything across.
Hope that makes sense!
And if today’s the day you start your layout, the Beginner’s Guide is here.
Best
Al
PS Latest ebay cheat sheet is here.