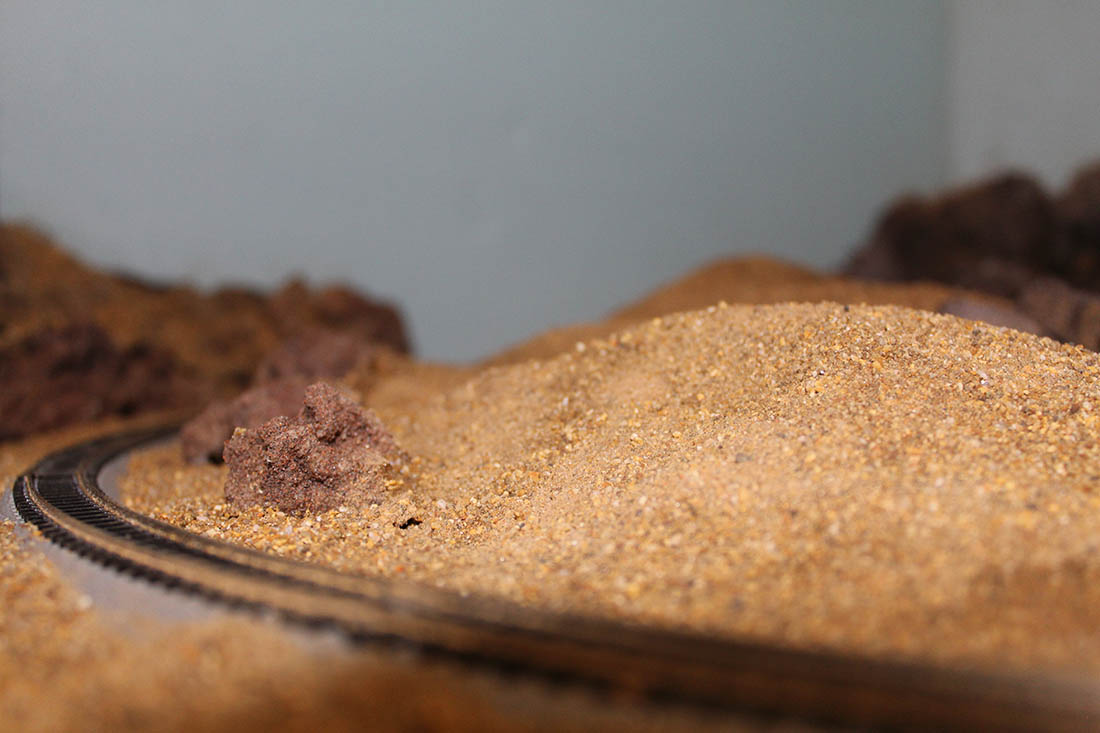
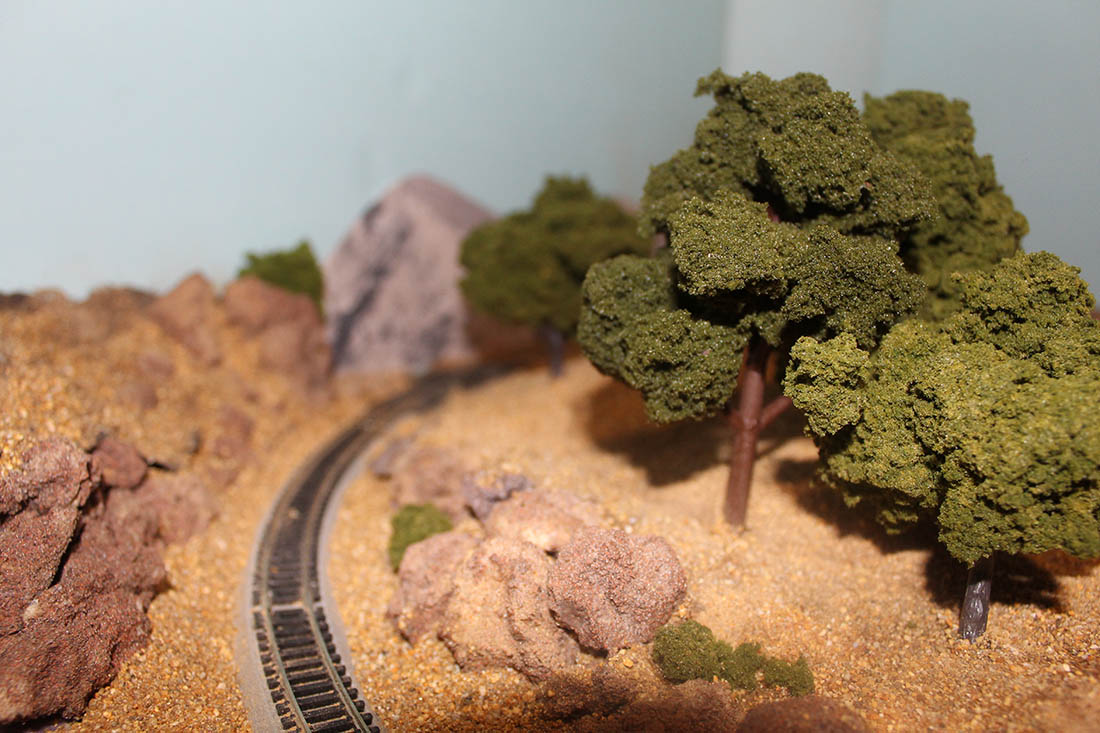
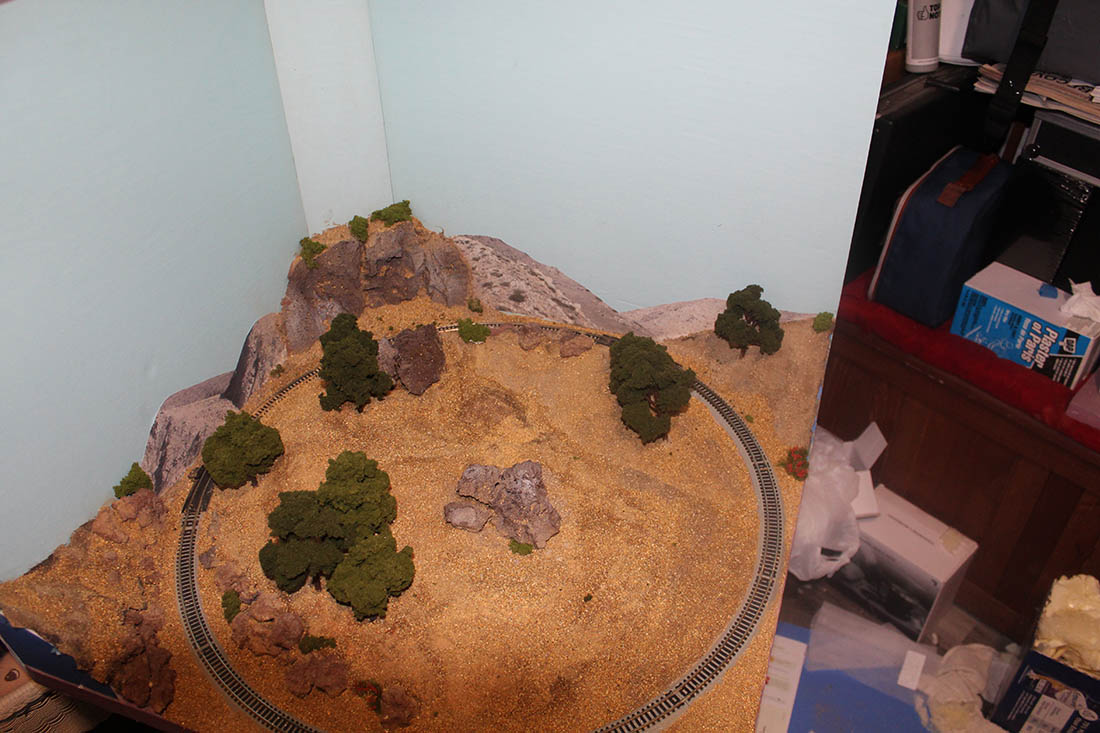
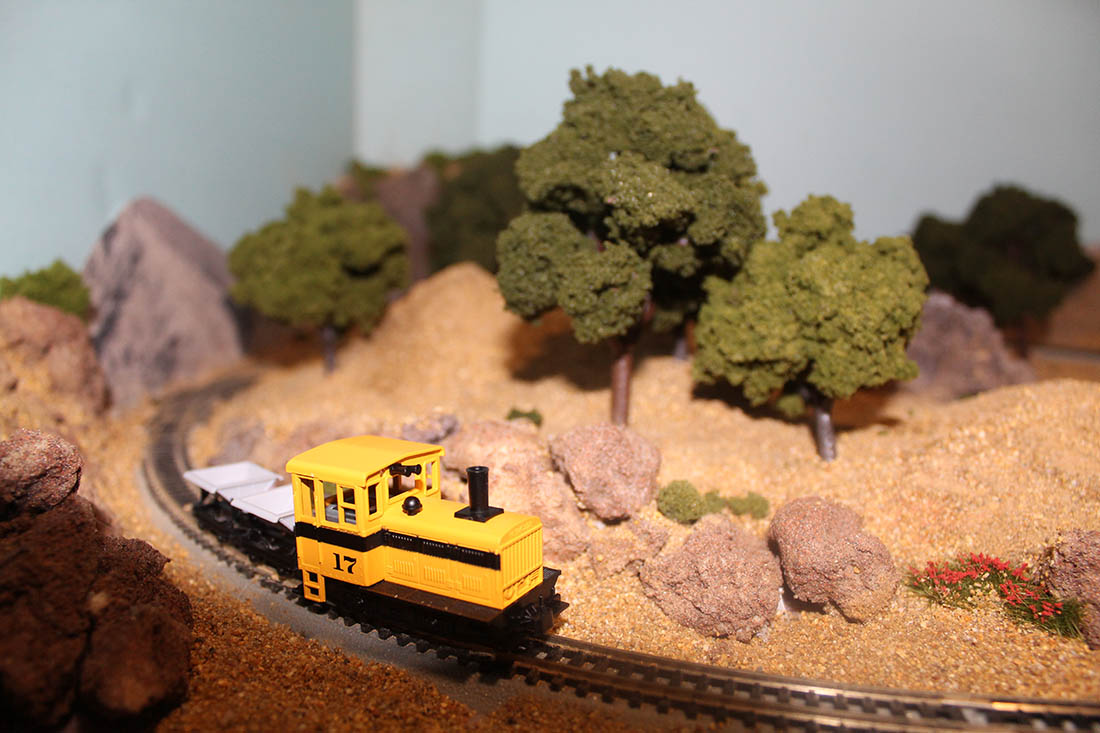
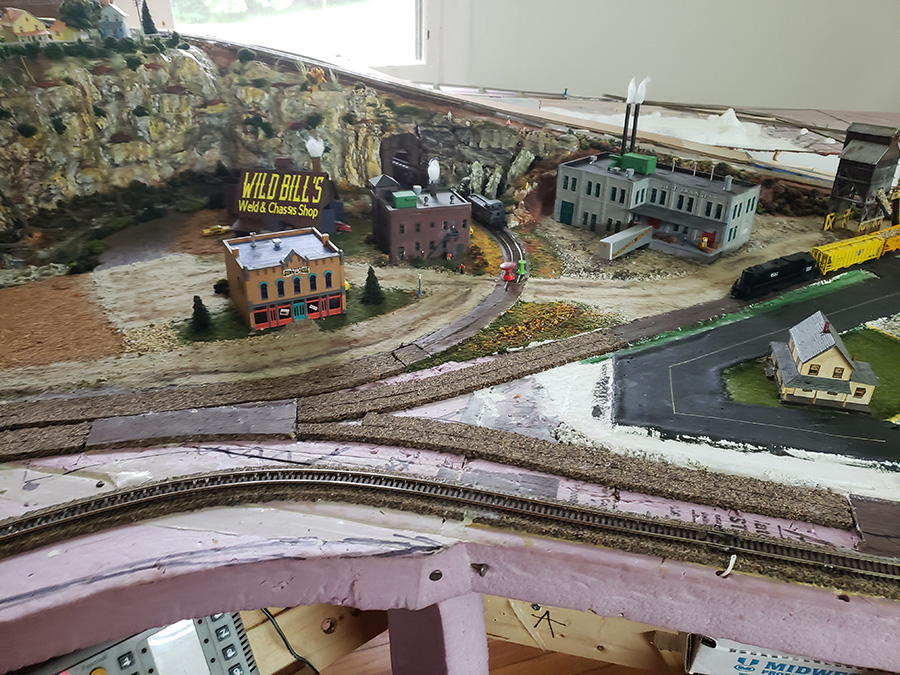
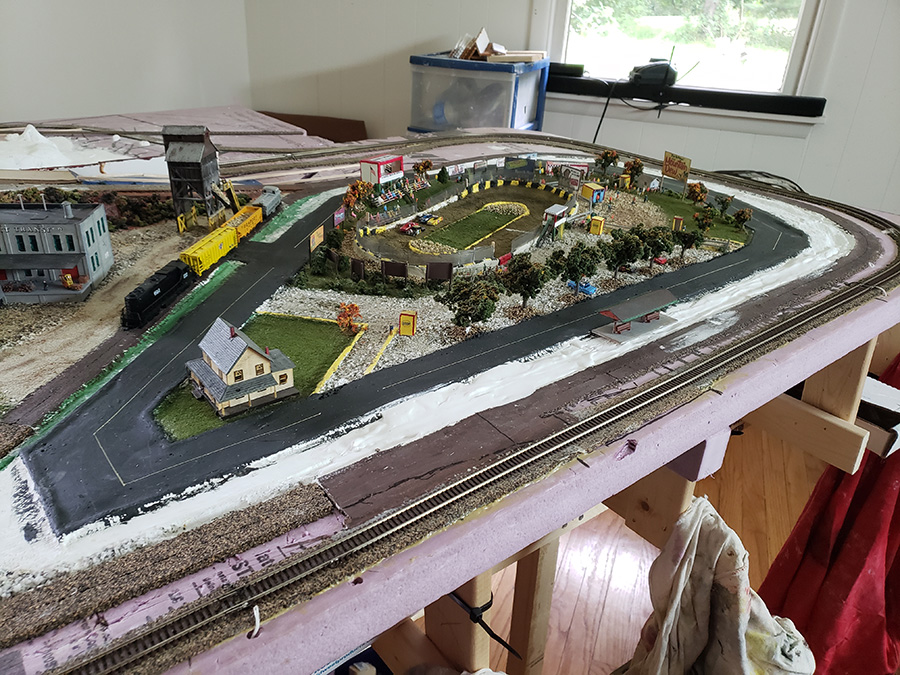
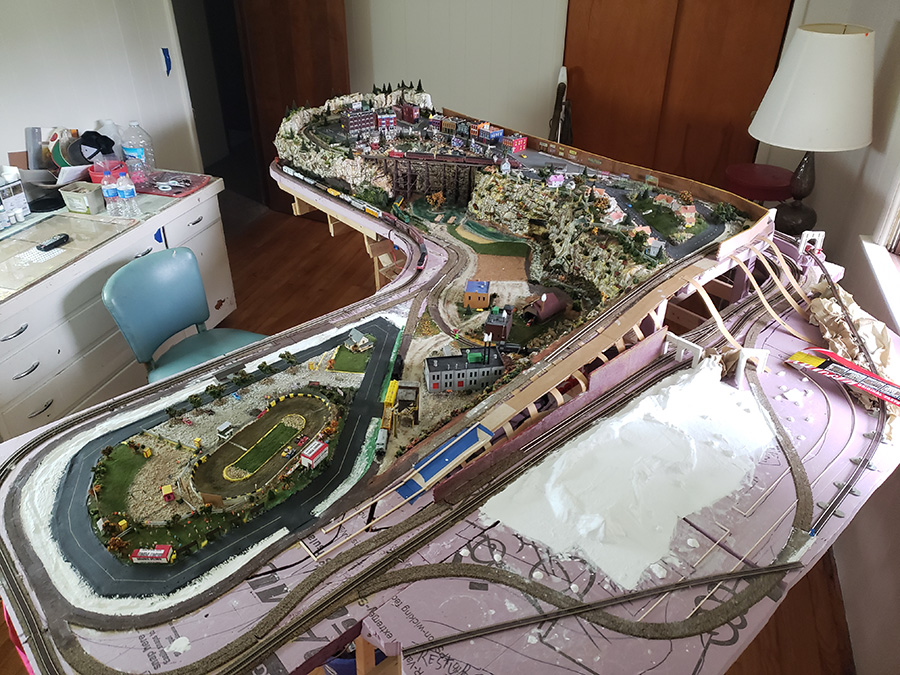
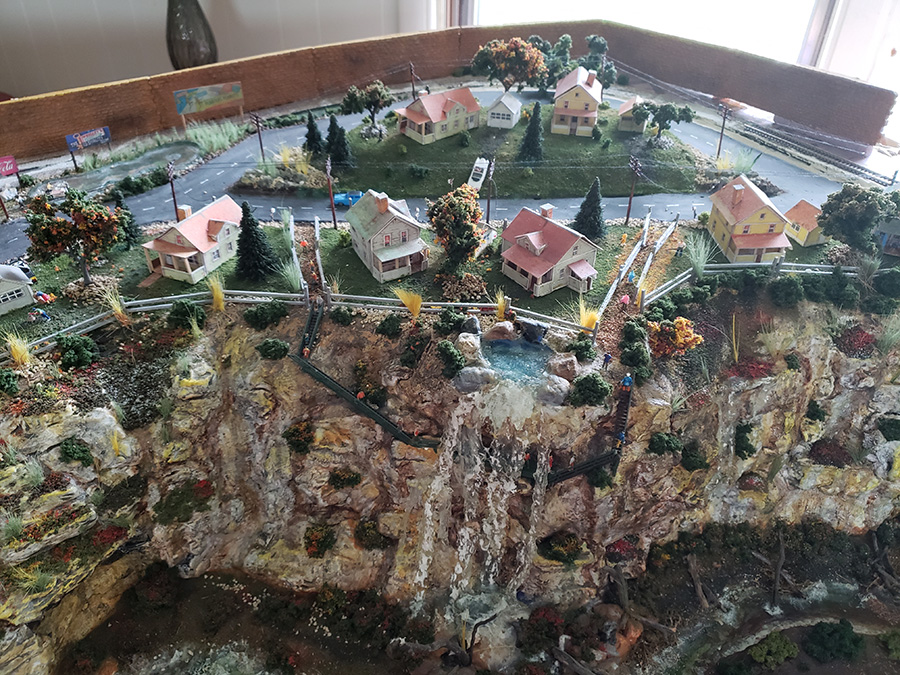
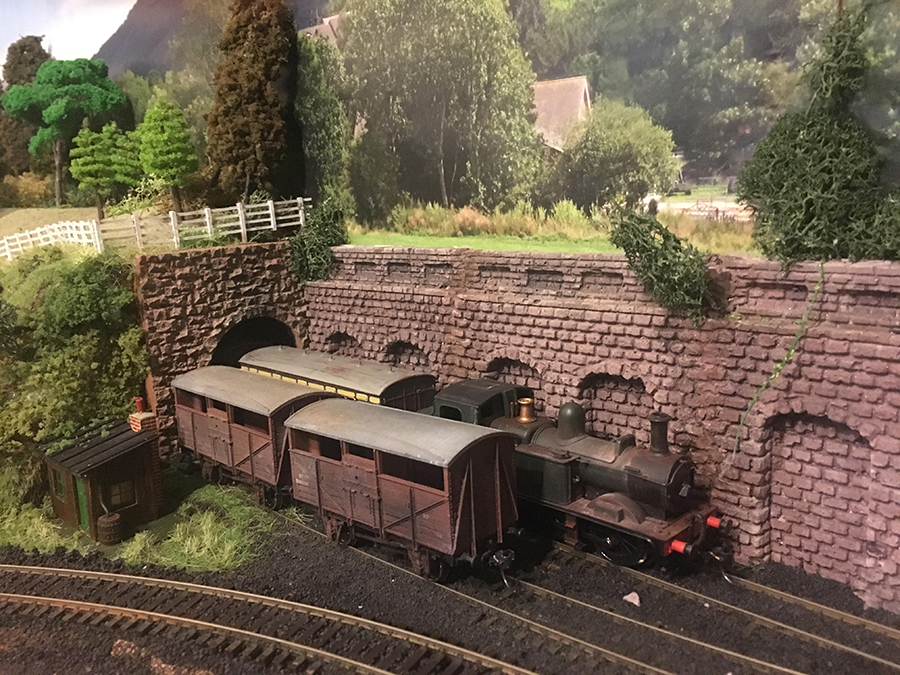
4×8 HO scale layout

Brent’s been in touch with his 4×8 HO scale layout.

“Hi Al,

I saw you had posted my large layout a while back, that layout now belongs to the City of San Jose, CA for Christmas in the park. I was a junior in high school when it started, wanted to give back, so I donated it.

Which brings me to my little 4 x 8 that has been stored for over twenty years!

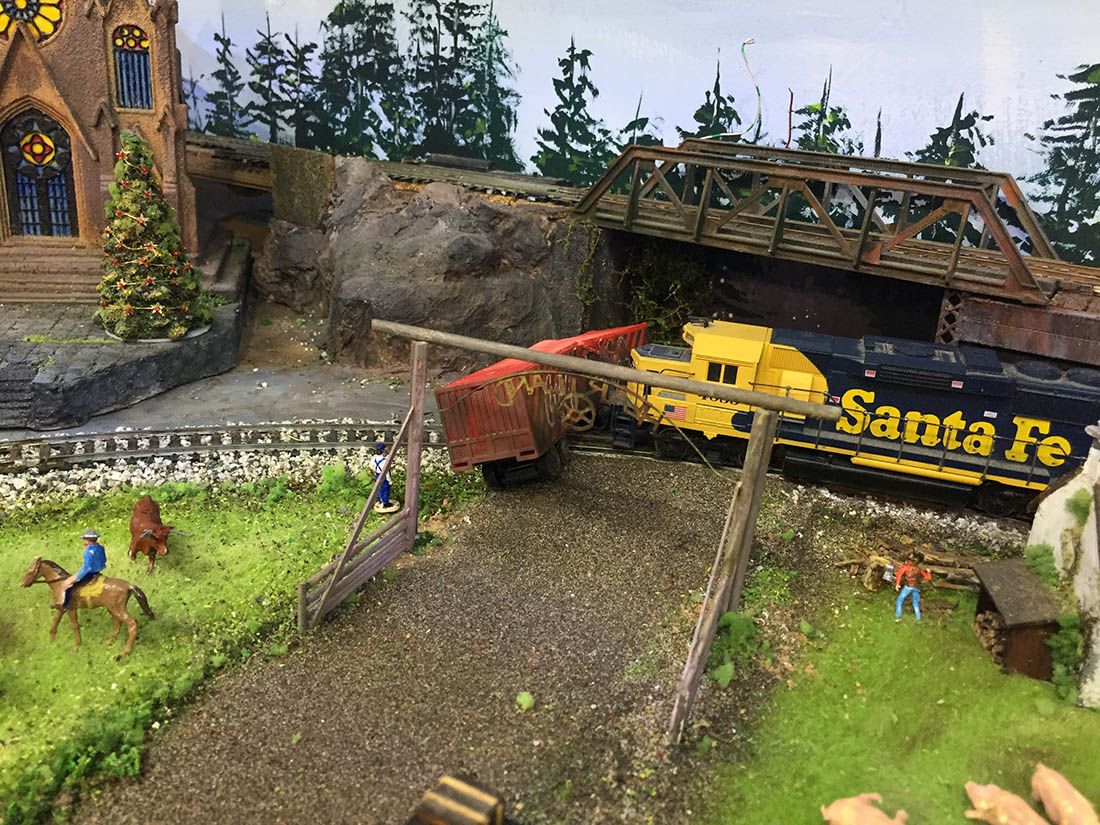
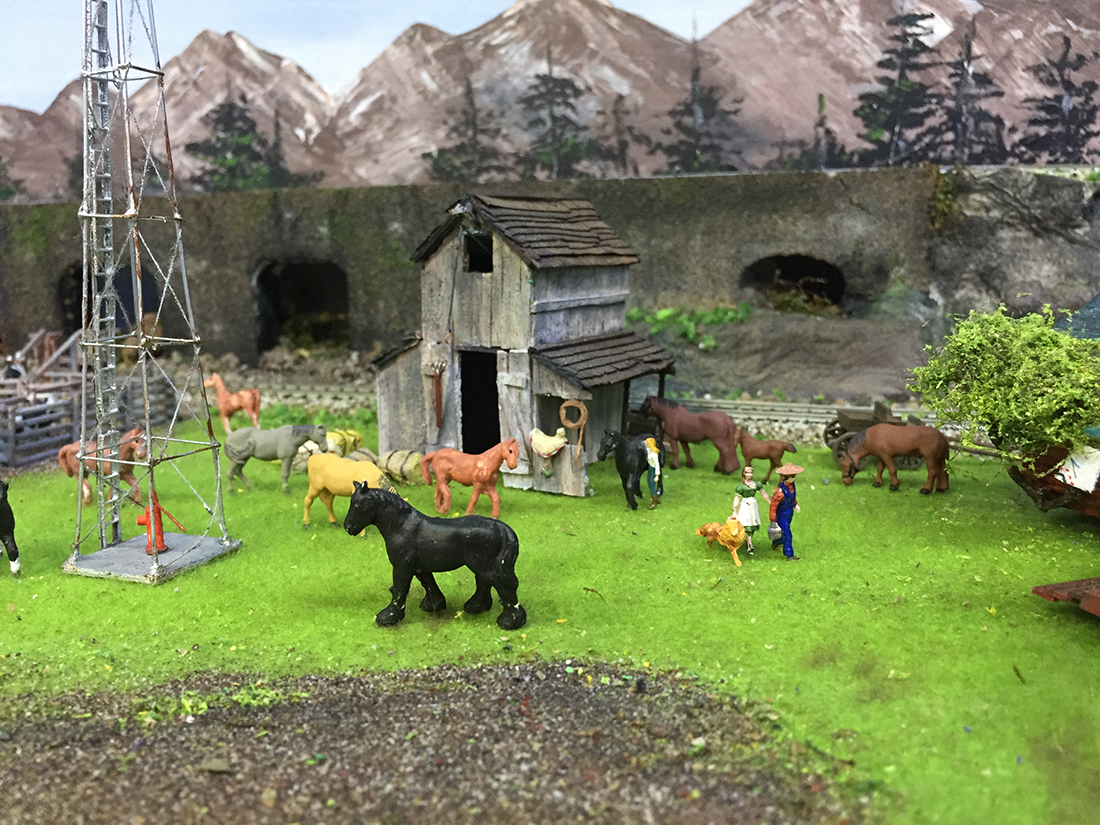
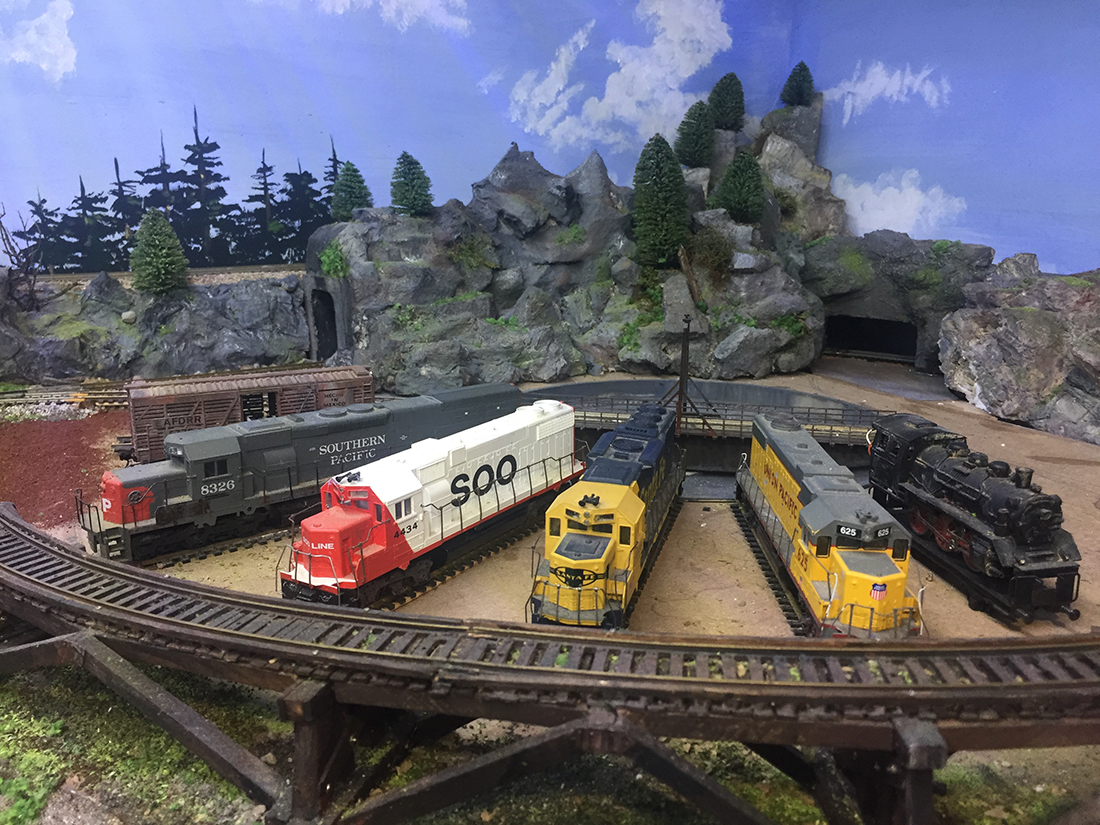
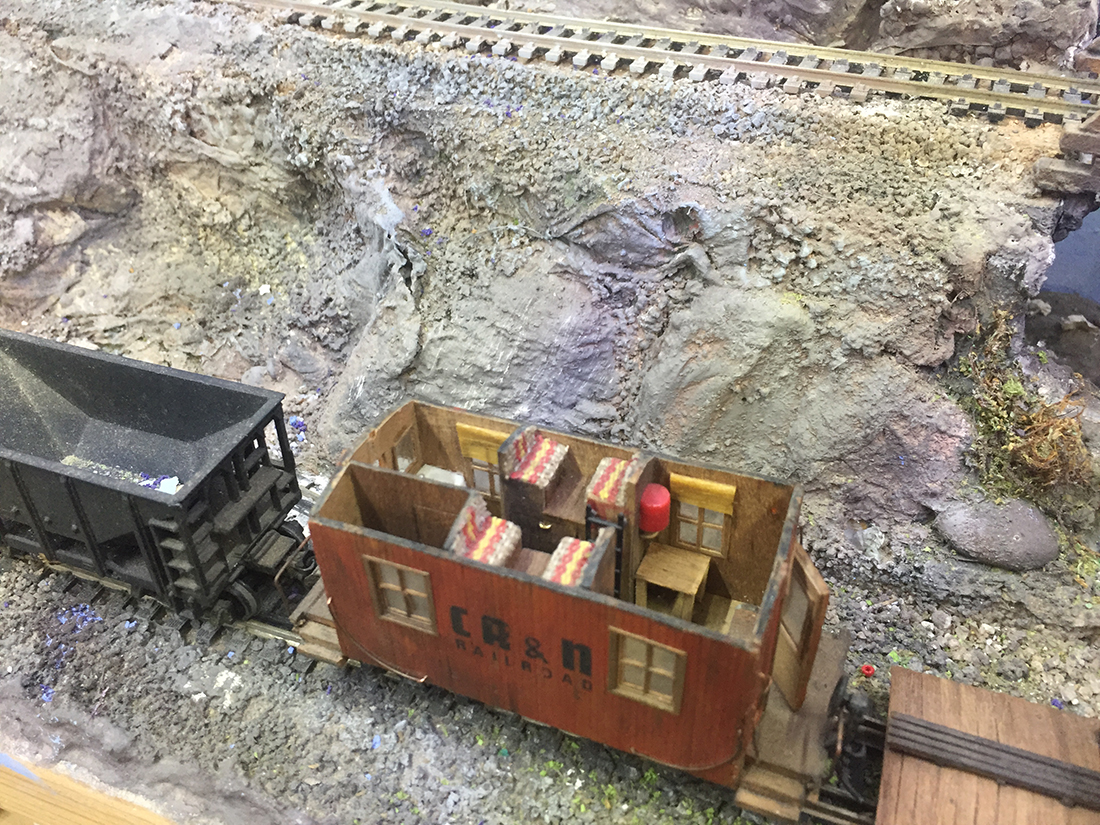
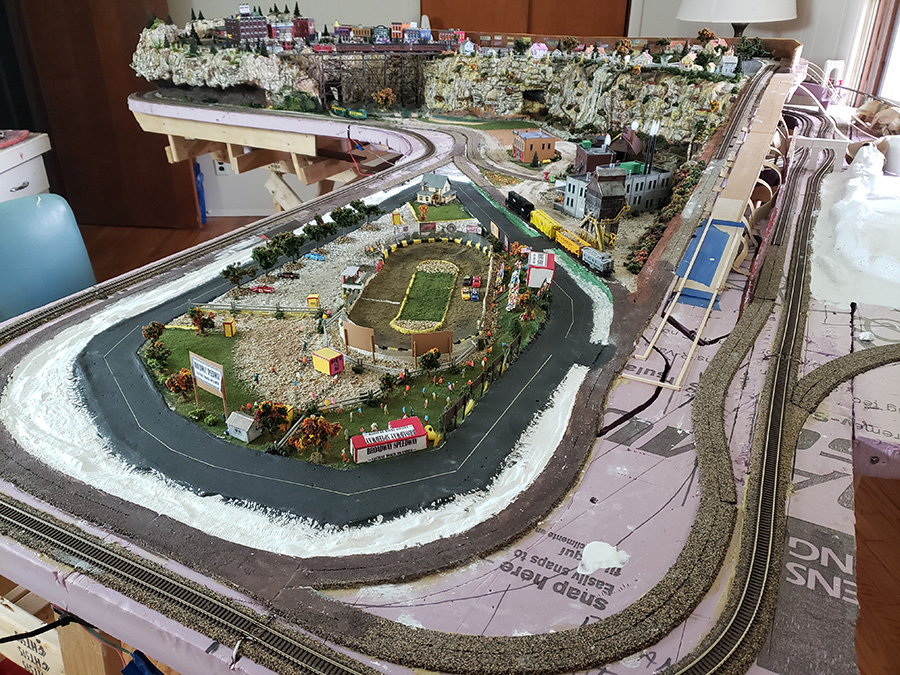
I live in the Sierra foothills of Northern, CA, known for gold and logging operations. As you can see by the pictures, this is the theme I was looking to recreate. Still putting it back together, going to add a shanty town and small lake on the upper right ridge. Will eventually go DCC, having fun with my old Heisler’s & Shays (DC) for the time being.

All of the trestle, bridge work and engine houses are scratch built. I found the saloon and train depot kits (Ayres) I purchased years ago, they are in various stages of completion and will be added soon

I hope you enjoy the pictures, will send more as progress is made.

Salud,

Brent”

4x8 HO scale layout

4x8 HO scale layout

4x8 HO scale layout trestle bridge

4x8 HO scale layout logging


4x8 HO scale DCC

4x8 model train

4x8 model railroad

(If you’re after more HO, have a look at the HO scale train layouts

And now on to Stephen, who has sent in pics on a subject I’m always going on about – starting!

“Alistair,

Some pictures from the early stages of my platform. Started with your buildings, then Your Beginners Guide, and every post you send out.

Will show you as it progresses.

Stephen”

And now on to Mike, who has also made a cracking start:

” Hi Al –

I’ve been a faithful reader for a few years so let me start by thanking you AND all those who have contributed so many pictures, tips and advice!! It is all more valuable and appreciated than you can imagine.

Your persistent support of beginners has given me the courage to submit my project.

This is my second start in three years as we have moved to Hatteras Island, a rather remote NC location…my nearest club is nearly 3 hours away. I am applying a lot of lessons learned the hard way and have incorporated as much storage space as possible into/under the layout to satisfy the boss…

Details first – the indoor layout is 9×7 feet. Trackwork is Atlas 100 flextrack with some sectional inserts. I use 1” foam, cork roadbed and primarily yellow carpenters glue. I love working with foam as no mistake is unfixable!

I have found it to hold securely but easy to remove if needed. It was planned using RailModeller Pro for Mac (heartily endorse!). Equipment is a mix of every manufacturer that every existed except Marklin. Turnouts are Atlas #4s. I don’t count rivets nor is the layout intended to be prototypical.

You will see mistakes and repairs as I softened a few curves – lessons learned from the earlier layout. My major achilles is the electrical system. I’m using a Digitrax Zephyr DCC system.

Following a long career in telecom, I’m comfortable with DCC communications tech. It’s the wiring and connectivity that gets me fussed. So, I have decided not to implement blocks at first but I have run 2 distinct bus lines for future use.

I have joiner feeds dropped every 3ft and will attempt to use a “peel and pigtail (soldered)” approach using wire nuts to minimize soldering needs. The turnouts will probably be wired individually back to a central board using old school Atlas switches.

One area I expect a lot of critique on is the “valley.” I know speed control will be key to avoid bunching and maybe the rise is too sharp. It’s something I wanted to try and am prepared to replace if needed.

Again, thanks to all for their inspiration and advice. Learning to be patient and knowing everything can be fixed gives me the confidence to go on!!

Mike”

A big thanks to Brent for sharing his 4×8 HO scale layout, and to Stephen and Mike too.

I do hope there are others out there that have made a start because of the blog – the start is everything…

That’s all for today folks.

Please do keep ’em coming.

And if today is the day when you make your start, the Beginner’s Guide is here.

Best

Al

PS Latest ebay cheat sheet is here.


N scale coal mine kit

Harry’s been in touch with his N scale coal mine kit, which looks fab on his layout.

“Alastair:

I read/watch your postings on a daily basis and have learned tons from both the mistakes and successes of your contributors.

I finally finished a little more than 1/2 of an “N” gauge layout (modern, far-west setting) that sat hardly started for 3 years after taking on the pastorate of a church (in the east in upstate New York).

I’m not sure if it would have ever continued if it weren’t for our 5-yr old grandson, David, in California who asks on almost every Face Time session how I’m progressing on the train (!)

Since they might visit this spring, I realized that I had better have something running.

“N” gauge, of course, is very delicate; not something little David can get his hands on!

Here’s a video I just made for him. Someone gave me several 2’ x 4’ foam panels that were 4” thick that I used to make the mountains.

I learned a lot experimenting on the first mountain that has the N scale coal mine kit.

I cut the general outline of each layer with a hand-held jig saw, and then used a large reciprocating saw to randomly cut the slopes around the profile varying the angles to make it look more natural.

The other advantage with the reciprocating saw was that it nicely gouged the surface to make it look even more natural.

The next mountain only took me about a fourth the time from what I learned on the first one. I still have 2 more mountains to go.

Harry”

N scale coal mine kit

n scale coal mine kit

n scale coal mine kit

n scale coal mine kit


n scale coal mine kit


A huge thanks to Harry for sharing his N scale coal mine kit – it’s wonderful to see the little ones being the motivation behind a layout.

Now on to Brent.

He’s a man of few words. And pictures too.

But, he’s made a start – and in this hobby that’s more than half the battle.
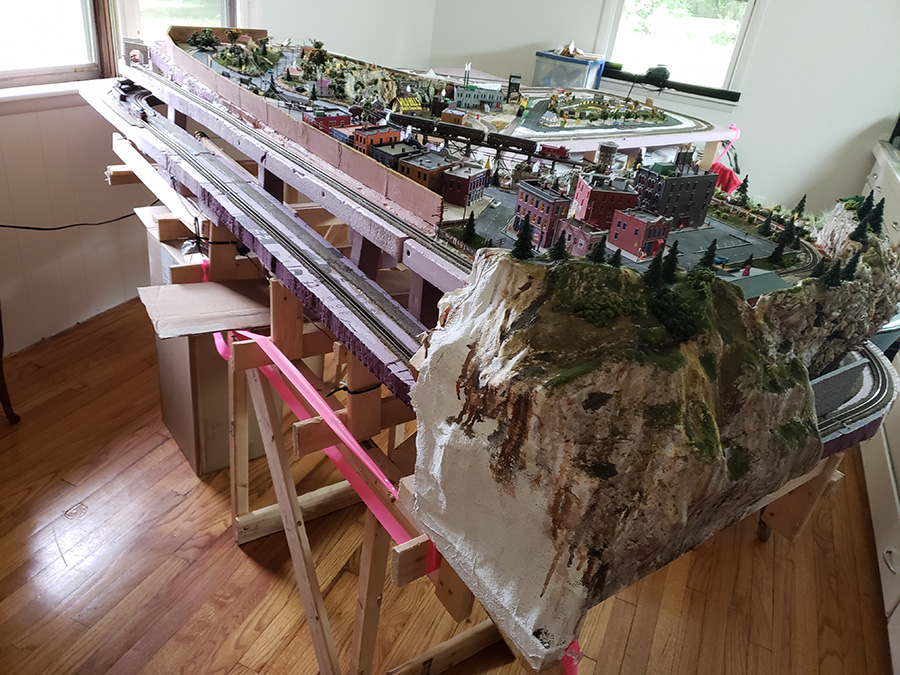
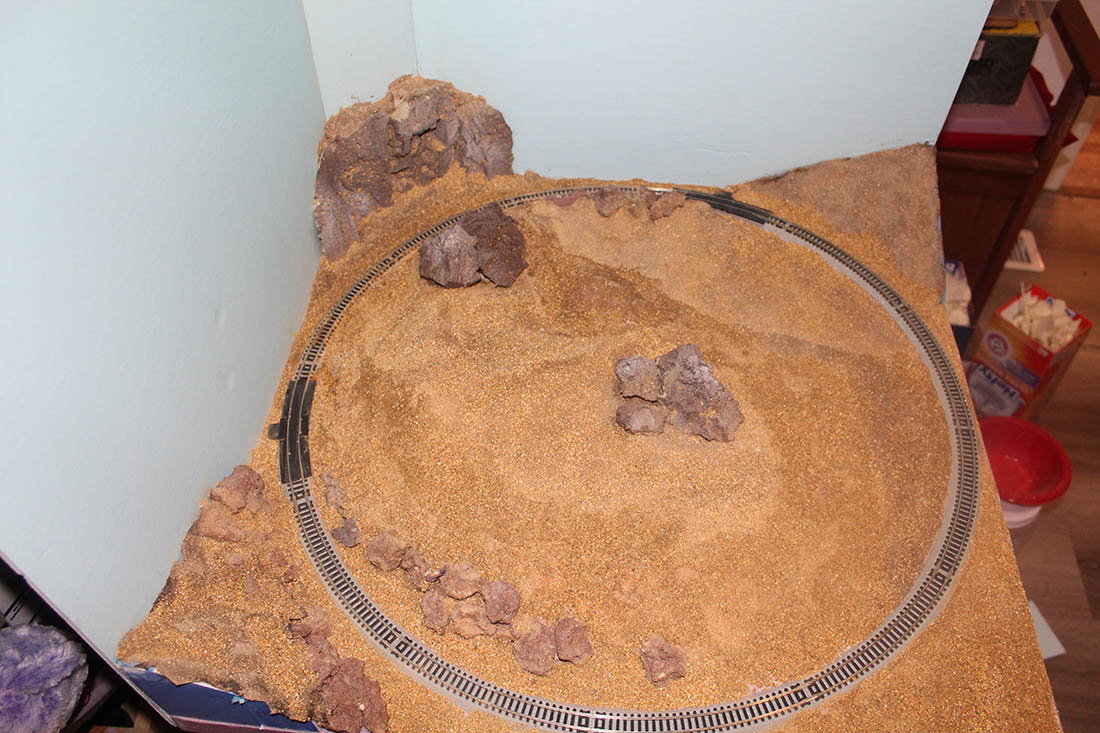
I also enjoy seeing a layout that looks chaotic with the creation process, it’s very satisfying to then see it finished:

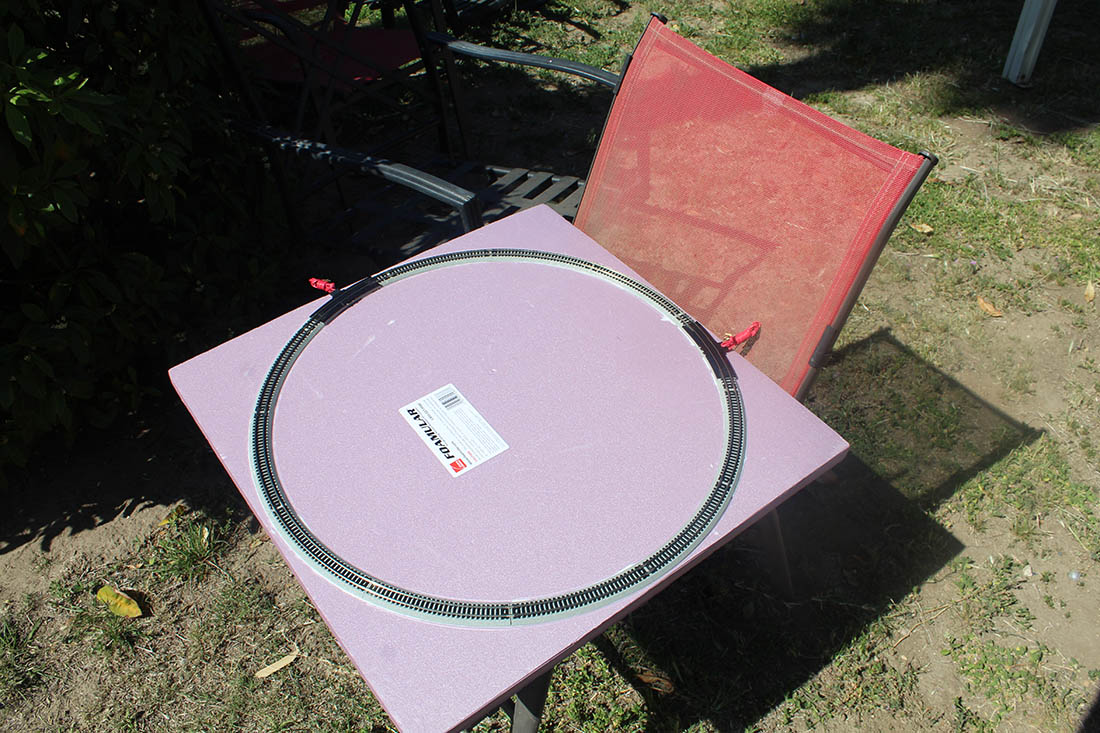
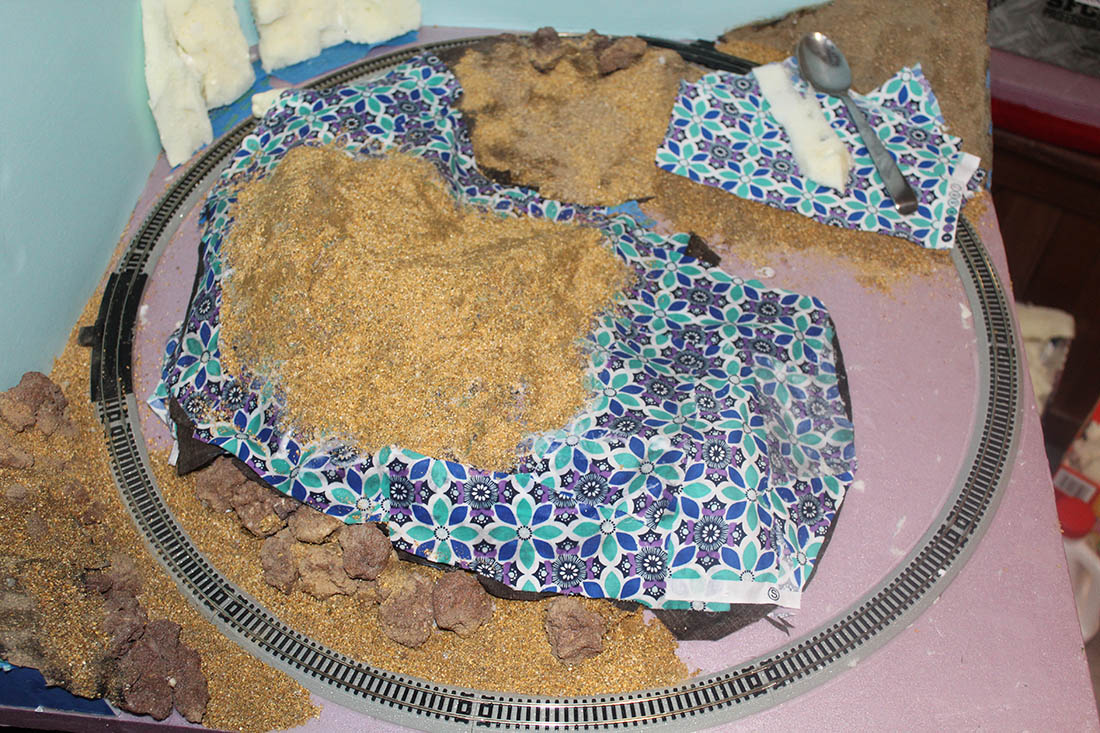
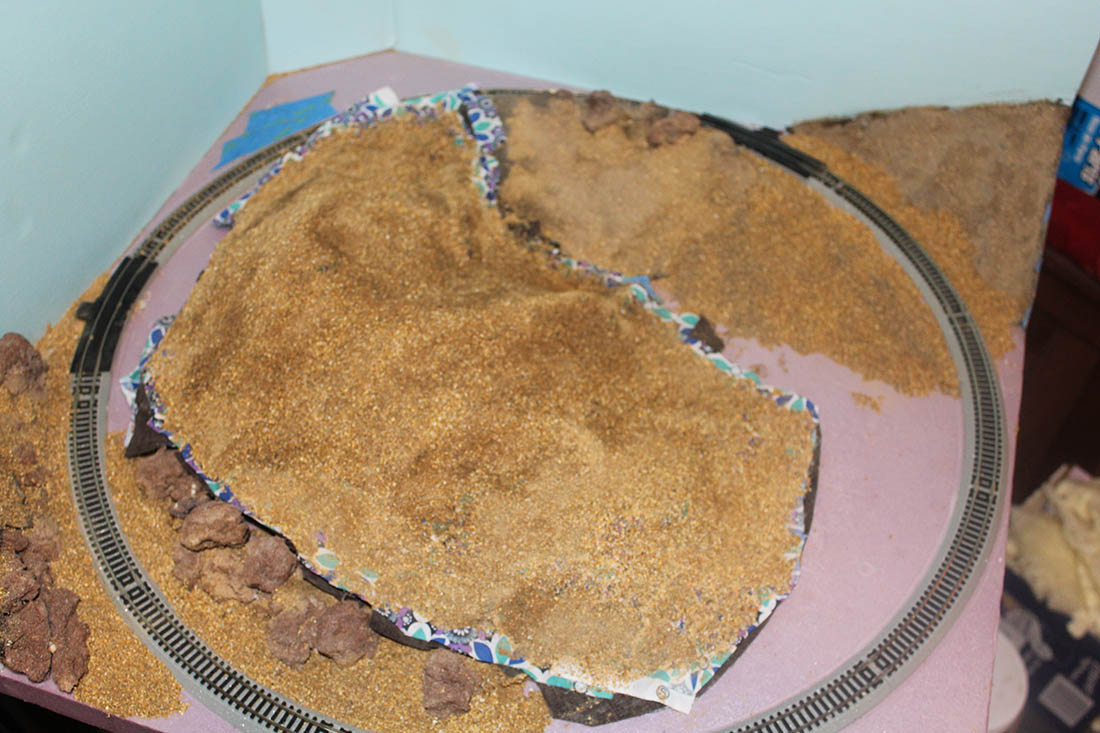
“My layout so far.

My son and I have been working for a couple of months since he is doing university schooling from home and Im doing Home Hemodialysis 3 x per week and quite tired after treatments so not alot of time to work on it.

Brent”

That’s all for this time folks.

Please do keep ’em coming.

And if you want to stop dreaming and start doing, the Beginner’s Guide is here.
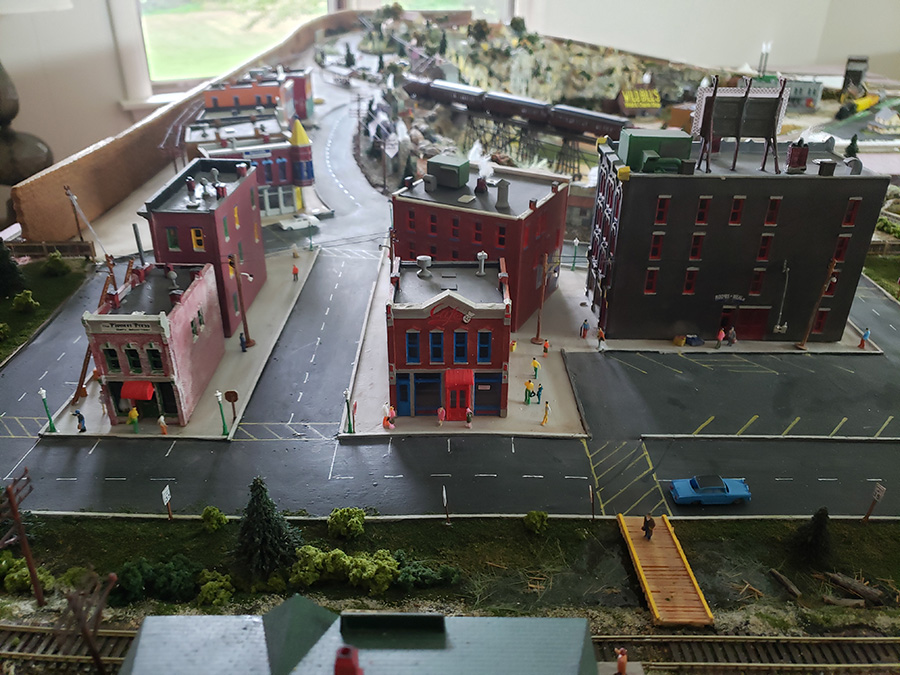
I know I keep saying it, but it’s so true: remember, it’s the start that stops most people.
Best

Al

PS Latest ebay cheat sheet is here.


Small N scale layout

Bob’s been in touch with his small N scale layout:

“Hi Al!

Thanks for all the work you put into this worldwide blog for us model railroaders! There are sure plenty of great tips for us all!

My love of trains started at about 4. My dad bought me an American Flyer and a few accessories.

Trains were our time together for me to learn construction and electrical skills. We set it up around the tree at Christmas, then eventually the layout grew to fill the 5×9 ping-pong table.

For some reason (not enough accessories perhaps?), that was soon replaced by Lionel, and it grew to fill the ping-pong table and a 3×4 piece of wood that was supposed to be a basketball backboard.

I had that train until my teen years, when we started on an HO layout, first a 4×8, then adding a 2×12 leg to form an L, quite the expansive layout (plenty of stuff to work on). Even had a brass loco, don’t recall which model, but it sure pulled plenty of cars!

So then I got married, and when mom and dad moved from Michigan, where I grew up, to California, I was asked if I wanted any of the trains, both Lionel (in boxes) and the HO layout.

Well, I was in an apartment, nowhere to put the stuff, so without thinking longterm, said No. Big mistake of course! So no trains for 4 years. Then wife and I bought a condo, it had a basement. So I asked the ‘older’ men I worked with if they had any train stuff.

Oh boy, I started over with HO again, built my dreamed-of layout Gizmo Gulch by Jack Mamula in the November 15, 1951 issue of HO Model Trains. I reduced the size slightly from his layout, but it was still 6×10, table built in sections so I could take with when we moved.

I avoided Norm’s issues since even the plywood top and landscaping was buiIt with a small space for separating.

I had that layout from 1974 until we moved to our retirement home in 2011(no basement or spare room for that size). So that layout was dismantled, all the buildings and trains given to my son, who has an HO packed away from when he was young.

Meanwhile I had started an N scale in AZ where we winter, a reversed version of Scenic and Relaxed in Atlas Nine N Scale Model RR’s, and had a 31″x 8ft table, top is Homasote, and had plenty of stuff left over.

So I brought the leftovers to MI and also started a 34″x48″ small table(leftover Homasote from AZ) in the garage (my basement!), but still had room for two cars in the garage, a requirement!

That RR is based on a small N scale layout I found on the Web. Well, the builder in our community had dumpsters of good stuff, wood molding, blue foam, etc. that I was collecting, and I had an idea.

Currently, the little table now has a 10 inch wide shelf extension from the front(back?) of the garage, along the wall to the garage door (15ft or so), with a 24×24 piece at the end to allow a down and back loop with a couple of sidings.

Both cars still fit in the garage since I made sure that the shelf and wide end of the table by the garage door is high enough so the car’s sideview mirror goes under the table. IKEA angle brackets support the shelf and end piece. Where there’s a will, there’s space!

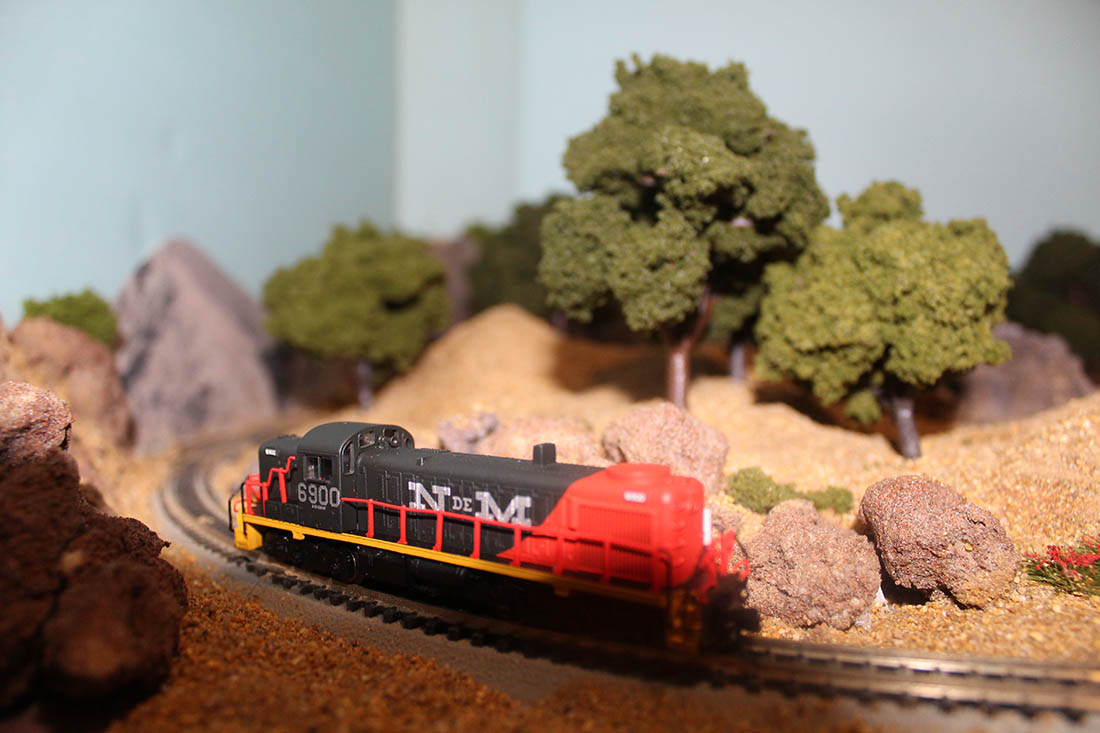
Neither layout is any particular period but newer era with diesels, except for the ‘restored’ Doodlebug for scenic tours, but the AZ (Copper Canyon RR) layout is definitely Southwest, since the groundcover is sifted AZ dirt as you can tell by the photos.

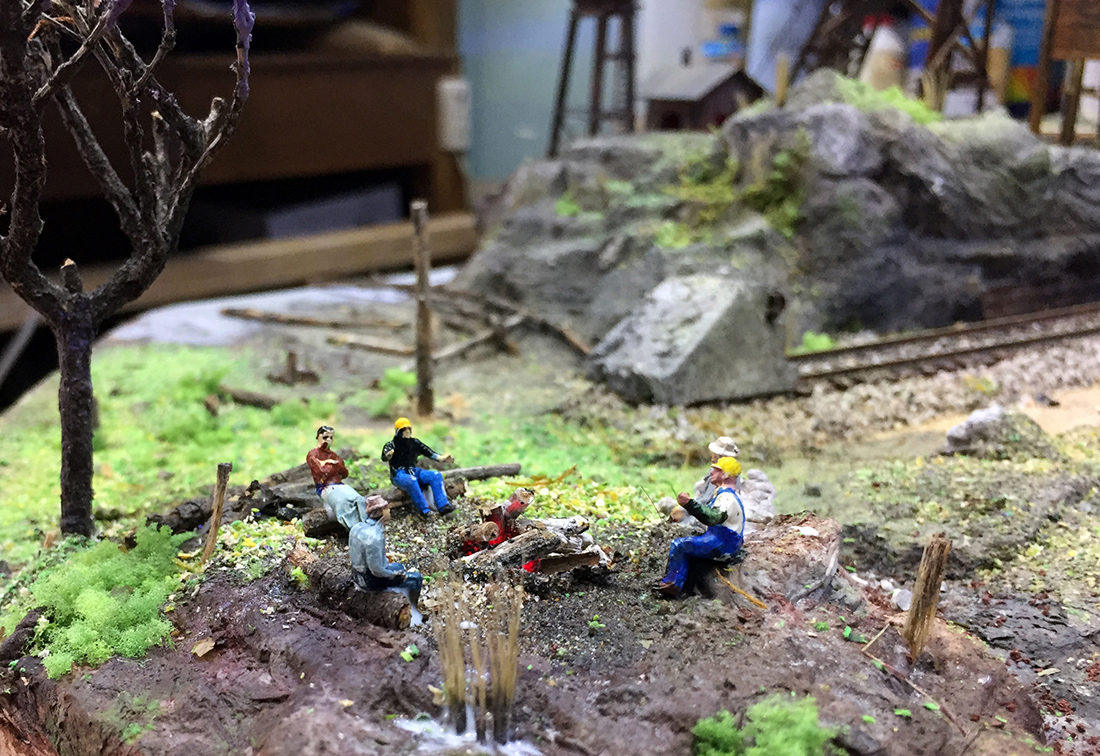
The Michigan layout (Central Michigan RR) is mid-state industrial in the 34×48 end, with the run along the wall out to the country station and Ma and Pa camping on the bluff. Wish I had the space for the Durand station, but alas, no room, even scaled down.

Of course I still made changes along the way – upgraded to DCC, good idea, bought new engines which cost less than converting old ones. Didn’t want to tackle that myself. Converted couplers to Kadee, don’t like the outcome, holes too big in the new trucks for the pins or screws, needs a collar to tighten up the sloppy pin. Anyone have a suggestion for that issue?

I’m farther along on both layouts than I ever got on Gizmo Gulch – work and kids kept me from ever having any time to really get anywhere. But…I did just find a copy of the November 15, 1951 HO Model Trains on Ebay and bought it! So you never know…..but there’s plenty of small details on my two RR’s yet to go.

I bought 100 painted people, and need more cars, trucks, crossing gates, streetlights, landscaping to go, so I don’t think there’s another Gizmo Gulch in my future. At 74, I’m blessed with good eyes and steady hands, so the N scale is great – lots in my small space!

I have another question for the model railroaders on this site. I bought that Doodlebug not many years ago. It now runs very poorly, I think I read somewhere that the problem may be a cracked gear that mates with the metal worm drive gear? Bachmann is out of Doodlebug production, and drive trucks are no longer available from them.

Anyone else have this issue and the solution? Or a broken doodlebug without the same problem willing to sell at a parts price?

My couple of suggestions for others is –

– if you don’t like soldering the small wires under the table (such as street lights in N scale) use Wirefy 22-18ga (red) connectors, you have to crimp connector on after threading wires through table top, or

– use conductive glue such as Board Silver conductive adhesive glue. Just wrap wires and coat with the glue.

Many Thanks to you Al for the great blog, and Thanks to all my fellow RR modelers around the World for all the great tips! Hope you like my small N scale layout.

Bob with Arizona and Michigan N scales”

small N scale layout


small N scale layout

small N scale layout

small N scale layout

small N scale layout

small N scale layout

small N scale layout

small N scale layout

small N scale layout

small N scale layout

small N scale layout

A huge thanks to Bob for sharing his small N scale layout. Sometimes I get sent a layout and I can’t help but think they had a lot of fun creating it – and this is certainly one of those.

It reminded me of Eric’s post, a very small N scale:

4×2 N scale layout.

That’s all for this time folks.

Please do keep ’em coming.

And if you want to stop dreaming and start doing, the Beginner’s Guide is here.

Remember, it’s the start that stops most people.

Best

Al

PS Latest ebay cheat sheet is here.