Larry’s been in touch with his G scale garden layout:
“Greetings Al,
This the second time I have submitted something for your blog.
My first post was a small ‘Z” Scale layout for my office a couple of years ago.
I am swinging to the other extreme for this go around and reaching out to all those “G” Scale outdoor layout folks.
I know how much you say “It’s all about making a start” when referring to this wonderful hobby of model railroads and that`s kind of where I`m going to end this post.
But first I would like to go back a decade and show some pictures of my outdoor G scale garden layout.
Here is a link to a Short Cab Ride video From that point in time, It only three-ish minutes long but helps to put the pictures in perspective:
OK now a few pics:
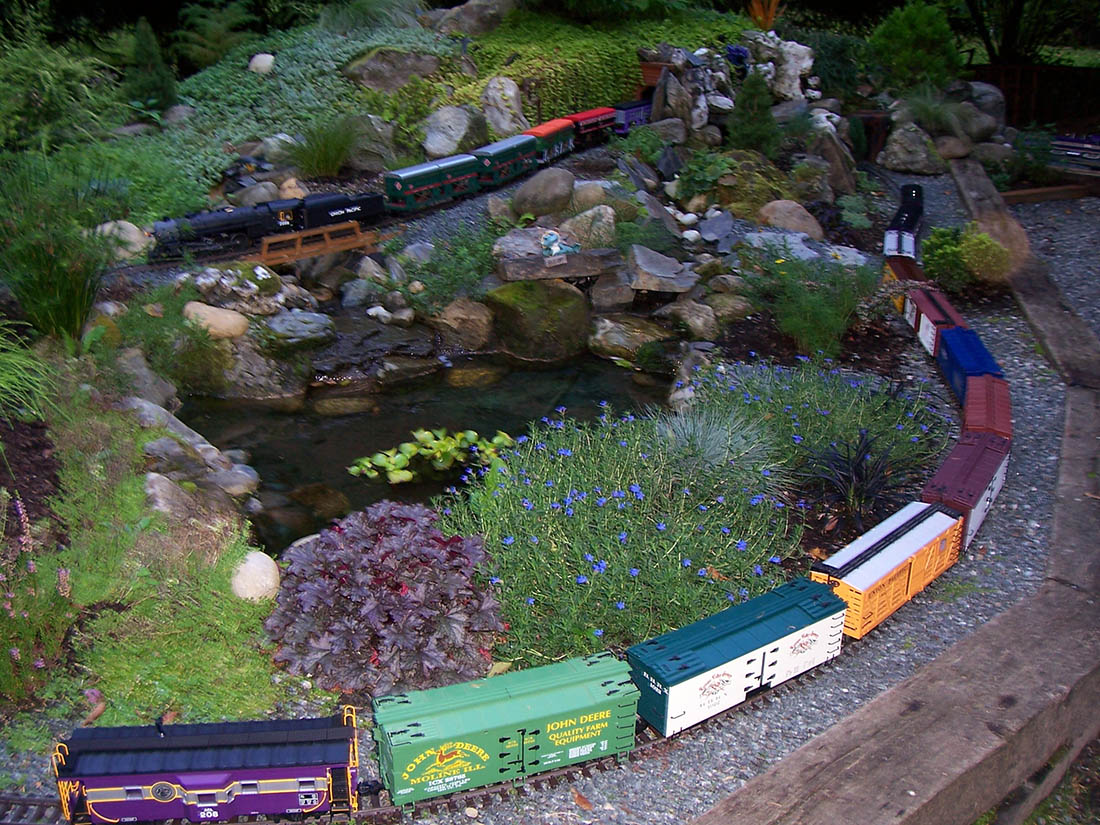
Pic 1 Train Yard view from the top of the trestle.
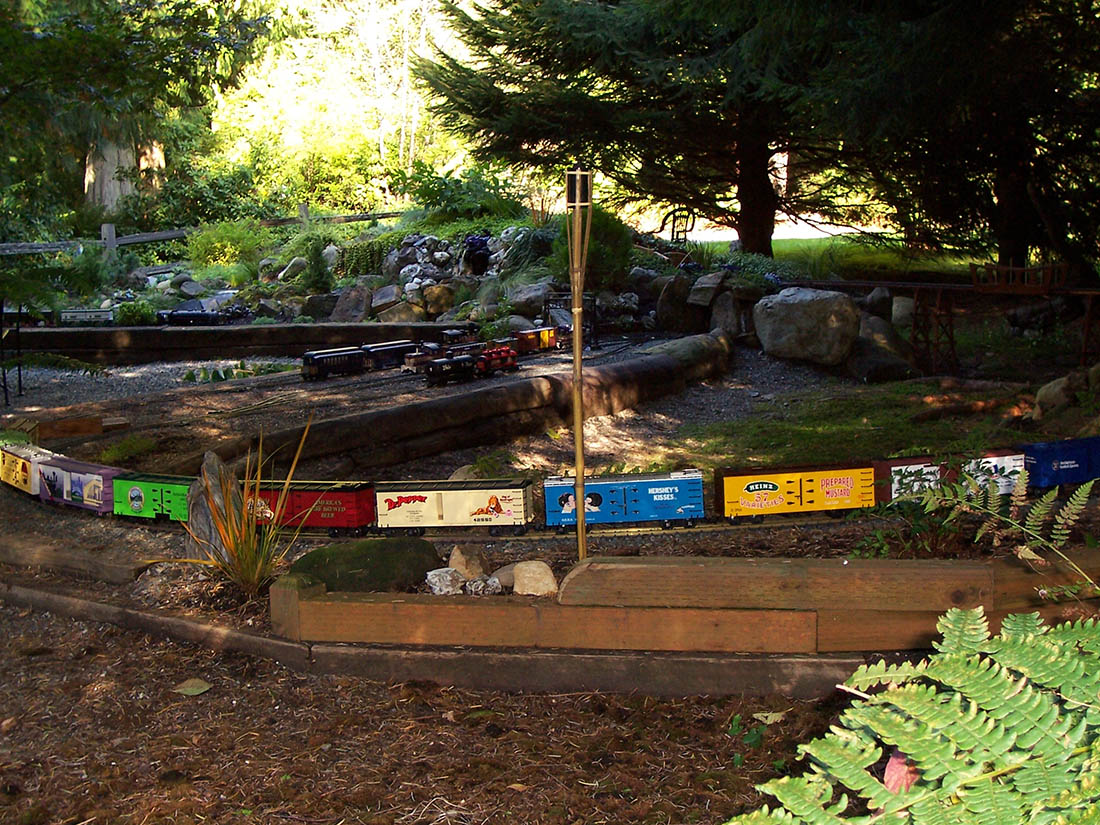
Pic 2 Train leaving the yard pulled by EMD FA & FB Locomotives.
Pic 3 Same train at the lower end of the trestle heading to the high
point of the layout.
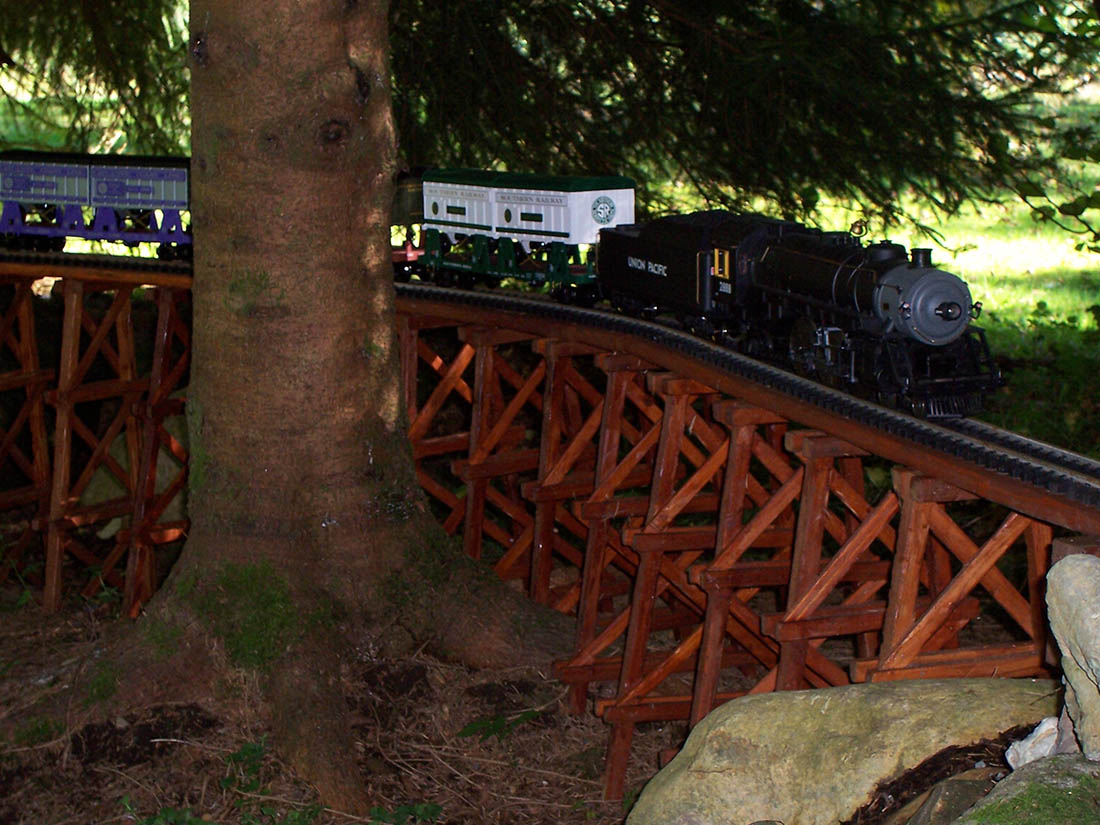
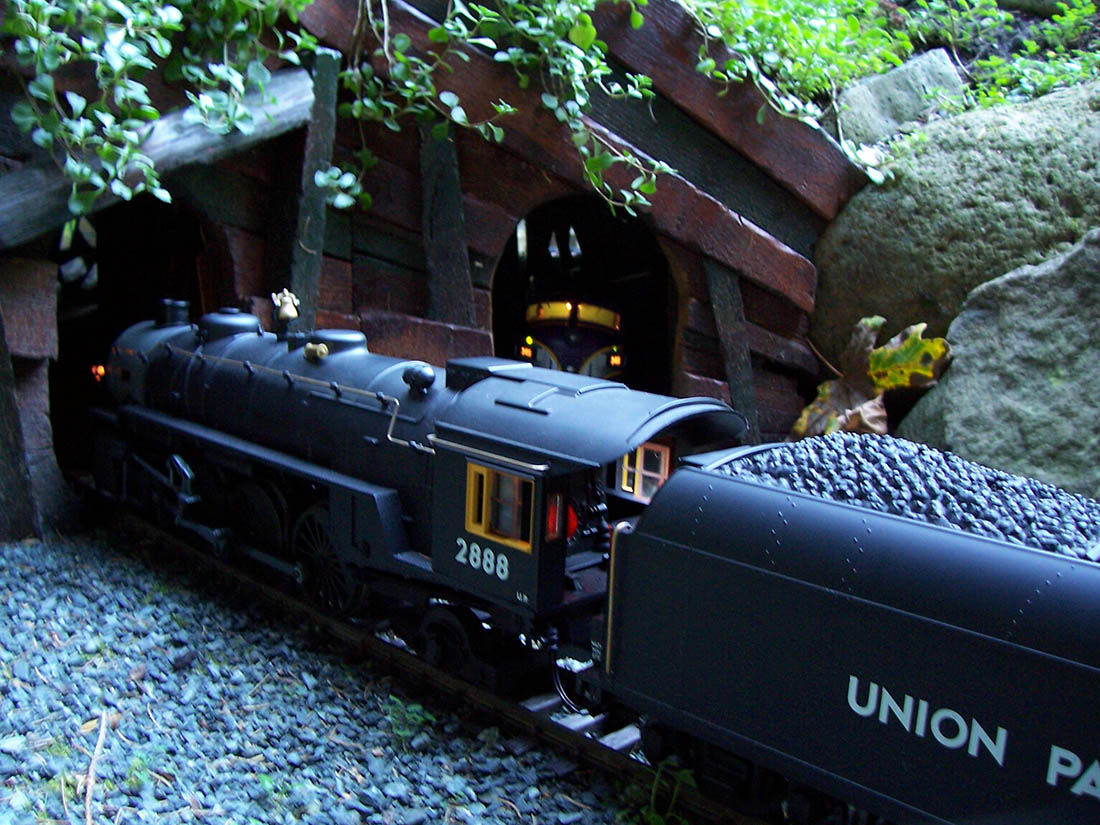
Pic 4 4-6-2 Union Pacific Loco headed down the trestle toward the yard.
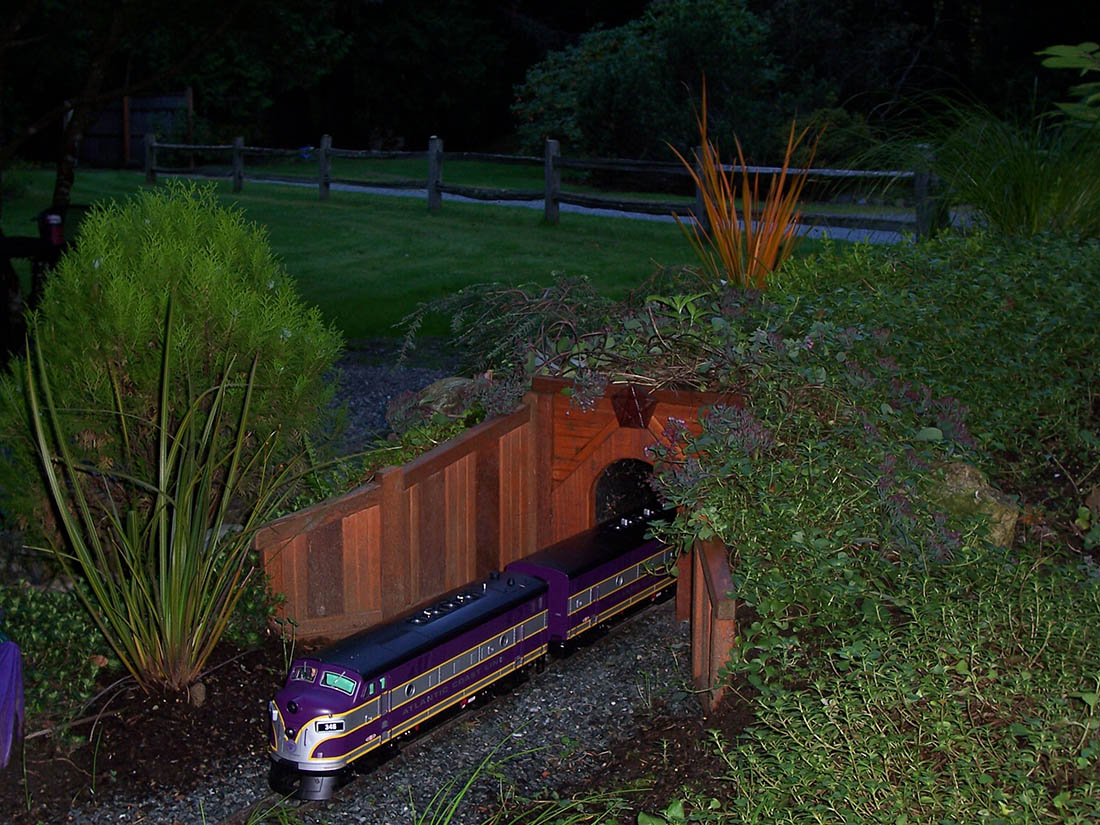
Pic 5 FA & B Locos leaving the layout high point tunnel.
Pic 6 Yard view from upper tunnel.
Pic 7 Far end of layout, 4-6-2 Loco headed down to the WYE
intersection.
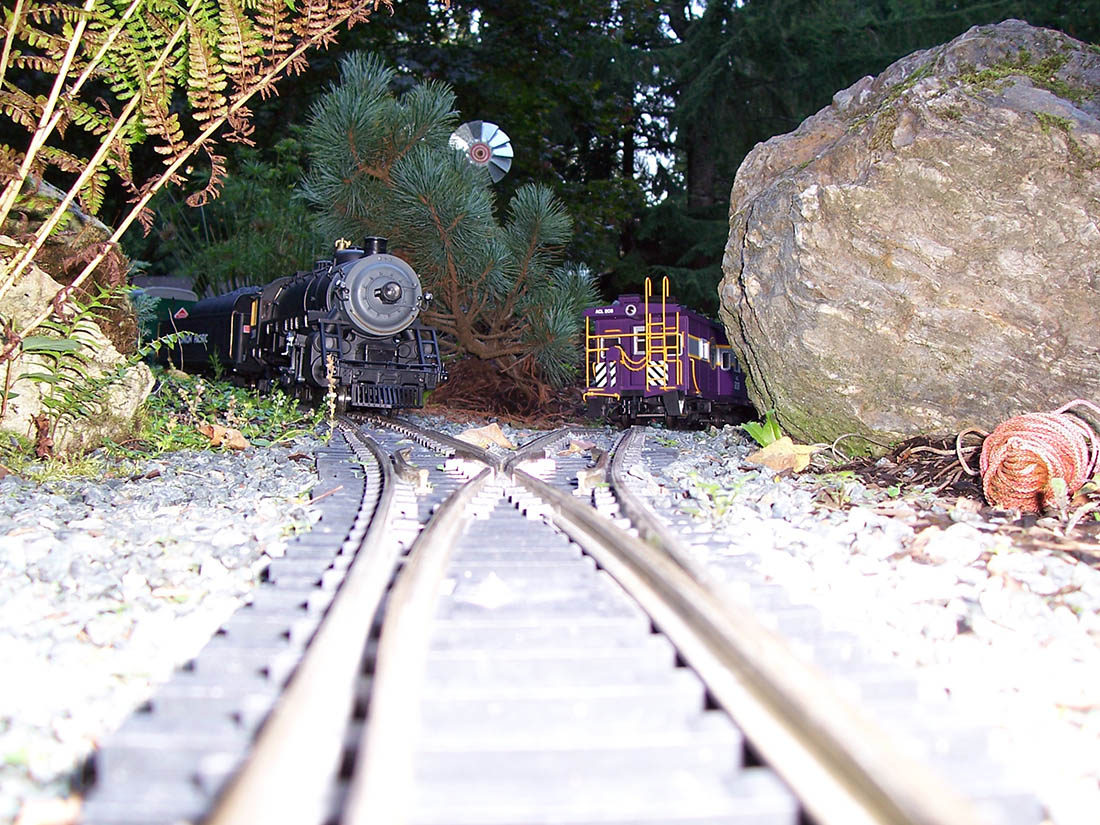
Pic 8 4-6-2 approaching WYE, EMD train leaving WYE.
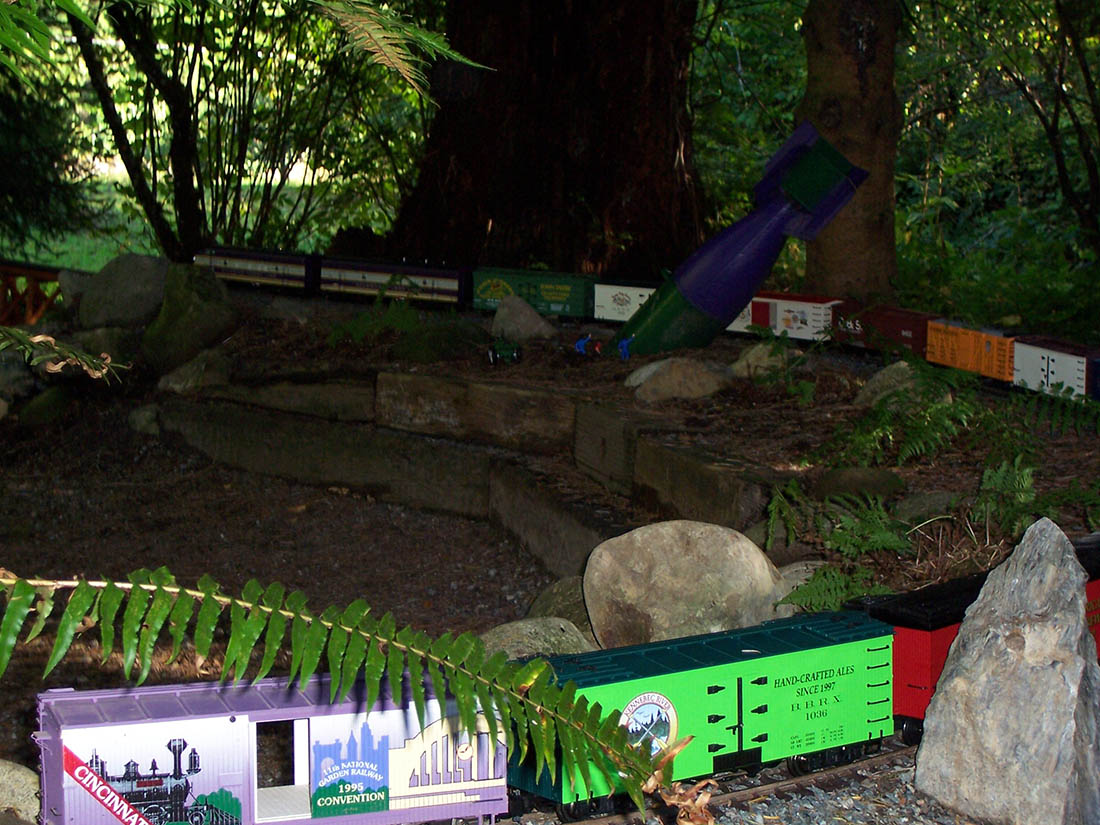
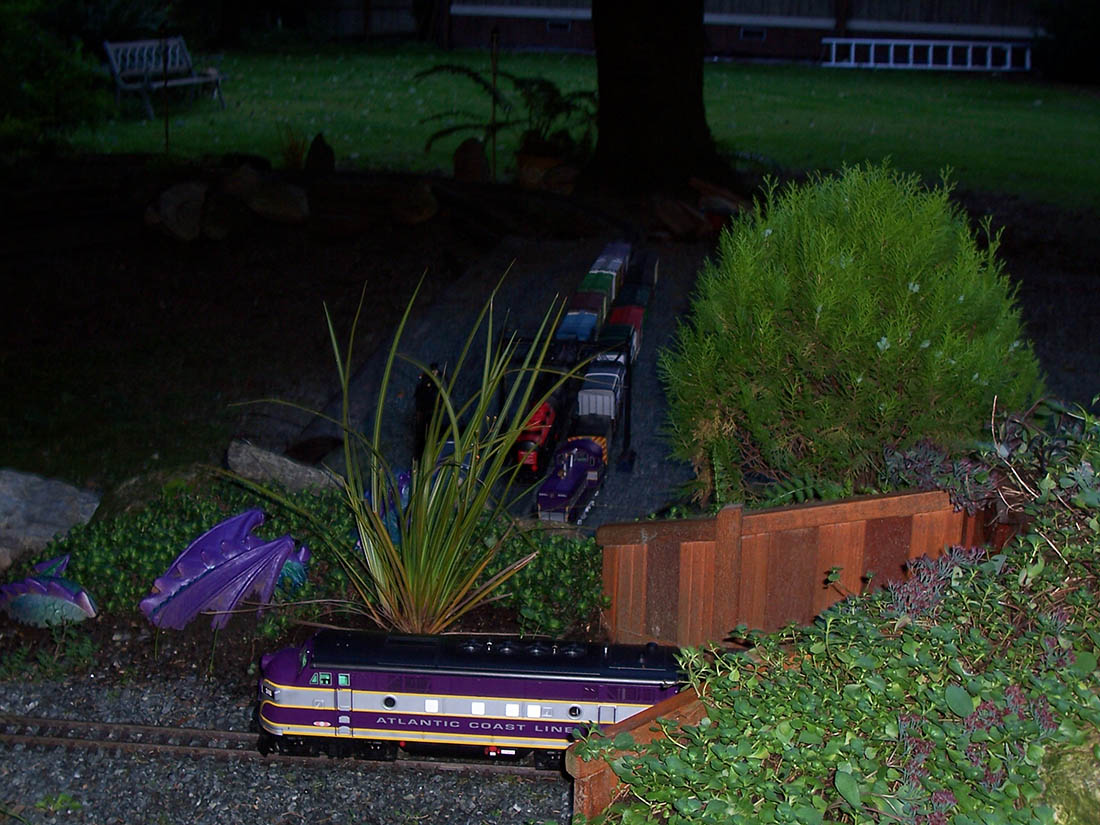
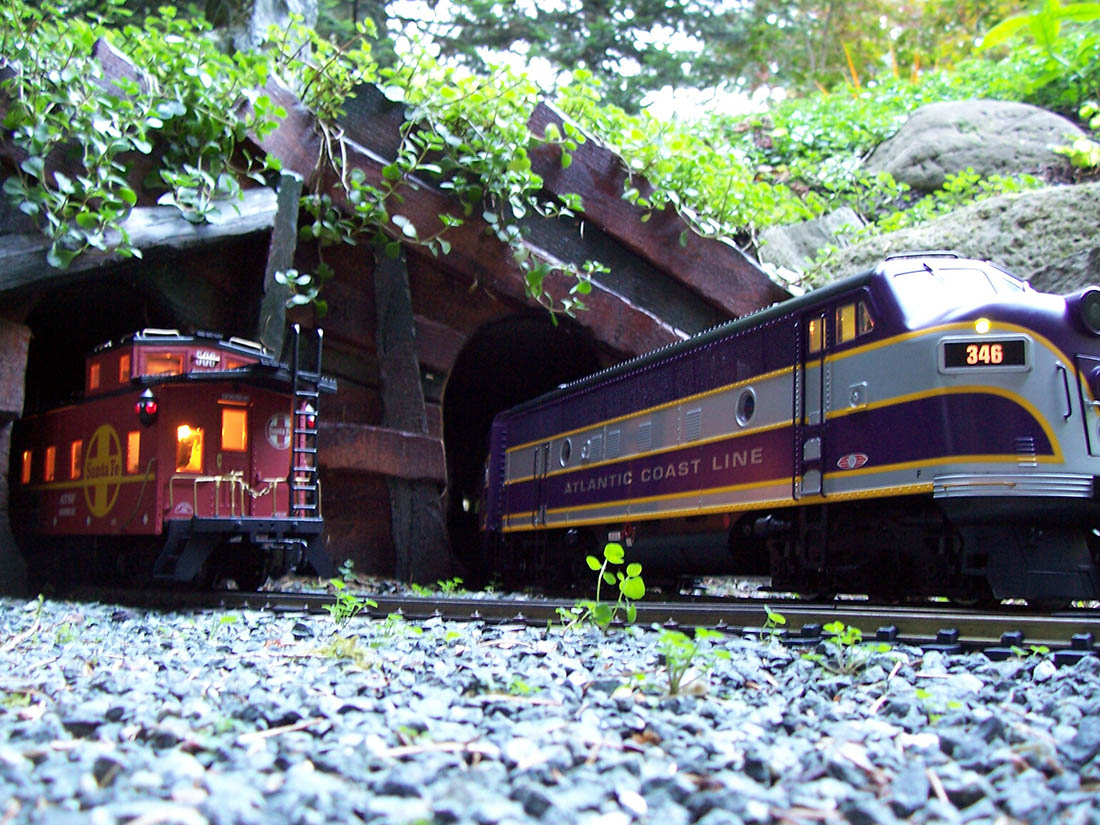
Pic 9 FA & Bs heading into the lower tunnel, Caboose of the other train
can be seen under the dragon.
Pic 10 FA & Bs waiting at other end of tunnel for the 4-6-2 Train to pass.
Pic 11 4-6-2 train`s caboose headed through tunnel to yard.
I hope I didn`t inundate you with these older pics but it’s important to my story, and here is where the story takes an ugly turn.
So back to my story:
I, like a good majority of your readers, am getting on in years (only mid-sixties but still…) and with that usually comes sore backs, stiff joints & and whatever else can go wrong with a person.
In the years that followed I found out that I had a skeletal condition and at the tender age of 50 had to have both of my hips replaced, two rotator cuff surgeries and a third rotator cuff surgery to reconstruct the joint.
Also during that period my wife had both knees replaced and both of her hips replaced. (So as you can see, I do know how to have fun. ??)
Although in reality none of any of that was in any way fun it did, on several levels, detract from my being able to pay any attention to my Trains.
So all the while those awesomely fun things were going on my lovely train garden was doing what all plants do if not tended to and that is grow wildly out of control, especially here in the Pacific Northwest.
So it`s time again for a few more Pictures:
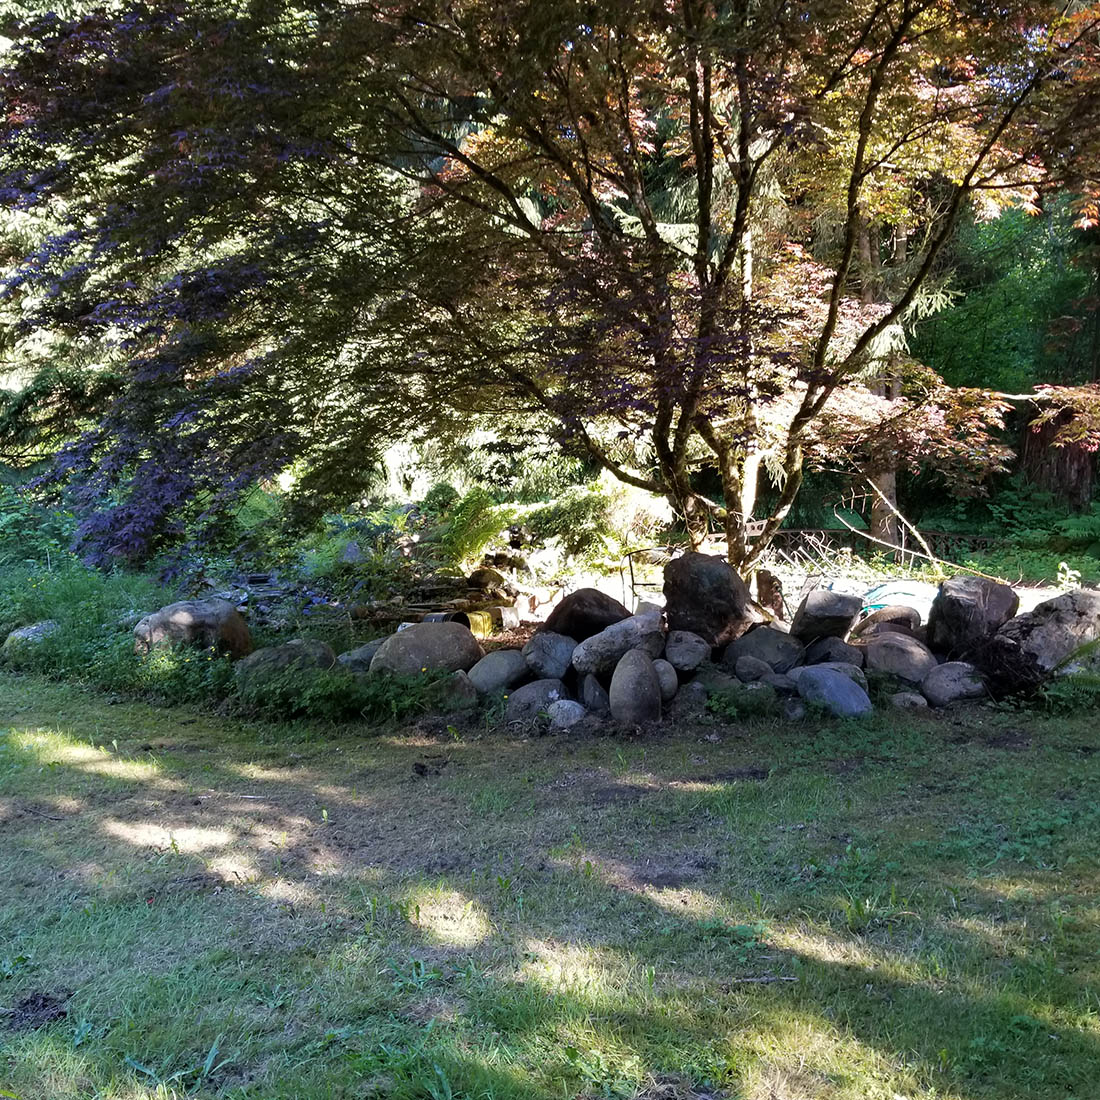
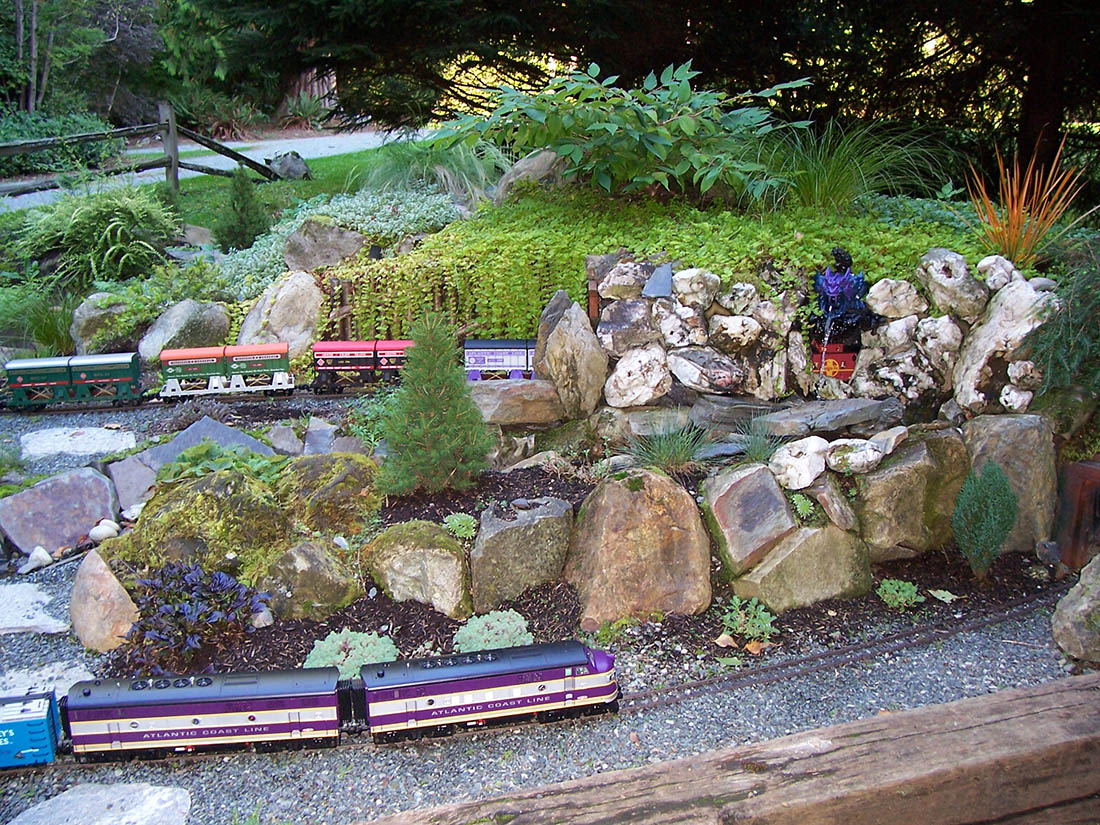
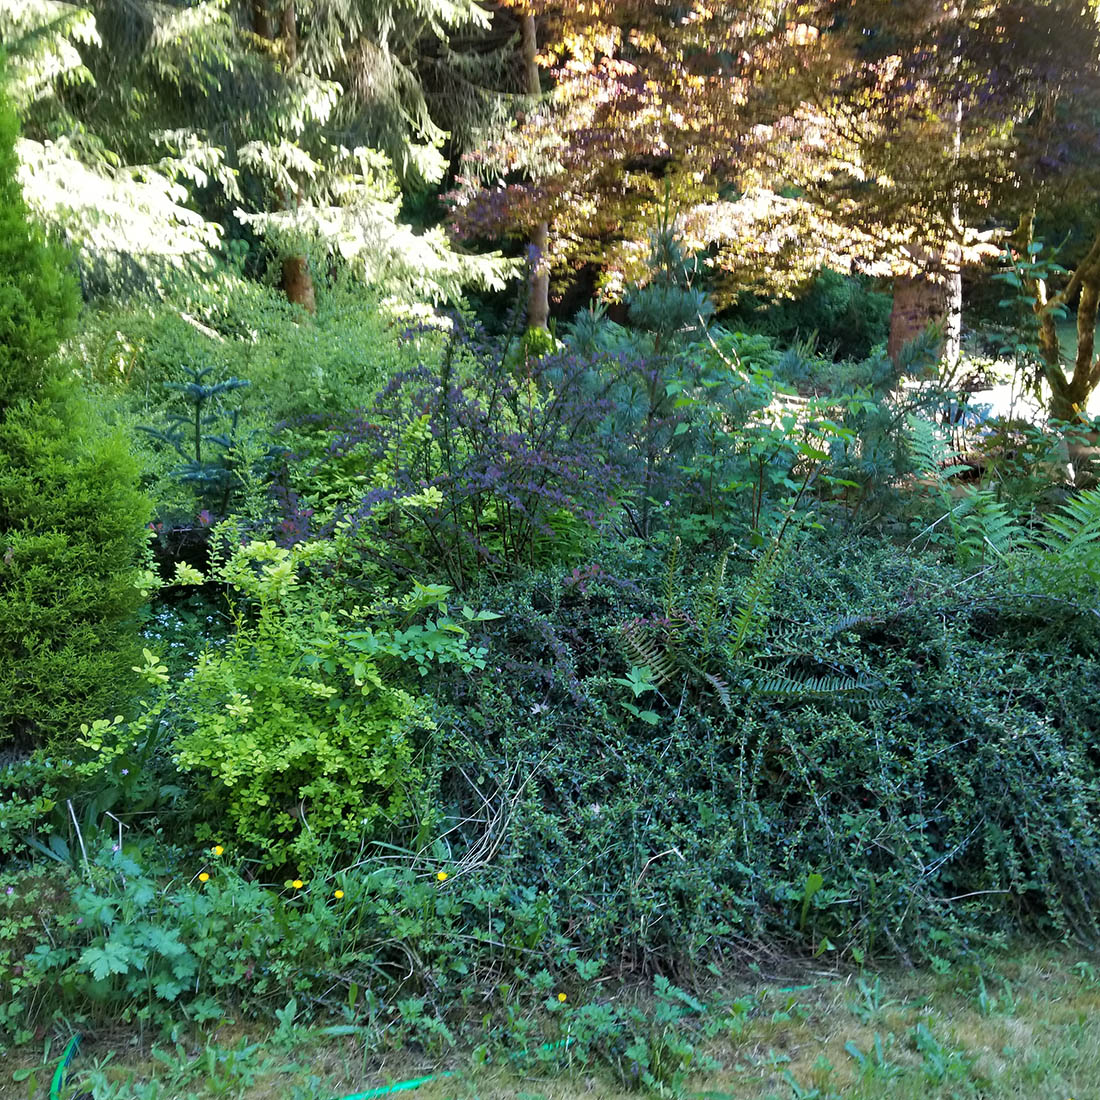
Pic 12 An overview of the whole layout. ( the rocks are a whole other
story)
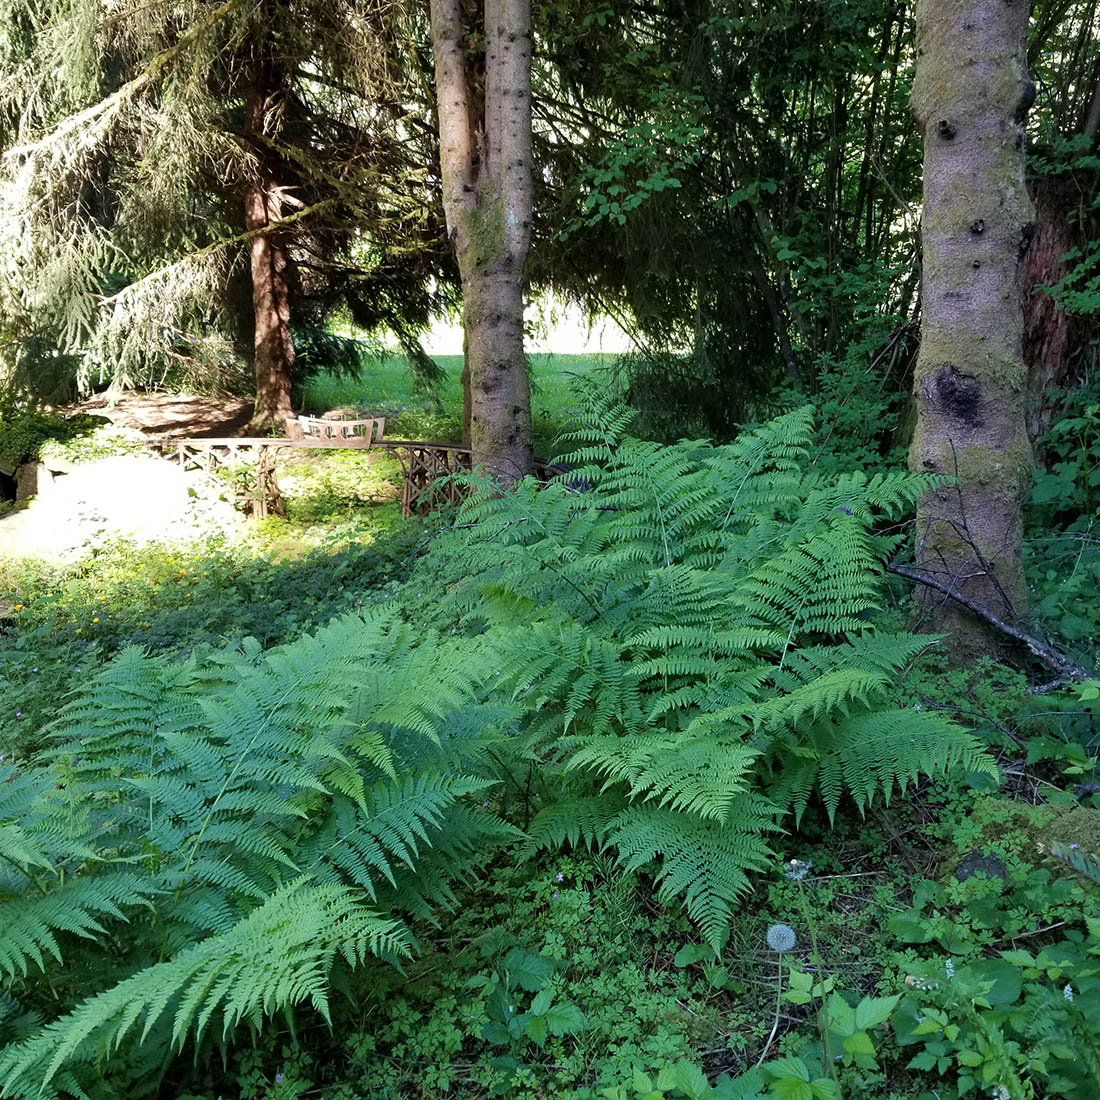
Pic 13 View looking up toward the trestle.
Pic 14 Same area looking in the opposite direction.
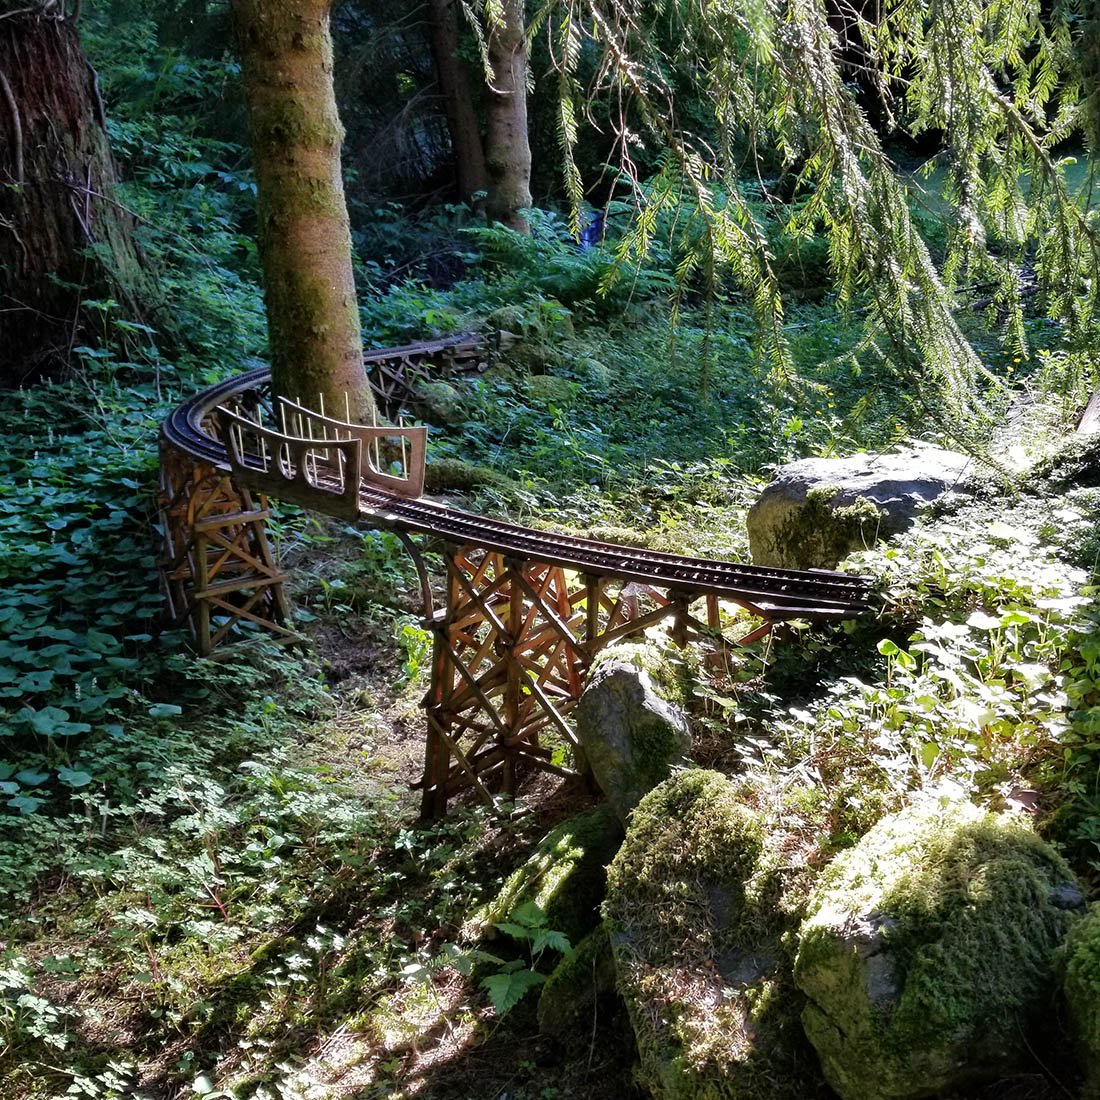
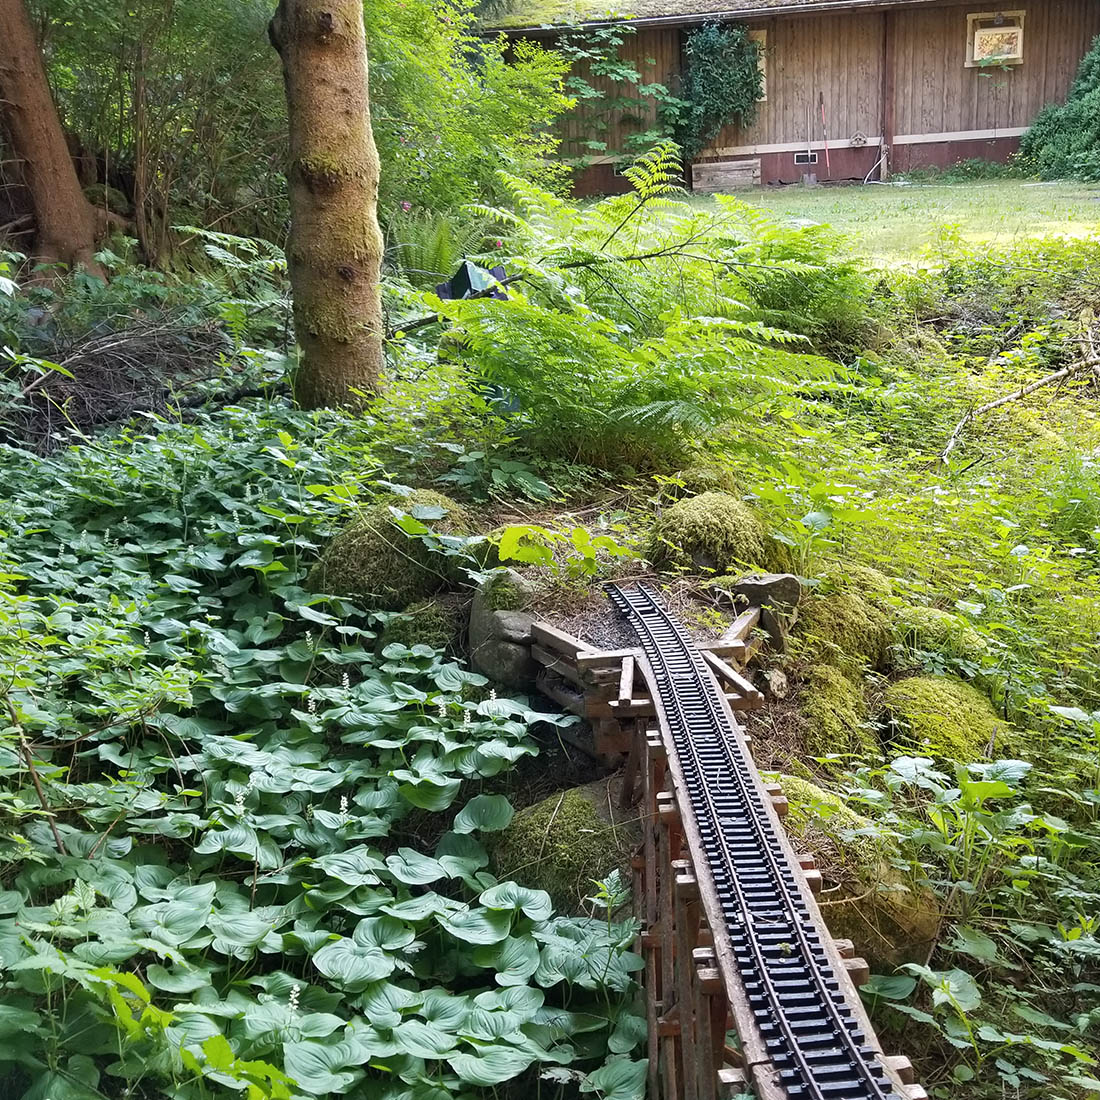
Pic 15 View of the trestle.
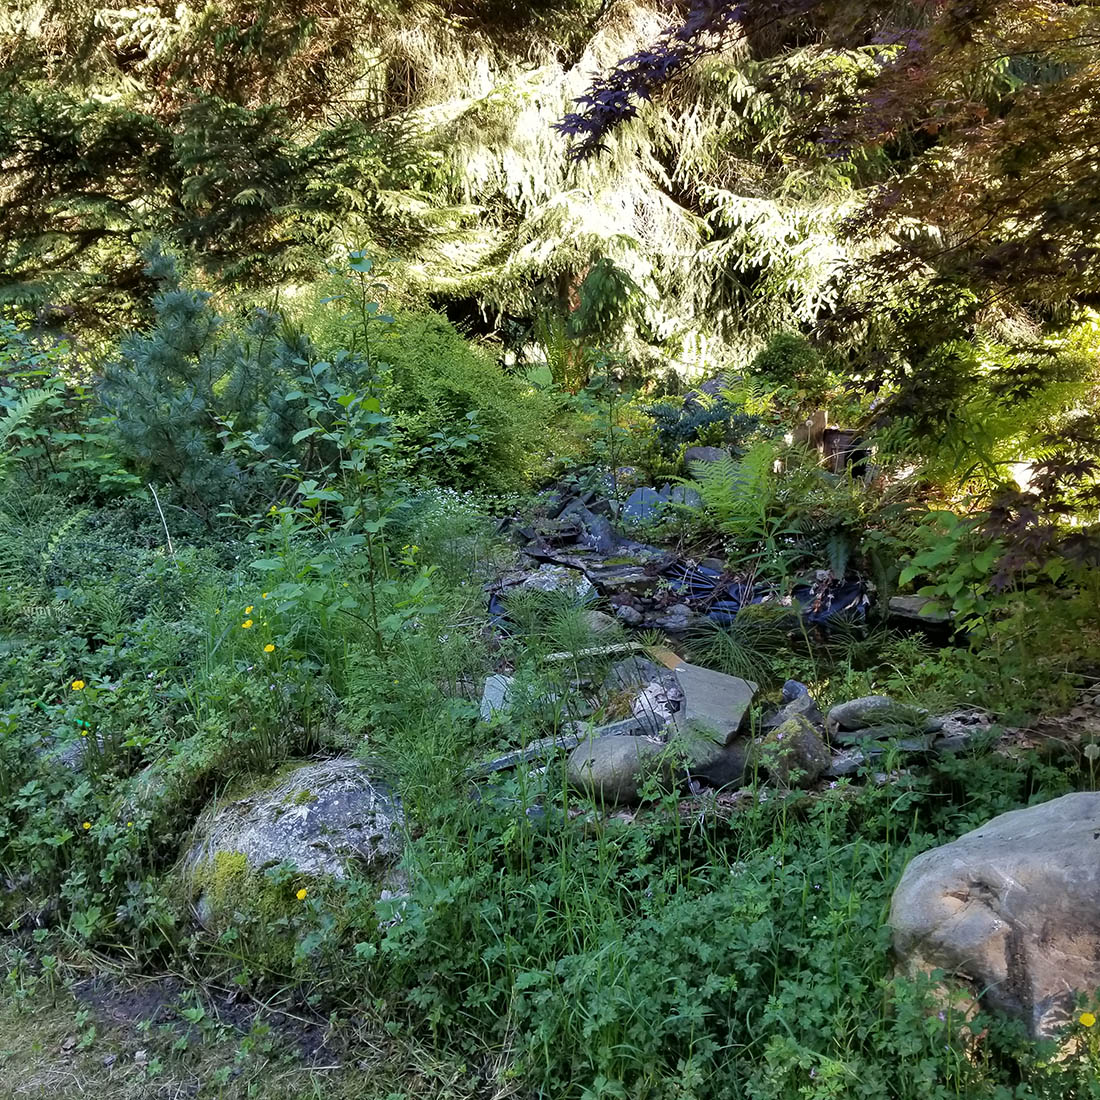
Pic 16 If you look real close you can almost see a pond here.
Pic 17 Underneath all the brush and shrubs is/was the WYE intersection.
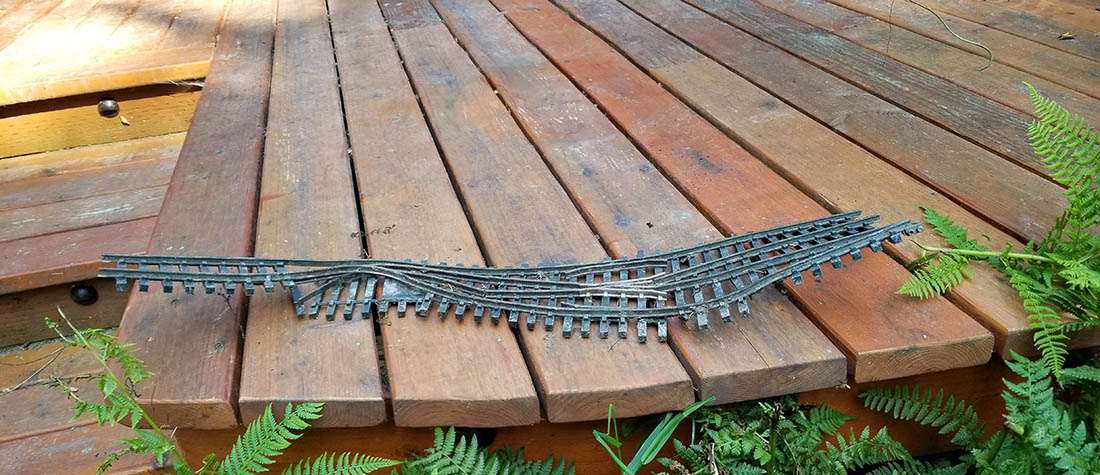
Pic 18 Apparently tree roots don`t like turnouts, the WYE sacrificed itself…
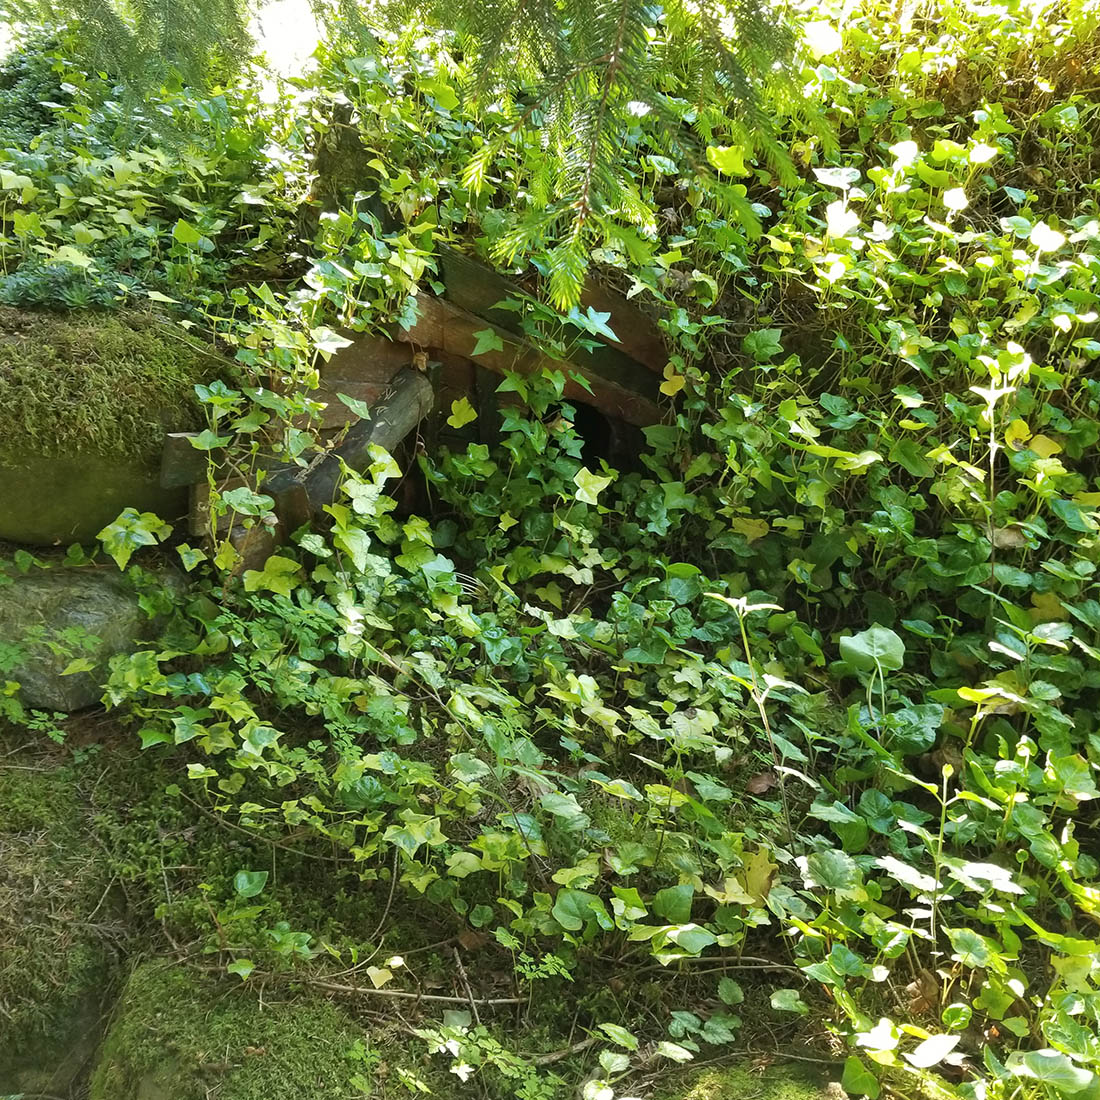
Pic 19 Lower tunnels, left tunnel goes to the yard.
Pretty sad huh ? So what to do at this point ??
In reality the only practical thing to bring this all back to life was to start over. Trying to defoliate this mess was simply not an option.
The good news here is that there were things I was unhappy with in regards to the original track plan so now I can make changes to the layout starting from a clean slate, with some help from my favorite gardening buddy “John”.
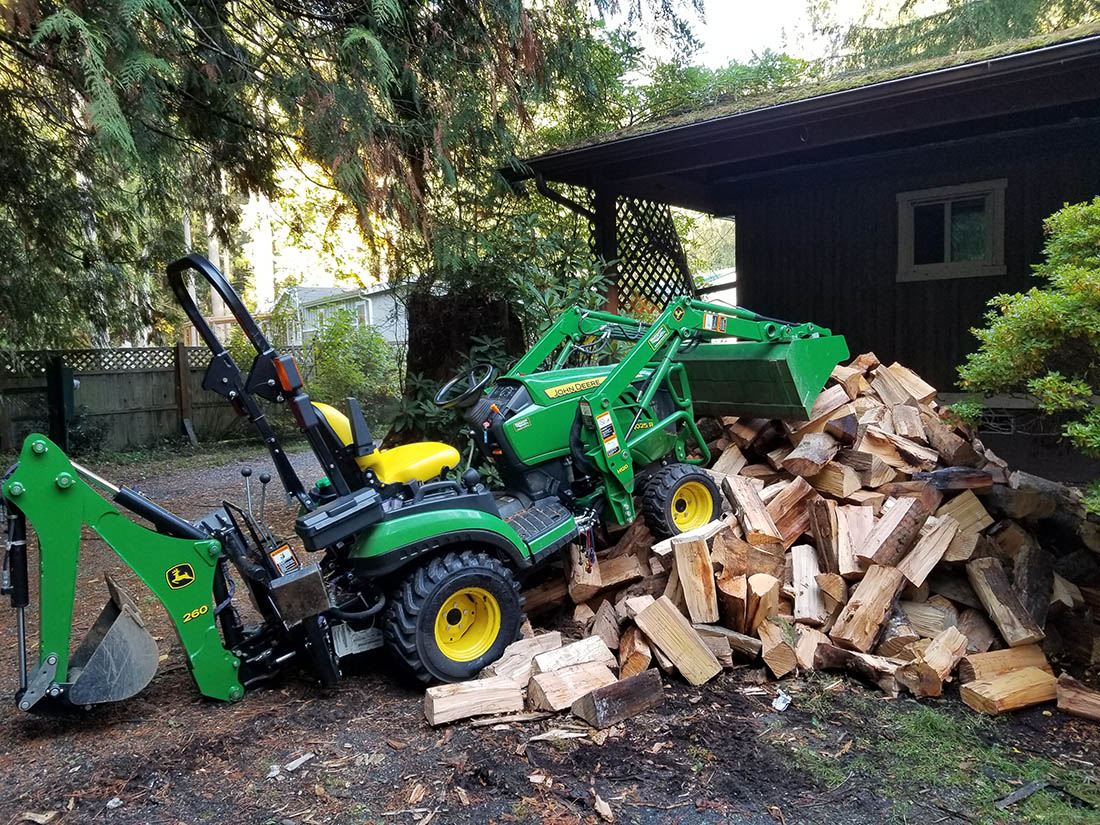
Pic 20 This is a picture of my helper, power tools are only way to go.
So I guess the moral of this story for you “G” Scale outdoor layout folks is this, We all know how much work goes into creating a beautiful and functional garden railroad.
So if life does what it does and you think that you can leave your Railroad garden to it`s own devices for a while let me just say this, if you can take that extra minute to pull that occasional weed, trim that shrub, or whatever else you may notice happening on your outdoor layout you will be doing yourself a huge favor.
So here we are at the end of my post, which I realize it not the normal fare on Al`s Site but I thought it just might save someone from the same fate that I have bestowed upon myself.
So Spring is almost upon us here in Washington State and now that it is starting to get a little warmer as winter transitions into spring I guess it`s almost time to “Just make a start”…
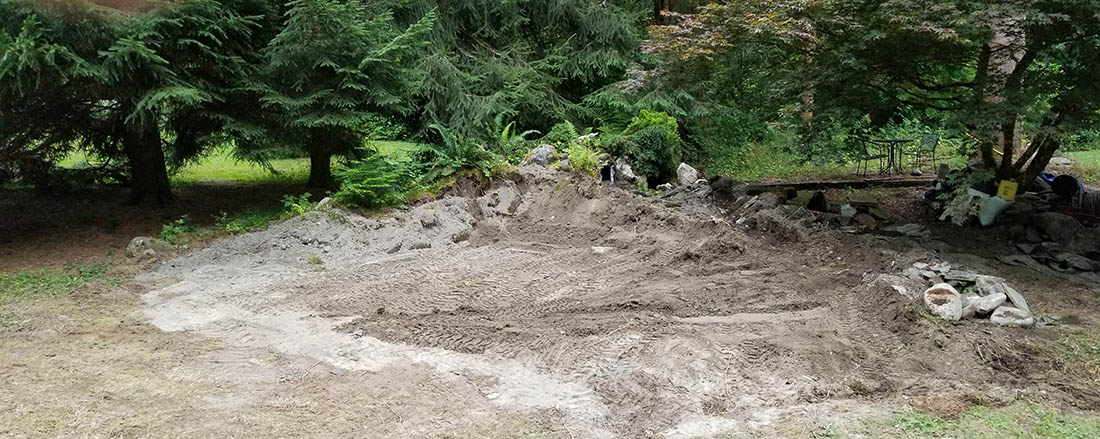
Pic 21 A clean slate and place to “just get started”…
Peace Out
OLar”
A big thanks to Larry – or is it Olar?
It’s always fun seeing a G scale garden layout. Really looking forward to seeing the progress on this one.
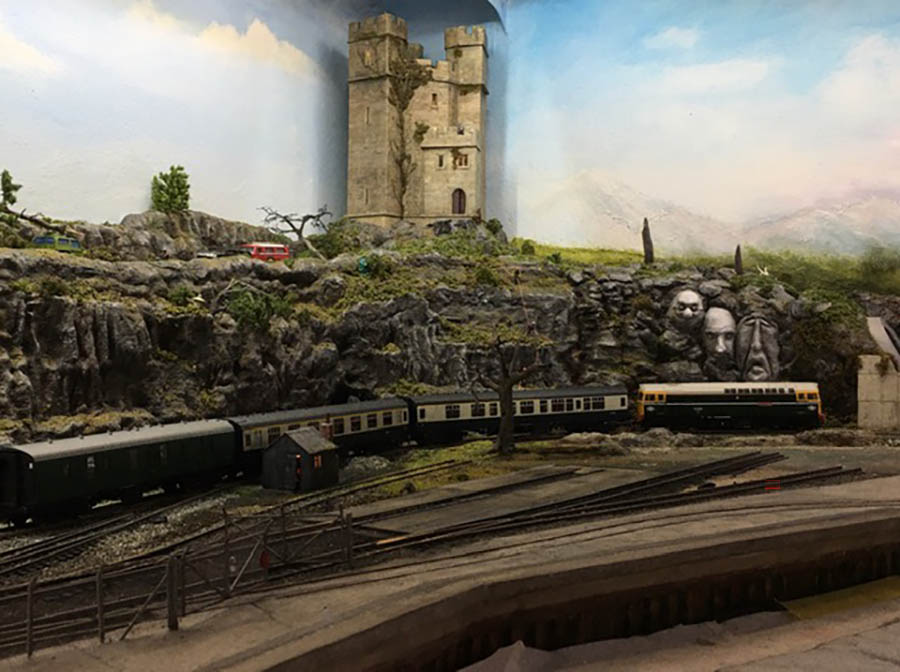
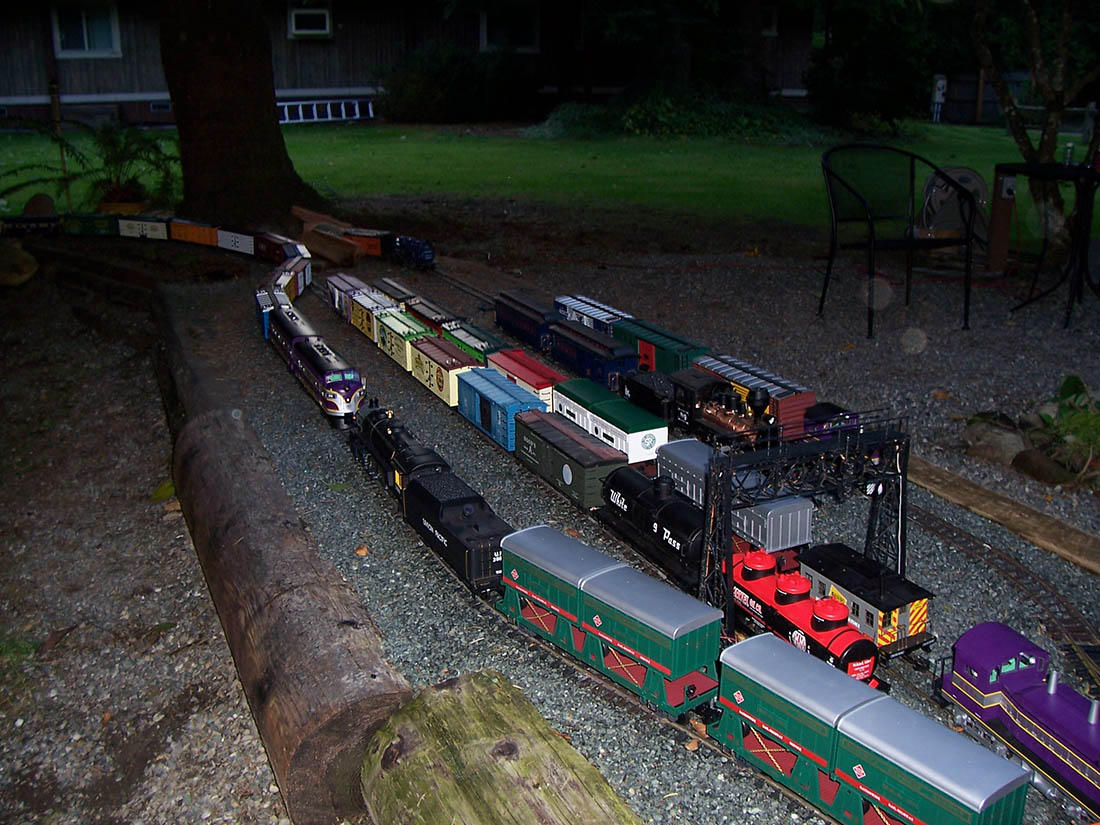
When it comes to G scales, I always think of Tom’s stunner:
That’s all for today folks.
Please do keep ’em coming.
And if today is the day you get started on your layout, the Beginner’s Guide is here.
Best
Al
PS Latest ebay cheat sheet is here.
PPS More HO scale train layouts here if that’s your thing.