If you’ve ever wondered about whether adding lights for model train layout is worth it, have a look at what Rob’s done:
“Hi Al,
After putting considerable effort into adding lighting effects to my layout over the last year or so, I thought it might be time to demonstrate how it all came out.
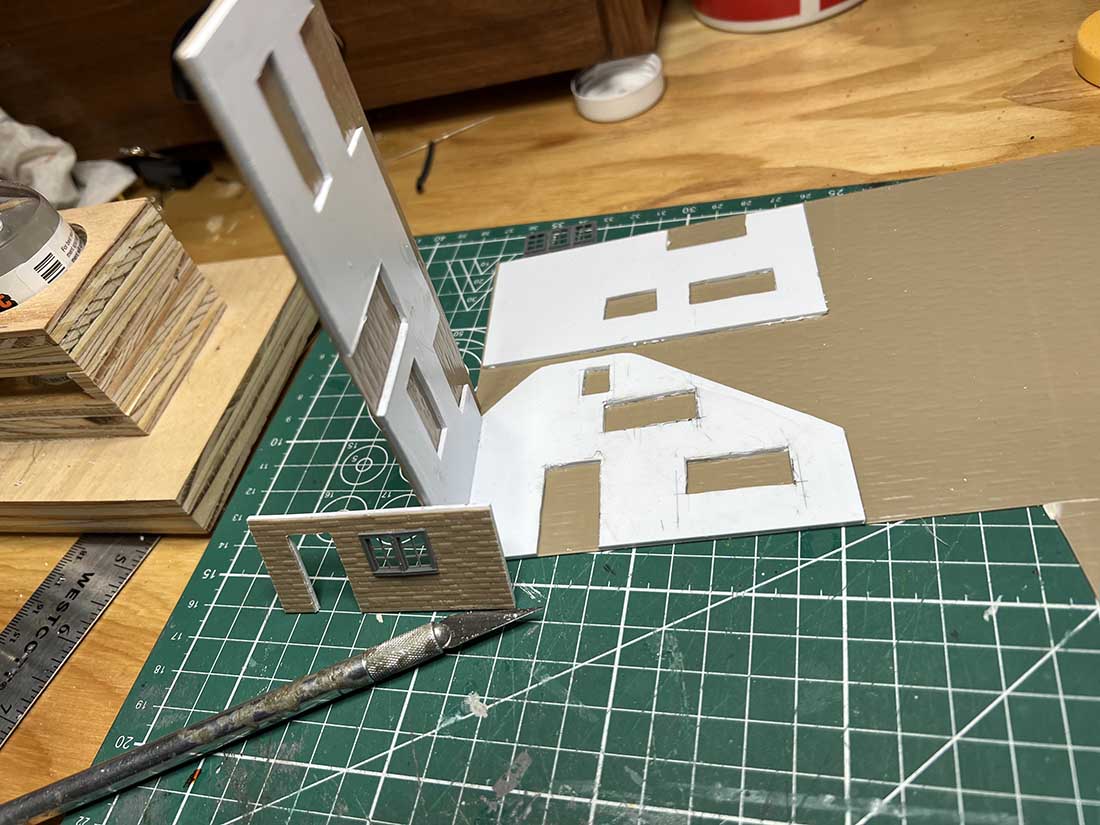
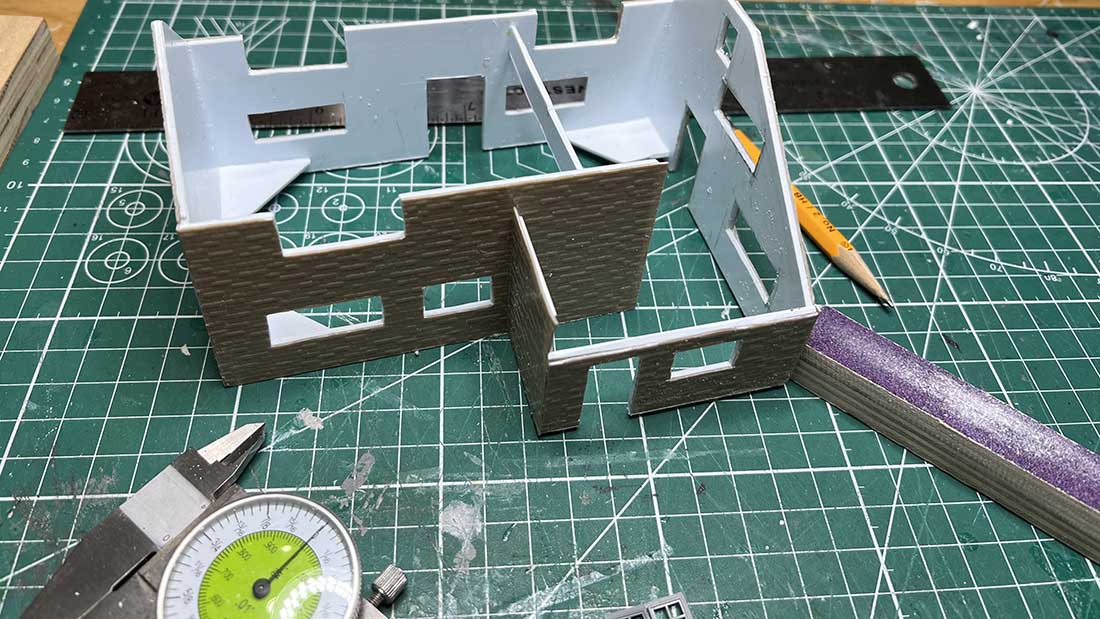
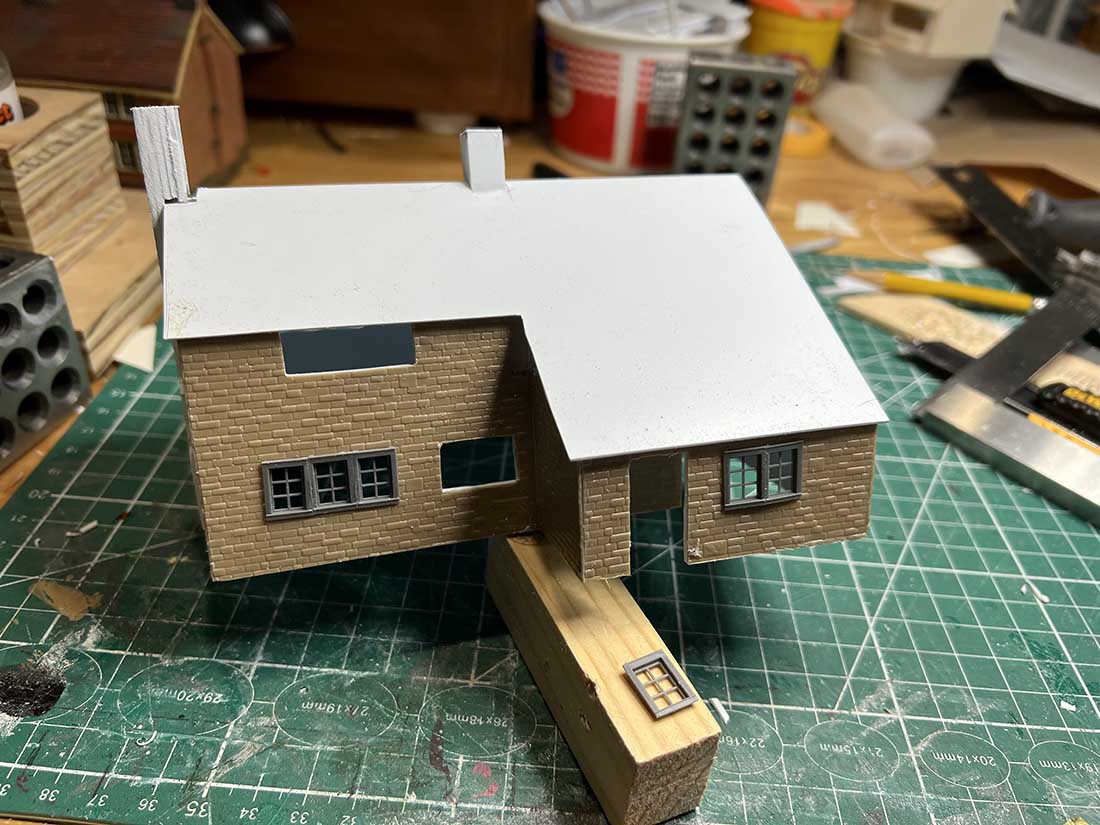
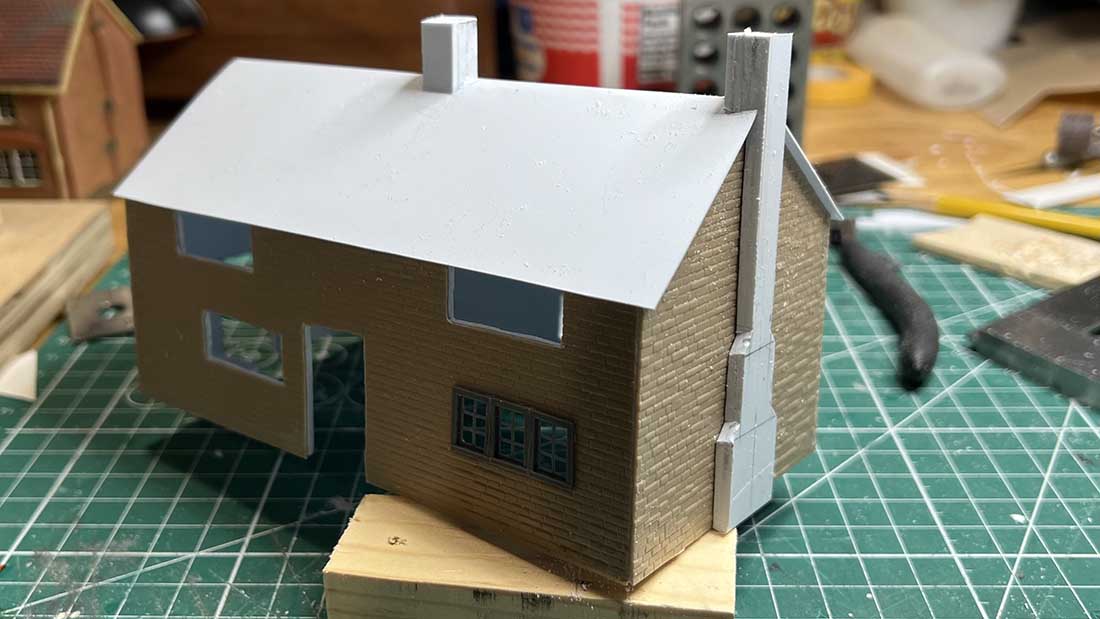
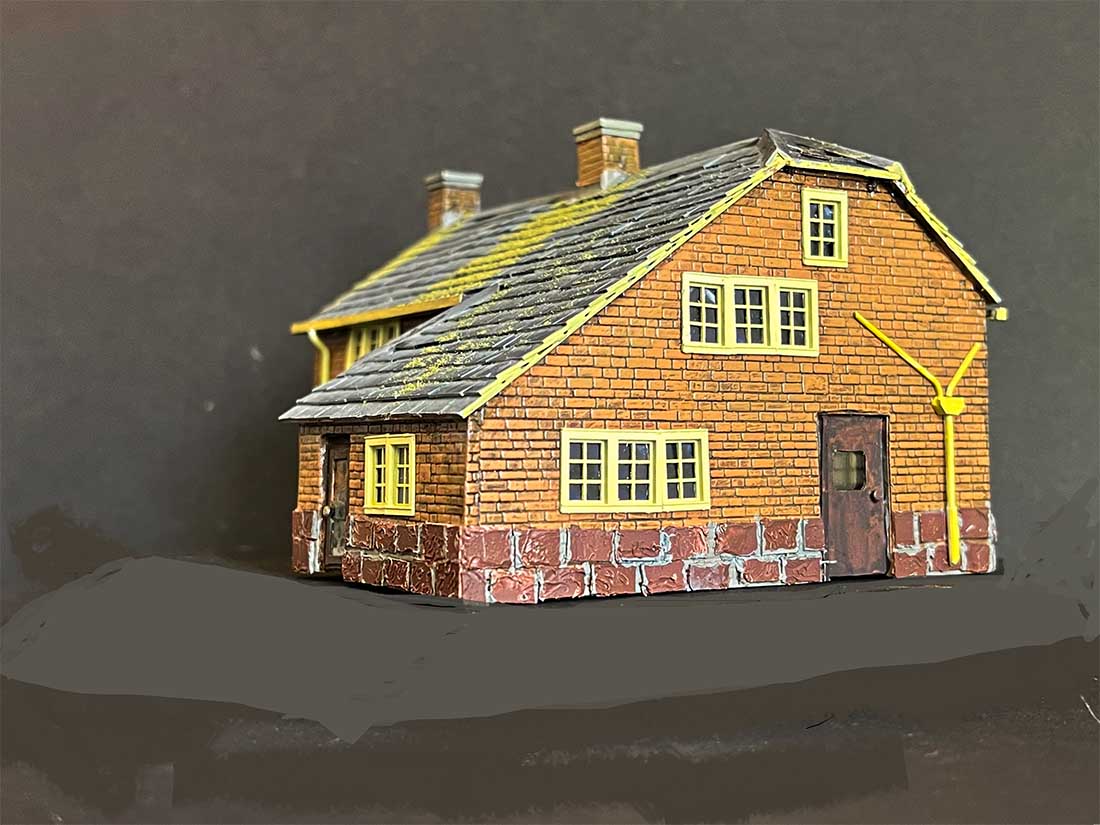
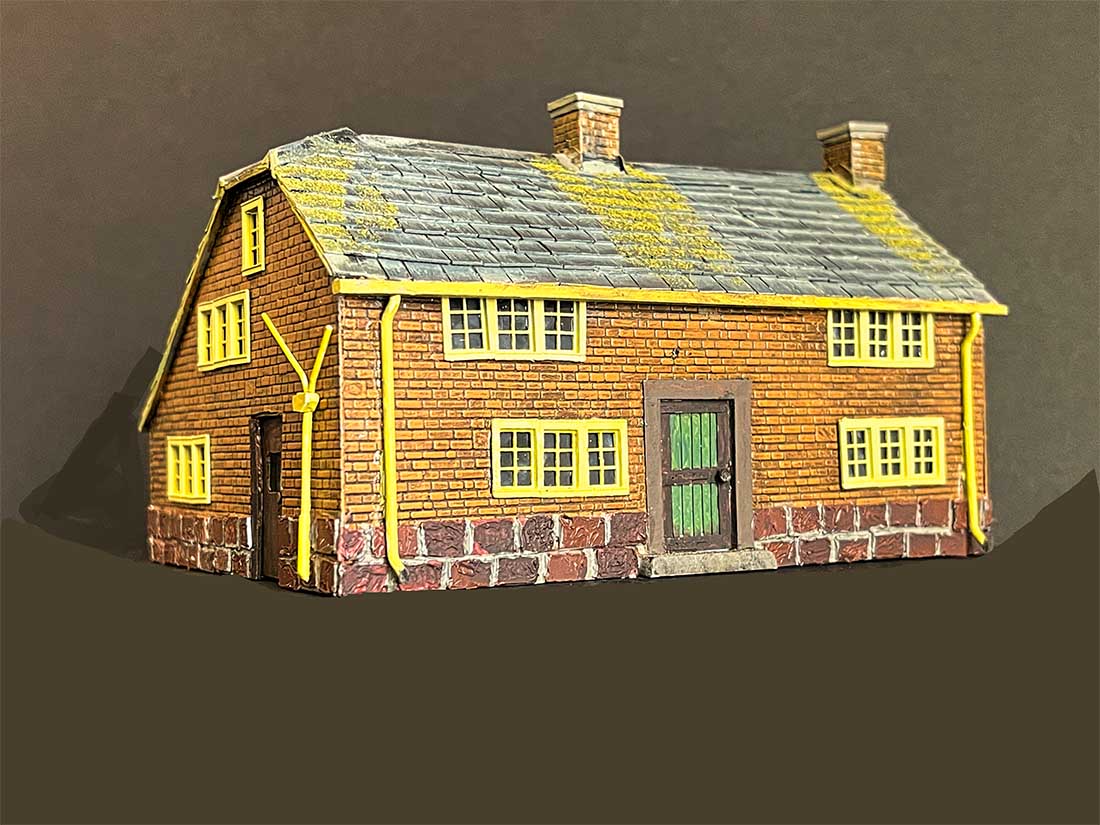
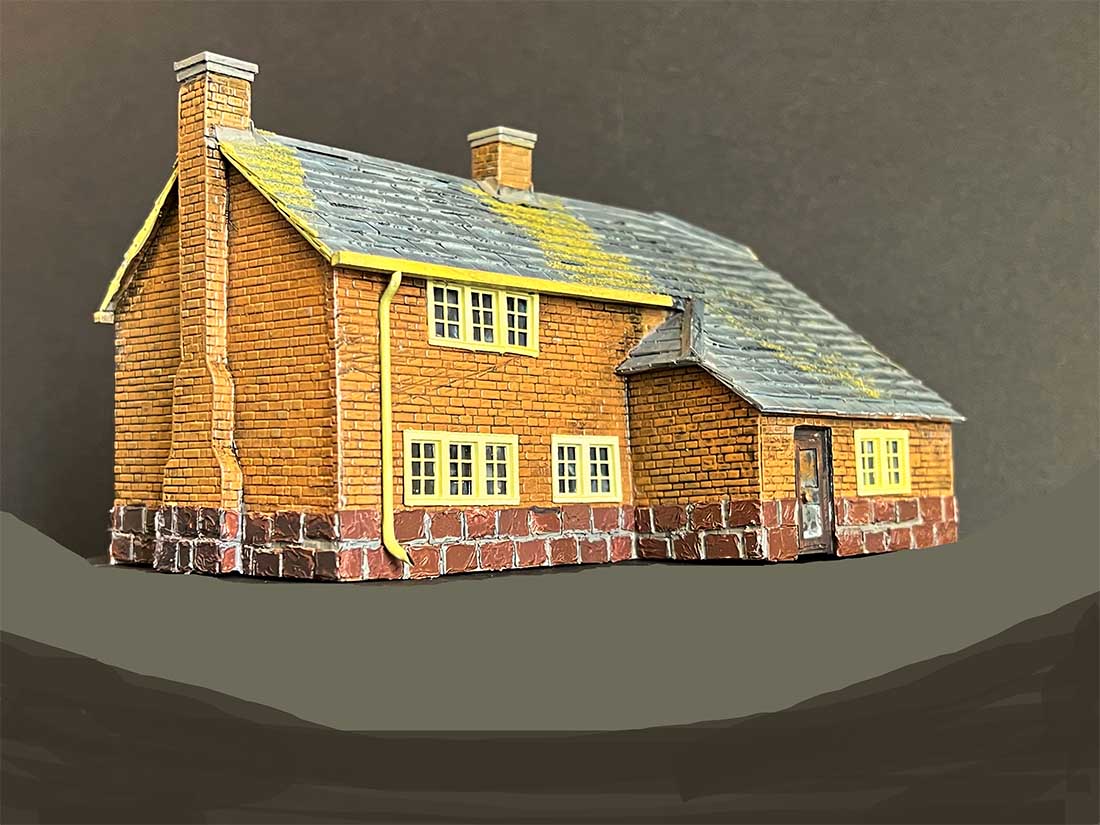
I even replaced a house on the layout with one I scratch-built so that I could add lighting.
The original house model was a resin casting but did not include openings for the windows as many of them do. Without windows, I could not have added lighting to the interior.
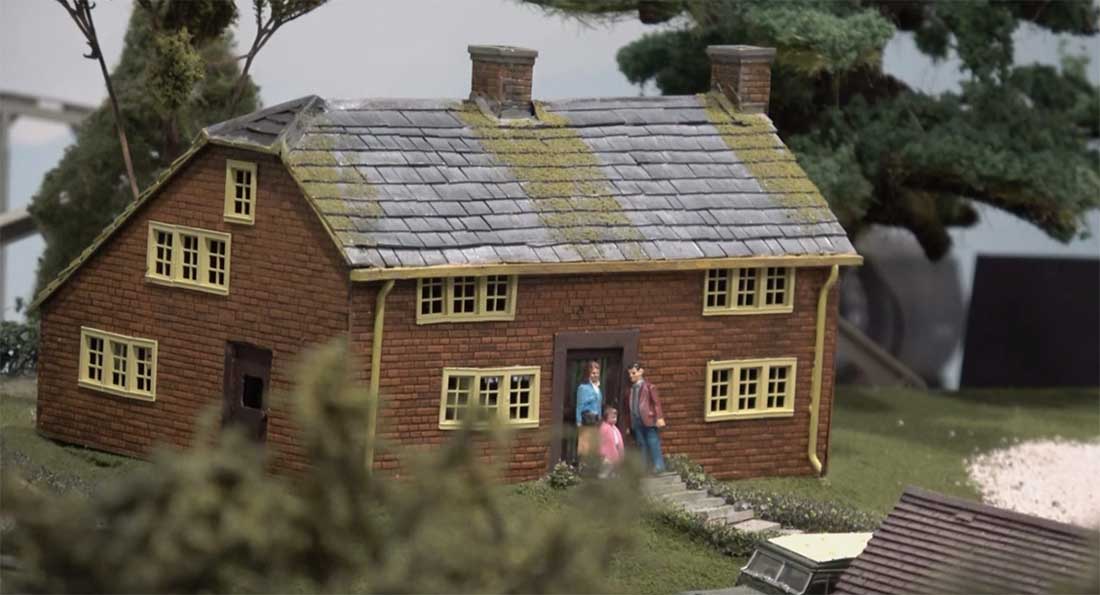
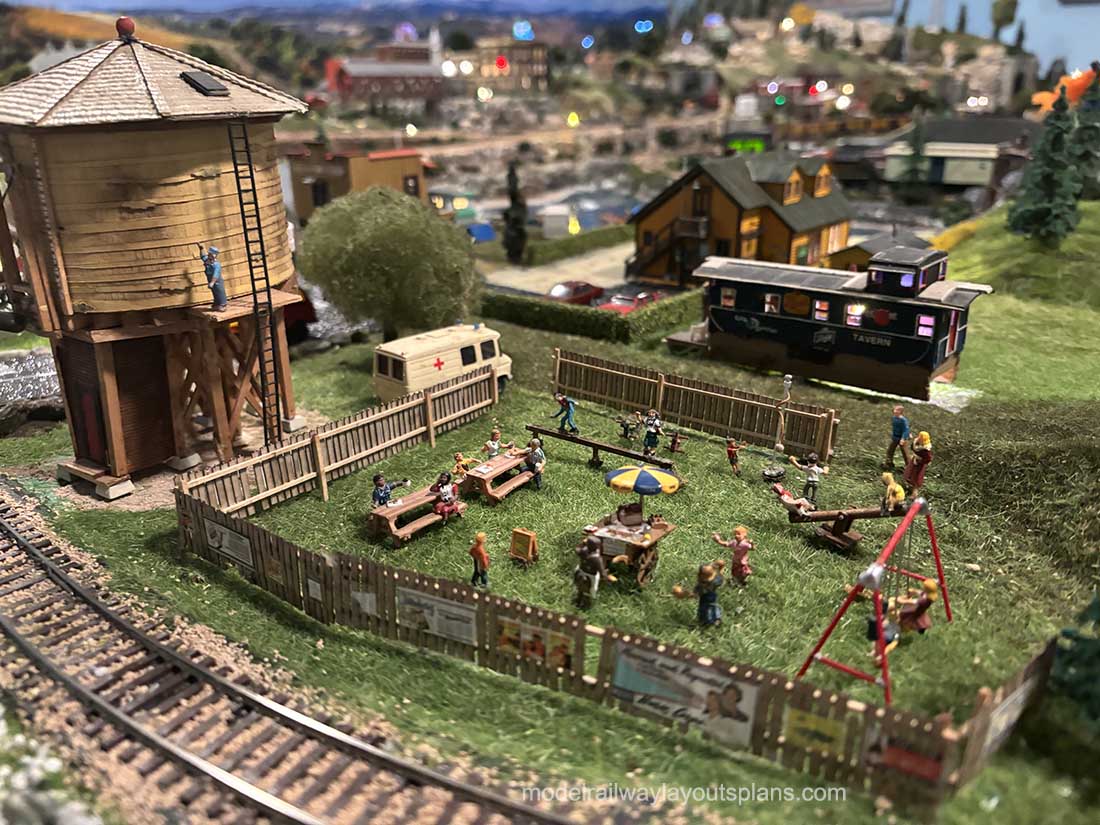
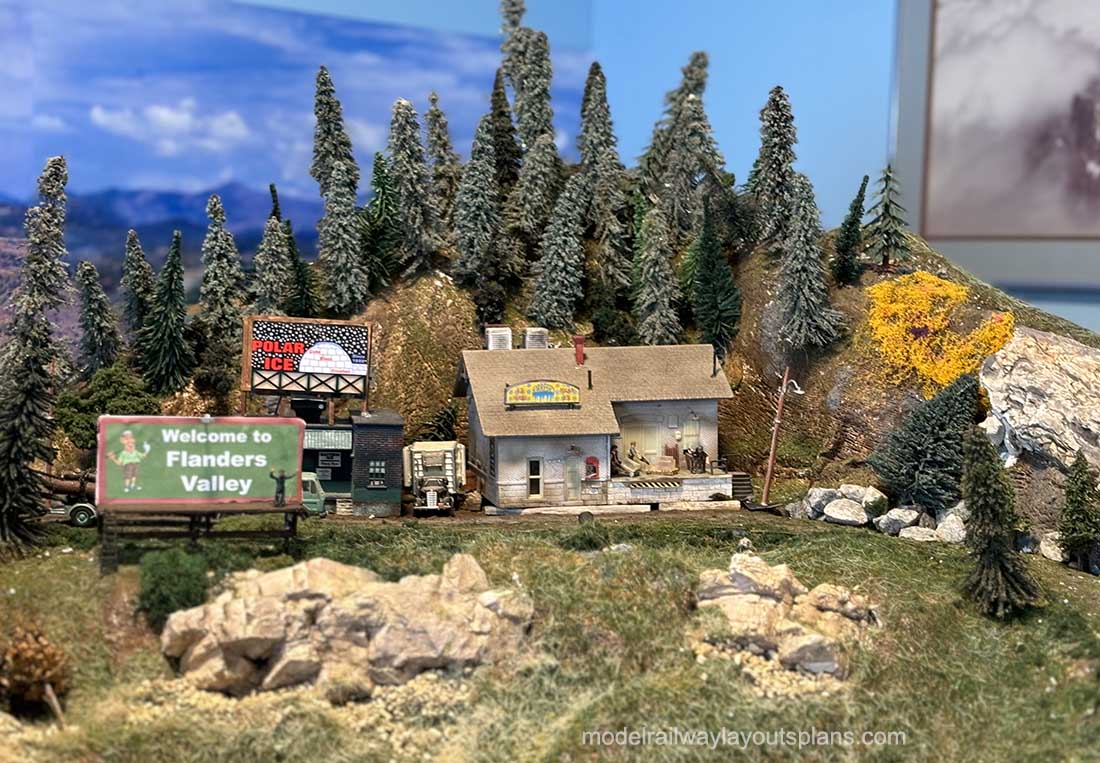
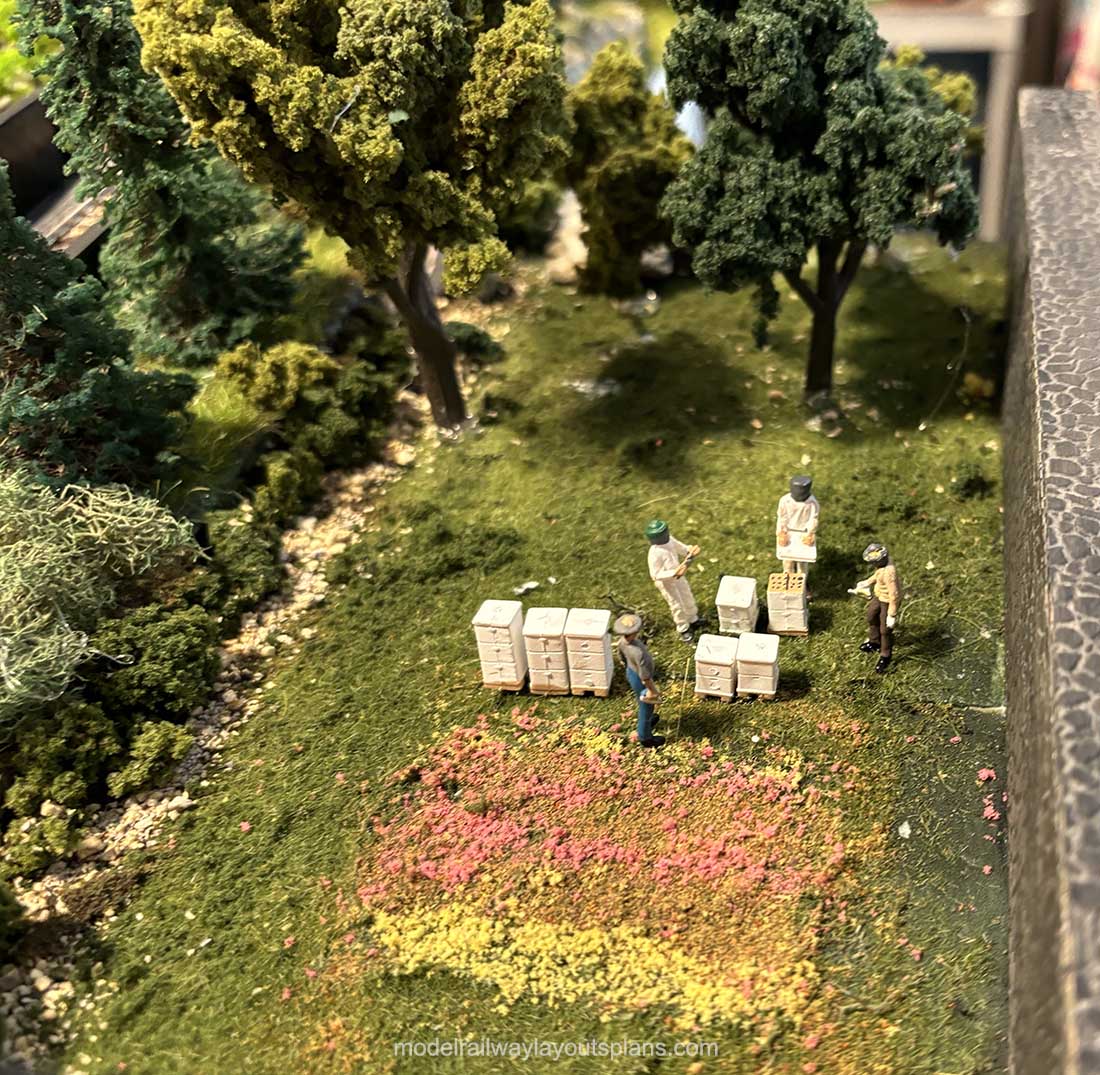
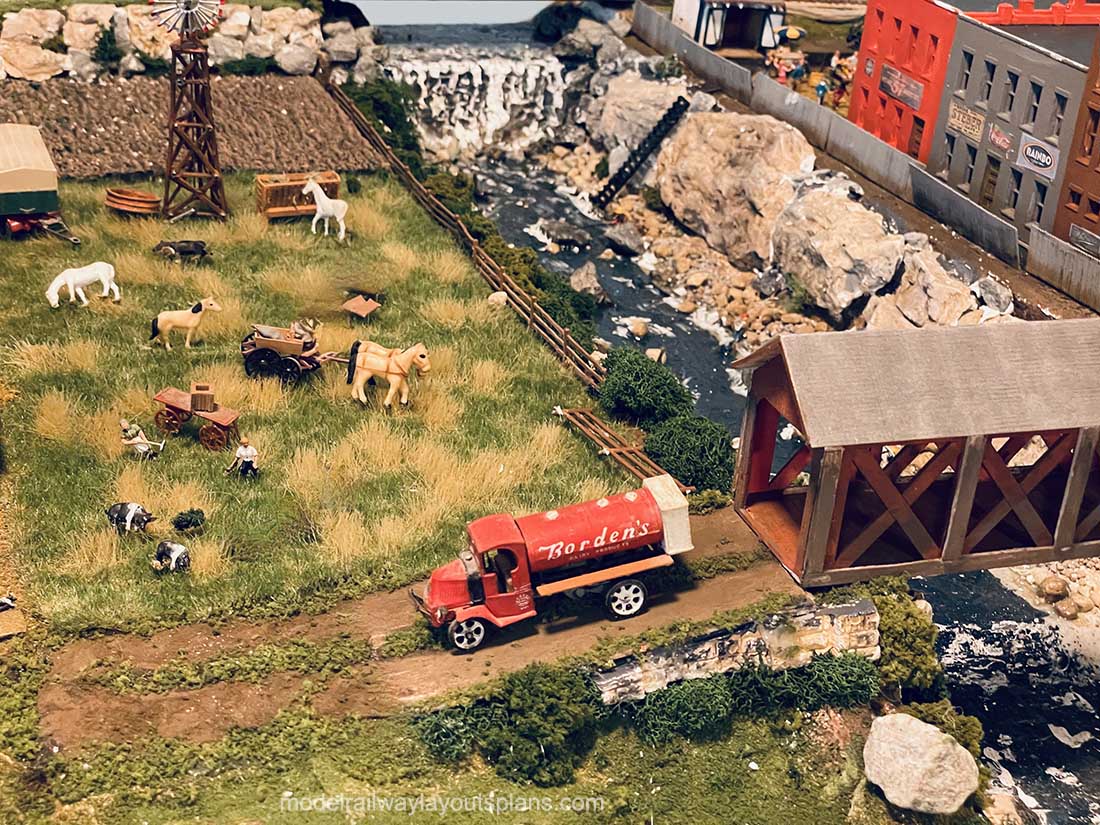
My farm area has always been my favorite area on my layout, so I decided to put in the effort to build a semi-duplicate for the original house, except it would have windows.
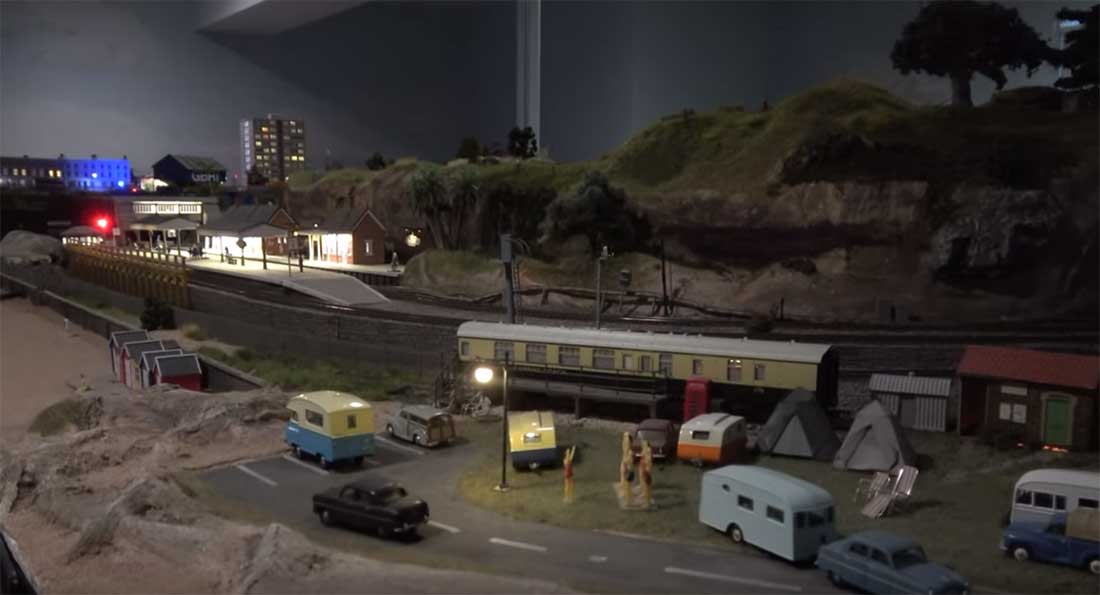
Running trains in the dark has always held a certain magic. With this in mind, I have produced a video of trains running with their windows lighted. I also let the camera dwell on some of the little scenes around the layout.
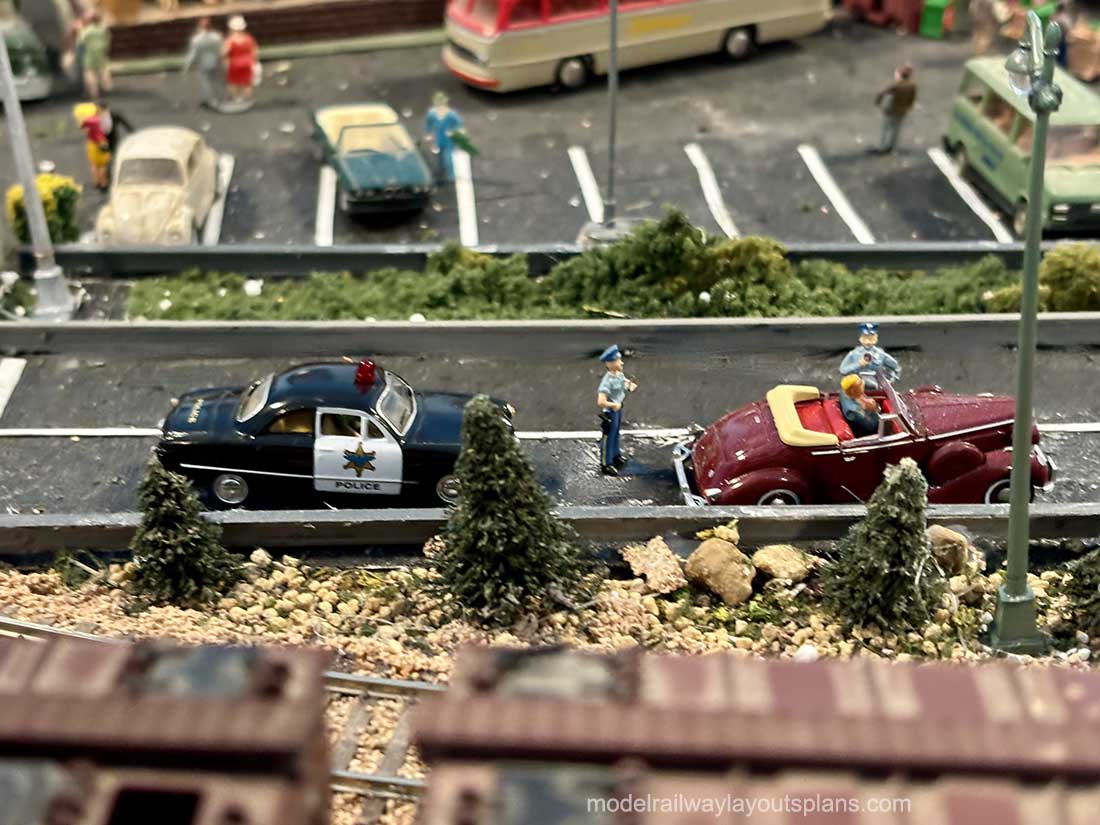
You’ll notice I have added traffic lights to the one intersection I have on the layout. Maybe that car trying to turn left will finally be able to get around the corner. 😉
Michael’s been in touch with his U shaped layout HO scale:
“Hi Alistair,
I was seven when my father took me for a ride on the Penn RR as it made its way back to the railyard.
While he swept and cleaned the passenger cars, I got to sit with the engineer who let me blow the horn. Seventy-one years later I still love railroads and the sound of the horn or the whistle.
Though I started with Lionel 027 trains as a kid, I switched to HO when my sons were born. That was fifty years ago and the layout for the boys was, err, let’s just say not very good.
Fifteen years ago, shortly after my first grandson was born, I decided to take up the hobby more seriously. I scraped everything and started over.
With advice and diligence my second basement layout was considerably better; in fact, guests often commented it impressive. It was a horseshoe, 16 feet long with two 4×4 legs coming off the sides.
When I moved from Long Island, New York, to Flanders, New Jersey five years ago, I gave my precious away to a sailor on a US Navy cargo and ammo ship.
While at sea, he had contacted me when I made it known I’d be willing to give it away. We arranged for him and a fellow seaman to come to take it when their ship arrived at the port of Newark. They had to load it on to the ship for storage until it arrived in Virginia where he lived. He sent me a video of the layout being lifted onto the ship and it brought a tear to my eye.
Our new house doesn’t have a basement but, on the second floor there was an HVAC room that abutted a decent size storage area Three years ago I restructured the two areas into one decent sized room.
Then I began creating the “Flanders Valley RR”. I guess you could say I got lazy, because I began by ordering two Woodland Scenics Layout kits, Grand valley and River Pass.
I reconfigured the layouts into my imagining of a unique railroad I would call the Flanders Valley Railroad.
I created an “L” shaped layout: 12×4 with a 4×4 leg on one side. It was okay, but I wanted to be able to run four trains at once and it was happening. So, I added another 4×4 leg on the opposite side.
Thanks for the opportunity to tell my story, and hope it helps to appreciate how it’s turned out. I’m including a few photos and video.
Peace,
Michael (aka Doc)”
A big thanks to Michael for sharing his U shaped layout HO scale.
Lastly, thanks for your suggestions so far, for a new name for ‘boring Carl’.
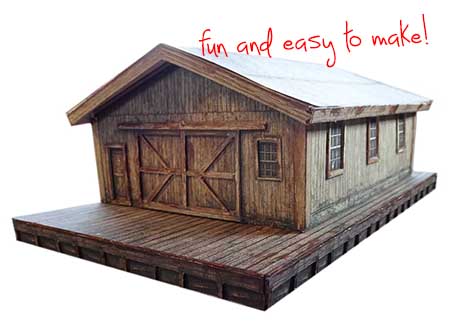
My last few mails had some brand new printable buildings in them.
Glyn has been in touch with his take on scenic backdrops for model trains:
“Hi Al,
Thanks again for all you do for us through your blog.
Recently you have had a few posts about scenic backdrops and blending them into the foreground. It thought I’d add a few images which might be helpful.
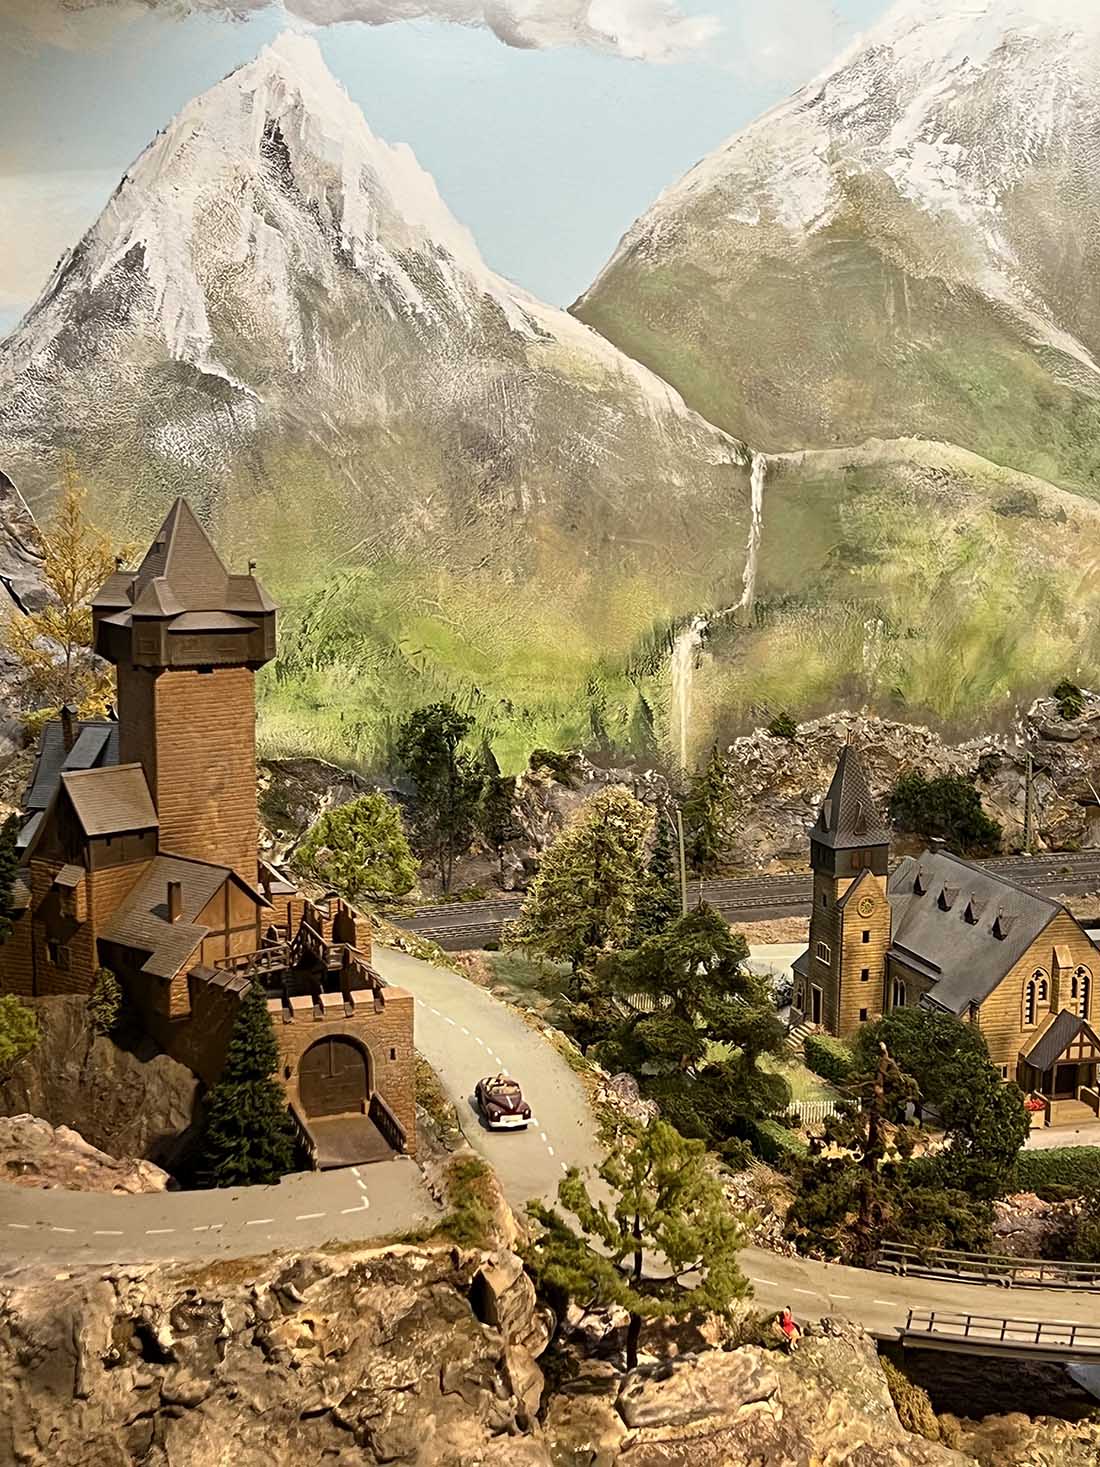
Having made plenty of mistakes in the past, this time round I made sure I constructed my backdrop first and then painted it to match what I proposed to create in the foreground.
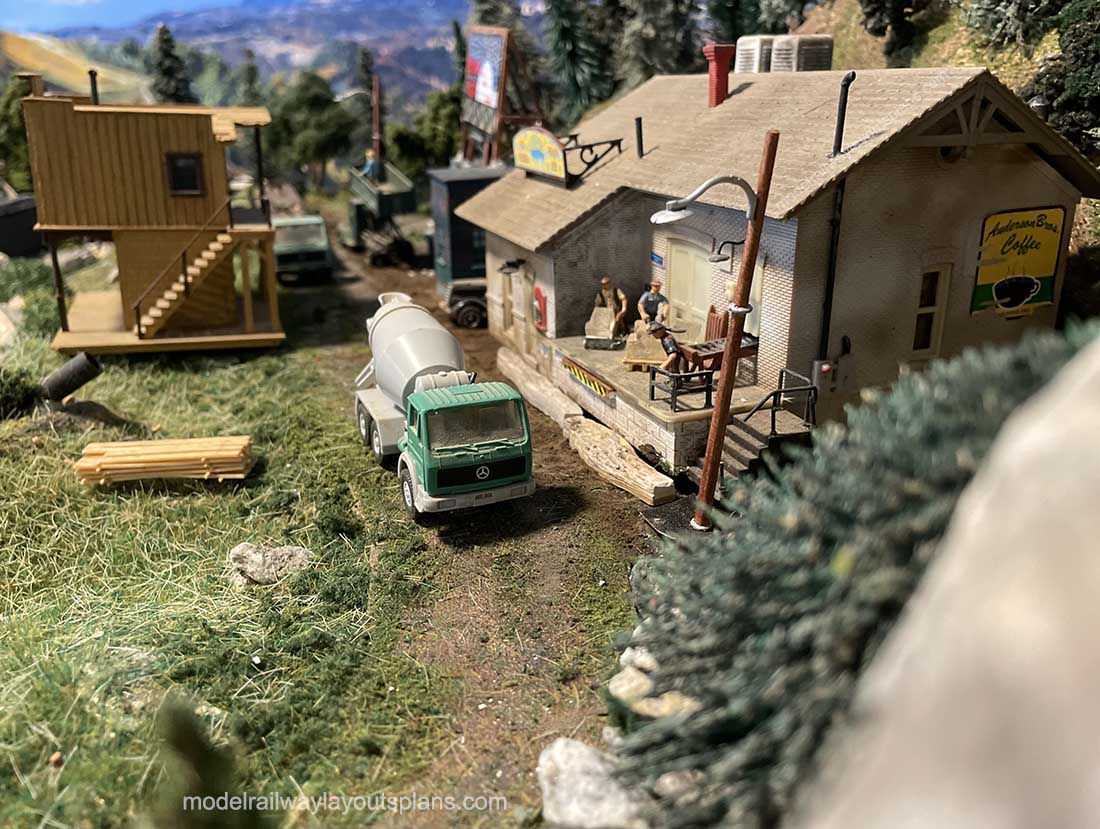
This obviously requires having a definitive track plan in place with some idea as to what scenic vignettes you want to model in the foreground. With that in place I started building my scenic elements from front to back using a combination of Construction foam, Woodland scenics shaper sheet (a little goes a long way), plaster and paper towels followed by application of rock molds using re-usable molds from a variety of manufacturers.
I create the foreground scenery (mountains, valleys and pastures) to go all the way to the back of the layout so that it almost abutts the backdrop. It’s important not to leave large gaps although smaller gaps can be plugged with vegetation.
Once the plaster is dry, I paint it using simple off-the-shelf artists acrylic paints available at hobby stores, using Woodland Scenics “leopard spotting” technique with burnt umber, black and yellow ochre.
The colors you use may vary depending on the final color combination you want for your rocks.
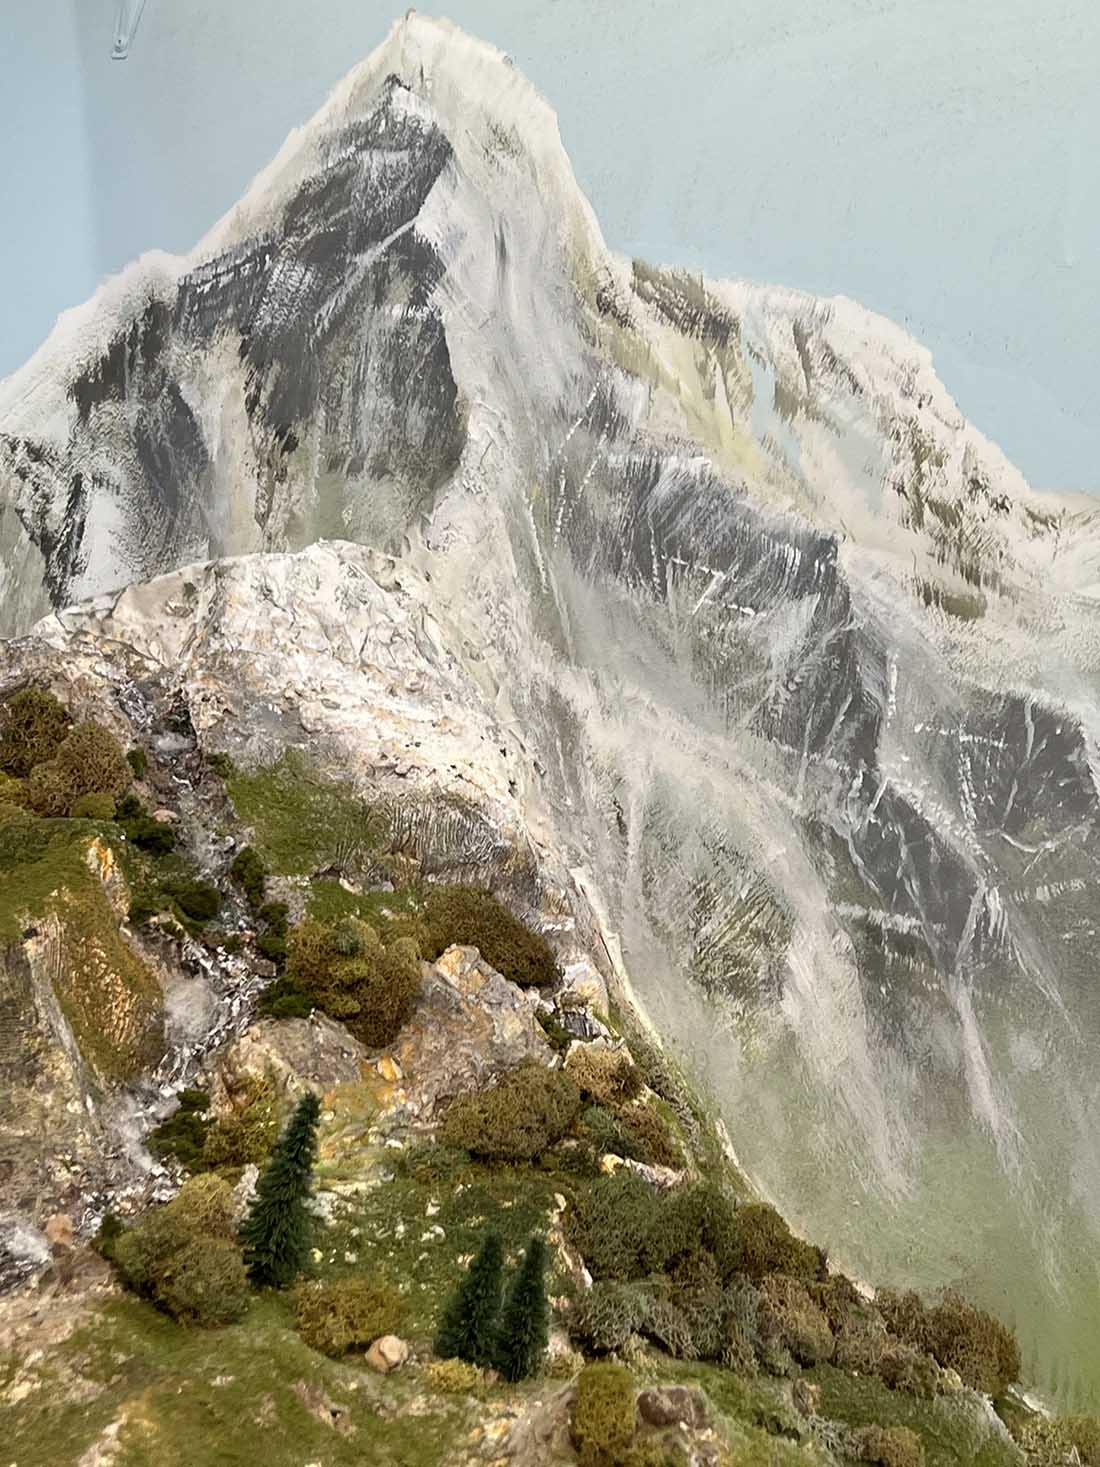
Once dry, I dry brush rocks with white to create and enhance highlights as well as giving depth to the rocks. This is a really important step as it gives tremendous 3-dimensional detail to the final outcome.
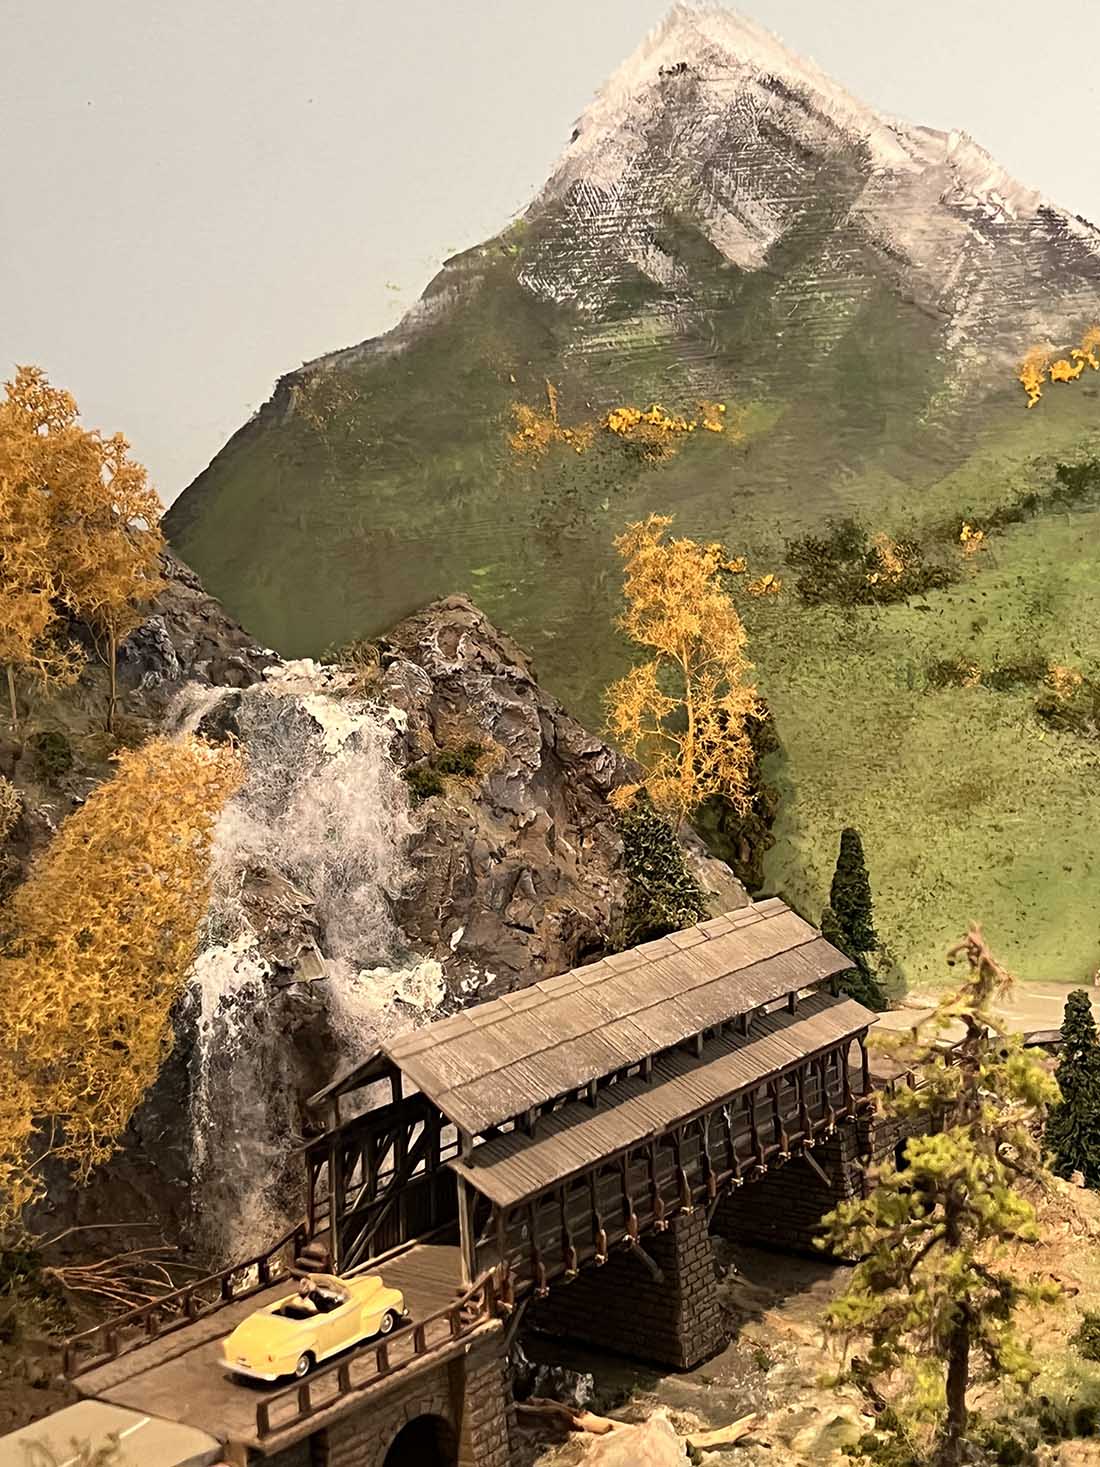
I try to match mountain peaks or rock features to the backdrop so that I can blend the transition with paint to make it appear as seamless as possible. Occasionally, as with the tallest mountain in this series, I will even pack a little plaster into the junction with the backdrop to make it appear completely contiguous.
Once this is done I step back and add paint or vegetation in the form of Woodland scenics clump foliage or small rocks as needed. The results can be quite realistic with a little time and patience.
You don’t have to be an artists to achieve this – just some imagination and studying real scenery.
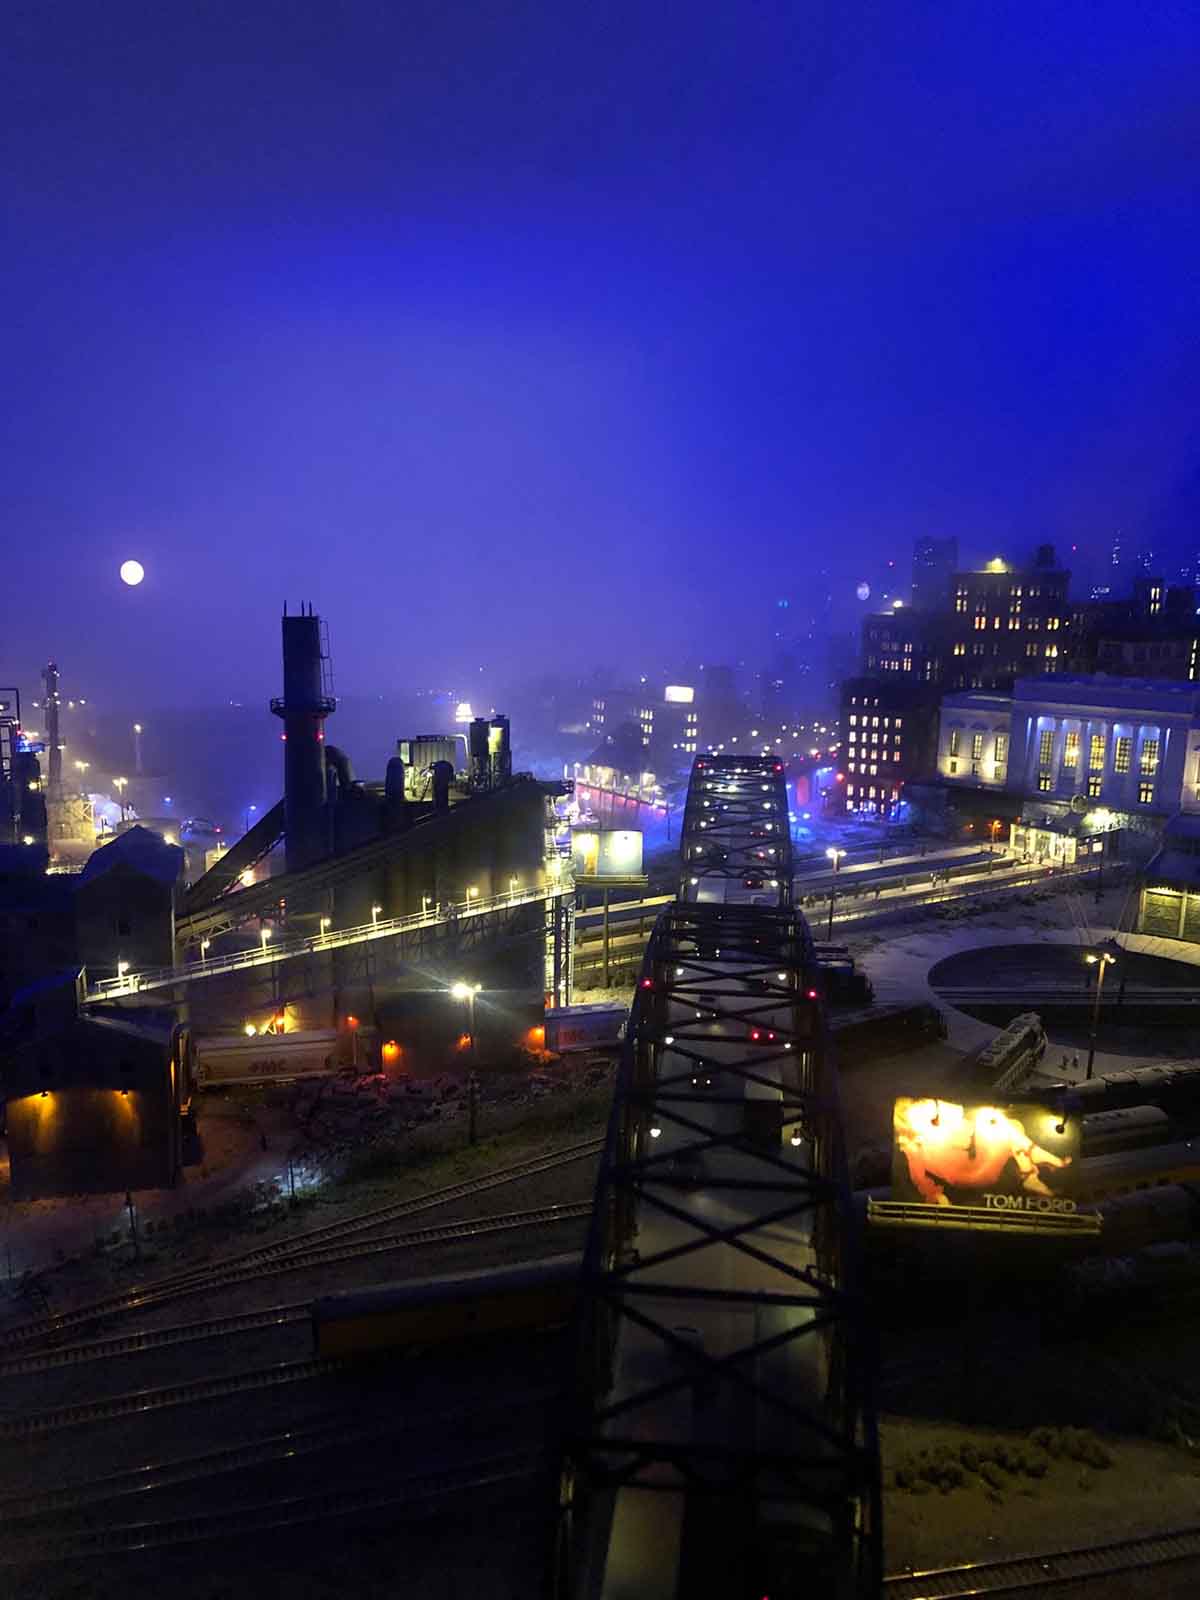
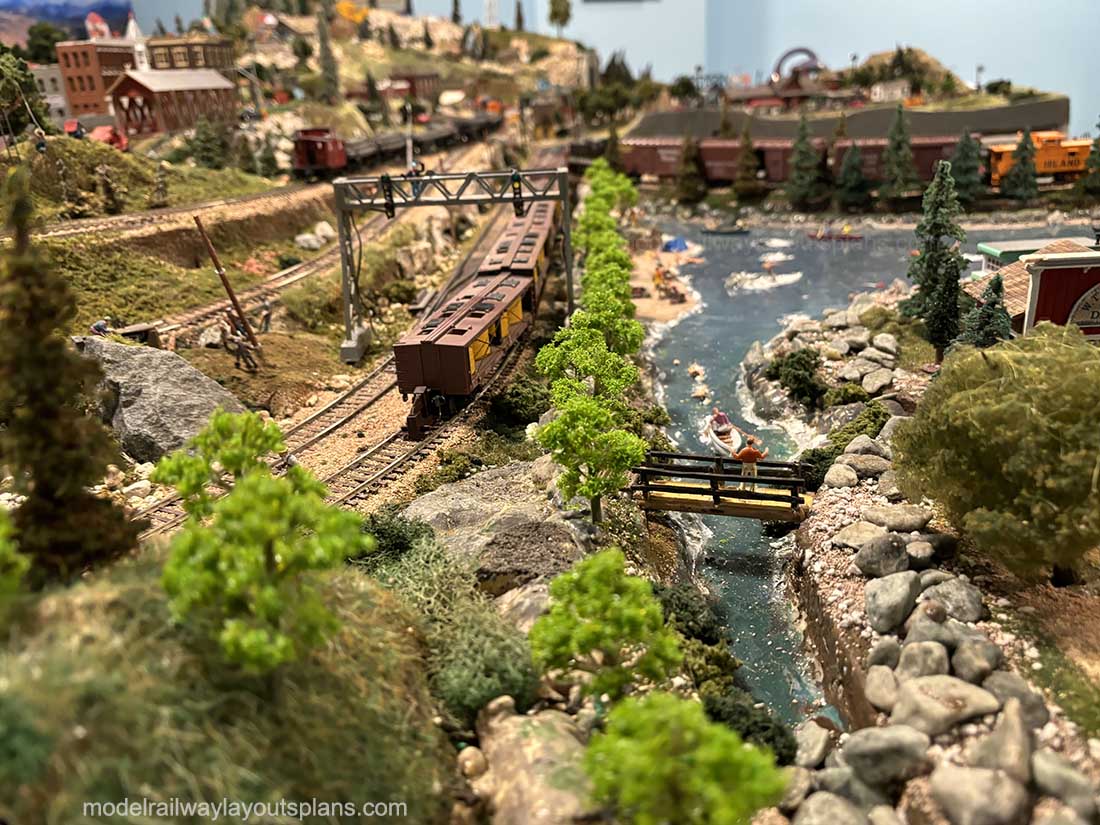
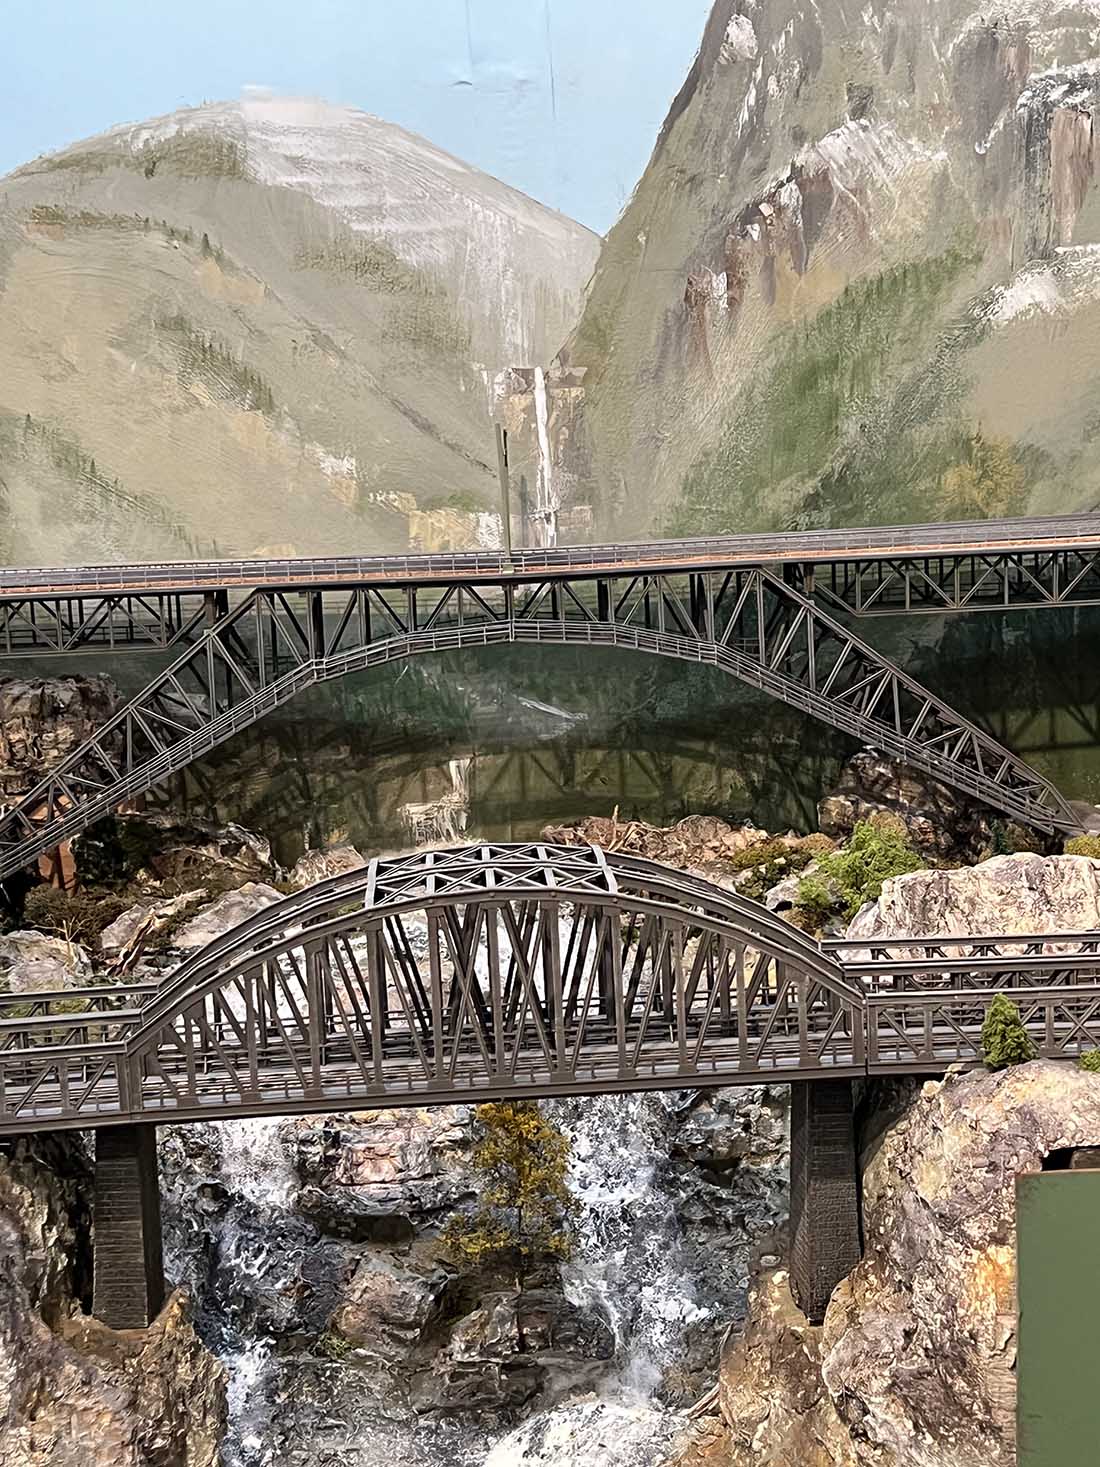
The large bridge scene I created required convincing distance for the mountains, river and waterfalls. I used some photographs I’d taken to paint the backdrop and added a distant waterfall as a source for the river that would terminate in the waterfalls beneath my bridge construct.
Start by painting the distant mountains light progressing to darker with more detail as you approach the foreground. Using rock molds beneath the higher bridges created more 3-dimensionality and the depth I needed to create the dramatic waterfall cascading beneath the lower bridge span.
Using these simple principles you can achieve convincing realism at little expense without resorting to buying expensive scenic elements. Re-usable rock molds are invaluable and making your own trees using the many techniques described so well in Al’s blog can save hundreds of dollars.
In the end it’s all about having fun and being creative!
Glyn in Santa Fe”
A huge big thanks to Glyn and his tips on making scenic backdrops for model trains.
I have to say, I absolutely love Glyn’s stuff. It’s easy to see why when you look at his previous posts:
“Hi Alastair, attached is a video tour of my layout taken a couple of months ago.
I have done a lot on it as you would have seen from photos that I have sent in before.
I was unable to get it from my cellphones video camera up until now.
It is a 360 view of my train room.
I Hope that you can use it.
Brian”
I liked Brian’s video purely because like most people I’m a little nosey.
I like seeing the rooms people work in and how their set up is – I think that’s why all the best posts, as well having good close up pics of the layouts, have a pic or two of the layout in situ too.
That’s all for this time folks.
Thanks to Glyn for his scenic backdrops for model trains, and to Brian for sharing his layout room.
Please do keep ’em coming because it’s still really quiet this end.