Ken’s been in touch. He’s shared how he added Atlas N scale turnouts to his layout:
“Al,
After reading, enjoying, and gaining a lot of inspiration from your blog I thought I might add to the story.
I just did a little remodel of my temporary layout to gain more storage for trains.
This meant putting a turnout (points) into an existing track. Not something people do all the time. Except for Dangerous Dave that is.
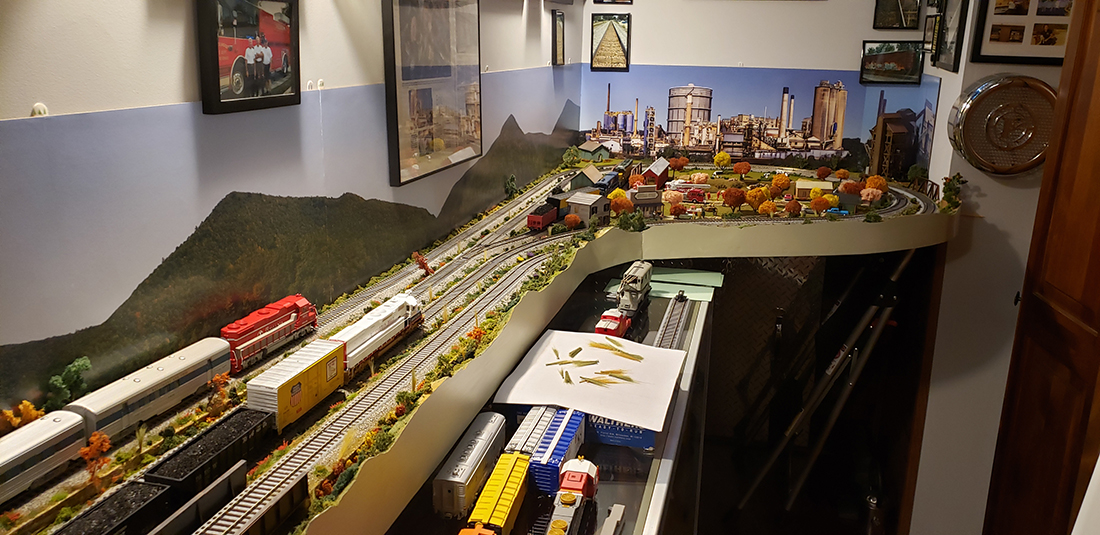
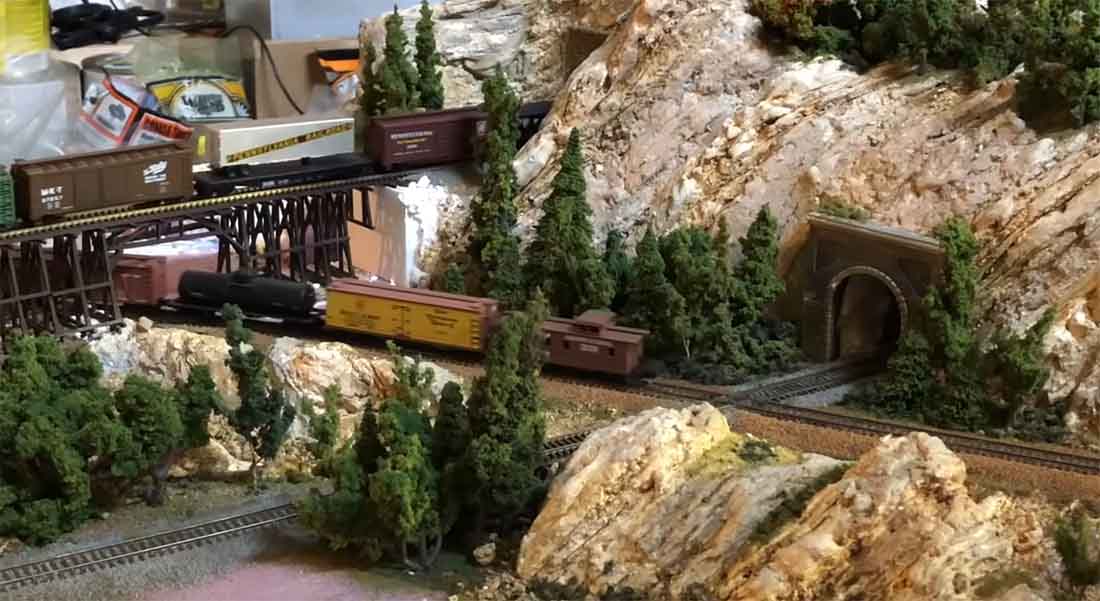
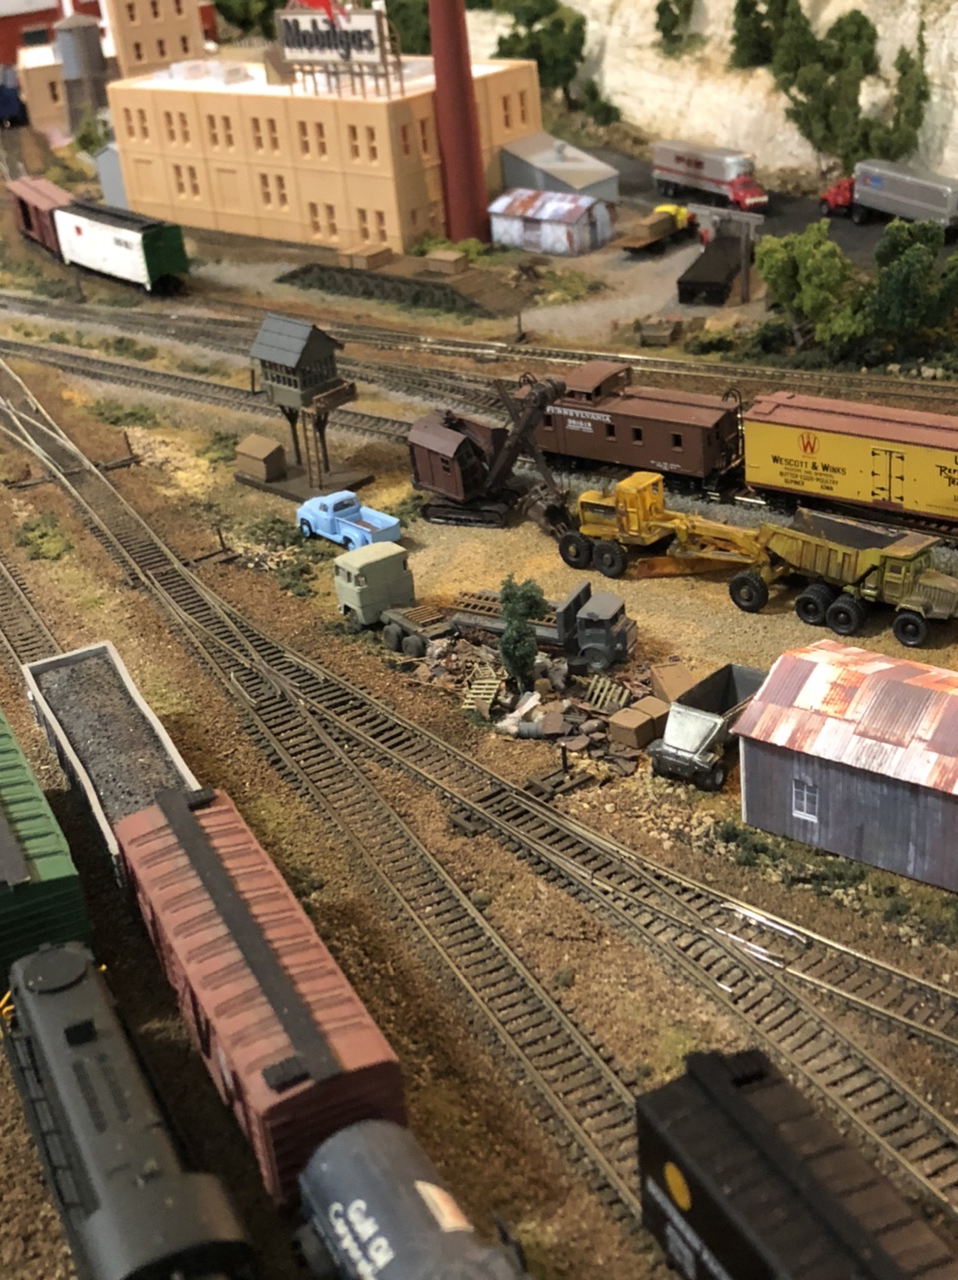
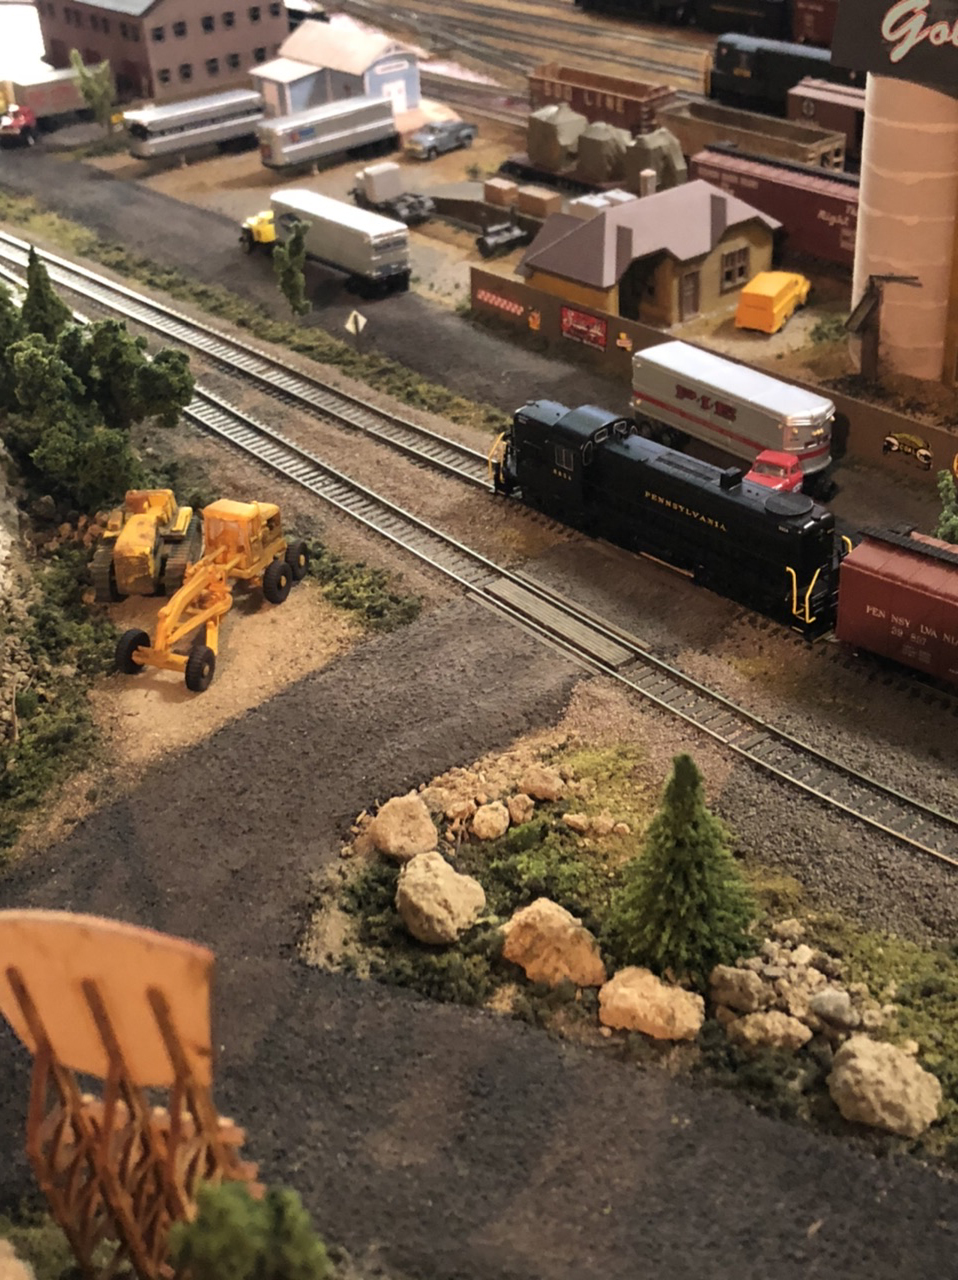
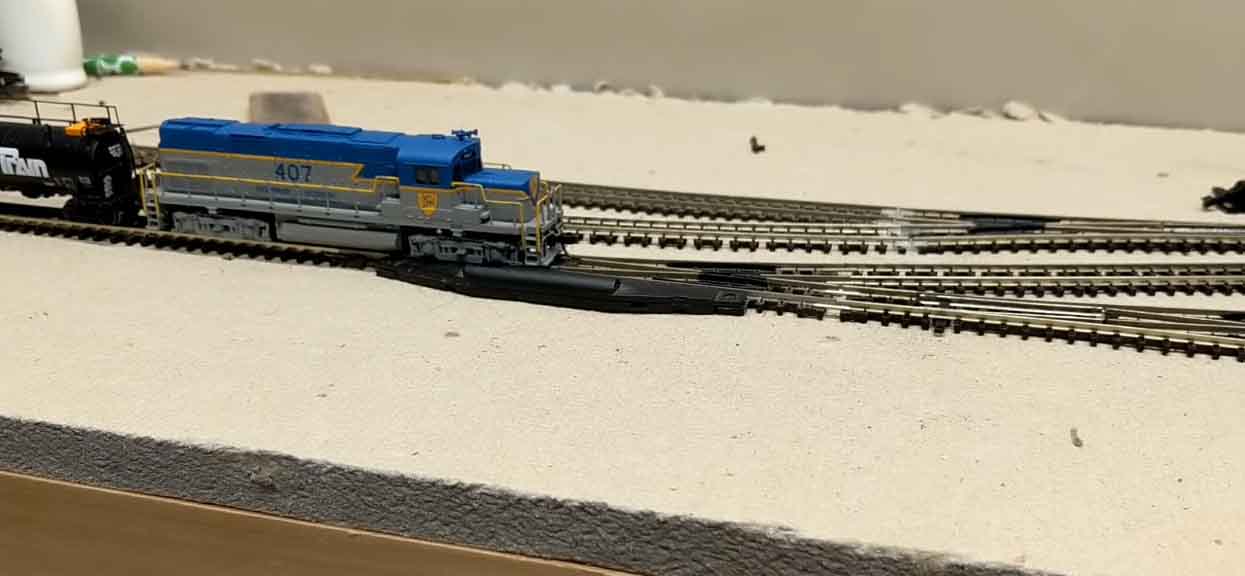
On this section of the layout, which is intended to be hidden, I am using Atlas N Scale turnouts and N scale code 80 track.
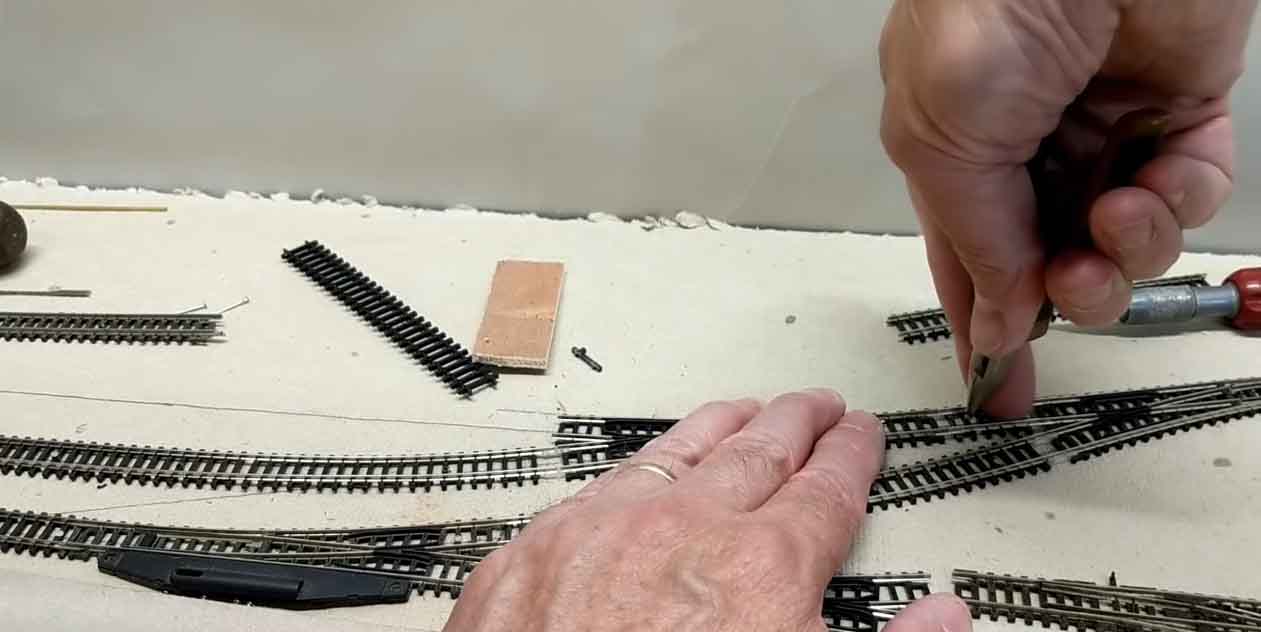
I started by laying out the location of the turnout. I held it in place while I cut the existing rail with rail nippers.
The ends were a little rough so I filed them off to make more of a square cut.
Since I use flex track, I had to modify the ends to be able to slide rail joiners on. I used a Zona saw, sliding against the underside of the rails to remove just the very top surface of the end tie. If this is not done, the thickness of the metal rail joiner will lift the joint enough that it could cause derailments.
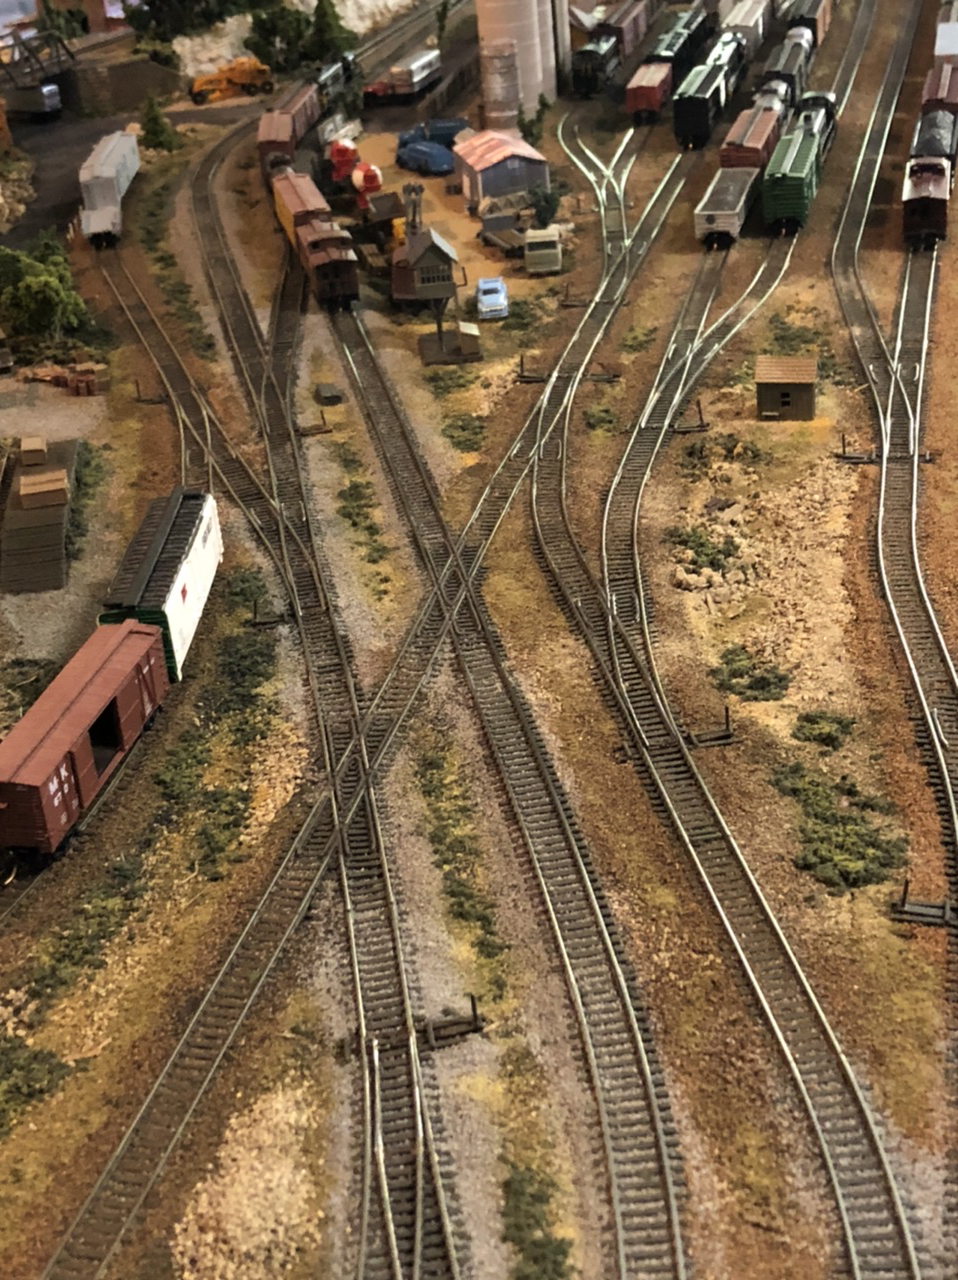
I slid rail joiners on, connected one end on the existing track, then moved the track just enough to get the other end on.
You can see in the video that one end had to be loosened to get the saw in, and that made it easy to work the turnout into place.
I hope this brief explanation is clear enough, feel free to ask any questions.
Ken from near Albany, NY USA”
“Hello Al,
I enjoy receiving your emails and seeing what other modelers are doing.
I also like the innovative ideas some come up with. I want to share one of my own innovations, namely an easily removable backdrop.
My layout is planned to be a double deck, but because I am limited to a single car garage and sharing it with my mom in law’s car, I do not have space for a helix. Thus I have to make use of a linear climb along the long walls of the garage.
This climb is to be hidden behind the backdrop, but also needs to be accessible for cleaning and in case of a derailment.
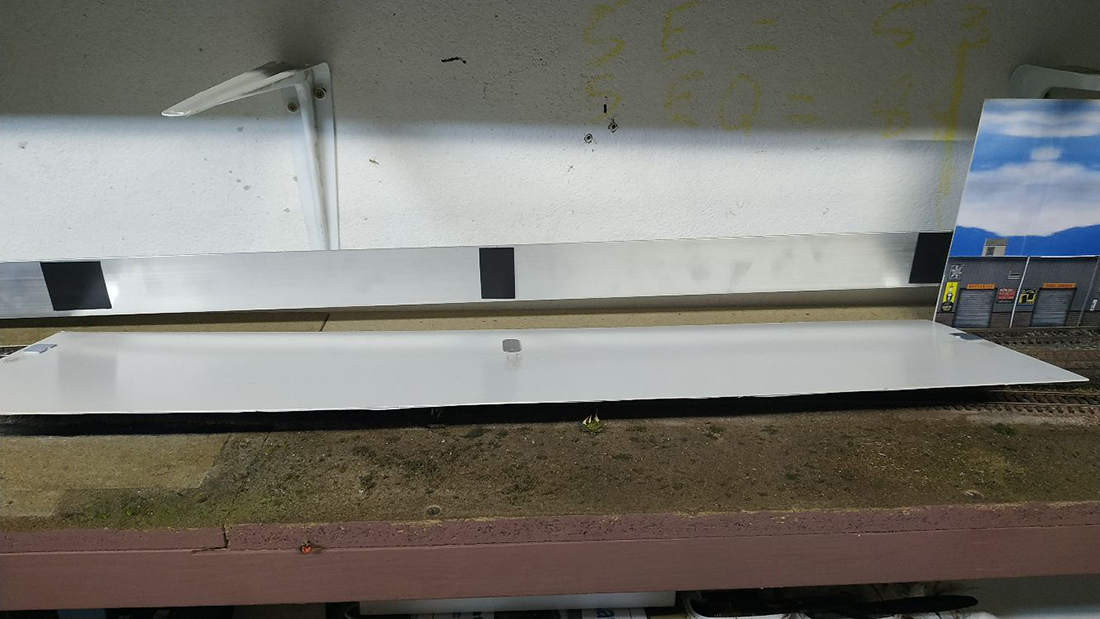
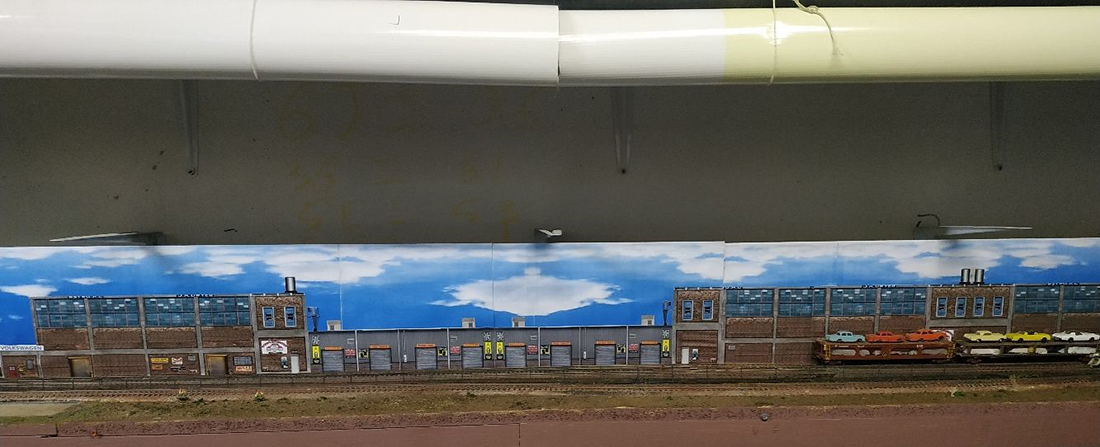
I used an aluminum angle to support the track on the incline. The sce-ne in front of the incline is a car factory with a car loading ramp at a stub end track, but since it is on a narrow shelf, I did not have much depth to play with.
Thus, a printed backdrop of a factory was chosen, chopped and spliced together on the computer and printed it out.
Then cut and glued it to some cardstock strips. Because the factory itself is almost 6 feet long, I broke it into three smaller pieces for easier handling.
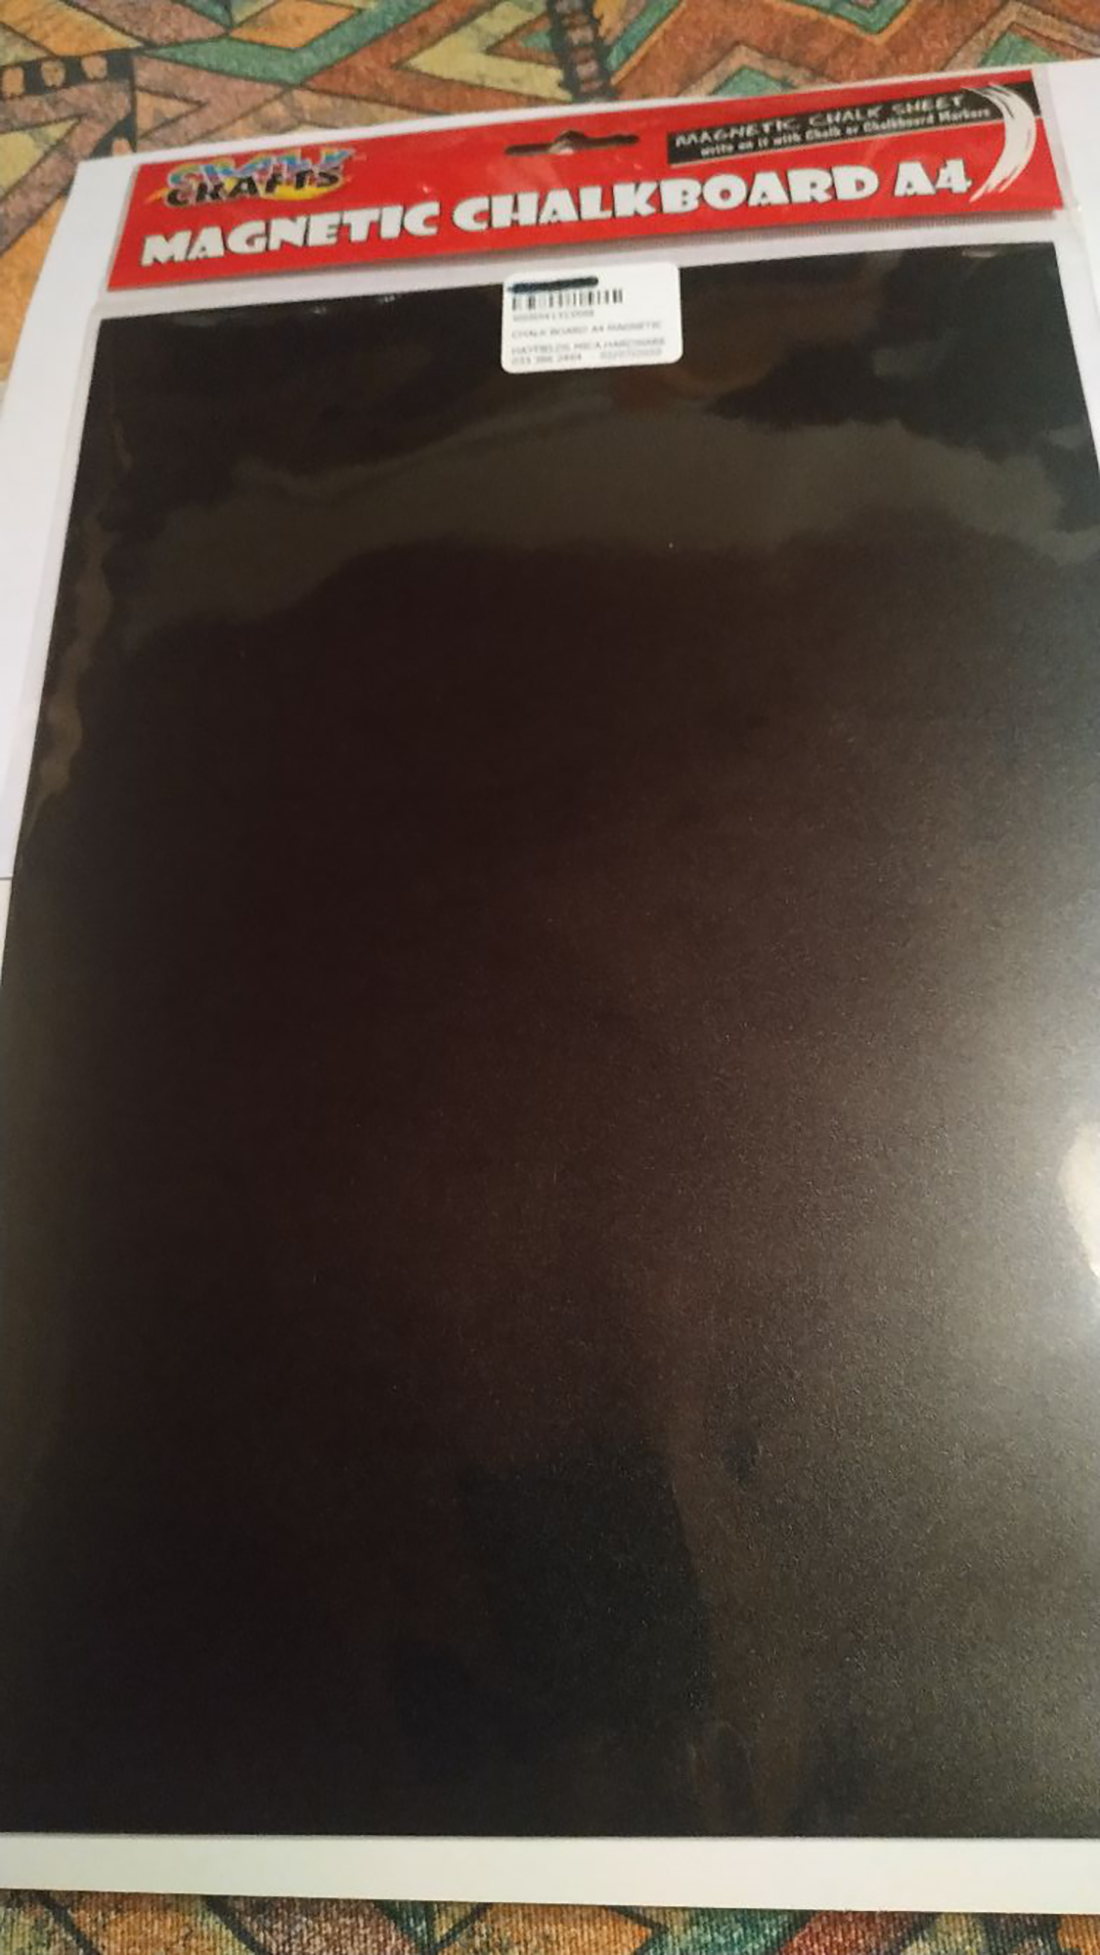
The final step was to mount this cardstock in such a way that is is removable quickly and easily. Magnets to the rescue. We use a magnetic notepad on our fridge for our home’s grocery list. When I looked at the back of this notepad, I found my solution.
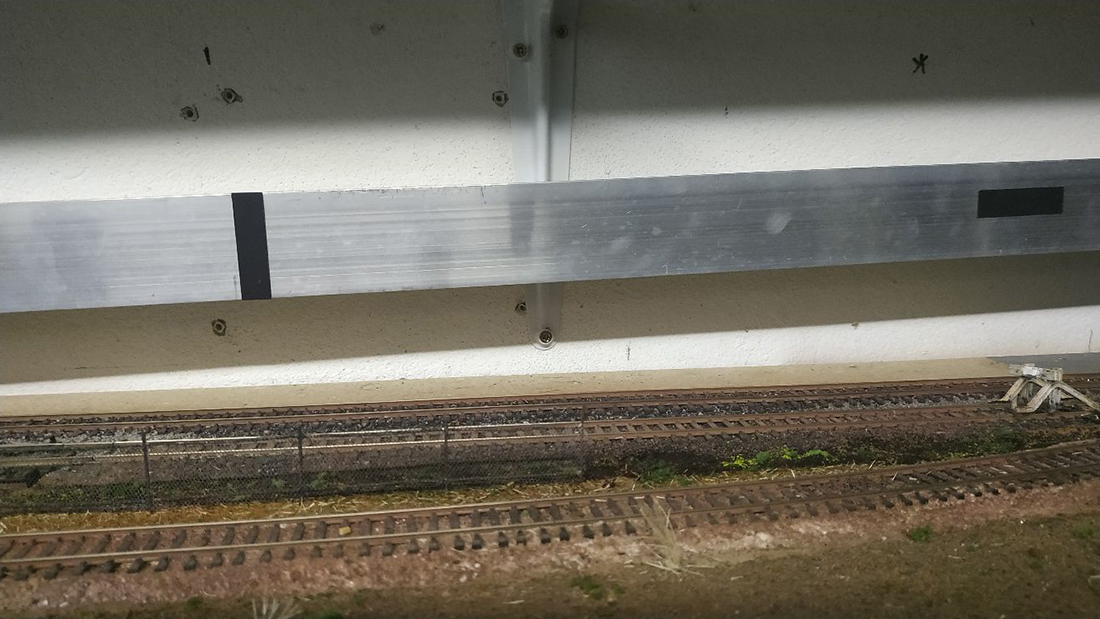
The magnet was a very thin flexible magnet, and I know our art supply store sells these magnets in A4 sheets. I bought one and cut it into strips, gluing the strips to the aluminium angle where the card-stock will lean against it.
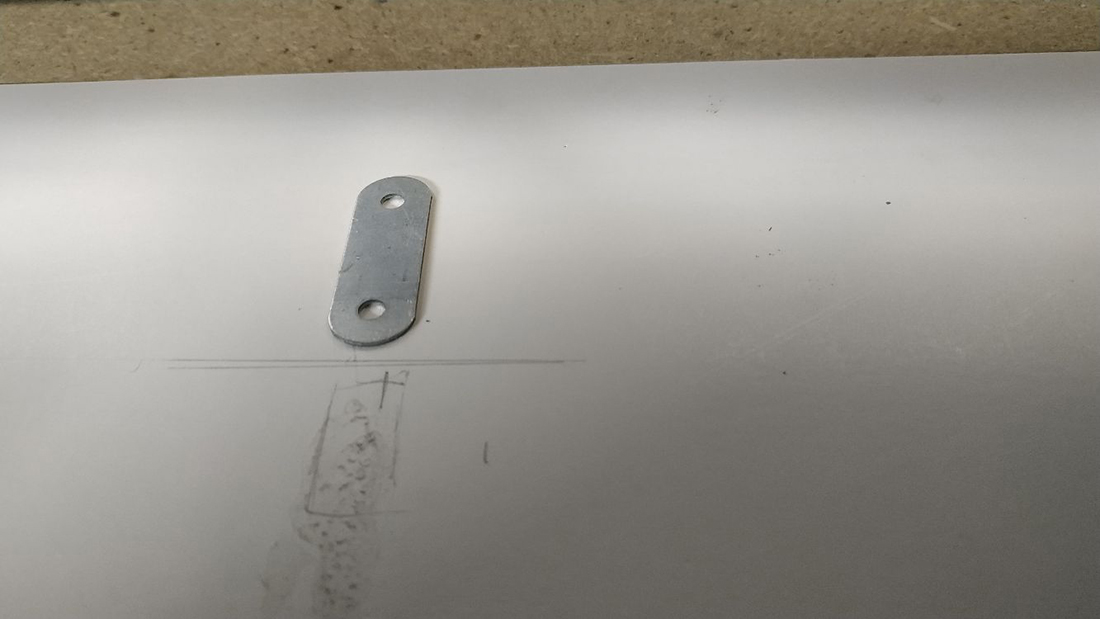
I then placed the cardstock against the incline, marking where the magnets are. After removing the cardstock I glued small metal plates (sourced from magnetic door catches) to the correct areas, and when dry, I simply put the backdrop in place and the magnets hold it in place.
To remove, I simply pull it till the magnets release and I have access to the rail behind the backdrop.
Hope this method can help fellow modelers with similar problems.
Regards
Henry van Wyk, in Pietermaritzburg, South Africa”

That’s all for today.
A big thanks to Ken for sharing how he addes his Atlas N scale turnouts. And to Henry too.
Please do keep ’em coming.
And don’t forget the Beginner’s Guide is here, if you want to stop dreaming, and start doing.
Best
Al
PS Latest ebay cheat sheet is here.