11×14 HO scale

Ron’s been in touch with his 11×14 HO scale – and Bob’s share’s an update too.

First up, Ron:

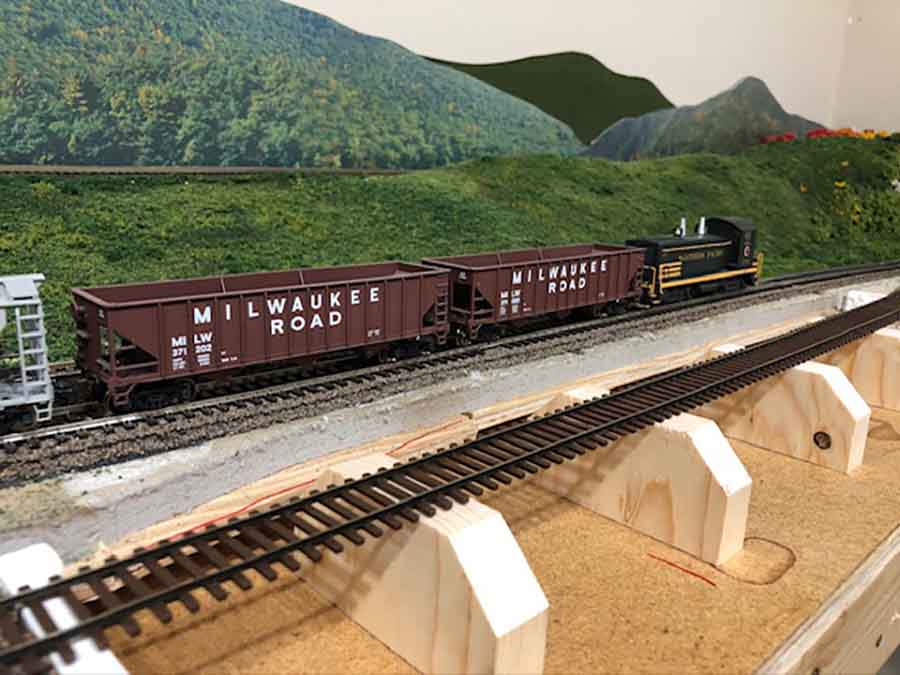
“Hello, I have been following your email posts for sometime.

I find your content fascinating and and just plain different because it offers content out of the massive model railroading main stream.

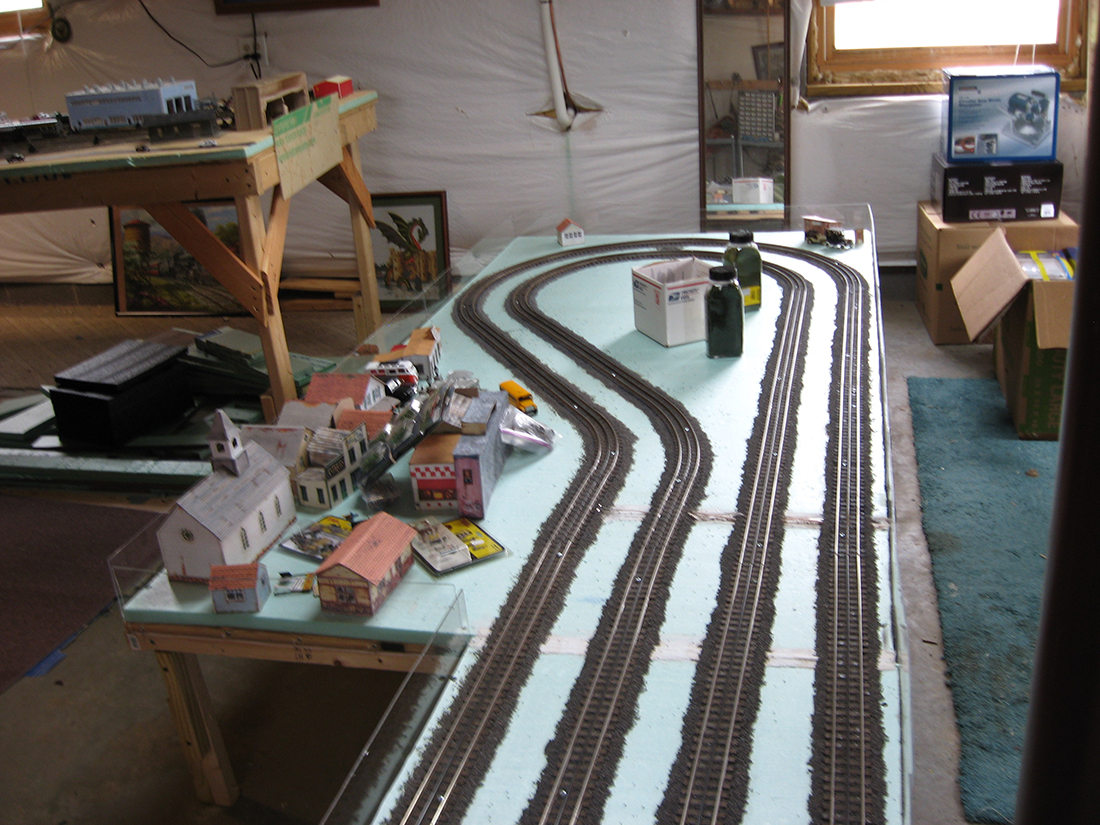
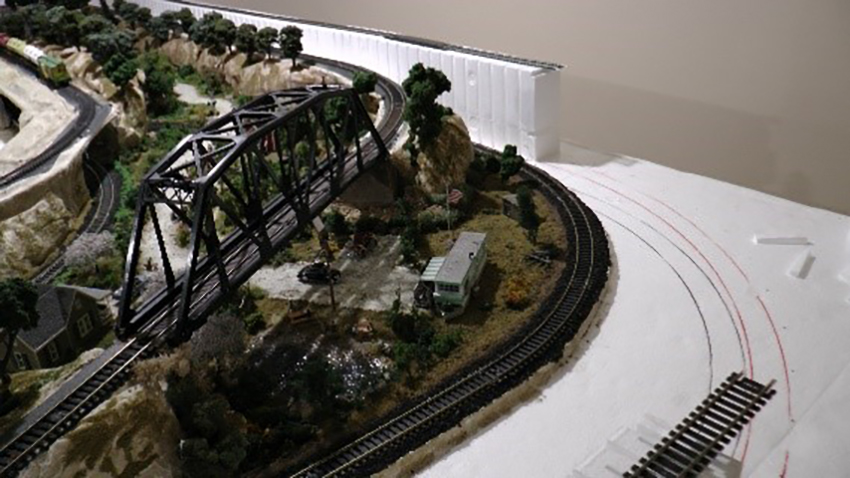
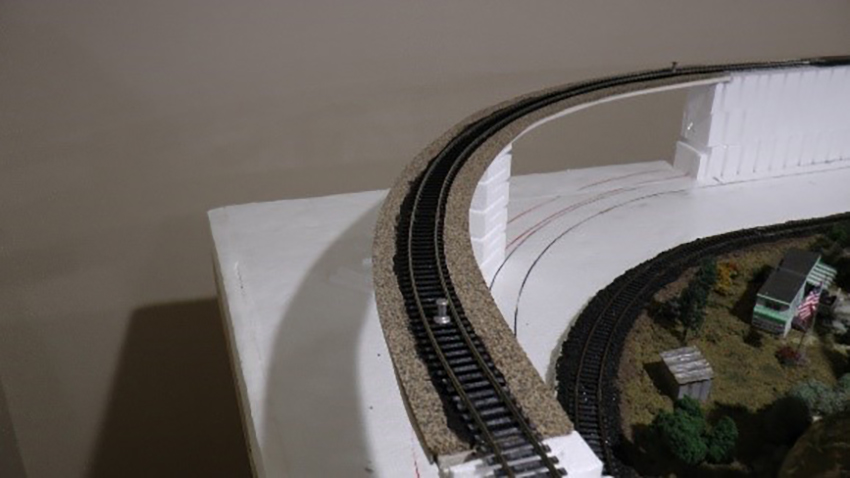
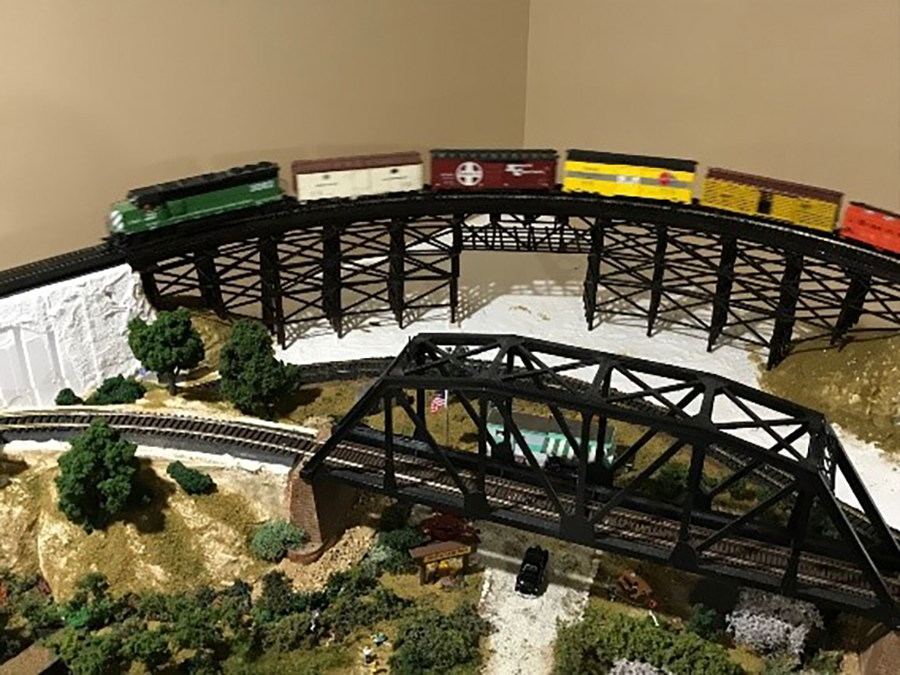
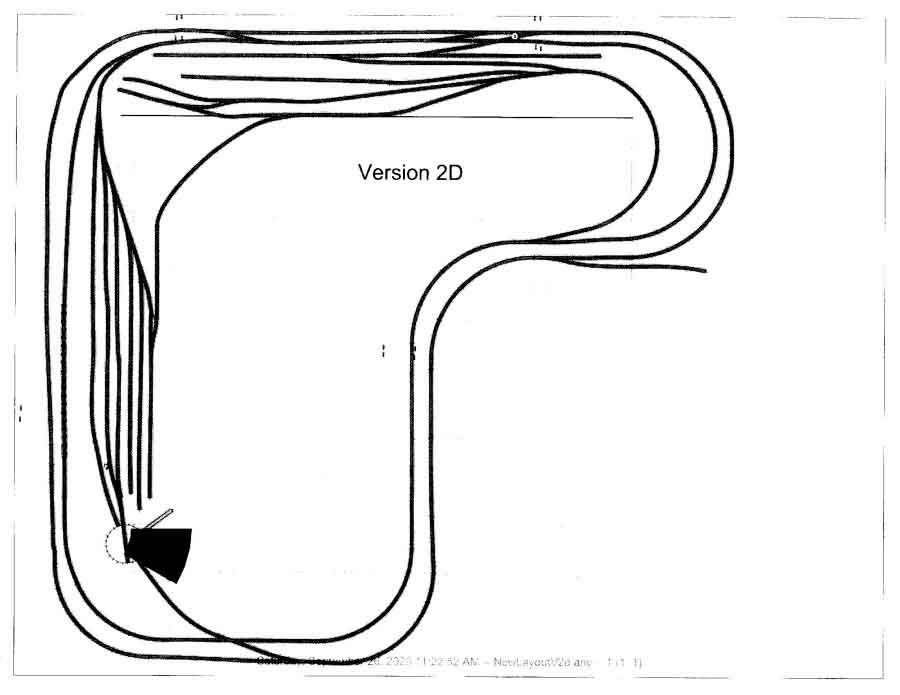
I have a small 11 x 14 layout. I would like to share with your readers.

It’s not very complicated, but it certainly is railroading in a small space. But generous enough for my current style of model railroading.

Simple dogbone with eclectic scenery. Learning along the way and just having fun running trains.

It’s a practice layout shall we say.

Here are a few images.

Ron”

11x14 HO scale engine shed locomotive

11x14 HO scaletrain layout sidings

HO scale 11x14 factory sidings

HO scale with backdrop 11x14

model train 11x14

A big thanks to Ron – now on to Bob:

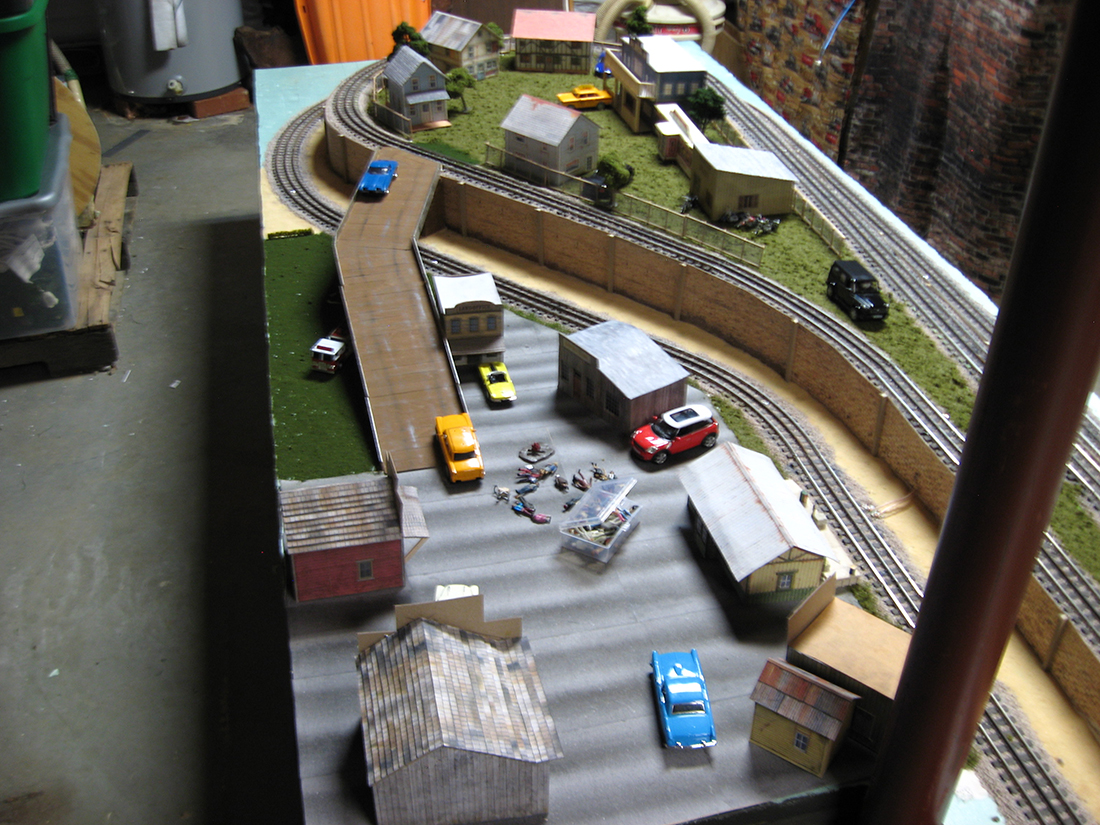
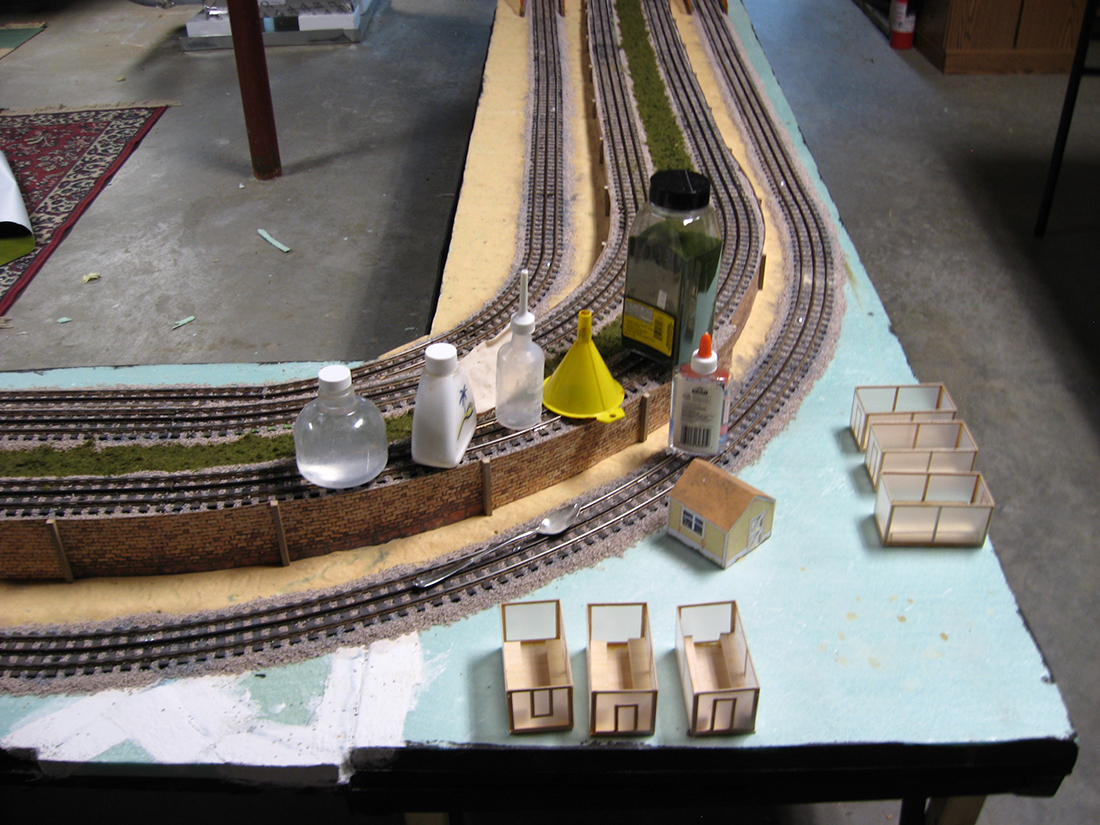
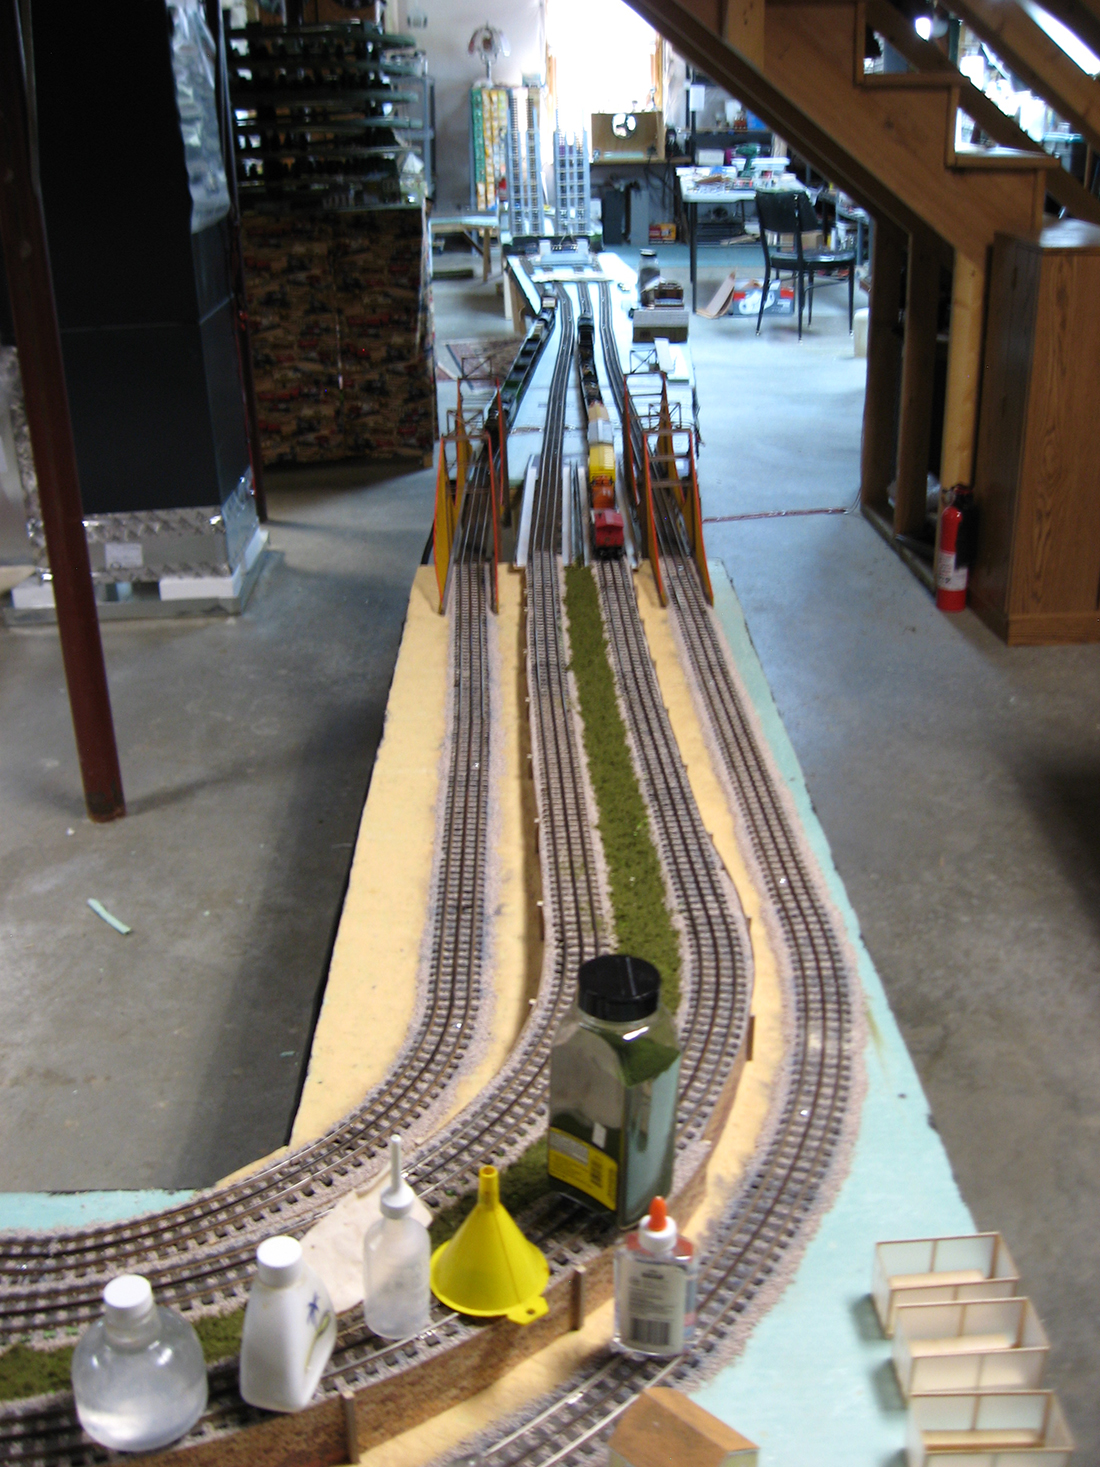
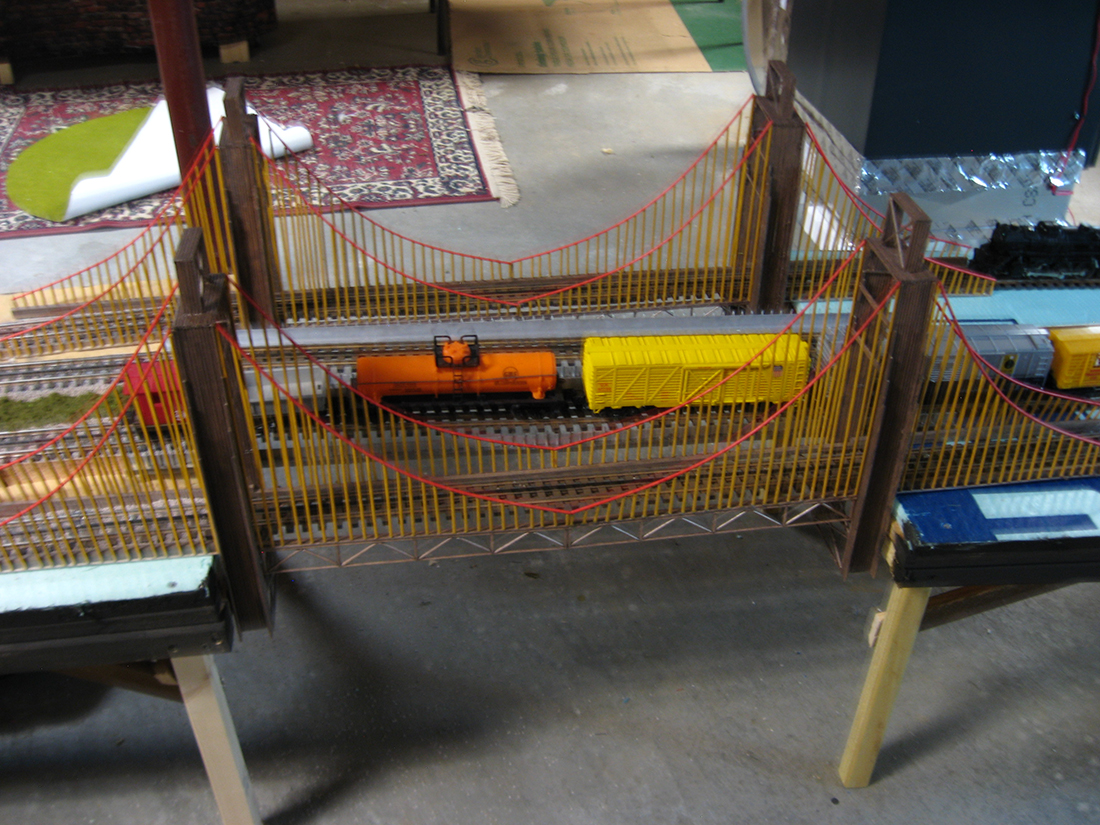
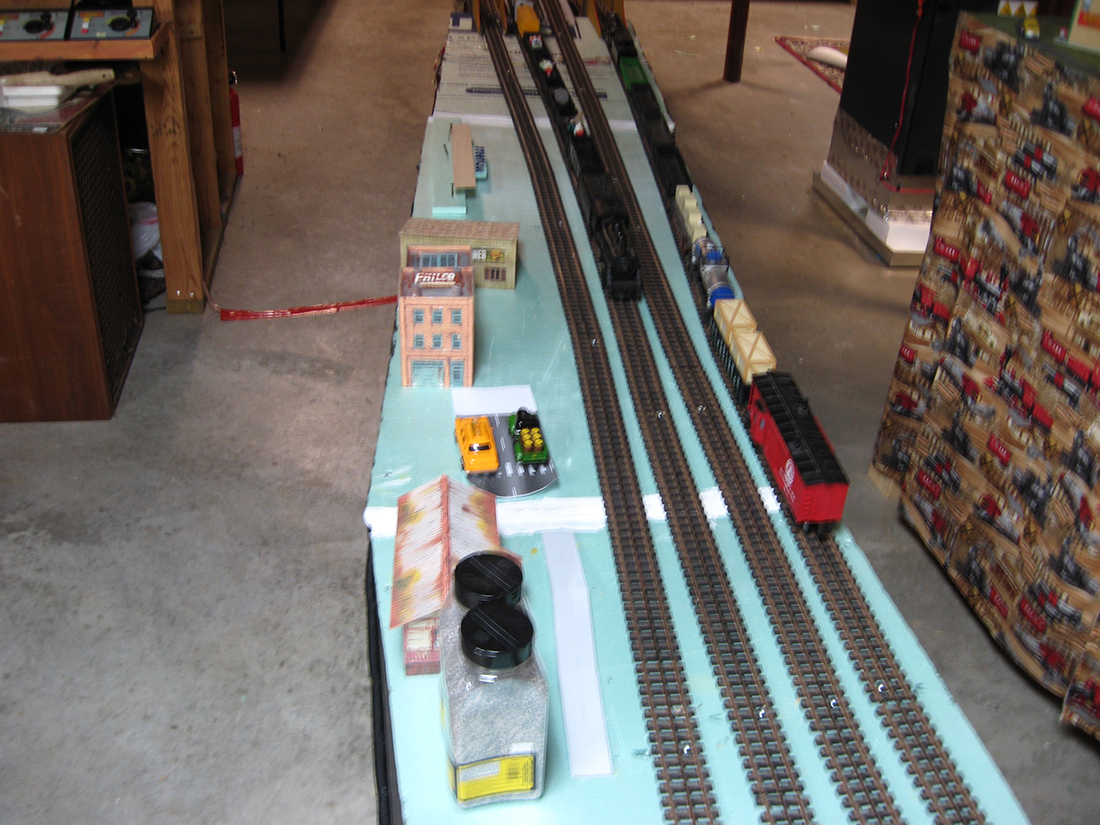
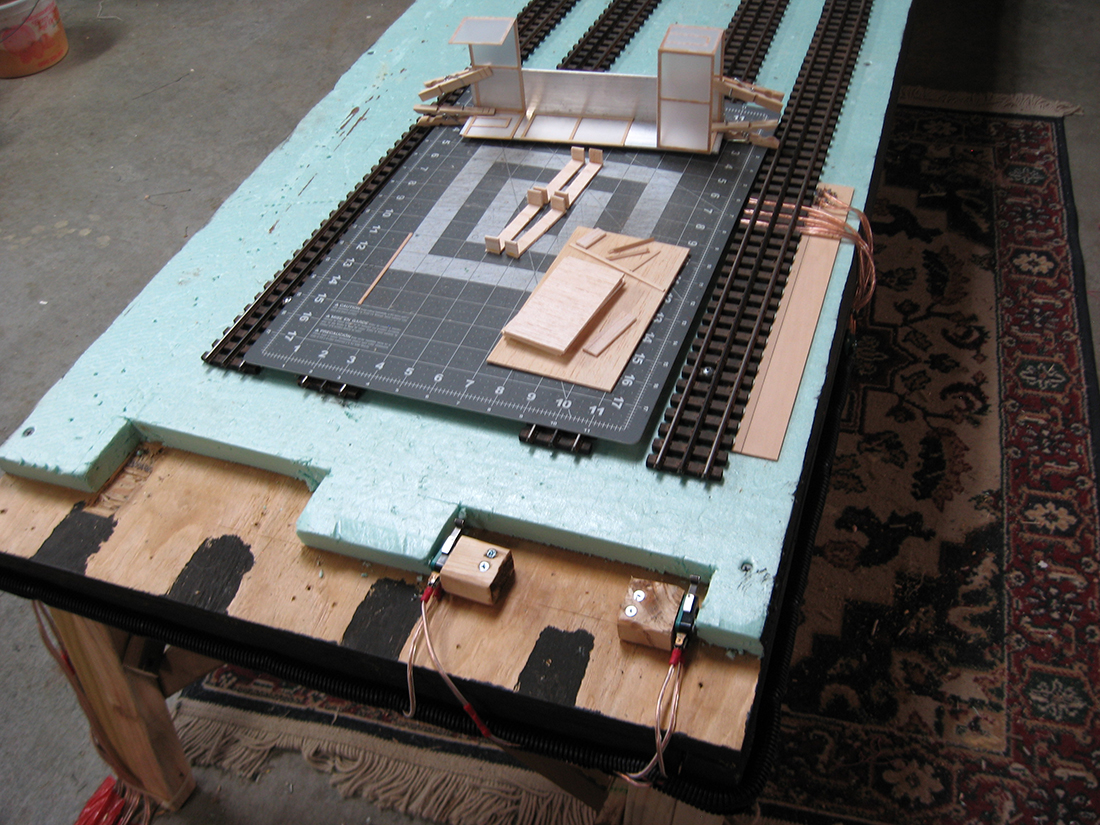
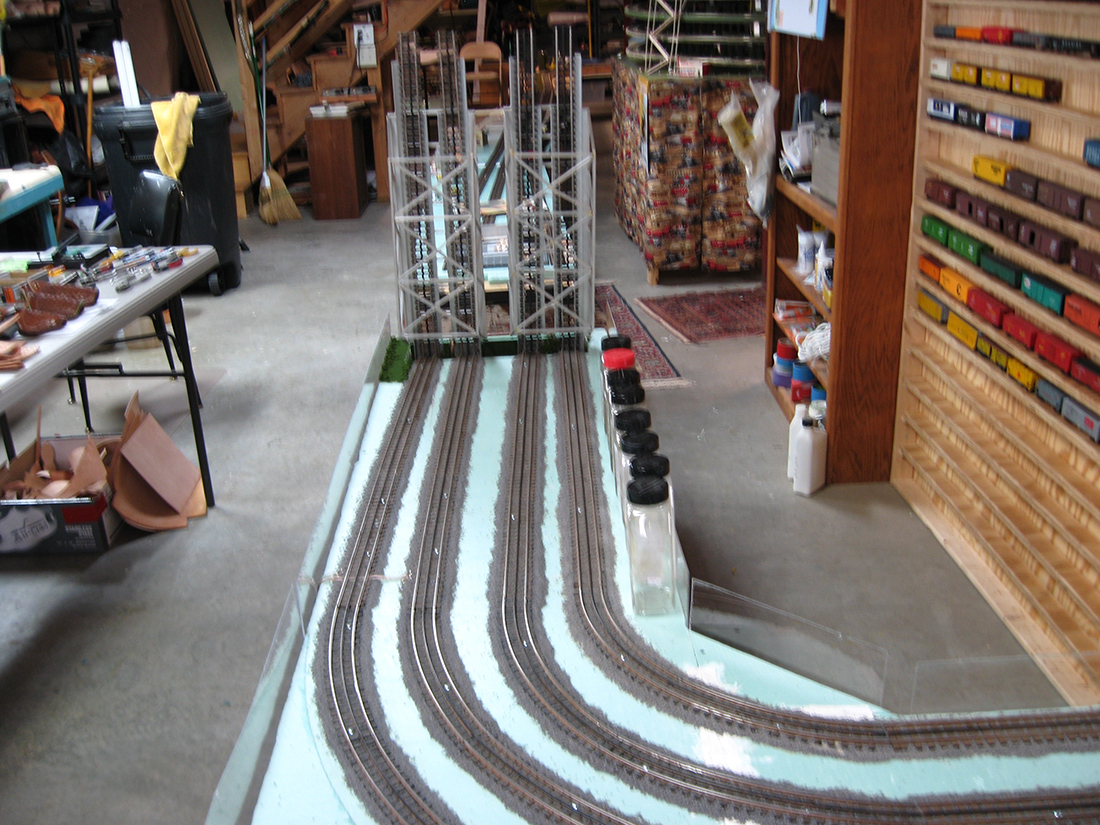
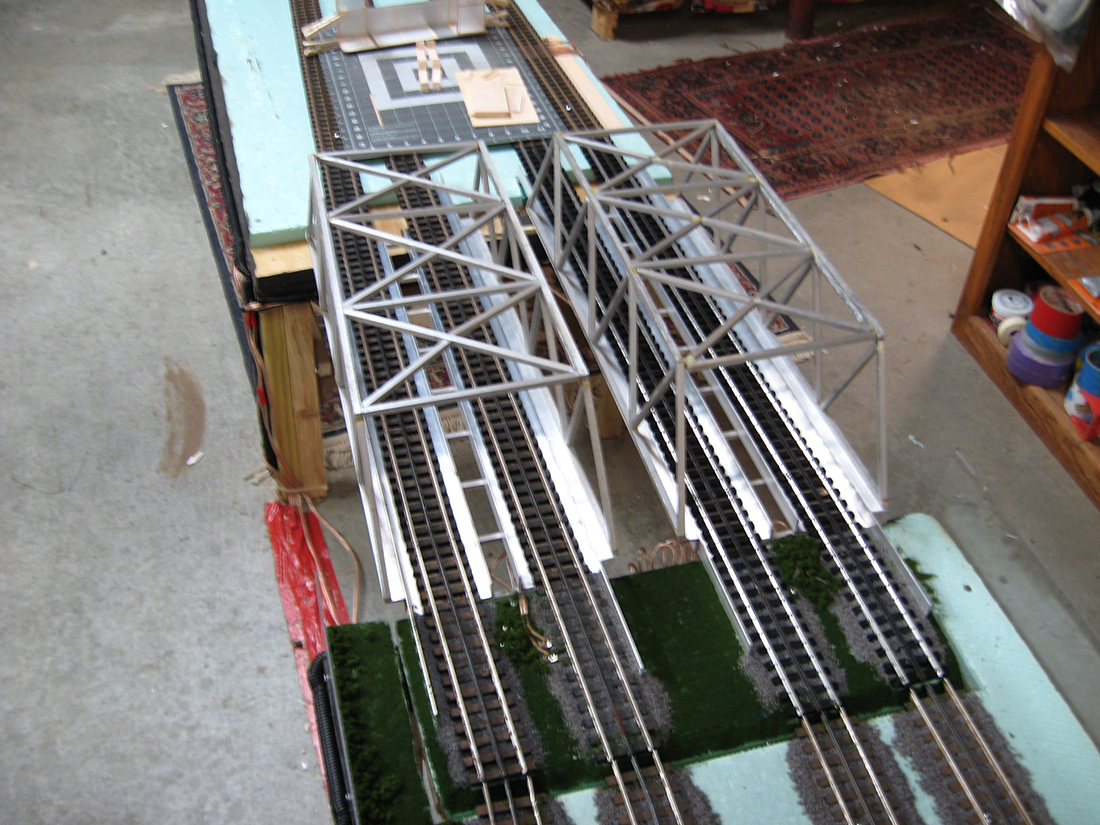
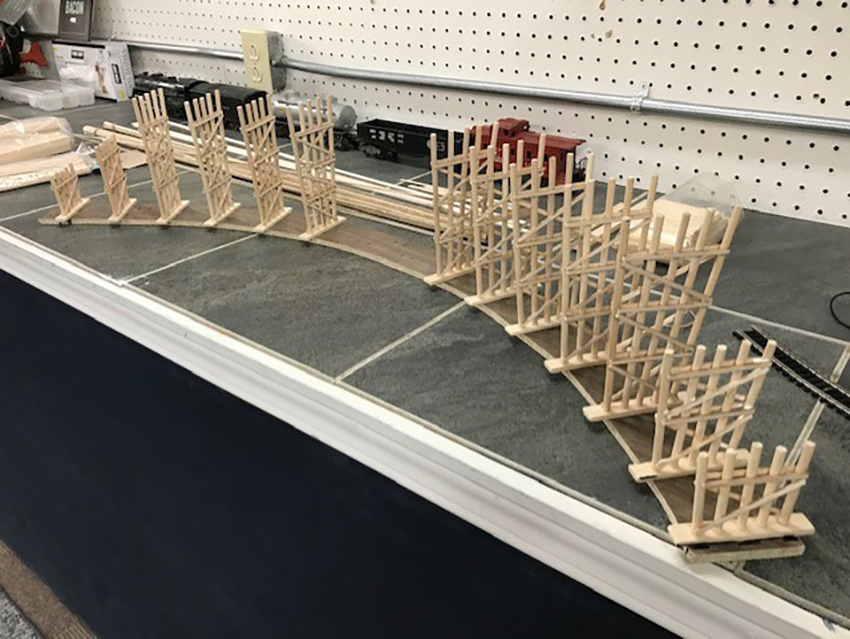
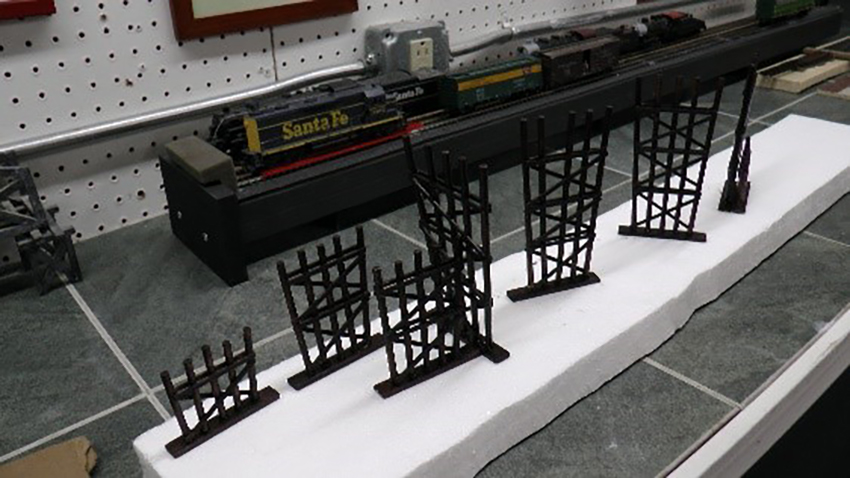
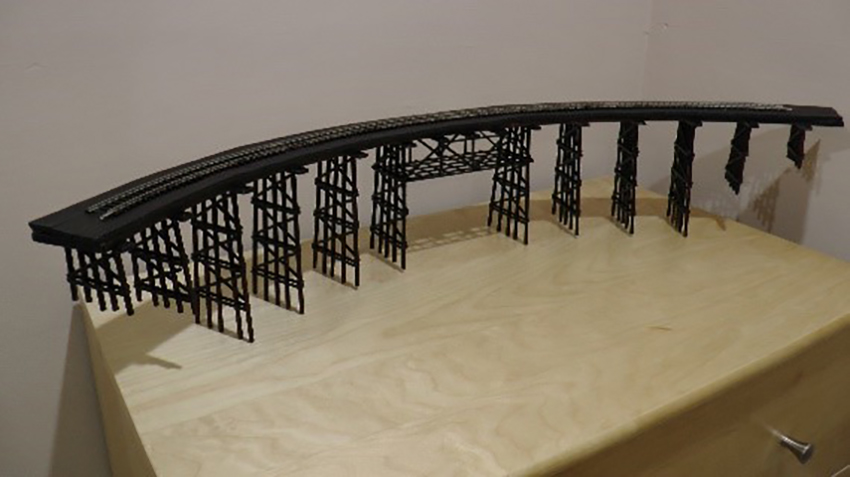
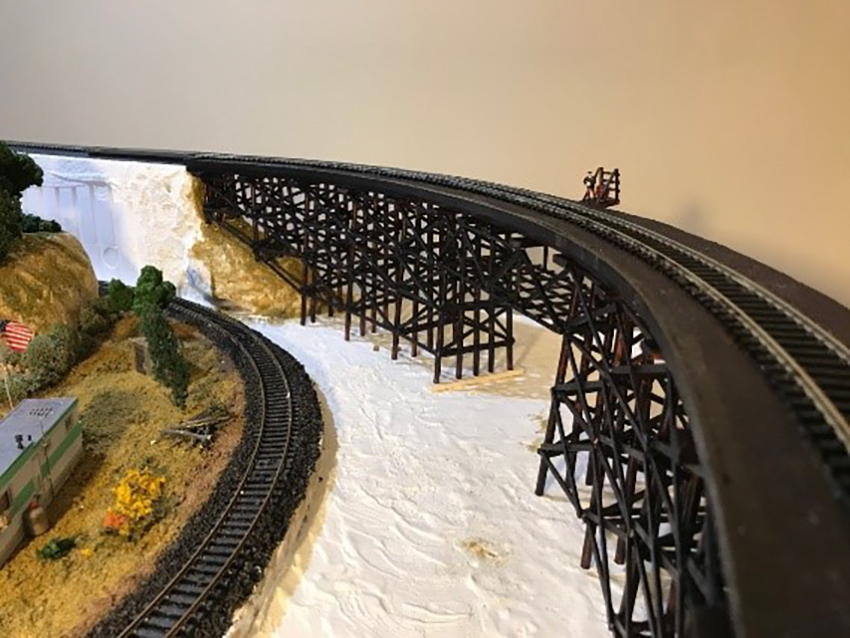
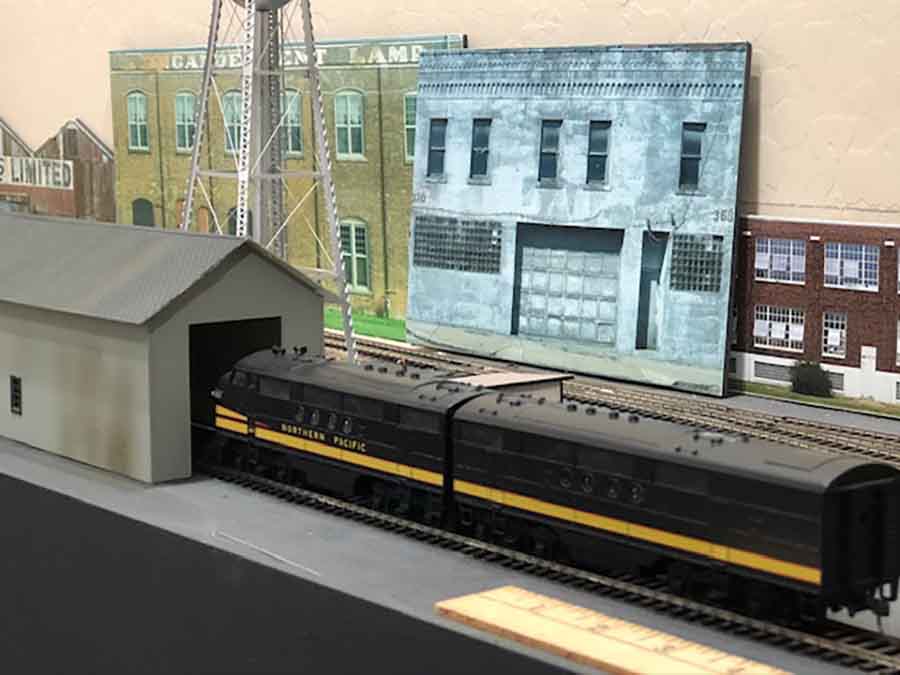
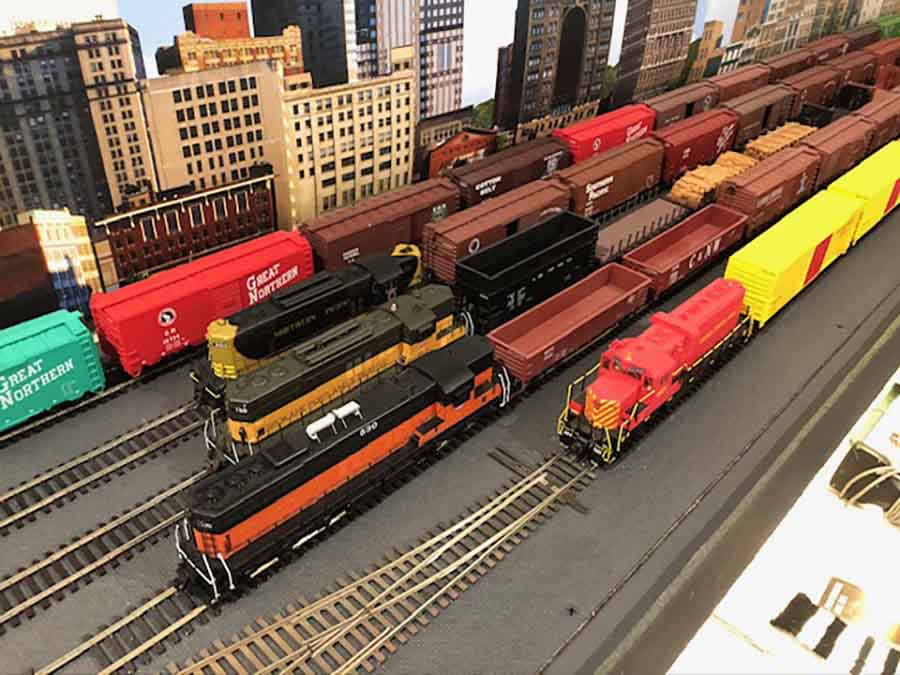
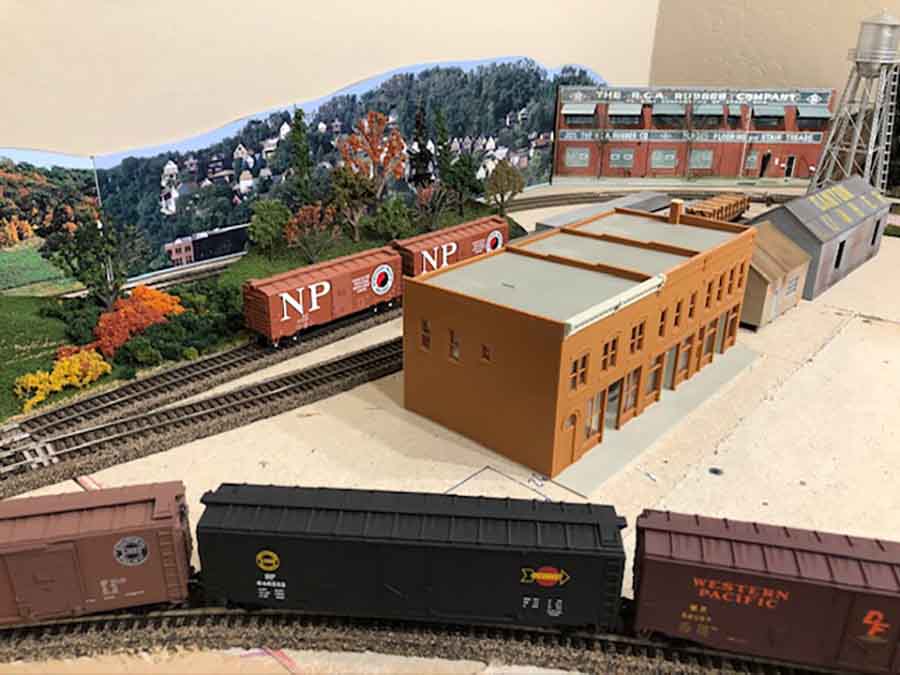
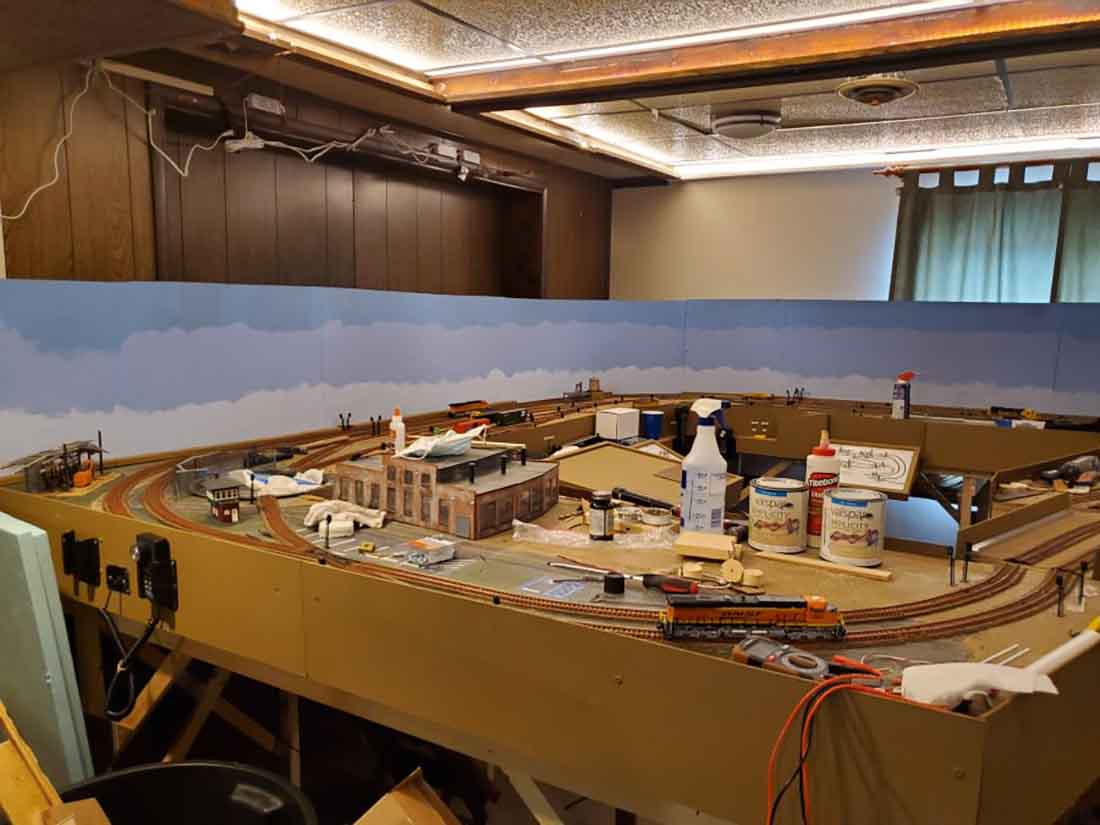
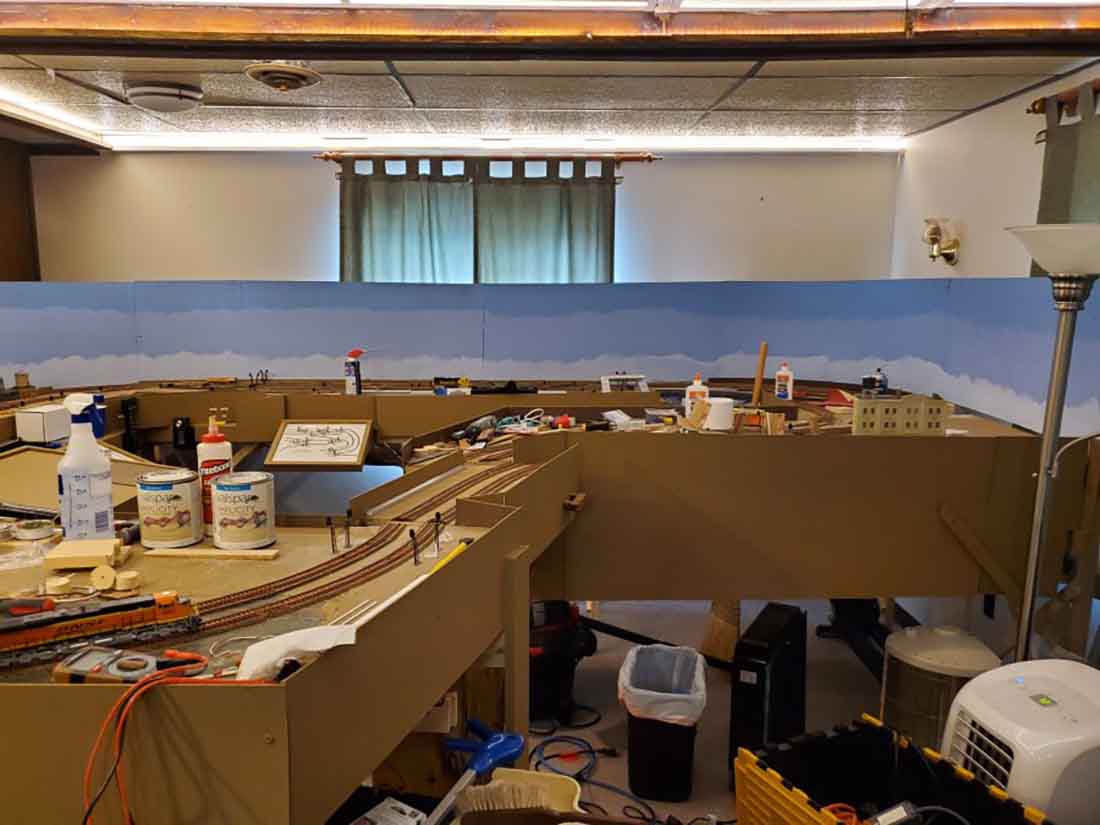
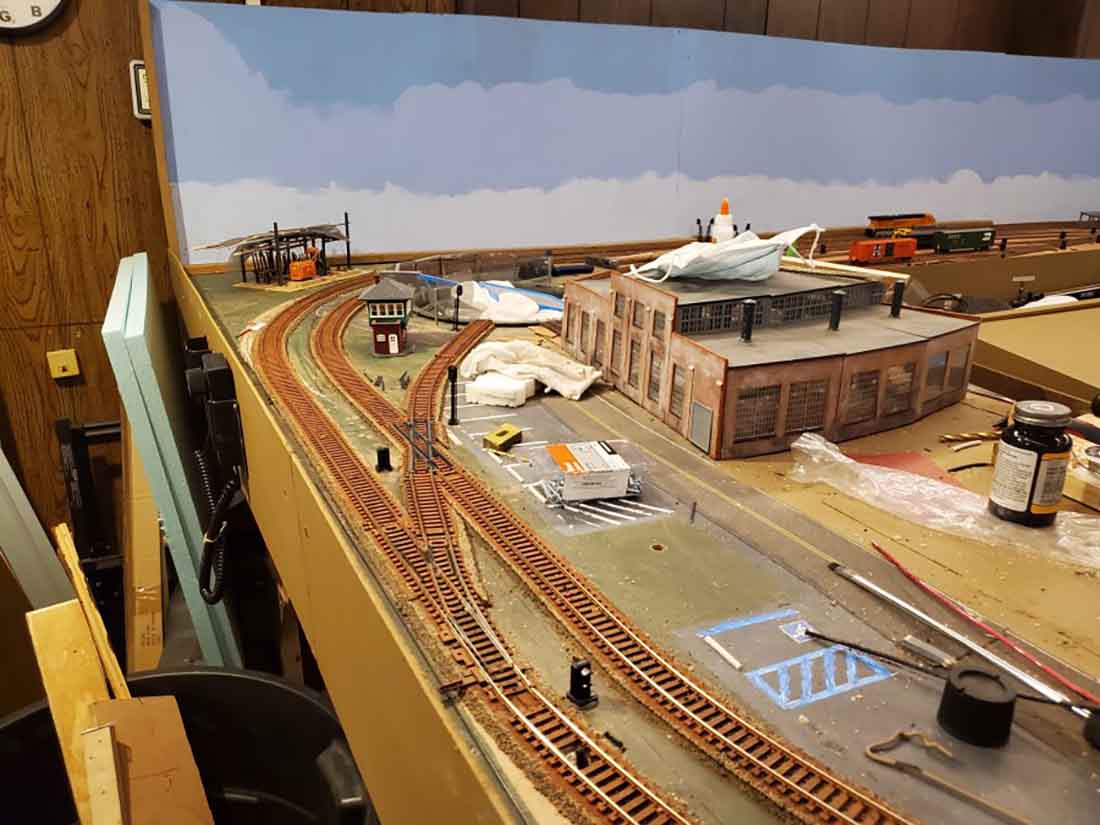
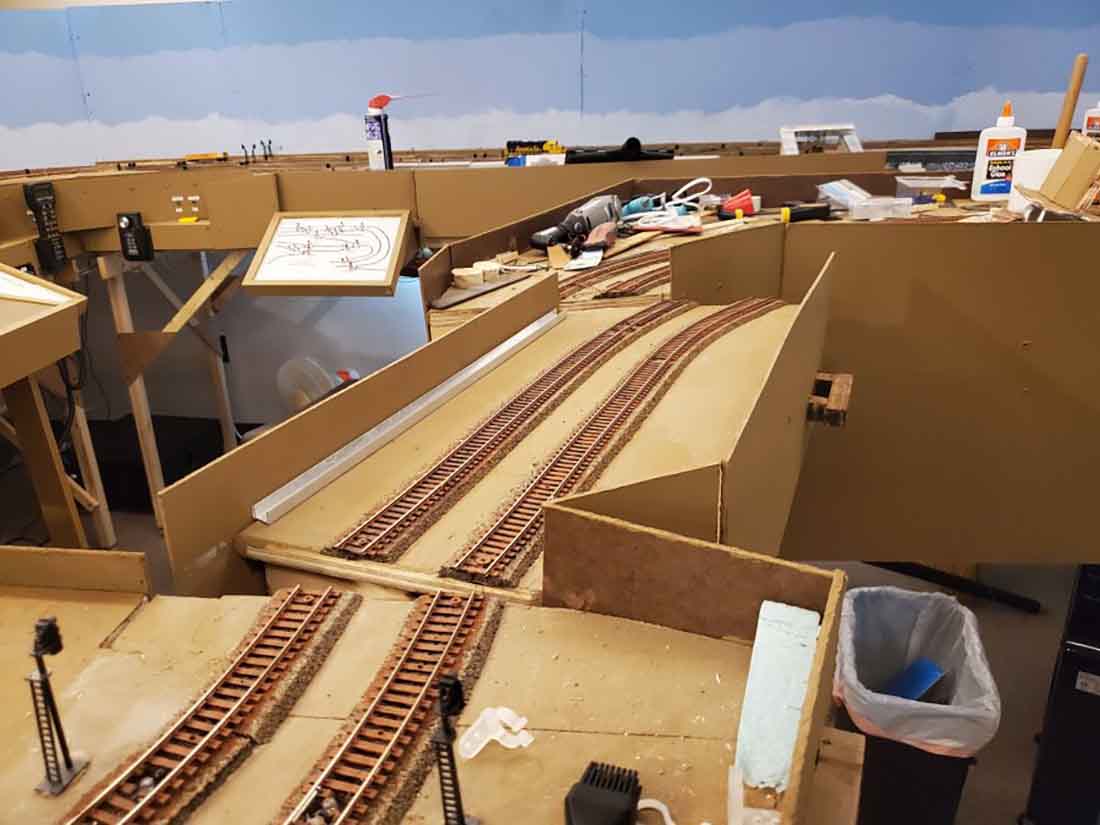
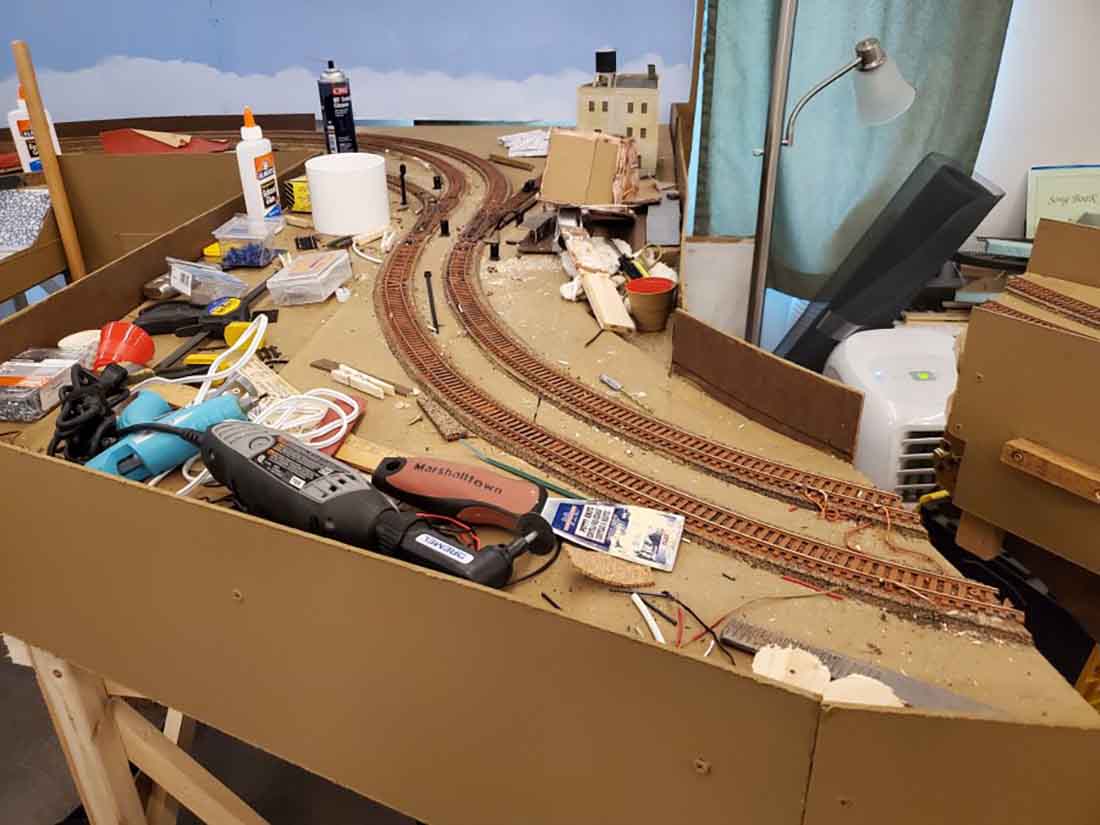
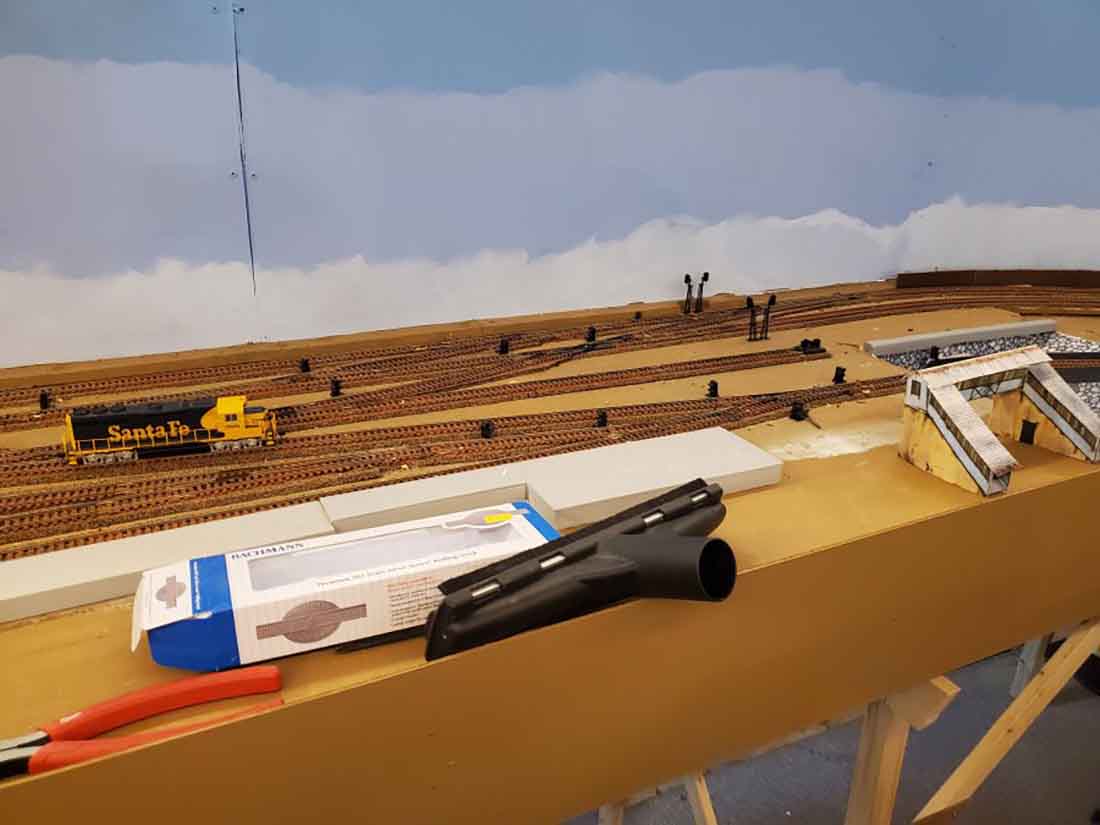
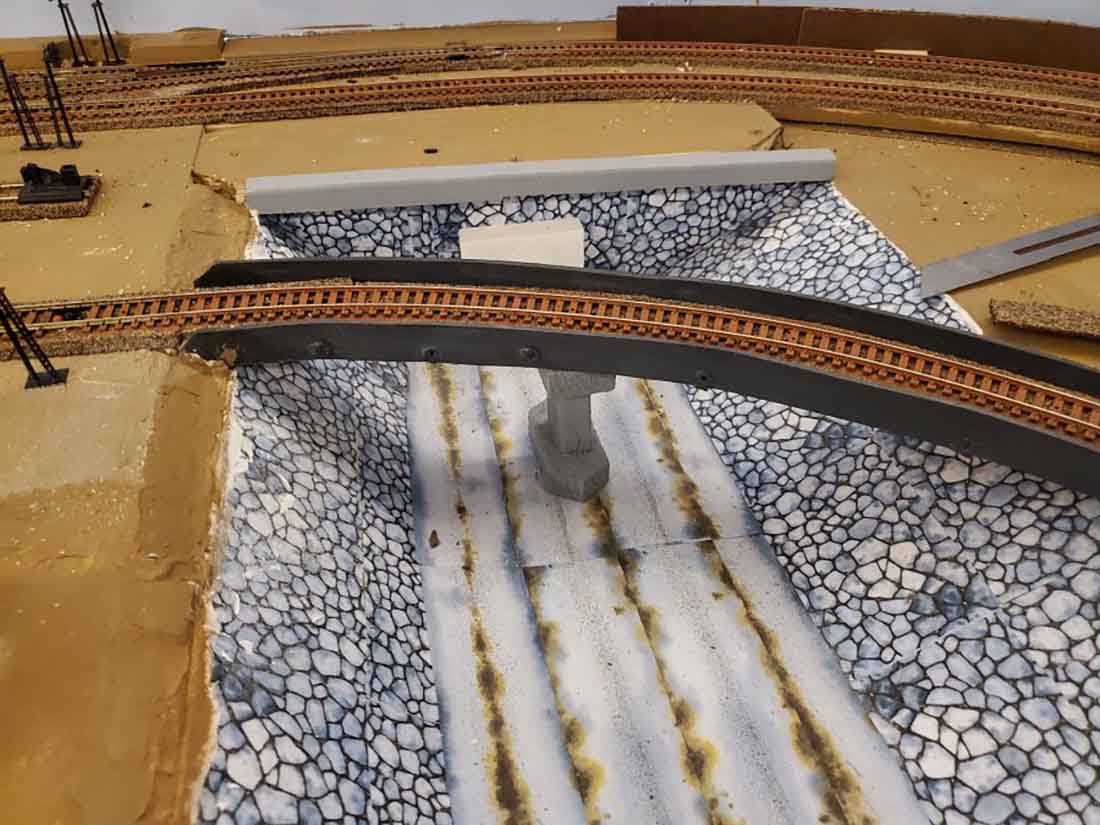
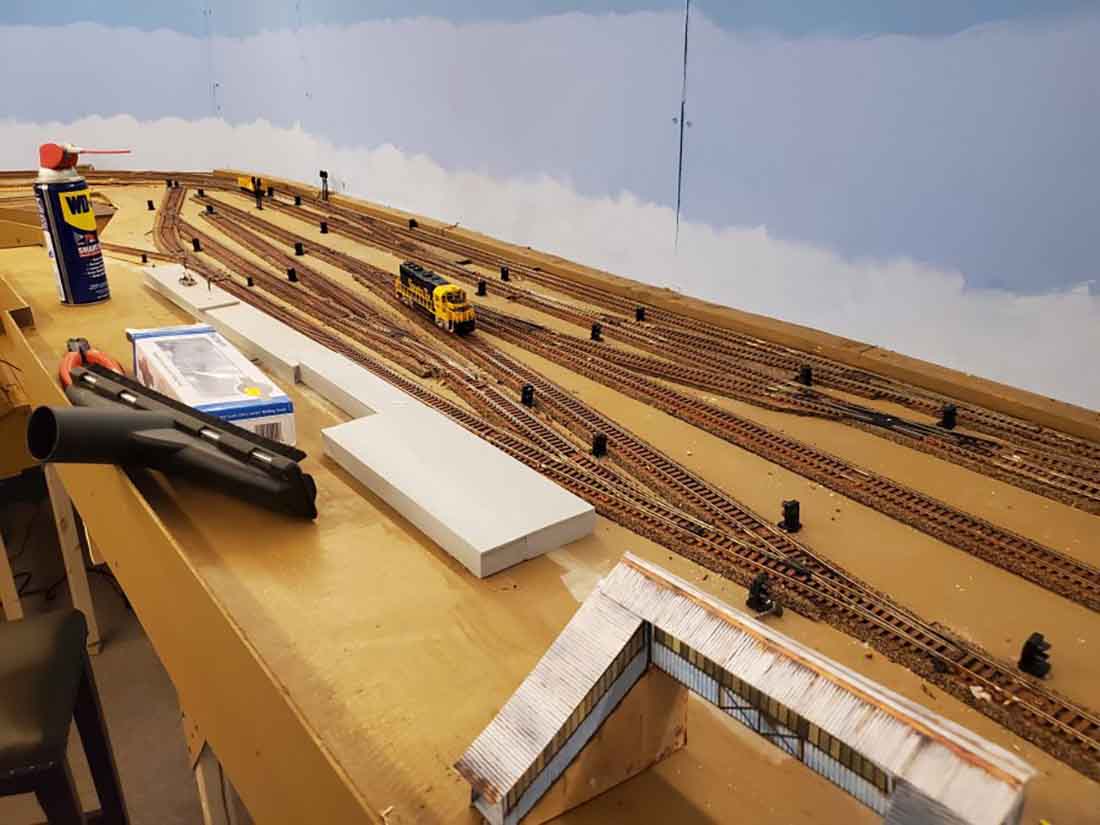
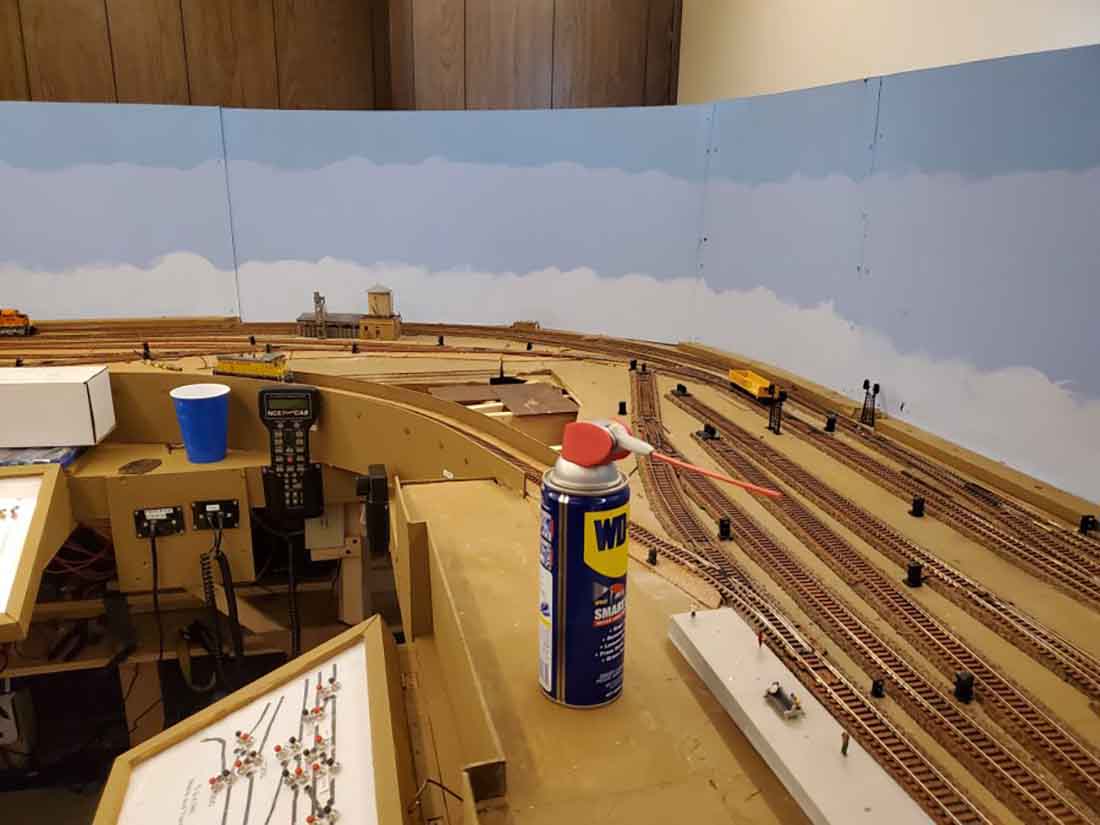
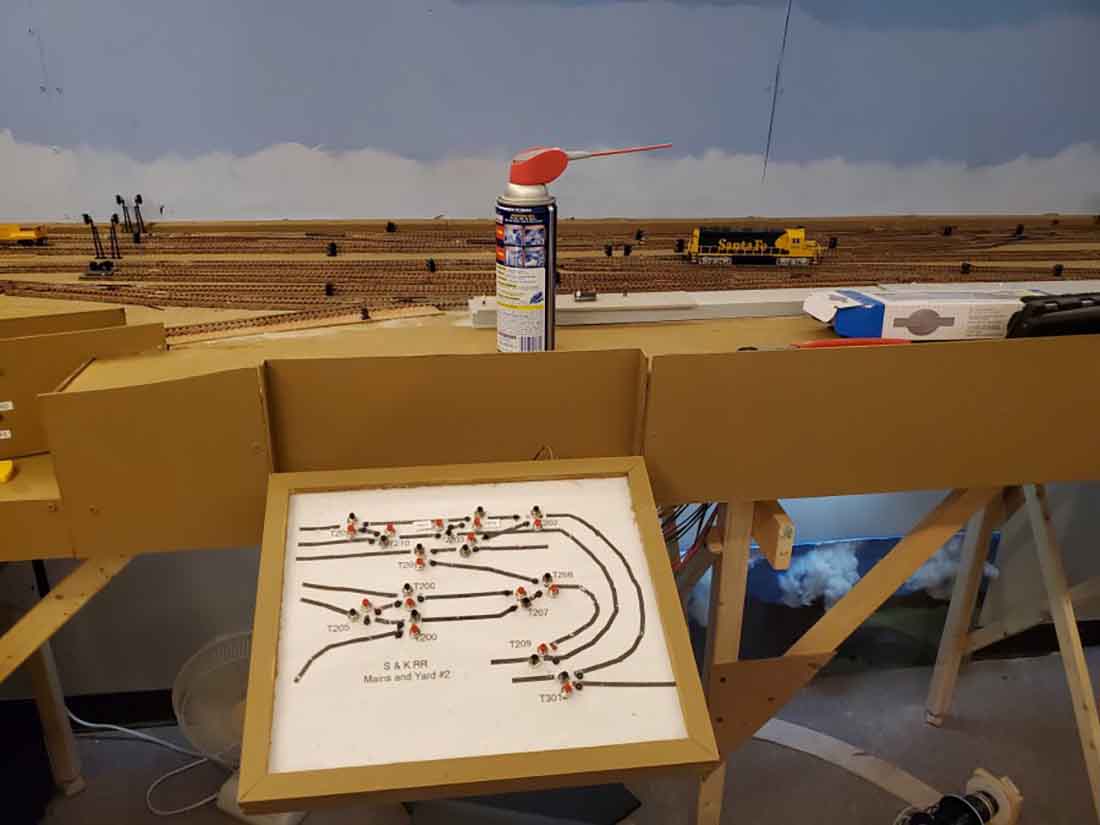
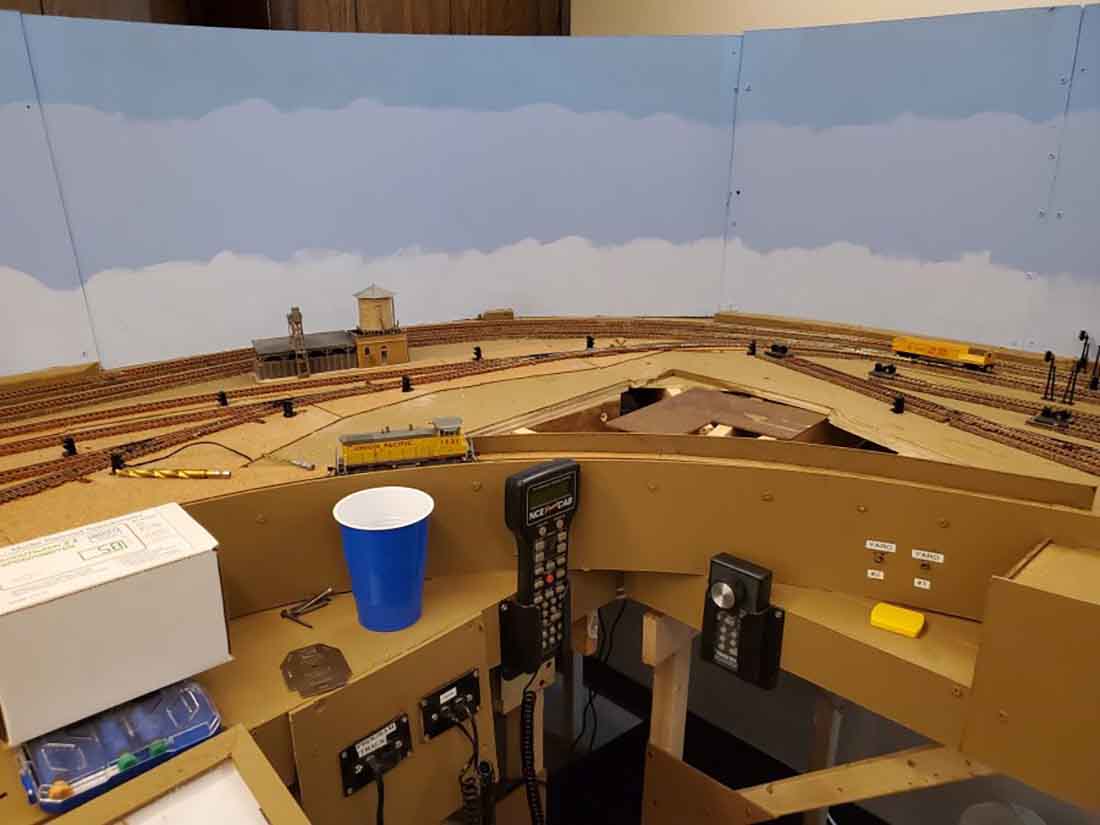
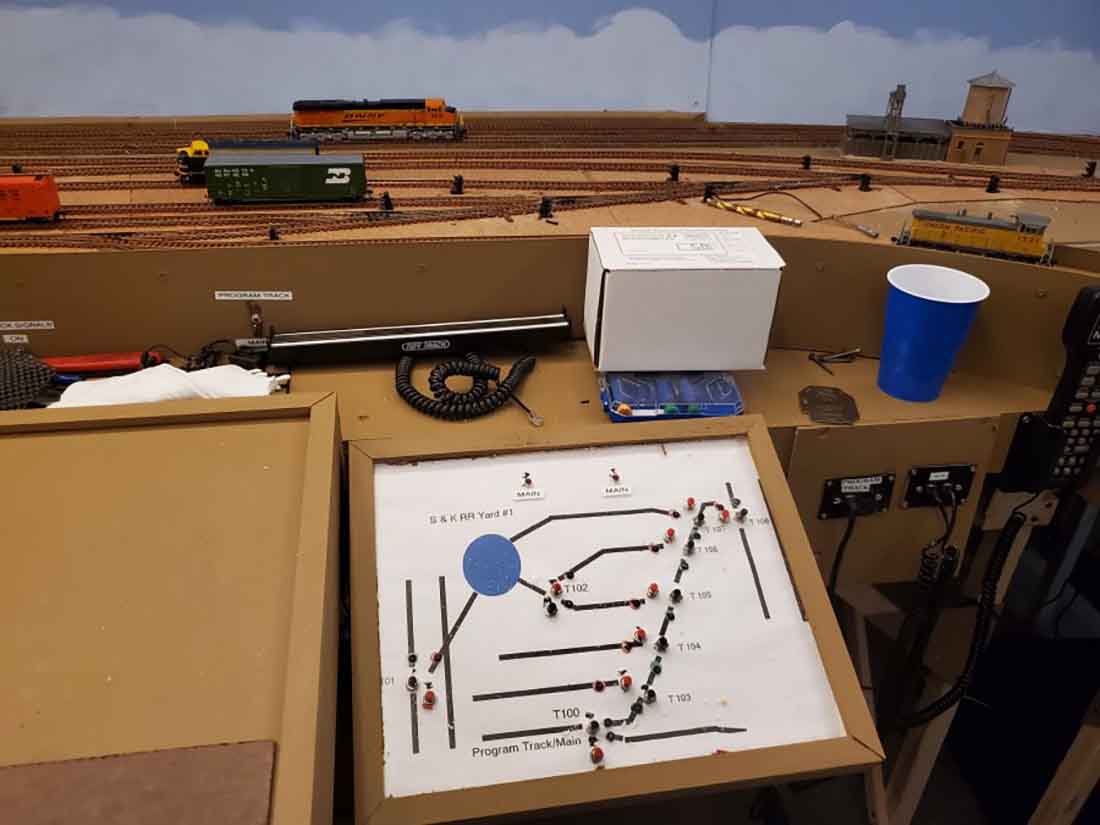
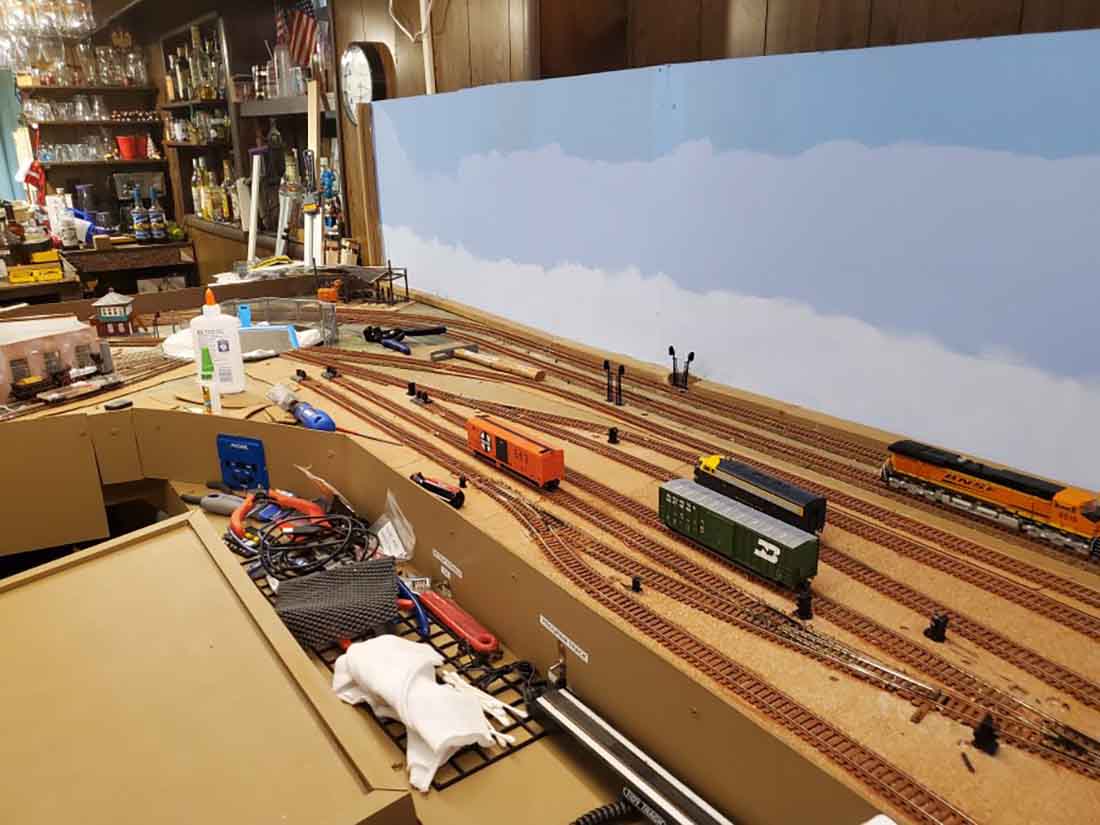
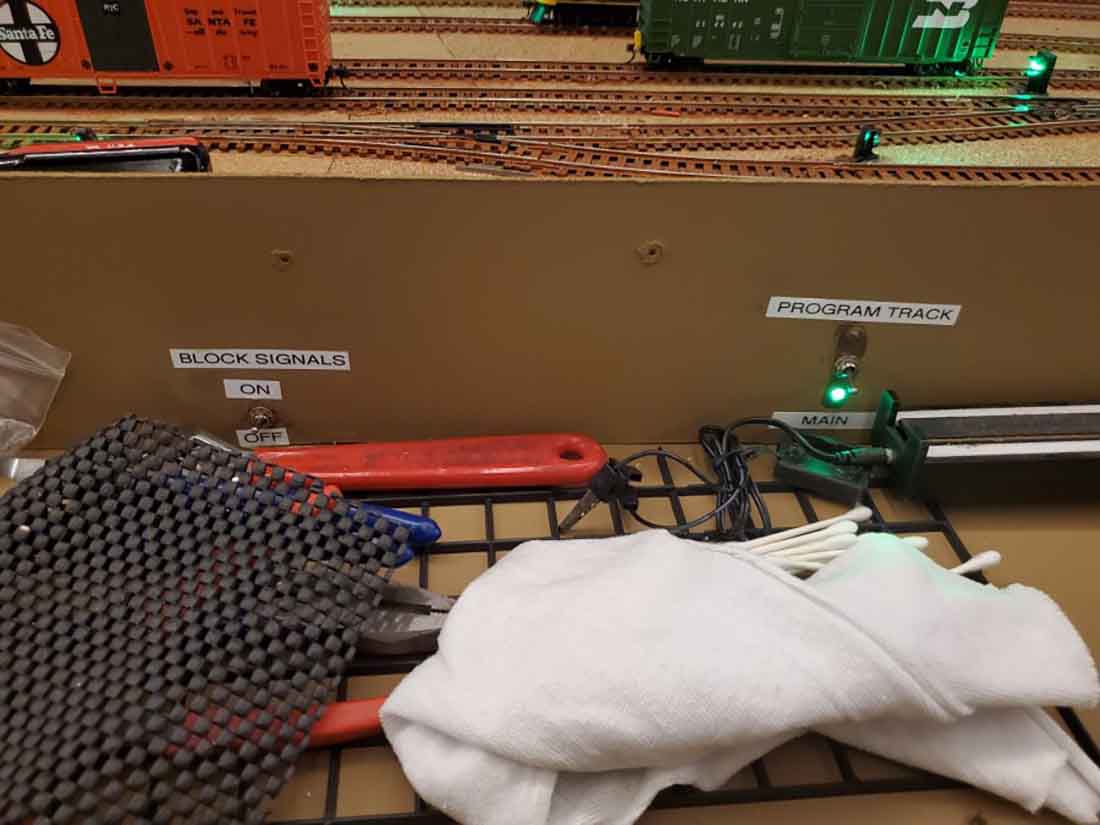
“Attached is an update of my train layout. I took down the old layout in Jan and this is where my new layout stands as of September.

I am currently working on a flashing crossing with working gates for the double main as well as test running all my locomotives.

Once everything is good to go, I will decide on what scenery I want and do the backdrop based on that.

There will be a tunnel in the corner where the drainage ditch is. There is a piece of Masonite protecting trains from falling off.

Access is available from below in case of derailment.

That’s it for now. Thanks for all you do for the hobby.

Bob in Newport News, VA.”

(Bob’s last post is here)

HO scale in progress

HO scale backdrop

model railroad layout

model railway layout

HO scale track being laid

HO scale laying track

HO scale laying track


HO scale drainage ditch

HO scale sidings track

HO scale

model train control panel

model train control panel

model train layout control panel

model railway layout

HO scale track sidings

HO scale wiring

model railroad wiring

track layout plan

A big thanks to Ron for sharing his 11×14 HO scale – and to Bob too.

They reminded me of Yale’s layout: HO scale layout 14×4.

They just go to show, it’s all about making that start and cracking on.

If you want to see some more – here’s a collection of HO scale train layouts.

I wondered if I should do more pages grouped by scale? Some more HO scale train layouts? More N scale?

And let’s not forget the other scales too.

I don’t know – please leave a comment below if you’d like to see more of them by scale.

One thing I enjoy about the site is all scale are welcome – so whatever is your thing, that’s fine.

What’s more, it doesn’t matter if your train layout is half finished, just started or nudging into the sacred ground of ‘finished’.

Please do send in where you’re up to, and I’ll start putting the posts together.

That’s all for today folks.

Please do keep ’em coming.

And don’t forget the Beginner’s Guide is here, if you want to stop dreaming, and start doing.

Best

Al

PS Latest ebay cheat sheet is here.


O scale train layout

Lawrence has been in touch with his O scale train layout:

“Thanks for all your effort and time for sending out all the emails, it is really appreciated.

Getting started on the extension to my layout. I came in possession of a couple of O scale DC engines and cars. I decided I wanted a long run for these two trains. The layout picture shows the new extension in color.

The straight run is about 40 physical feet. Both ends of the U-shaped track will be populated. Each track is basically one big circle (inner and outer circles) so the trains can run independently.

The San Francisco style bridge is built exclusively from one eight-inch dowels. I saw a utube on building it and duplicated the process. I sent pictures of the building of the lift bridge a couple of months back, I never saw it posted.

One picture shows two micro switches that supply power to the four isolated tracks when the bridge is down. Thus, preventing the train from running off the end of the track when the bridge is up.

One end of the track is finished, for now. The upper level is houses and hotel, etc. the lower level is shops. The other end has a long way to go yet. Presently working on the green houses to be installed on one corner of the layout. All the buildings on this layout are from printouts from your store. Half way between the two bridges is a Battery factory, restaurant, and train station.

The tracks were weathered before being placed. They are held in place with screws through a tie, the foam board and the plywood underneath. The tracks were tested for a couple of hours before putting downs the ballast. Needless to say, I used a LOT of ballast.

Working on this is a very slow process as I have a couple of other hobbies (leather working (holsters) and cross stitch (of trains)) that take up my time. Even being retired I am busier and never have enough time for all I want to do. Does that sound familiar??

Thanks

Lawrence

Madison Virginia”

O scale train layout

O scale train layout

O scale train layou

O scale train layout

O scale train layout


O scale train layout

O scale train layout

O scale train layout

O scale

O scale

O scale

I do love an update!

A huge thanks to Lawrence for sharing his O scale train layout – and here’s Lawrence’s last post.

That’s all for this time, folks.

Please do keep ’em coming.

And if you want to stop dreaming and start doing, the Beginner’s Guide is here.

Best

Al

PS Latest ebay cheat sheet is here.


HO scale trestle bridge

Ben’s been in touch with his HO scale trestle bridge:

“Hello Al,

Hope all is well with you!

To begin, I wanted to let you know that I purchased your “Beginners Guide to Model Railroading” not long ago and I have found it to be a wonderful resource. It is well written, filled with practical tips, links to other resources, and a great value for the price. Thanks for creating it. I’ll be referring to it often!

I’m writing to give an update on the building of the 3rd line on my HO scale layout. Specifically, the curved wooden trestle bridge I made from scratch.

Initially, I planned to buy a trestle kit, but finding one that met the specs of my layout was extremely difficult.

After a lot of searching I did find two curved trestle bridge kits that would work for me, but they were both listed as “out of stock” with no indication of when – if ever – they would be back in stock. So, I decided to build my own! Building anything from scratch – much less a 36-inch curved wooden bridge – is a first for me and I had doubts that I could pull it off.

I don’t have the steadiest of hands and I’ve always joked about being all thumbs when it comes to anything with small parts. But with some planning, practice and patience I completed the project.

For any of your readers who are thinking “I could never do that”, I say “Trust me folks, If I can do it, anyone can!” It was actually a lot of fun and I learned a lot in the process.

I enjoyed the project so much I’ve started building a smaller “dry gulch” bridge for another area of the layout.

I have attached a few pictures that show some of the steps I took while making the bridge. I also created a 15 minute “how-to” video that documents the project from start to finish for anyone who is thinking of doing a bridge scratch build for the first time. Thanks again for all you do on your site. I really enjoy reading the posts from other modelers. With every story I learn something new! Stay safe and well!

Ben from Chicago.”

HO scale trestle bridge

HO scale trestle bridge

HO scale trestle bridge

HO scale trestle bridge

HO scale trestle bridge

trestle bridge

trestle bridge

trestle bridge


A huge thank you to Ben for sharing his HO scale trestle brige – what a video!

Hope you enjoyed it as much as I did.

If you want to see Ben’s last post, it’s here.

That’s all for today folks. Please do keep ’em coming.

And if today is the day get off your armchair and start your very own masterpiece, the Beginner’s Guide is here.

Best

Al

PS Latest ebay cheat sheet is here. Have a look and see what you can save.