HO scale lumber layout

Apologies to Jim – I missed his HO scale lumber layout in my inbox.

He sent me these wonderful pics and narrative weeks and weeks ago.

I missed them.

They’ve just been sat in my inbox gathering dust.

Fortunately for all of us, he gave me a very polite prompt and I was delighted when I found them.

How could I have missed this stunning layout?

“Cedar Valley HO scale Lumber Rail Road

During the past year I have read your articles and found them very informative and helpful, and, sometimes quite humorous.

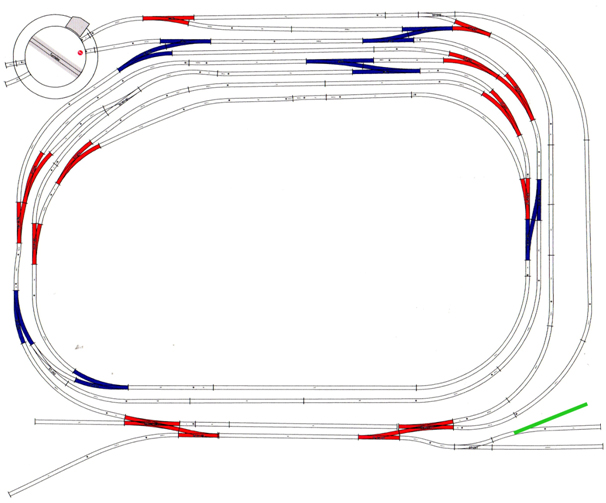
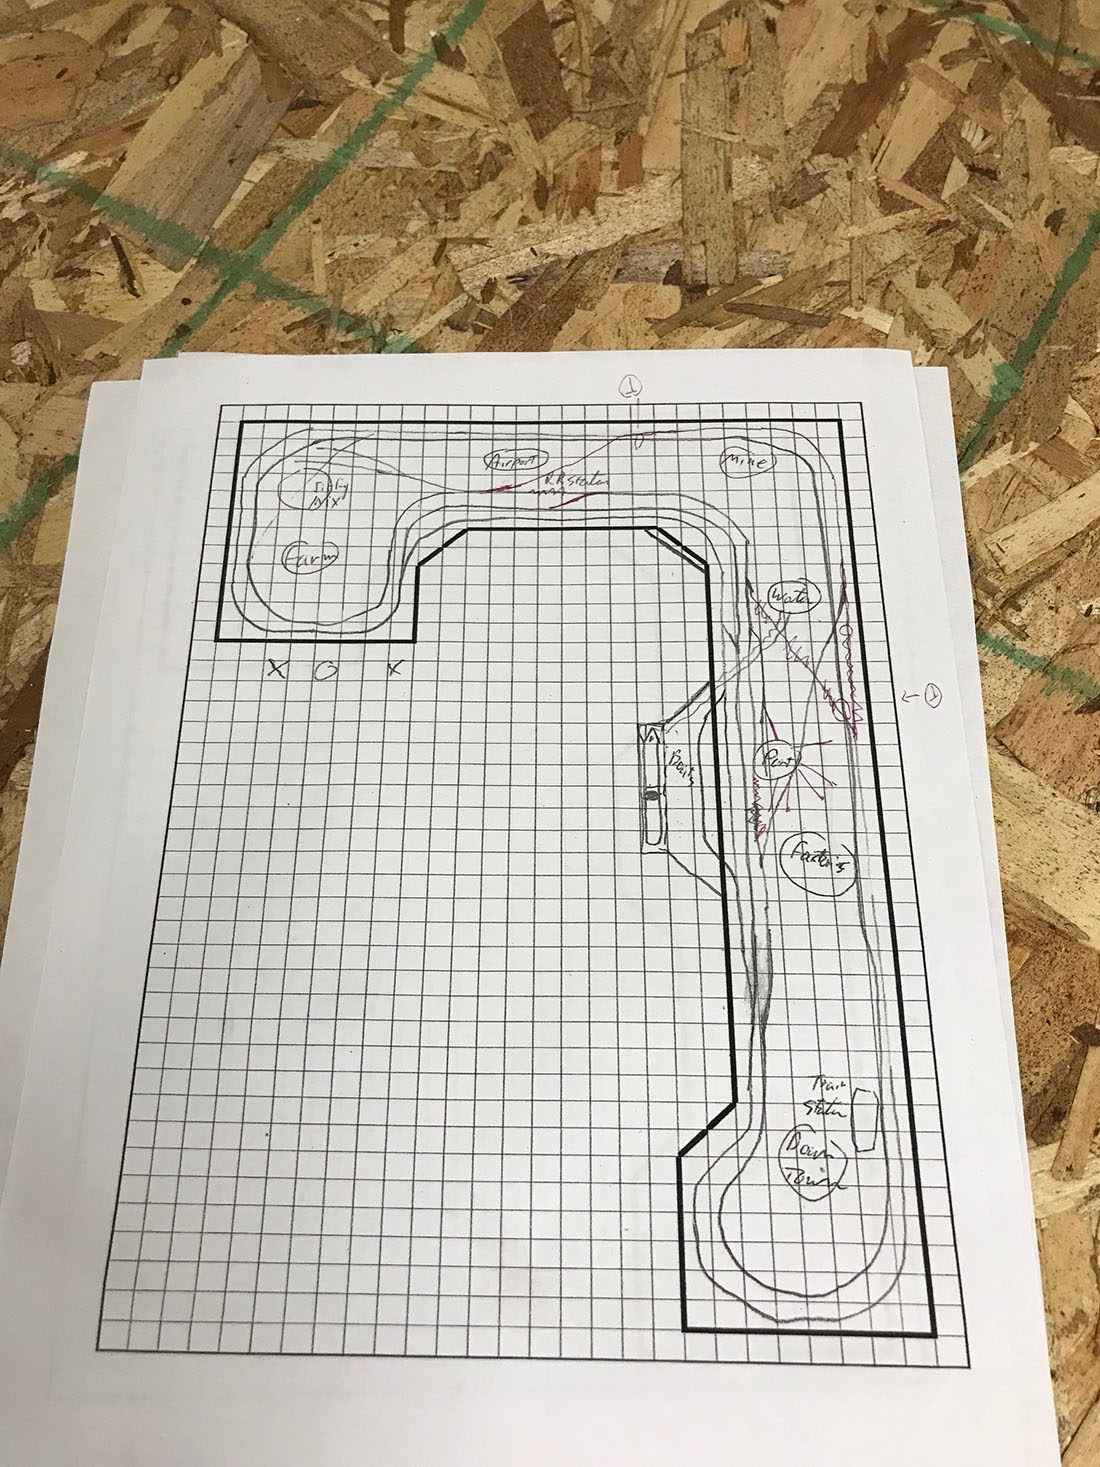
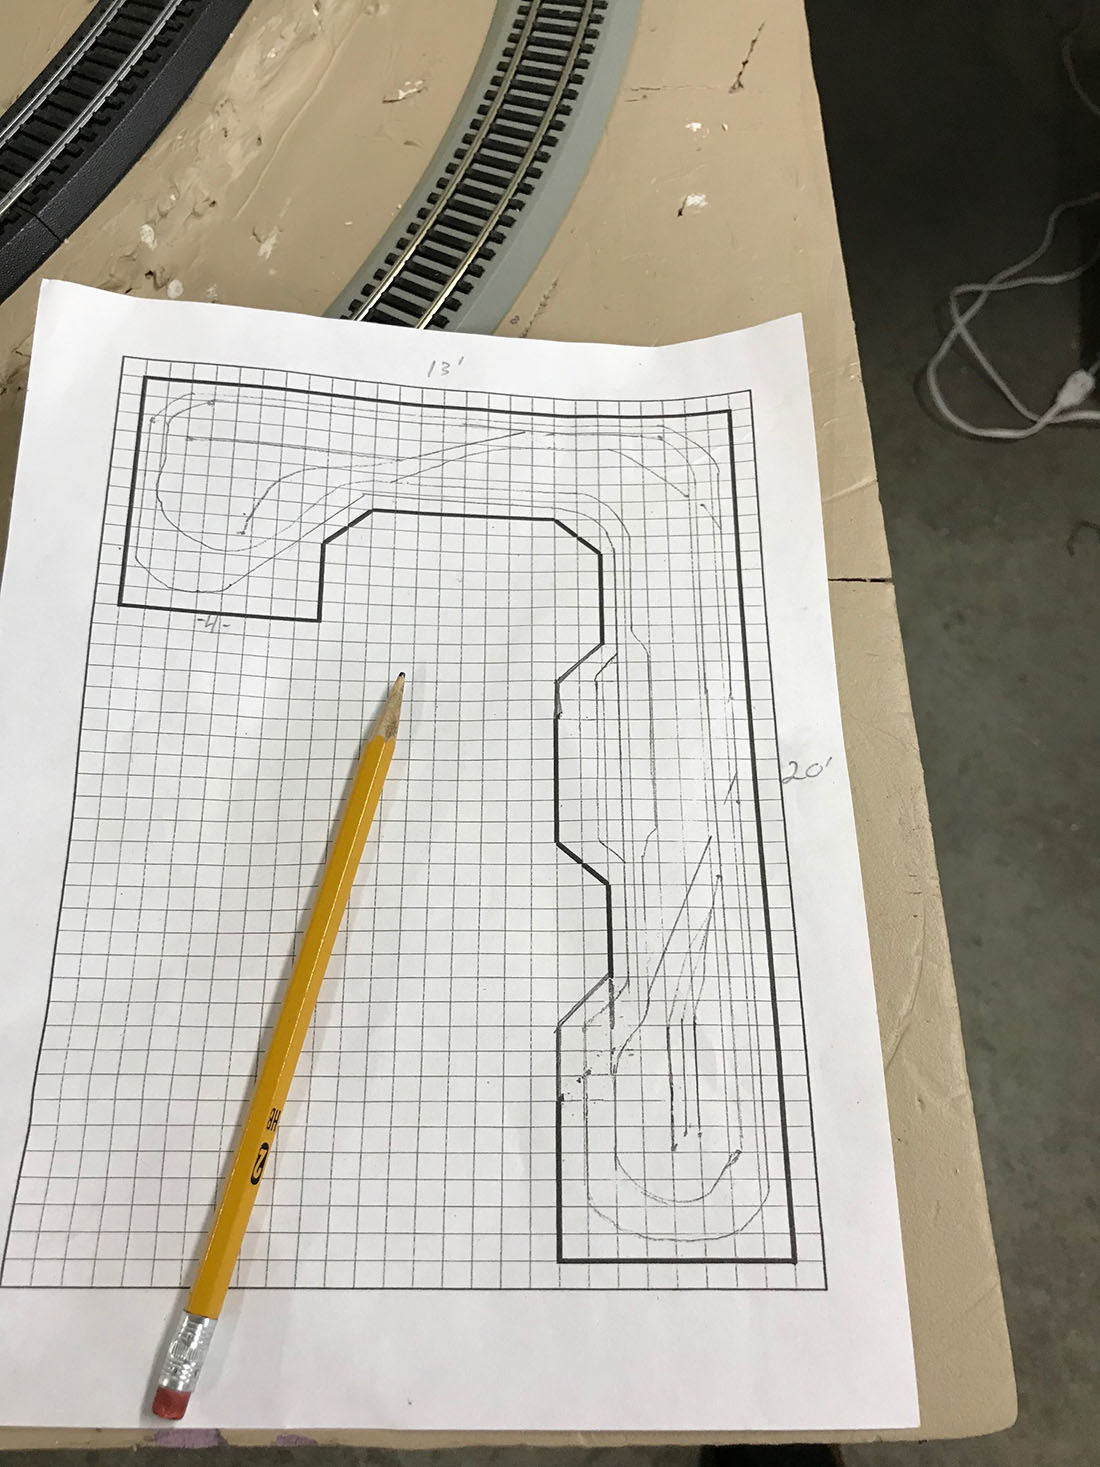
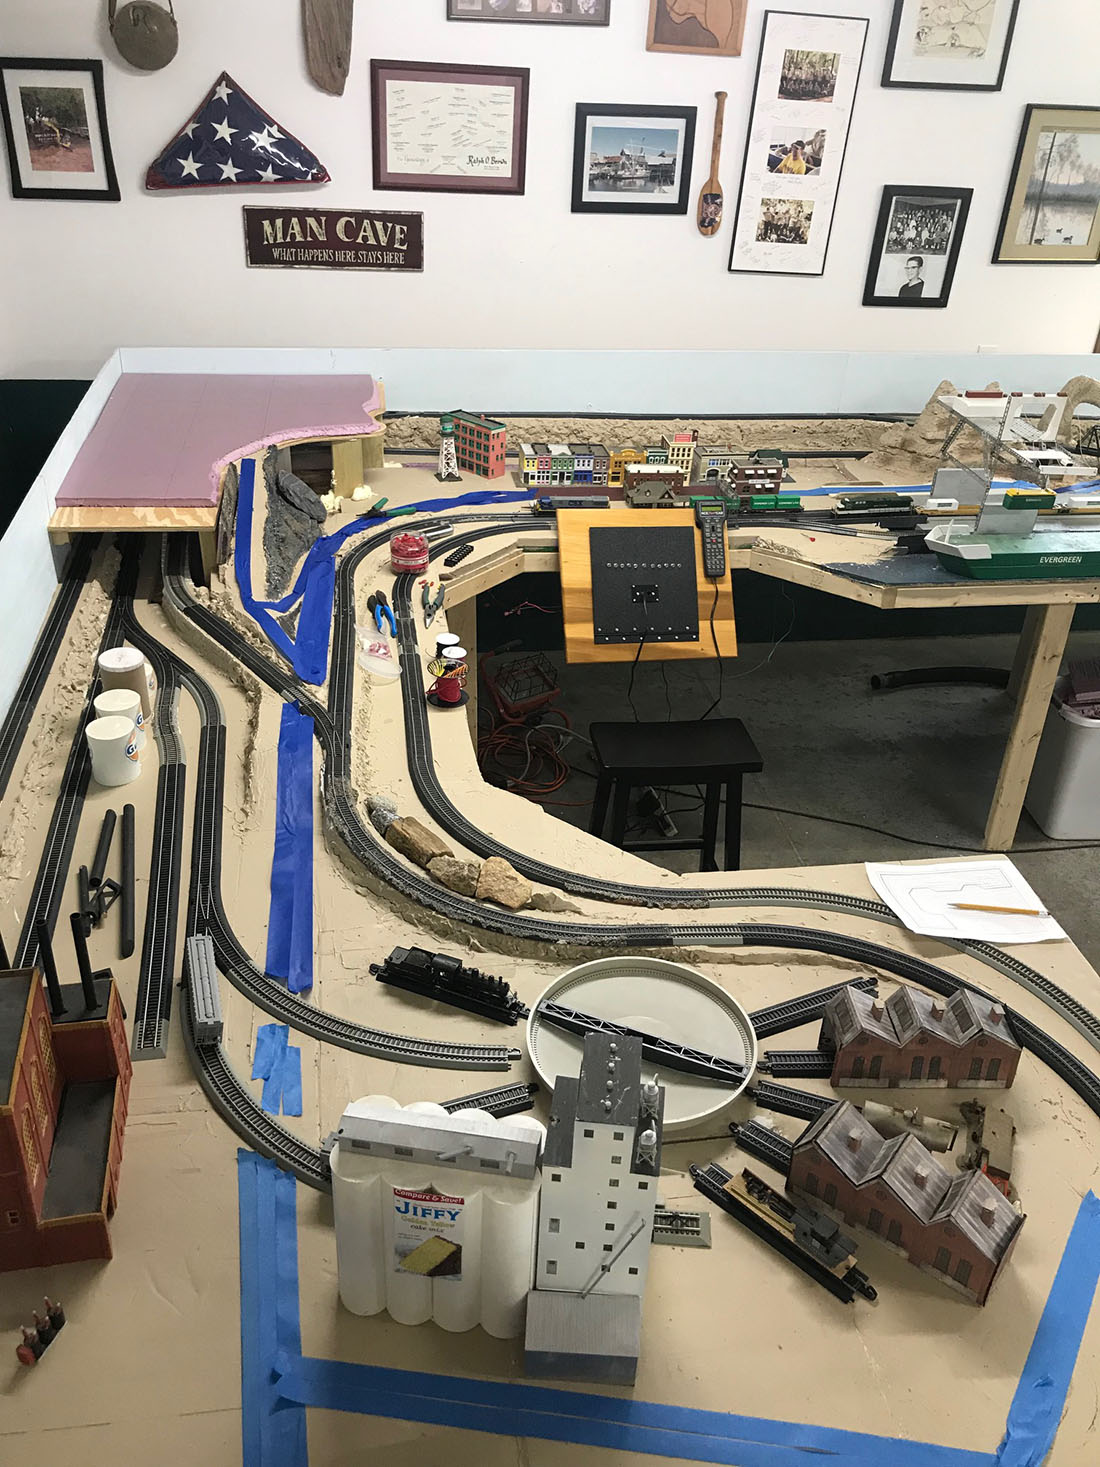
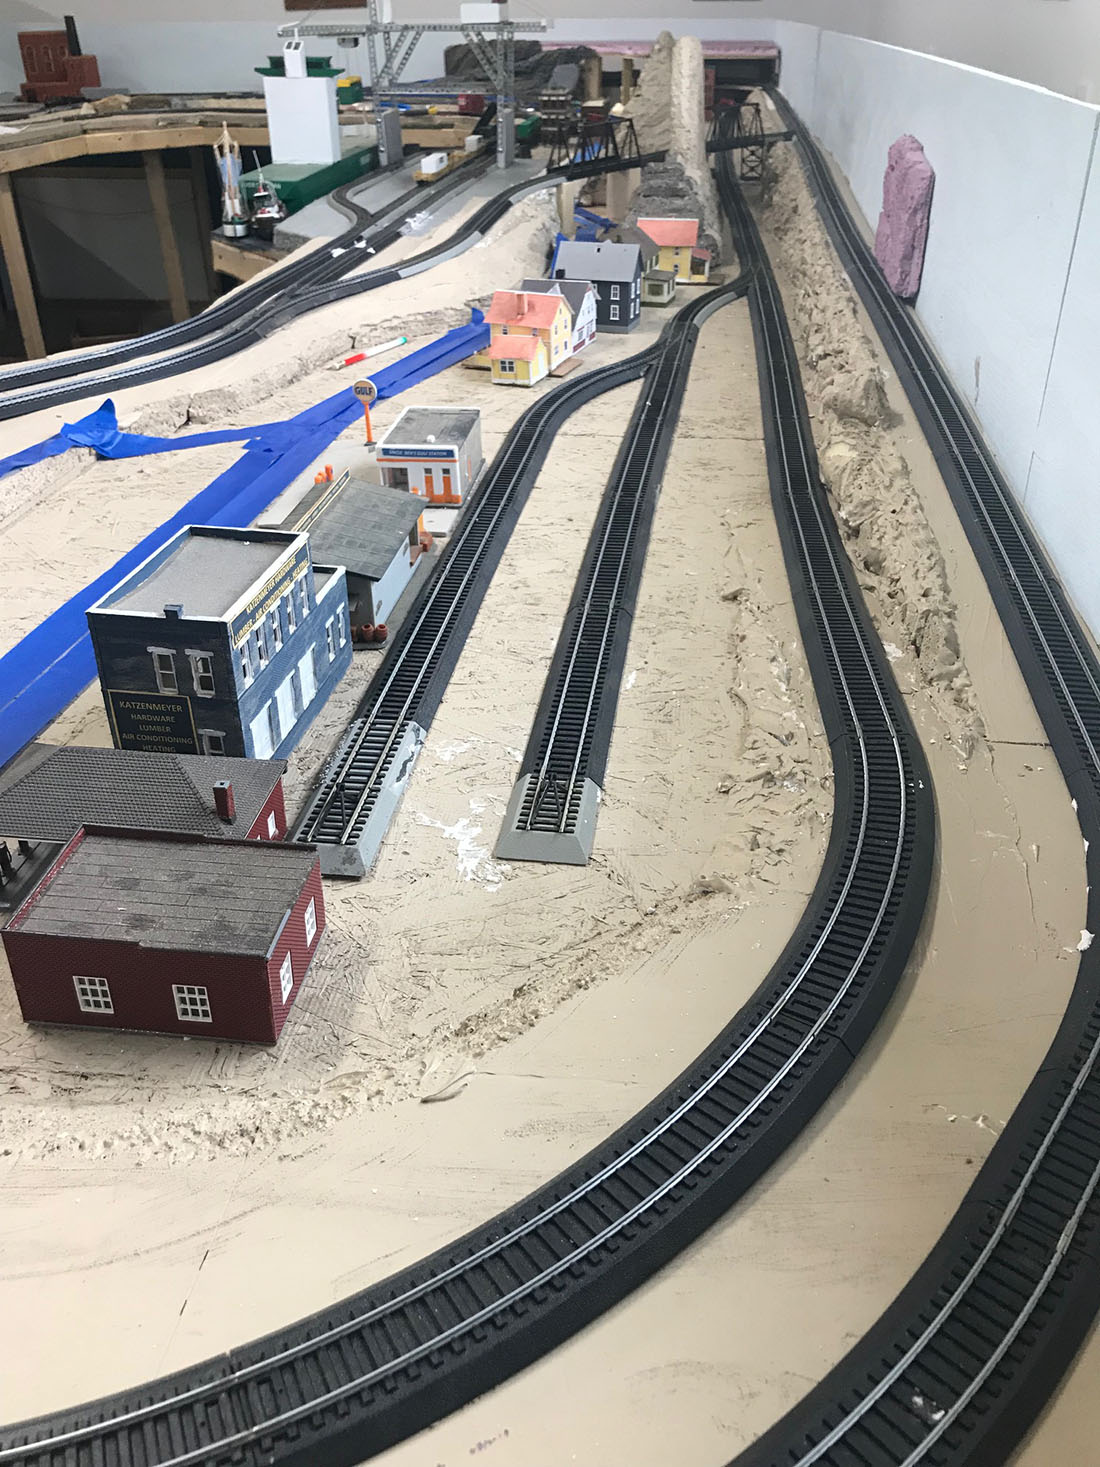
I should share with you and your readers my layout. I have a HO layout that fits into a 12ft.by 9ft. room.

It is a lumber and mining theme set in 1900’s.

It is point to point with an extra two tier helix in the furnace room for continuous running for grandchildren and visitors.

The layout is a design of my own with the name coming from a place I worked at before retirement.

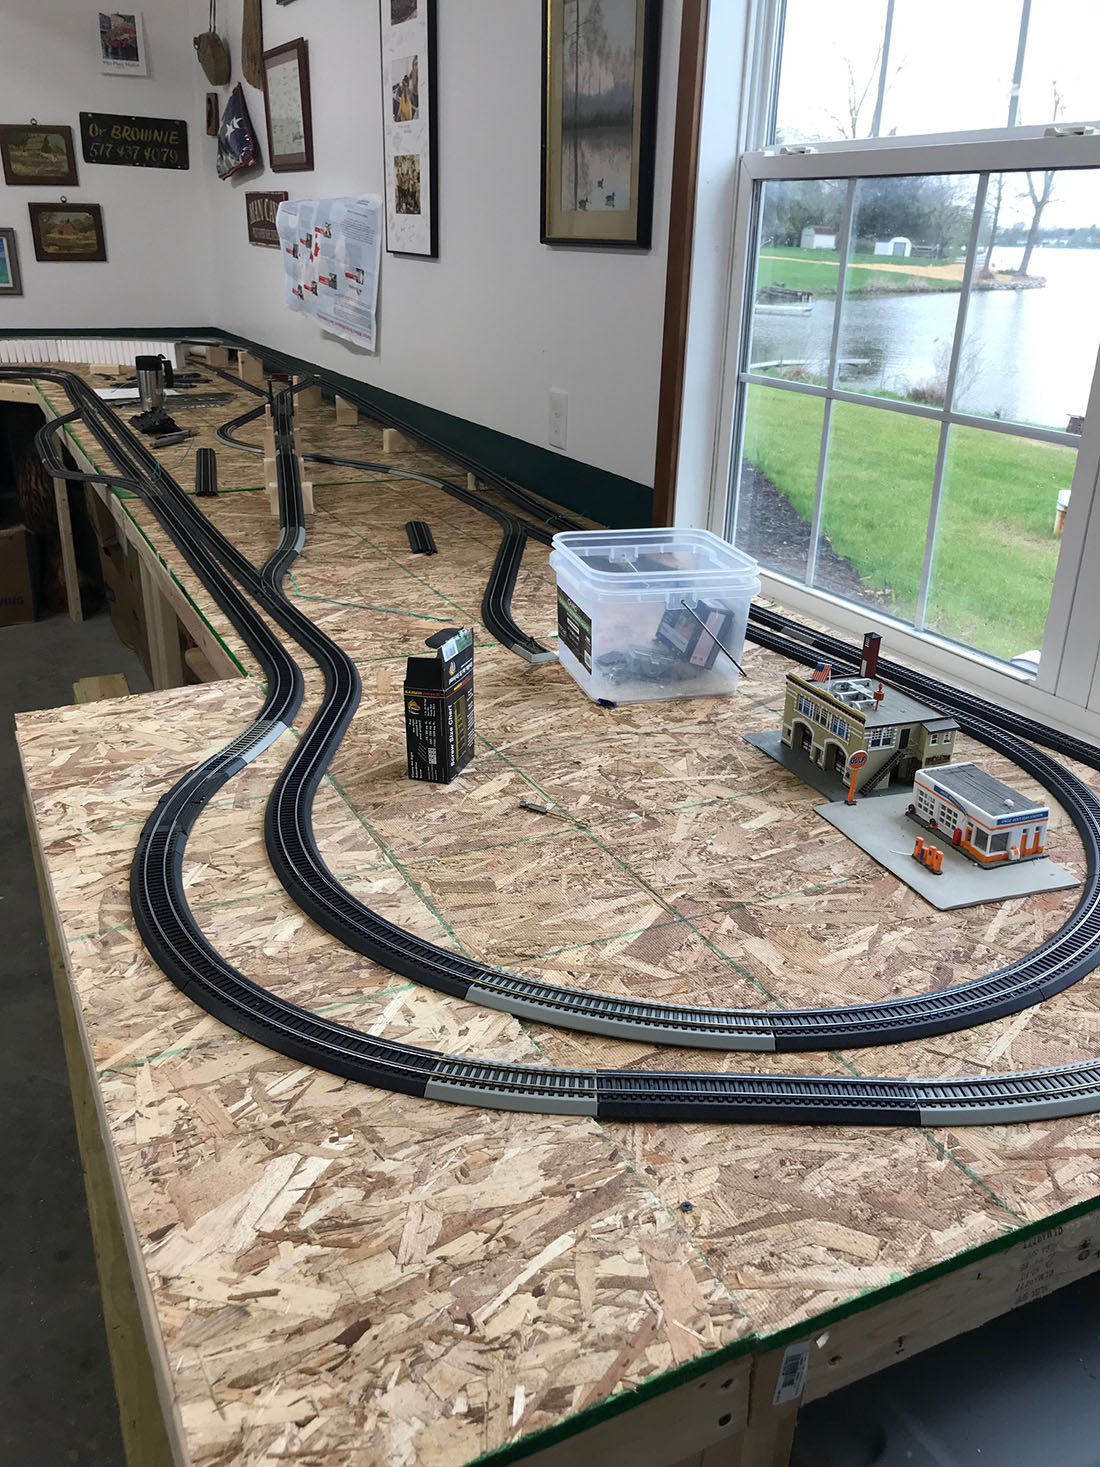
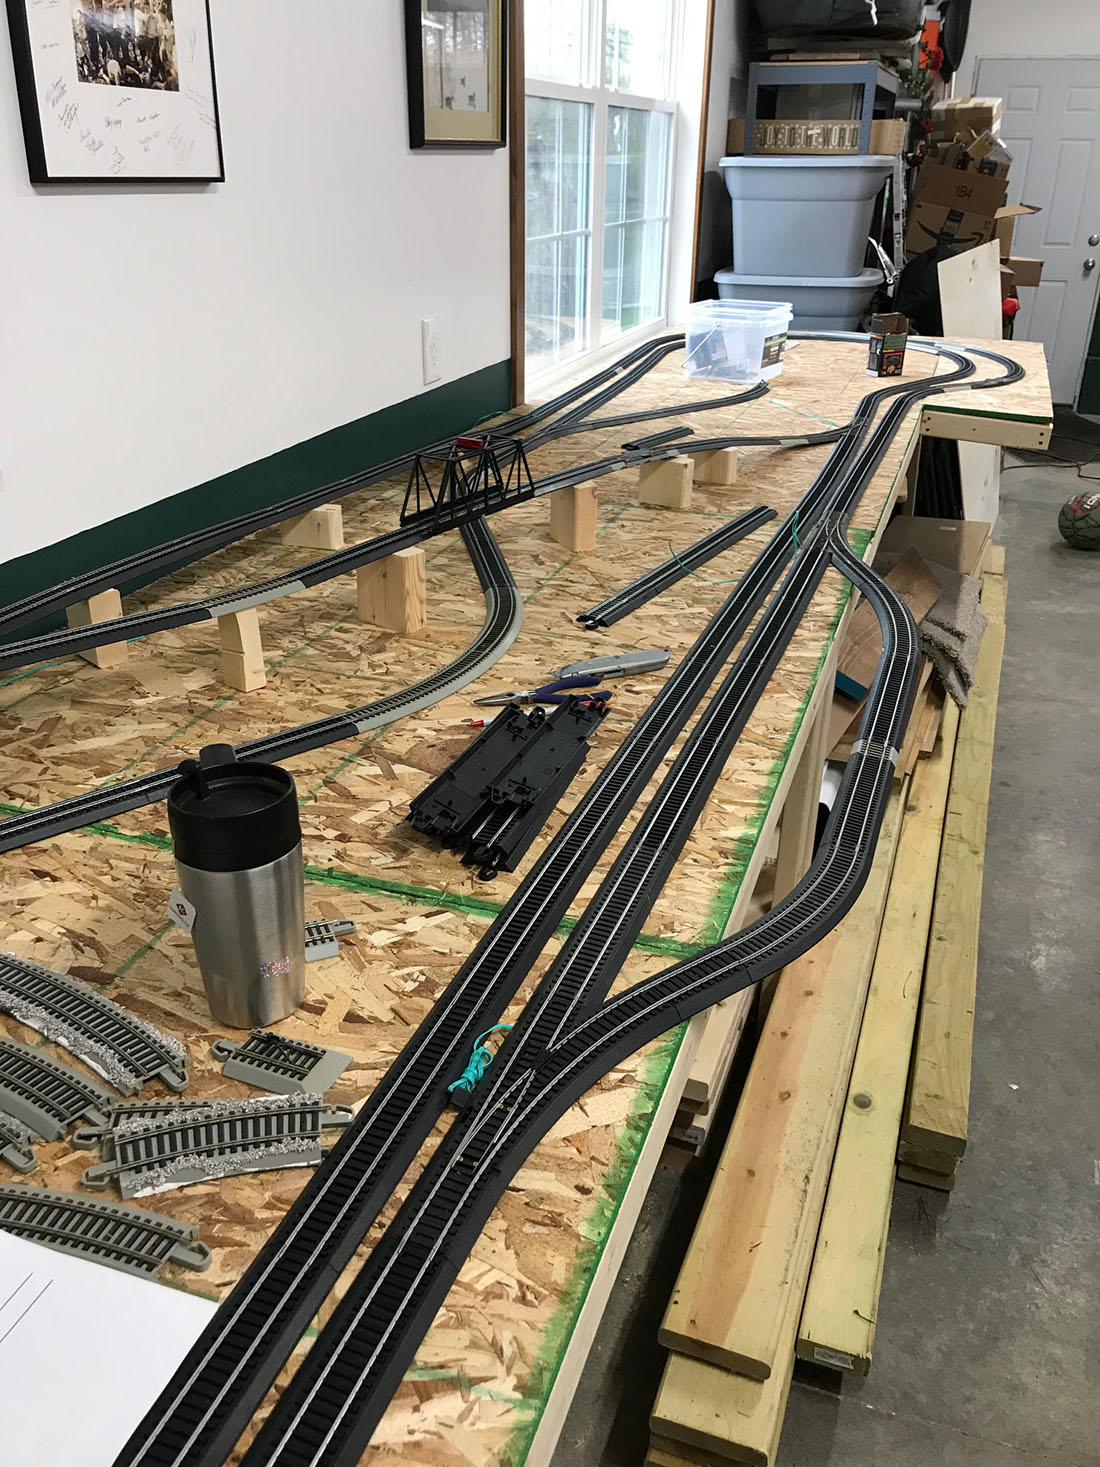
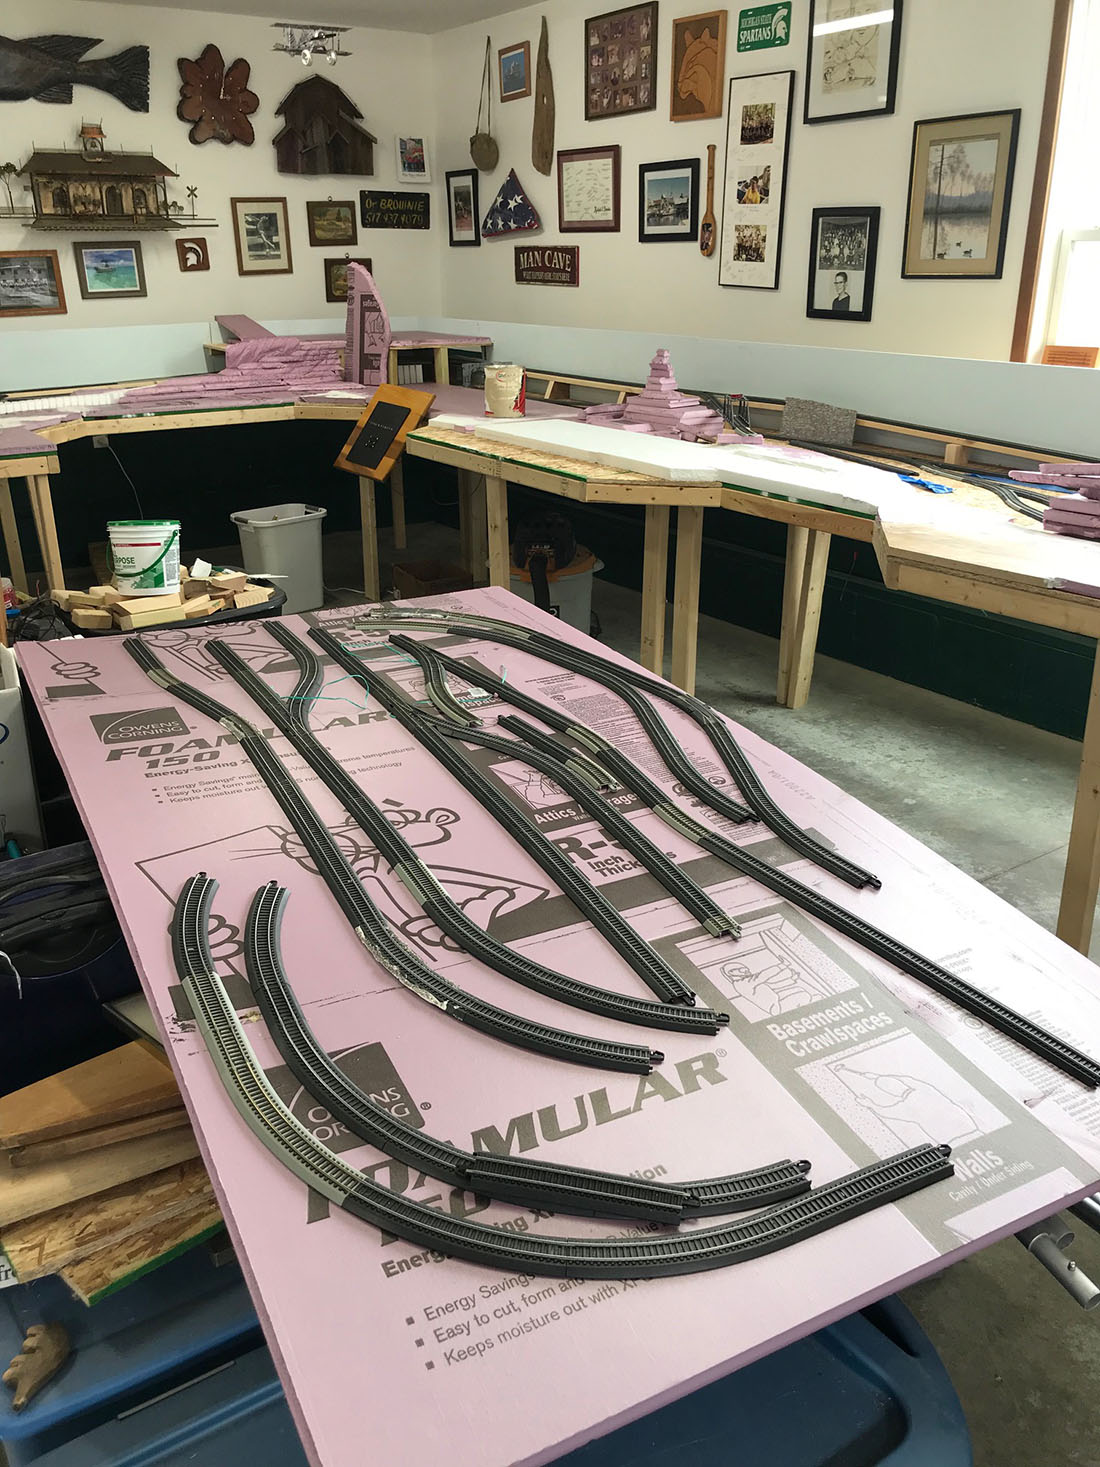
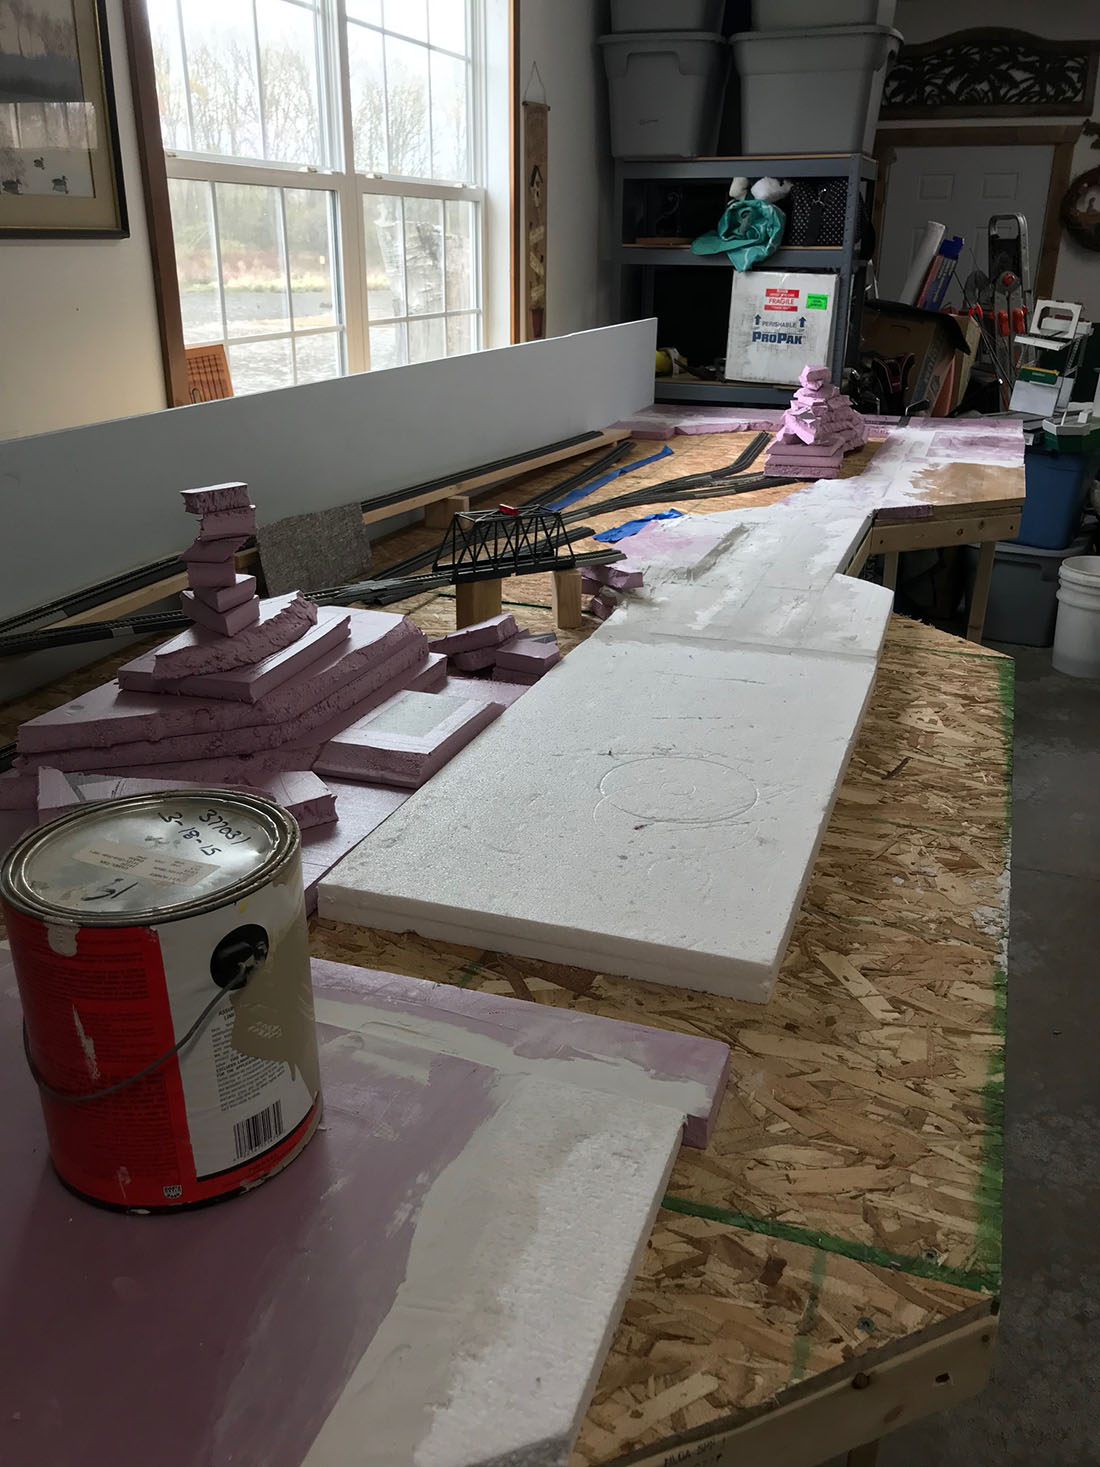
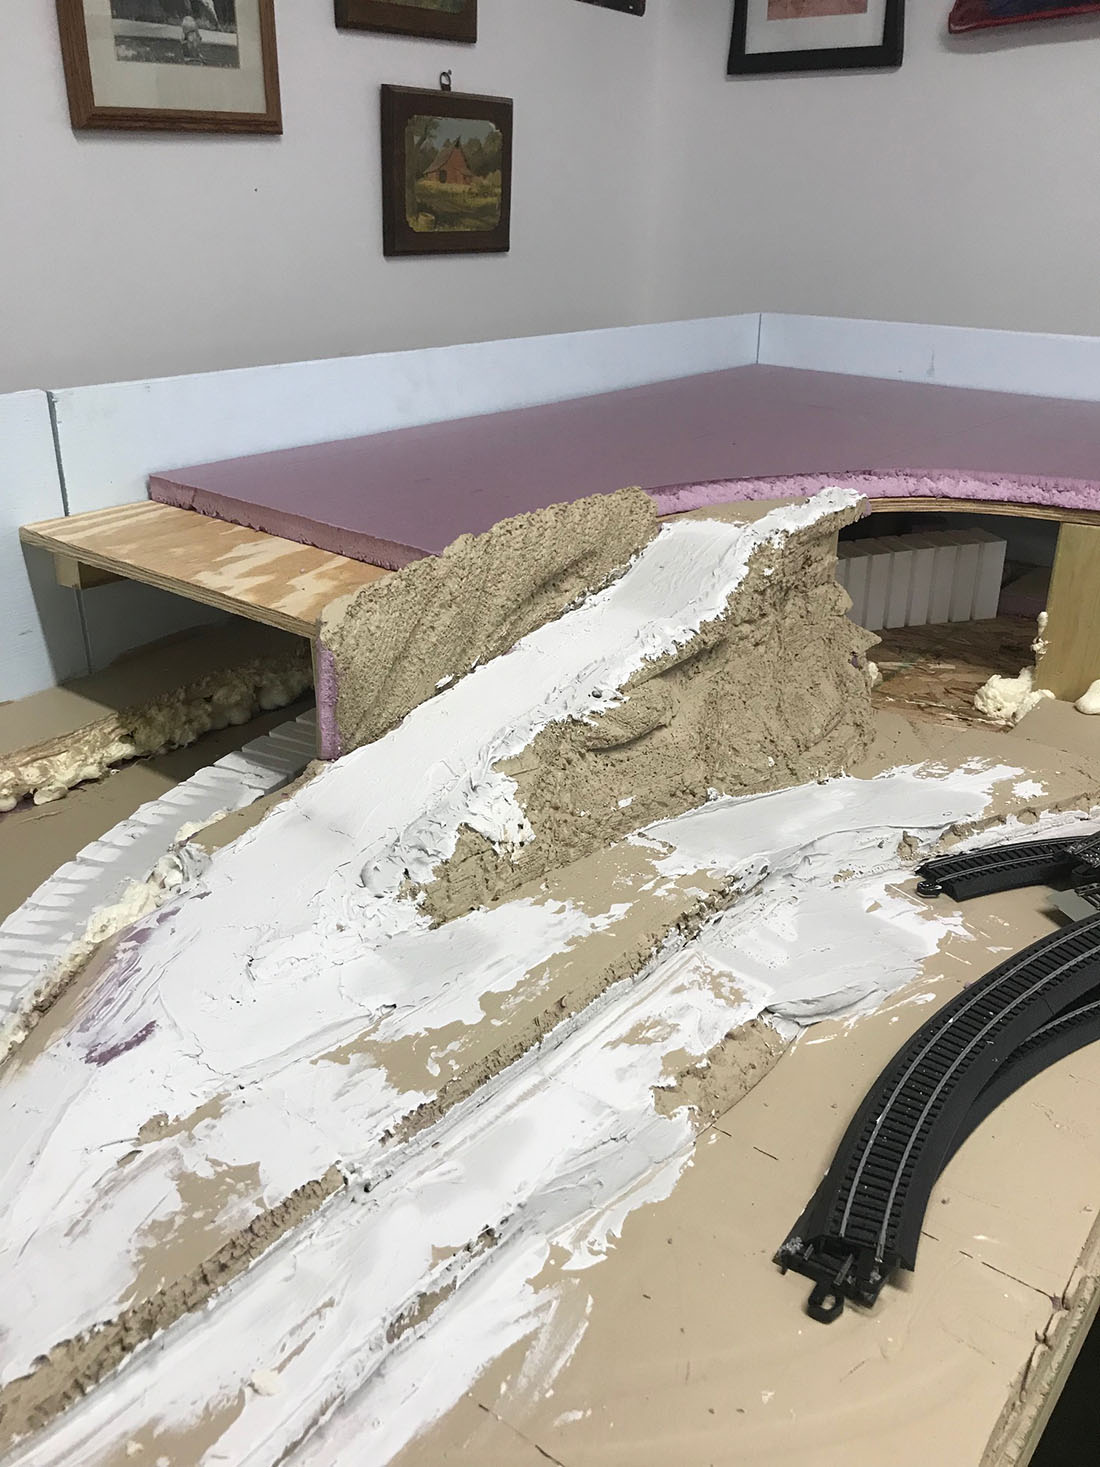
The bench work is 1”x3” wood frame built in sections with 2”x2” legs. The height of the layout is 40”.

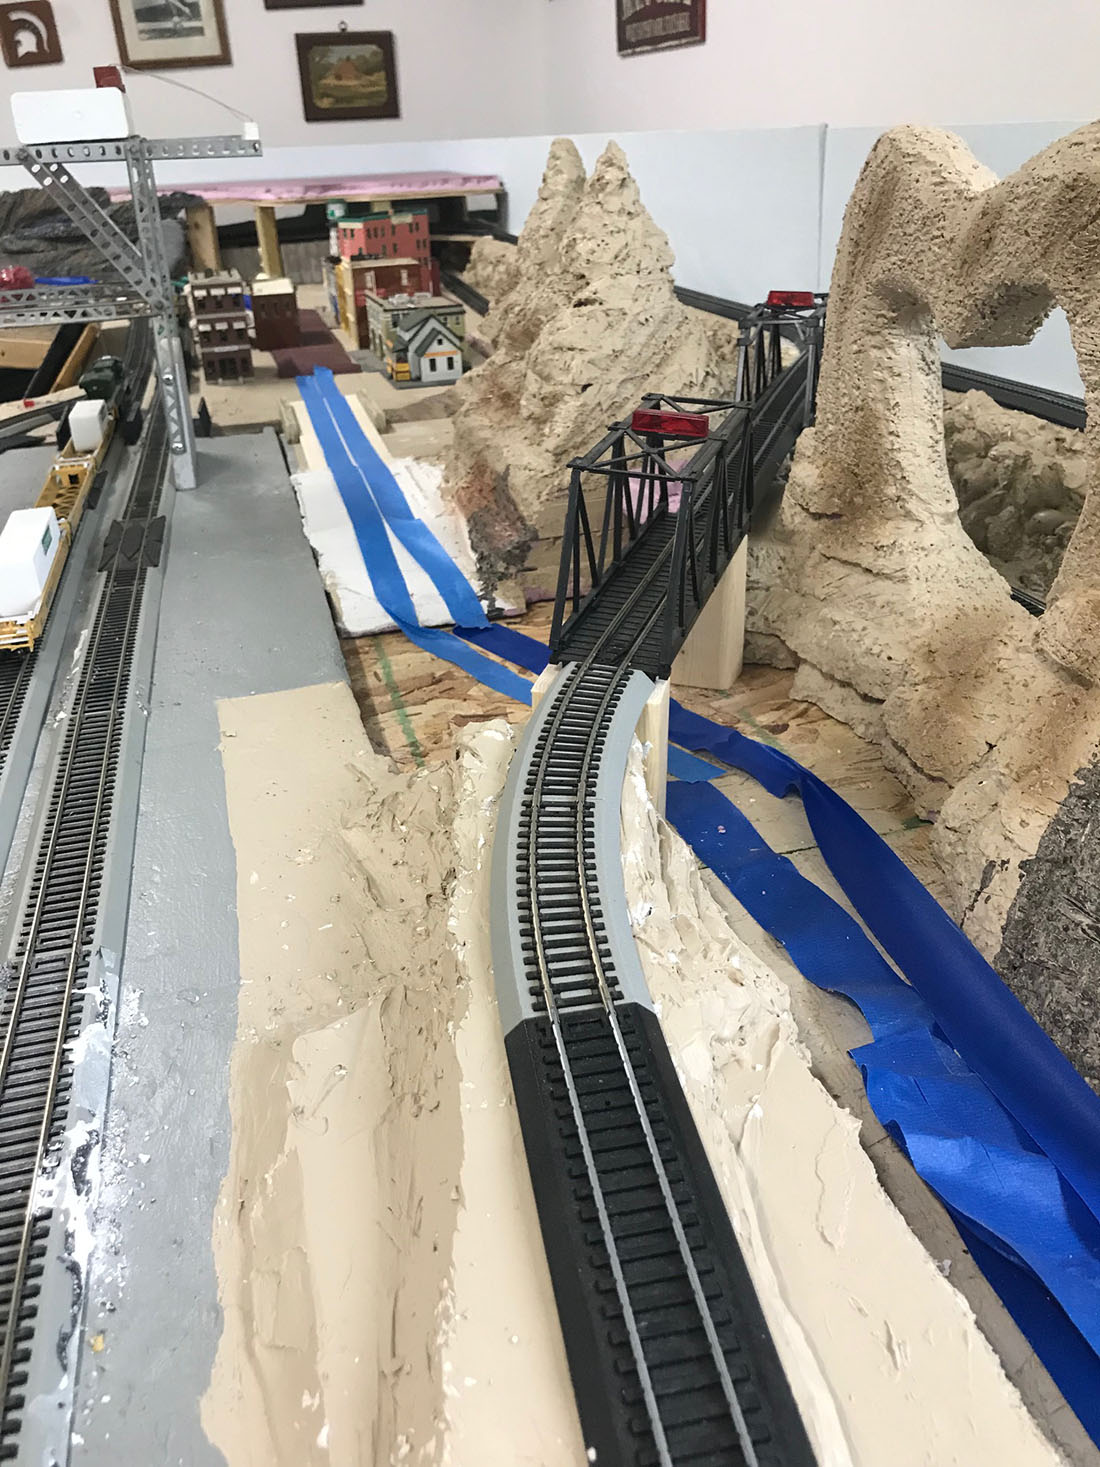
Foam sheets are then glued on top. The flex track is glued right on top of the foam board. The track work goes up to height of 46” at the mine and lumber camp.

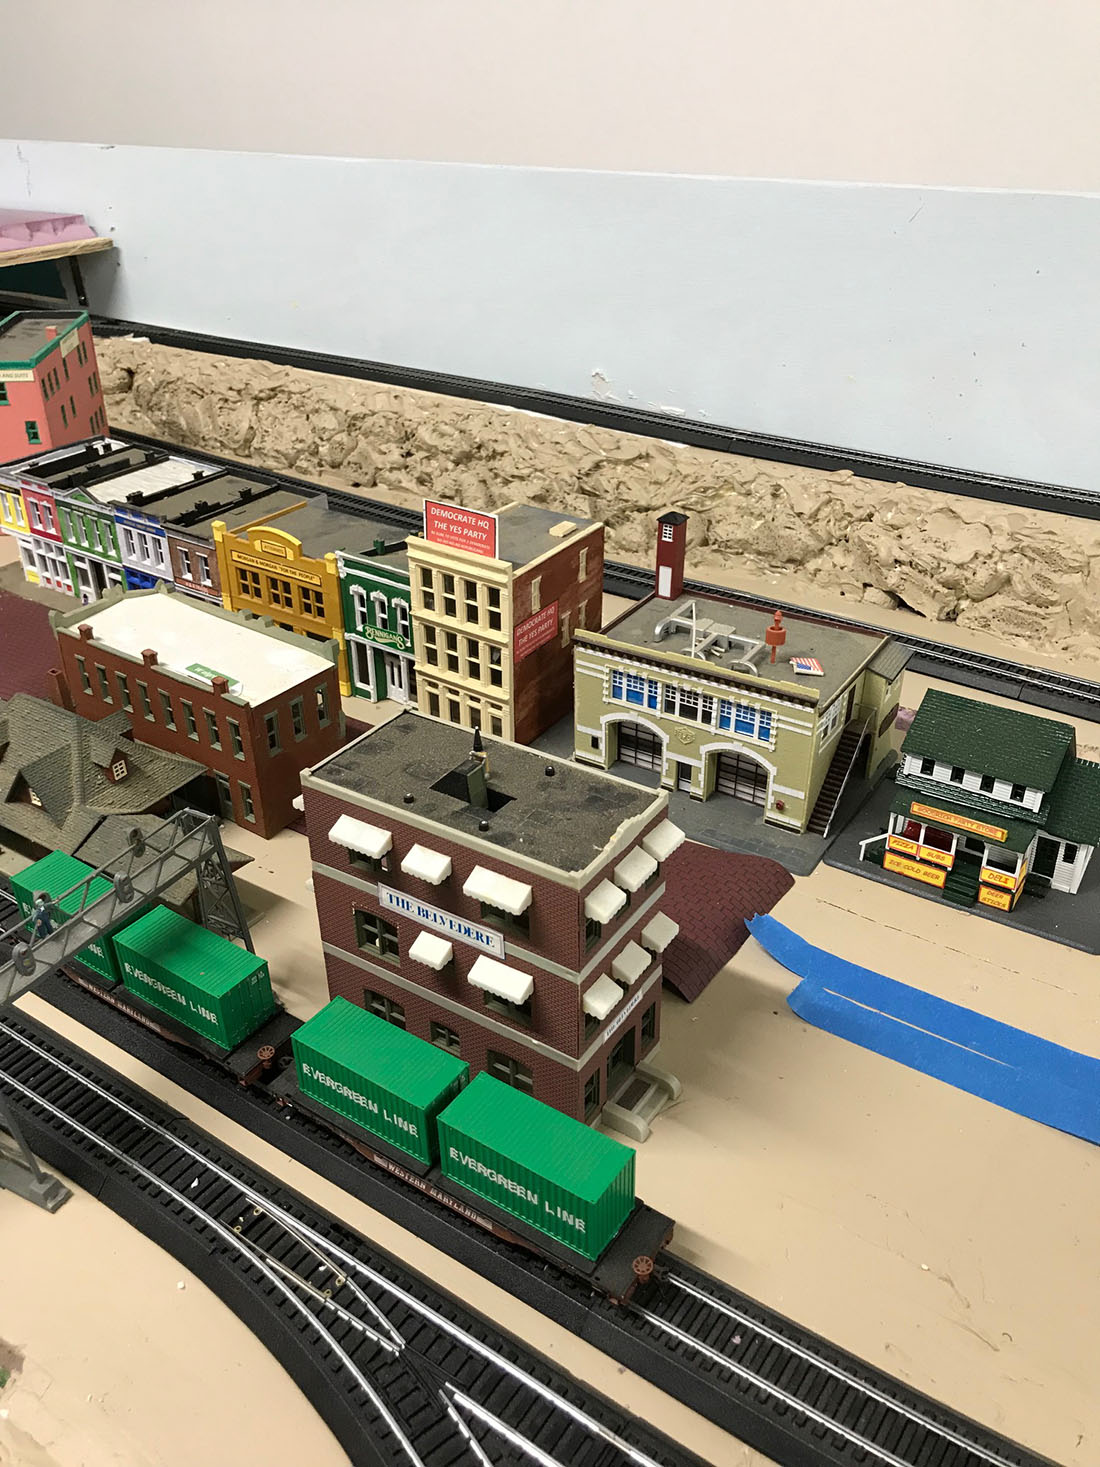
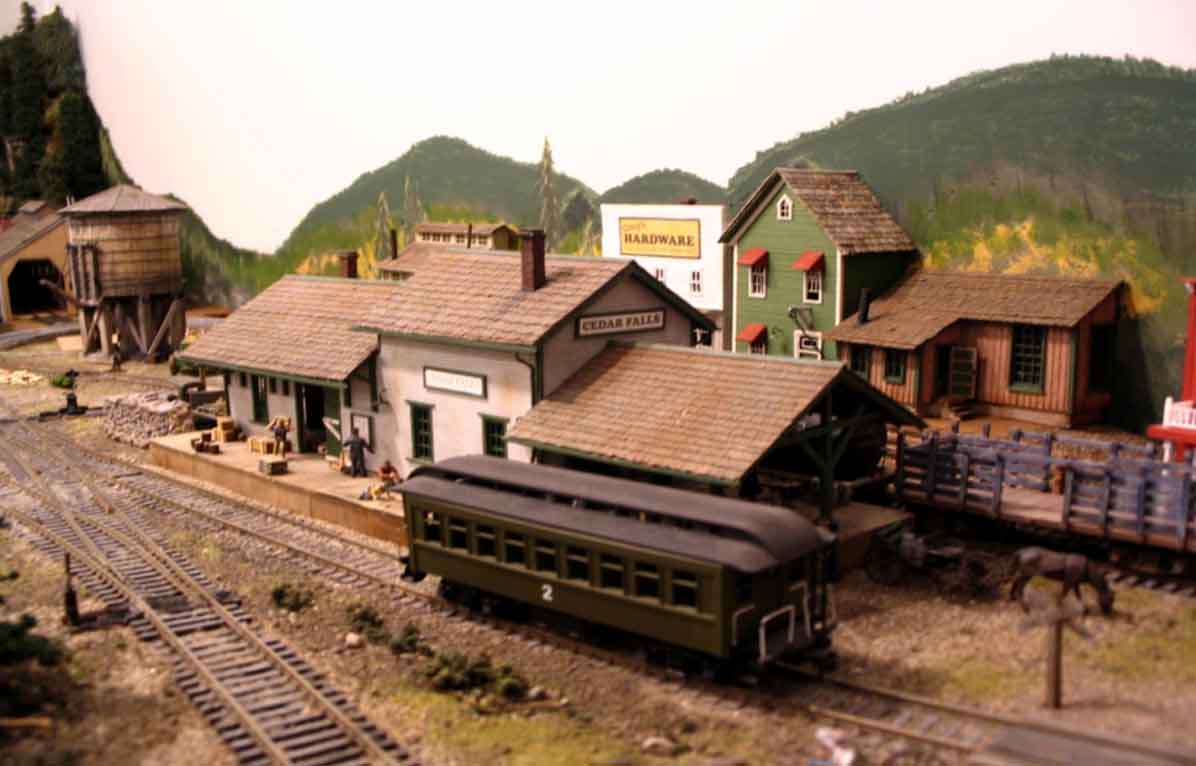
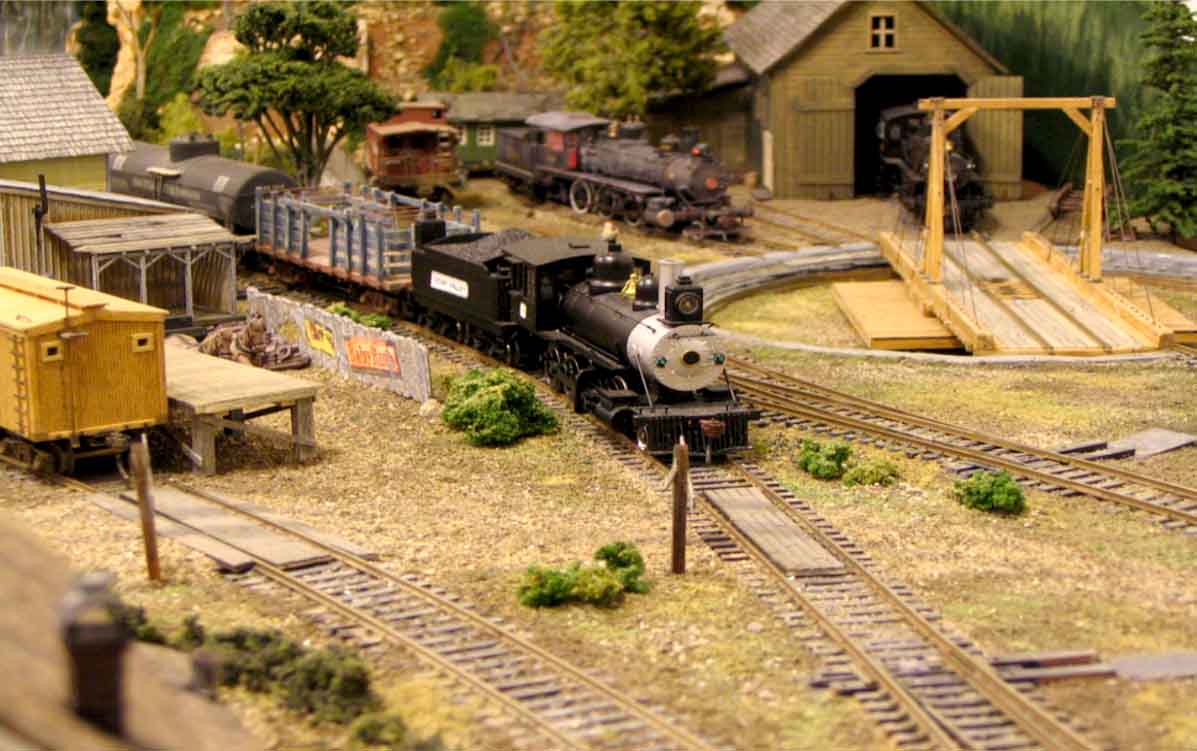
The town of Cedar Falls has a station and many wood related industries. It is also the engine facility with a shop and a turn table.

HO scale lumber

model railroad lumber

model train HO scale lumber

HO scale model train lumber

model railroad building HO scale


HO scale loading platform

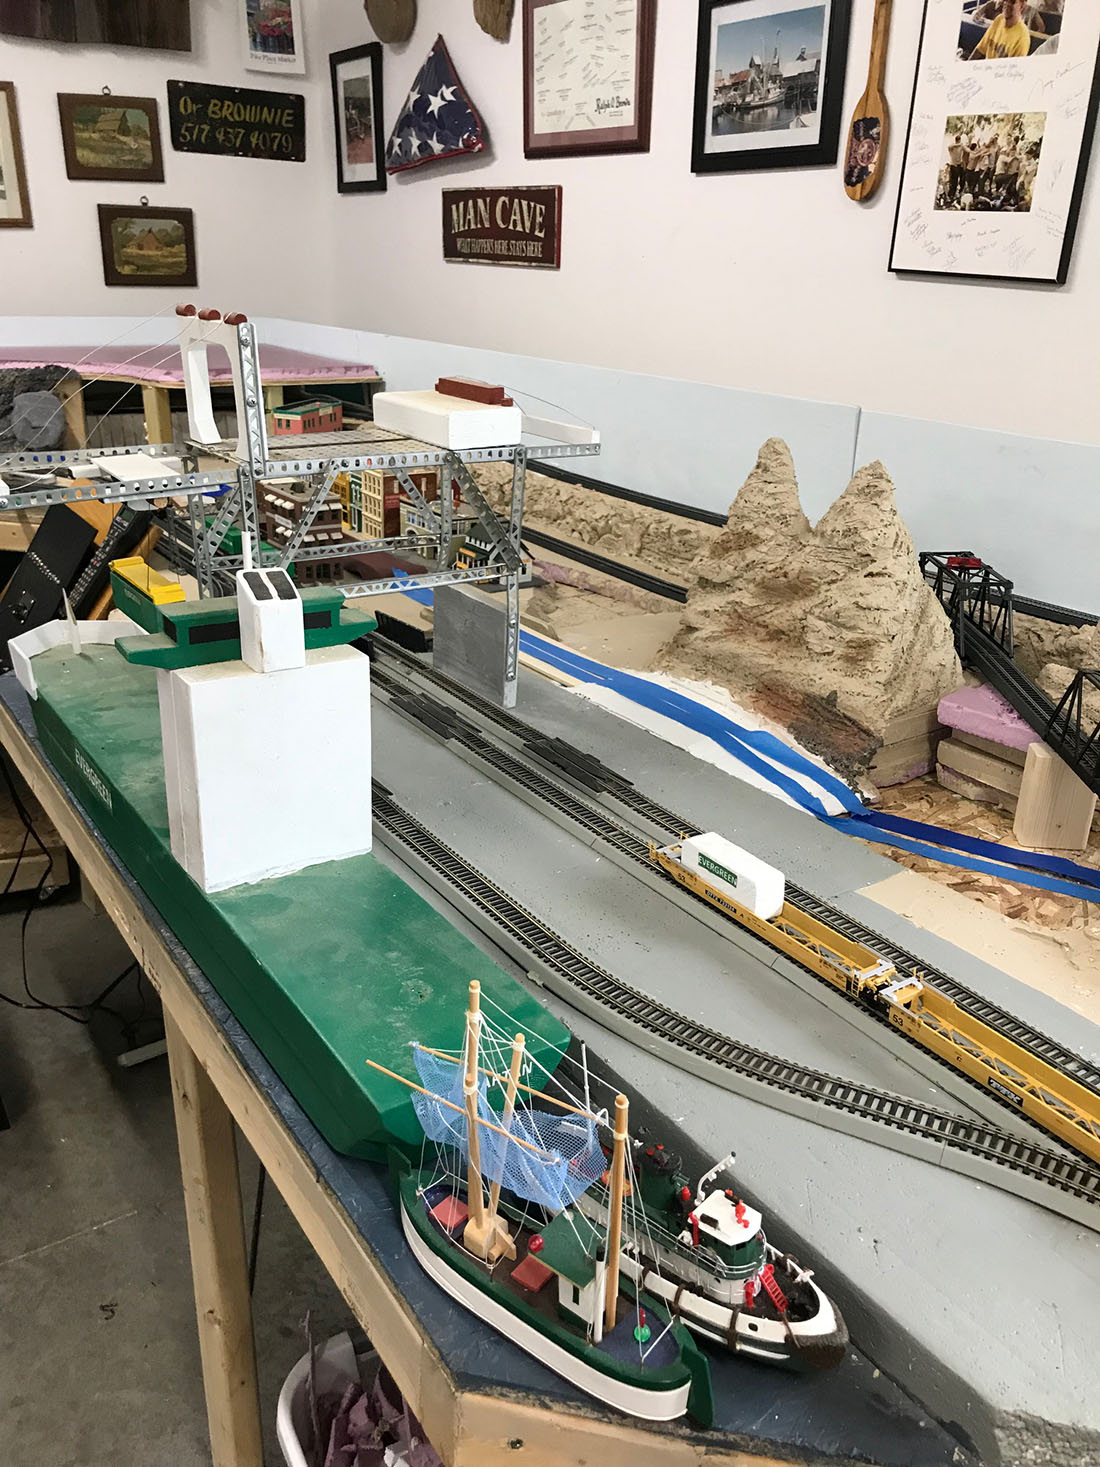
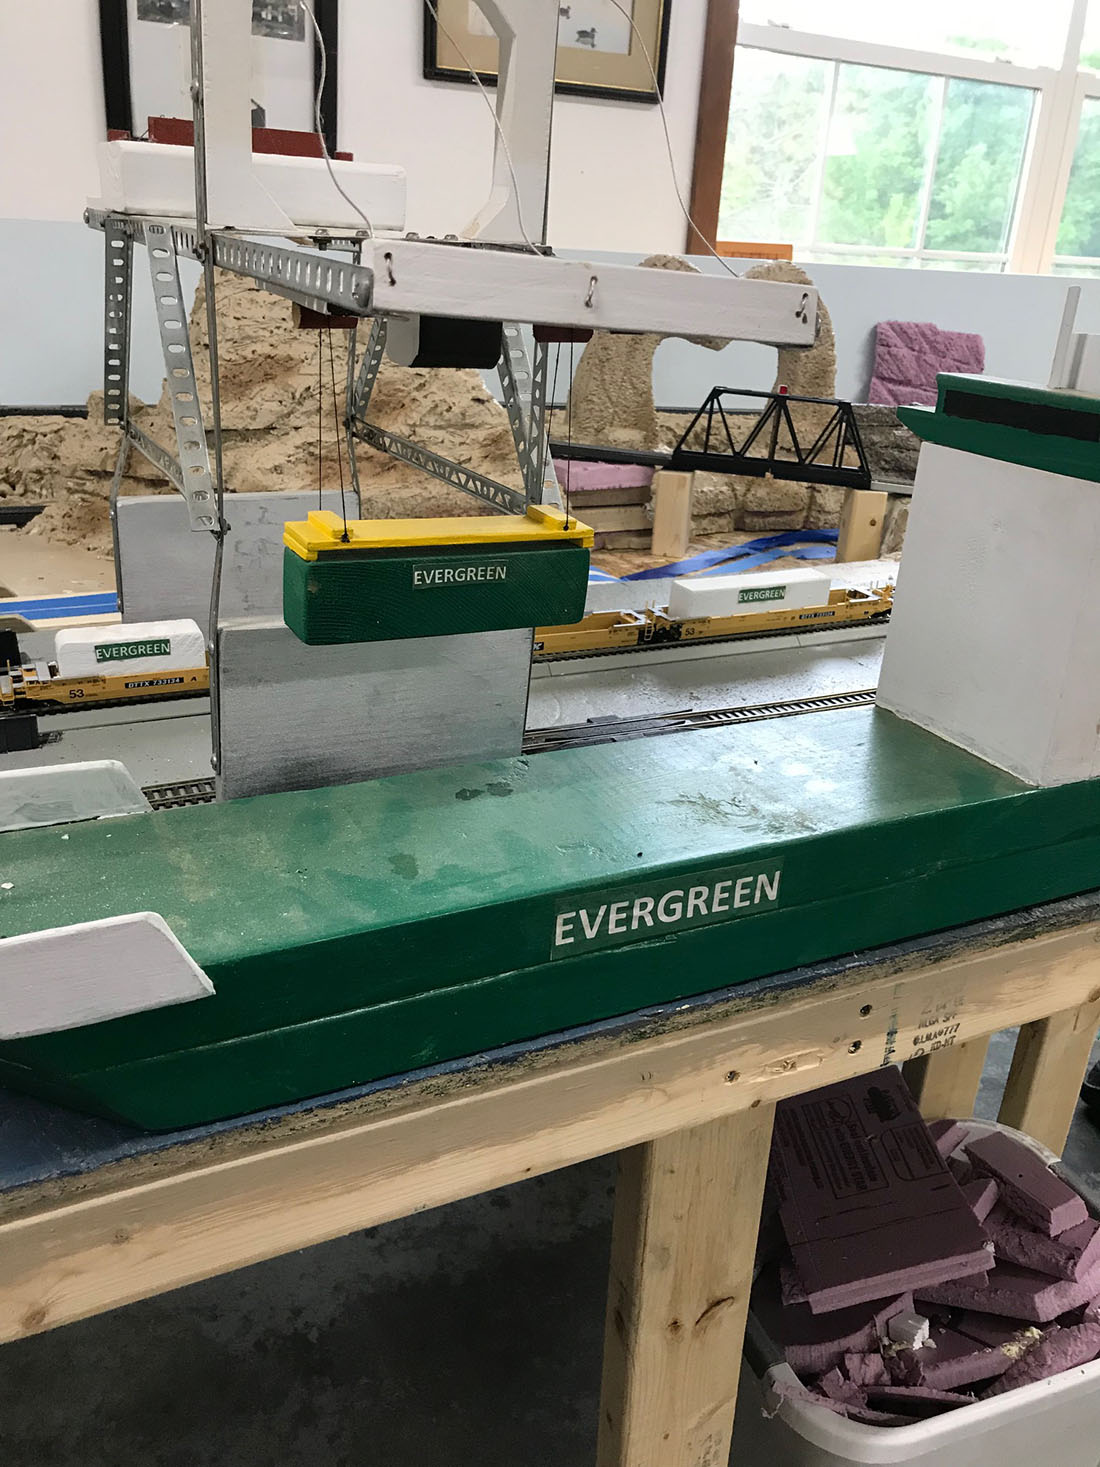
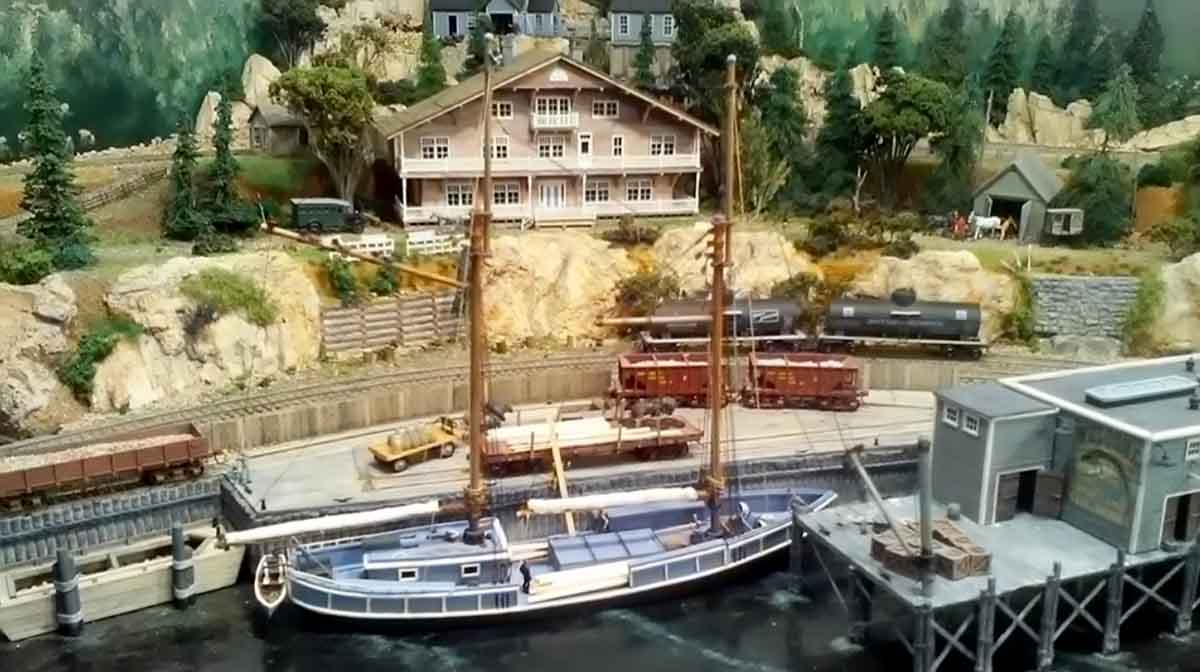
The port of Cedar Bay is a shipping center for lumber, goods and ore carriers. One other feature is the lodge at Cedar Point.

ho scale harbor

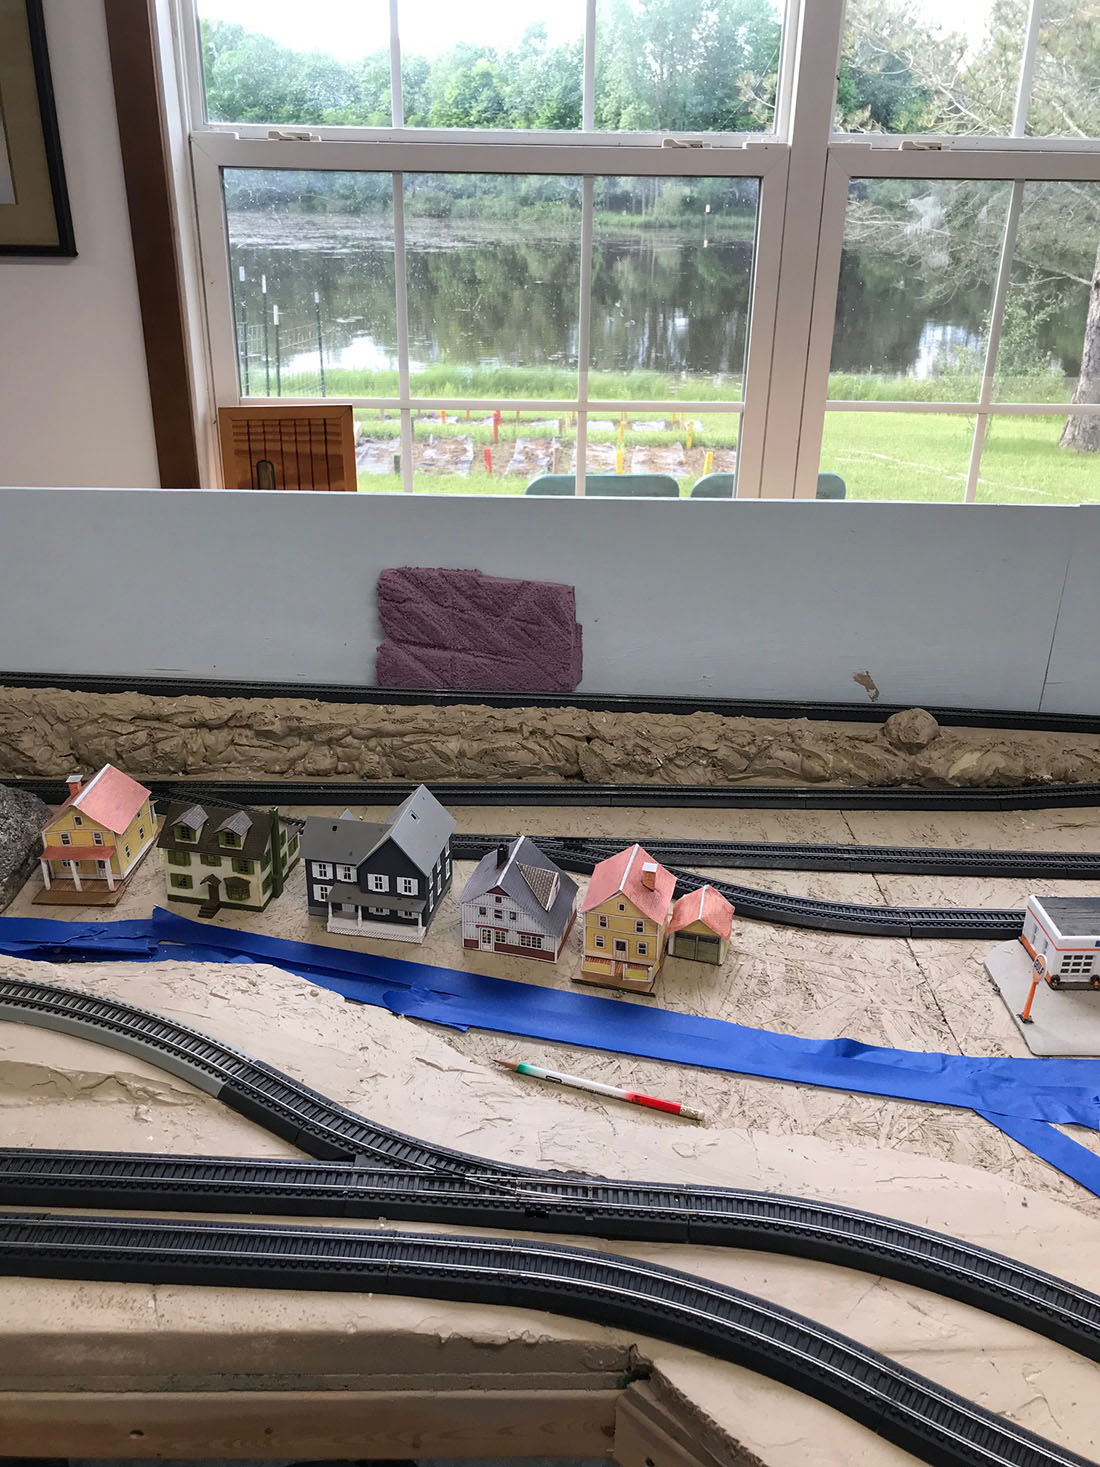
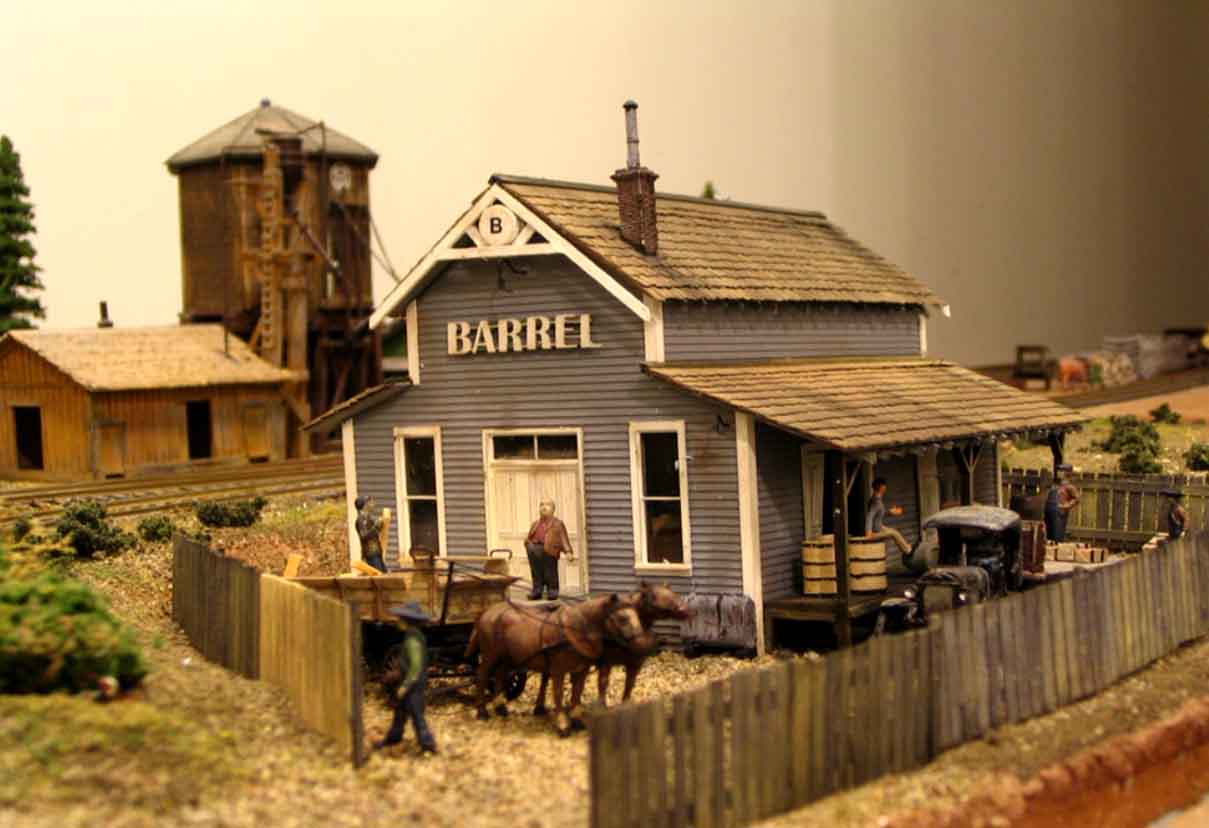
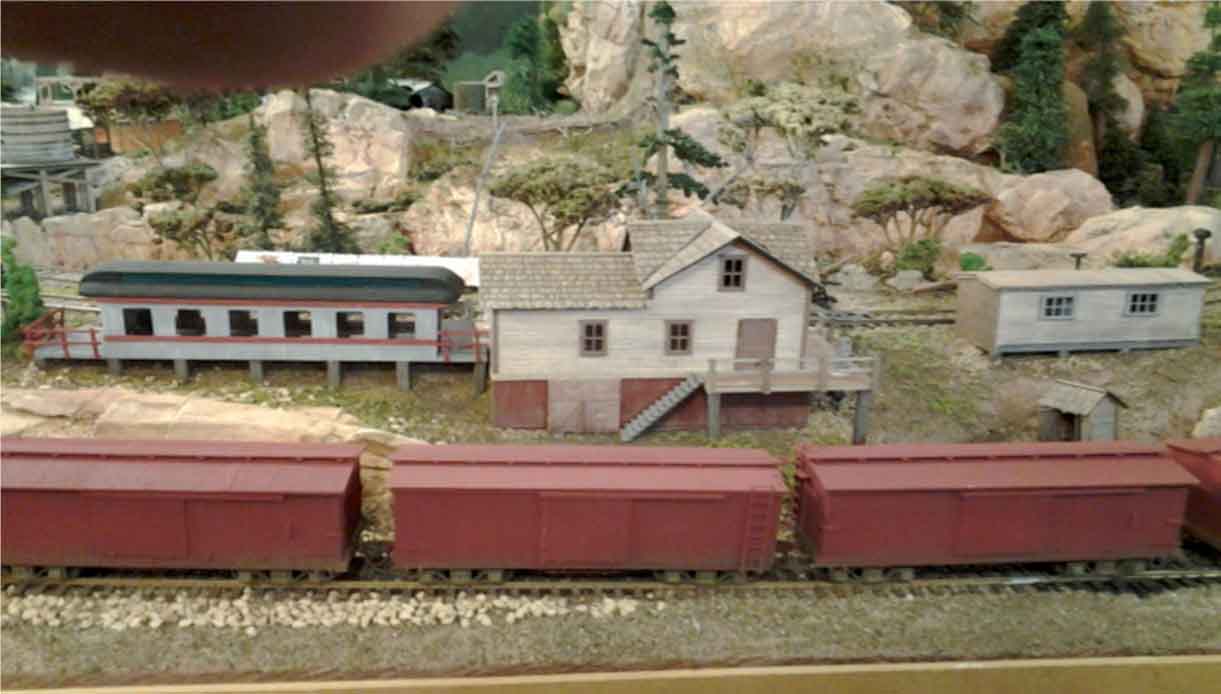
This station is at Cedar Lake. It is a stopover with a diner for the passengers. Everything you see in this picture is scratch built.

HO scale freight

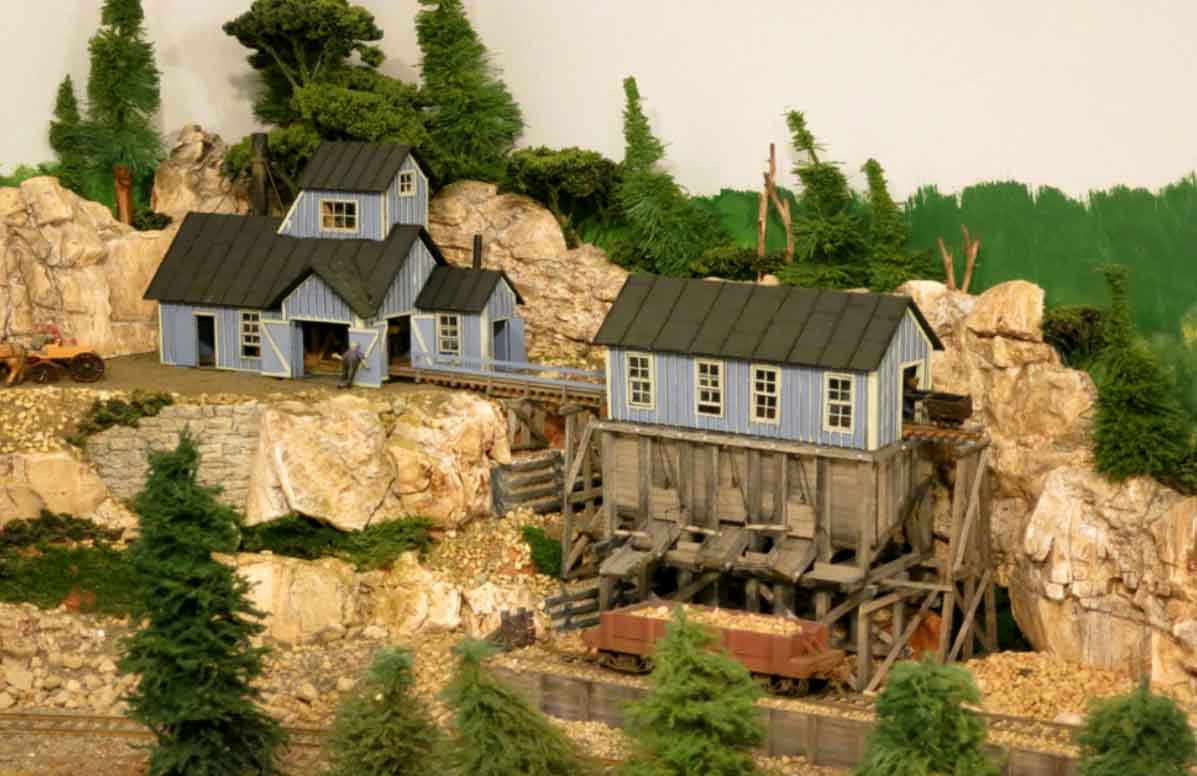
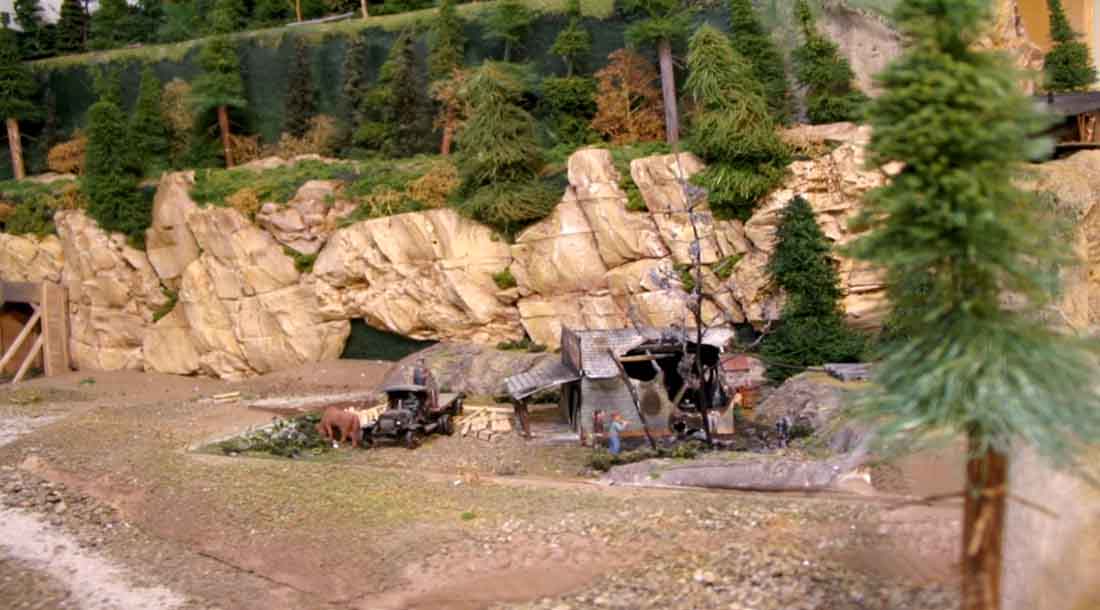
There are other points of interest, namely, a sawmill, a mine, and a number of other industries.

Ho scale lumber yard sawmill

HO scale sawmill hopper

HO scale sawmill

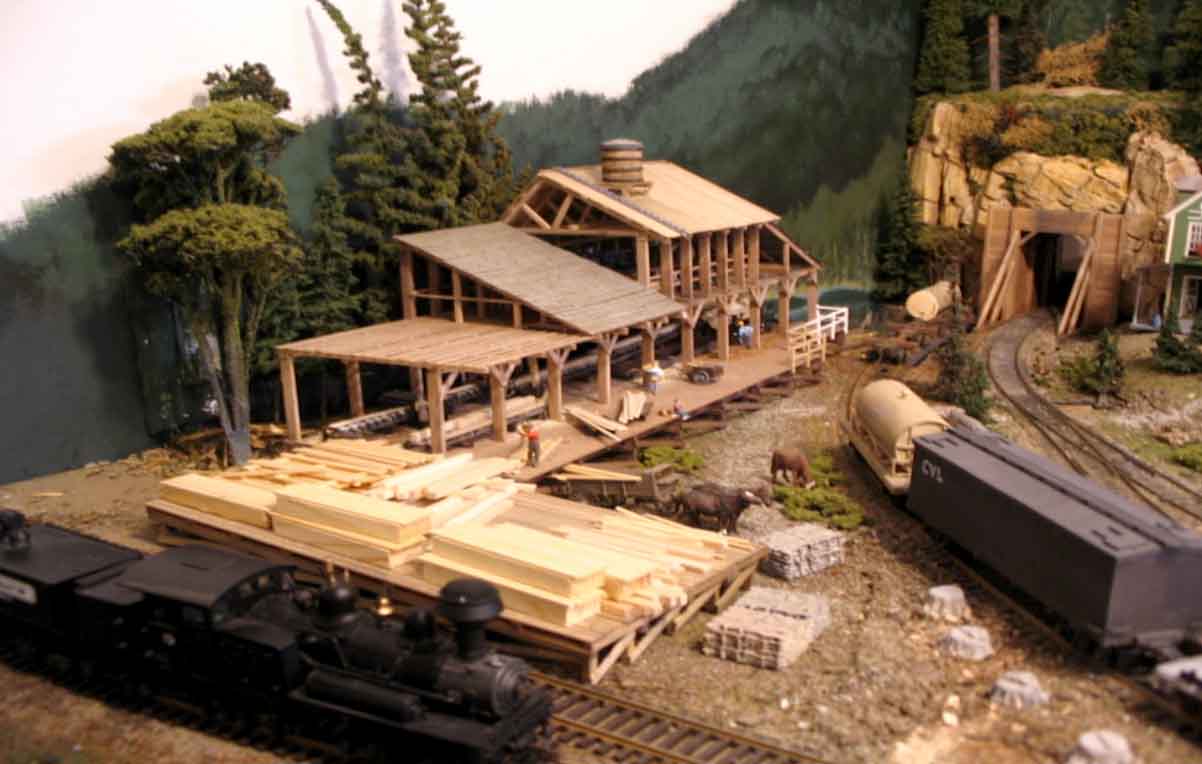
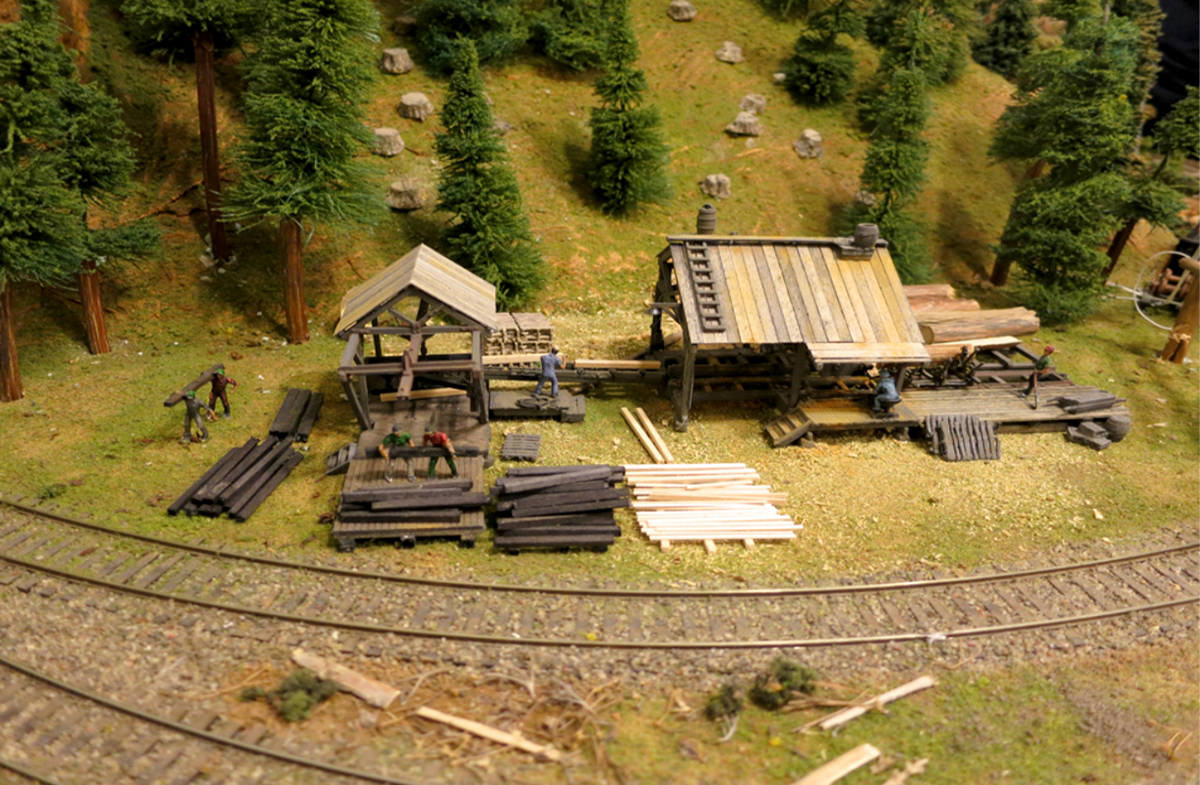
Lumber is brought down from the logging sites to the mill, then cut up and then shipped to other industries.

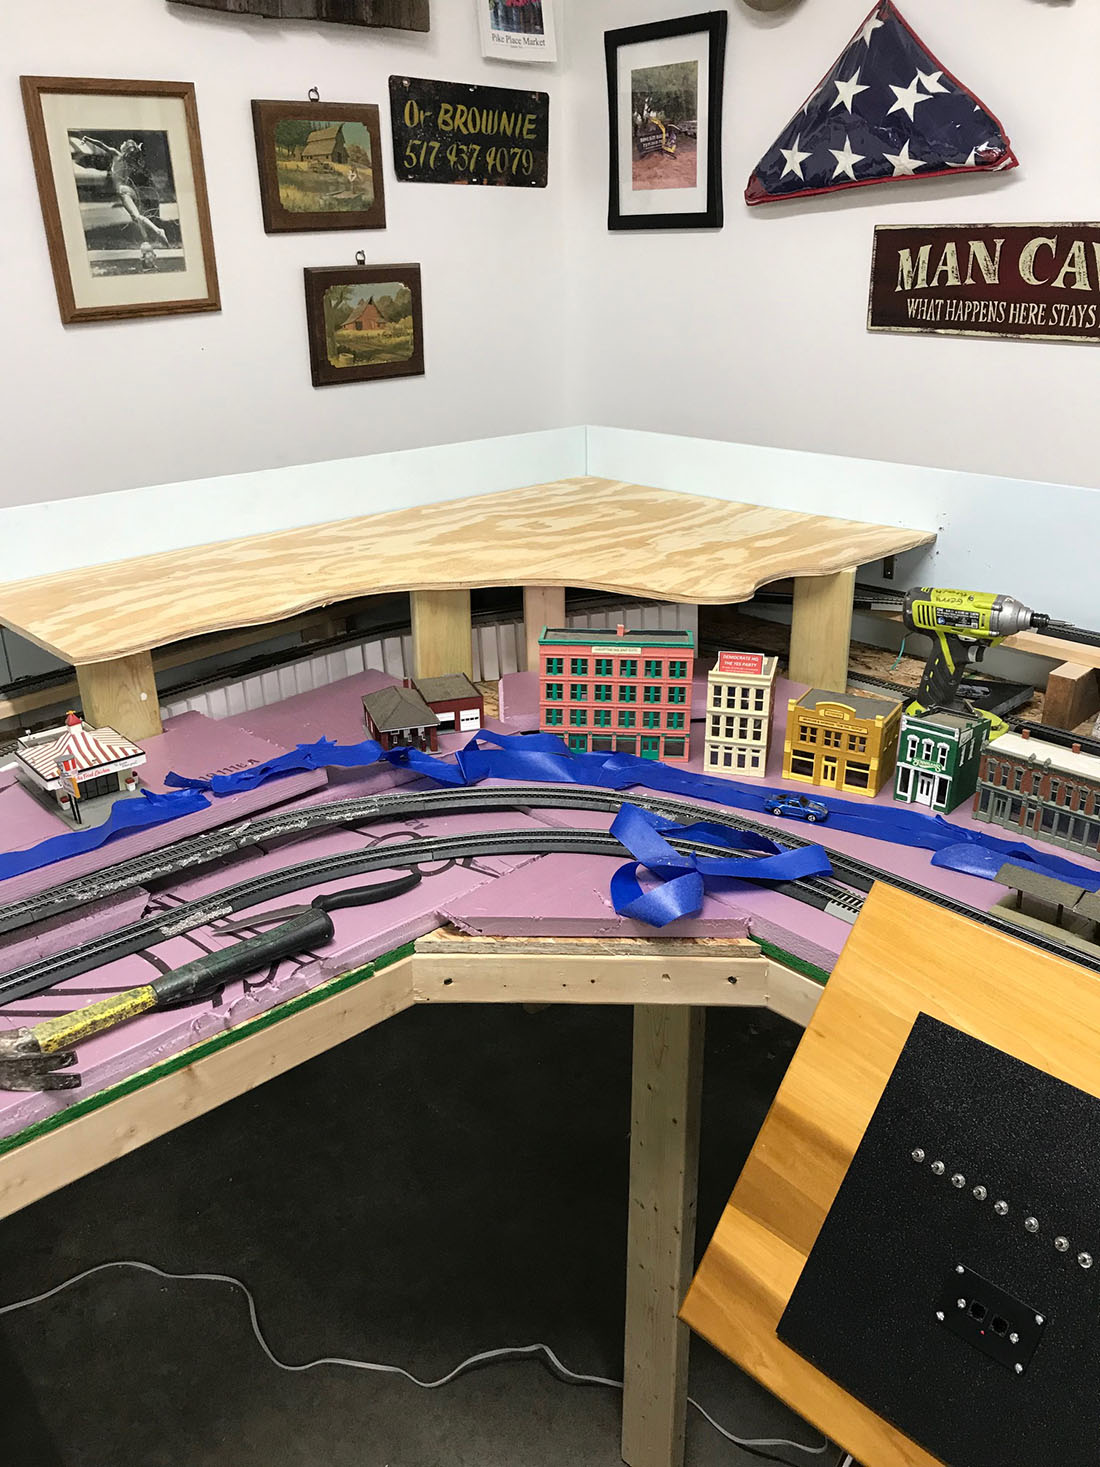
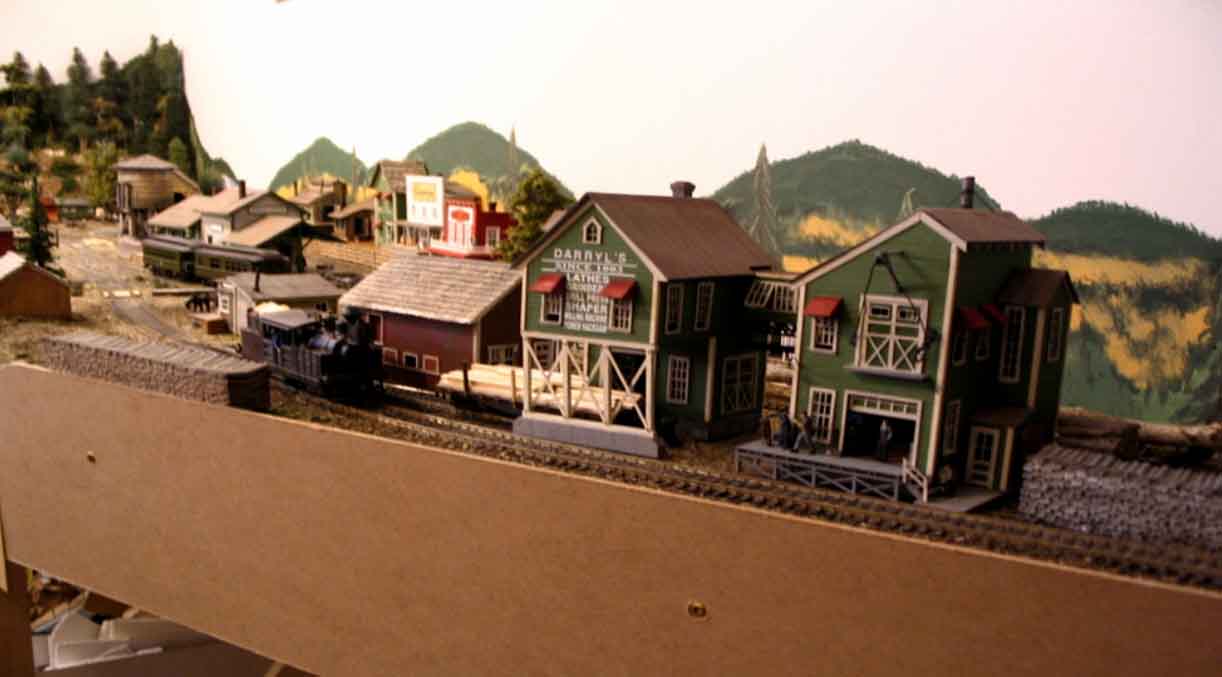
The houses and buildings are all made of wood as you would see in a lumber town. All the structures are either scratch built or wood kits modified to meet the space.

The station is a Fine Scale Miniatures kit modified to fit between the tracks.

The large sawmill and the lodge were scratch built from pictures I found on the internet.

The turntable and engine facility are all scratch built. Nearly all the rolling stock is scratch built.

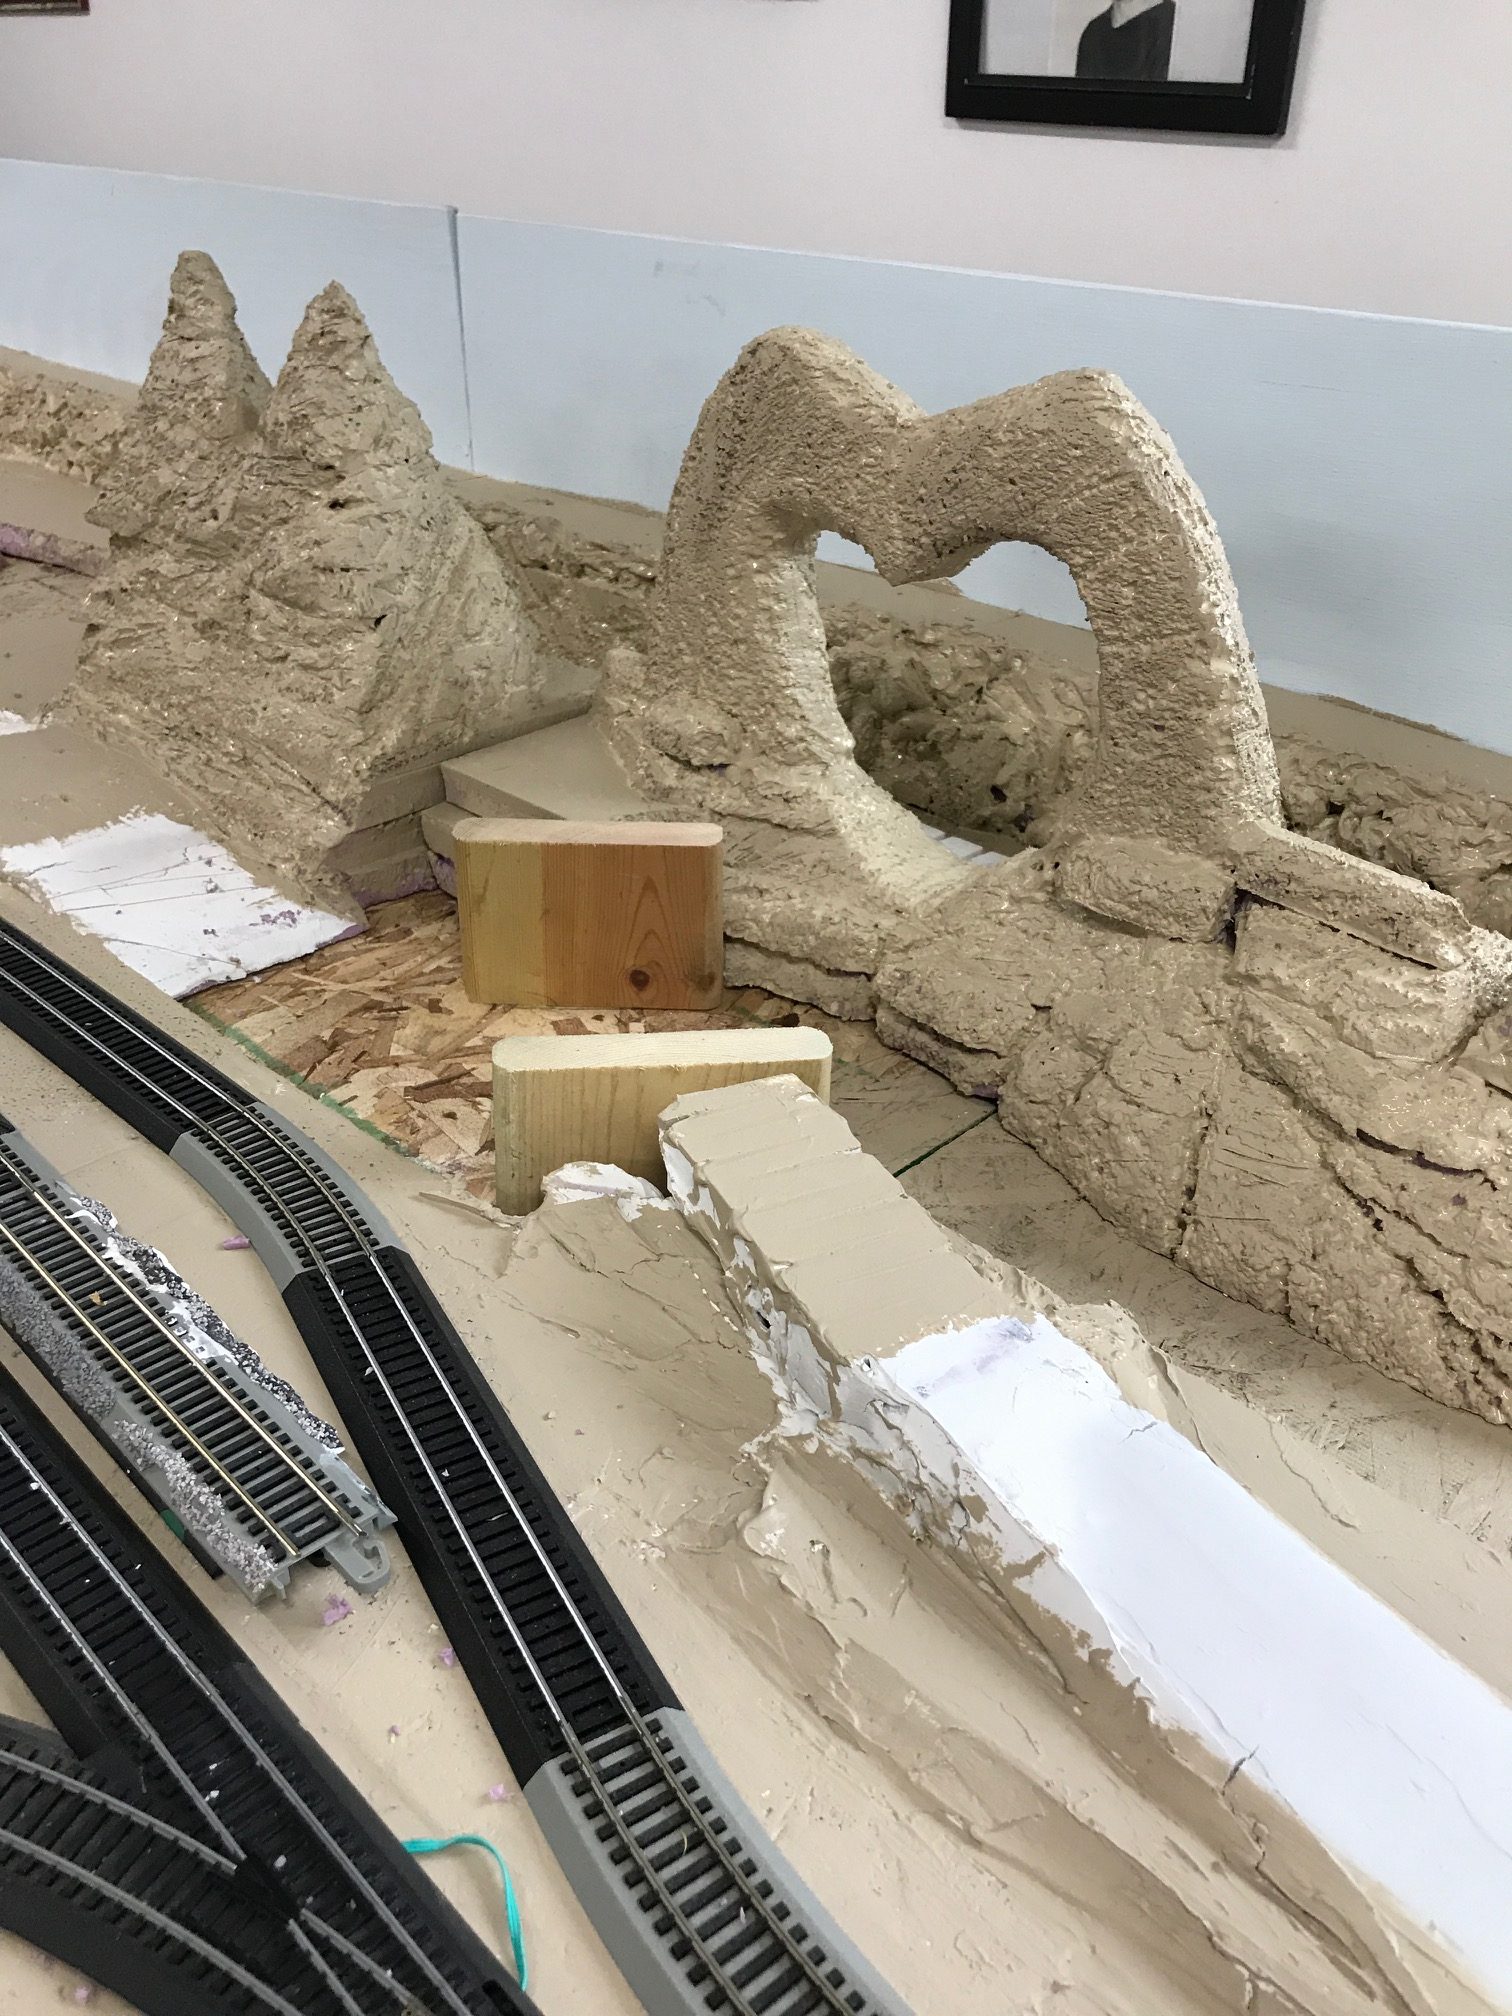
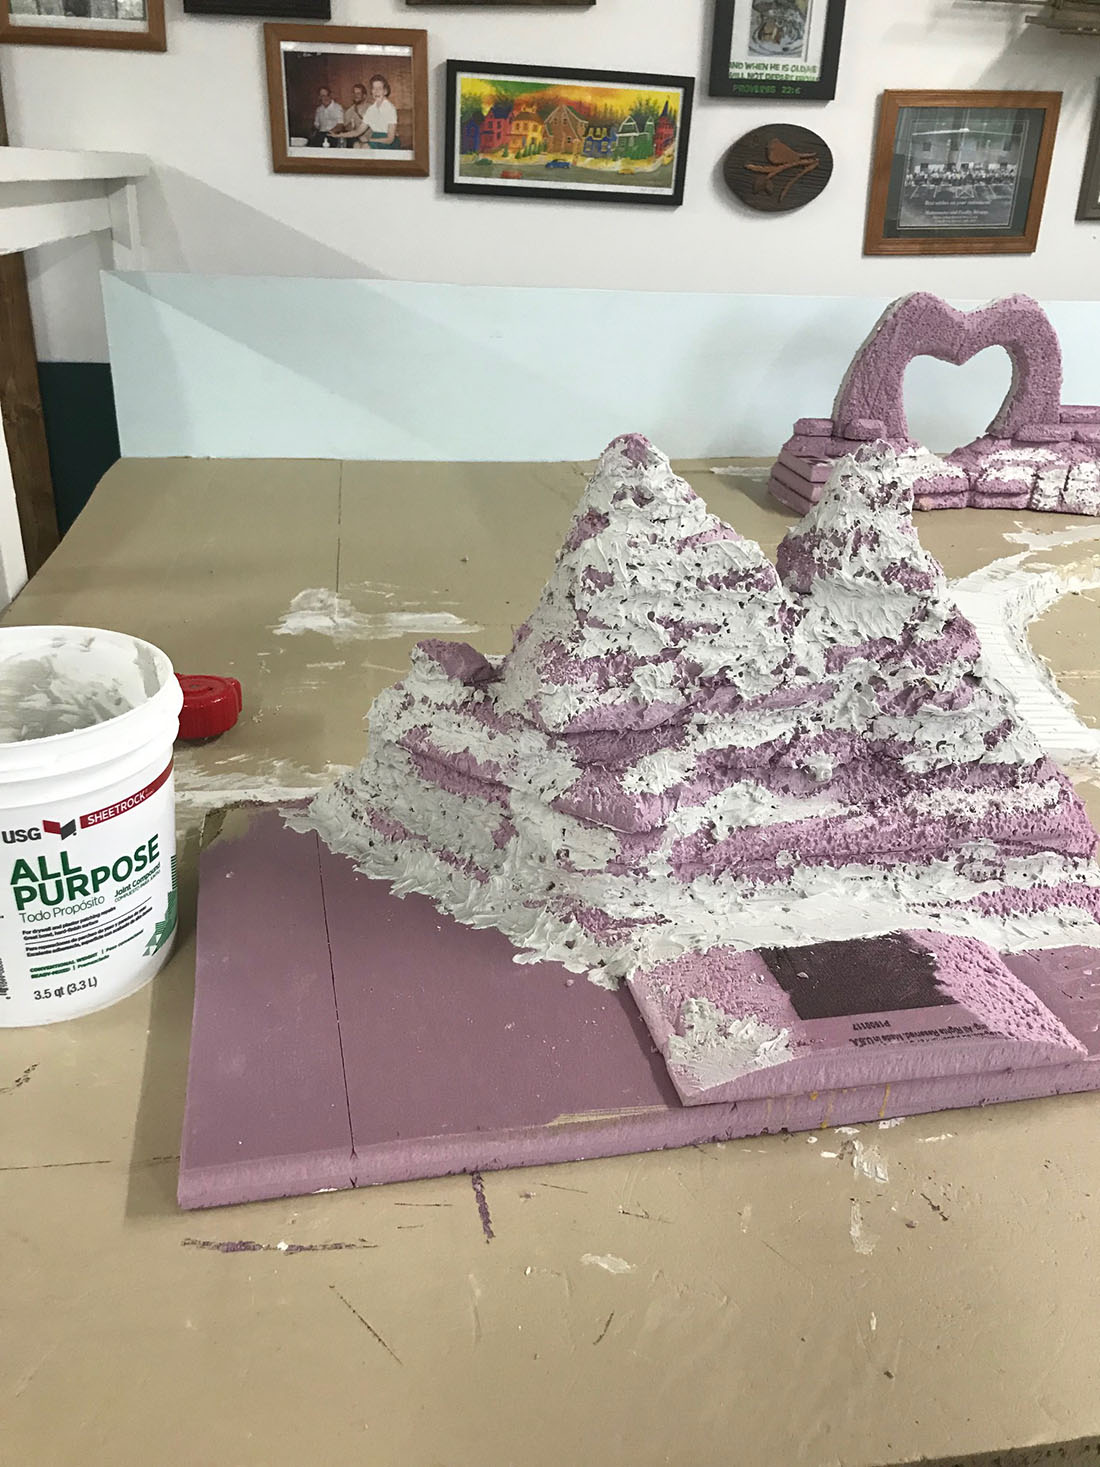
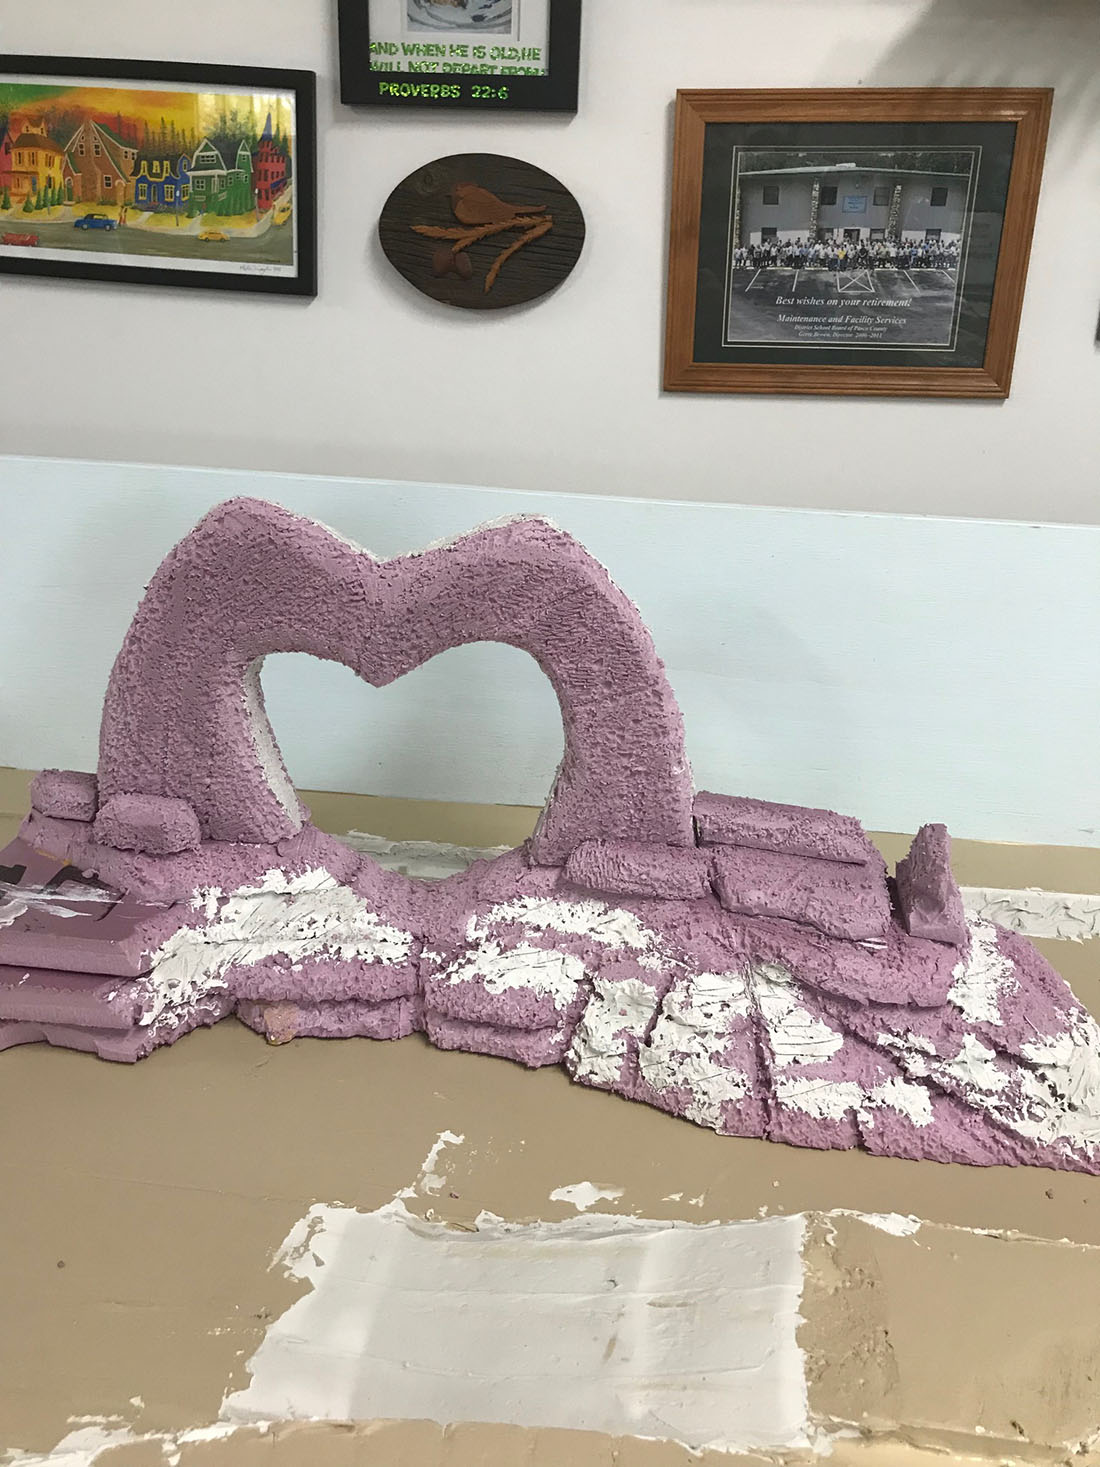
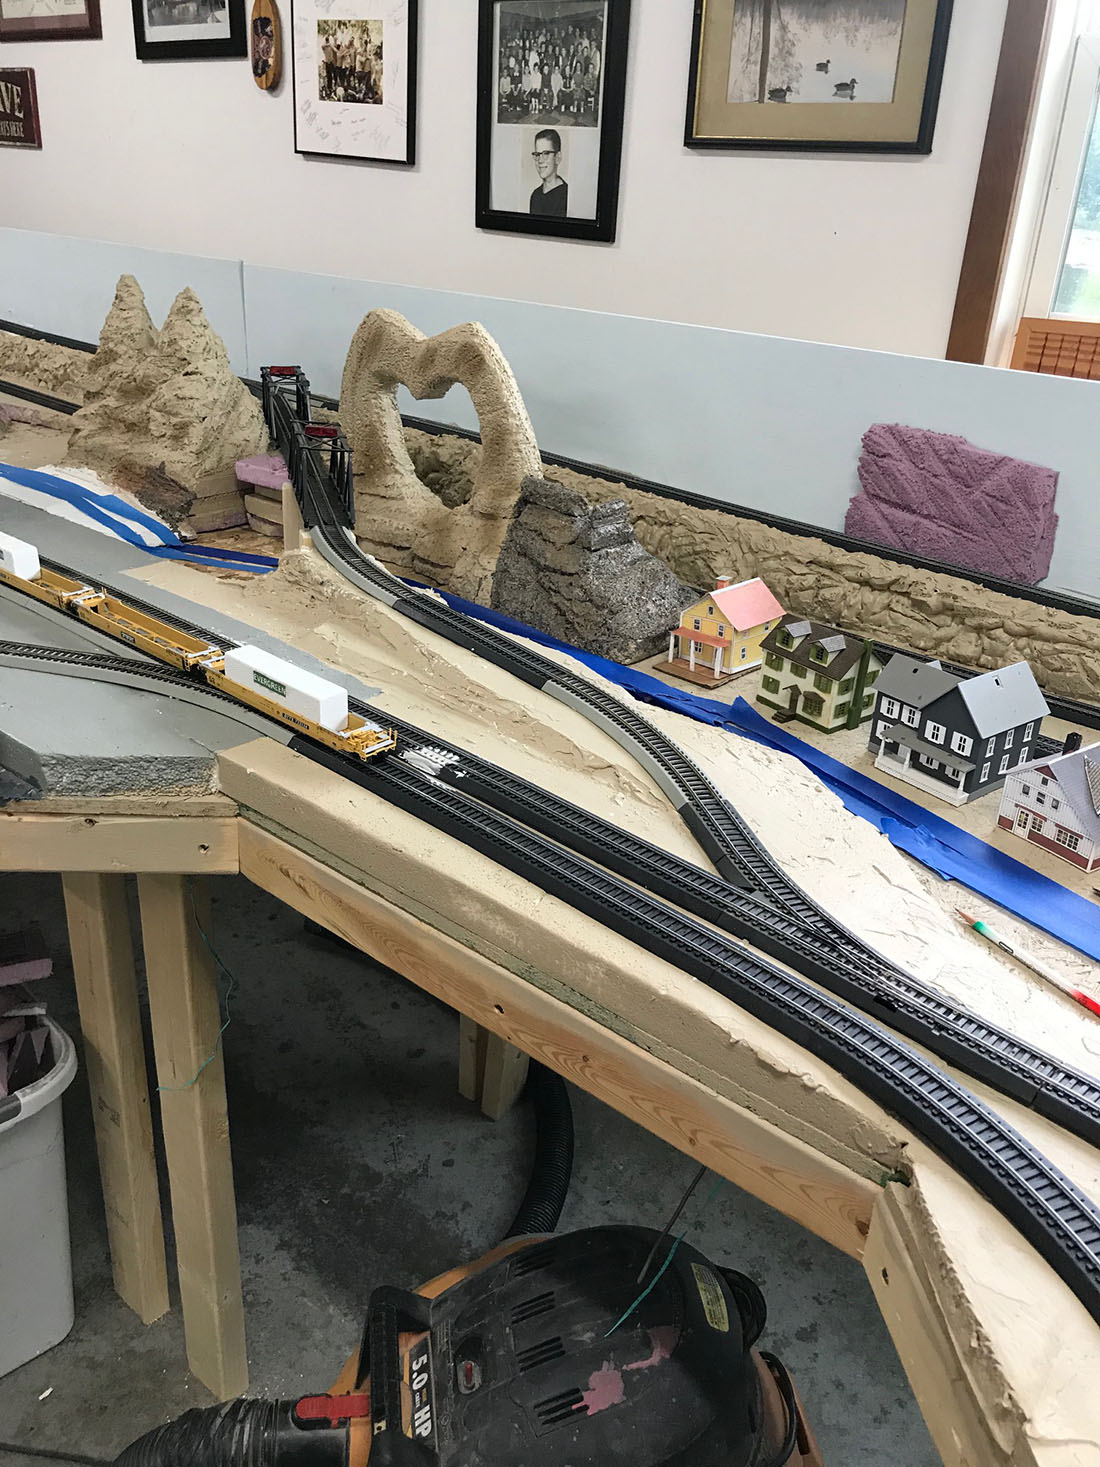
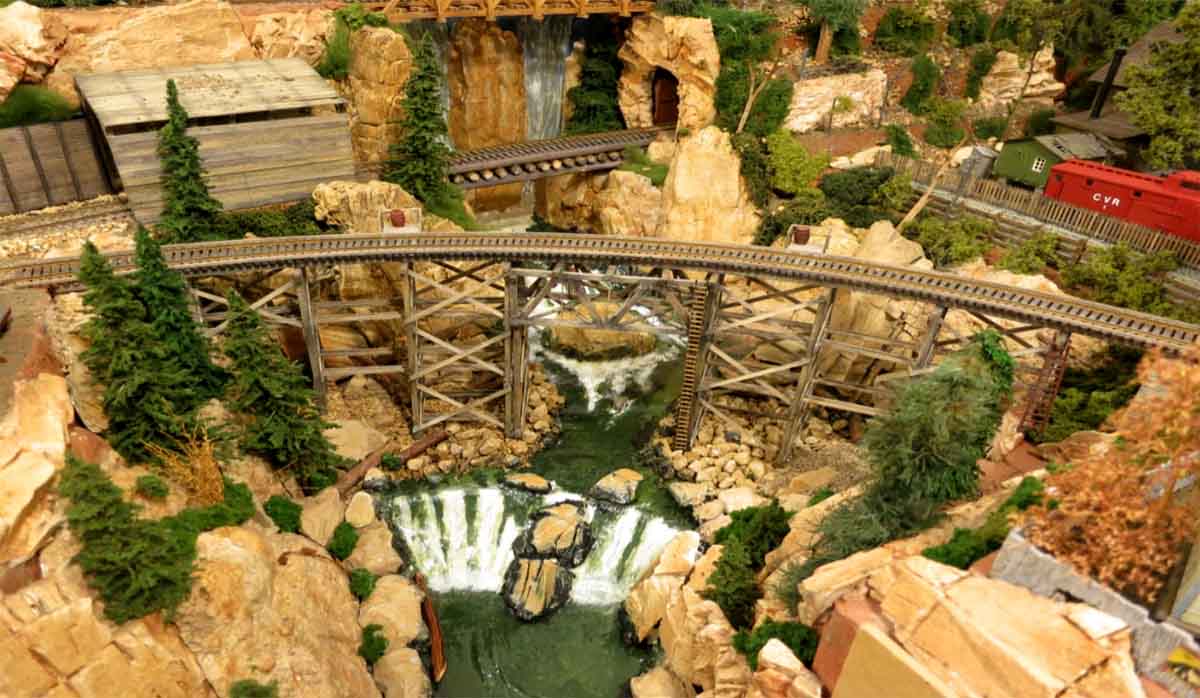
The rocks are made from moulds and plaster. They are then coloured with acrylic colours and washes.

The water is poured liquid water. The trees are either wound rope on wire or natural plants dried, sprayed and sprinkled with flocking.

The track is code 80 Peco Flex track with Peco turnouts mainly #6’s.

The ballast is my own. I get it from a gravel pit then sift it a number of times until it is the size I want. ( Make sure your ballast has no iron particles in it.)

I then use the larger stones around the layout. This keeps everything the same colour. The same goes true for the ground that shows. It is first painted with latex paint the colour of the ground and then real dirt from the farm and ground foam are sprinkled on top while the paint is still wet.

The locomotives are mainly 2-6-0 Bachmann steam. There are two shays and a climax. The CVL RR also owns a 2-4-4-0 steamer.

The layout is controlled with Digitrax DCC and nearly all have sound.

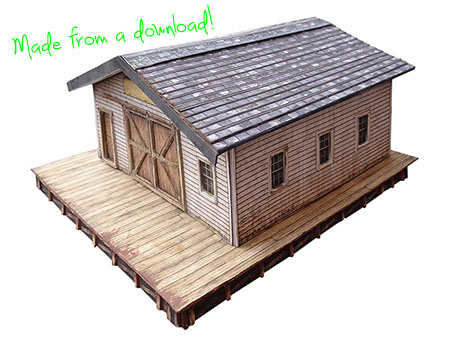
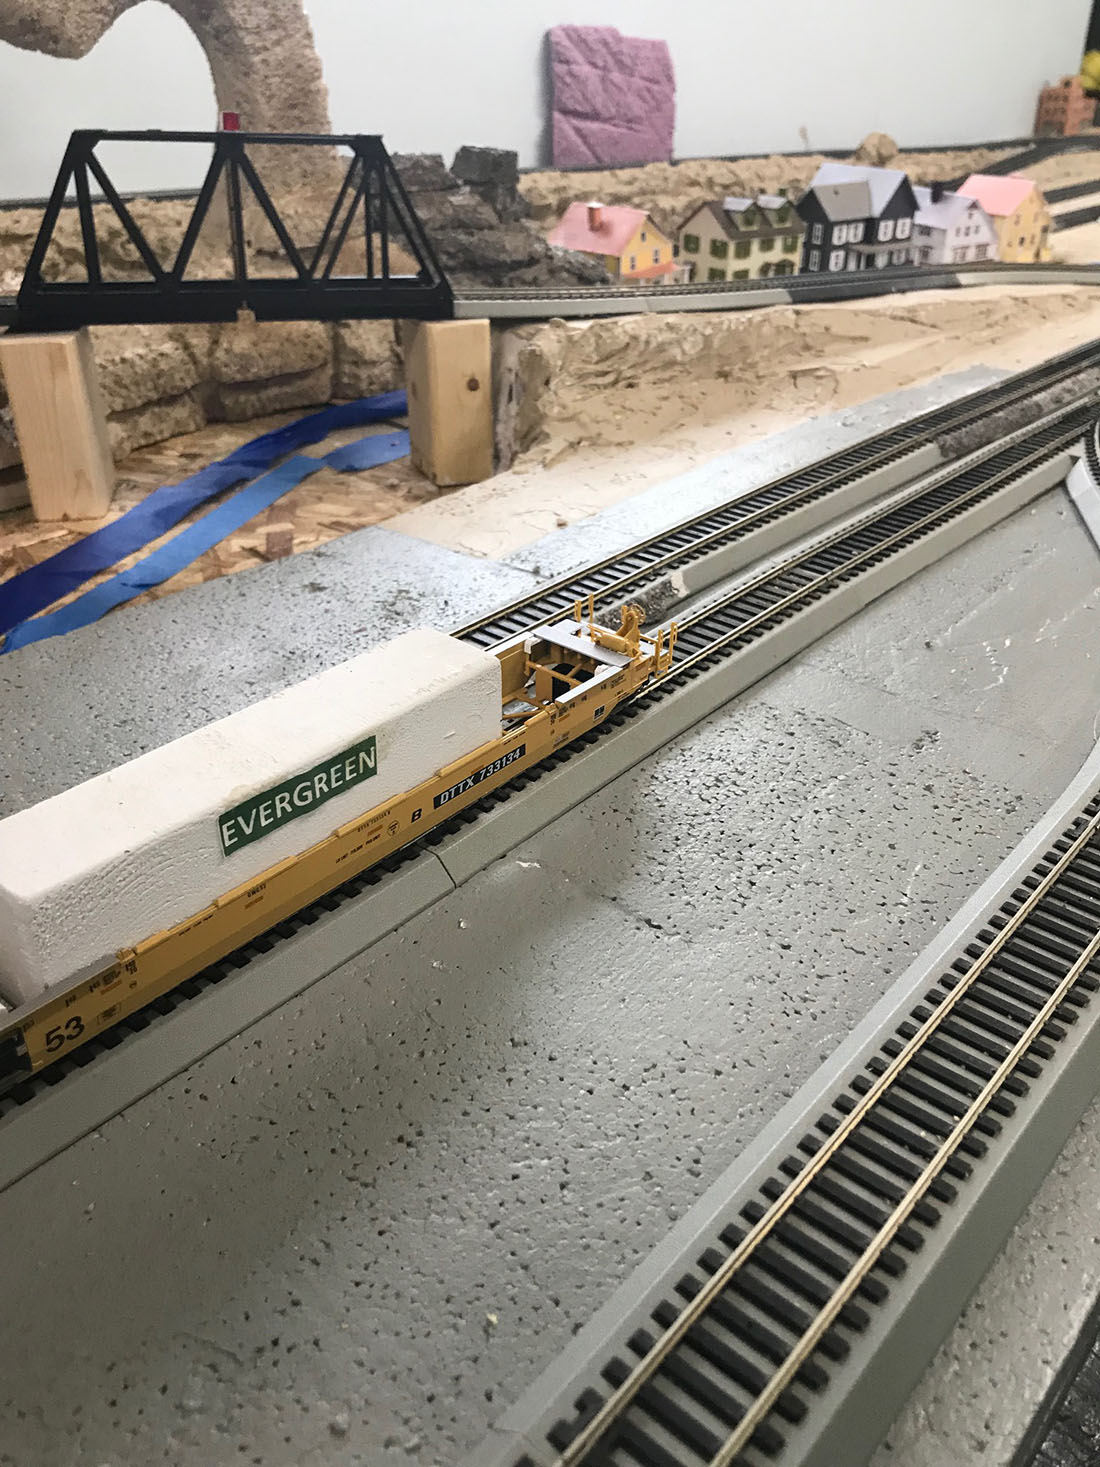
Below is a sample of what you can do with your paper cut out buildings.

HO scale model railroad


I hope your modellers can take some ideas and use it on their own layouts. It is always nice to share ideas with other folks.

I also do not mind other modellers contacting me for information and help.

Now for the bad news, it had to be torn down as a result of having to move to a new place.

Do not worry folks, I have started over again.

If you wish, I will keep you posted as progress continues.

Al, keep up the good work and thanks again for your site.

Jim,

Ontario Canada”

My word – a HUGE thank you to Jim for sharing his HO scale lumber layout. Can’t wait to see his new masterpiece!

All of Jim’s pics are a joy to look at, and I do love the way there is pretty a much a ‘scene’ going on in every part of it, which really brings it to life.

How I could miss a layout like this is beyond me.

It just goes to show, if you’ve mailed me, and I’ve not replied, please bear with me. I’m only human.

That’s all for today folks.

Please do keep ’em coming.

And if you want to have a bash at your very own layout, the Beginner’s Guide is here.

Pick a theme, start small, and have fun.

Course I’m biased, but you’ll be glad you made that start.

Best

Al

PS More HO scale train layouts here if that’s your thing.


model train printable building

See this building in the store.

Martin’s very clever uncoupling system

I posted about Martin’s very clever uncoupling system not long ago.

You may remember it – it also showed off his even cleverer fiddle yard.

(If you missed it, it’s here.)

Well, Martin has been back in touch and he’s very kindly answered all your questions:

“Al,

I was completely overwhelmed by the response to my traverser video, I really did not expect so much interest, so firstly I would like to say thank you to all who responded for their encouraging comments.

There were a number of questions raised, so I will do my best to respond to them.

Colin – Here is the final version of my track plan, the green line on the bottom RH corner is the extra siding I added to the goods yard.

track plan for uncoupling system

Derek – The turntable is standard Hornby product, it uses a mechanism called a Geneva Drive which causes it to stop at each location, which is actually quite irritating as the unit allows for 14 tracks and I only use 4, so if I want to turn a loco round it stops at all unused tracks on the way.

Having said that, it works fairly well even if it is noisy.

As built, the turntable stands proud of the baseboard and is supplied with short ramps, but I went the extra mile and sunk it into the baseboard to leave a level track.

Yes, it is a bit quick at the moment, there is a reason though – the turntable and the traverser share a power supply, and I increased its voltage to speed up the traverser. I intend to fit a resistor to slow the turntable down as soon as I get round to it.

Keith – Sorry, no sound on the video. I forgot to turn the radio off when filming and to be honest, I was too lazy to do a voice over.

Roger – Yes, it did use a fair amount of ink, but using recycled cartridges reduces the cost. I am quite mean, and save paper which is only printed on one side for one off occasions like this, so no extravagance there.

I do use your suggested method for a lot of projects, I think it is called “Dynamic Design” – i.e. make it up as you go along, but I do believe that failing to plan is planning to fail.

Kaustav – The traverser is level, it is just the camera angle. However, loose wagons can roll off, hence the removable strip across the end, which is set at buffer height to allow couplings to pass under it.

Michael – Accurate track alignment is the key to the whole project. In the words of Thomas Edison, success is 10% inspiration and 90% perspiration!

Everything needs to be level and the indexing needs to be accurate, then it should all go to plan.

Aligning the first track is easy – lay it across the gap, (I use copper clad board sleepers and solder the track to them) then cut through the track.

The rest need lots of care and patience. I did cheat a little with the two front tracks, which are curved – I sacrificed a curved section of set track and cut it to fit, to keep the curve constant.

Chris – Yes, I confess to being a retired mechanical fitter and have worked on a variety of electro-mechanical equipment.

Dean – Here is a selection of the goodies available from VHS cassettes: –

BTW our ages are not so far apart – I am 72.

Bill – Green paint would be welcome as hope to get some scenery off the ground soon (pun intended).

Gary – My uncouplers are just a very simple version of the Hornby uncoupling ramp but at negligible cost and much less obtrusive.

I tried this approach as the Hornby ramps need a significant length of straight track and I have limited space on the traverser. They work OK with tension lock couplings – I have couplings of 3 sizes and after careful adjustments they work with all 3.

uncoupling system

uncoupling system

uncoupling system


You should aim to have the centre section of the ramp just high enough to lift the hook as it passes over, but not too high as it will lift the wagon off the track. This is especially true with a light wagon.

Once you get it right, I would suggest you lock it in place with a track pin through the sleeper. Where they are not in the scenic area, I have used screws to make it easier to replace if necessary.

I hope I have answered everyone, once again many thanks for all your interest and kind words.

Regards,

Martin”

And now on to a short update from Peter.

His last post is here (where I wrongly call it HO scale – it’s O and On3).

The video is short – and there’s no sound – but it really does give you an good peek at Peter’s layout. Stunning stuff.


Thanks to Peter and an even bigger thanks to Martin – what wonderfully thorough answers!

It’s fabulous to see how you lot solve the problems that are thrown your way.

It just goes to show there is never a wrong or right way. If you’re having fun, and it works, all is well with the world.

That’s all for today folks.

Please do keep ’em coming.

And don’t forget the Beginner’s Guide is here if you want to join in on the fun and see what layout problems surface for you.

Best

Al

PS Latest ebay cheat sheet is here.


HO scale feeder to bus wire

Gerry’s been in touch with a problem he’s been having with his HO scale feeder to bus wire.

Happily, you lovely lot have rallied, and if you are having the same proble with your wiring, look at all the answers and comments below.

“Hi Al,

I have been slowly building a new HO layout which is just now ready for electronics work as all base painting and landscaping is done.

But big problem as my first attempt to attach feeder wires off a bus line has resulted in cross circuits. Need help!!!

So need to get locomotives running before doing detail work on every square inch ovt next 10 years…

Had just 2 inches to spare to get boat in the garage and close the door…!

Thank you AL for your blog as I really enjoy it and Johns paper buildings keep me busy in winter as we return to Florida for winters.

Thanks.

Gerry.”

HO scale rock formation

HO scale track layout

HO scale track plan

model railroad laying track for feeder wires

HO scale corner foam hiding feeder wires


HO scale laying track for bus wire

HO scale foam mountains

HO scale model rain

HO scale foam mountains

HO scale foam mountains

HO scale model railroad rock

HO scale model railroad rock

HO scale harbor

HO scale feeder to bus wire track plan

HO scale feeder to bus wire

HO scale feeder to bus wire

control panel

HO scale model railroad with bus feeder wires

HO scale buildings

HO scale feeder to bus wire

HO scale buildings

track layout for bus feeder wires

HO scale rock formation

HO scale train freight powered by feeder wire

A huge thanks to Gerry – looks like he’s having fun. But who can help him that HO scale feeder to bus wire issue?

Please leave a comment below if you can point Gerry in the right direction.

It reminded me of John’s post:

HO scale feeder wires

The comments and suggestions on the bottom of that post are very helpful too – if it’s something that you’ve been scratching your head over, it’s worth a read.

And there’s also Lawrence’s post too:

Wiring your layout

Also, Barry’s post is helpful:

Barry explains wiring for your model railroad.

DCC Bus wiring.

Remember, it’s the comments that hold just as much advice as the posts.

That’s all for today folks.

Please do keep ’em coming.

And if you want to your start, on your very own layout, the Beginner’s Guide is here.

Best

Al

PS Latest ebay cheat sheet is here.

PPS More HO scale layouts here if that’s your thing.