HO scale bridge supports

Don’s been back in touch with his HO scale bridge supports:

If you missed his first post, it’s here.

Here’s what he’s been busy with:

“Good morning Al. It has been a while since I last posted.

I was going to post my progress but instead I want to show people that being flexible is important.

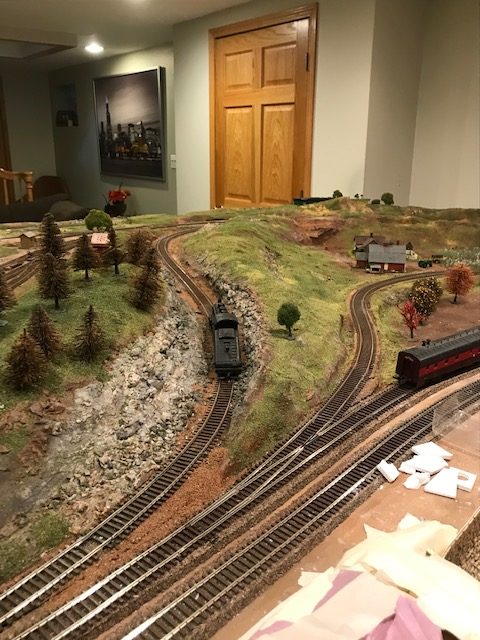
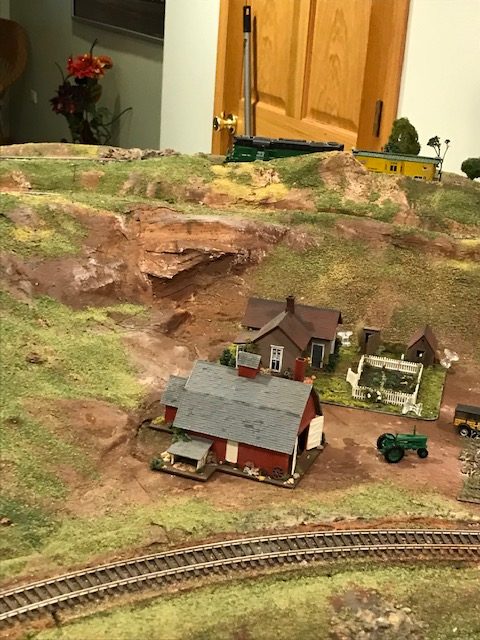
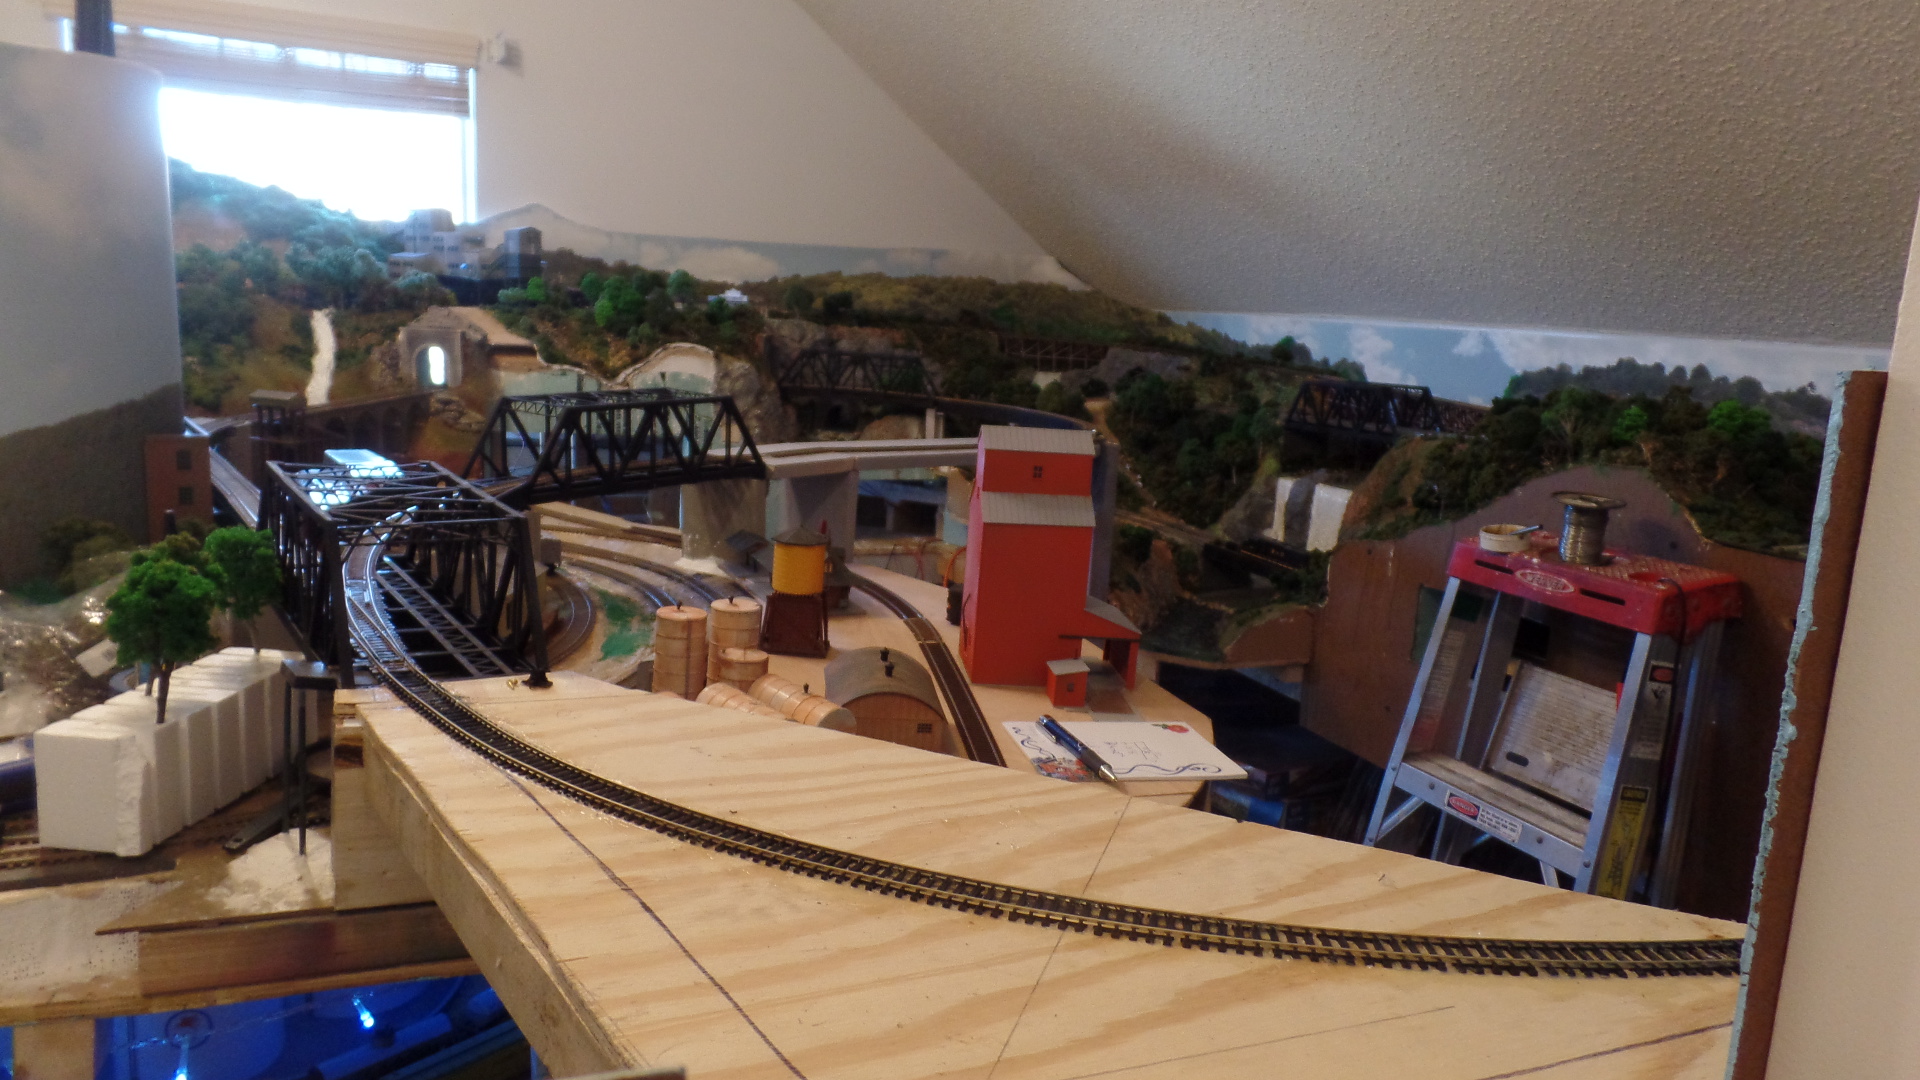
My layout is mountainous and when I got to the summit I needed to turn the trains around for the decent.

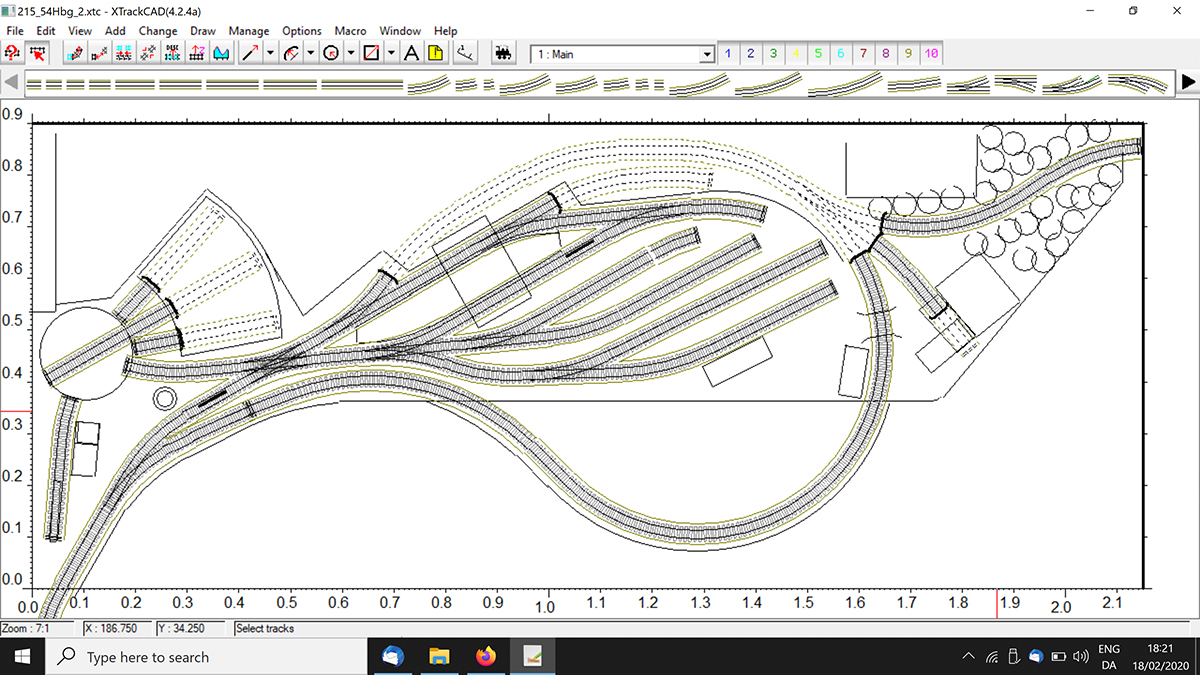
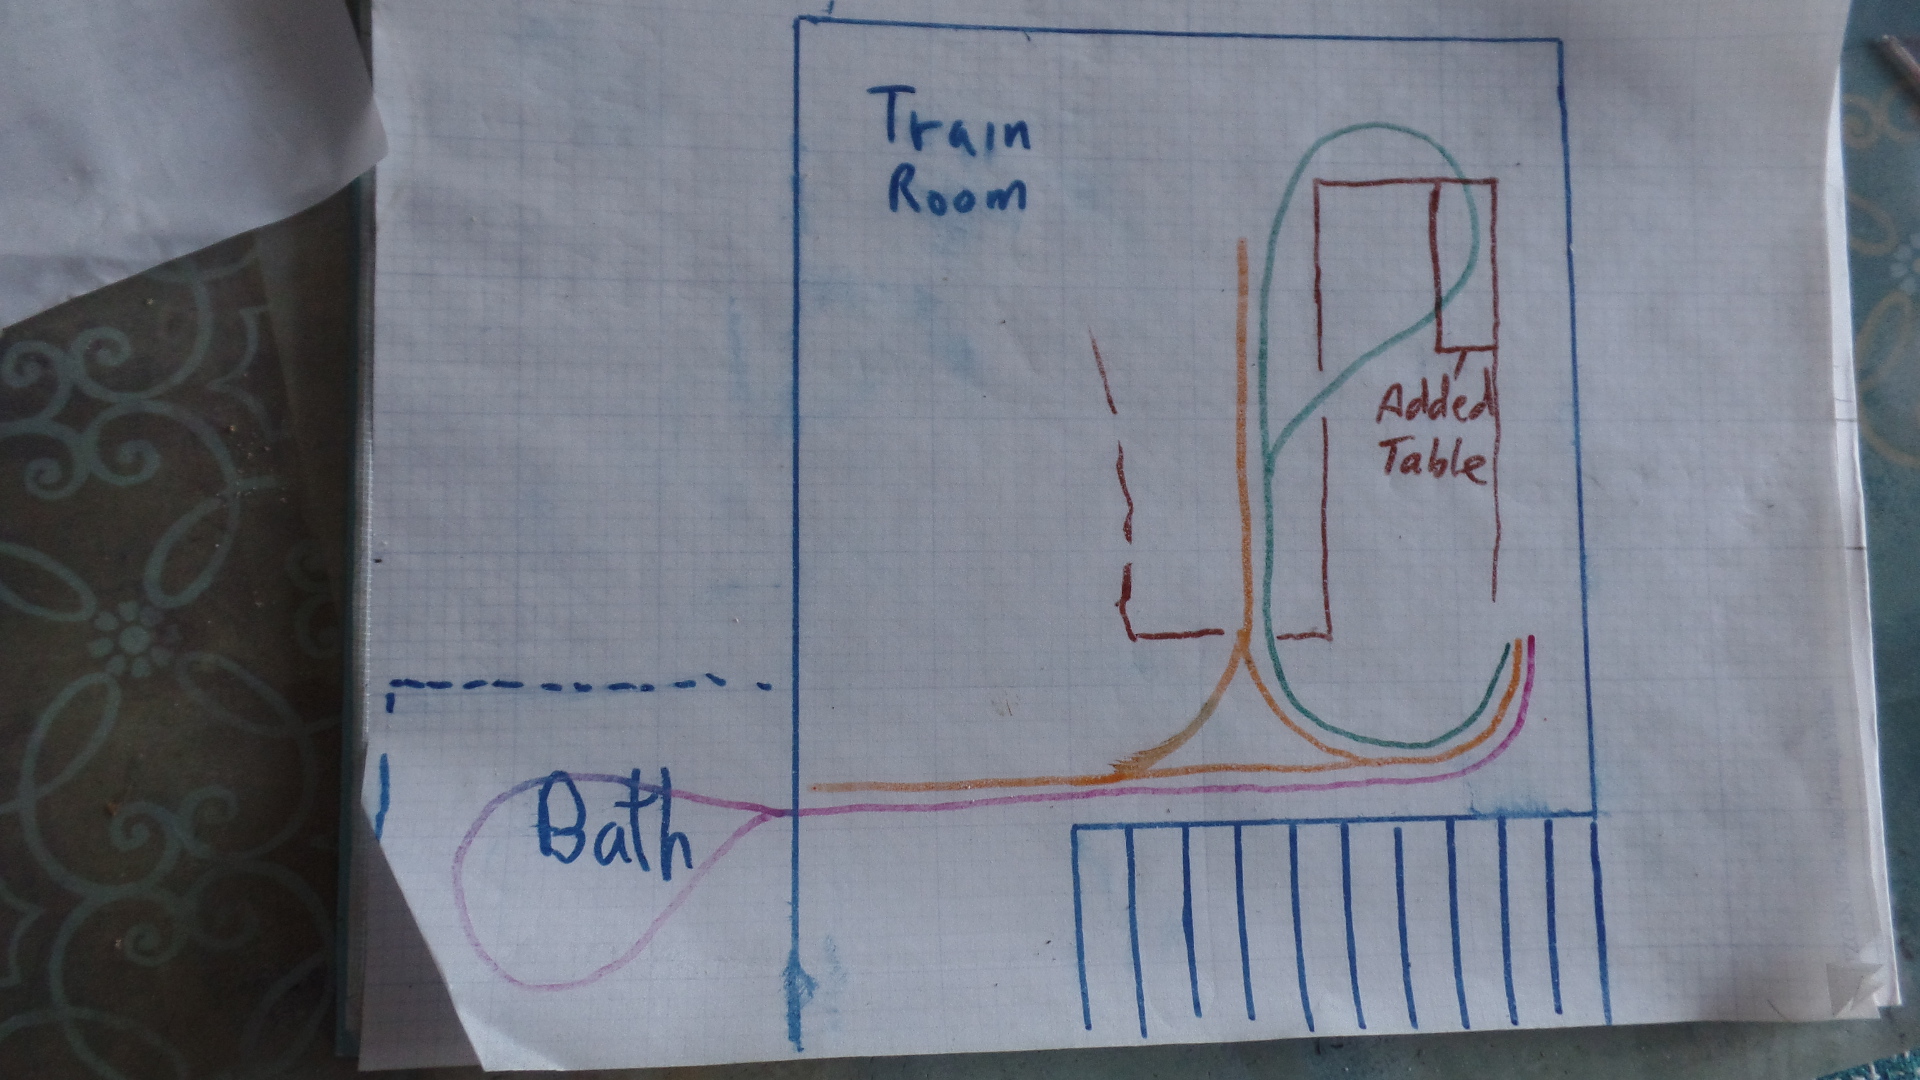
The diagram shows my approach.

At first I was going to put a hole through the wall into a spare bathroom and loop over the tub “RED”. My dear wife pointed out that my being dead, I could not play with my trains.

My second approach was to make a “Y” This had merit, but the trains would need to be short and backing full trains can lead to derailments, “ORANGE” Finally I decided on a loop over my existing layout “GREEN” This required a tunnel through an existing mountain and a completely elevated track.

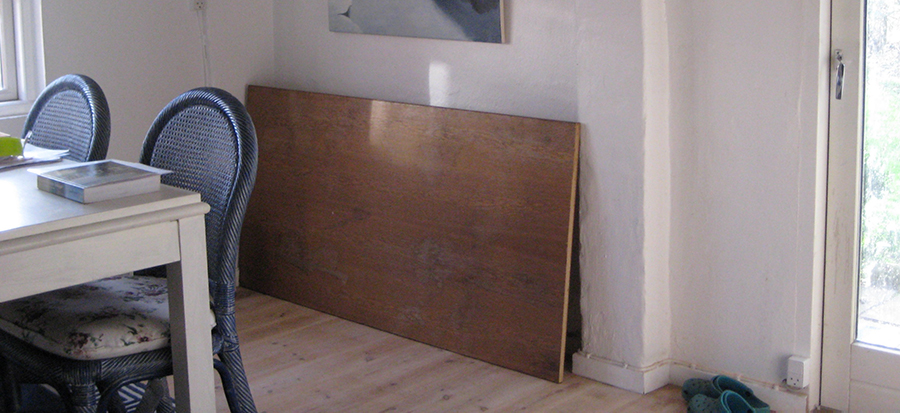
I also had to add a 1by4 ft section for the return loop. More importantly I needed removable sections for access.

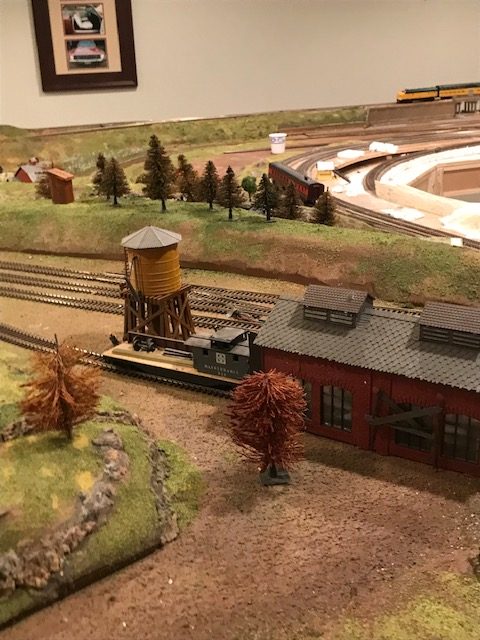
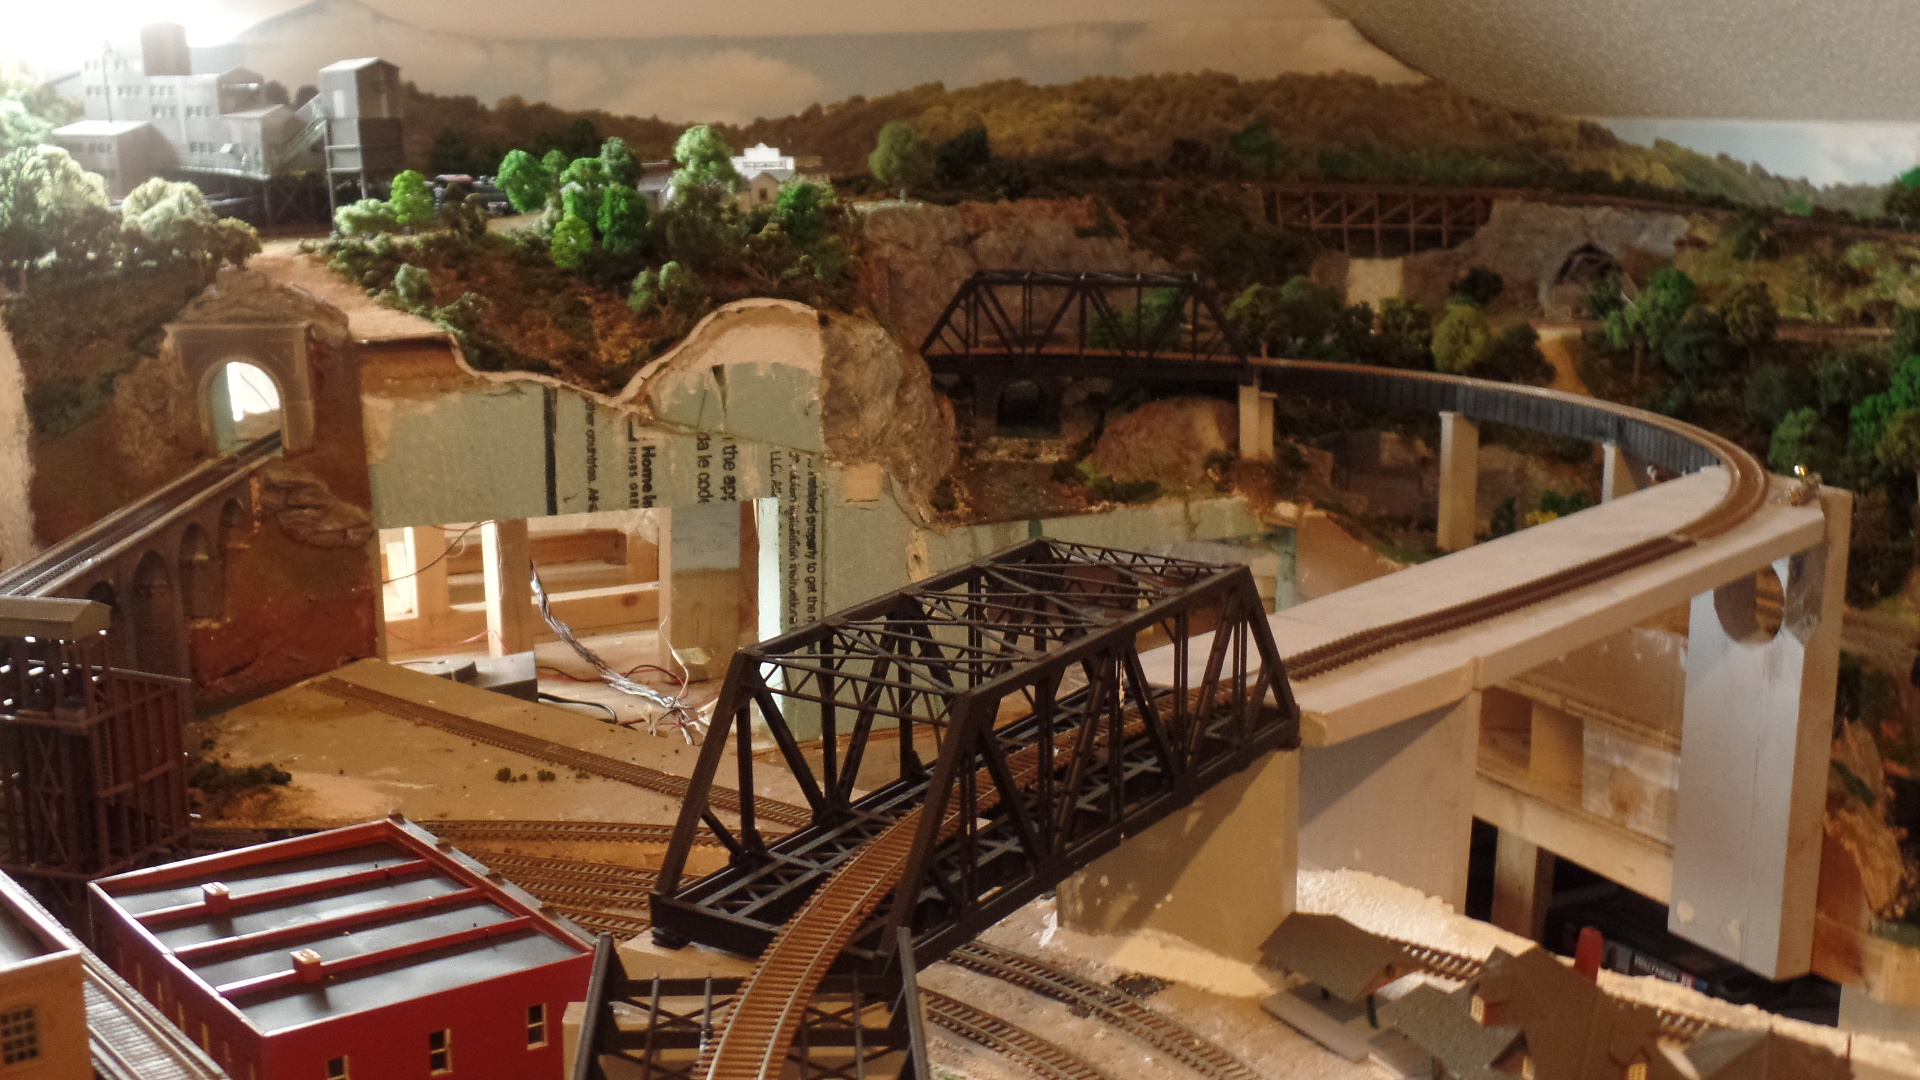
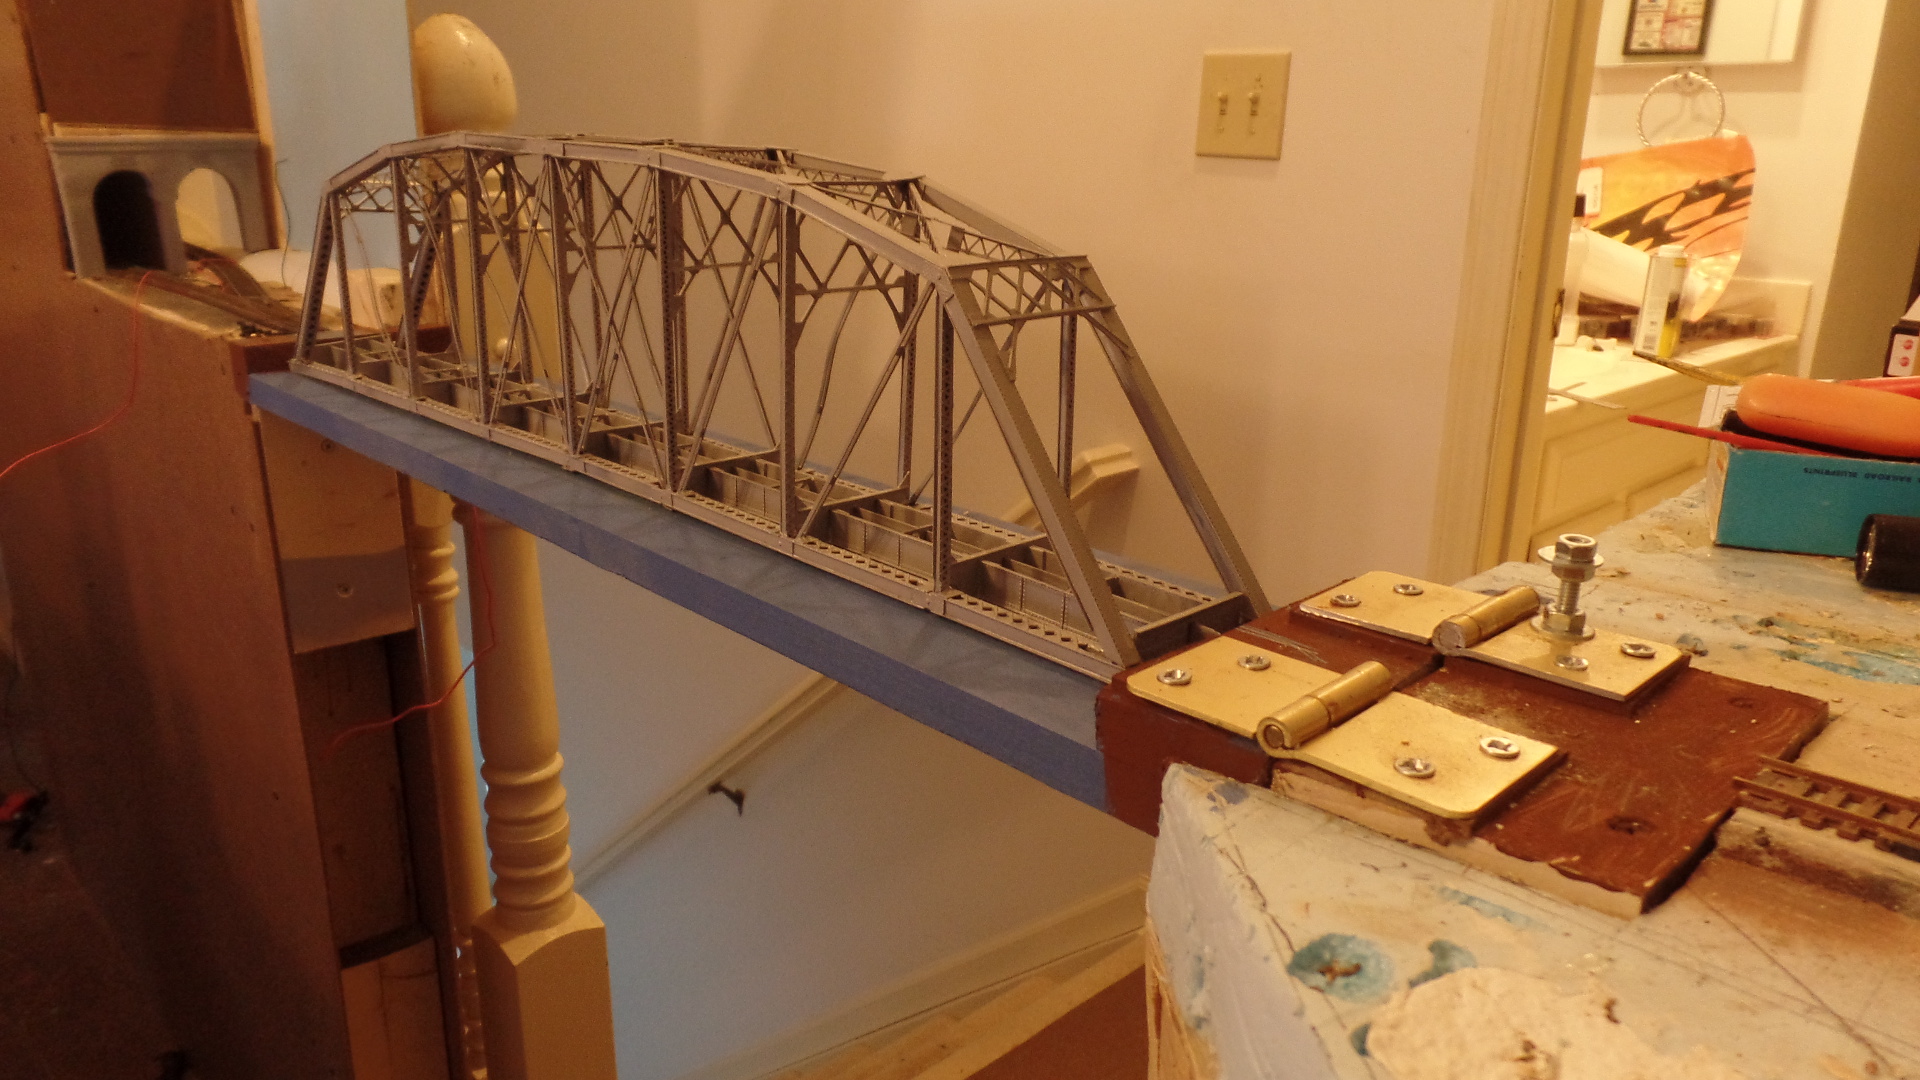
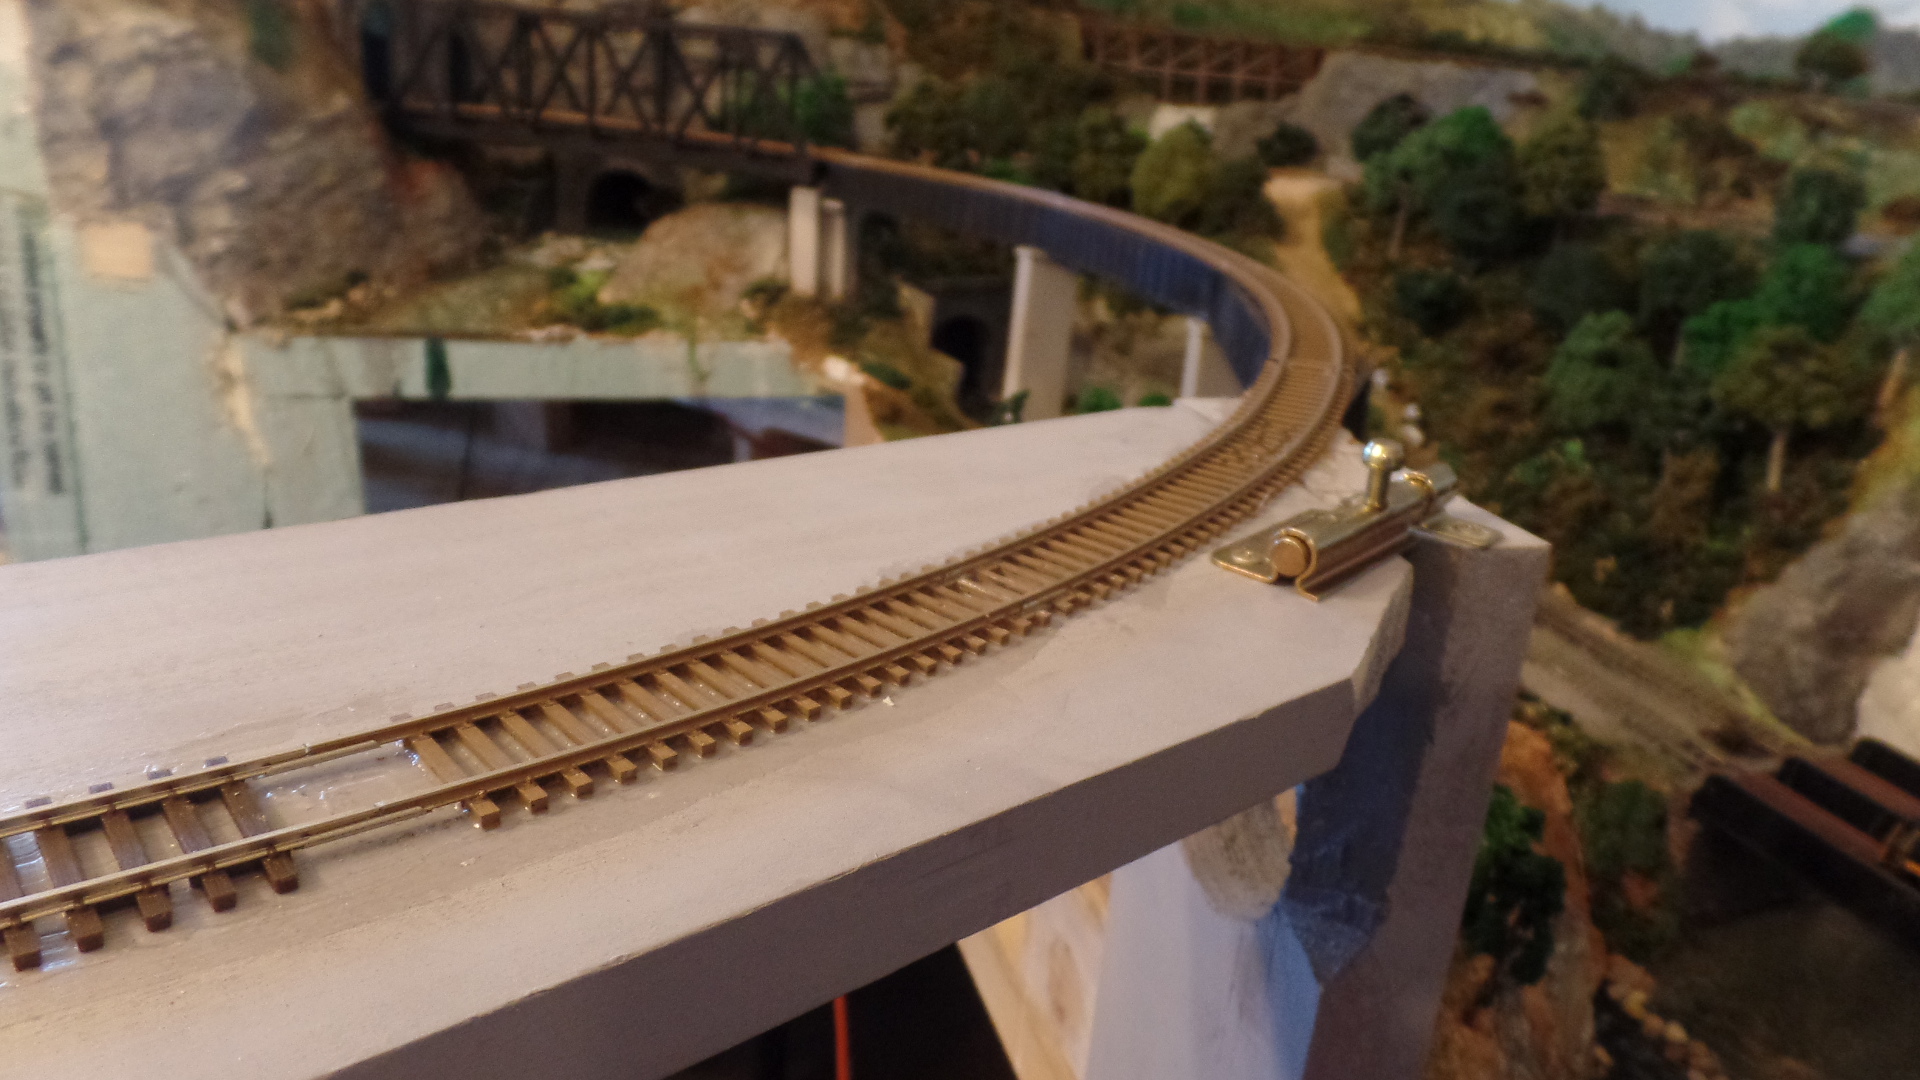
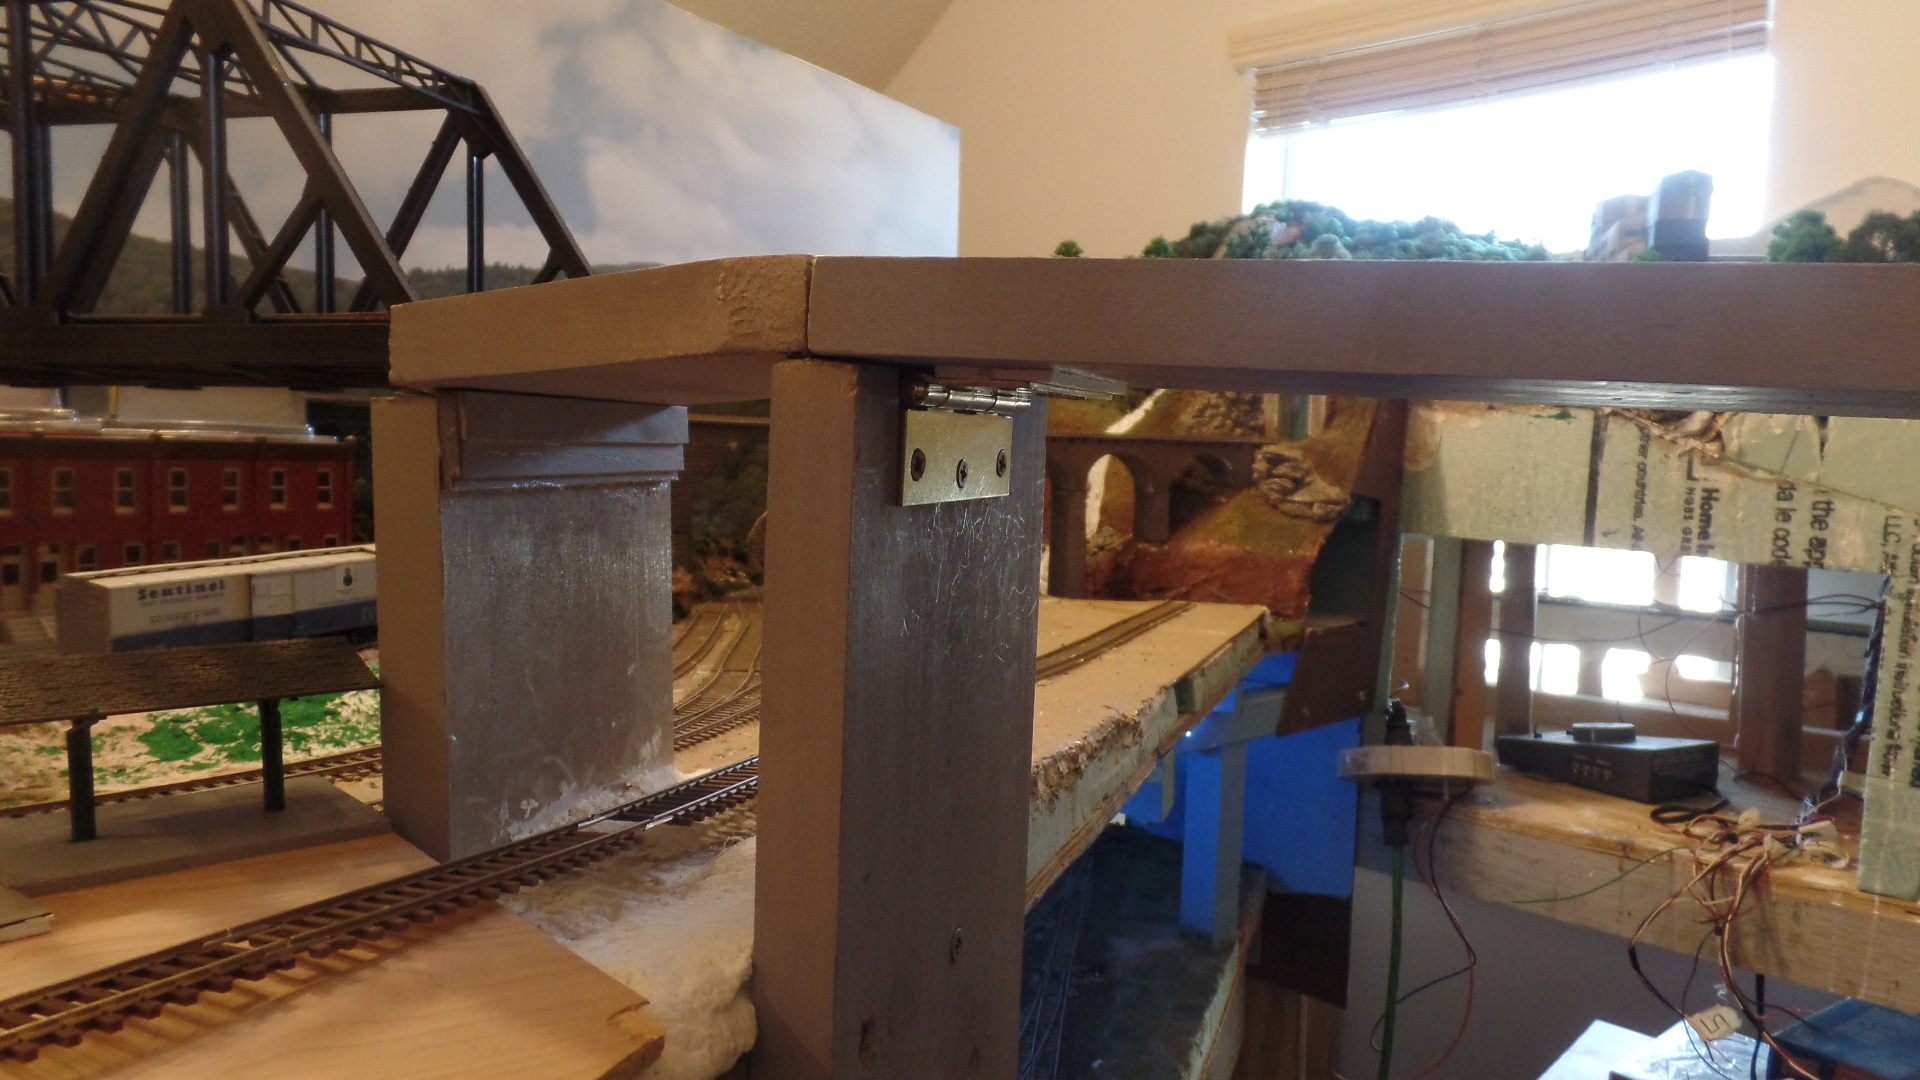
I had a 200 ft bridge that allowed me to span the room entrance. The bridge is too fragile for the movement needed, HO scale bridge supports were needed.

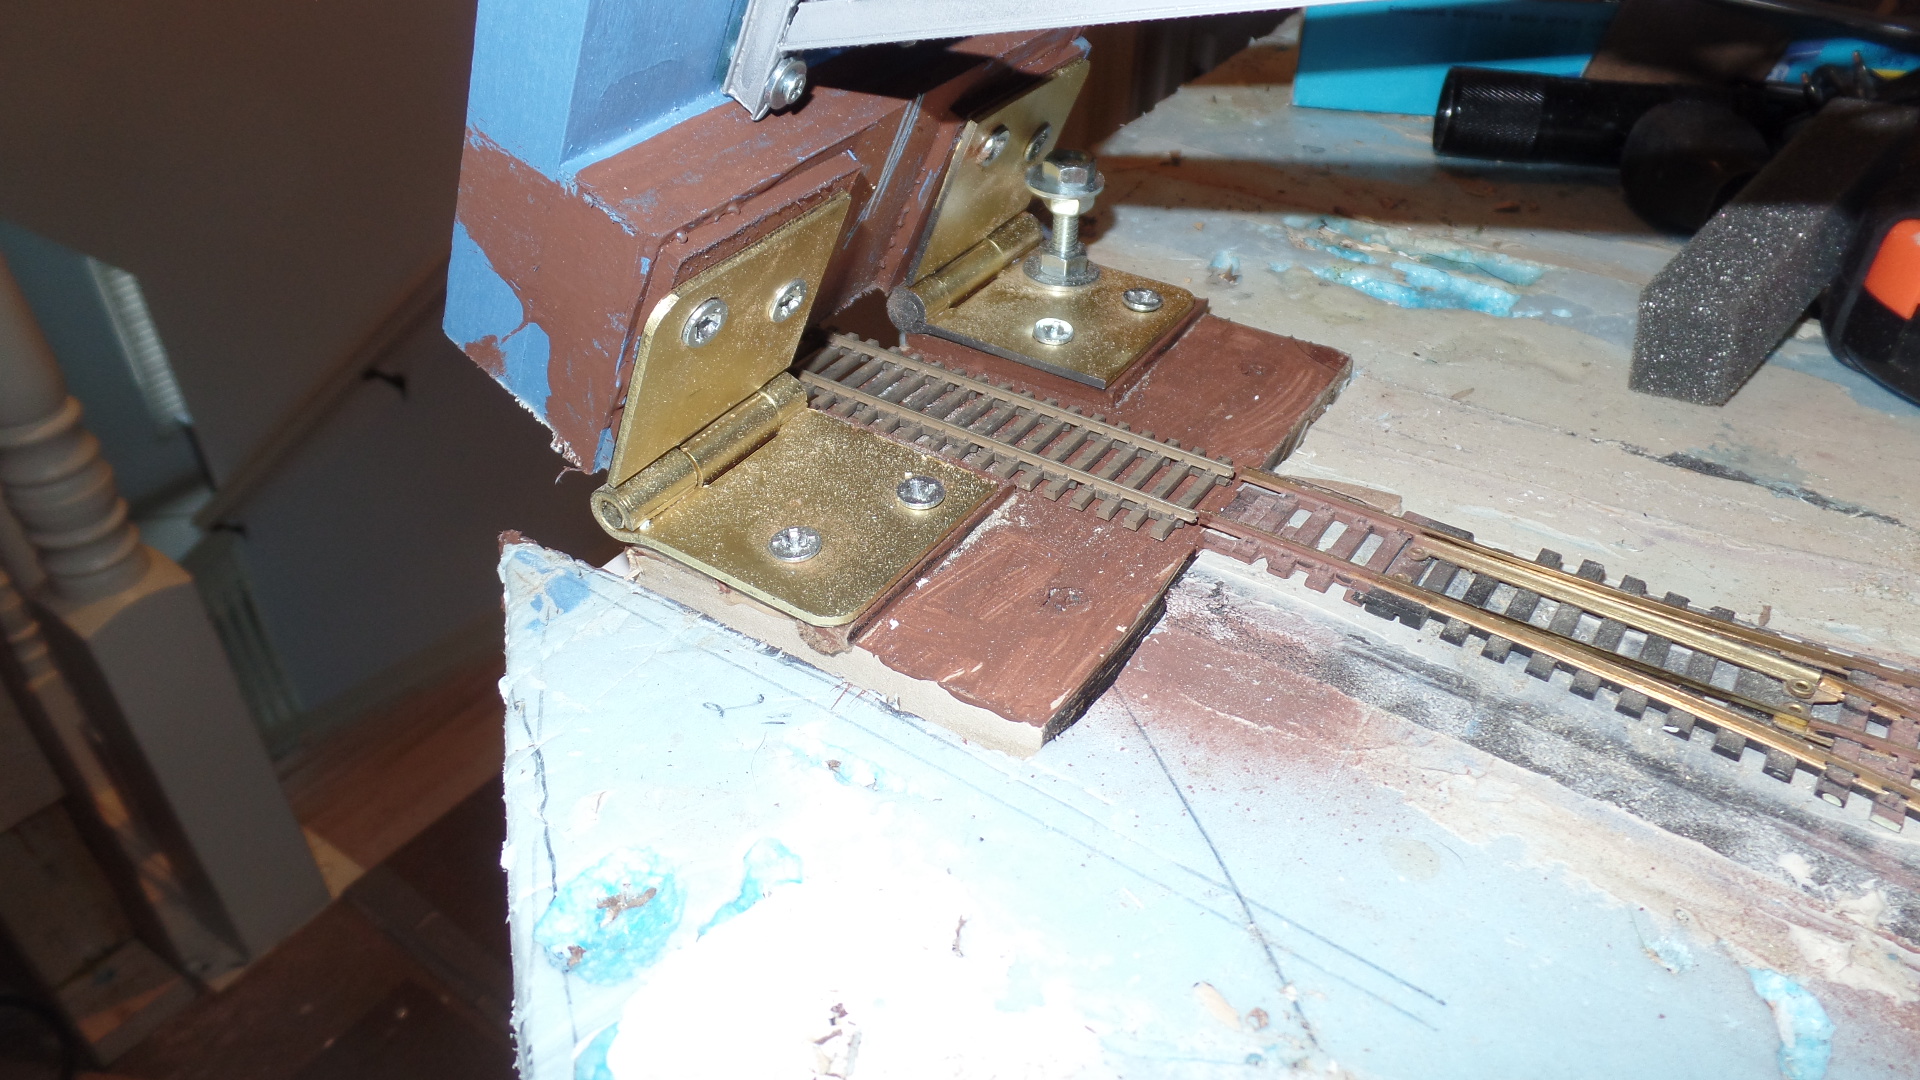
It was mounted on a 1×6″ I used a heavy hing cut in half and spread to allow track through. It is important to have the center of the pin above the top of the track or it will bind when raised.

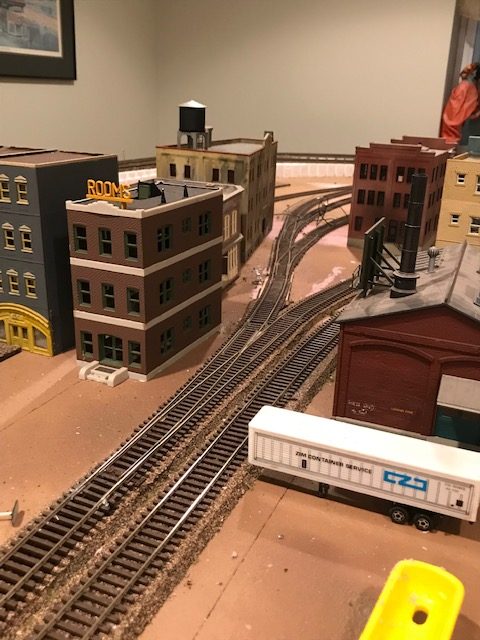
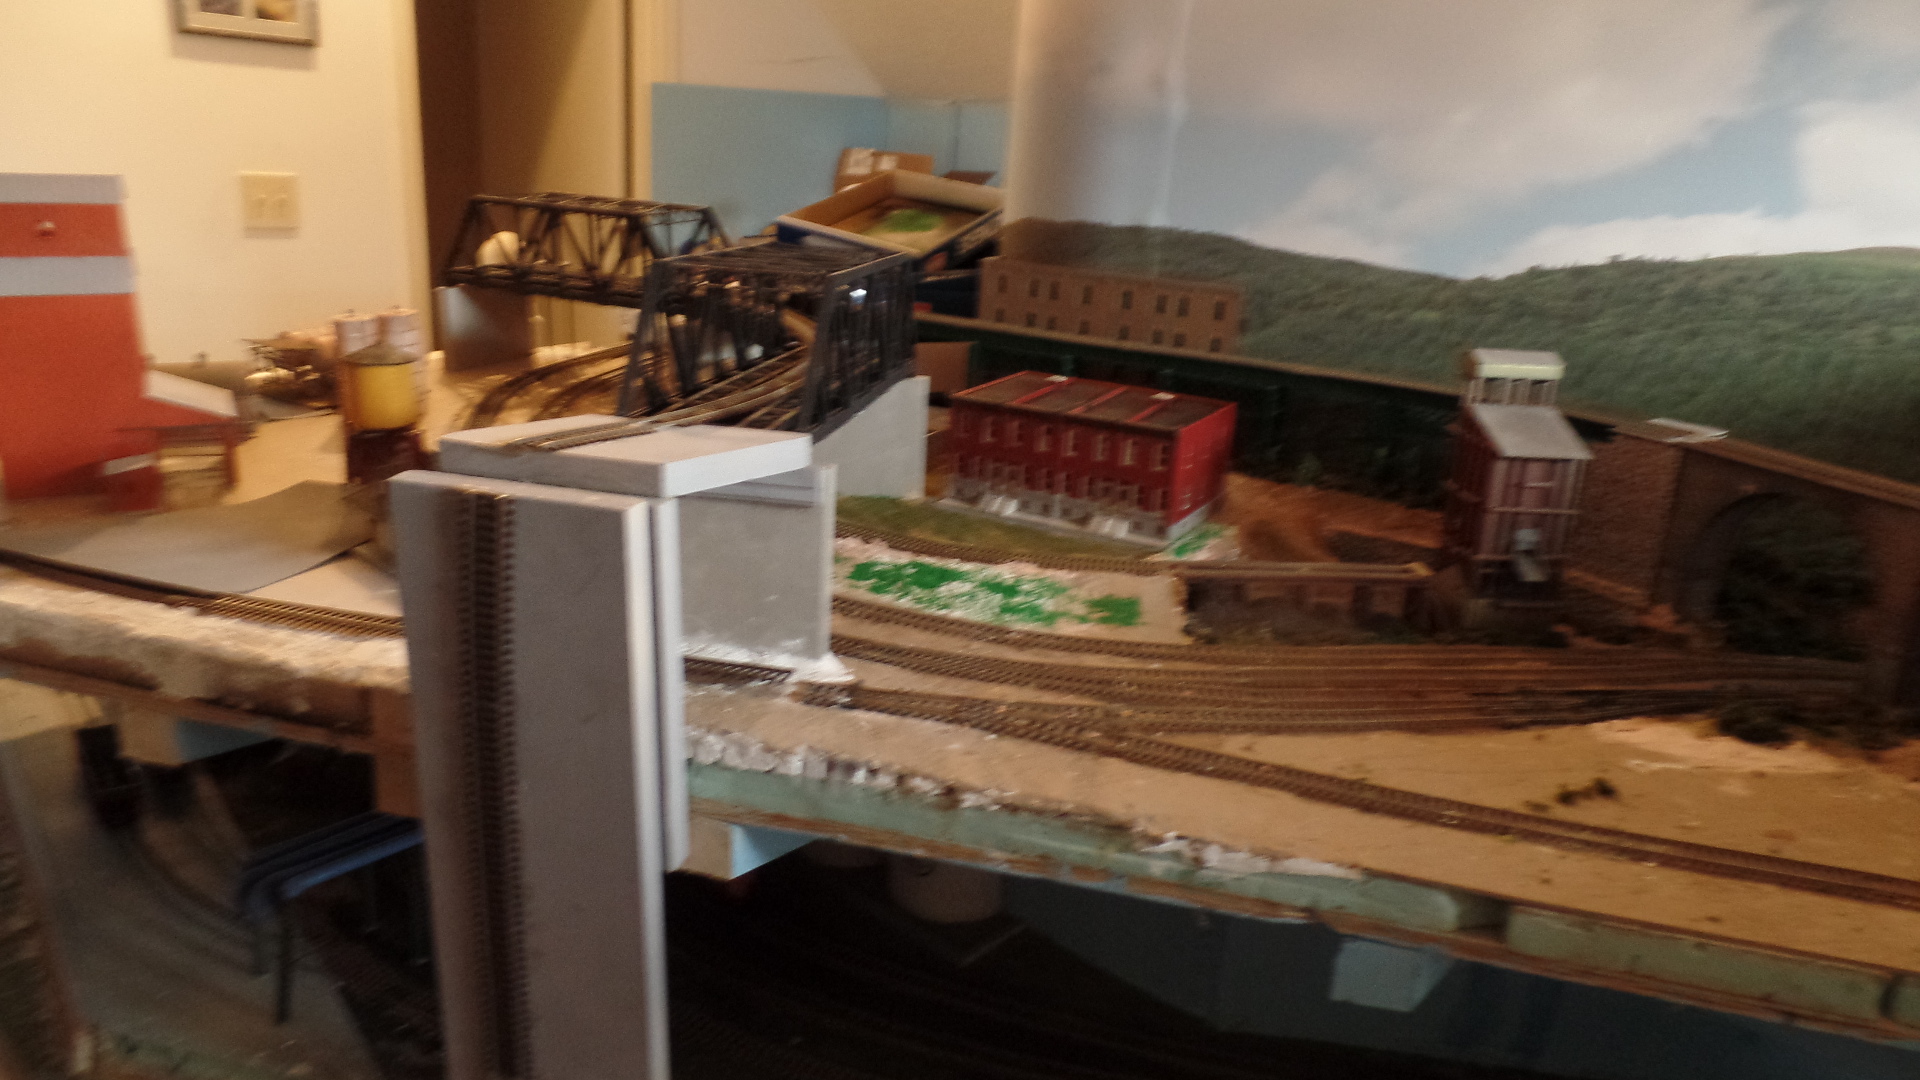
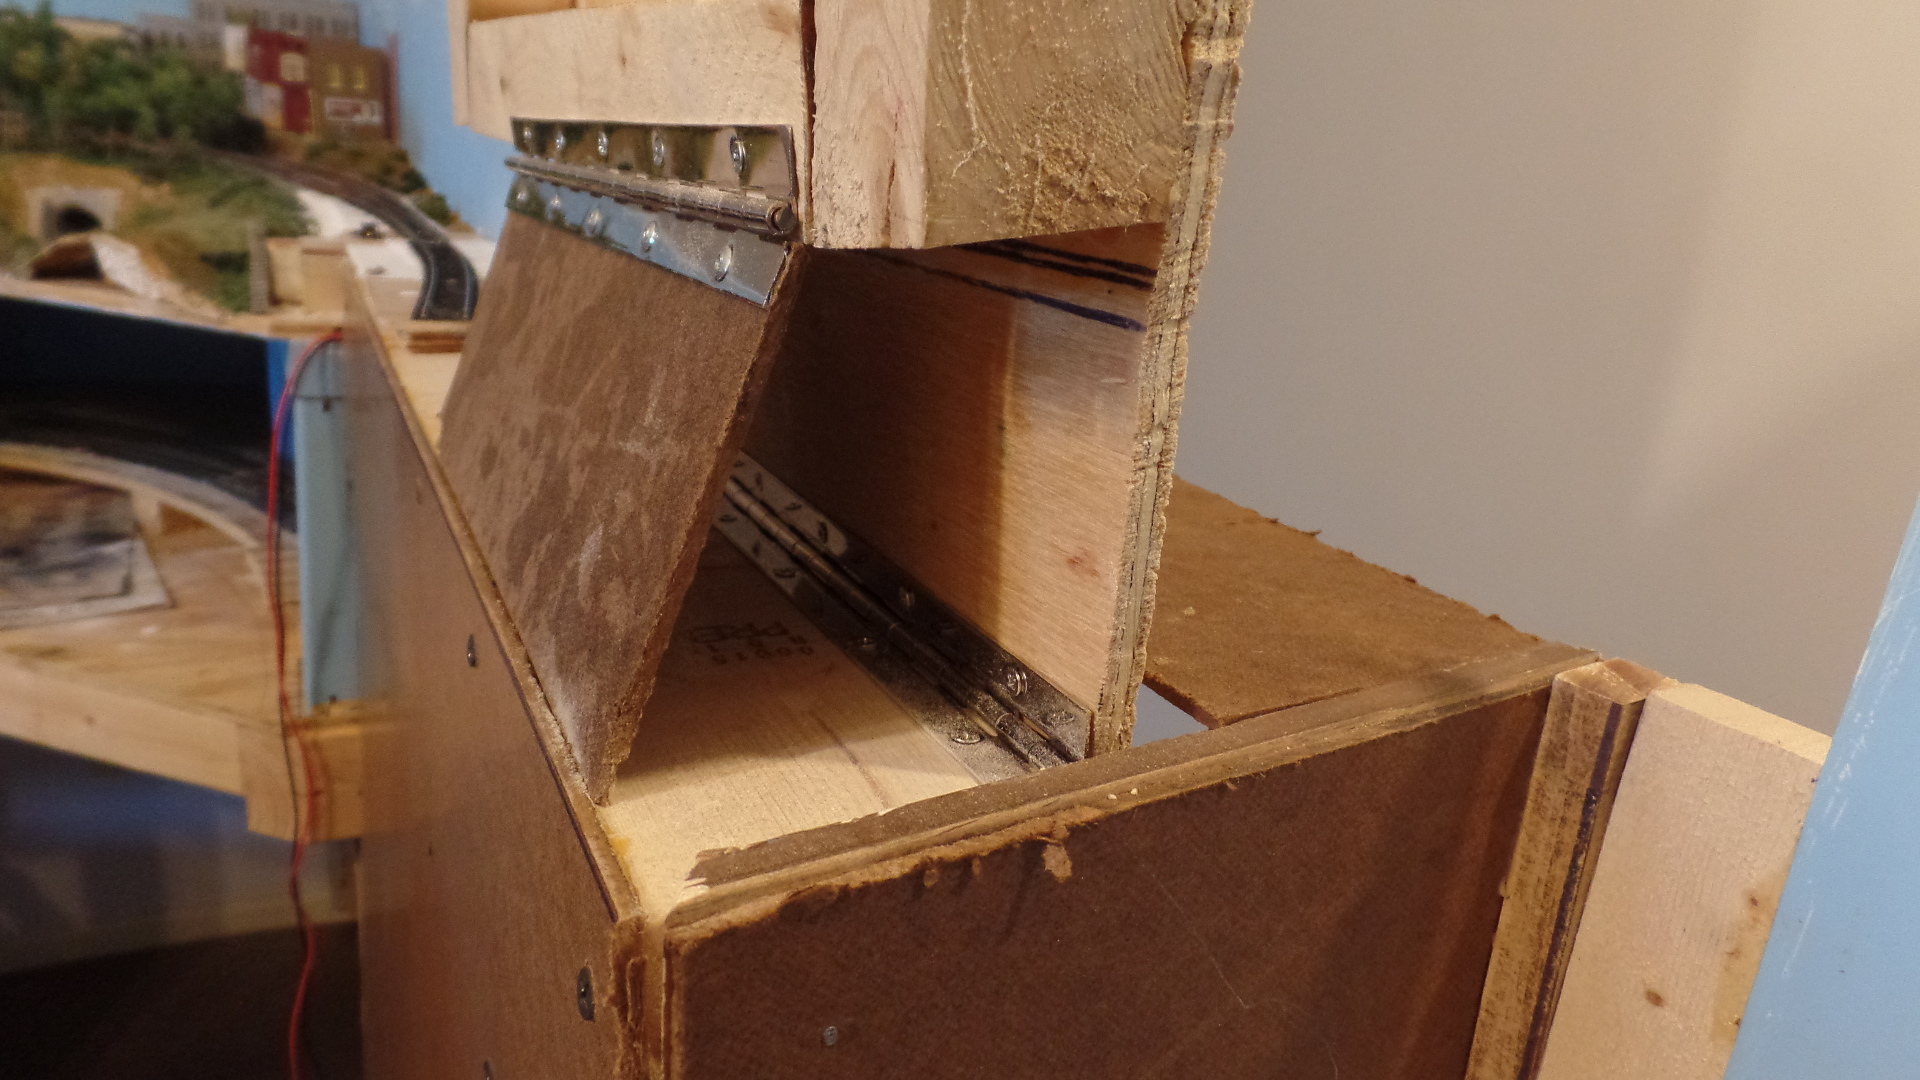
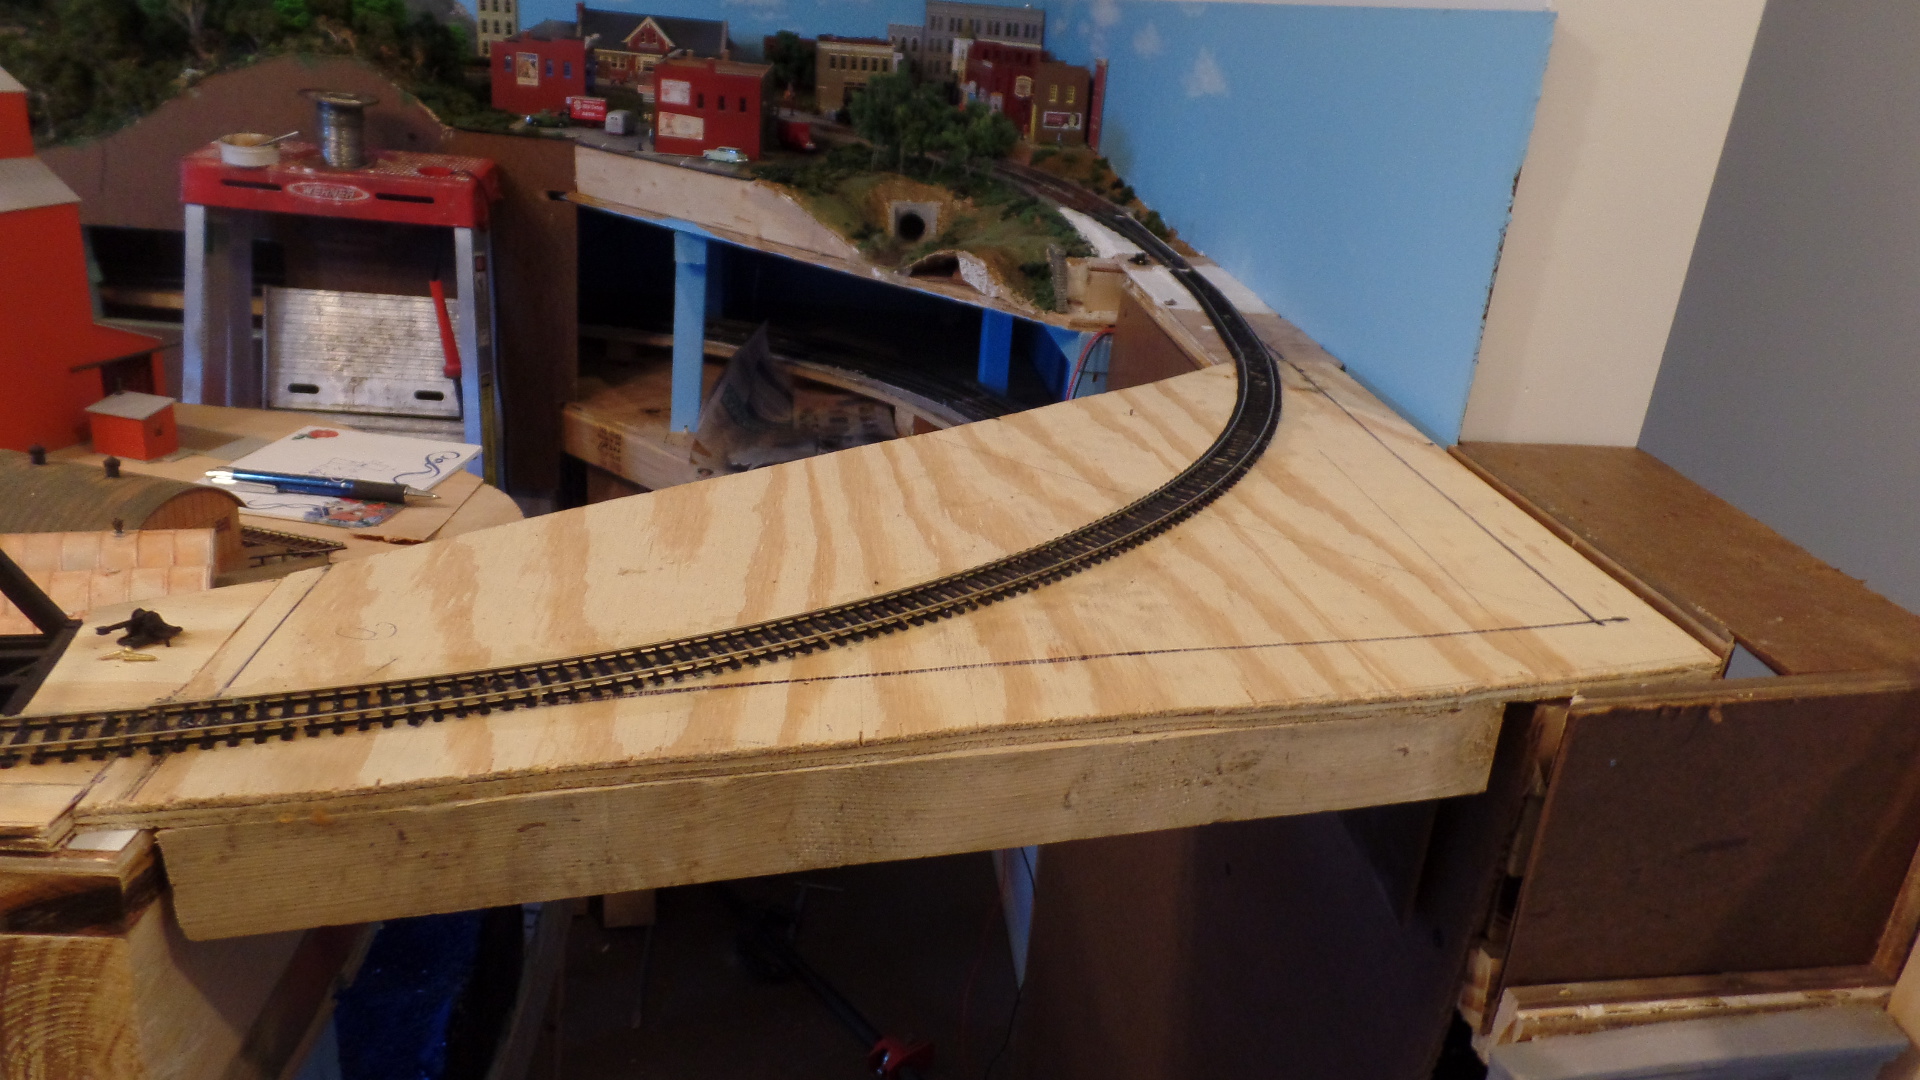
The second section was a platform with curved track. I used an 18″ piano hing for it. A second hinge was used for the brace.

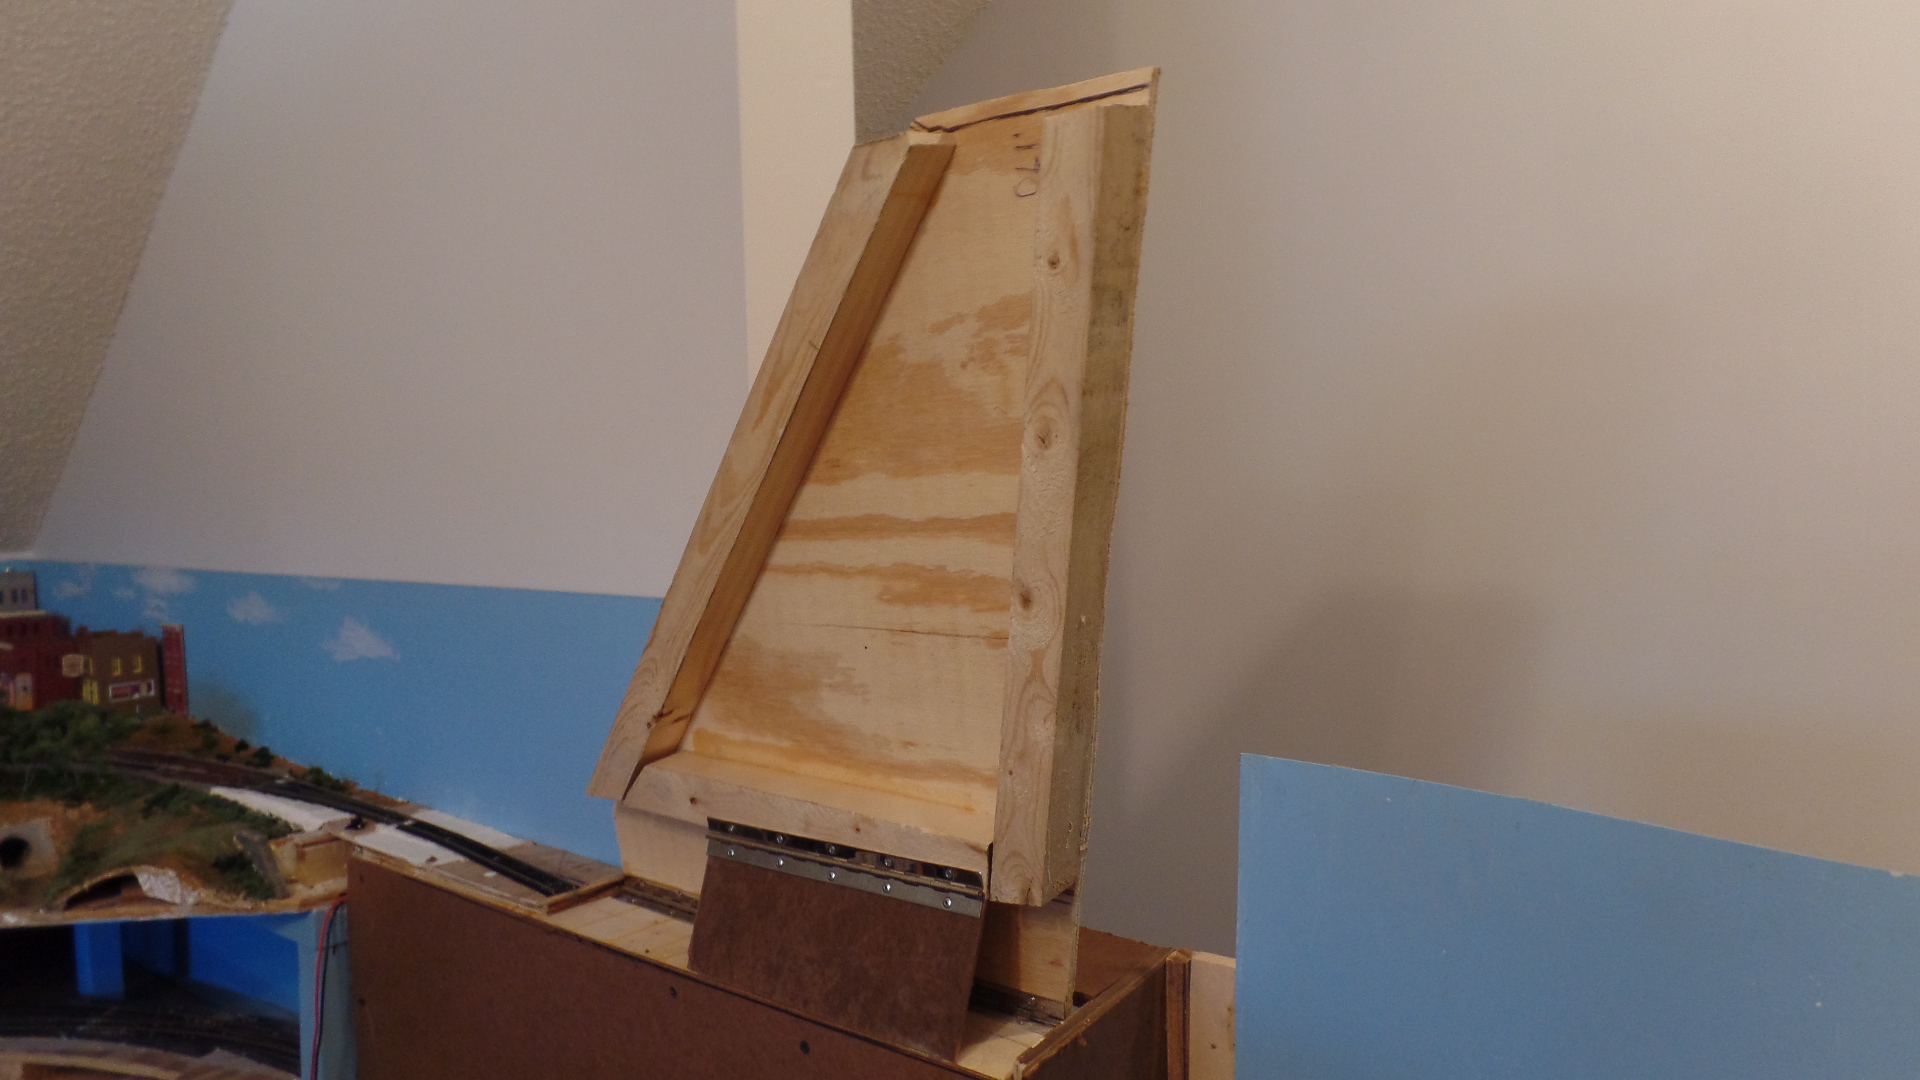
The last movable section was a drop down. It uses a plain hinge and a sliding latch.I crimped the latch to take out any slack when up.

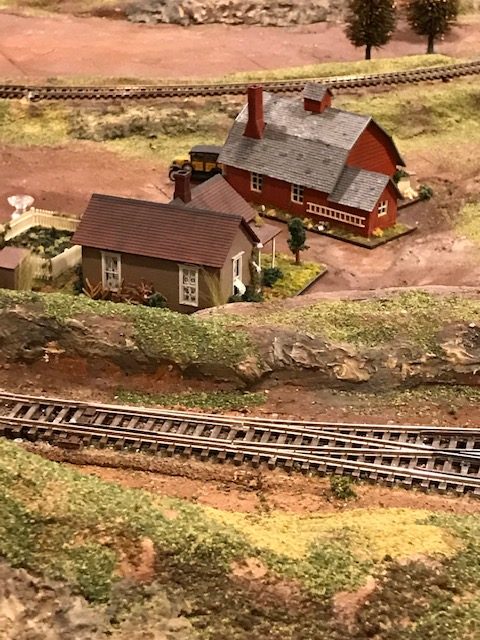
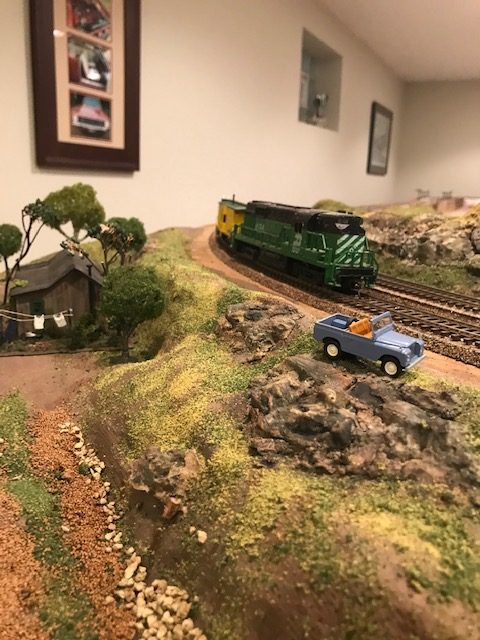
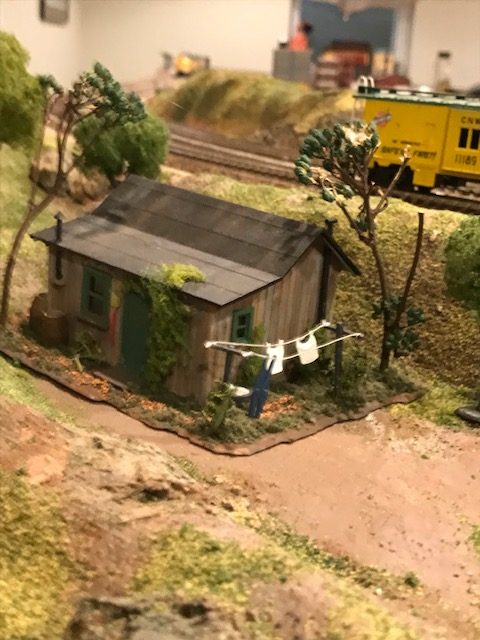
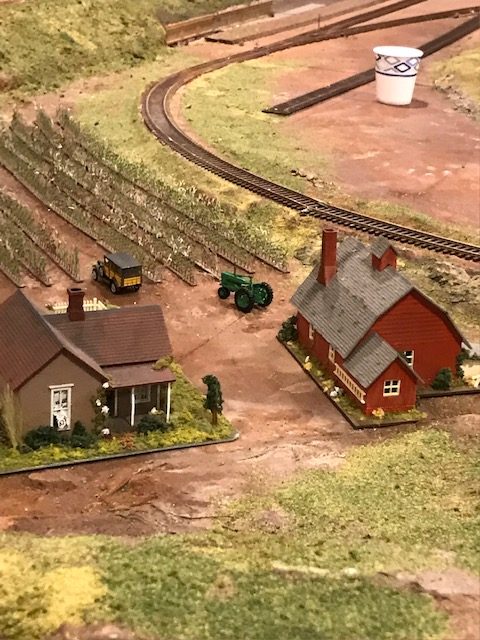
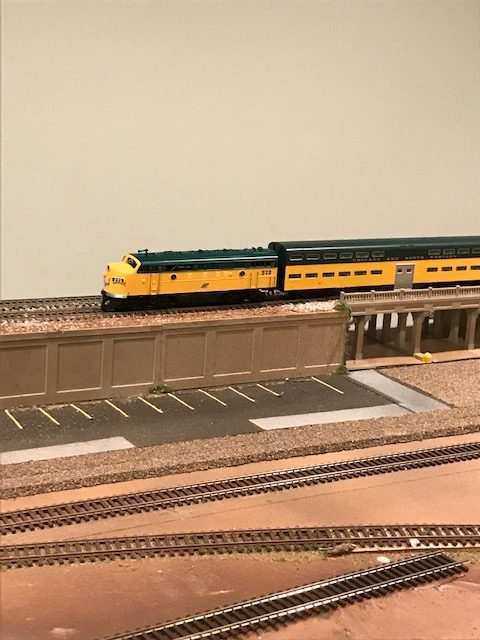
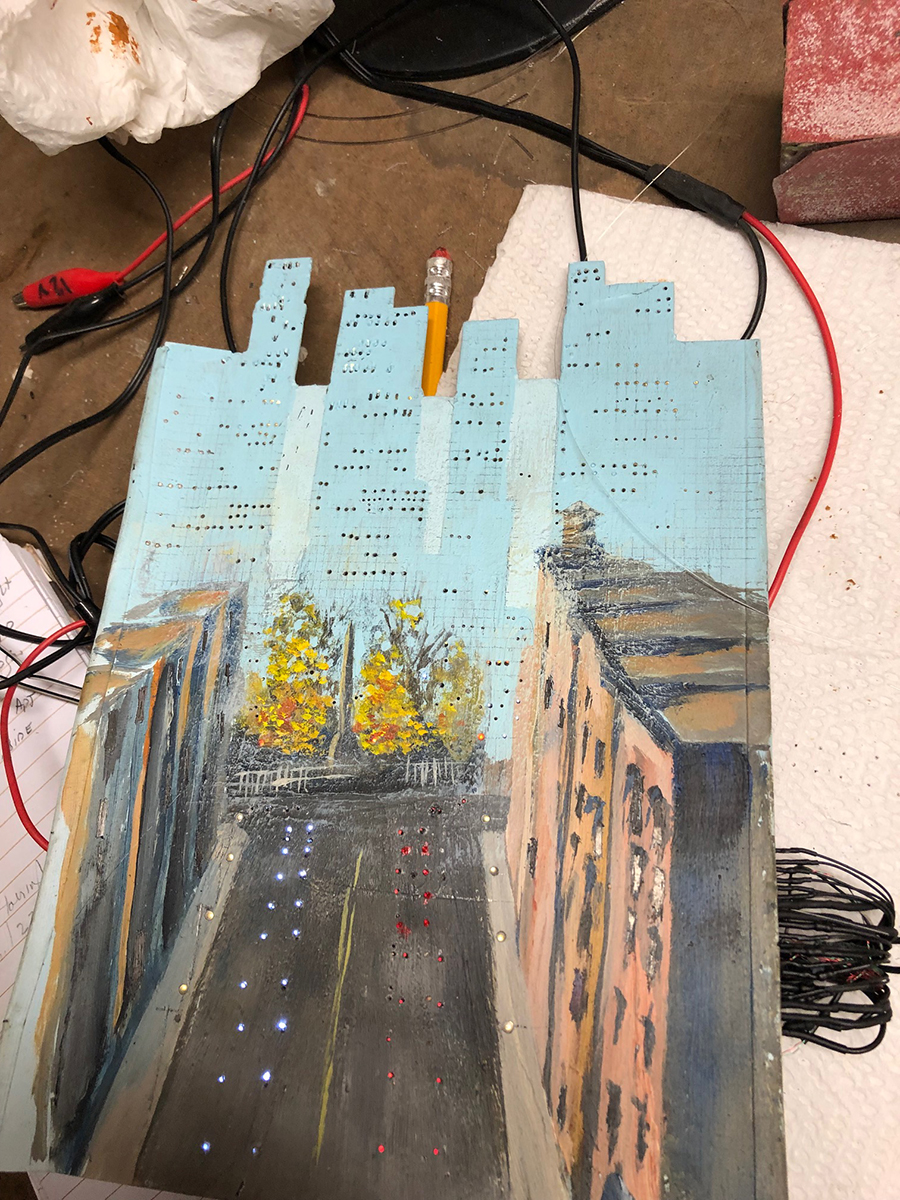
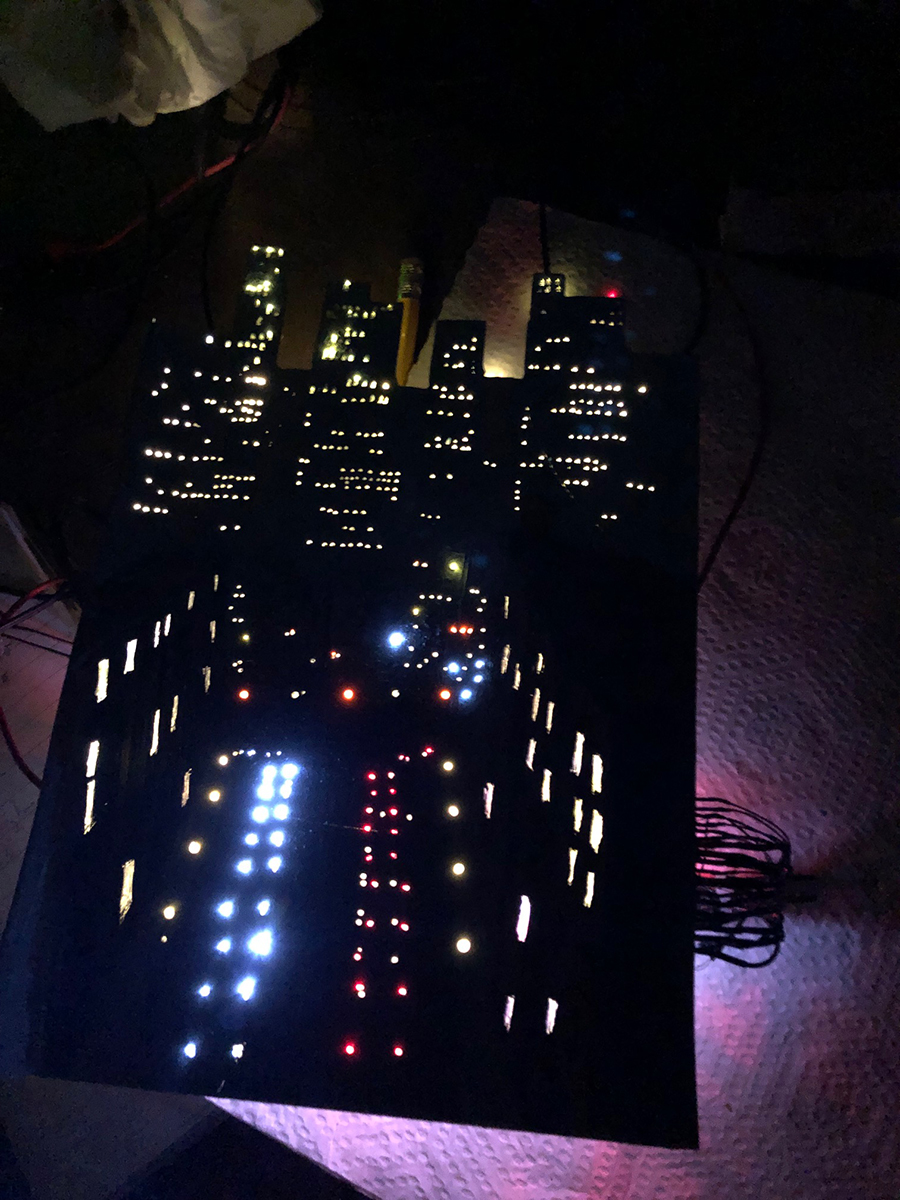
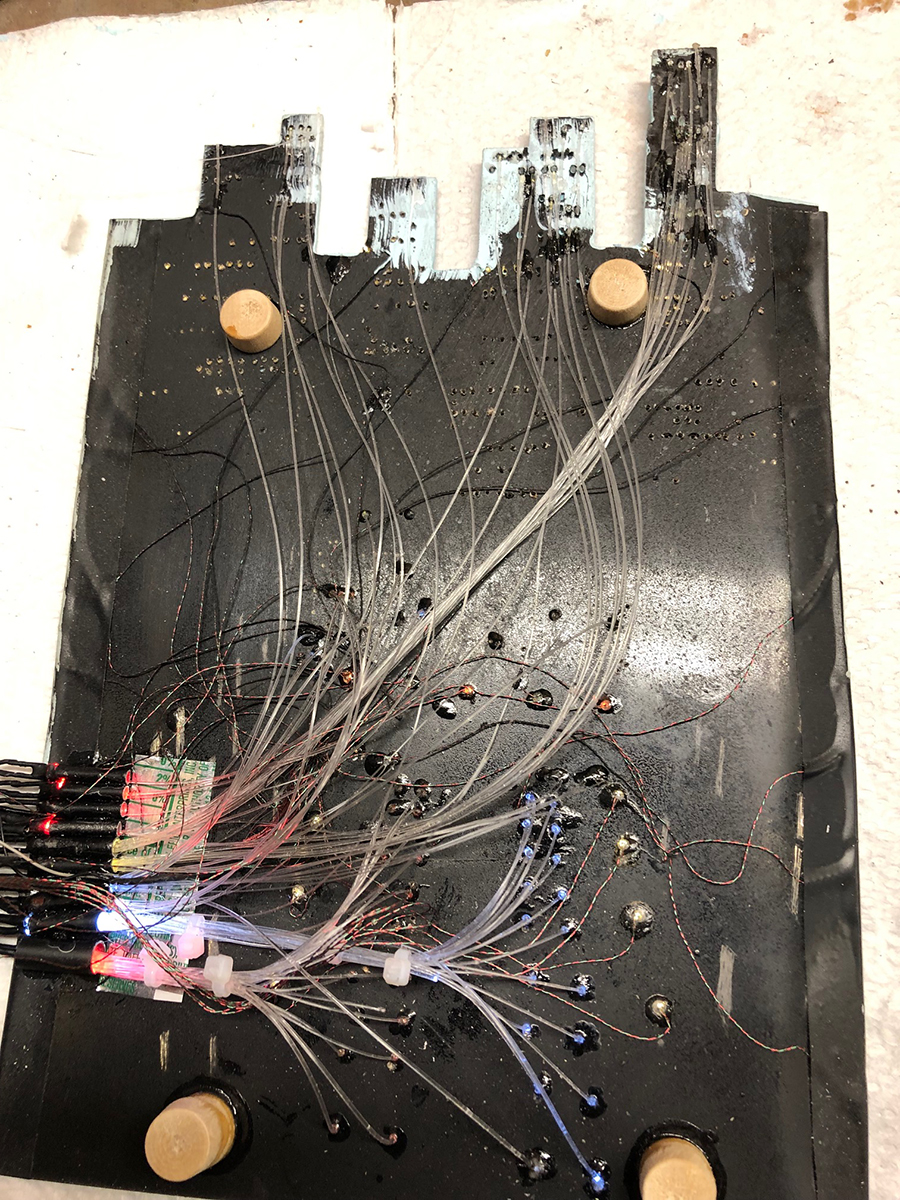
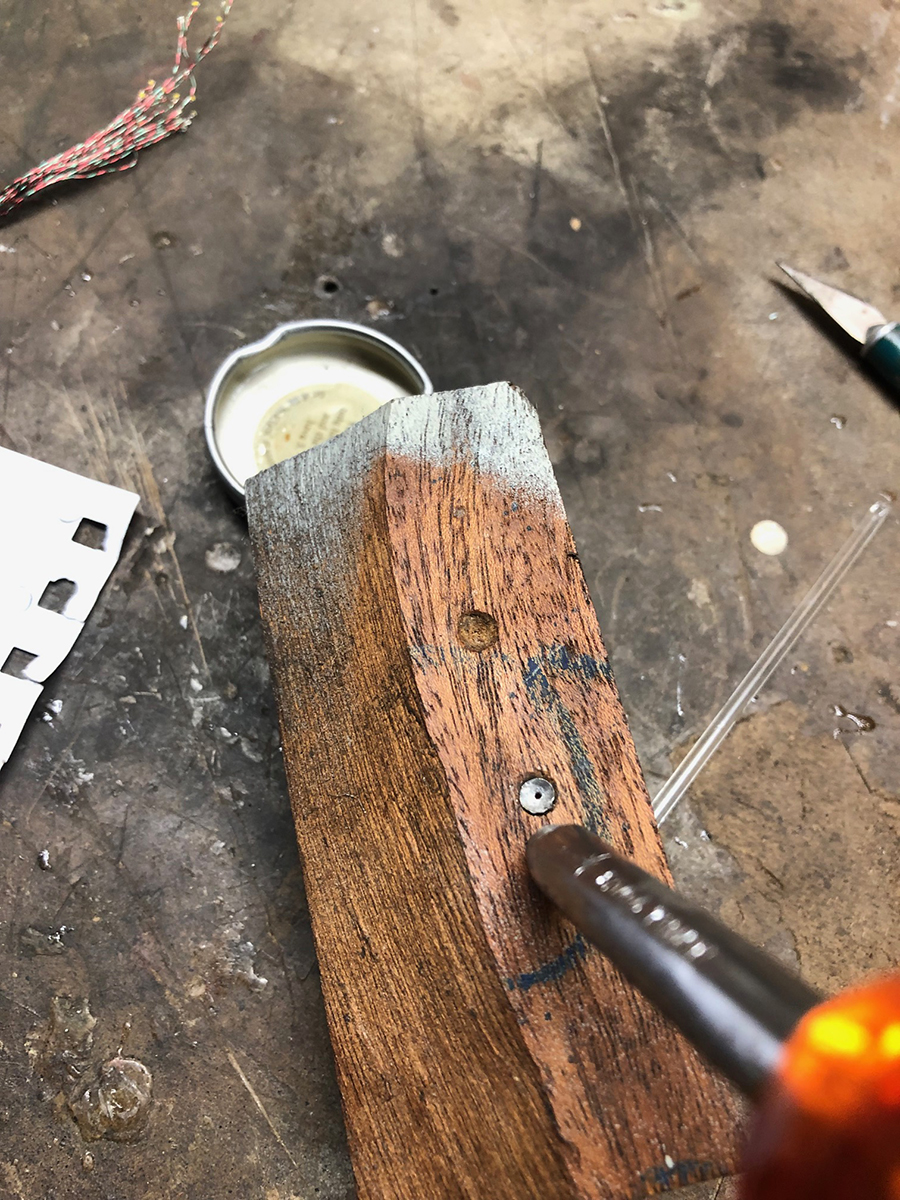
The pictures follow the narrative with the final product last. I hope you find some ideas of use.

Sincerely,

Don”

HO scale bridge supports

HO scale bridge supports

HO scale bridge supports

HO scale bridge supports

model railroad girder bridge

model railroad


HO scale bridge

model train bridge

model railroad bridge

HO scale bridge supports

HO scale bridge supports

“Hi Al,

No model trains to day, but a few of the real McCoy.

Been up in North Yorkshire and managed to capture a few Steam Trains in action.

Hope you can enjoy and maybe the members can enjoy a bit of real steam, and as always say, you can get a few ideas for a model railway…


Regards

Dave”

Latest ebay cheat sheet is here.

A big thanks to Don for sharing his HO scale bridge supports, and to Dave too.

And if you want to roll your sleeves up and get busy on your very ownn layout, the Beginner’s Guide is here.

That’s all for today.

Please do keep ’em coming.

Best

Al

PS More HO scale layouts here if that’s your thing.


HO track layout – Tom’s update

Tom’s been back in touch with his HO track layout:

If you want to catch up and see his last post, it’s in the middle of this one.

“Hi everyone,

A quick note of thanks for the info everyone supply’s on this site.

I have used many of your techniques on my first layout albeit with a few setbacks.

I decided early on that I would incorporate multiple types of construction, mainly wood, foam and plaster.

So after a year I’m about half way and wanted to share what all your guidance looks like.

BTW it a Chicago and Northwestern prototype, 1950 to 1970.Thanks again folks.

Tom”

HO track layout

HO track layout

HO track layout model railroad

HO scale

HO layout


HO sale

A big thanks to Tom for sharing his HO track layout update.

Now on to Soren:

“Hi Alastair.

I always enjoy your posts immensely – as well as the good railway modeling society you keep up. I am really delighted that you managed the latest crisis.

You asked the other day for ‘H0-chappies’. I am one, just started my third layout. The preceding ones did not come much further than laying track and running trains.

This layout is H0 scale, 16.5 mm gauge, 3 rail AC digitally operated.

Some will already guess that I use Marklin track, which comes with a couple of unbeatable advantages. The three rails mean no wiring problems across points or with reverse loops.

The second has to do with the way the track is made: precision positive locking between track sections plus AC eliminate the need for a bus. The power goes easily 6 – 7 metres (ca 20 feet).

My layout strictly observes rule #1: I decide what goes on it. It is freelance, but I strive for plausibility. My era is before WW1 and the setting is a small duchy called Severania in the mid European mountains. The duke (me) is fascinated by the new railway technology, so he has ordered a railway network to be built.

Of course he has visited Britain and other European countries to learn about building and maintaining railways. The era and setting (mountaneous) somehow fit perfectly with my modest modeling space, making tight curves and short rolling stock appropiate. However, by some quirky turn of fate, the official language of the duchy is Danish, which I incidentally know very well.

The first phase of my modeling will be the – necessarily small – Central Station of the network situated in the capital, Rudersberg.

I attach a photo of my ‘train corner’ (some day to be xtended) and of my proposed track plan. The board – an old desk – will become most of the base with an small triangular section in the right hand side. The top part will become the city with the newest buildings and vehicles from ca 1910. Part of the station’s tracks will be placed in tunnels underneath the citizens’ feet. The people are naturally used to extreme space saving measures.

As more photos become available, so will more of the narrative.

Alastair, keep up the excellent work and happy modelling to everyone.

Soren”

Marlkin track layout

“Mr. Lee.

I recently retired and my wife told me to get a hobby.

I came across your posting and became amazed at what I saw.

As I know nothing about Model trains or backgrounds I don.t know where to start. I do not have a lot of room and I do know there are different gauges of trains, but how do you decide which is right for you?

I see you have what I would call the larger ones and I thing they are out of this world but I don’t believe I have the space for such a large lay out.

Would you give me a little information on this hobby so I can decide if I want to venture into it or not.

Garrie”

A huge thanks to Tom for his update. It just goes to show what can happen when you make a start.

I love what Soren has does. I think having a theme of what you want to do makes a layout. Fantastic stuff!

And Lastly, Garrie.

I think we’ve all been were he his – so this is a call to arms.

What adivce would you give Garrie? Please leave a comment below.

That’s it for today. Please do keep em coming.

And if you want today to be the day you start your layout, the Beginner’s Guide is here.

Best

Al

PS Latest ebay cheat sheet is here.


Model train LEDs

Fred been in touch with some stunning pics of his layout which shows just how much of a difference model train LEDs can make.

He’s a man of few words, but with pics like these, he can get away with that. Stunning stuff:

“Hutton Ave backdrop, showing fibre optic “lighting tubes” in various color model train LEDs lights, and wires for separate “pica” LEDs

model train LEDs

Front Side in Daylight (lit) roughly painted

model train LEDs

Front side model train LEDs (Lit)

model train LEDs

Rear Side of Hutton Ave Backdrop (Lit)

model train LEDs

Rear Side of Hutton Ave Backdrop (not lit)

model train LEDs


Forming street lamp shades 5mm model train LEDs

Hand formed lamp shades (5mm) from beer can aluminum!

installing LEDs

My lights – pica and Z size pica LEDs from Evans Design – thousands of them!

installing LEDs

Beginning City “RingRoad” in plexi backdrop. Note that lit autos not yet on last section of bridge, but will eventually form a lit continuum of nightmarish traffic past east end of city, over rail yards, past east end, over suburbs, and into background beyond. Background cutout is just visible. I’ve been working on it separately on bench for two months. More on this later.

model train LEDs night time

For scale:


N scale model railroad

model railroad

model train LEDs

model train LEDs

model train LEDs

model train LEDs

Wow! Some of Fred’s pics look so real. He really has nailed this night scene with his model train LEDs.

I know some of you will want to see some more day light pics – I know I do.

Fred mailed me last week to say he’s putting together a ‘how-to’. Can’t wait for that!

Now on to Dave:

“Hi Al

Well after a couple of weeks away, got back home now and of course just had to go and have a running session on my layout… just uploaded so here it is.

I have missed my trains, but got to admit enjoyed the sun this time of Year.

Regards

Dave”


Latest ebay cheat sheet is here.

A huge thanks to Fred and Dave.

That’s all for today folks – please do keep ’em coming.

If you want to send anything in, please just email me (hit reply to any of my mails).

A quick heads up though. If you attach lots of pics to one email, it won’t get through.

Best thing to do is don’t attach more than 3 pics to one email – but send as many emails as you like.

Hope that makes sense.

Oh – and if you’re a HO chap, please do get in touch – it’s all getting a bit thin on the ground this end.

One last thing. Pleased don’t forget the Beginner’s Guide if today is the day you get started on your layout.

Best

Al

PS More HO scale train layouts here if that’s your thing.


Need buildings for your layout? Have a look at the Silly Discount bundle.