Don’s been back in touch with his HO scale bridge supports:
If you missed his first post, it’s here.
Here’s what he’s been busy with:
“Good morning Al. It has been a while since I last posted.
I was going to post my progress but instead I want to show people that being flexible is important.
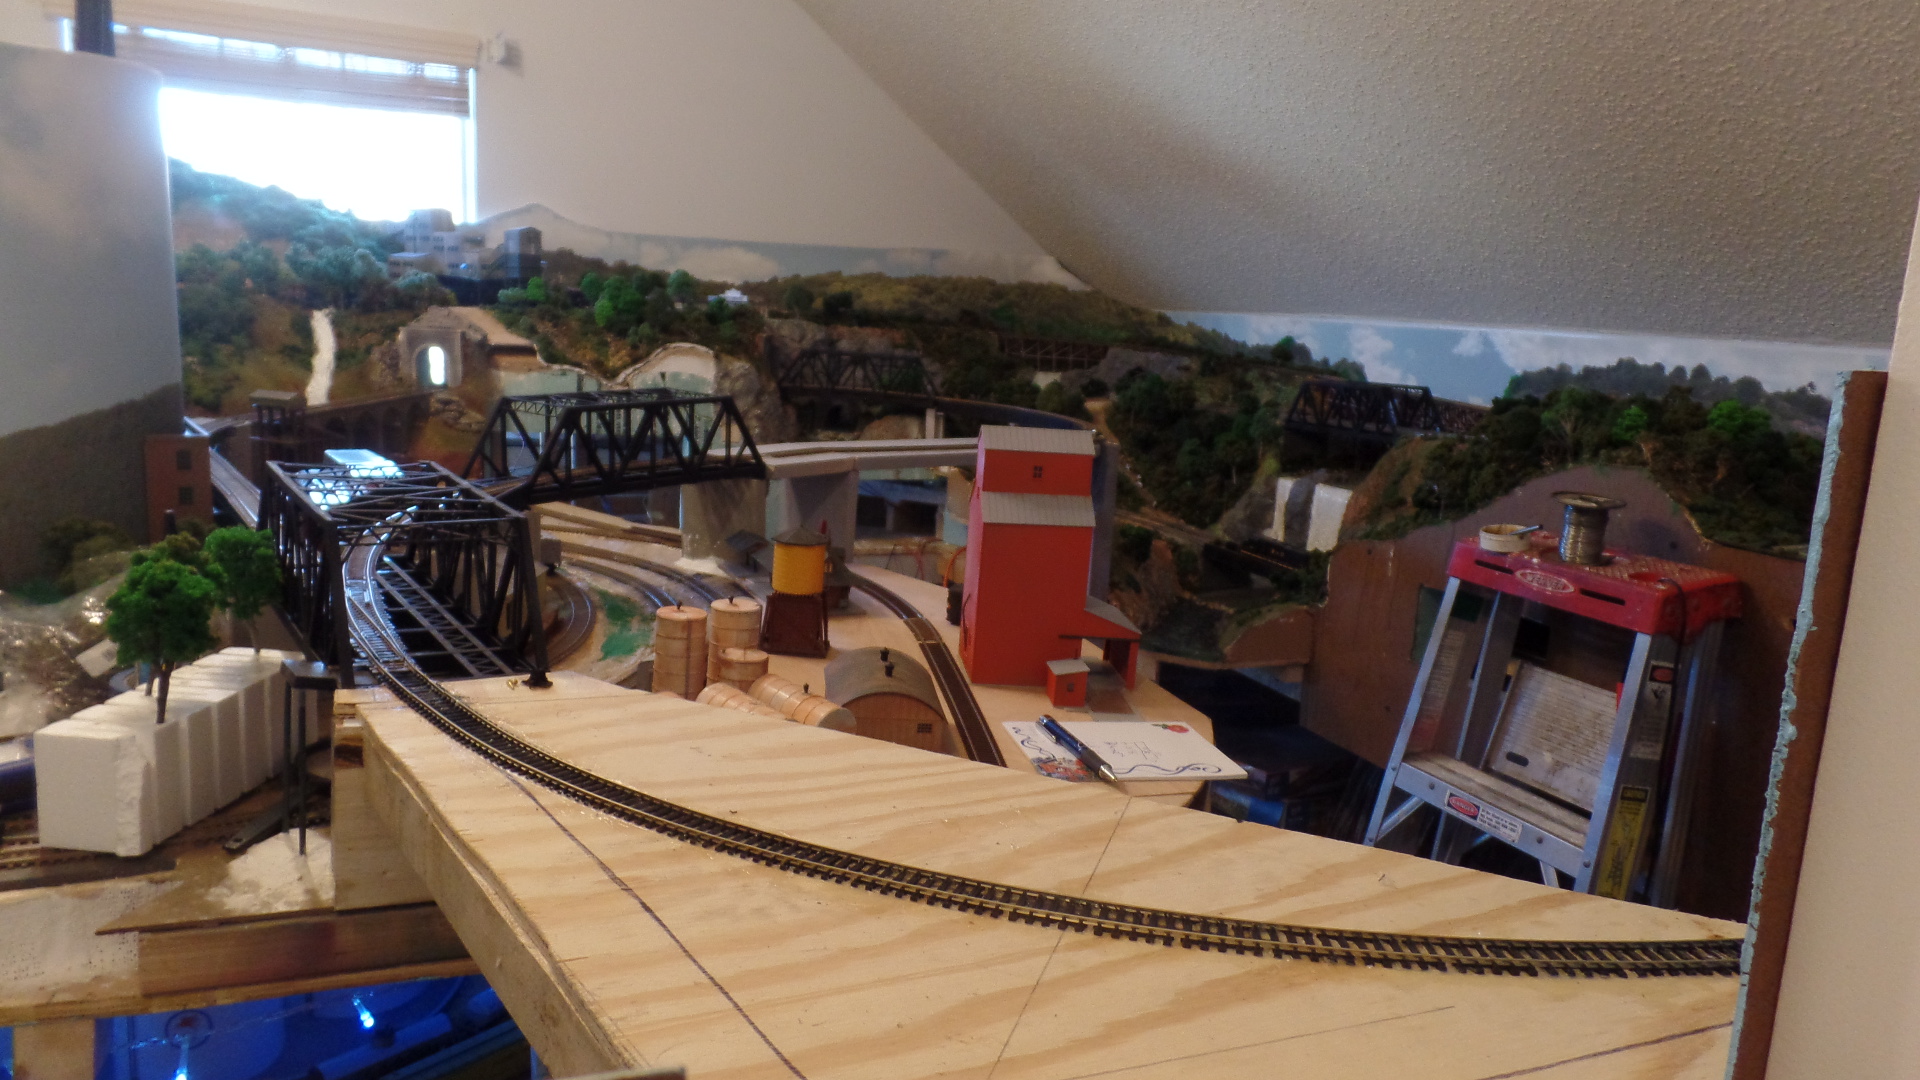
My layout is mountainous and when I got to the summit I needed to turn the trains around for the decent.
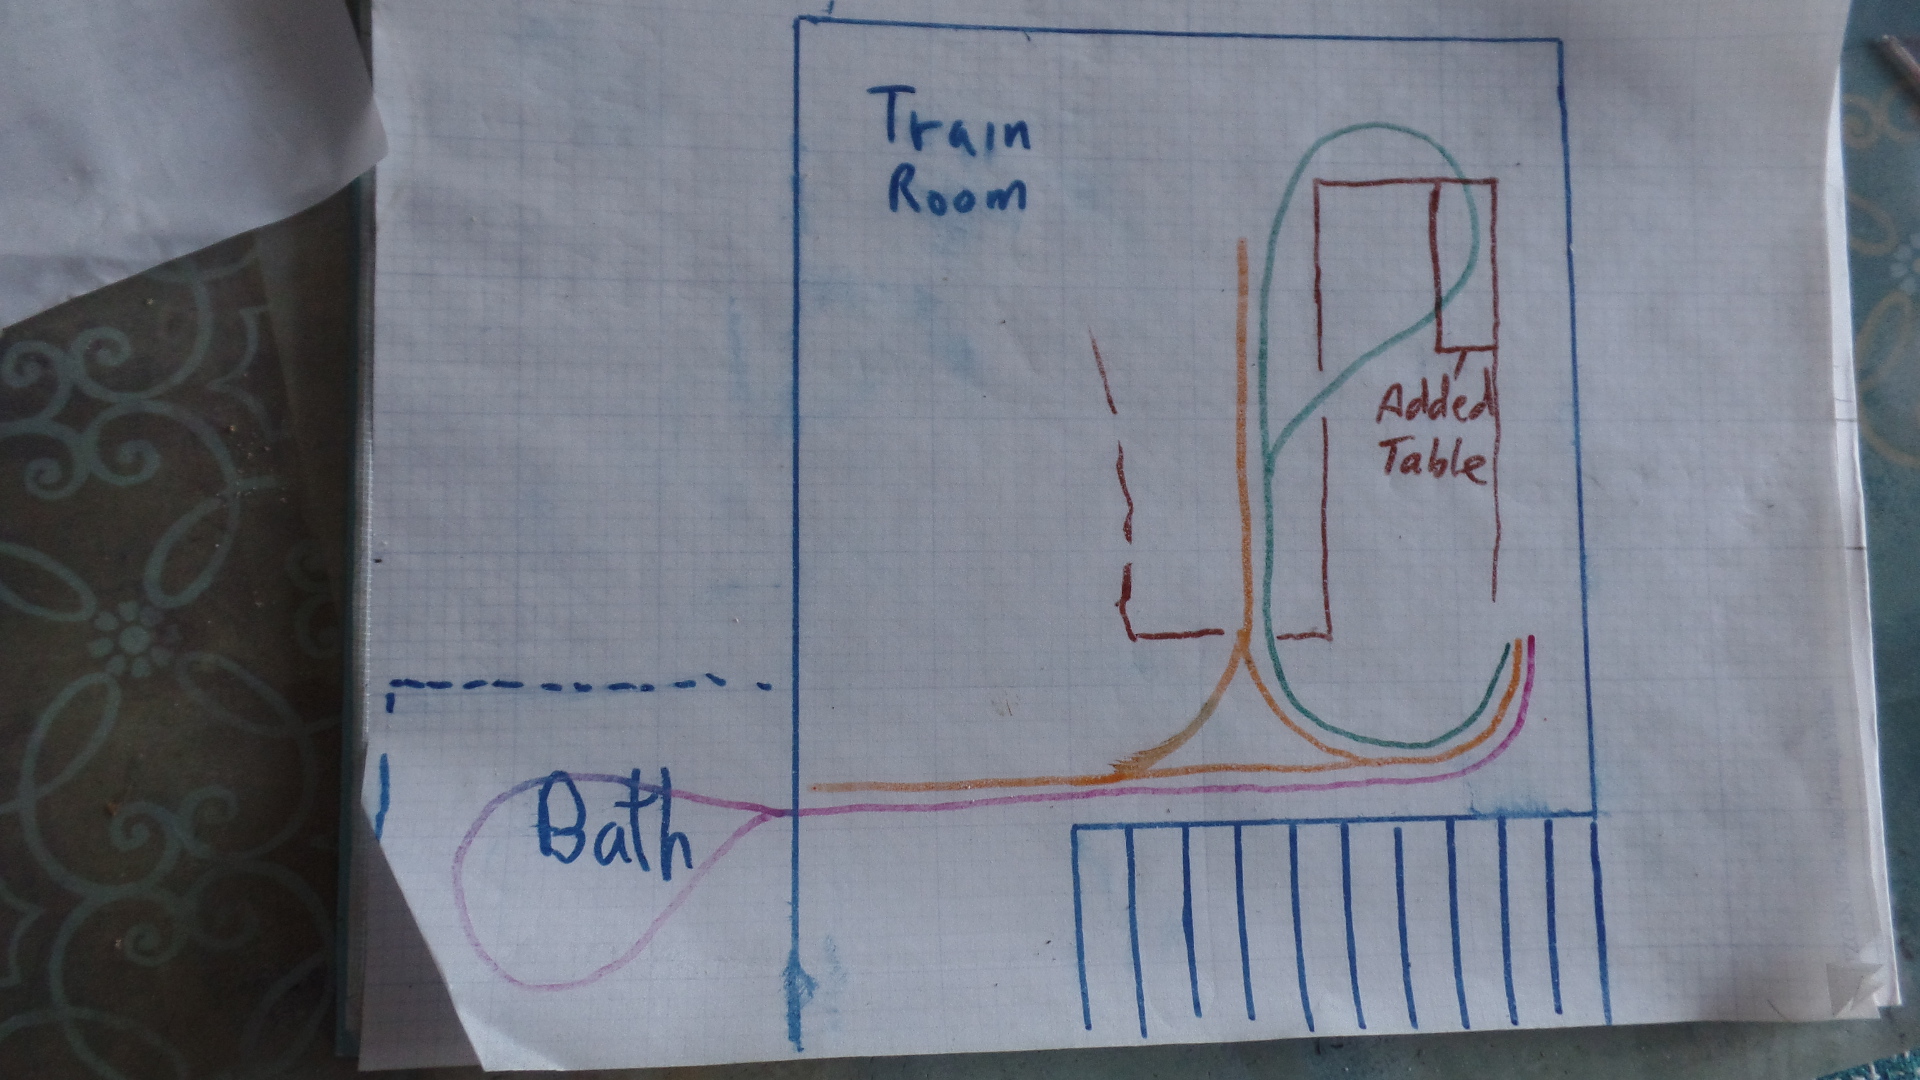
The diagram shows my approach.
At first I was going to put a hole through the wall into a spare bathroom and loop over the tub “RED”. My dear wife pointed out that my being dead, I could not play with my trains.
My second approach was to make a “Y” This had merit, but the trains would need to be short and backing full trains can lead to derailments, “ORANGE” Finally I decided on a loop over my existing layout “GREEN” This required a tunnel through an existing mountain and a completely elevated track.
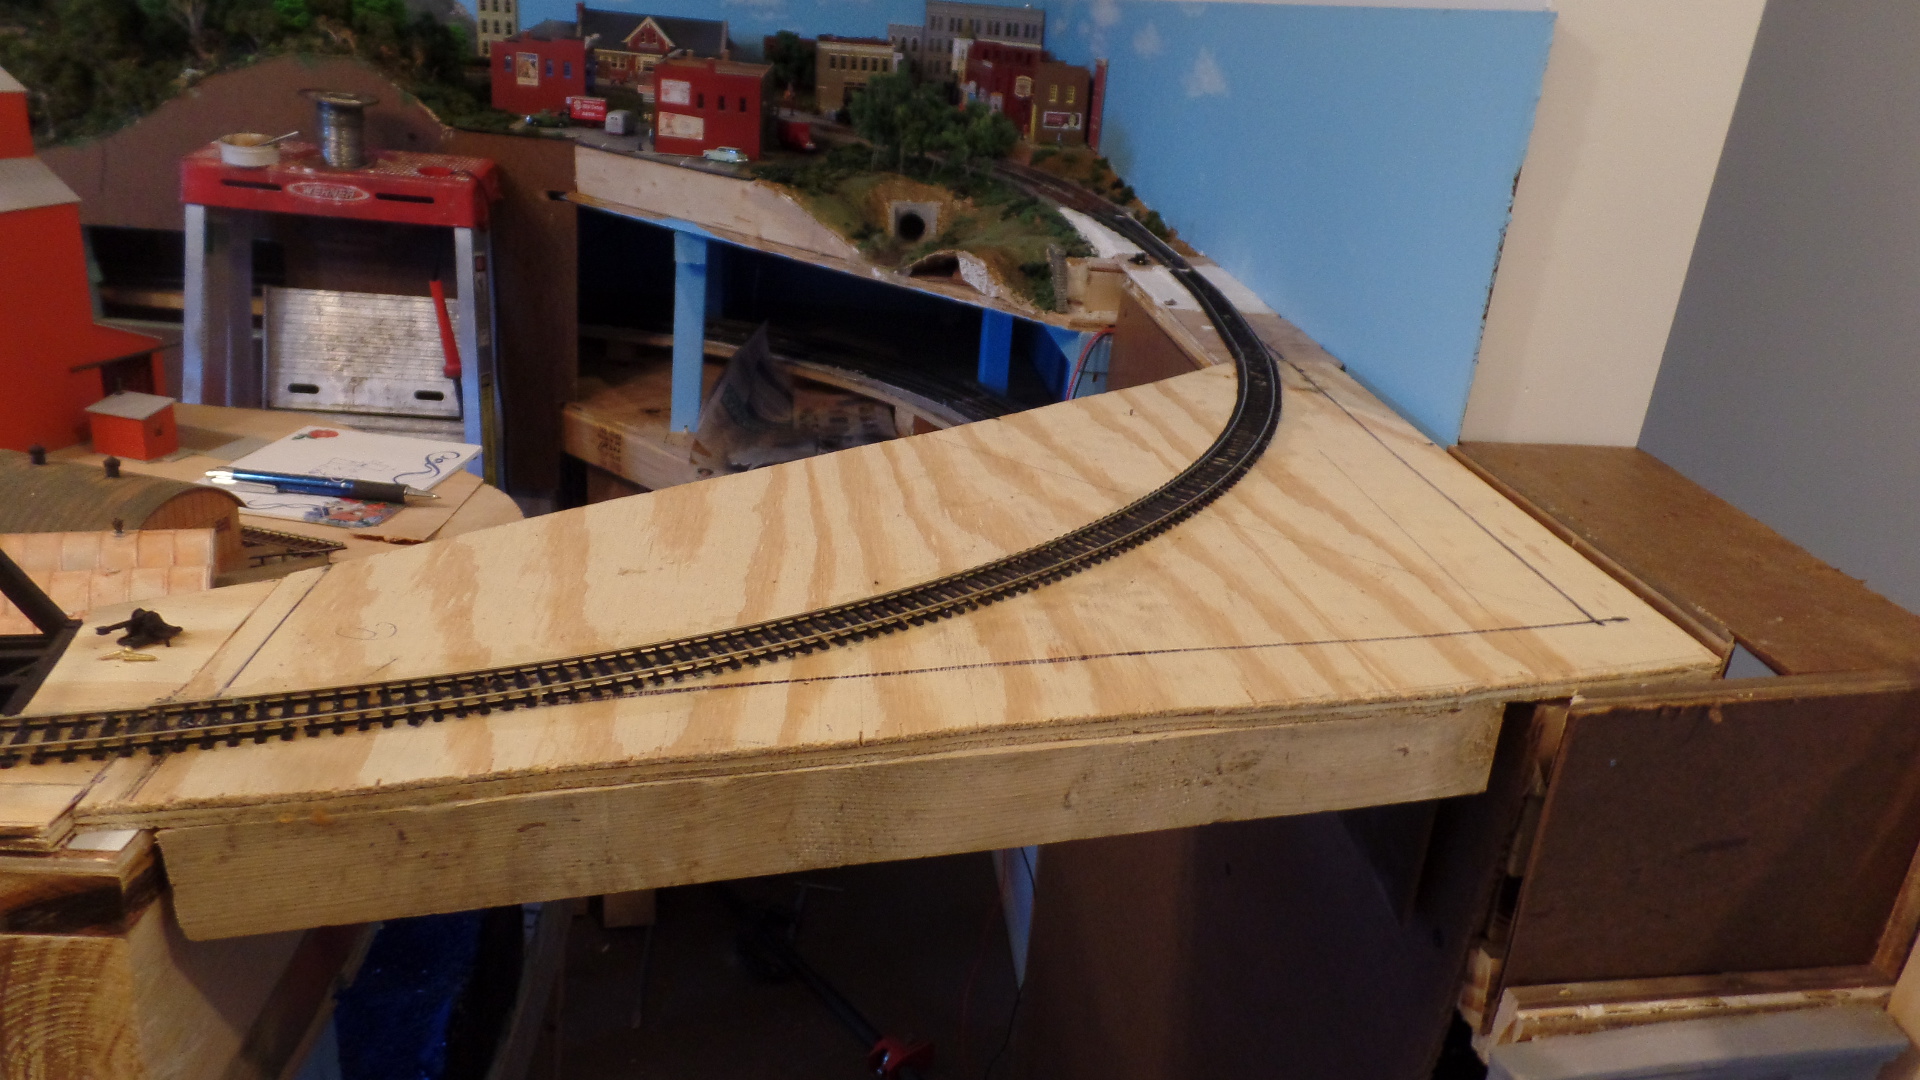
I also had to add a 1by4 ft section for the return loop. More importantly I needed removable sections for access.
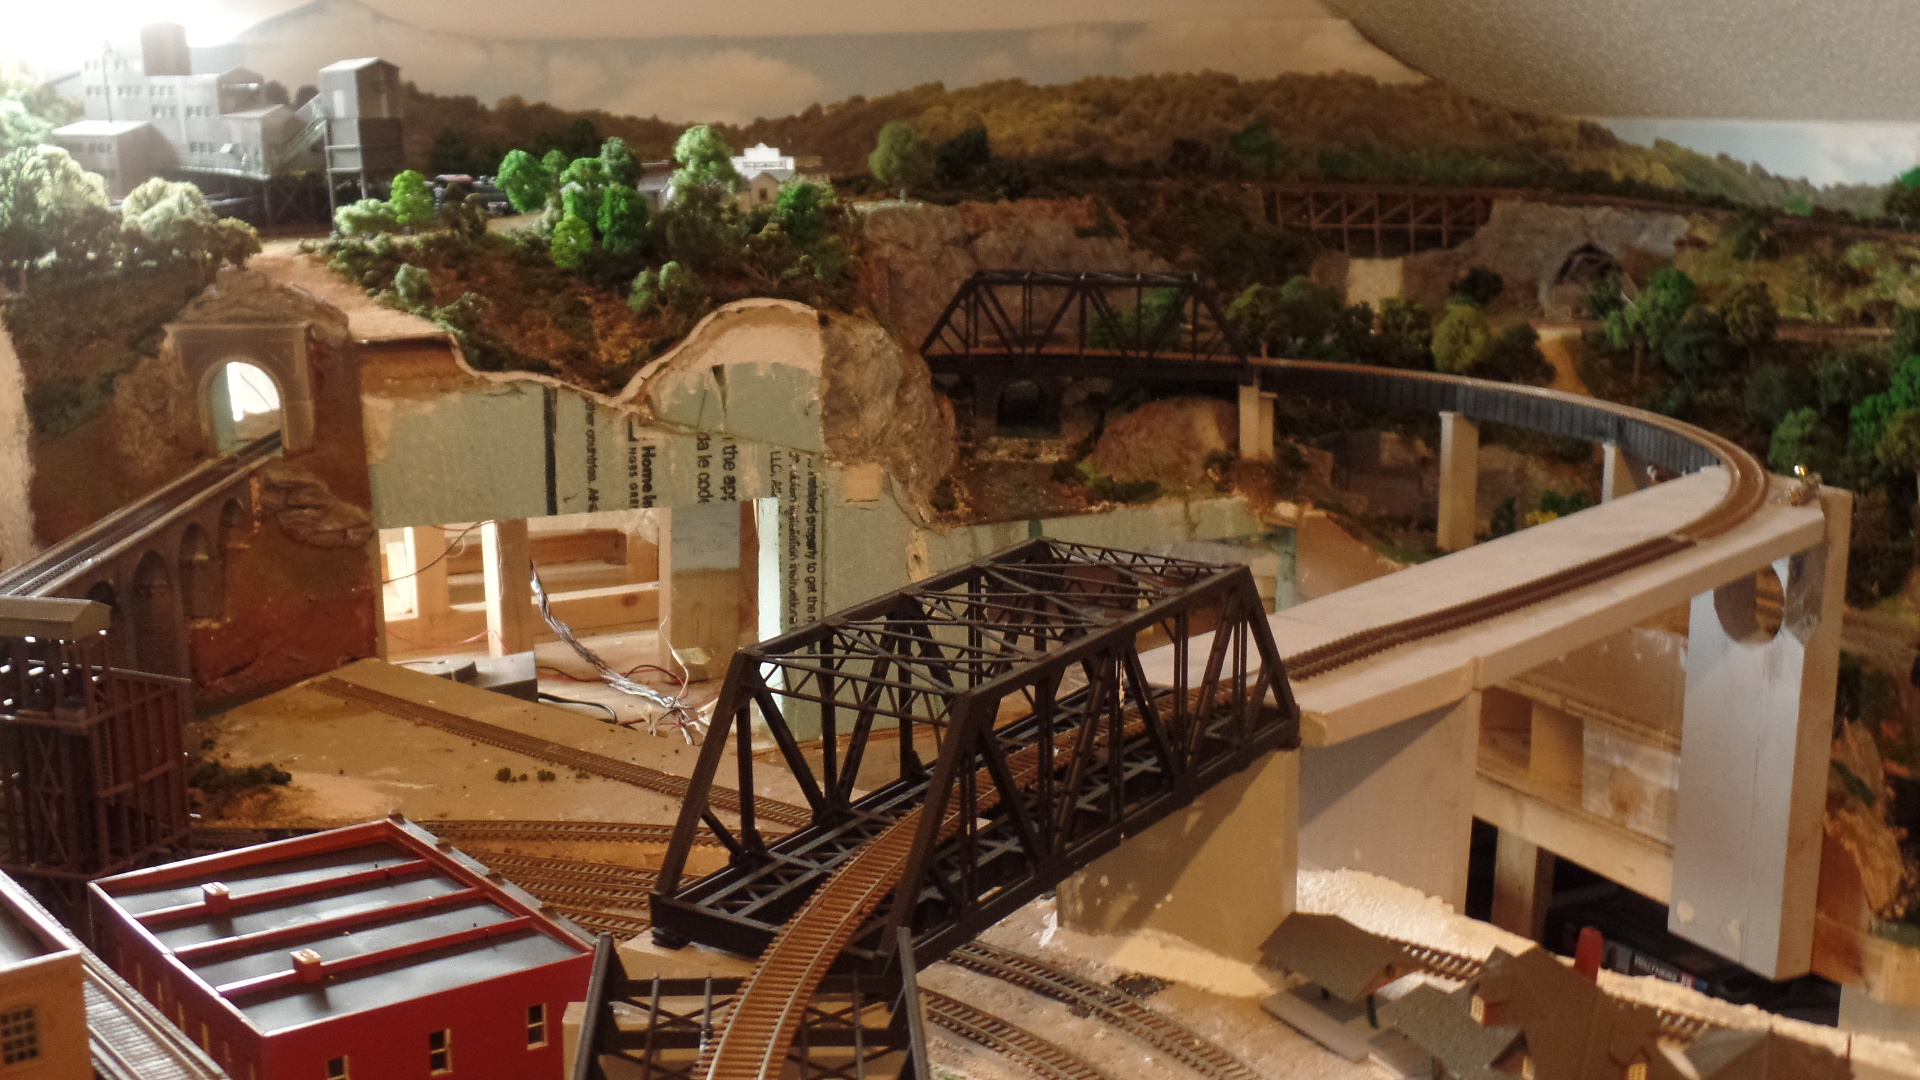
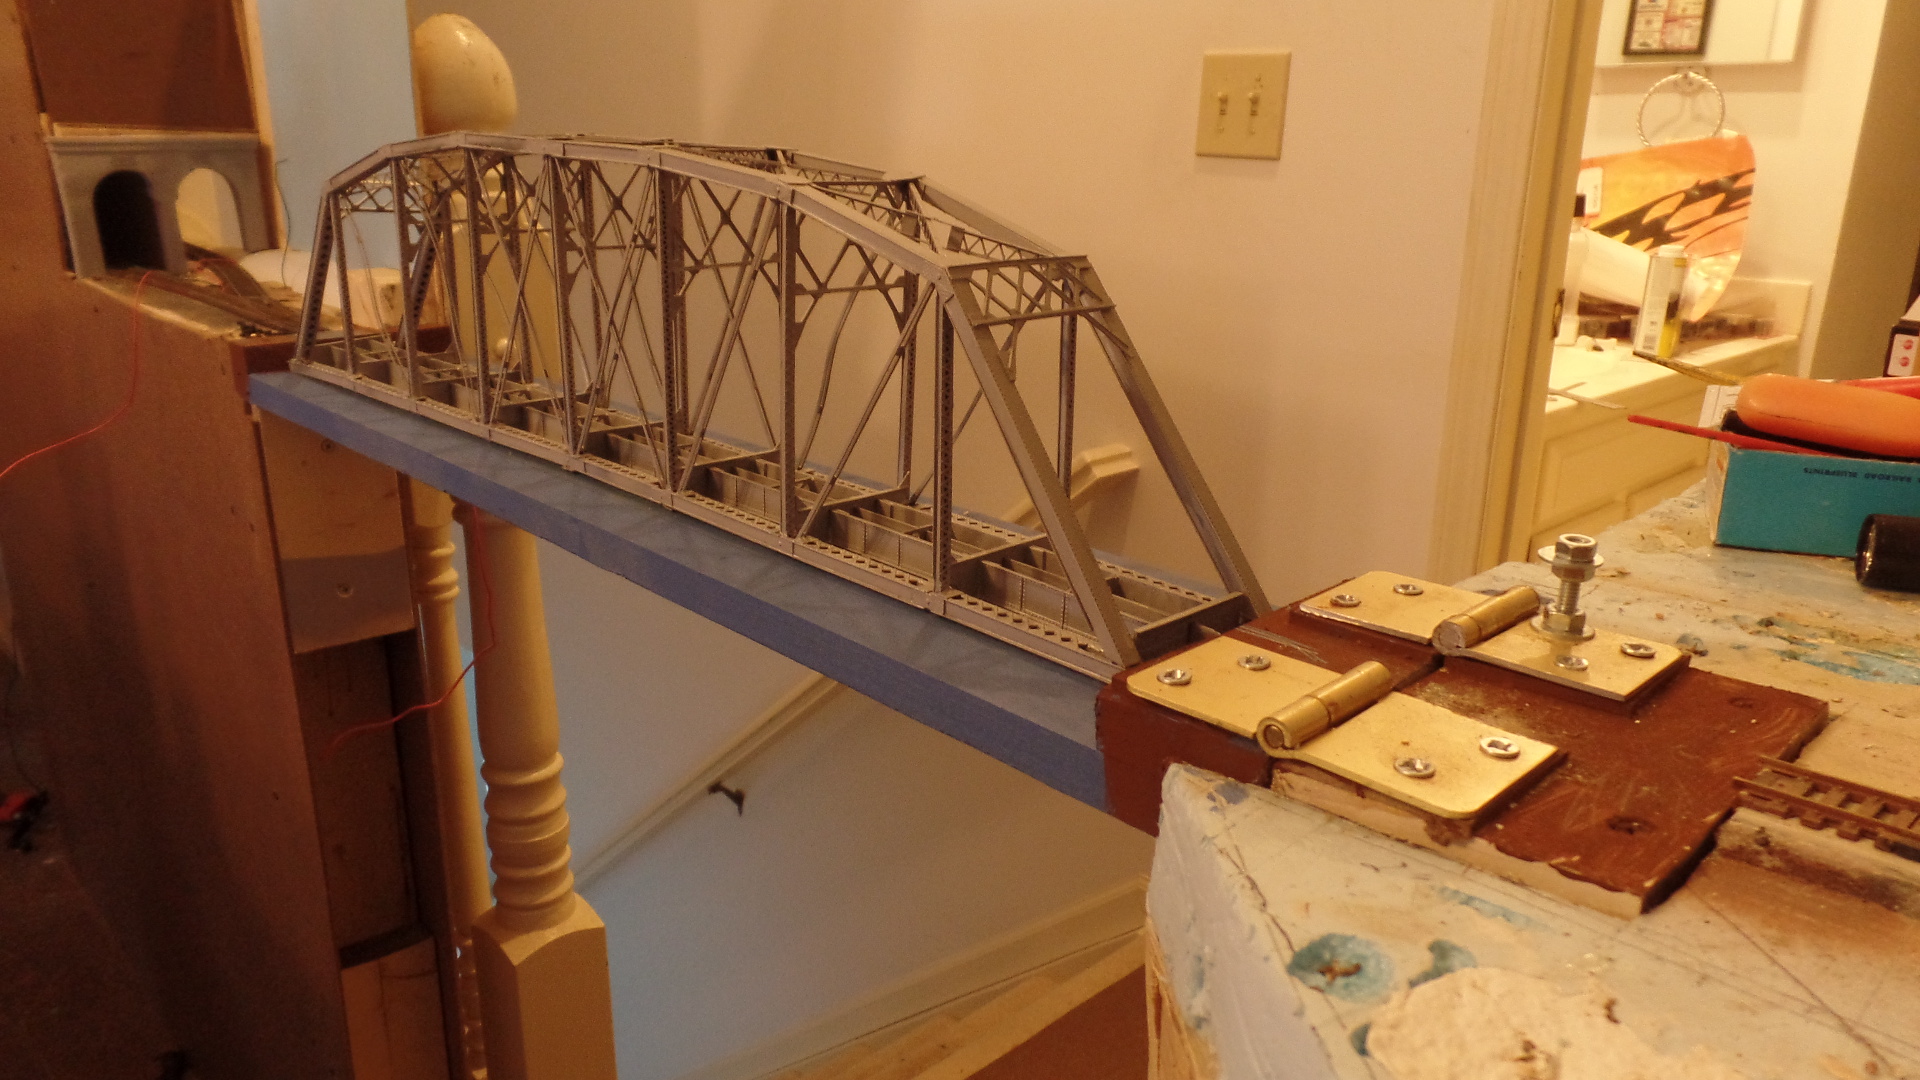
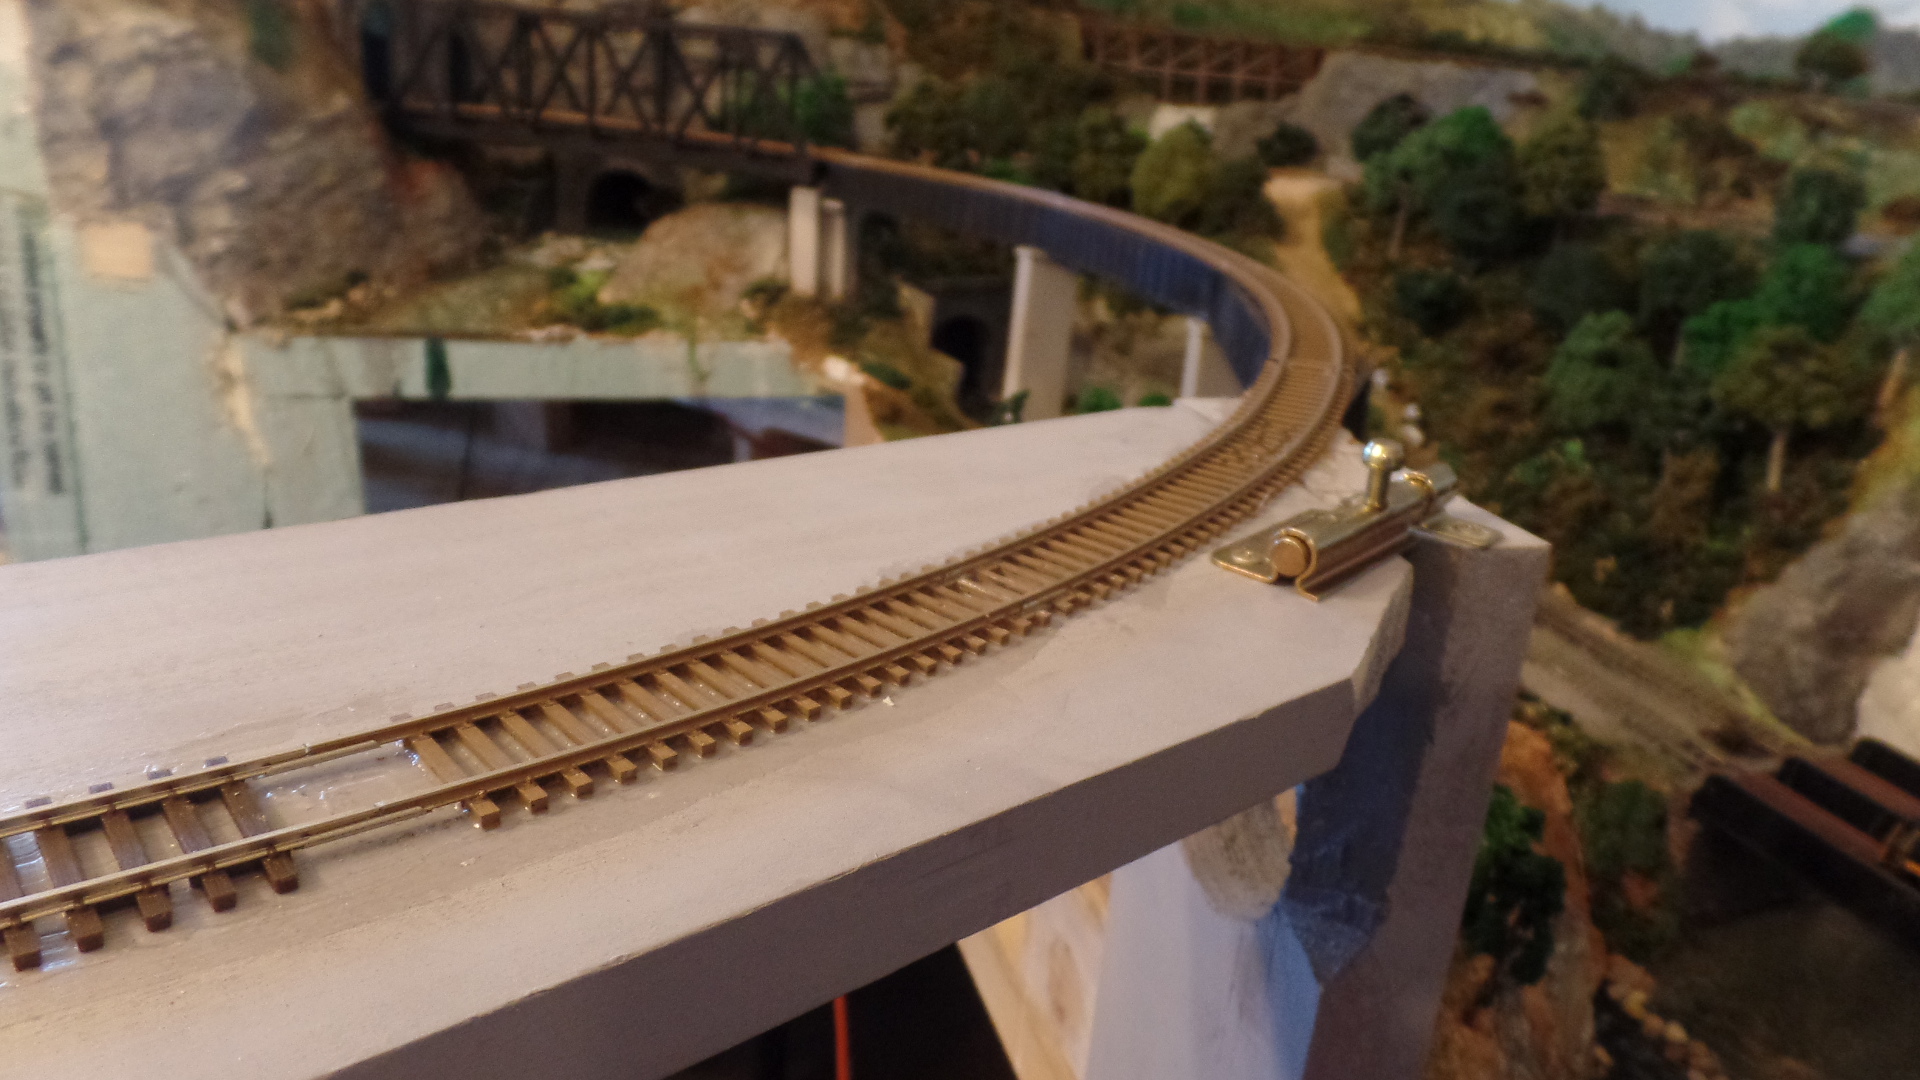
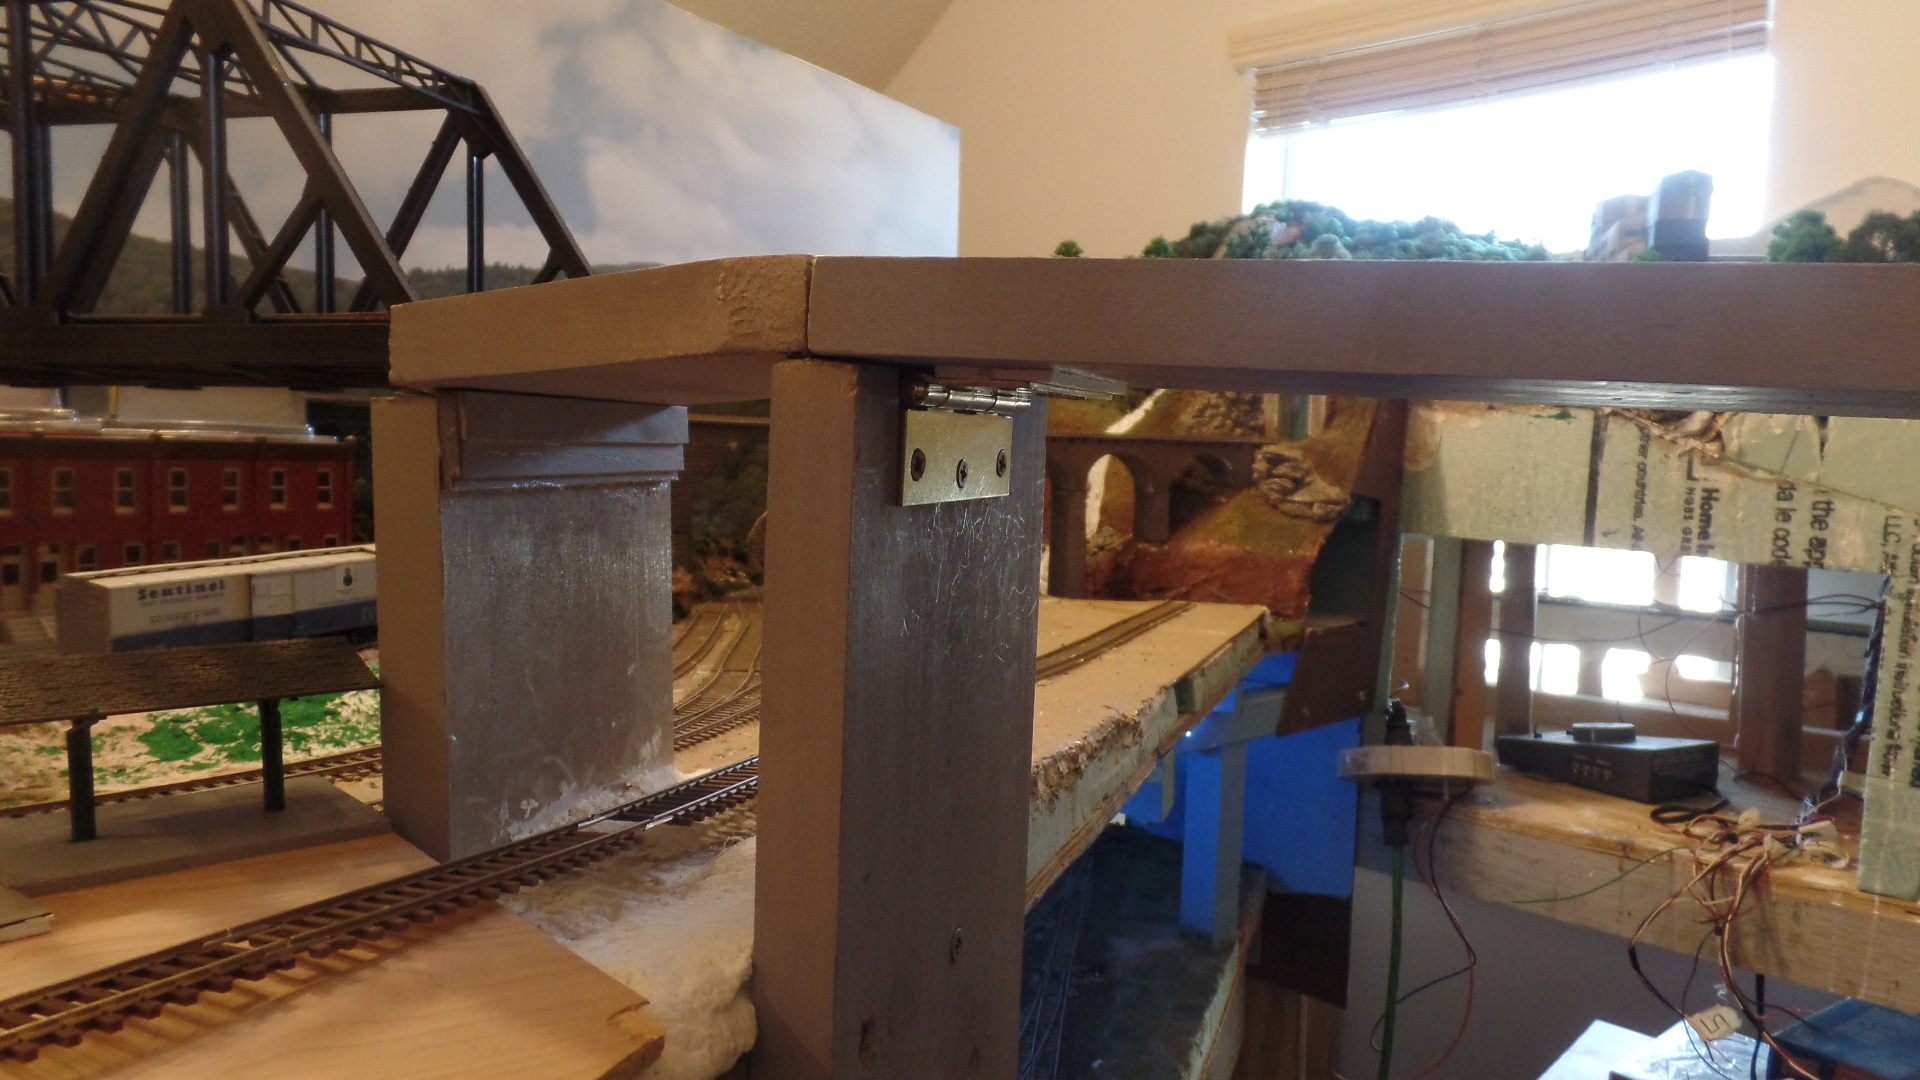
I had a 200 ft bridge that allowed me to span the room entrance. The bridge is too fragile for the movement needed, HO scale bridge supports were needed.
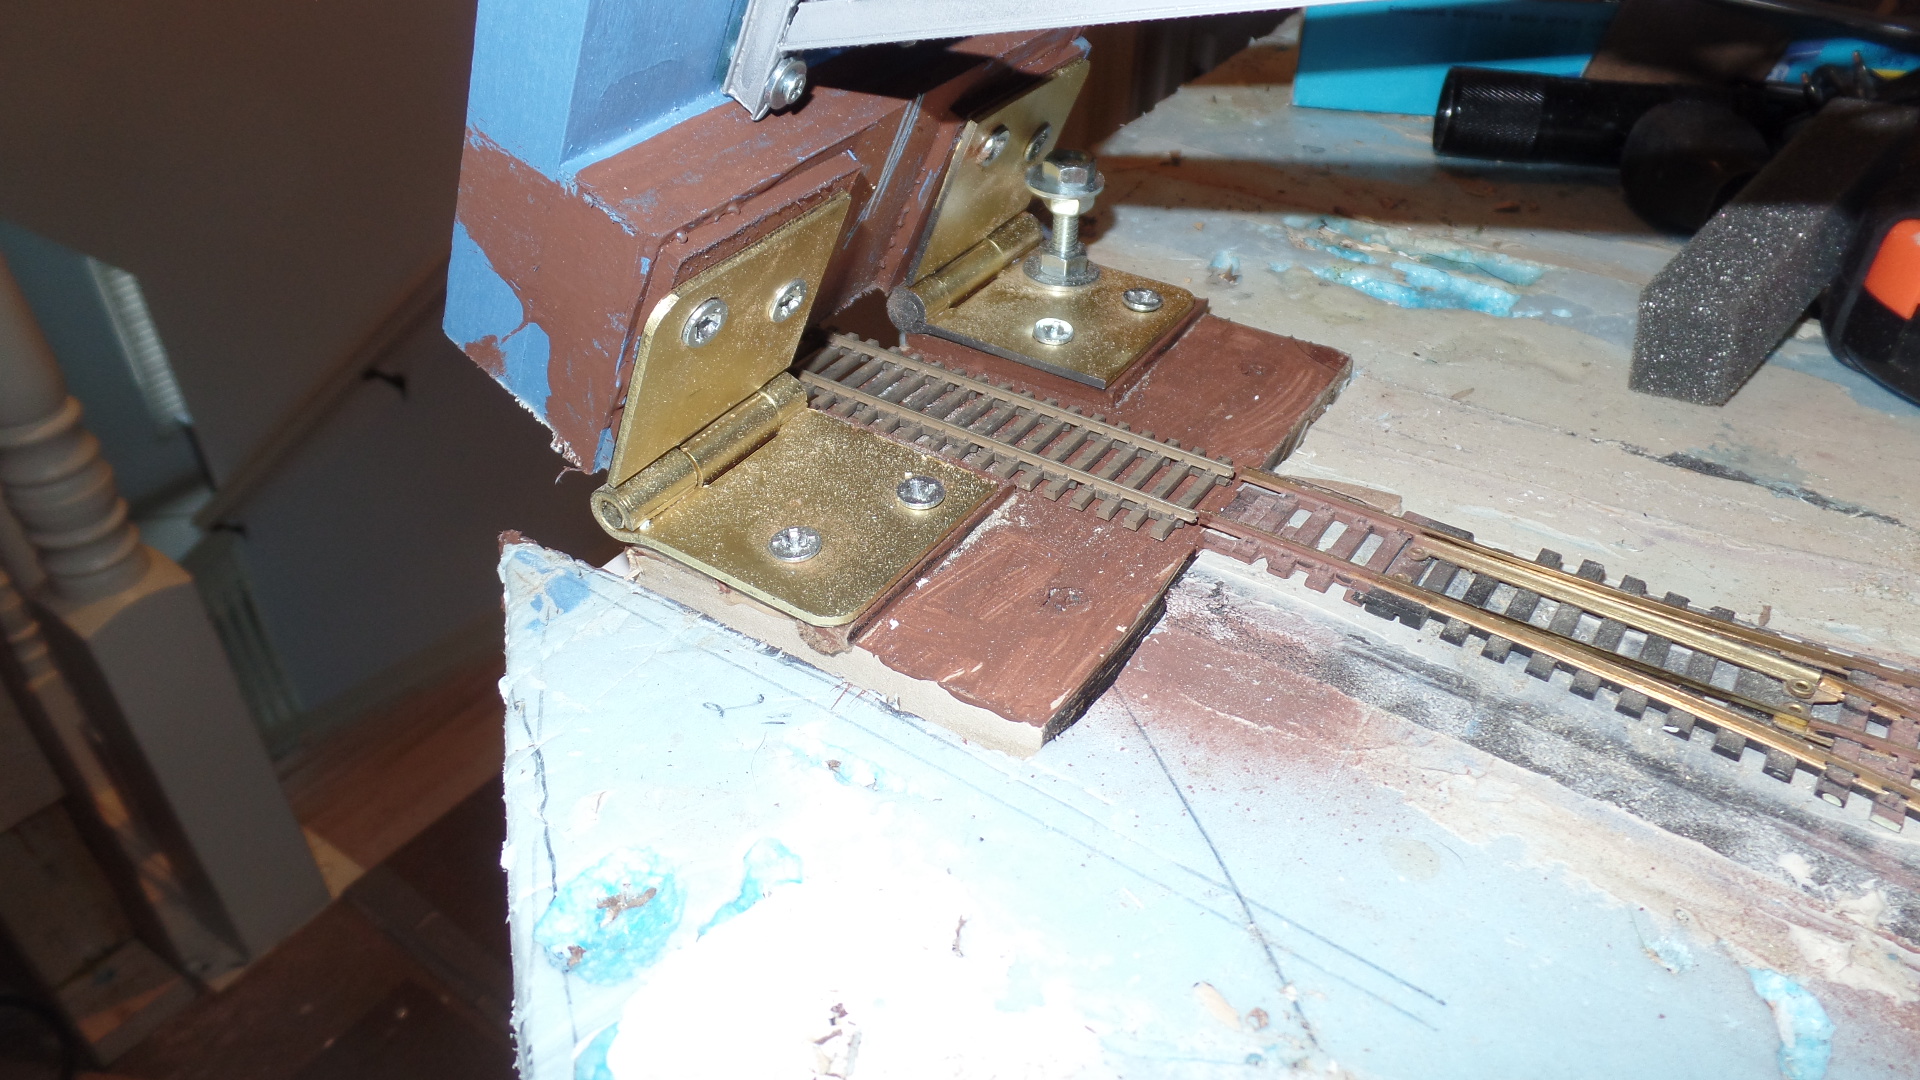
It was mounted on a 1×6″ I used a heavy hing cut in half and spread to allow track through. It is important to have the center of the pin above the top of the track or it will bind when raised.
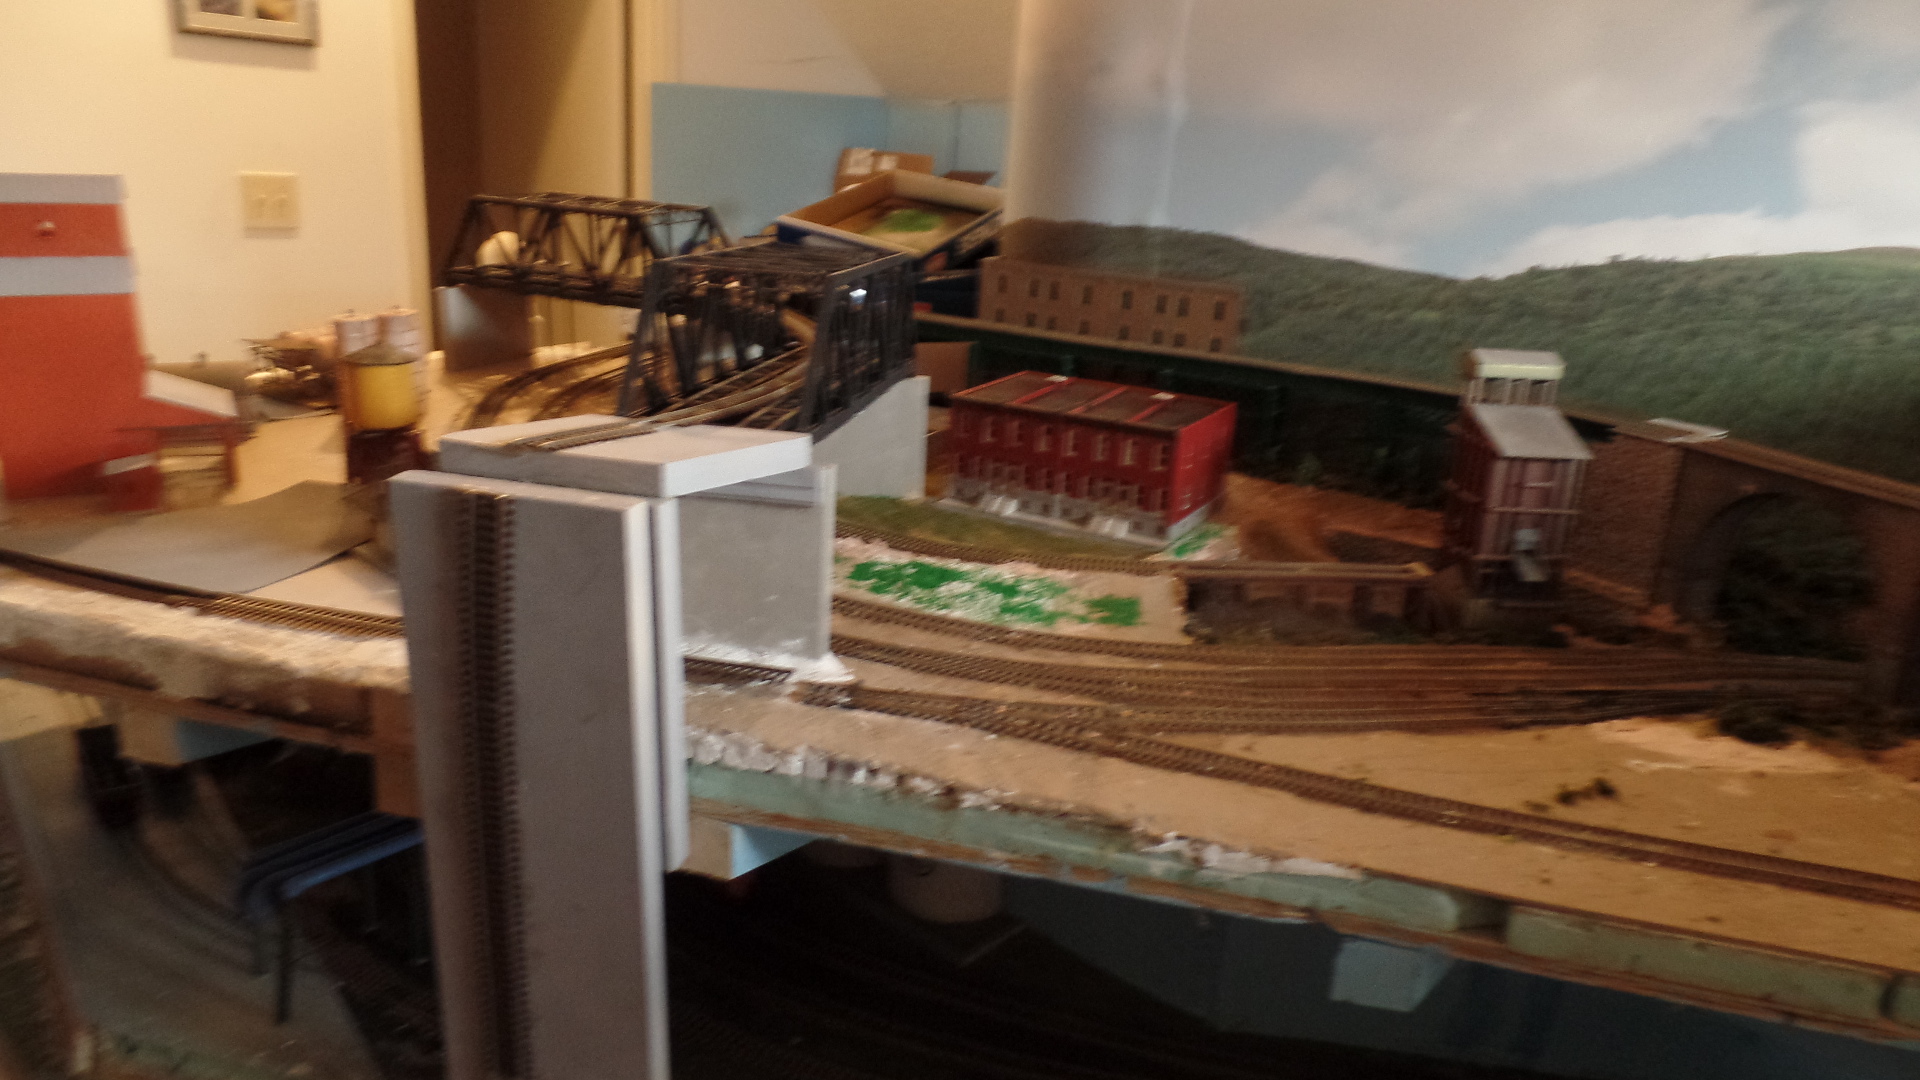
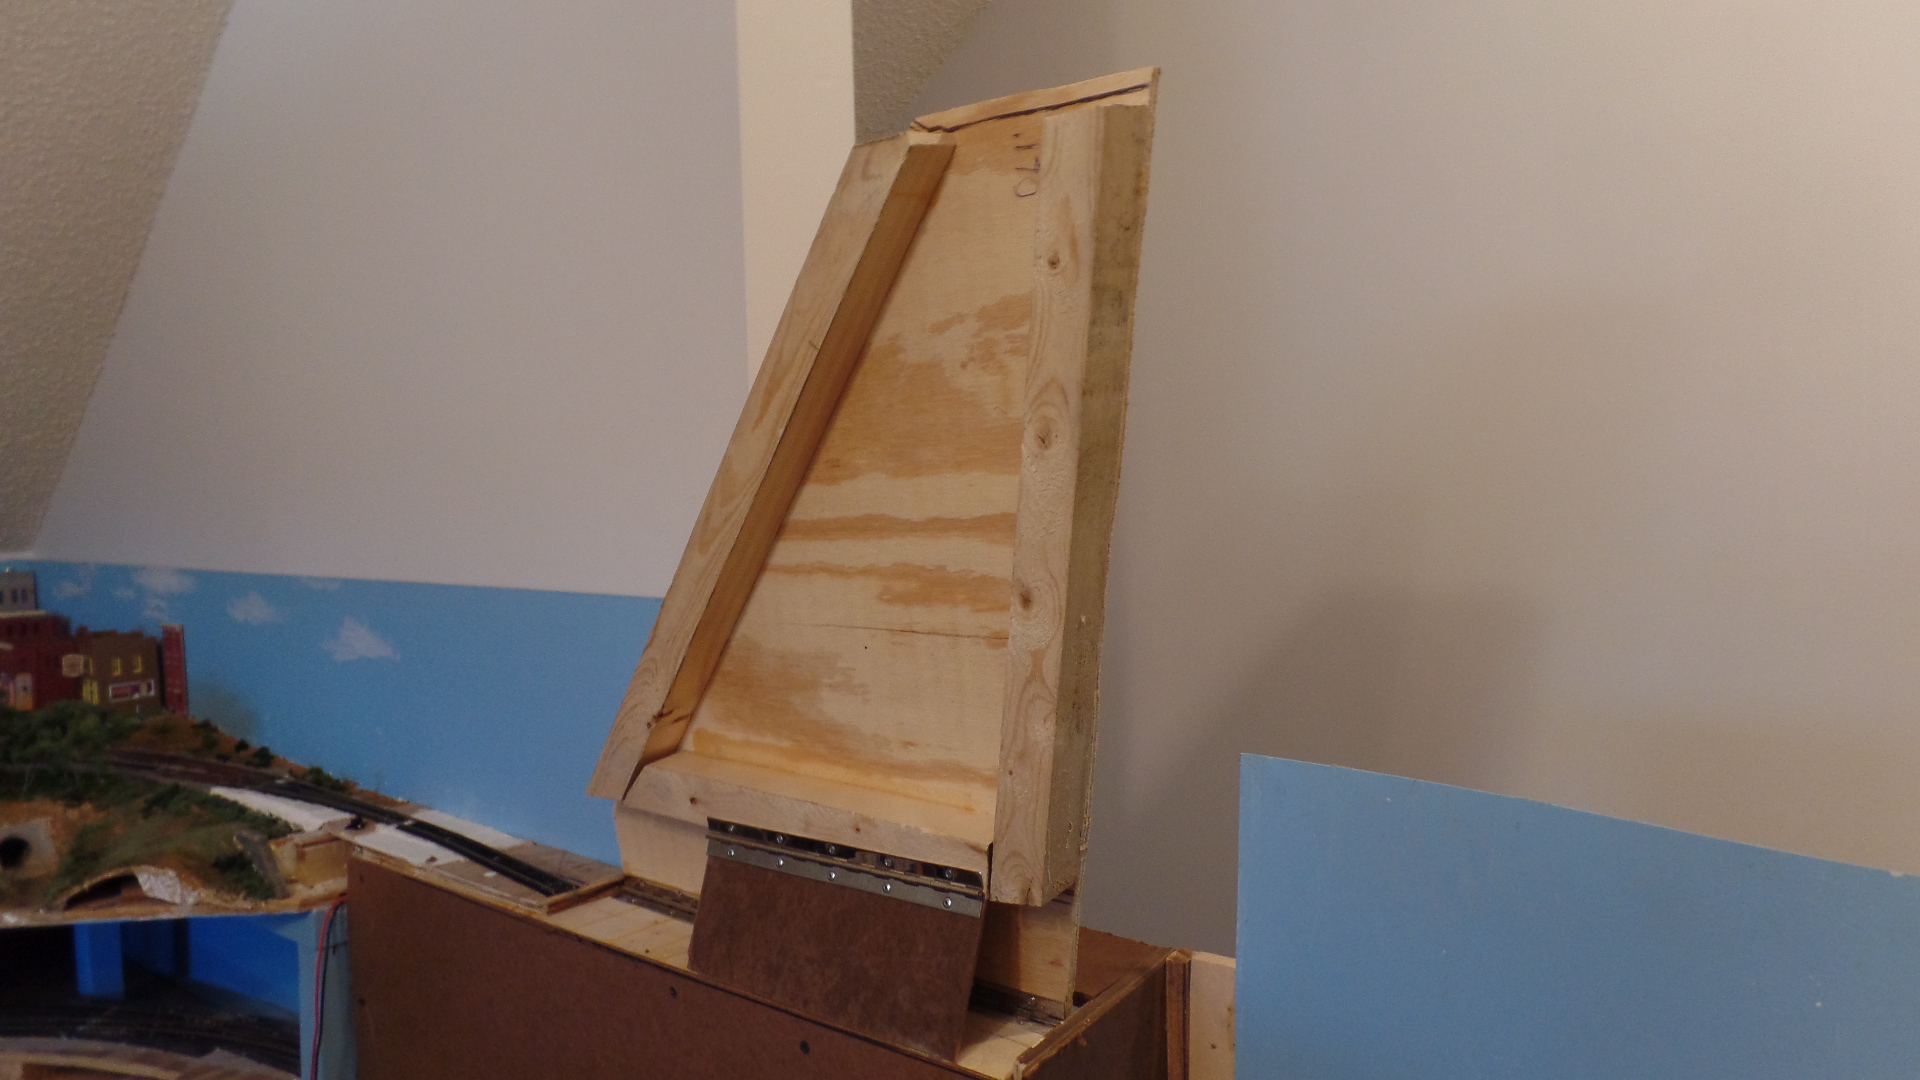
The second section was a platform with curved track. I used an 18″ piano hing for it. A second hinge was used for the brace.
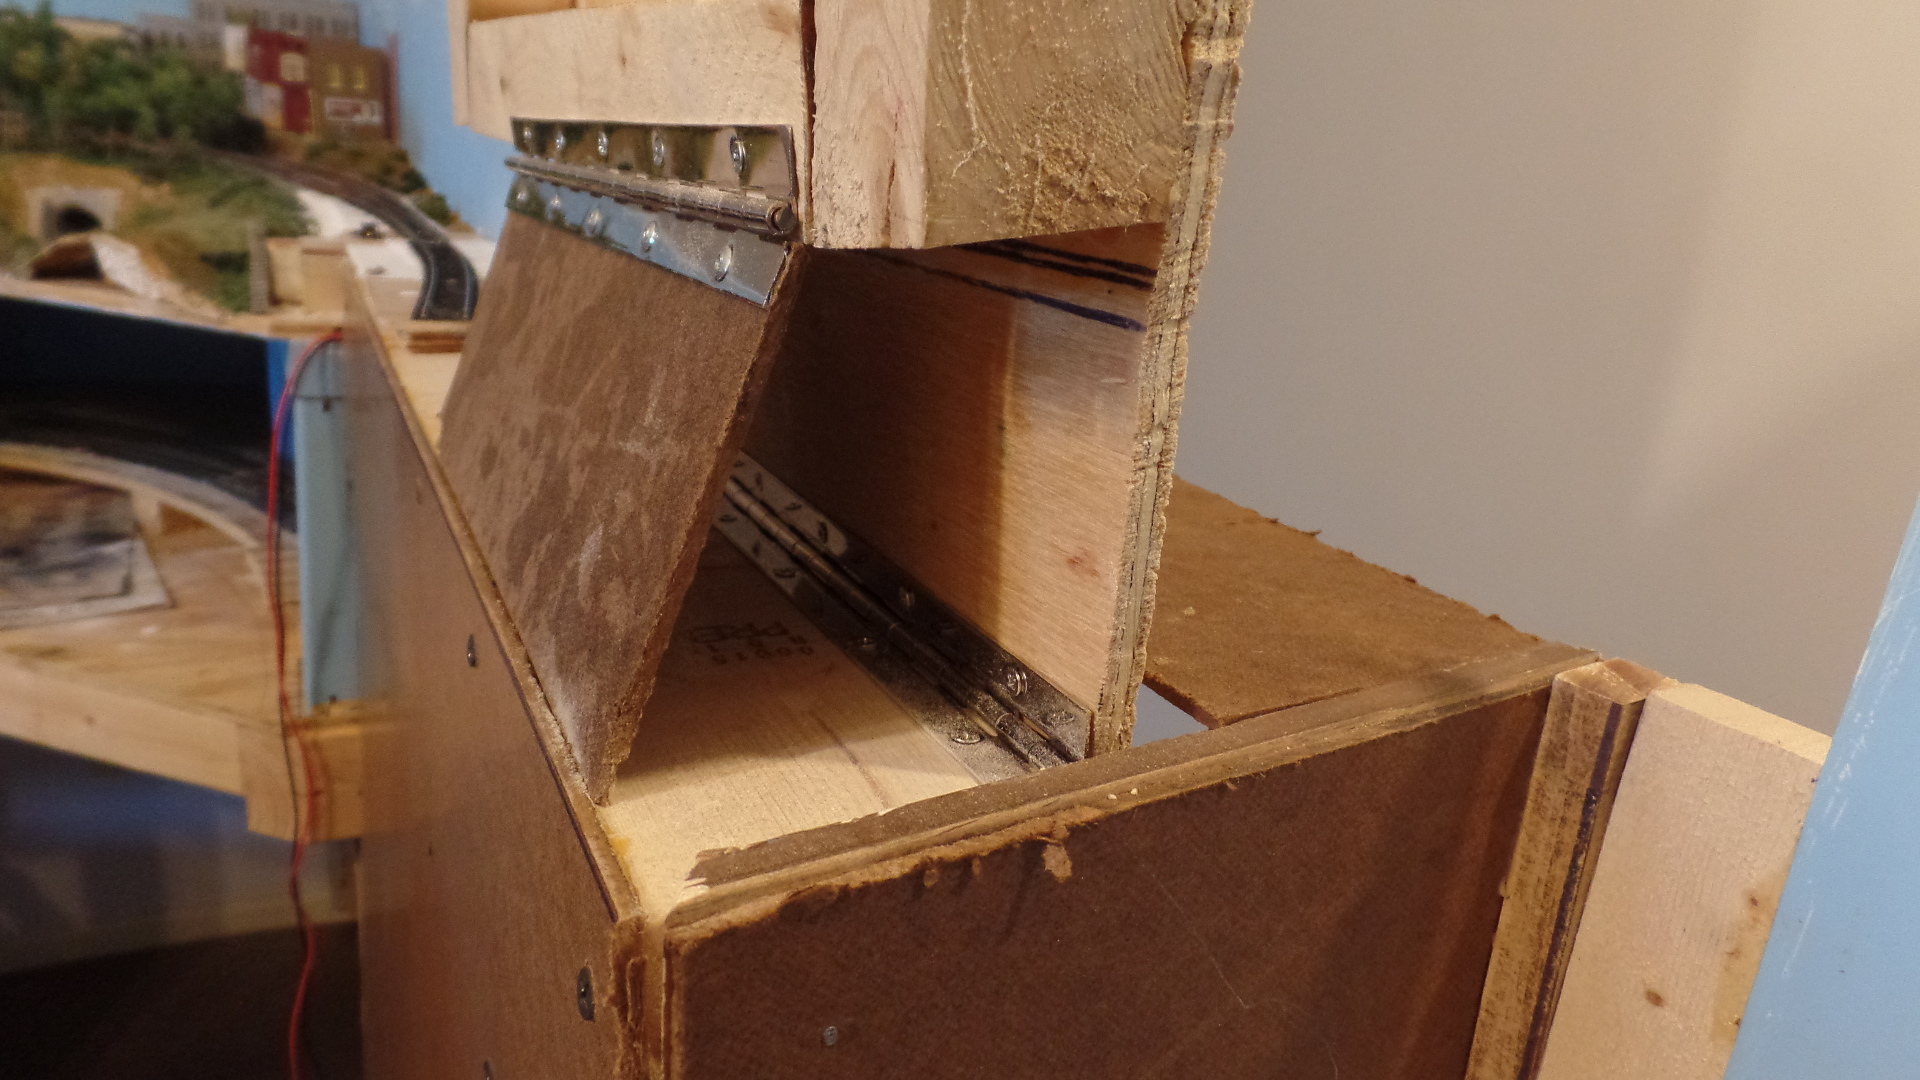
The last movable section was a drop down. It uses a plain hinge and a sliding latch.I crimped the latch to take out any slack when up.
The pictures follow the narrative with the final product last. I hope you find some ideas of use.
Sincerely,
Don”
“Hi Al,
No model trains to day, but a few of the real McCoy.
Been up in North Yorkshire and managed to capture a few Steam Trains in action.
Hope you can enjoy and maybe the members can enjoy a bit of real steam, and as always say, you can get a few ideas for a model railway…
Regards
Dave”
Latest ebay cheat sheet is here.
A big thanks to Don for sharing his HO scale bridge supports, and to Dave too.
And if you want to roll your sleeves up and get busy on your very ownn layout, the Beginner’s Guide is here.
That’s all for today.
Please do keep ’em coming.
Best
Al
PS More HO scale layouts here if that’s your thing.


I have been looking for elevated plans for a train platform but to all my search I can not find any.Can you please help me in this matter for I know from past experience that there was a book that gave a detailed layout of the plans for such a platform.
Dave, I’m sure 007’s Martini is well shaken going over all those points. 🙂
great job dave and al I really enjoyed all of it
Looks really complicated but I like it. Nice job on the bridges.
Dave, always appreciate your videos. Both informative and fun to watch.
Brian – the HOn3 guy 🇿🇦
I guess your wife does have her limits, and you found one! On the posted photo with the lighter colored railroad ties, what make of track is this, or did you make it yourself? It is very realistic looking.
Rustolium 2X Satin Nutmeg
Loved the video Dave!! Really fun to watch. Cheers Rossco
See, where there’s a will there’s a way. Nice job
I would like to do an old west scene. This is my first time trying this. I am open to any suggestions you may have.
Hi. Re space. I had a friend “Dave” who stayed in a reasonably large flat. He used a smallish spare room for his trains. Space being limited he decided to run his trains around the inside perimeter of the whole flat. Out came the hole saw and he drilled through every wall and created a circuit around the house. Every room had a track running through it. Including the kitchen. It ran along the windowsill and the bathroom where it ran inside a plastic transparent box. It was sealed with a rubber gasket. The roof did lift off to give access. The front door had a lift out section. It worked well only problem was if you sent a train down that loop it was hard to judge if it should have returned back to the train room. So many wasted searches were done and suddenly the train would return. It was a very individual. Way to expand. He is now divorced. I guess his wife had enough.
Dave,
I love and always appreciate your videos. Always very informative and much fun to watch.
Do you have any information on the railway you visit? I would love to visit and stay over sometime?
Don, Ur bridge hinging is a bit rinky dink. U need to come up with better options.
Put hinges on the underside like a closet door to hide. Too many hinge joints.
That curved track crossing the straight bridge is definitely a no no! I call it as I see it.
The Critic
Don photo # 4 ( Does your chewing gum loose it’s flavor on the bed post over night ) ?
Bobby B
Funny post from Don about the hole in the wall. How many of us have thought about putting holes in the walls to run the trains, I wonder…
The center of the hinge pin is where it rotates. So the hinge can be dropped in height a little.
Looks good keep up the good work.
(1.) Don’s Layout: Laughing about the Response to your Wife’s Statement..The Bridge across the Passageway is a good idea.. Just like the Hinges. You also could have made it so that section would “Swing” out of the way like a Door. Wanted to ask if the back layout track section went thru a WIndow, as the “Blinds” are seen pushed all the way up to the top. Wondering how you successfully ran your trains?
(2.) Dave’s Live Steam British Railway was really a nicely produced Video. Wondered while watching it, How the Steam Engine Changed Positions? First it was pulling the train, then it showed up Pushing the Train? Where was the run around track? In the end, There was a Diseal locomotive assisting it in the end of the train. Had great photos overlooking the train as it went by when you were standing either off to the side of the tracks or on an overpass. Great Backyard Flower Garden all over.. Nice Peaceful Setting.. Congrats.. ~ Mike In N.H. U.S.A.
Robt Brady – your spelling & grammar leave a lot to be desired so let up on the critiques! I think we see a very good model RR in the making!@
A note for ANYONE in an apartment building, condo’, or a house with basement orvmore floors: plasterboard (drywall as it’s commonly called in US), serves as fire protection. DON’T remove it unless you TOTALLY understand the implications !!! If in doubt, get it checked by someone who fuy understands the fire protection, sheilding and compartmentation of buildings, especially in those of multiple occupation. Killing yourself is one thing but endangering others is something else.
I am an architect so “twitch” at some ideas involving the building fabric being altered.
I would love to see Robert Brady’s layout if you would re-post Please. Thanks
Pappy
east TN.
Terry P. U would be surprised. If Al can find it he has my permission to post
RB
Mike to answer you query re front and rear running its nearly all single one way track but at 4 places they have a side track to enable to pas or uncouple and go to the other end of the coaches , i did take these in different locations with 3 different loco,s
In answer to the Railway I visited it is the North Yorkshire Steam Railway , runs from Pickering to Whitby on the coast
I always build layouts on the assumption that someday I’l move and the new owners of the house won’t want hole in their walls. To solve that problem without having to patch the dry-wall and repaint, is to cut the hole in the wall the same size as a standard electrical wall plug box (be sure there are no electrical wires in that location), That provides enough space and height for an HO train and creates a single tunnel opening. If you want a double track, cut the hole the same dimensions of a double electrical box. (You don’t need the electrical box itself.) You can then paint or attach a standard train portal to both sides of the wall.and blend your scenery in. Later, when you want to tear the layout down or are forced to move, simply buy two plastic electrical face coverings the size of the hole and screw or glue them together on the wall.. It will end up looking like a blank electrical outlet plate on the wall, cover the hole, and no one will be the wiser.
Terry/Idaho USA