HOn3 brass K-37 – Brian’s layout

Brian’s been in touch with pics from his very first layout. Have a look at his HOn3 brass K-37 on his narrow shelf:

“Hi Alastair.

Photos below are of my first HOn3 layout built when I lived in an apartment many years ago.

I mentioned in my last post that I would find the old photos of my first narrow gauge layout, and here they are, attached. They were scanned and saved as jpegs for use on computers.

At that time I only had space for a narrow shelf layout (15 inches wide). That included the front drop down scenery.

HOn3 brass K-37

I built an ‘L’ shaped layout around two walls.

The quality of the photos are not the best as stated in my previous post and were taken in the late 19 seventies.

Below, the track was laid in place. The backdrop backing is 3 mm Masonite and the cloud sky is a commercial one fixed to the wall. The base under the track is ceiling board to deaden the sound.

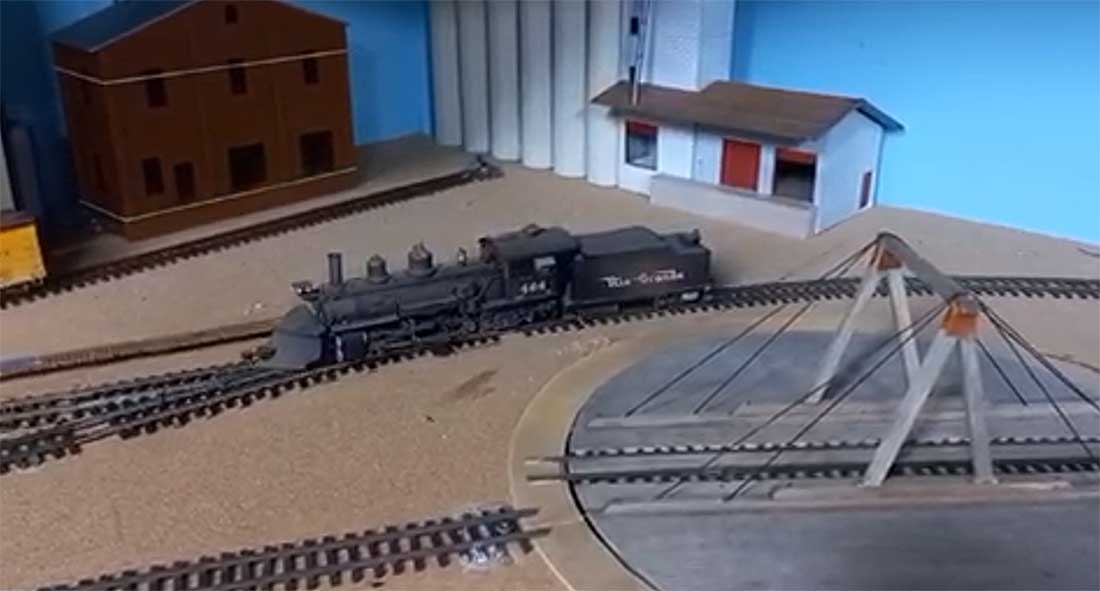
HOn3 turntable

Some of the intended buildings placed temporarily to visualise what the end result would be and where to mount the foam scenery.

building HOn3 layout

Below is the ‘L’ section with a trestle bridge over the valley with foam forming the mountains.

plaster for mountains


HOn3 brass K-37:

Here polystyrene foam is used to form the mountains on the main section.

HOn3 turntable

Below, create stone (plaster) was used to cover the foam and Woodland Scenics rock molds were used to cast the rock faces and then applied to the front face of the mountains.

 narrow shelf layout

Crete stone gave the right earth colour as a base coat before adding the greenery. A cast stone arch bridge was cast to span another hollow in the front.

narrow shelf layout

More of Woodland Scenics grass was added using white cold glue before putting on the greenery to the face of the mountains.

HOn3 brass K-37

A closer view of the cast stone arch bridge.

HOn3 brass K-37

Here you can see how the control panel was incorporated into the scenery in front.

HOn3 brass K-37

A PFM HOn3 brass K-37 locomotive crossing the trestle in the corner. Unfinished scenery in the foreground.

 HOn3 brass K-37

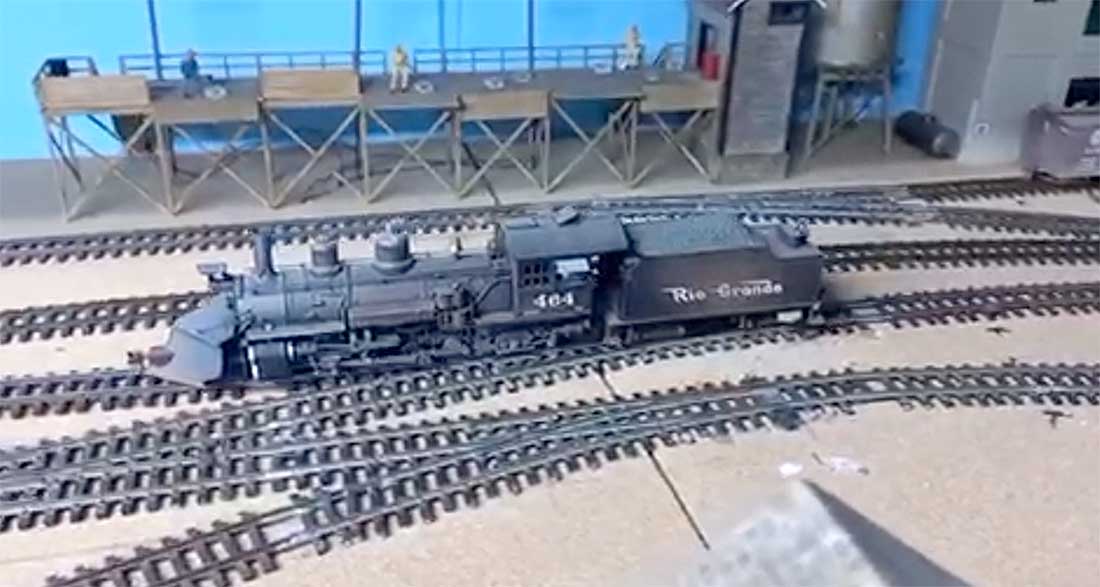
A lot of action here on this section as well as at the engine terminal facilities. The water tank still needed to be completed.

HOn3 brass K-37 shelf layout

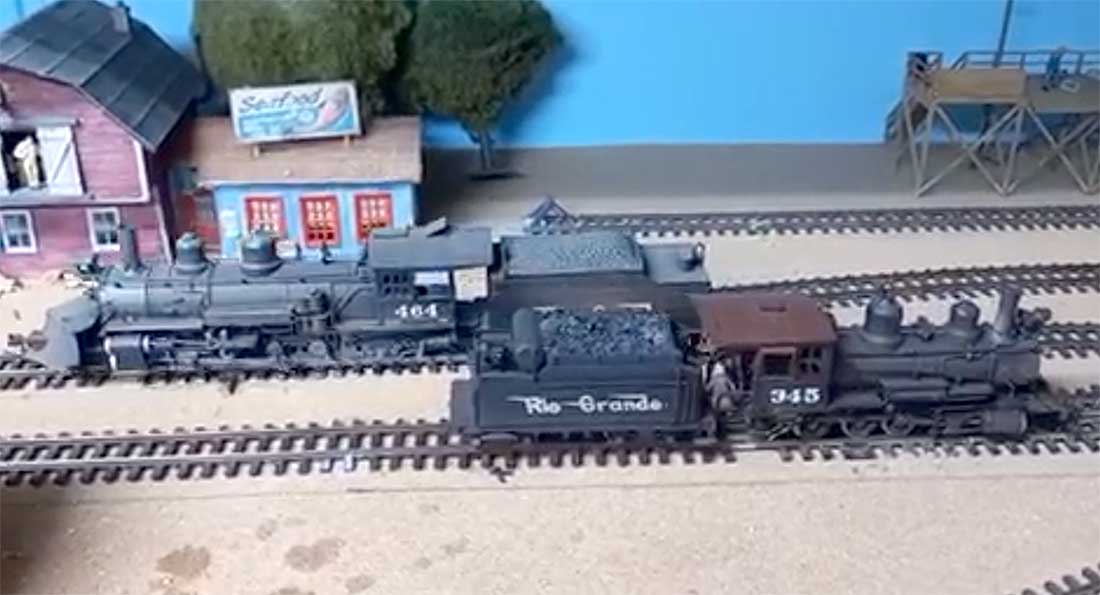
Below is a card stock mock-up of the intended coaling tower. (I assembled a Campbell scale kit). The Rico station is a plastic kit assembled, repainted and weathered. In front is a brass C-16 painted and weathered. I painted all my brass locomotives and weathered them as well as the rolling stock.

HOn3 brass K-37 freight

Passenger cars at the station, picking up passengers and the locomotive will collect the cars for their intended journey.

HOn3 brass K-37 passenger cars

A view of the scratch built HOn3 turntable. Powered by hand.

model train turntable

A brass Westside model C-16 crossing the trestle with a string of scratch built refrigerator cars.

HOn3 brass K-37 trestle bridge

The HOn3 brass K-37 returning with stock cars to the town.

HOn3 brass K-37 trestle bridge

A view of the storage track in the foreground next to the turntable.

narrow shelf layout

Storage track on the right with the caboose on it and showing the unfinished water tank kit.(Durango press kit) as well as the finished coaling tower kit.

HOn3 brass K-37

Top view of the HOn3 layout. Roundhouse roof skylights still had to be cut out.

 model train turntable engine house

A view from inside the newly (at that time) scratch built three stall roundhouse before all the interior details were added.

 engine house interior

A stock car train being readied for dispatching in the yard.

model railroad freight cars bridge

This view shows the installation of the DC control panel with a home built DC controller resting on the face of it.

Unfortunately this is as far as I got with the building of it.

I had to build an HO scale display layout for a hobbies fair. I used to get involved every second year with the Round Table and YMCA to provide model train displays at them.

The above layout was sold to a friend minus all the buildings, locomotives and rolling stock. He added it to his home layout in another city.

All the above was built in the late 19 seventies.

It was a great learning curve from here. (And boy, have I learnt a lot since then ).

From the very early 2000 thousands I switched to DCC, putting decoders with all the bells and whistles in all the locomotives and have never looked back.

All the best and please big Al, keep up the excellent work on the blog.

Brian – the HOn3 guy from Knysna RSA”

A huge big thank you to Brian for sharing his HOn3 brass K-37 loco pics. His very first layout!

You can see his second ever layout here too:

HOn3 brass locomotives

And there’s loads of Brian’s stuff in the Hall of Fame.

That’s all for today folks.

Please do keep ’em coming.

And if today is the day you get started on your layout, the Beginner’s Guide is here.

Best

Al

PS Latest ebay cheat sheet is here.

PPS More HO scale train layouts here if that’s your thing.


Model railroad design – Roger’s

Roger’s been in touch with his model railroad design and he’s looking for comments:

“Hi Alastair.

I have been following your website for a couple years now and gained much knowledge from all the contributions. I appreciate greatly what you are doing.

I received a Tyco train set for Christmas when I was about 12. Simple figure-eight but I loved playing with it. Not long after I dropped the (bakelite?) controller and it shattered.

Fast forward about twenty years when after college I started my first real job and ran into a hobby shop owner who was a model railroad enthusiast. He introduced me to the local club and I quickly became enamored of the hobby and a member of NMRA.

I purchased a Tyco starter set followed by numerous high quality building kits, engines and cars and made a start on a railroad. Just a simple loop with one siding on a 4×8 sheet of plywood supported by 1×2 framing. Then life got in the way and I set aside my railroading for another 45 years.

Now retired and widowed, I dug out my boxes of railroad equipment with the intent of starting again.

After going through your Beginner’s Guide and numerous other websites, I decided I needed to properly design before building using one of the popular computer design tools.

I have tried several and have settled on SCARM because I was able to do a complete room design, a capability I was not able to duplicate with any of the other tools.

Before describing the pictures I need to say a bit about the design requirements.

First, all of the equipment I have is HO-scale and I don’t want to go smaller – my eyes and fingers won’t let me.

One of the engines I purchased years ago is a Rivarossi Big Boy and I want to be able to run it. Hence, the minimum radius will be 21-inches. Specs say it will run on tighter curves, but my experience on 18-inch curves has not been good. I’m hoping 21-inches will be enough.

Next, the only room I have in which to put the railroad is a relatively small 10×14 feet, and it also must serve for general household storage. So, practically, I have only about 10×9 feet with one corner cut off to allow access to a closet. The design is based on Atlas code 100 trackage with #6 switches, but can be changed if I see a reason to do so.

Finally, I want to model the area around Peace River in Alberta, Canada. There is a railroad through the town and the oldest remaining train station in Alberta from the steam era which I hope to include at some point. For those interested there is much available online about the history of the area and the railroad.

Given these limitations for my model railroad design, I have developed a preliminary design open to any suggestions.

There are lots of opportunities for switching and storage, as well as some space for buildings and scenery, which I have yet to work on. As indicated above, it is done in SCARM, and I think your readers will appreciate the capabilities of that software.

Figure 1 shows the track layout and underlying benchwork – 1×3 framing with 2×2 posts.

Figure 2 shows the layout within the room walls and existing shelving. Note the window and doors are also identified.

Figure 3 is a 3-D SCARM presentation of all the components, including layers of solid-foam board for mountains and a river and bridge in front of the window.

I’m not entirely satisfied with the current design. I tried three other configurations which I felt did not work as well. I would appreciate any comments you or your readers may have about my starting attempt.

Roger”

model railroad design

model railroad design

model railroad design

A big thanks to Roger for sharing his model railroad design – please do leave a comment below if you have any thoughts on it.

I know lots of you start with Tyco trains – you can have a lot of fun with them, like Stephen: Tyco HO trains.

That’s all for today folks.

Please do keep ’em coming.

And if today is the day you get started on your layout, the Beginner’s Guide is here.

Best

Al

PS Latest ebay cheat sheet is here.

PPS More HO scale train layouts here if that’s your thing.


HOn3 brass locomotives

Brian’s been in touch with pics of his HOn3 brass locomotives from 45 years ago:

“Hi Alastair,

I finally got my 45 year old photos converted from colour photos to JPEG’s to enable me to use them on a computer.

This HOn3 layout with the modified timesaver switching design on it was built by me 45 years ago when I lived in an apartment.

It was 6 foot 6 inches long by 20 inches wide. That was the only space that I had at the time. I used and modified John Allen’s switching puzzle (Timesaver) as a basis for my mini layout. I spread the tracks further apart, added structures and scenery with a painted sky backdrop and flat printed buildings onto it. It was all DC that stage.

I had a lot of scratch built rolling stock and structures on hand which I added to it.

Locomotives at that time, was a brass HOn3 K37 by PFM and an MDC/Roundhouse 2-8-0 with a North-west shortline gearbox and motor conversion which made it an excellent runner.

HOn3 brass locomotive

An HOn3 outside frame MDC 2-8-0 locomotive.

HOn3 brass locomotive

The same locomotive pulling a well weathered box car.

 HOn3 brass locomotive

The start of the timesaver HOn3 layout.

HOn3 brass locomotive

The HOn3 K 37 locomotive pulling some weathered scratch built refrigerator cars along the waterfront.

model railroad track side

The scrap metal yard with lengths of rail and a pile of ties (sleepers) next to them.


HOn3 brass locomotive

A stock train crossing the trestle and a cowboy on his horse leading cattle to the stock pens.

HOn3 brass locomotive

The entrance to the scrap yard surrounded by a scratch built fence.

HOn3 brass locomotive

A passenger train heading out to the next destination.

HOn3 brass locomotive

A small boat hire dock for the local fishermen to use. Note how the printed backdrop blends in with the foreground. A really busy little town.

model railroad buildings

Shops and industry in front of the backdrop.

model railroad platform

A small passenger station – a Woodland Scenics kit.

 model railroad truck and locomotivre

This white building (a Campbell kit) is still in use on my current layout 45 years later.

model railroad buildings

All this much detail in such a small space. Guns & Tackle is now on my current layout.

model railroad hotel

Every town had to have a hotel. The billboard is a Woodland Scenics kit.

model train town scene

Another view of the town and railroad tracks.

This was my second layout that I built in HOn3 for the spare room that I had in my apartment 45 years ago. If I can find and convert the photos that I had of my first layout also HOn3 as a shelf layout, I will post them here if possible.

Every layout that I build has to have a waterfront on it no matter how small they are.

The quality of the photos are not the best because of their age and having had them scanned. They were taken with a 35 millimetre Olympus XA film camera stopped down to f22. The negatives were lost a long time ago unfortunately.

The 46 year old camera below.

All the best and as per usual – keep up the great work on this excellent site.

Brian – the HOn3 guy from Knysna RS”

A big thanks to Brian for sharing his HOn3 brass locomotives from all those years ago – his layouts really do have a style of his own.

You can see more of Brian in the Hall of Fame.

Now on to Richard, who is looking for some suggestions.

You’ll remember him from his previous layout which is one of my personal faves. You can see it here:

HO layout build.

And here’s a pic of it too:

HO layout build logging

Well, here’s what Richard is planning now:

“Hi Al,

Richard here, now from Arkansas formally from Oklahoma…

Well, after long deliberation, I’ve narrowed my choice of future layout builds down to 3…

1) Rebuild the R&K Logging RR with an expansion to a tree harvesting area…

2) The Thunder Mesa plan, upgrading it to the 50’s time line and incorporating the logging and mining theme…

3) Or the Inyo & White RR… a plan that I found online….

So, all that being said, any suggestions from your readers would help….

Thnxs again for all you do for the hobby

Rich”

If you have a suggestion for Rich, please do leave it below!

Lastly on to Dave, who has sent in this:

“Hi Al, just a short video with Deltics and class 37`s running, it will help to Brighten up a dull grey day… like today.

Regards

Dave”


A big thanks to Dave and Brian.

That’s all for today folks.

Please do keep ’em coming.

And if today is the day you get started on your layout, the Beginner’s Guide is here.

Best

Al

PS Latest ebay cheat sheet is here.

PPS More HO scale train layouts here if that’s your thing.


model train answers