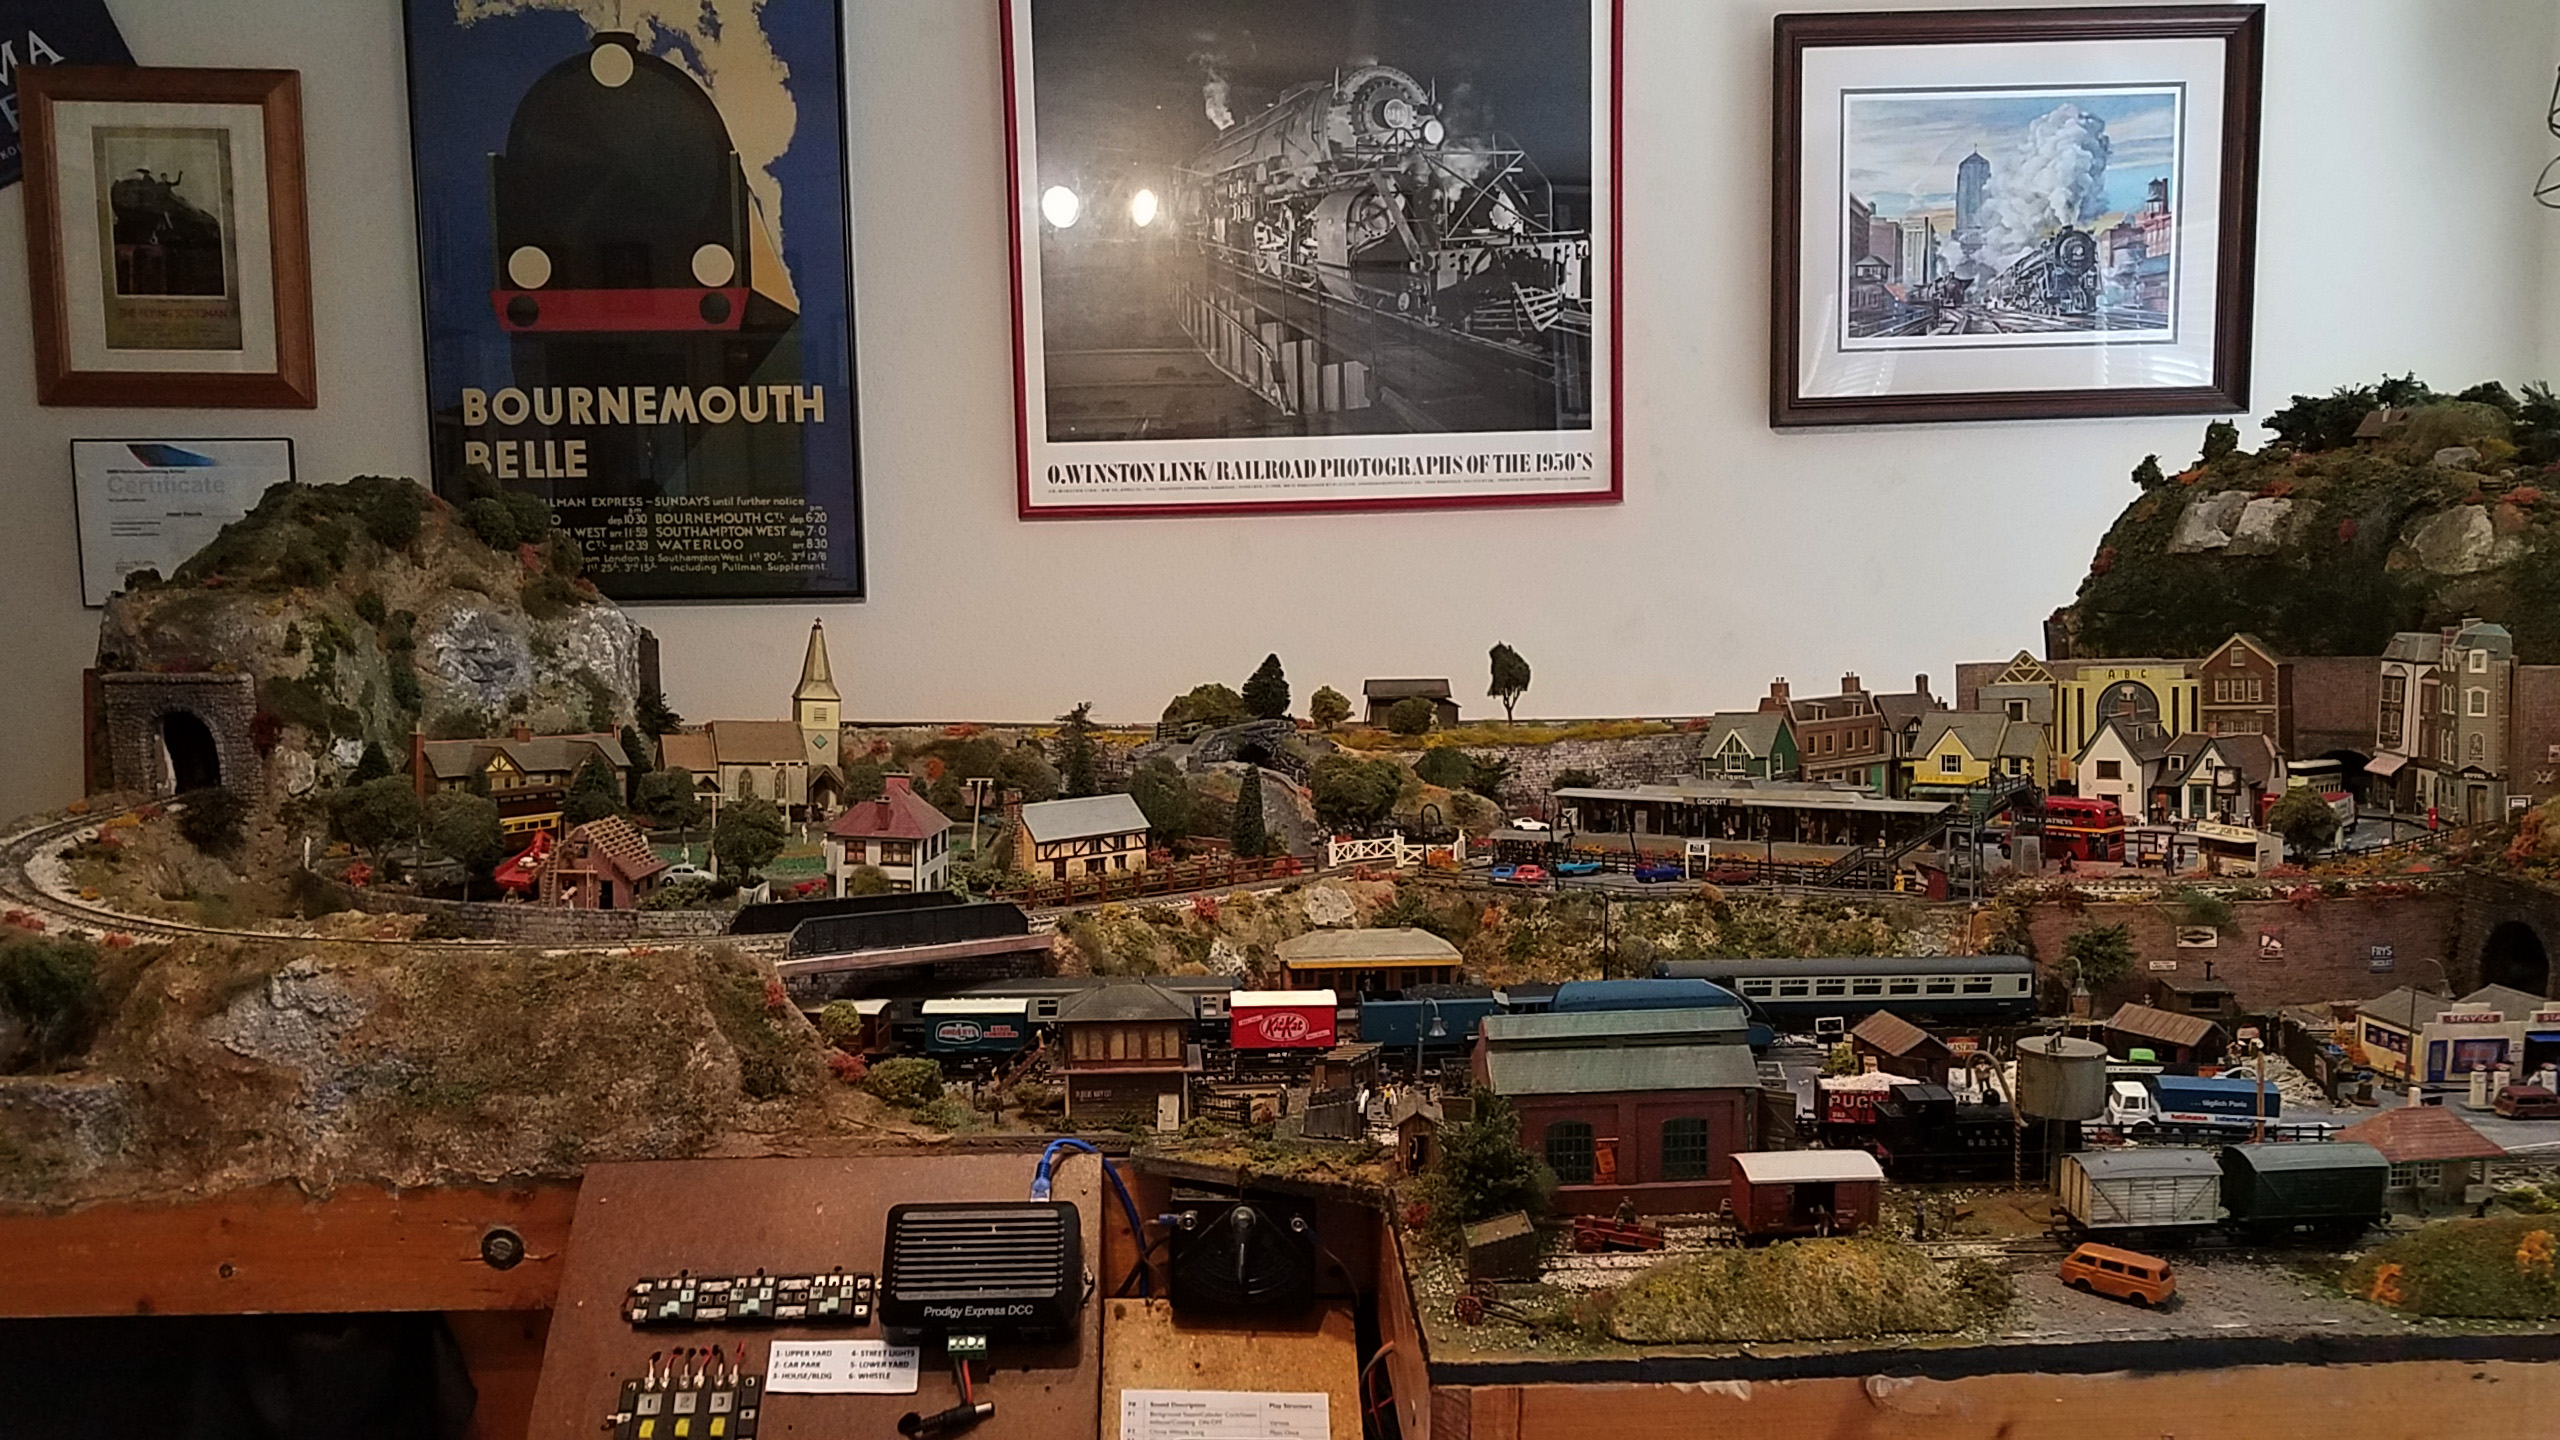
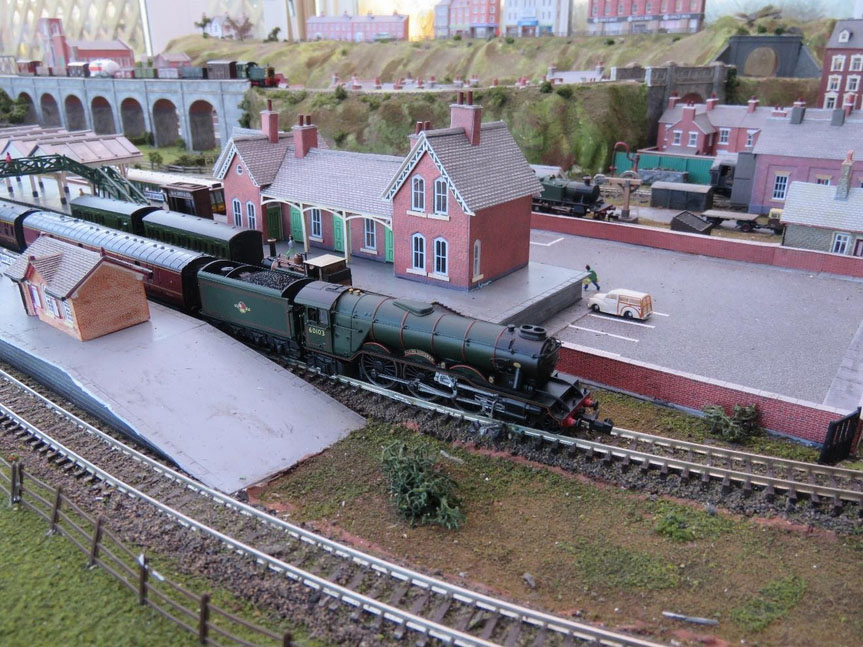
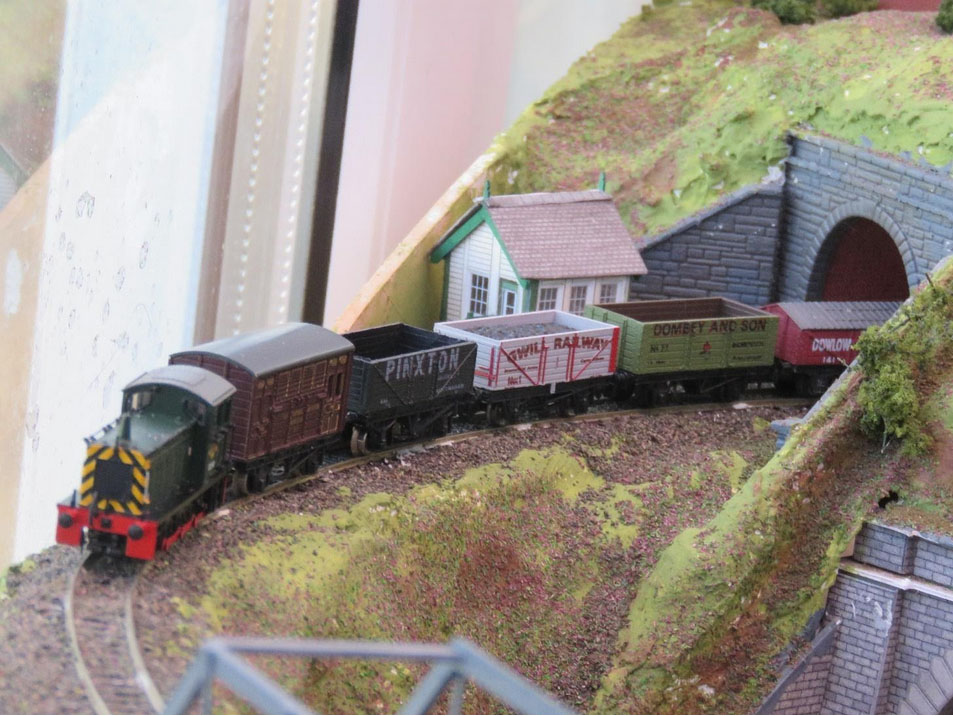
Brian’s been back in touch with is model railroad harbor scene.
(Or should that be harbour? That’s the thing with a global platform…)
“Hi Al,
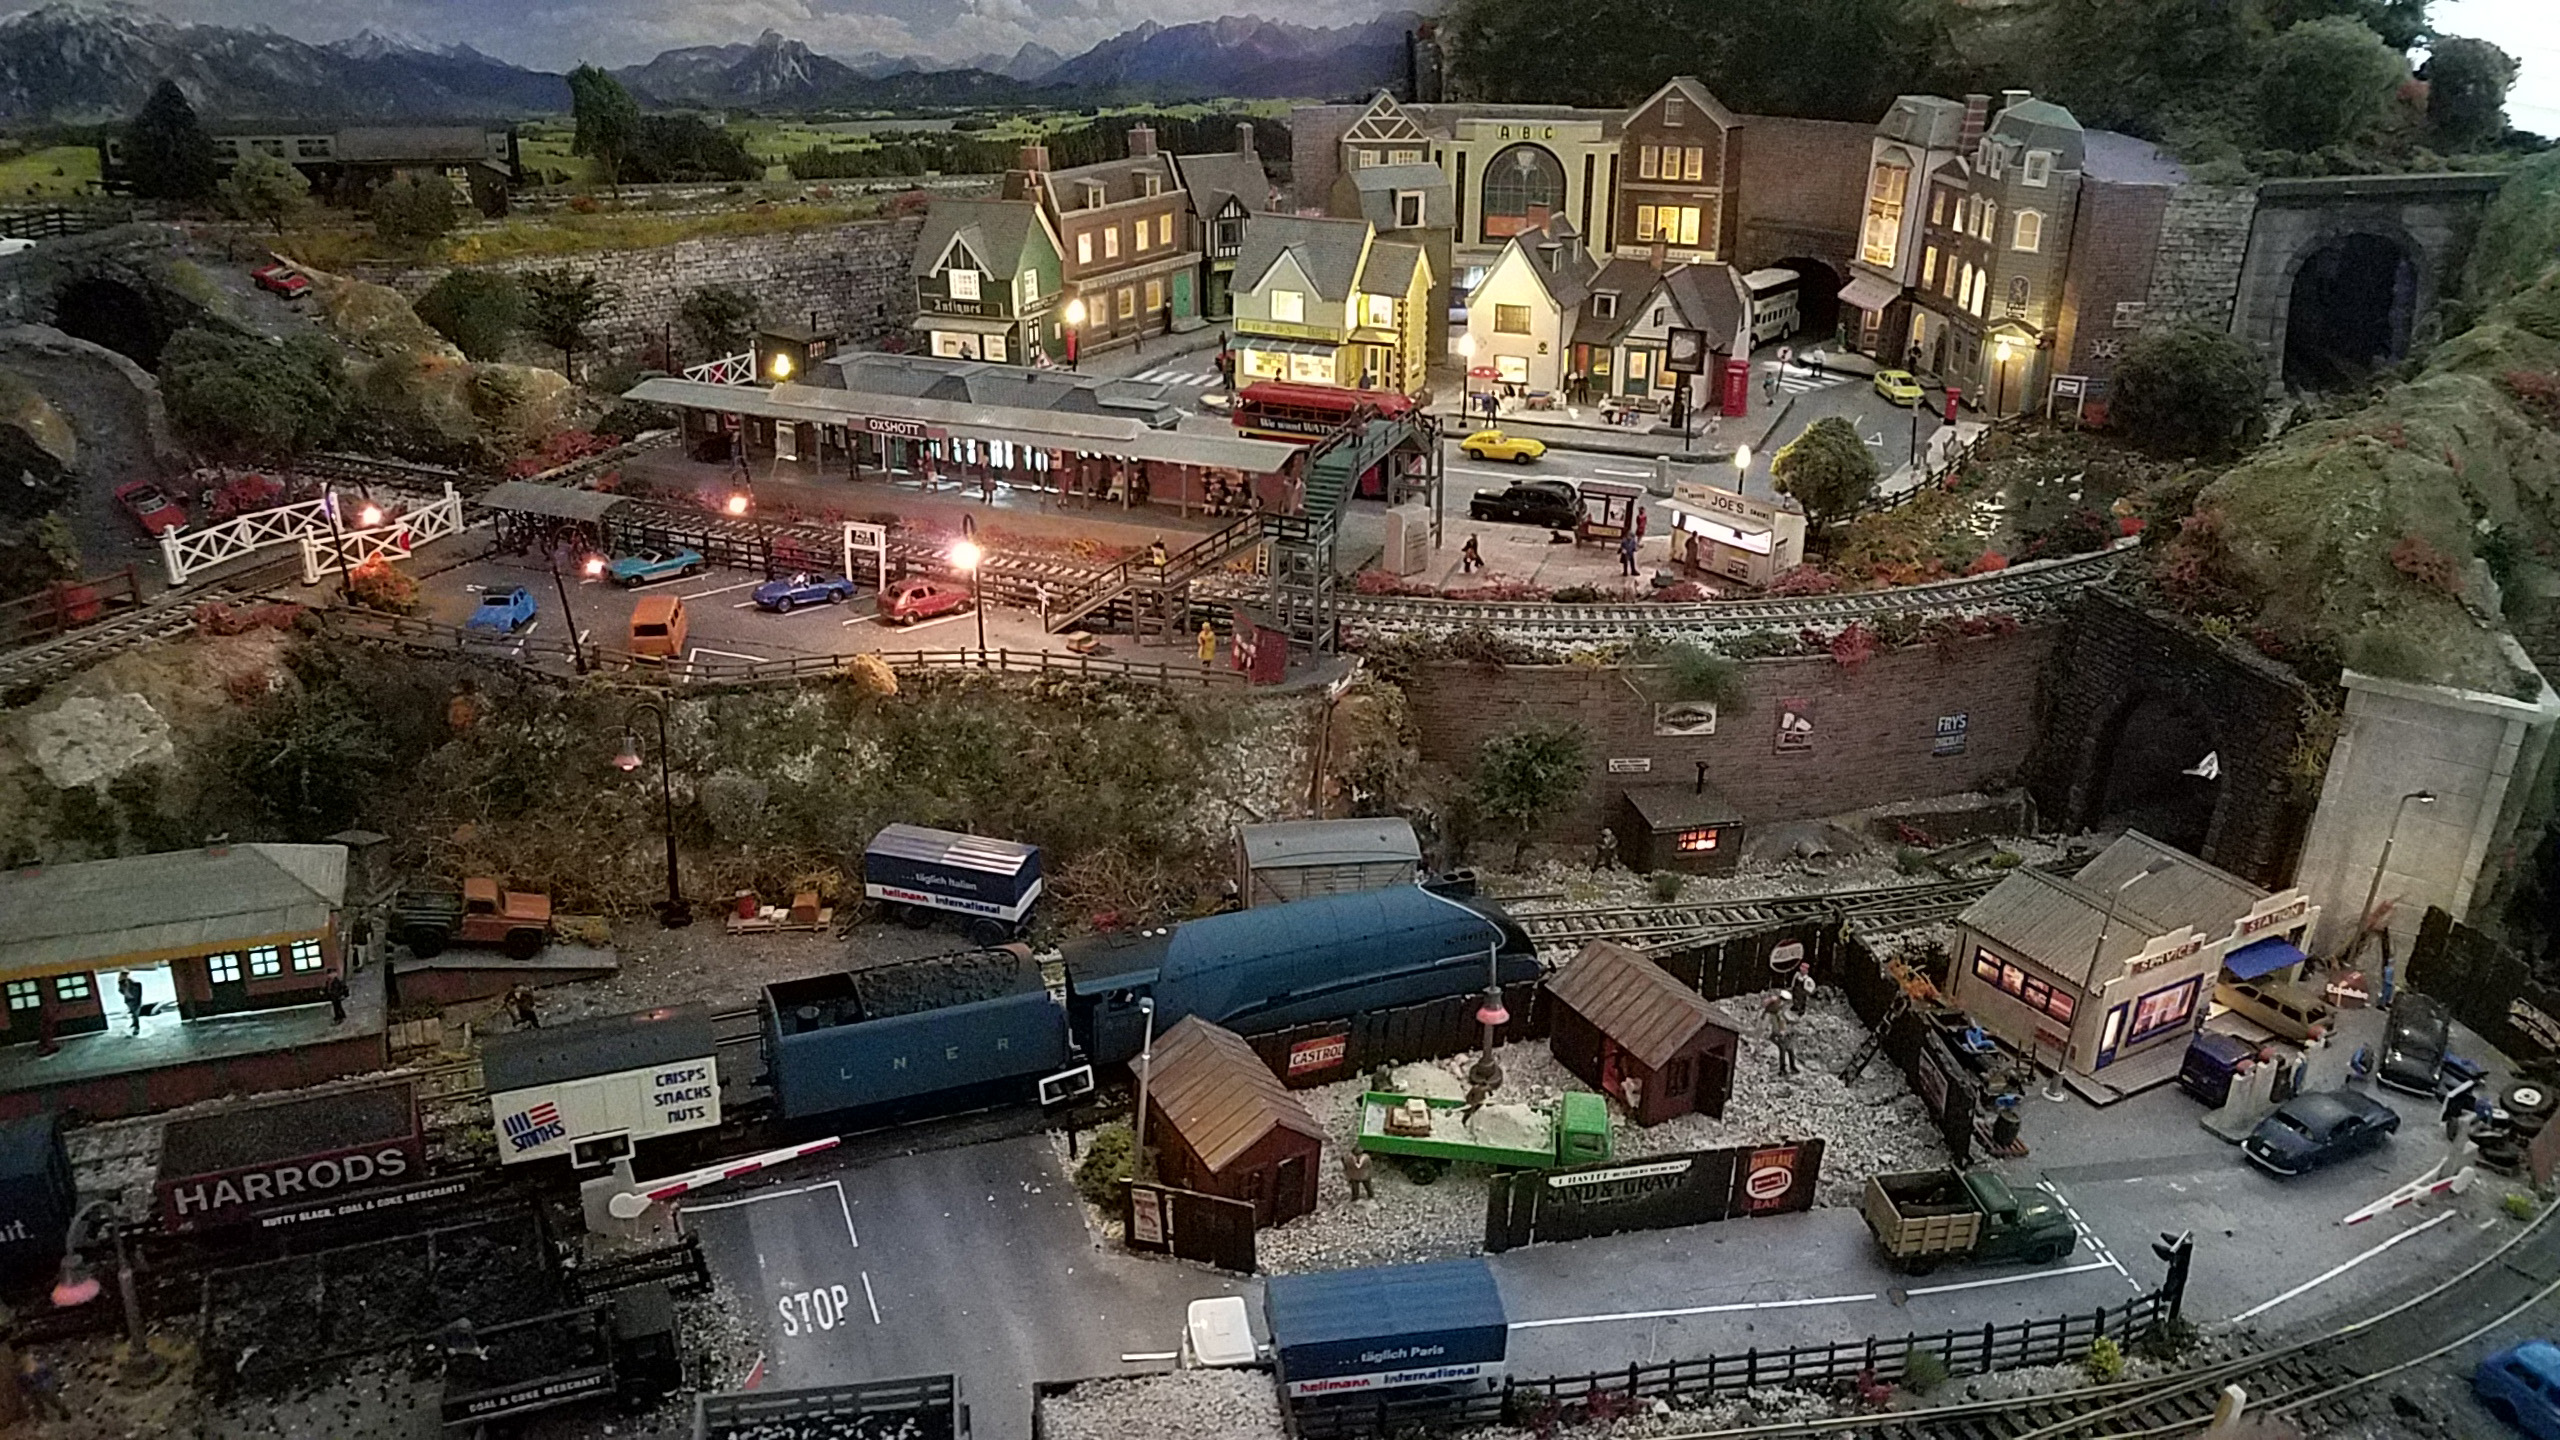
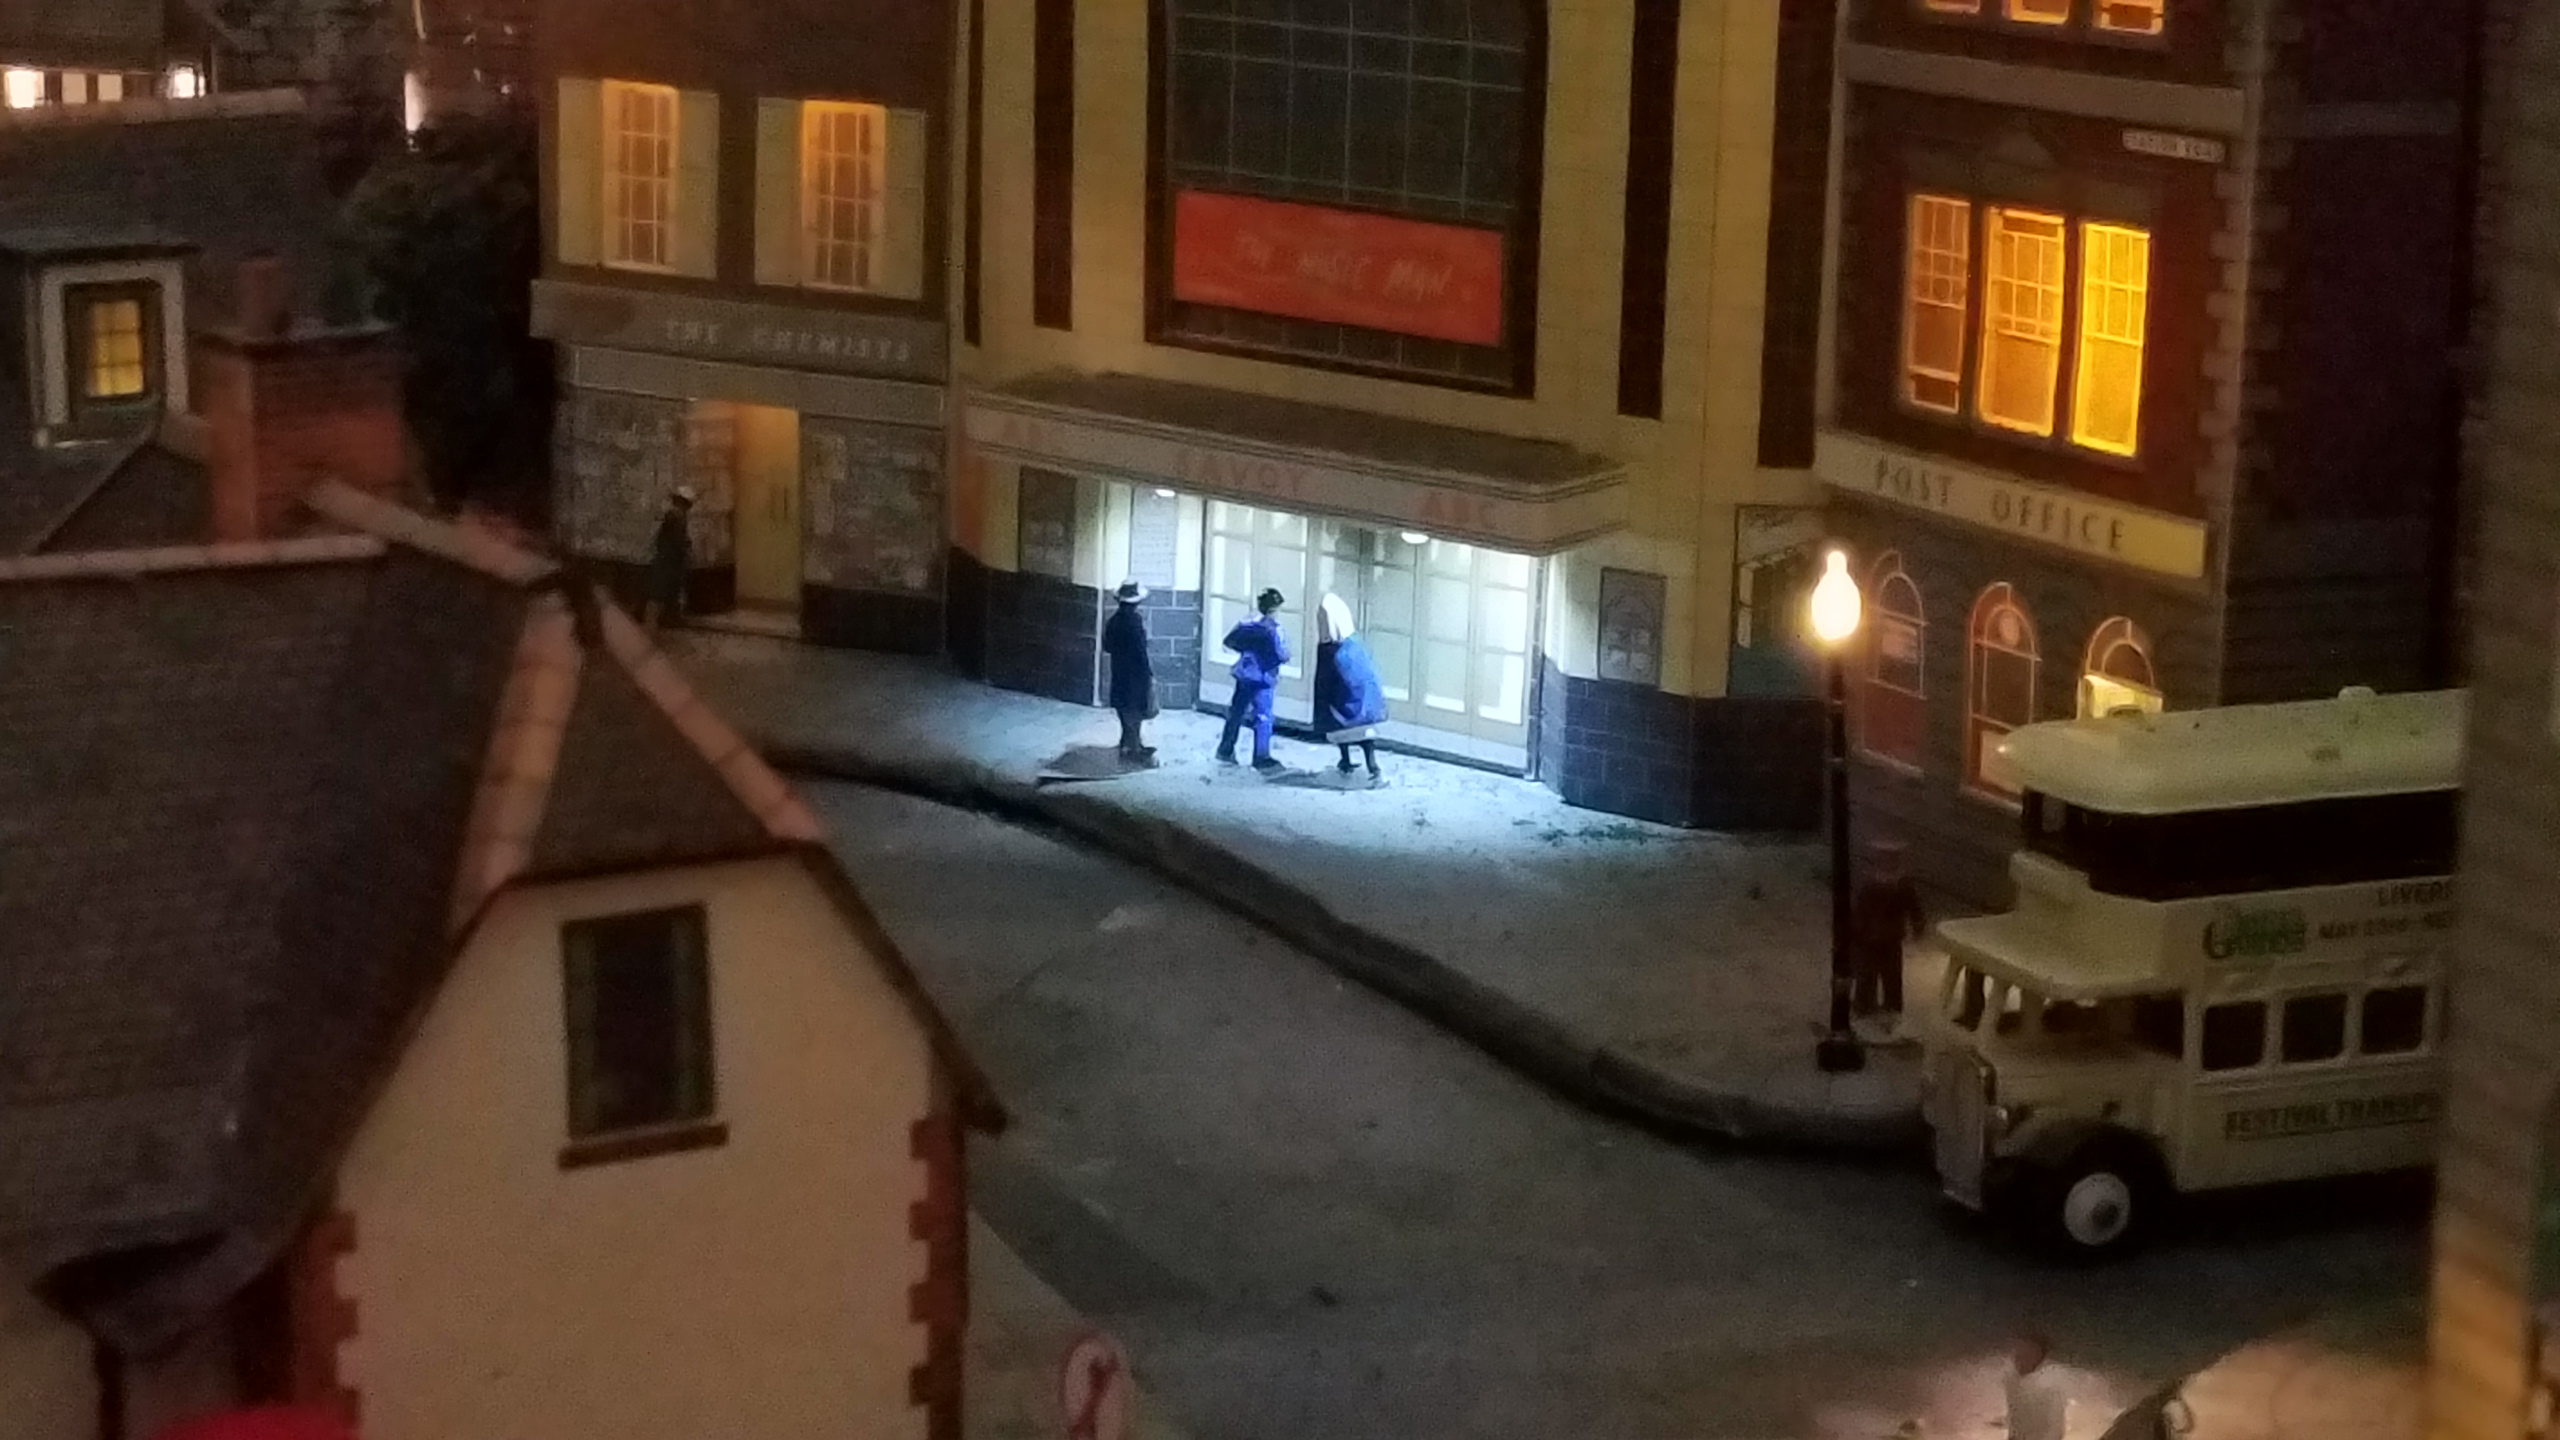
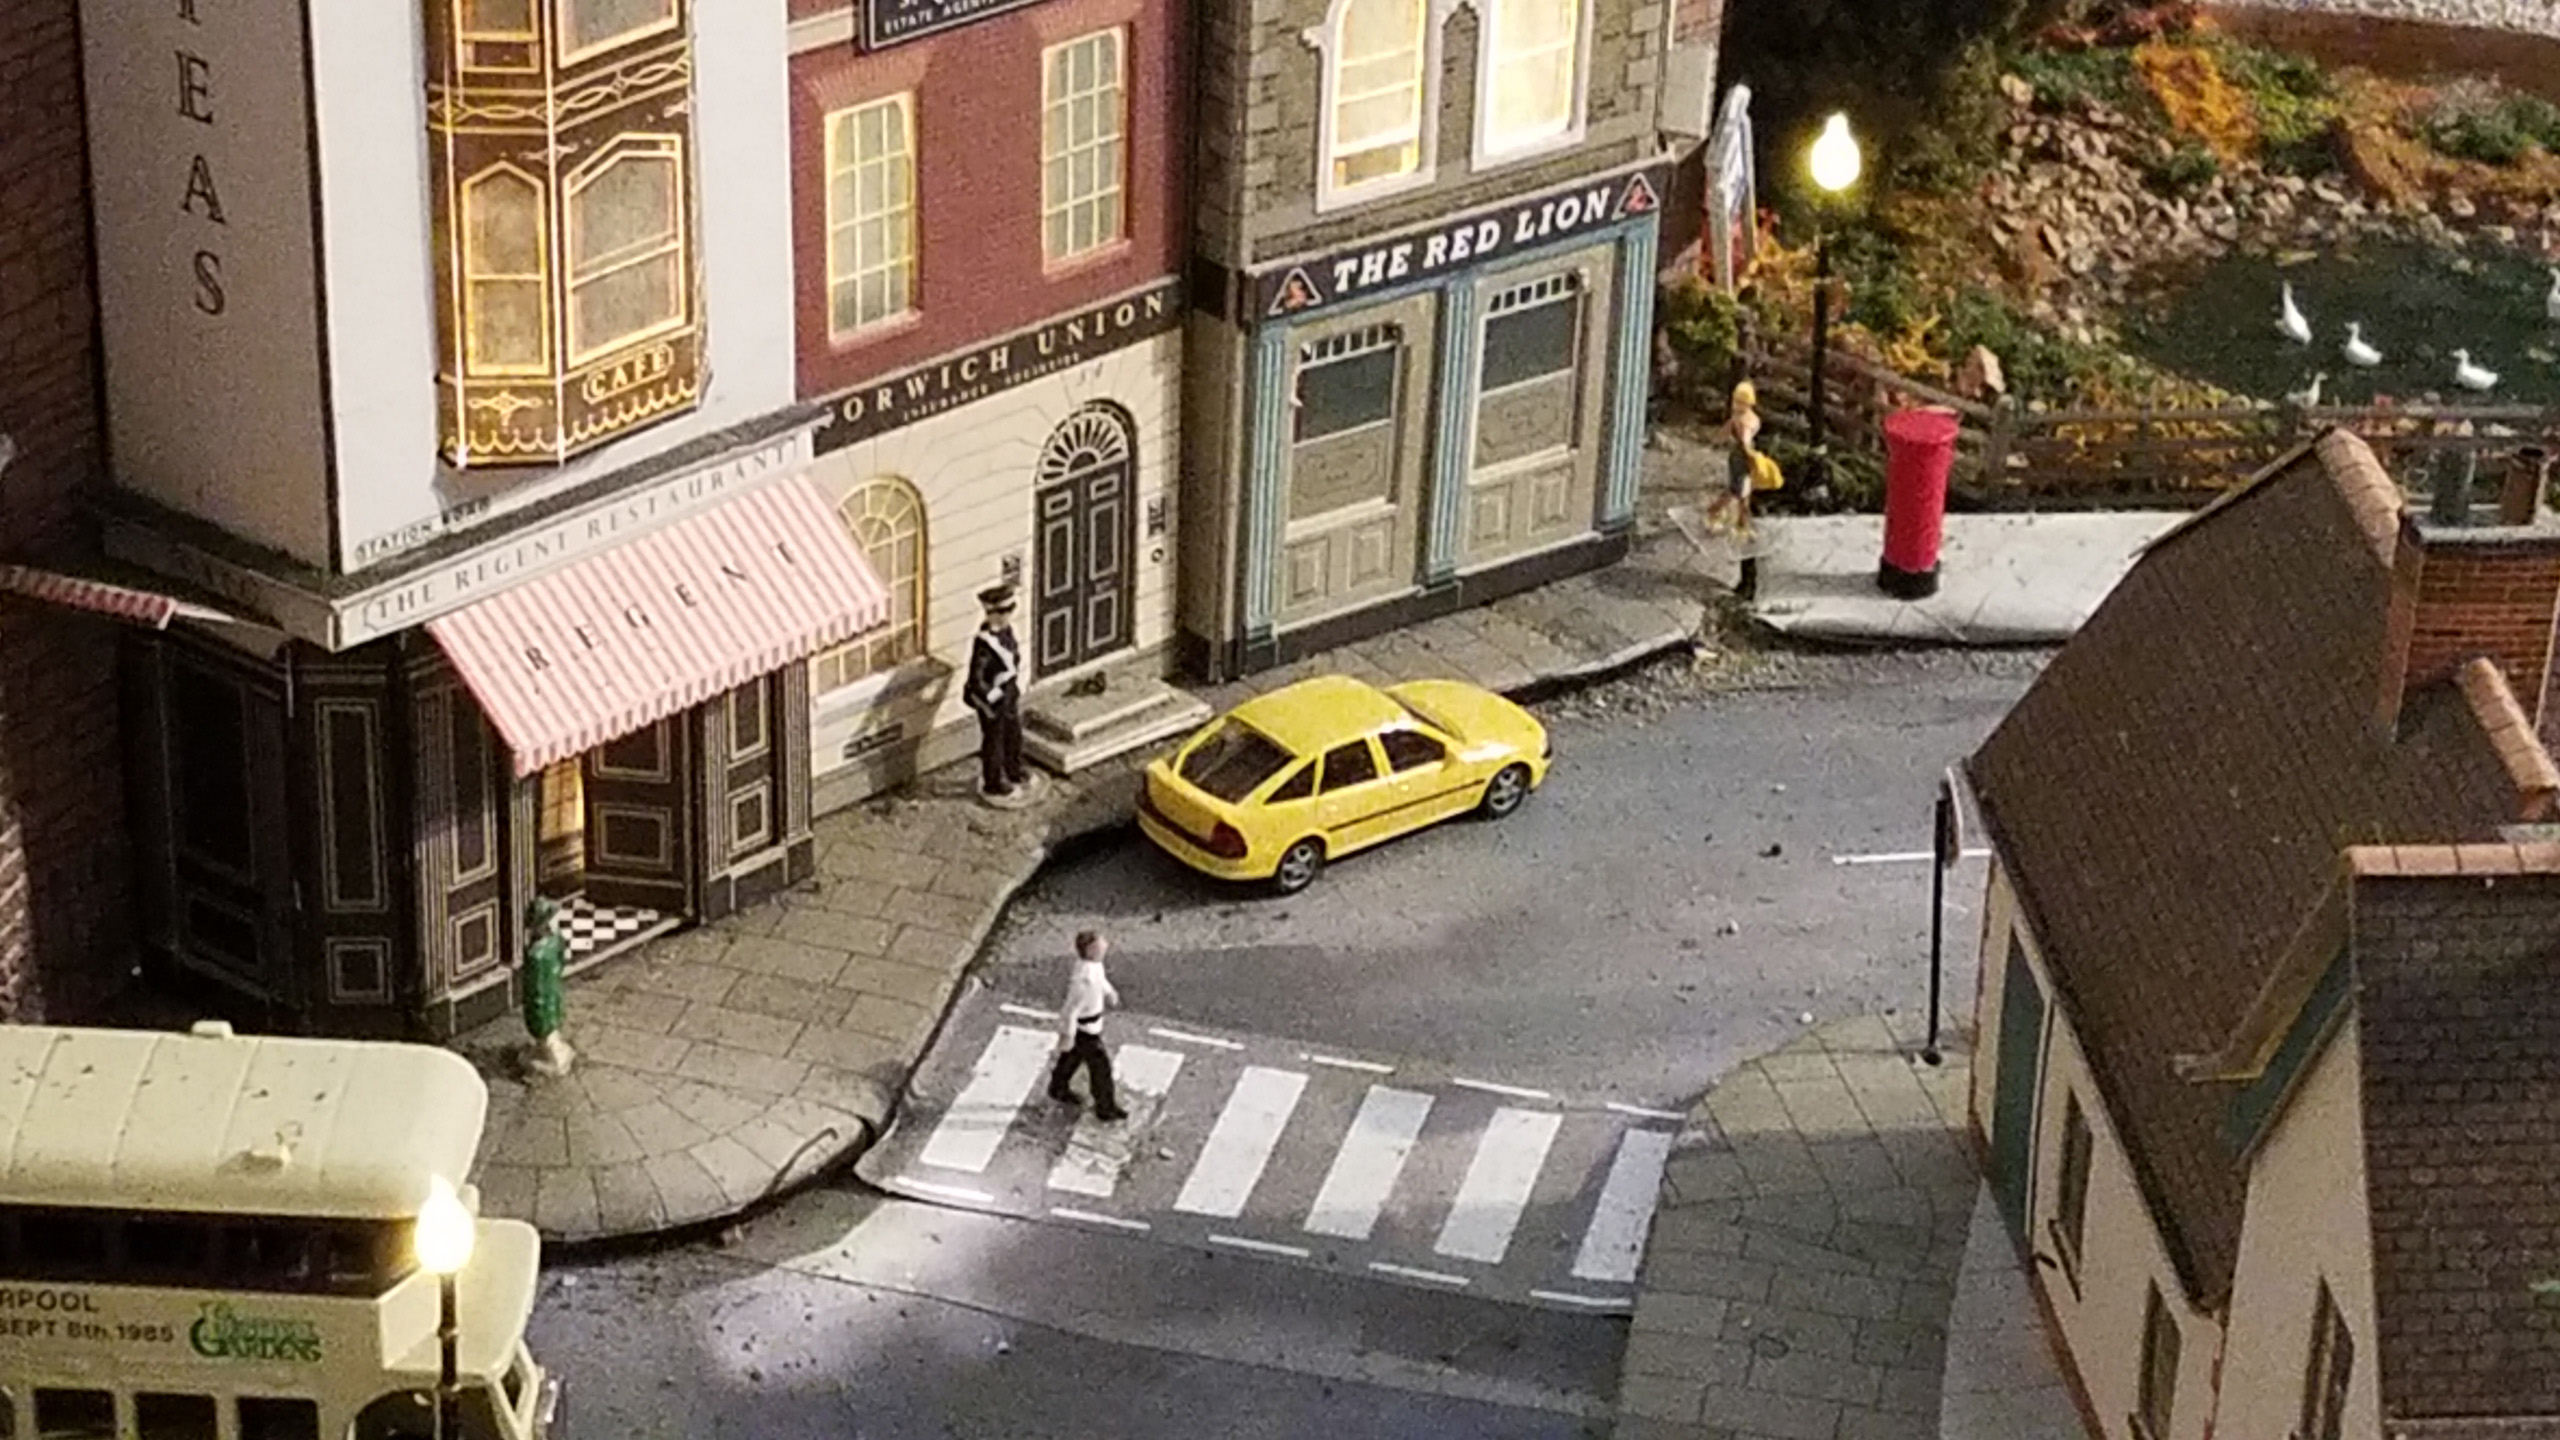
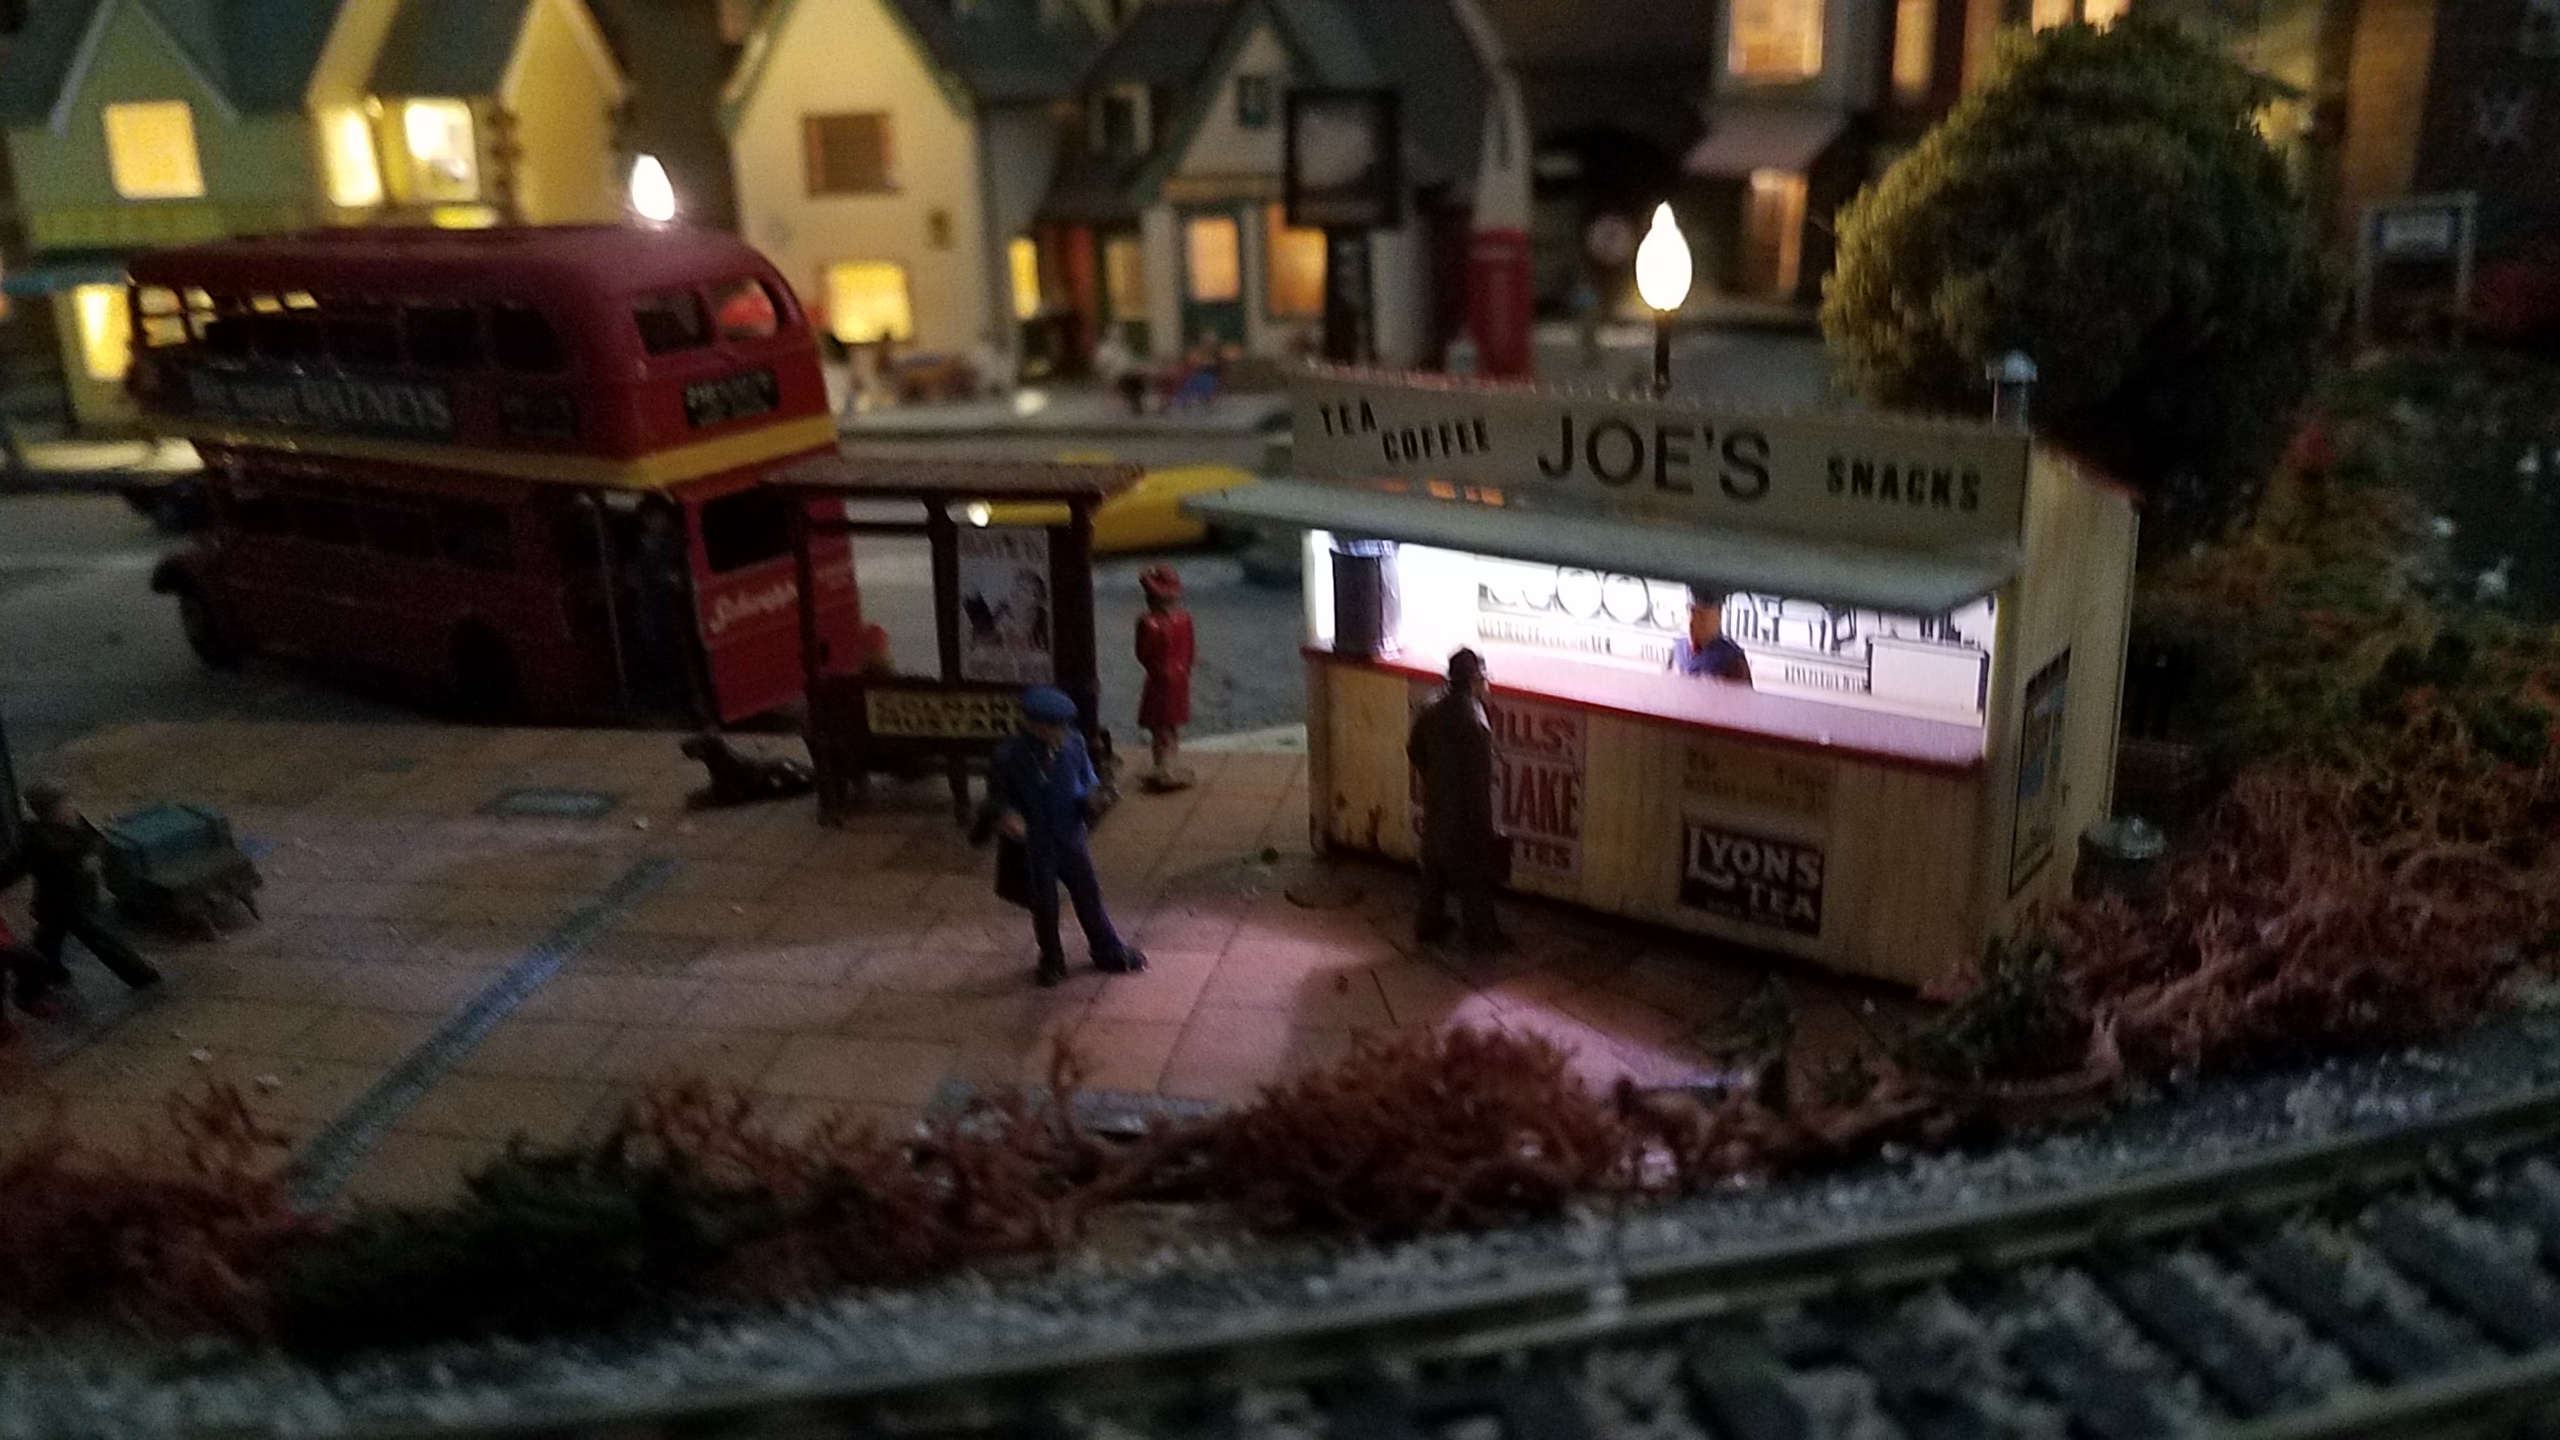
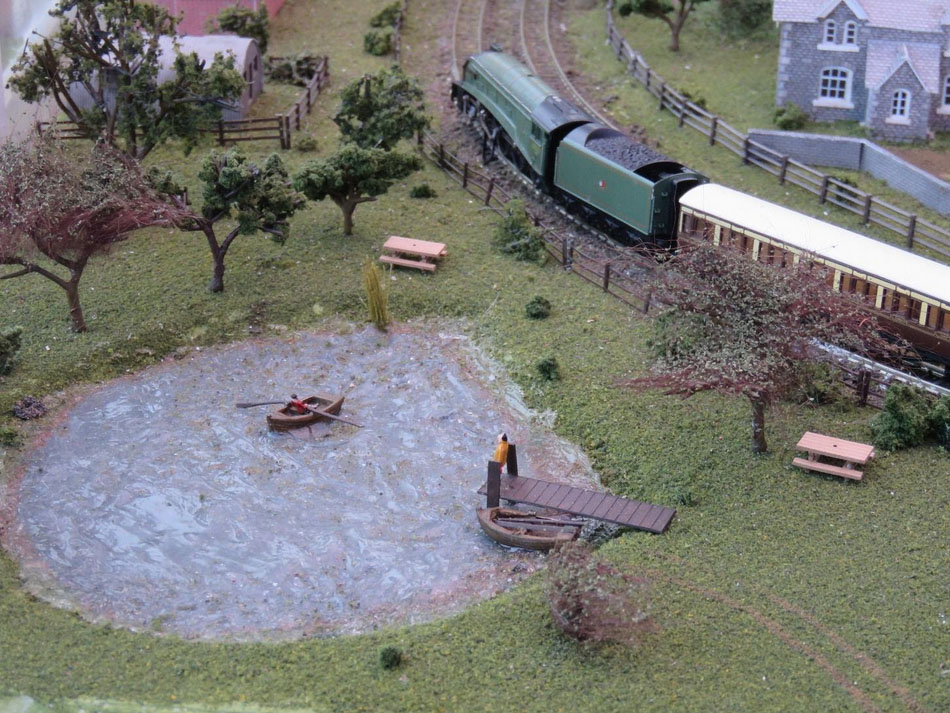
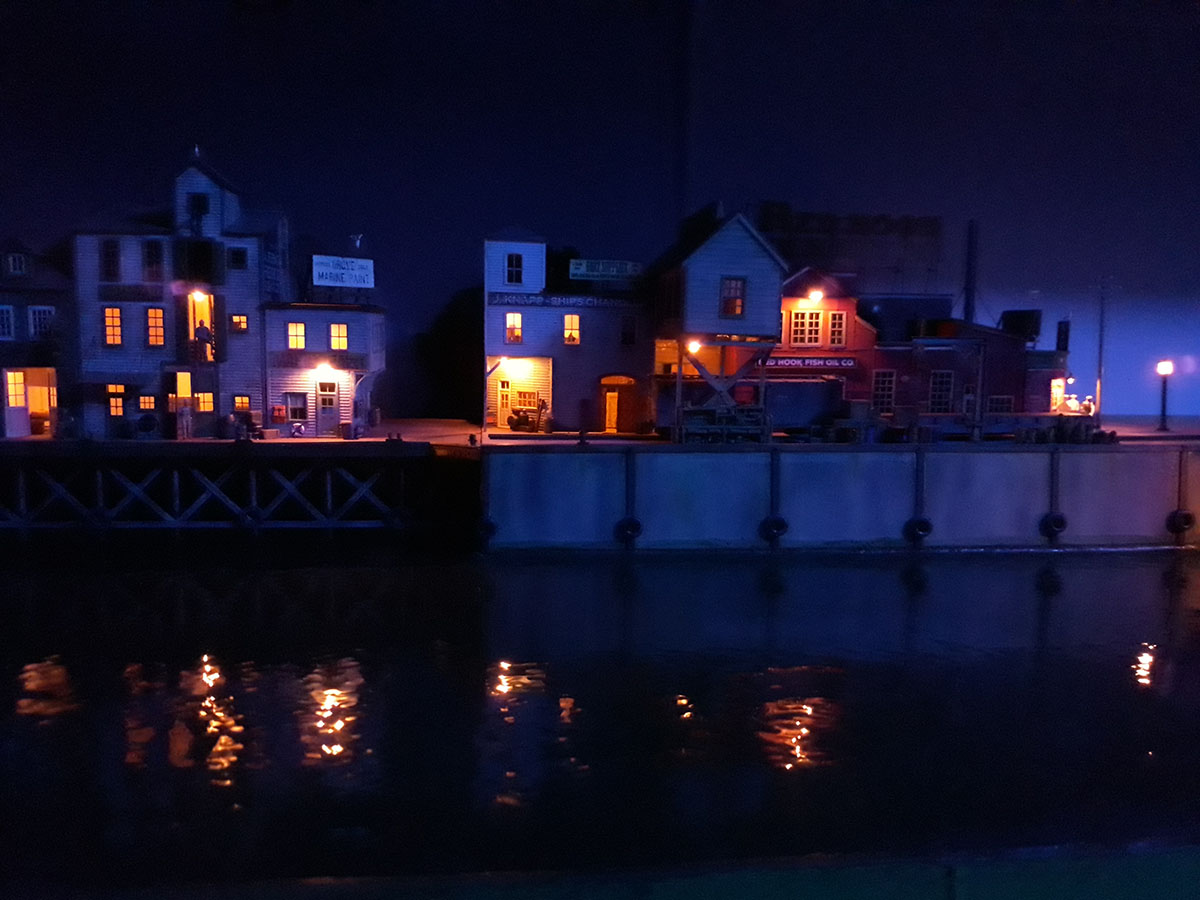
lots of people on your site asked if the water in the harbor was photoshopped as they only saw it in the night shots.
Firstly, I don’t have photoshop nor would I know how to use it (no time to mess with it) and takes away good modeling time.
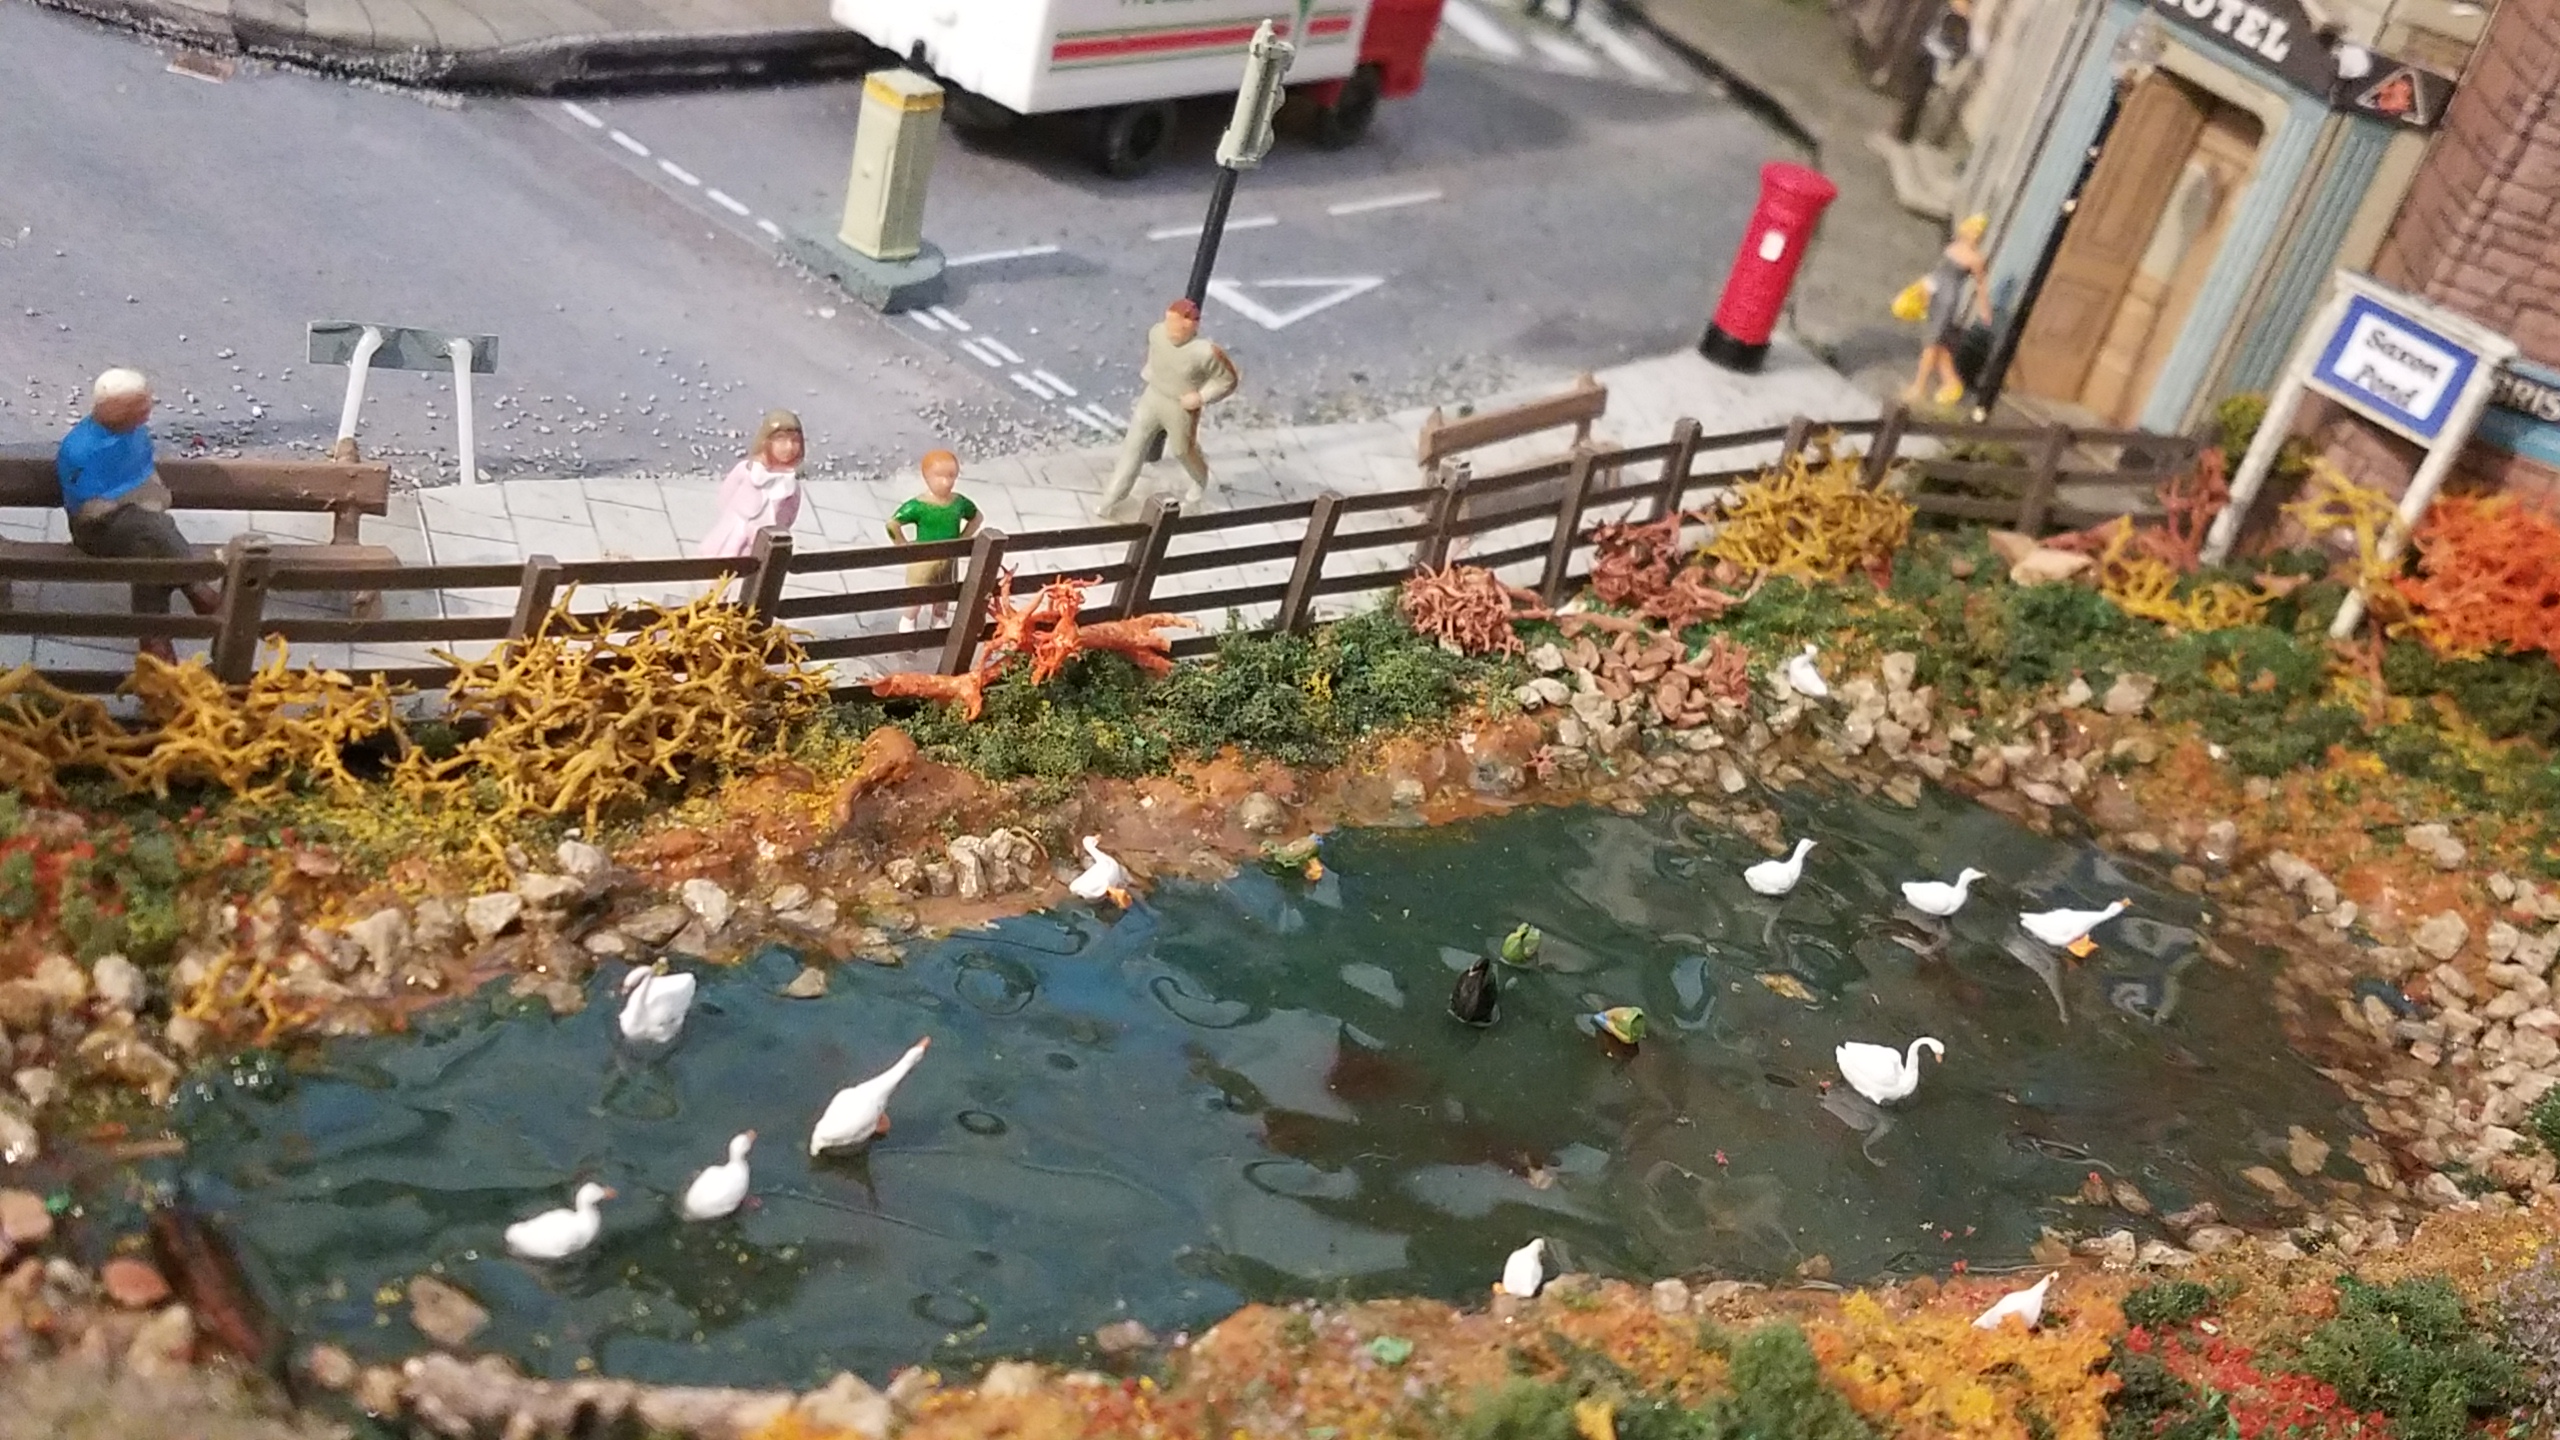
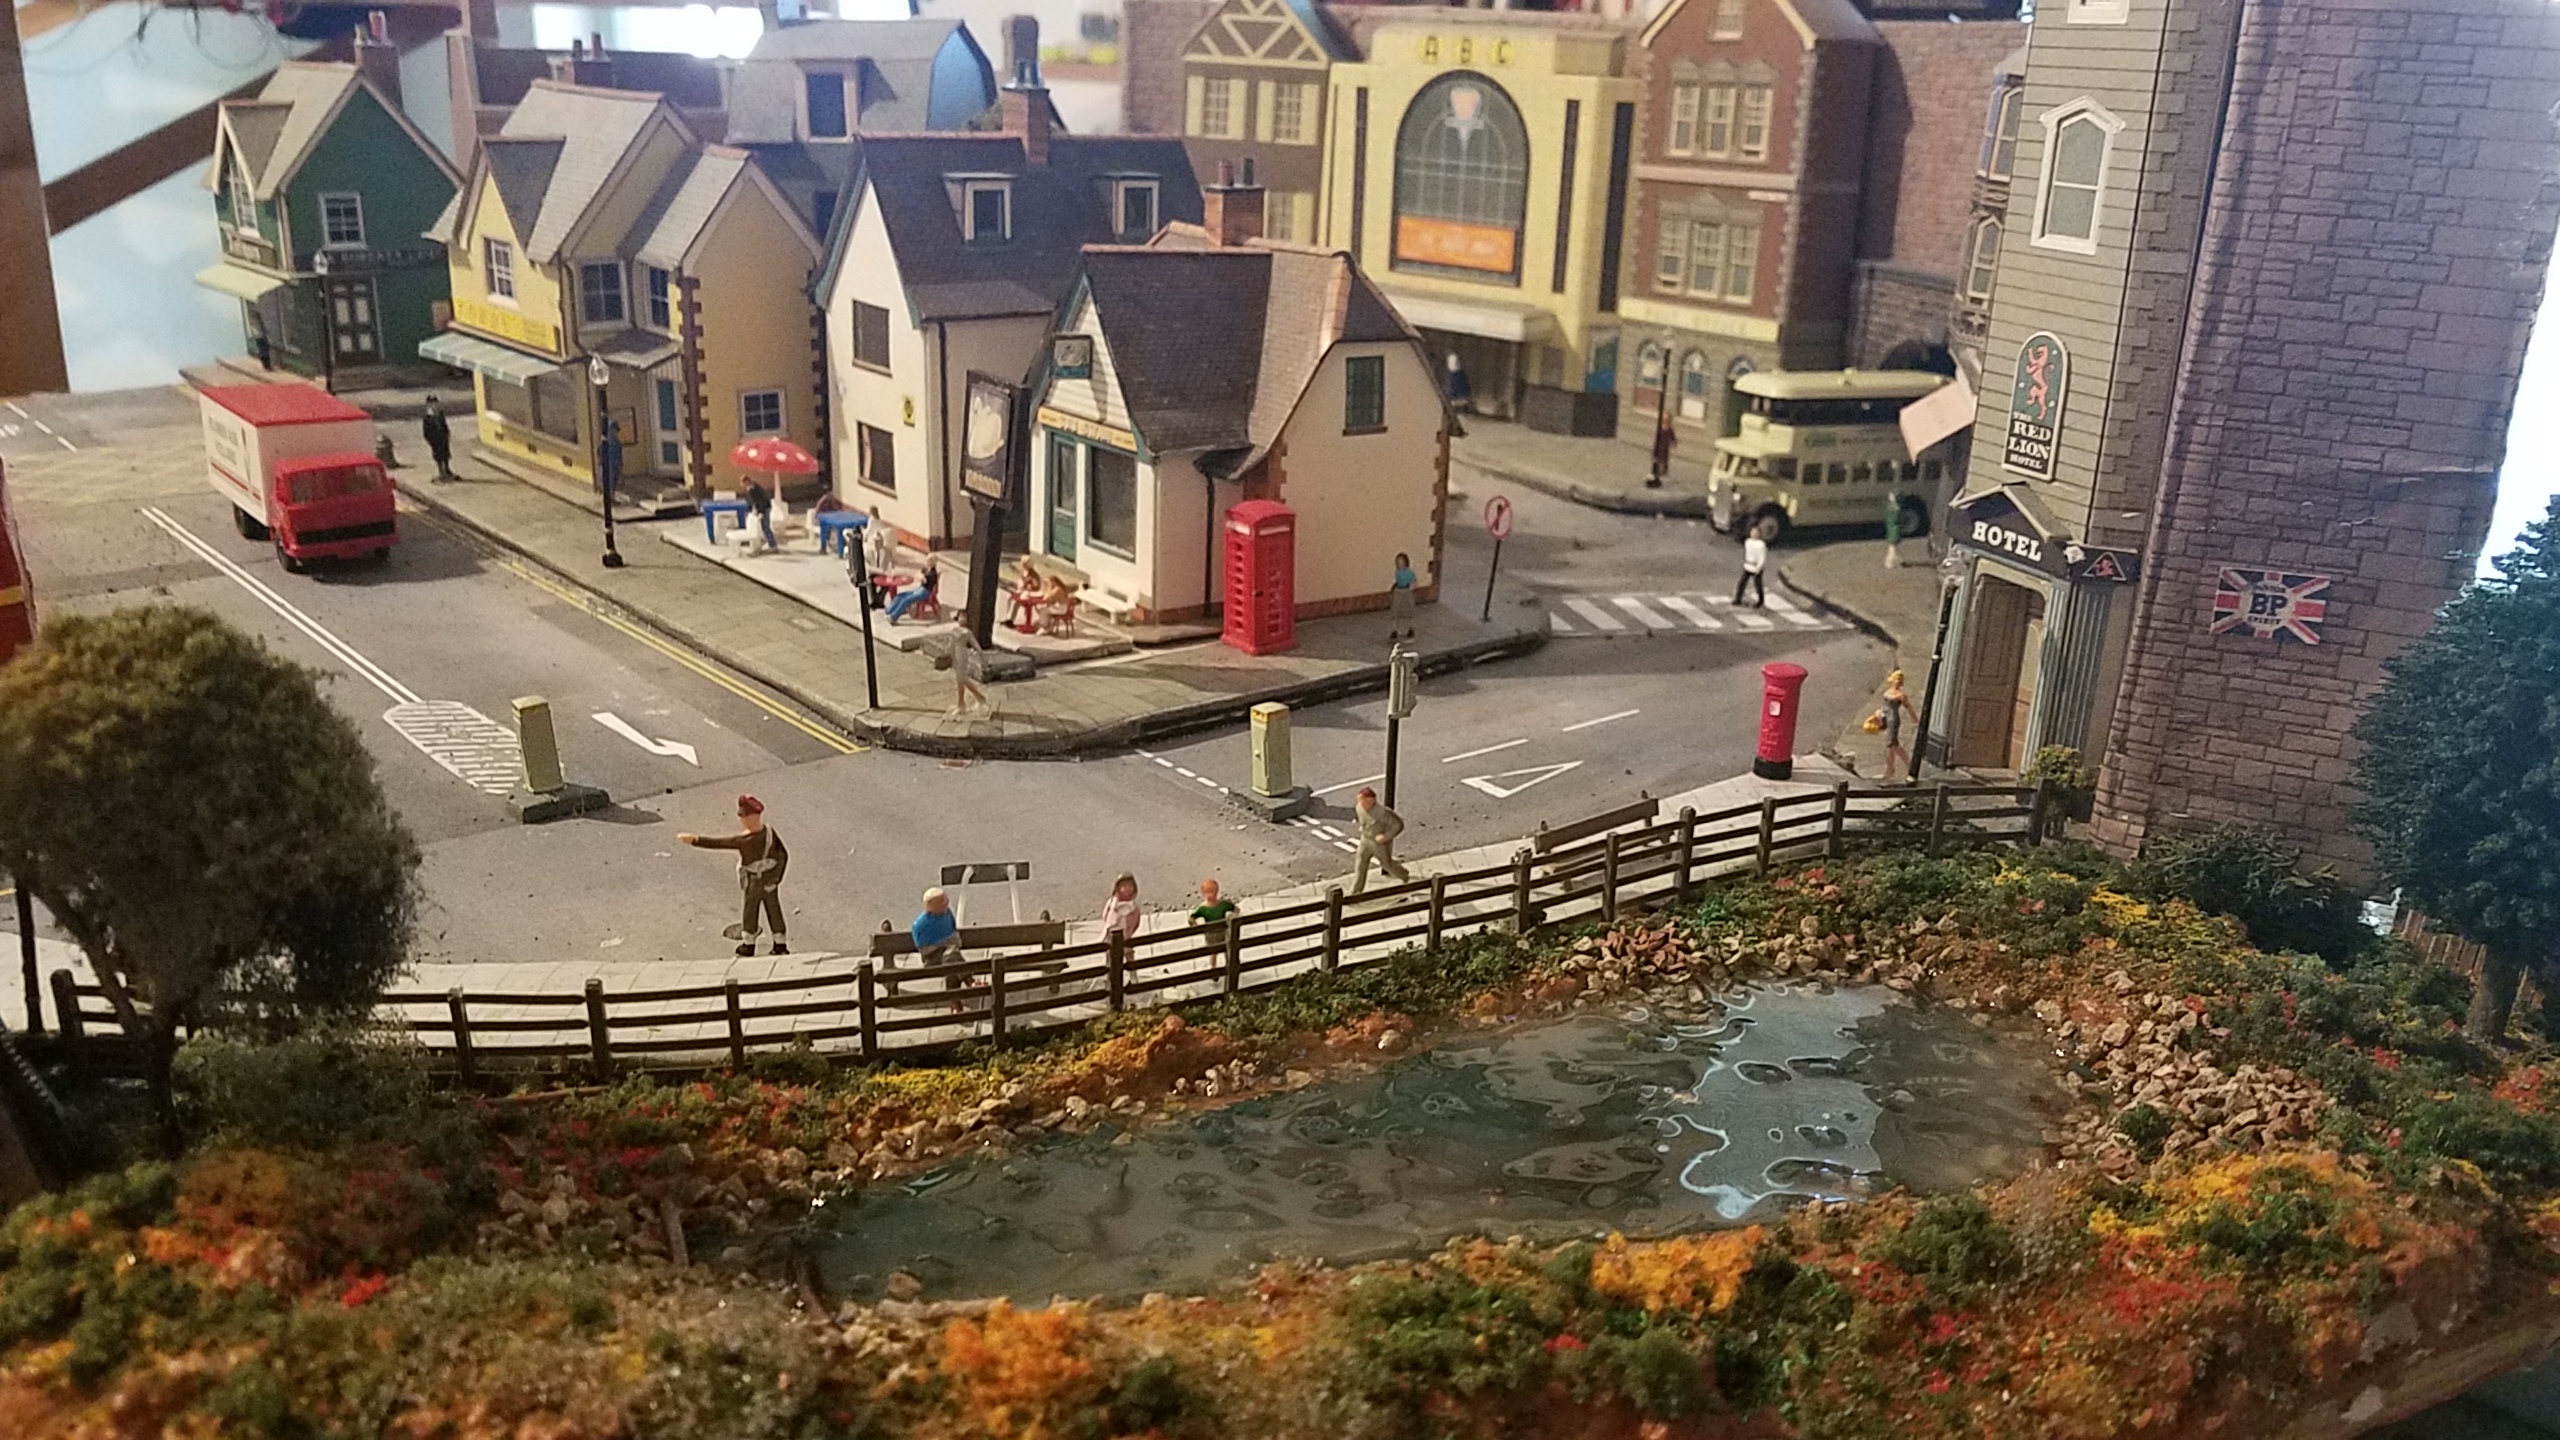
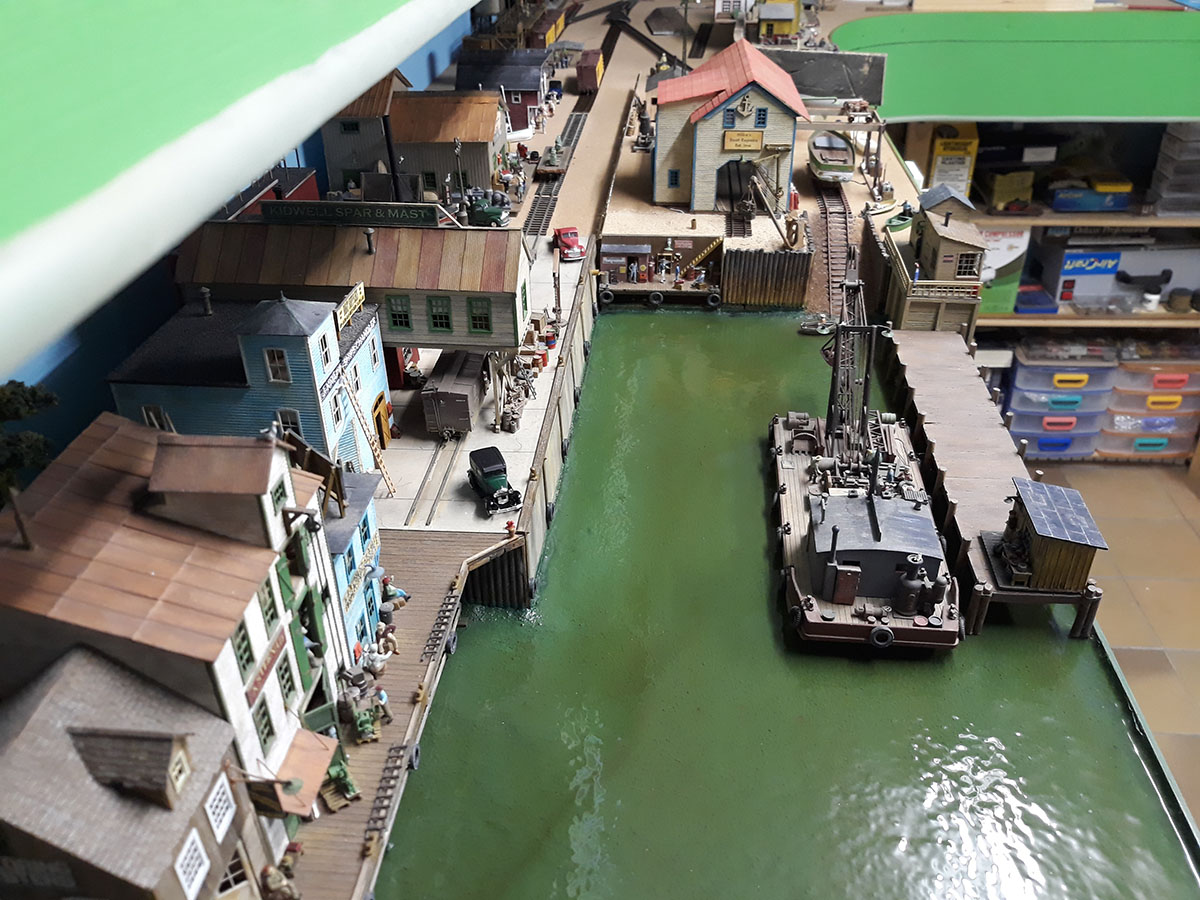
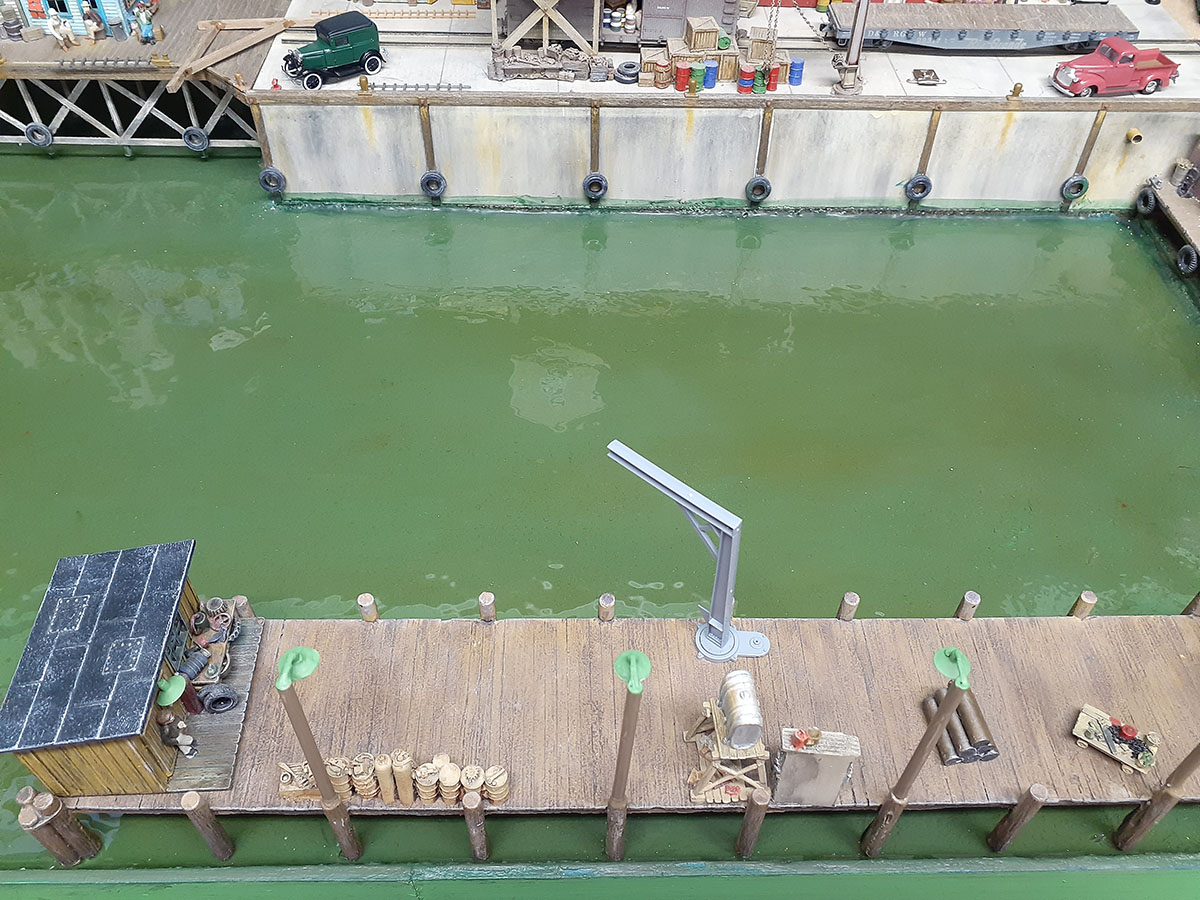
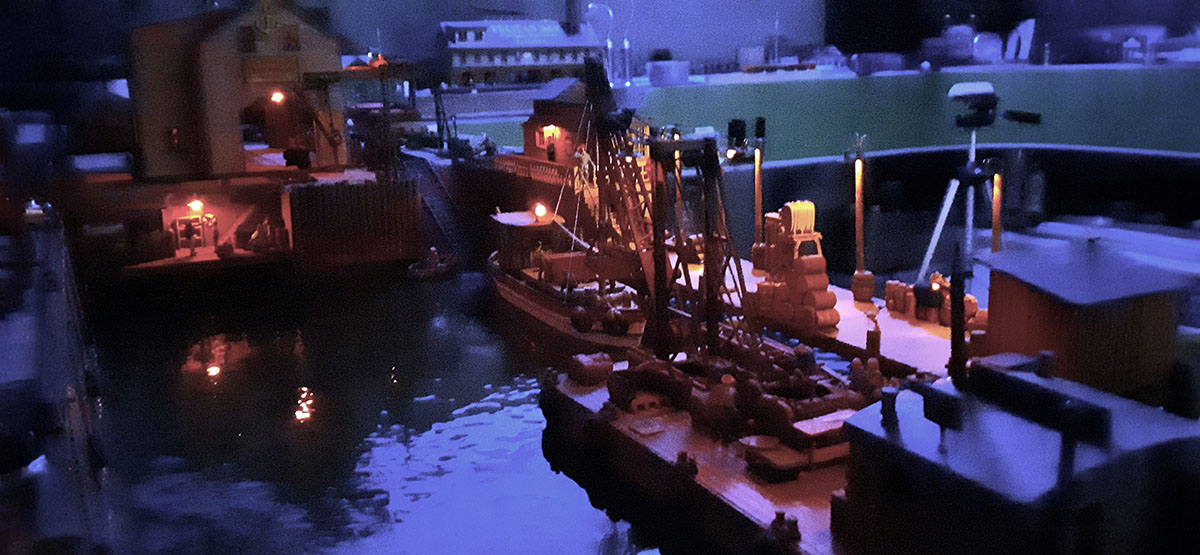
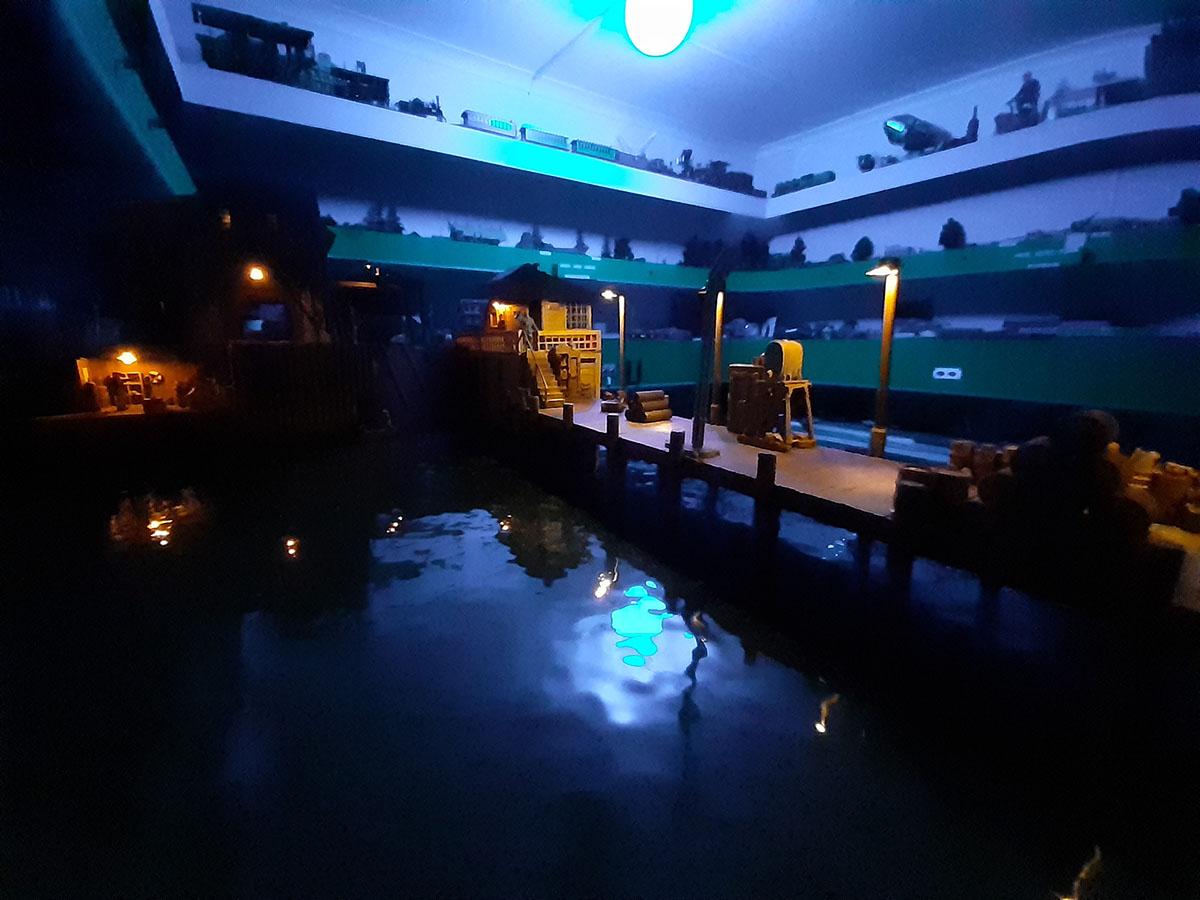
Secondly, the photos below show both night time shots as well as daytime shots of the harbor water in place.
Preparation of the base before pouring is very important be it a harbor, river or lake.
There was a lot of negativity about the Woodland Scenics Realistic water where they had problems with it.
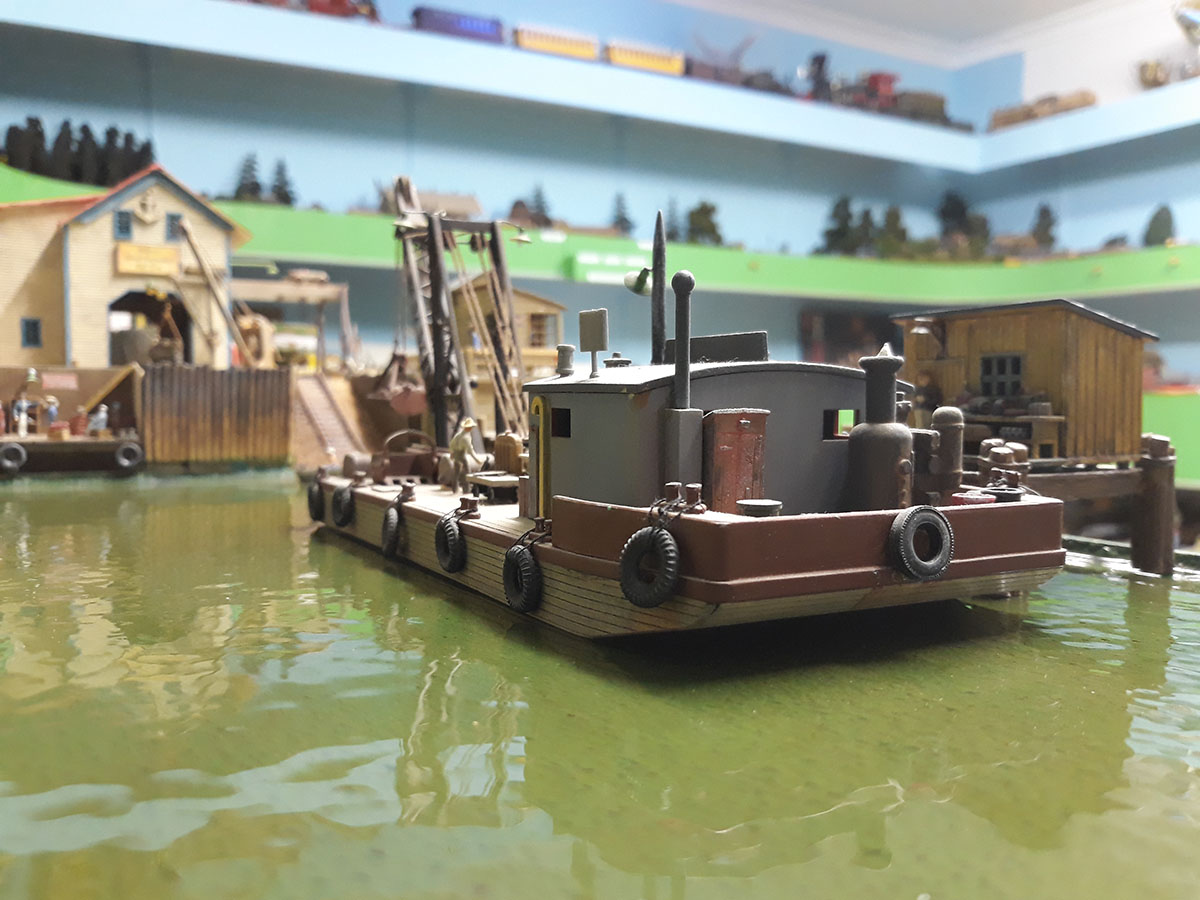
If one follows the instructions properly and stick to the depth that they suggest or less (3mm max), then you will achieve a good result as seen below.
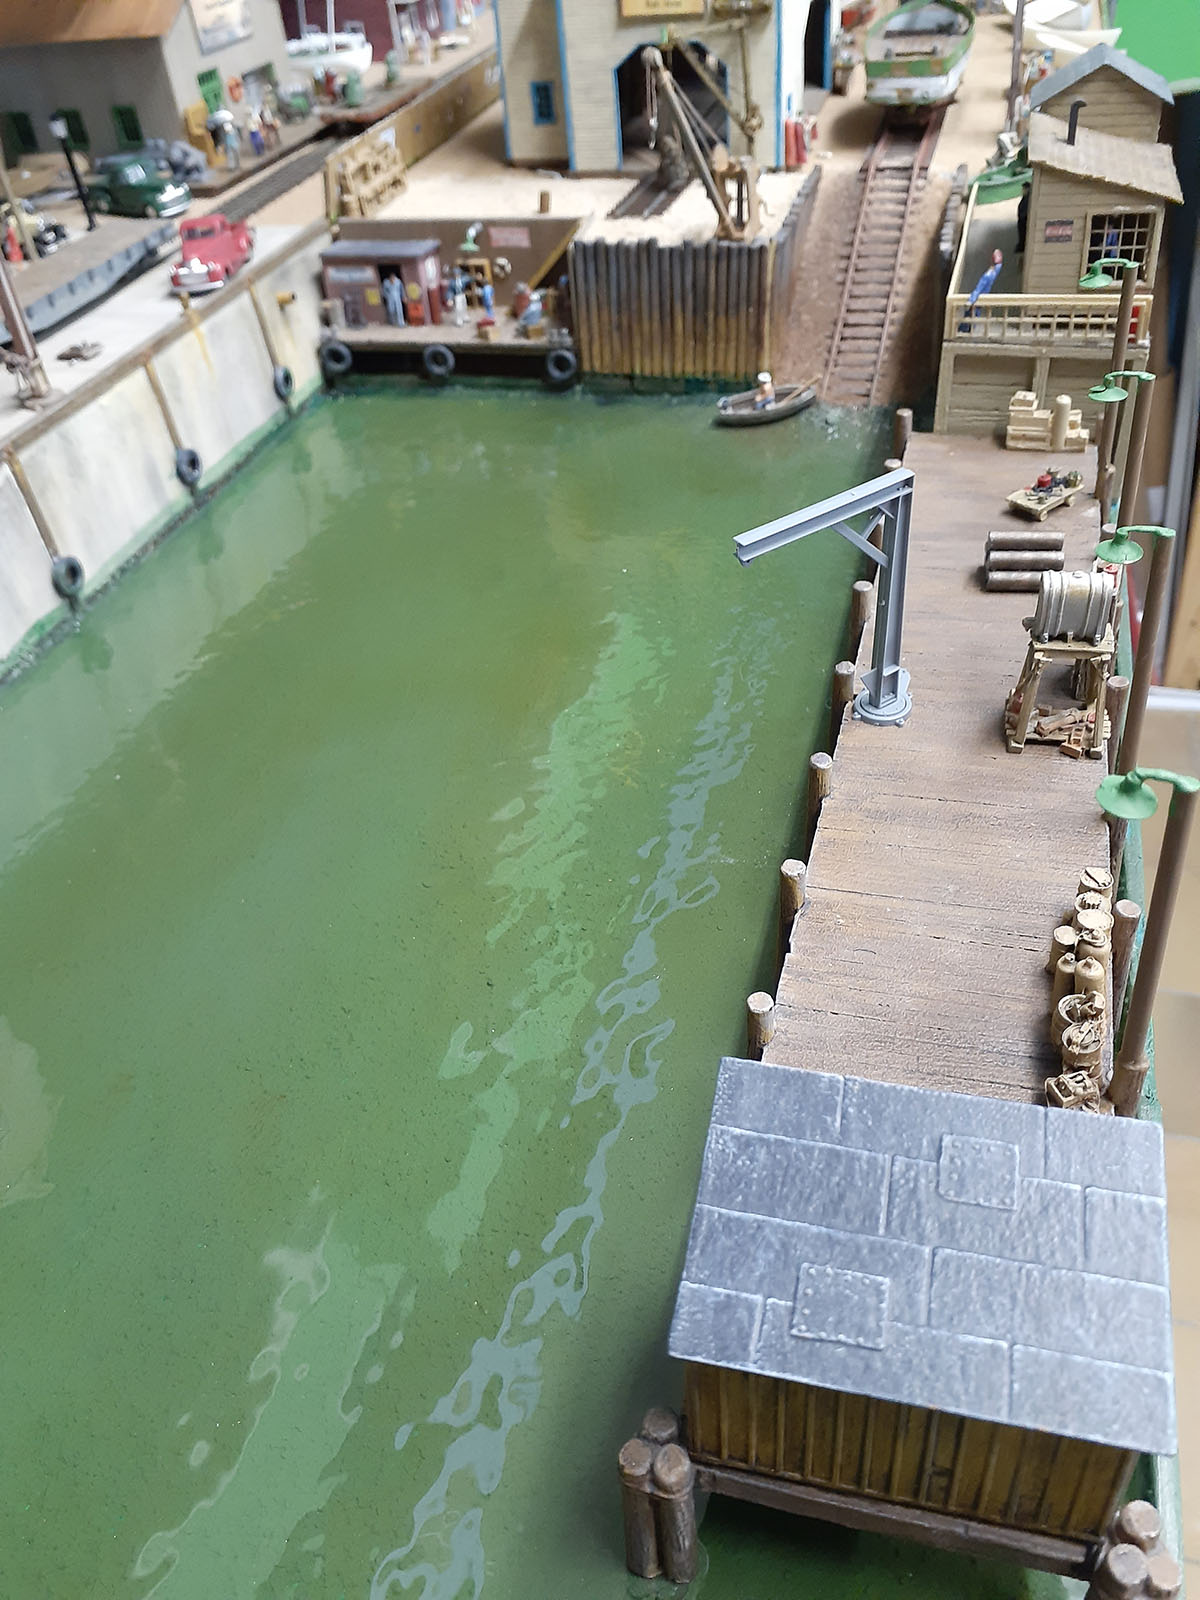
If deeper water is needed (as in my case below) then pour as many layers as required to get the depth needed. I have poured 3 layers so far and I still need to pour 2 more layers to achieve the result that I am looking for.
The most important thing to remember is, do not shake the bottle before pouring as this creates air bubbles which are difficult to remove.
Remember that there is no heat involved in this product therefore no shrinkage. Although it is hard to the touch, do not place anything on it that has to be moved as it will sink slightly and will be very difficult to remove. (I am talking from experience) on this.
As said in previous blogs, I have been using this product since it came out many years ago and swear by it.
I hope this helps all those asked about the water.
Cheers
Brian – Knysna RSA”


“Hello Al.
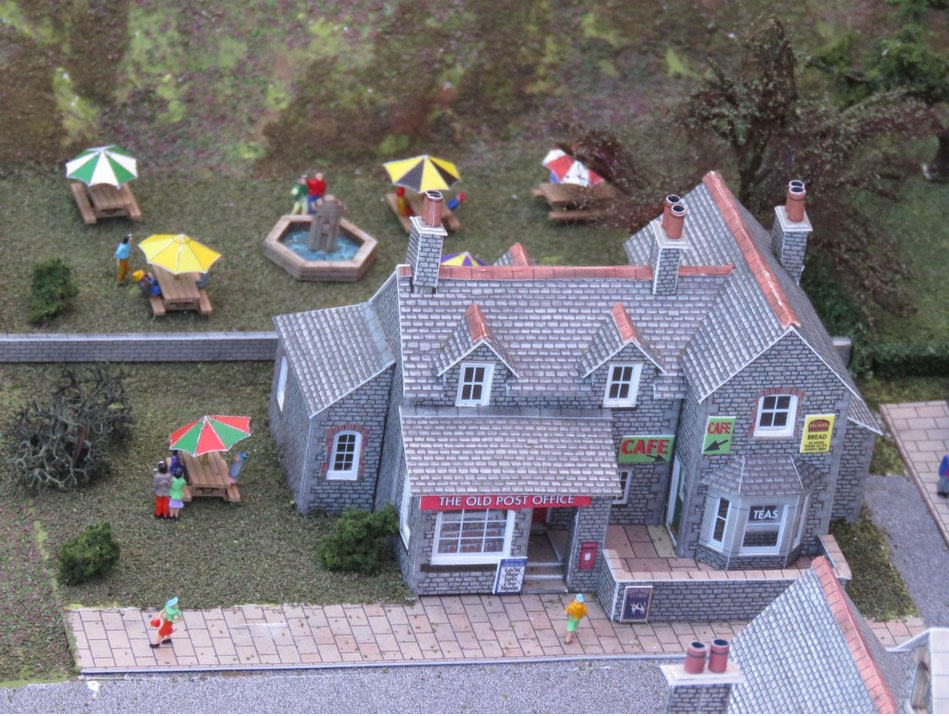
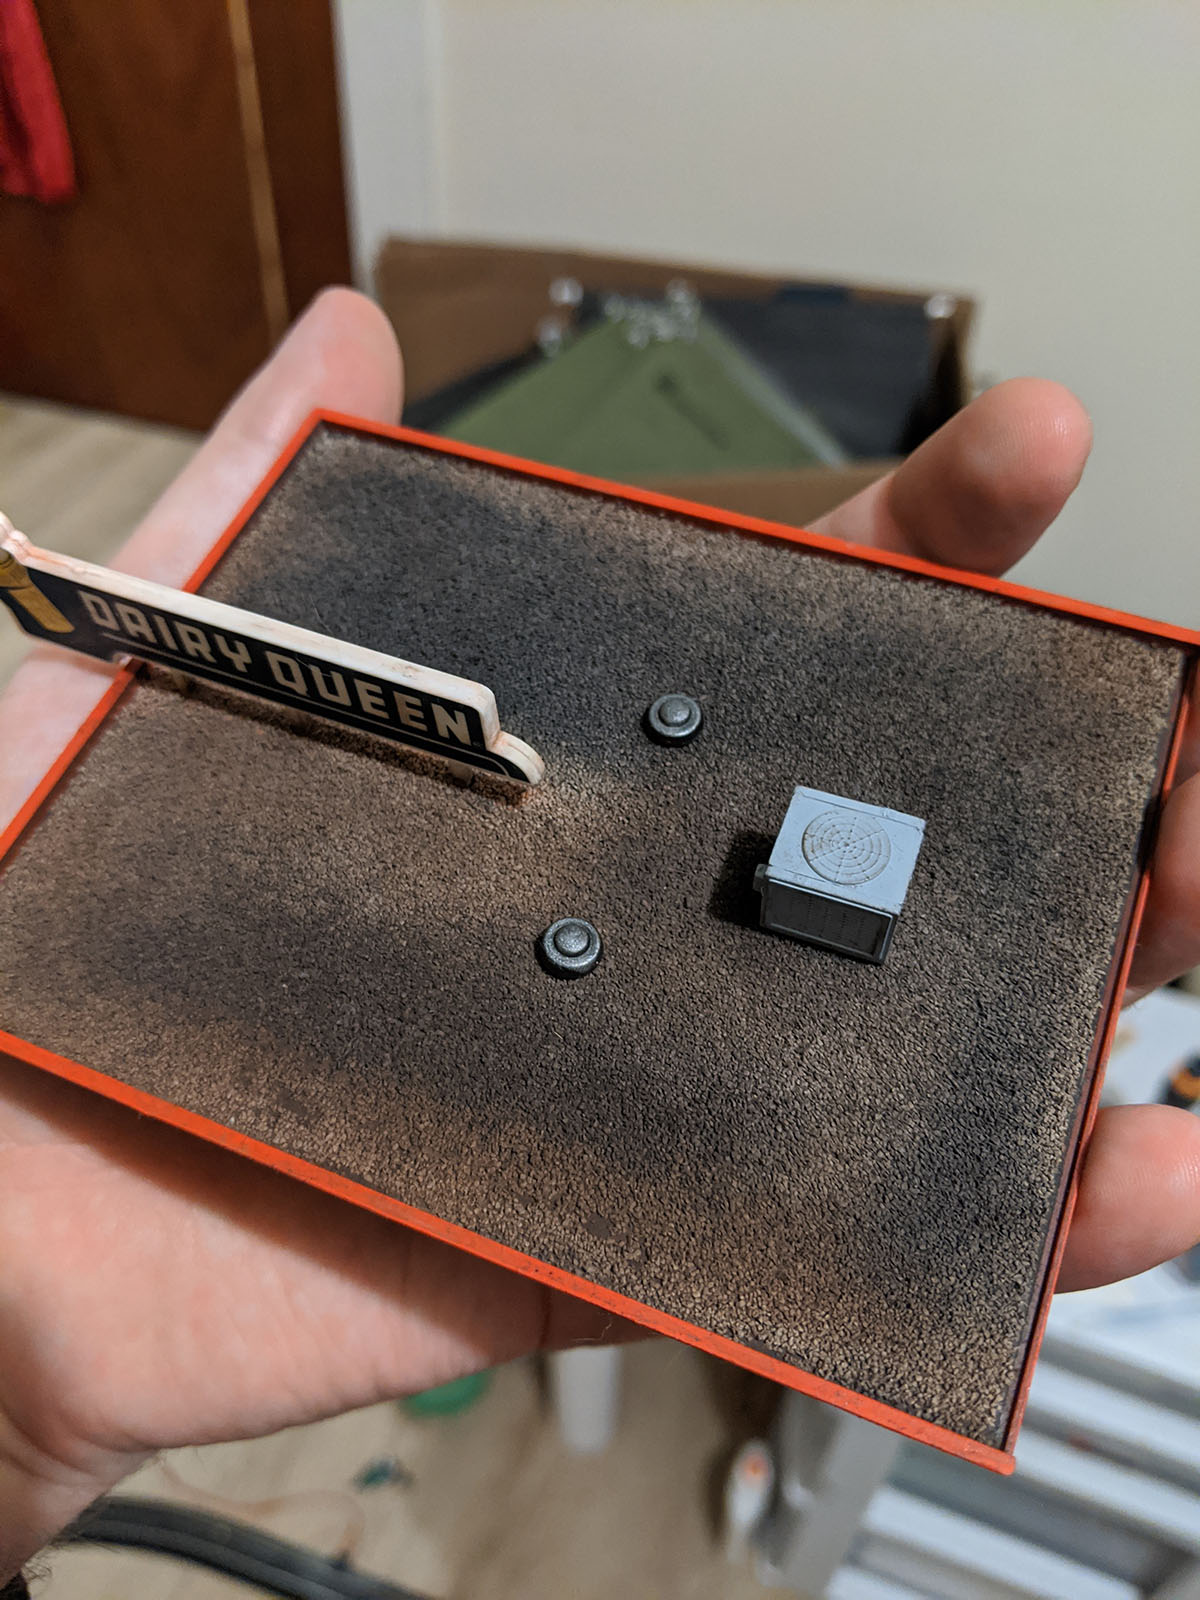
I’ve been building a new restaurant for my layout, and I thought I would share how I detailed the roof. Gravel topped roofs are very common on commercial and industrial buildings, and I wanted to mimic that look.
I started by painting the top of the roof on a charcoal colour to represent the underlying asphalt. Once this dried, I taped the edges and painted the red trim.
Next I brushed full strength white glue over the top of the roof and poured fine ballast onto that. I then sprayed on rubbing alcohol and diluted white glue to fix the ballast in place.
Once the glue dried, I used weathering powders to make the roof look more natural. An overall dusting of earthy brown, with grimy black to show where water may pool in low lying areas. A few dabs of rust under where the sign would sit, and then the whole thing was ready to be sealed with Dull-cote.
The final step was just to add the rooftop details.
Jon”
“Hi Al…
Just uploaded this video showing some new Hunt Magnetic Couplings.
They come with standard and short, stepped and normal, and fit in to NEM pockets which we have on the majority of rolling stock these days.
Think these will be a great addition to our Hobby, making coupling up, and uncoupling far easier, they tell me that hopefully end of this month there will also be N gauge version of these, and will also be able to post off shore.
I think that this is what we have needed for a long time, and would recommend to try the standard length fit and the stepped, to see what you need for different height Loco`s and rolling stock.
Regards
Dave”
A huge thank to Brian for his model railroad harbor update. And to Jo and Dave. (Brian and Dave are both in the Hall of Fame.)
That’s all for this time.
Please do keep ’em coming.
And if today is the day you stop dreaming and start doing, the Beginner’s Guide is here.
Best
Al