Terry has been in touch with a good tip for HO scale switch machines:
“Hi Al-
I found an easy way to deal with under table Atlas switch machines.
As many do, I build a layout and then later tear it down. I had used the under table machines on my last layout which had a 1/4 inch plywood table top.
After installation I clipped the “L” shaped arm that goes in the hole in the actual switch to make it move. No problem.
However now 1/4″ plywood has been replaced by 3/8″ plywood and of course the “L” arm was too short to move the rails.
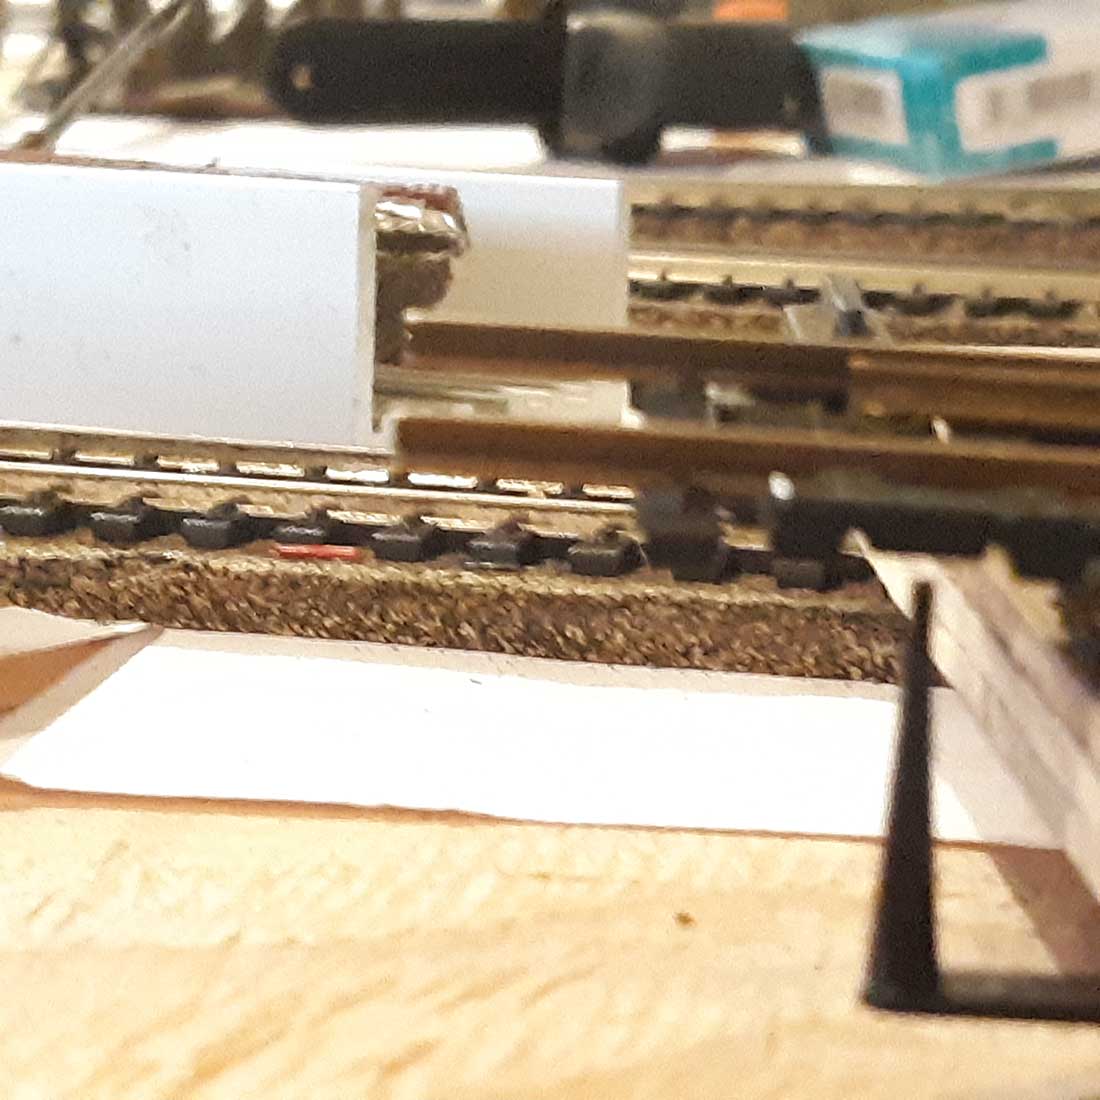
I didn’t want to have to buy a whole new switch machine just to raise the arm another 1/8 of an inch.
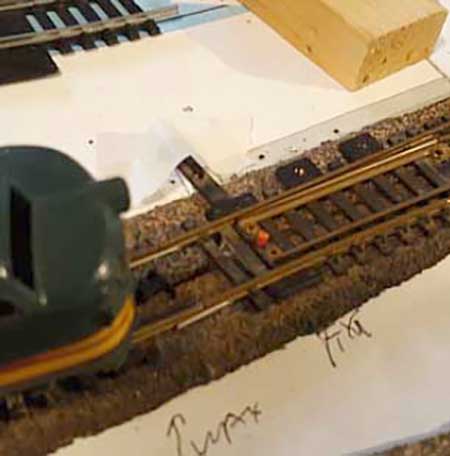
I thought about it for a long time and finally realized that the plastic straw from a can of WD40 was just the right diameter to fit over the arm and extend through the hole to move the tracks.
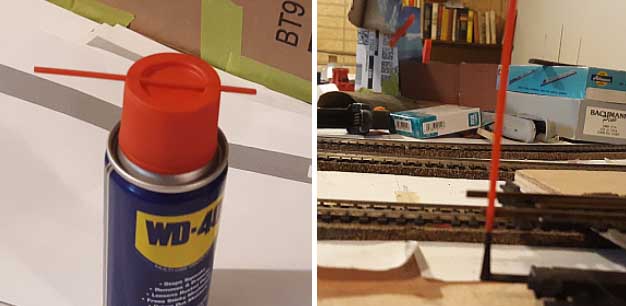
After installing it I clipped it to length to avoid having running stock derail and so far it’s working great.
Regards
Terry”
A big thanks to Terry, it reminded me of Dean’s post:
And John’s:
Make your own railroad switch points.
And Dan’s:
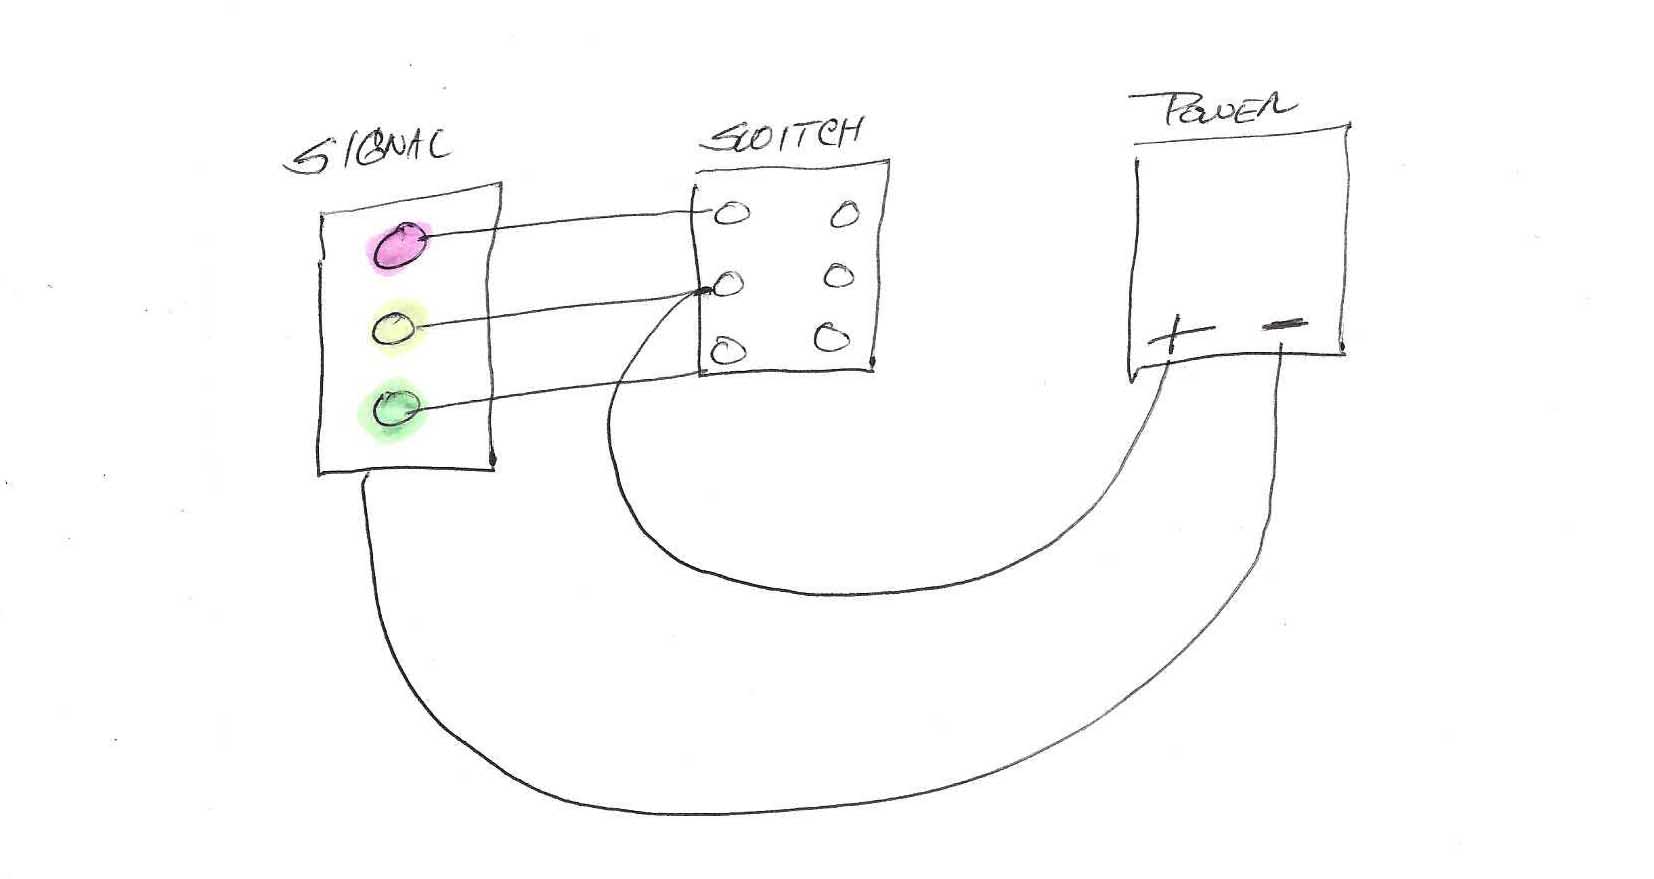
Then that got me thinking about detecting trains:
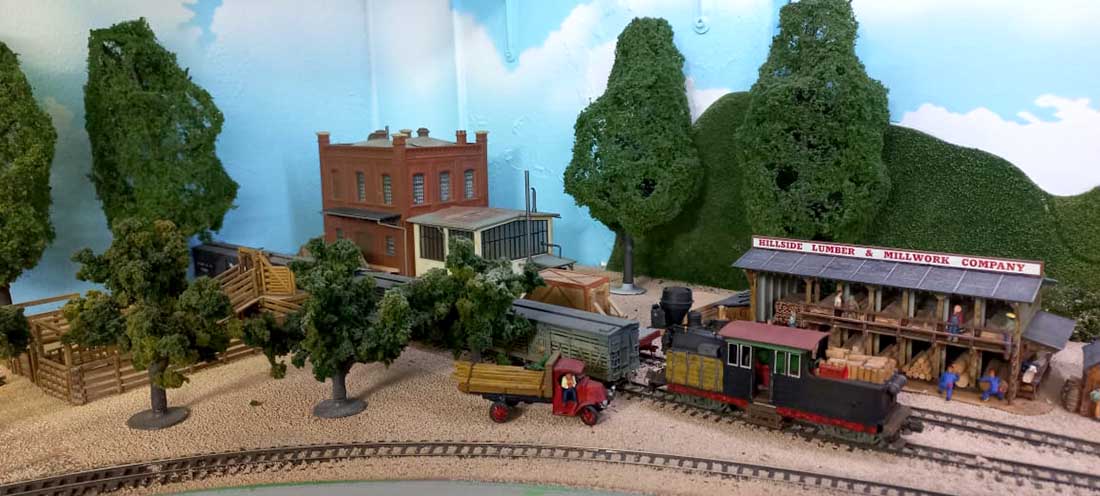
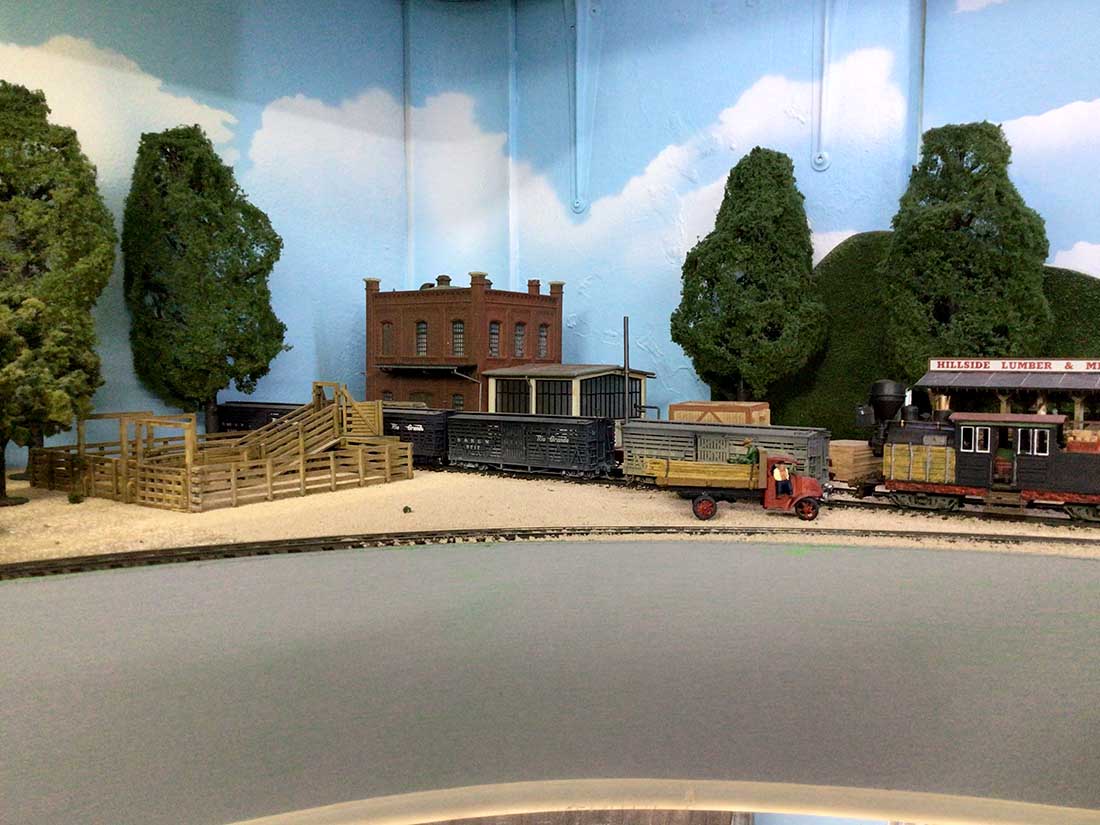
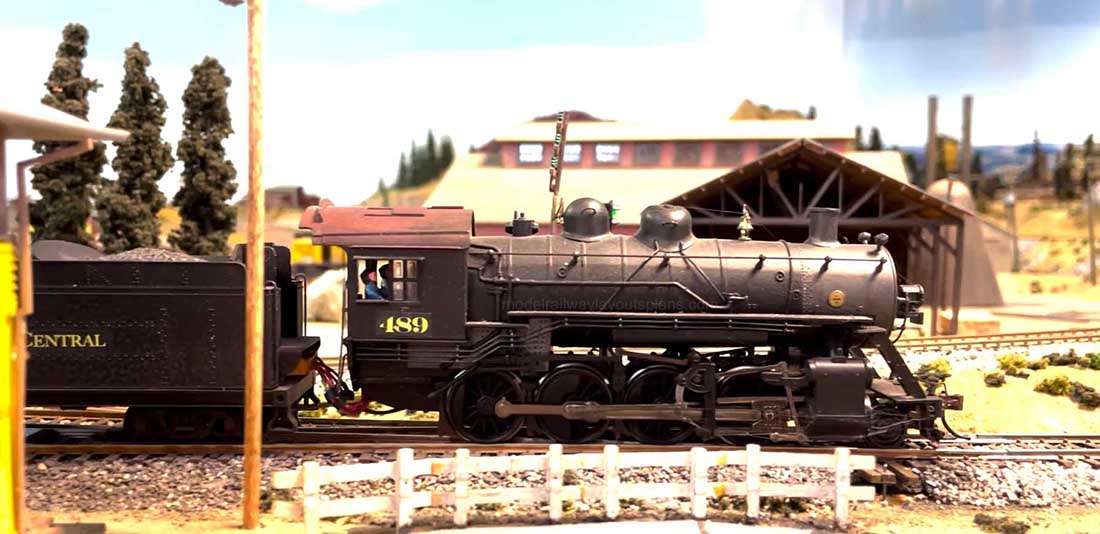
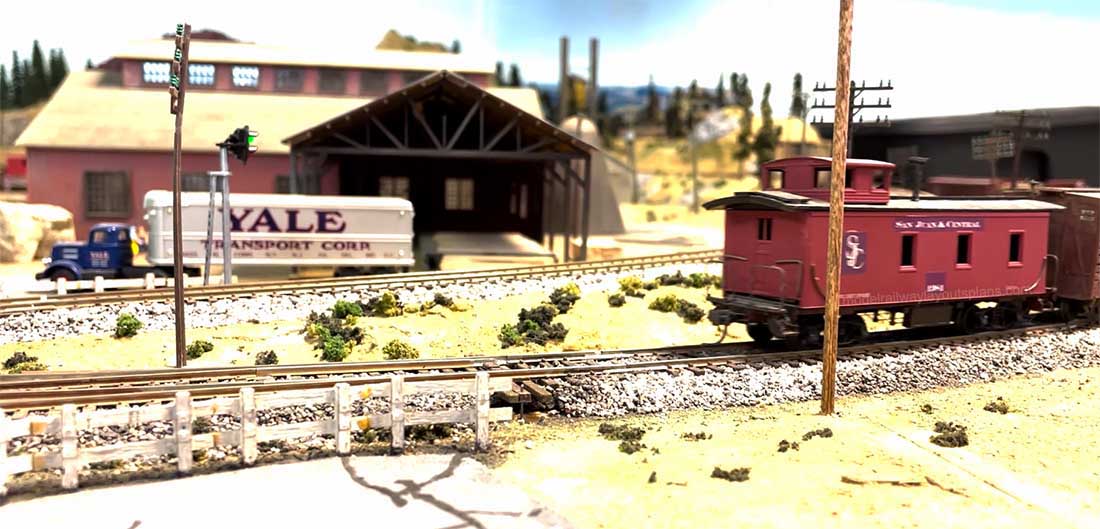
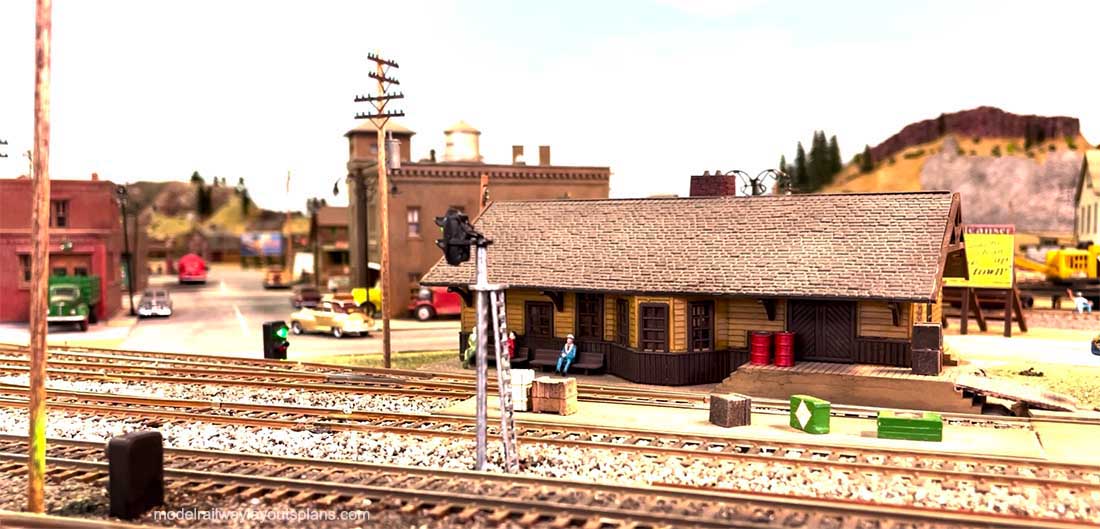
Now on to Joe.
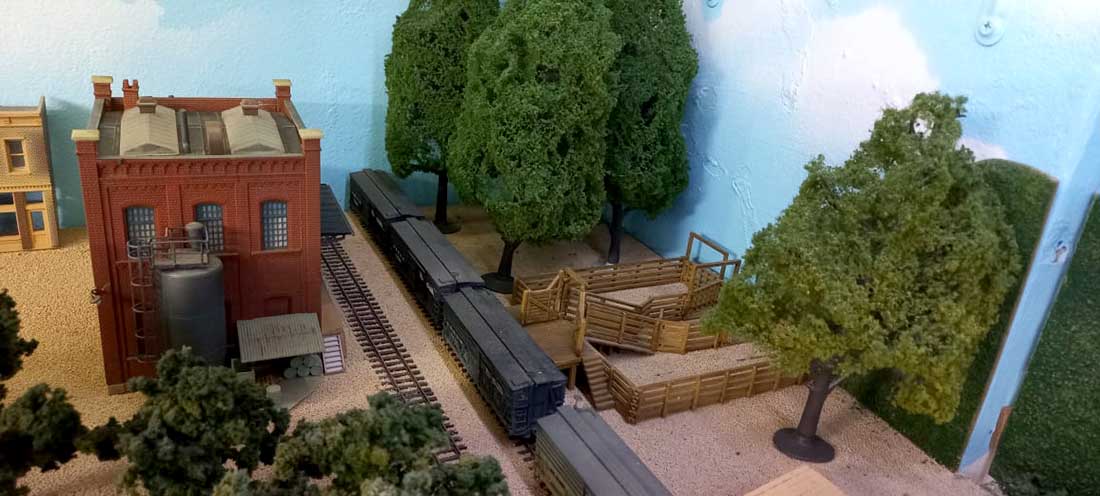
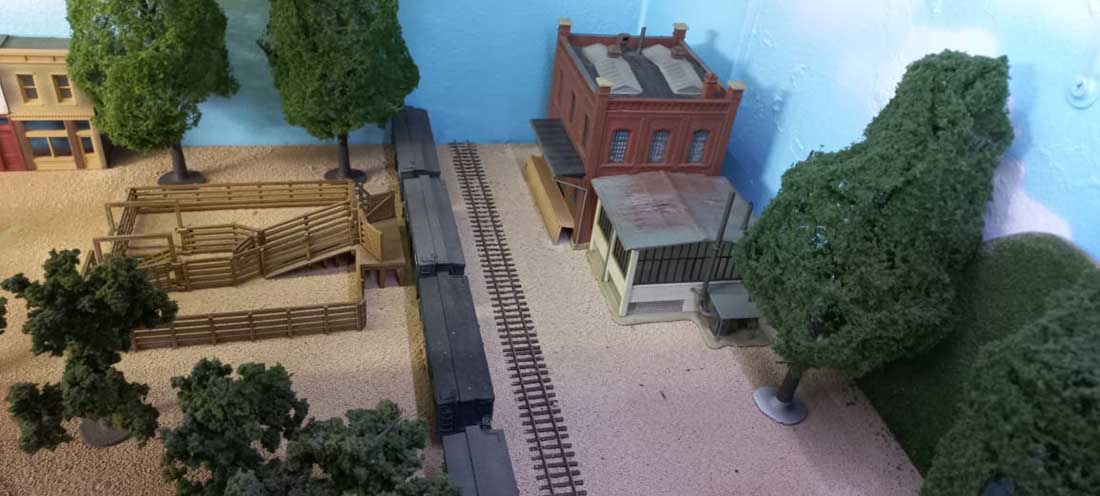
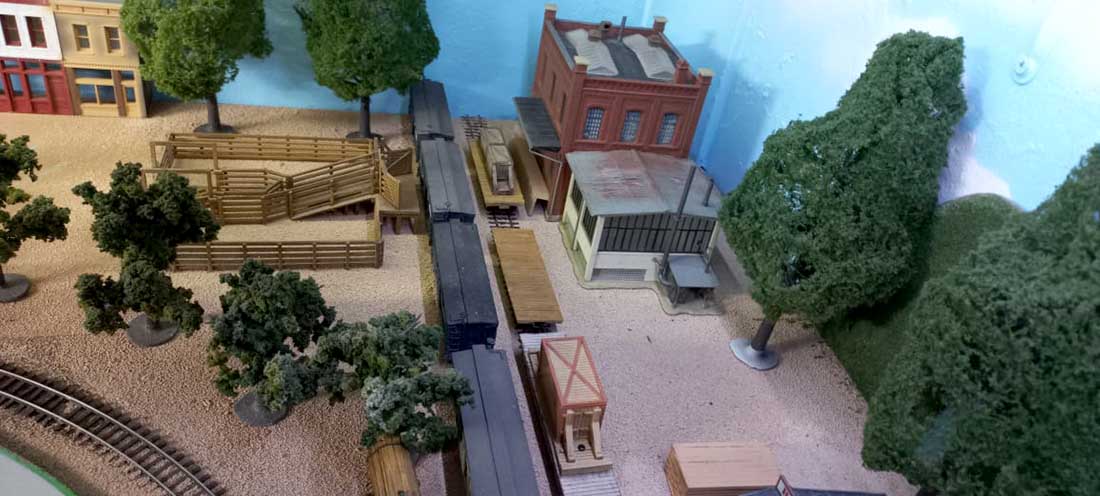
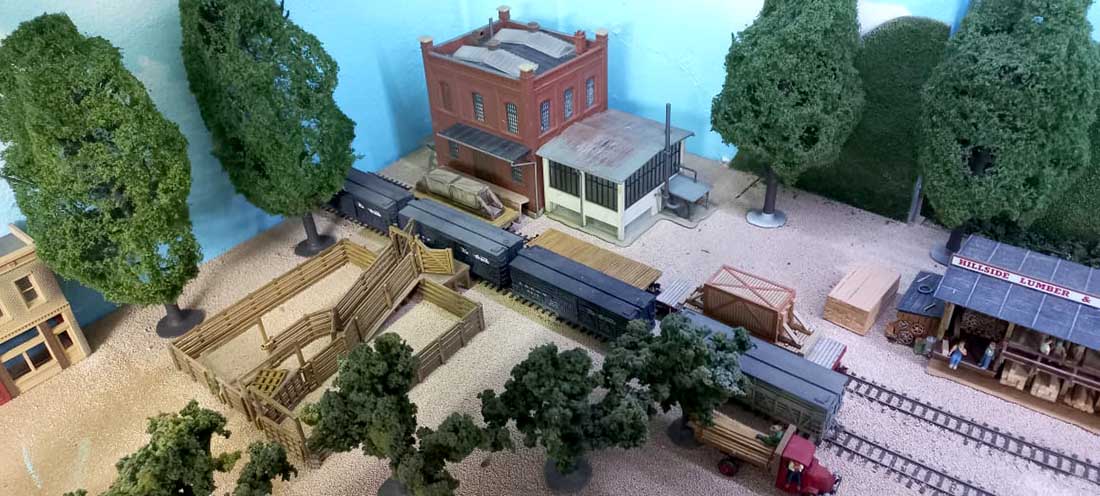
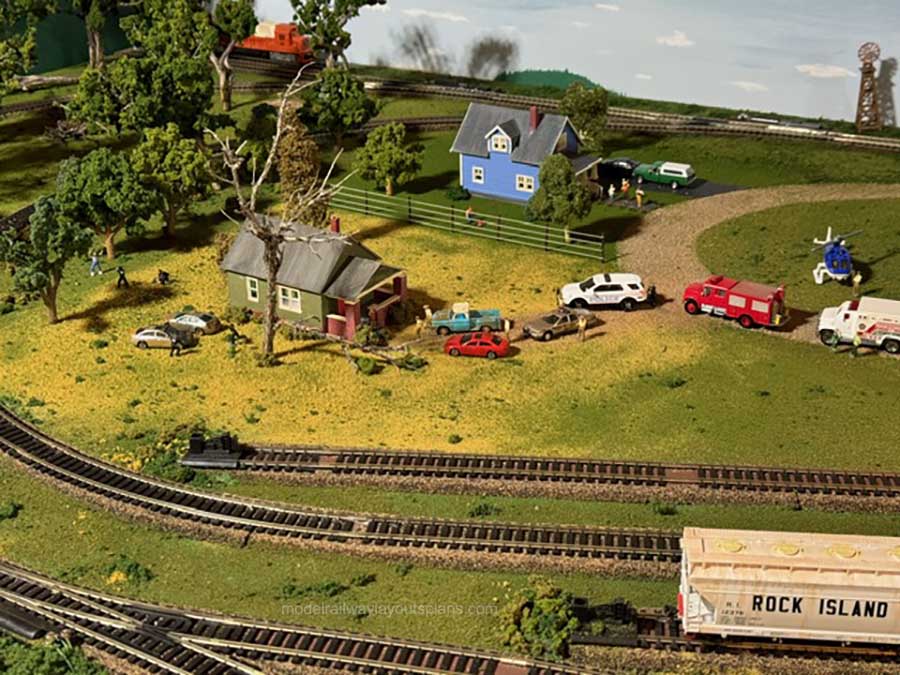
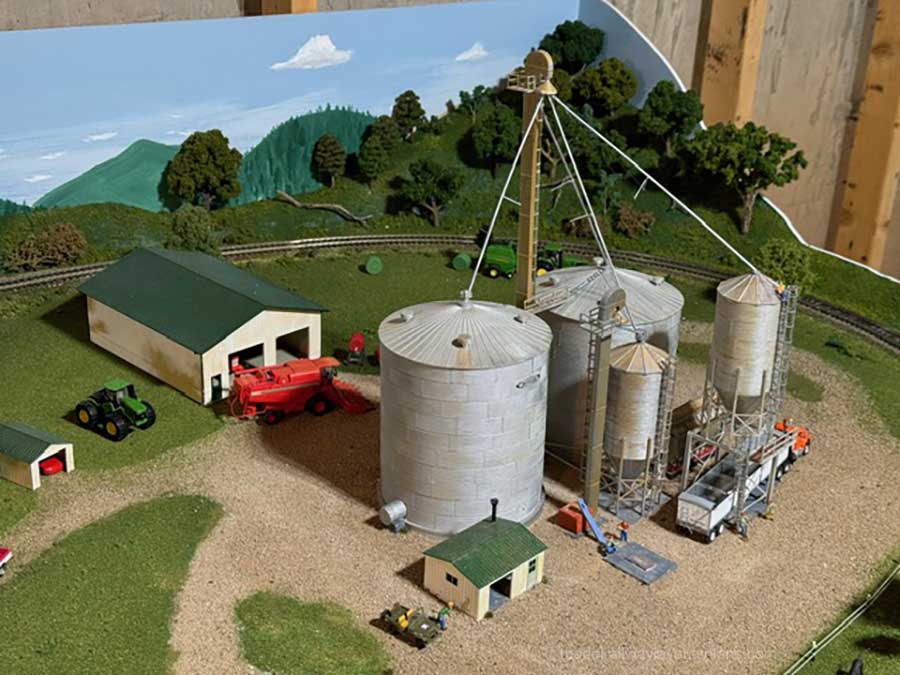
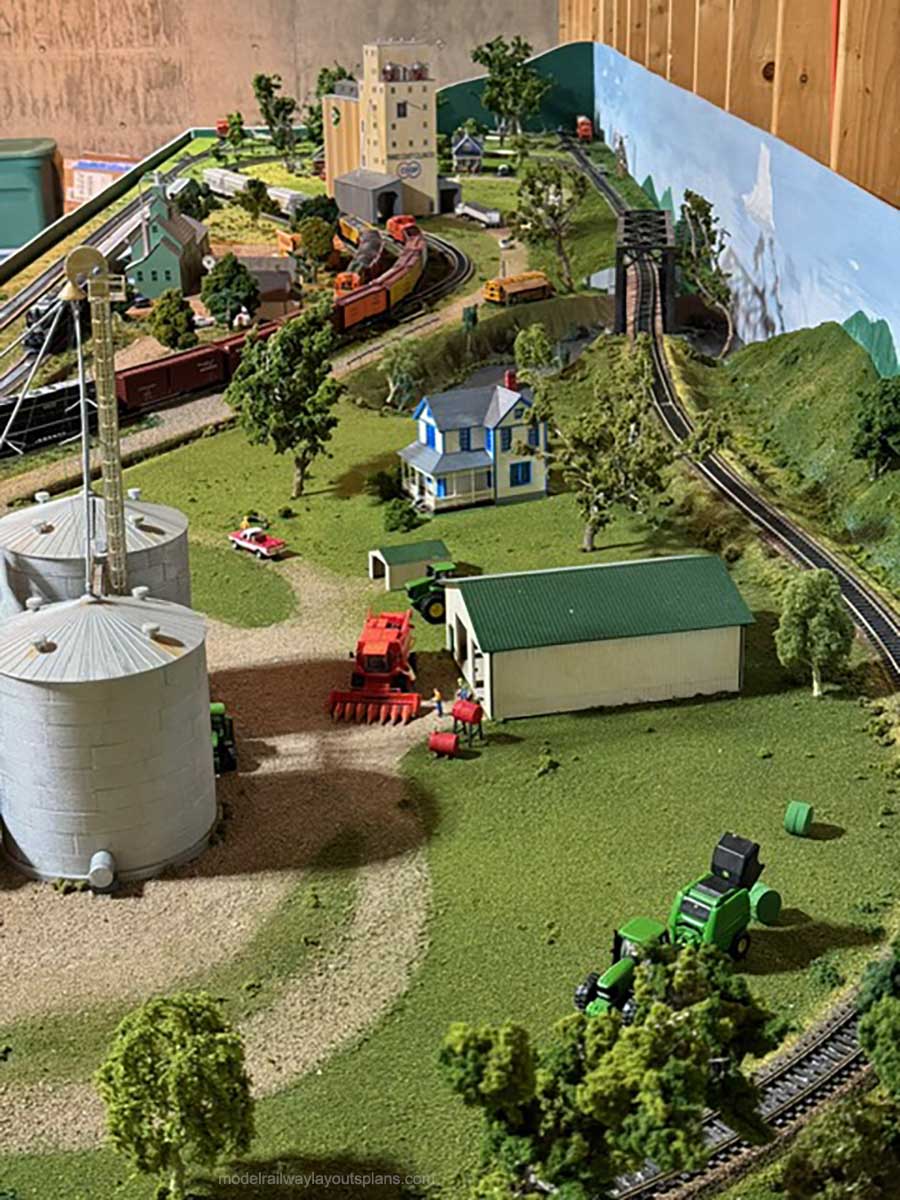
He’s been kind enough to send in a video of his stunning layout after his last post:
You can see Joe’s previous posts here:
How to make HO scale utility poles with wires.
12×8 HO scale (I do love seeing a layout from the very start!)
That’s all for this time folks.
A big thanks to Joe and to Terry for sharing his tip on the HO scale switch machines.
Please do keep ’em coming.
And if today is the day you press the fun button and get started, the Beginner’s Guide is here.
Best
Al
PS Latest ebay cheat sheet is here.
PPS More HO scale train layouts here if that’s your thing.