The talented Dan has been back in touch with another missive on his dual level HO scale layout:
“The next installment of the ‘unnamed Railroad’ is an example of what model railroading is all about.
We are problem solvers. Whether we must decide where to put a layout? What scale? What size can it be? Do we think about how high it should be? Does it need to be low so my grandkids can see?
Do I want it to be my height? What era should it be? If we are older, (say mid 40’s) do I want to model trains as I remember them? Or do a modern layout? DC or DCC?
The list goes on and on. What materials do I use? Premade buildings or kits or even craftsman kits?
Even if you have been doing this for some time, what can I use for scenery materials? In one of my early posts about my scenery materials, I demonstrated how I used kitty litter for my small rocks. I showed how I used plastic conduit cut in half to make culverts.
In posts to come I will show how I used a common flower, Sedum, to make trees. I plan to show how I made the background trees seen in many of my posts. Many of the readers have solved these issues in different ways.
Show us how solved the ‘problems’ you have run across. The posts I have seen show creativity and planning. How did you figure your way out of the proverbial ‘painted my self in a corner’ issue?
This installment I will show you how I solved an interesting problem. In the past 2 installments I had to hide a helix and do what the owner of the layout wanted. He wanted to be able to stand up inside to be able to work on any issues that cropped up.
The other was the incline with the foam forms that are available. This ‘problem to be solved’ is the connection between the two. The owner contracted a company to put the “top” in a double deck layout I was building. The track plan did not consider the scenery to come. There is an over/under on the double track mainline! Pay attention to the first photos to see the issue.

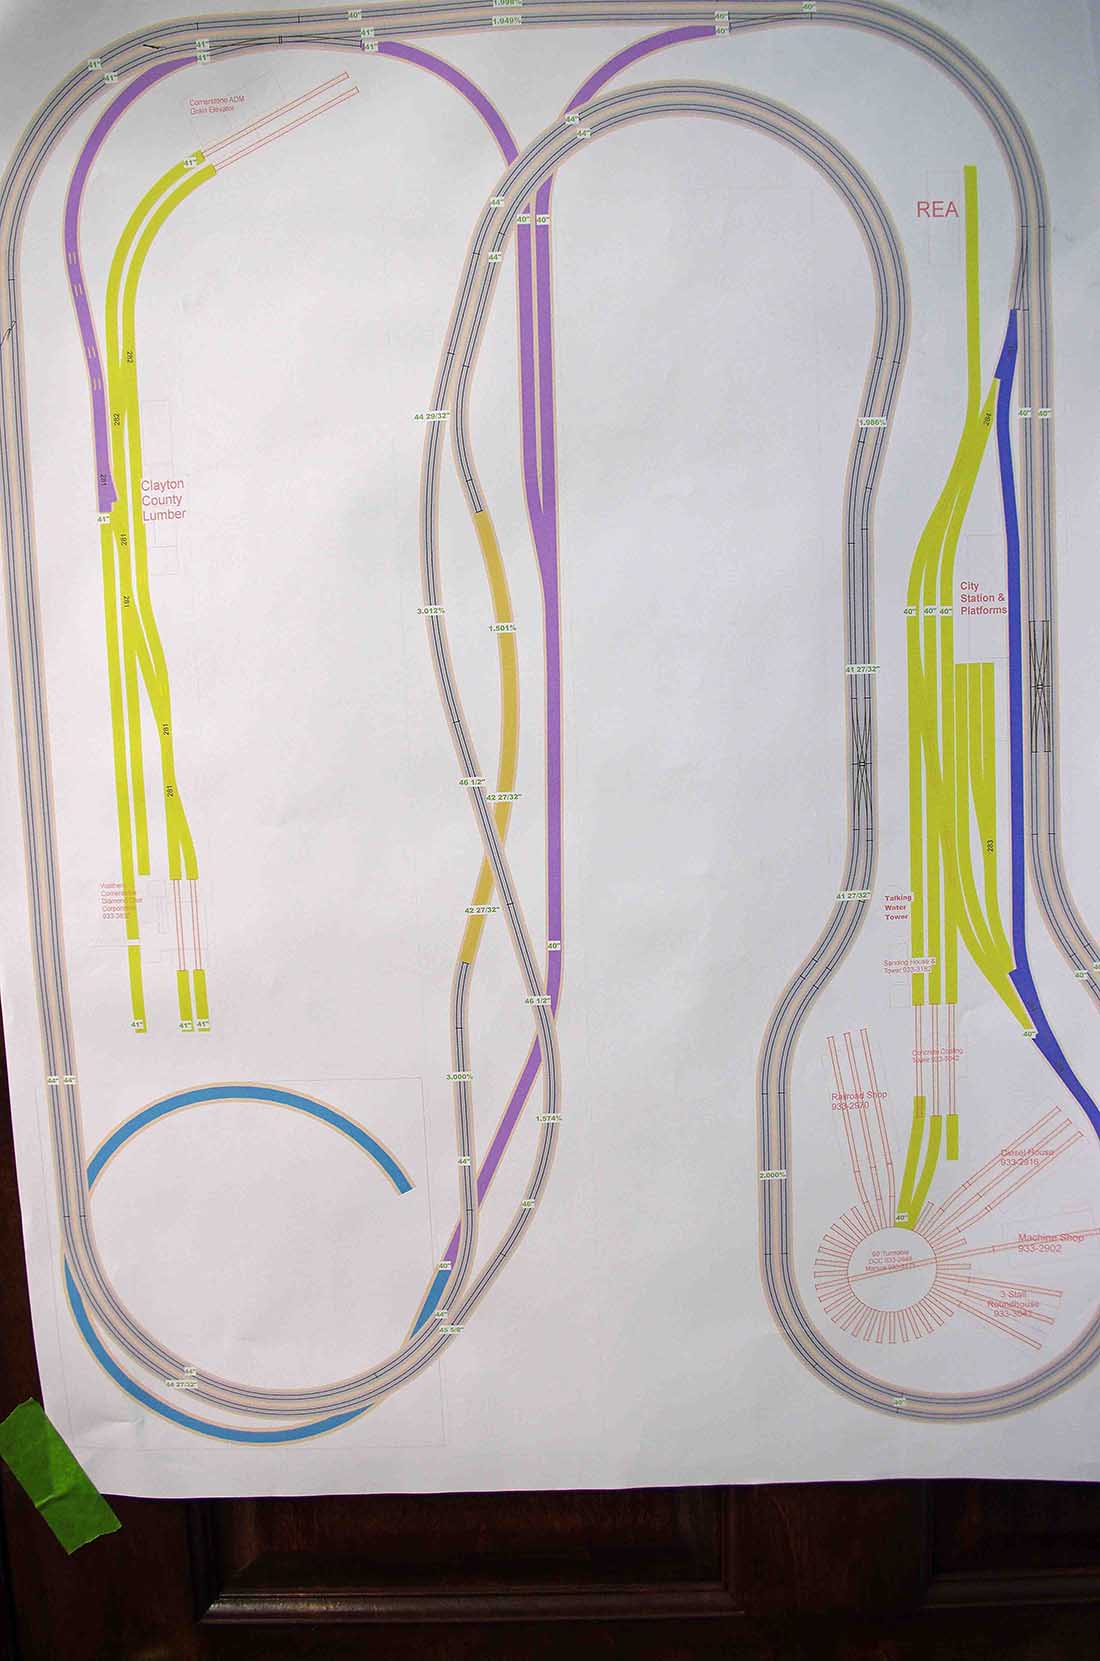
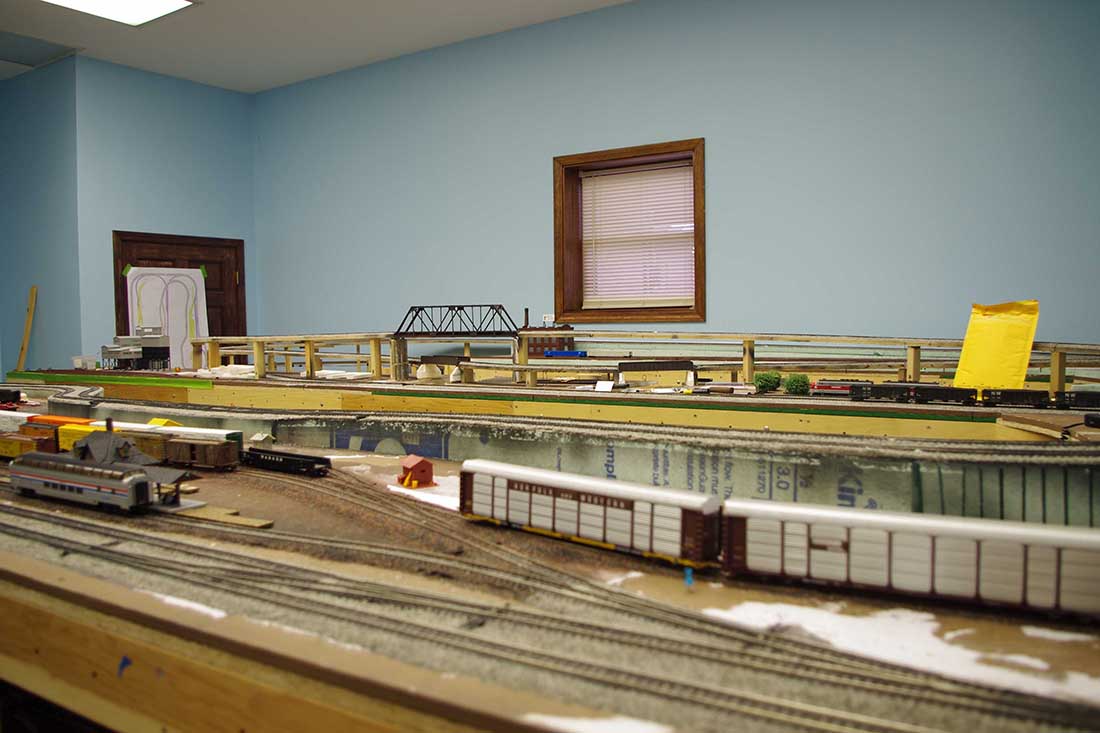
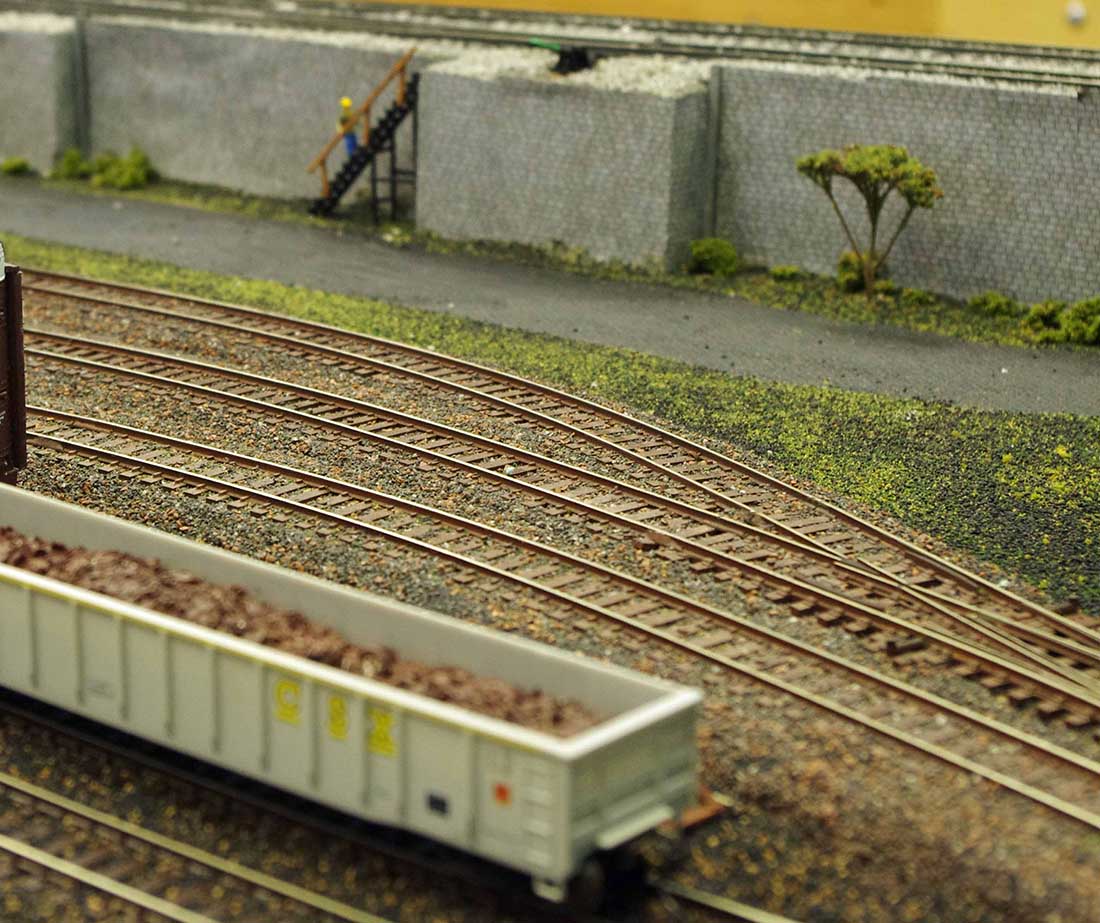
Photo 1 The basic second level of the layout. A contracted layout design company did the scheme and did all the track work and most of the early wiring. They also use the real rocks ballasting. This blog will concentrate on the middle part. The previous blogs dis the helix and the incline from the right to the middle section.
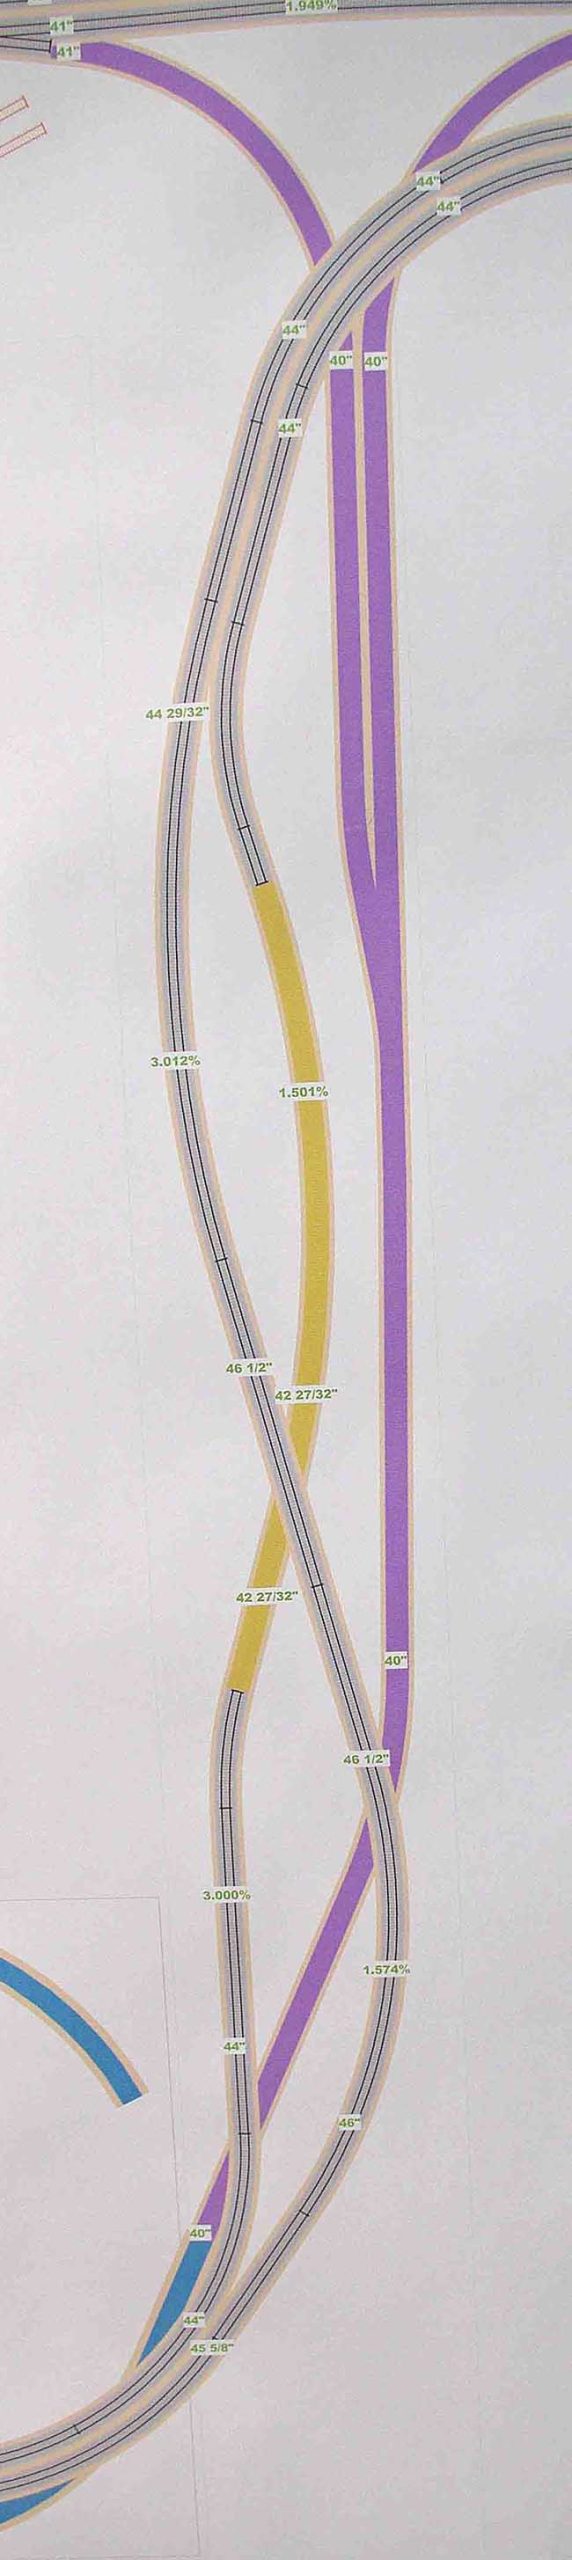
Photo 2 The double tracked mainline has an over and under section for some unknown reason. If you can enlarge the photo you can see the % grade and elevations they did. The purple track is the lead to the helix and coal mine. The gray track is the main lines and they do not go to the helix. They will enter a tunnel and just come out of the mountain over the helix.
Let’s see what imagination can do.

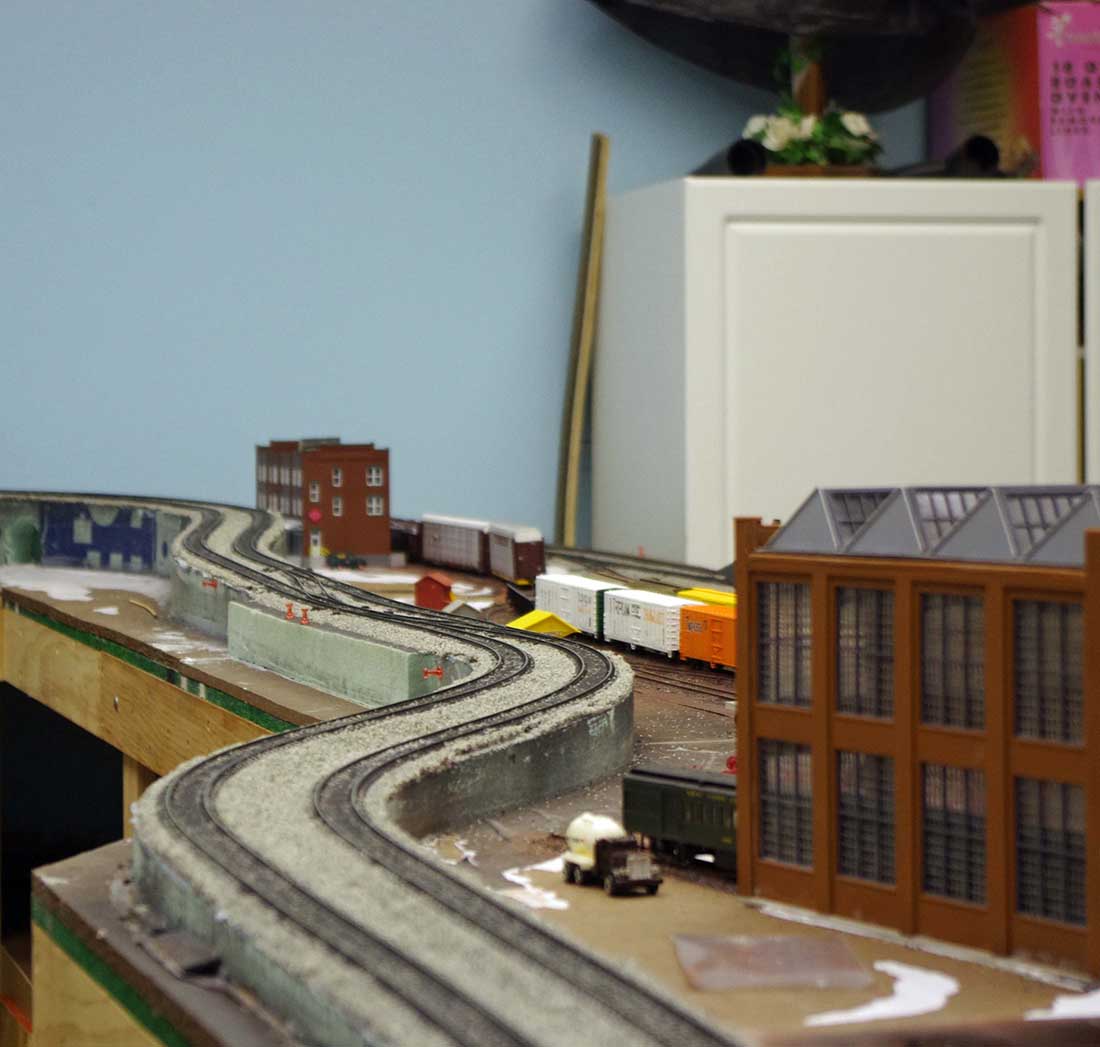
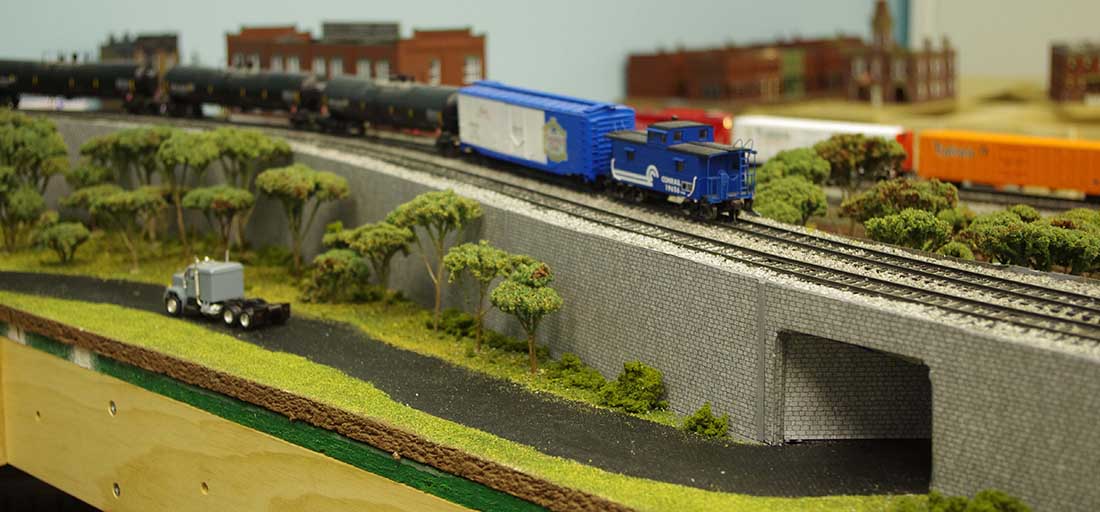
Photo 3. Overall view. I have already installed 3 of the 4 bridges in this photo. Note that the plywood track board had to be cut ti install the bridges. Problem #1. How to cut the track and the ballast without doing any damage to the rest of the track. Dremel tool and careful saber saw.

Photo 4 Captions for the work.
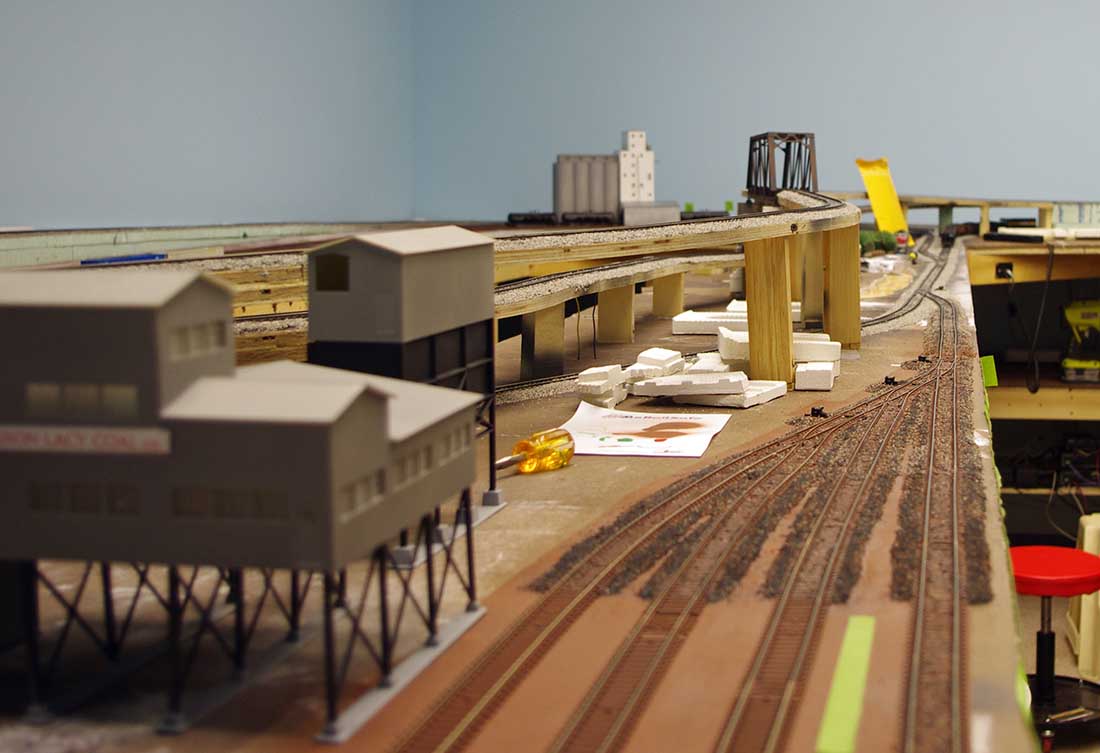
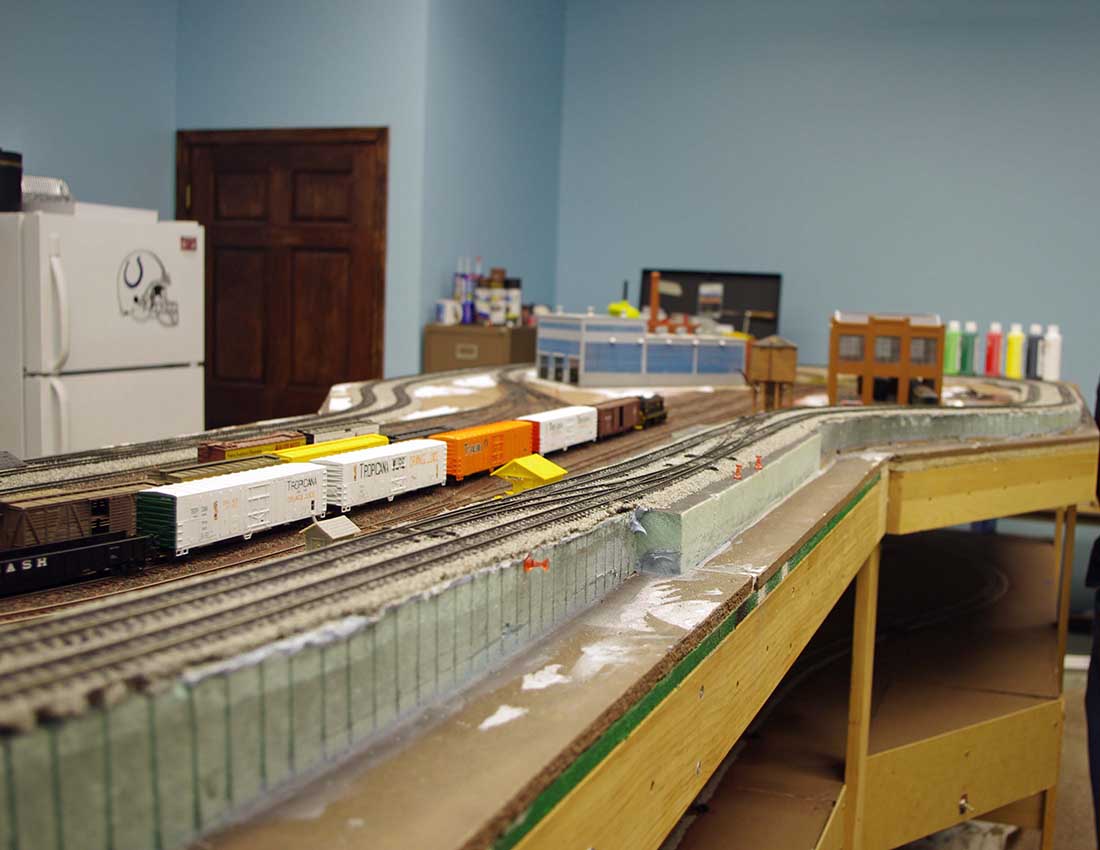
Photo 5 A view down the length from the coal mine to the far end.
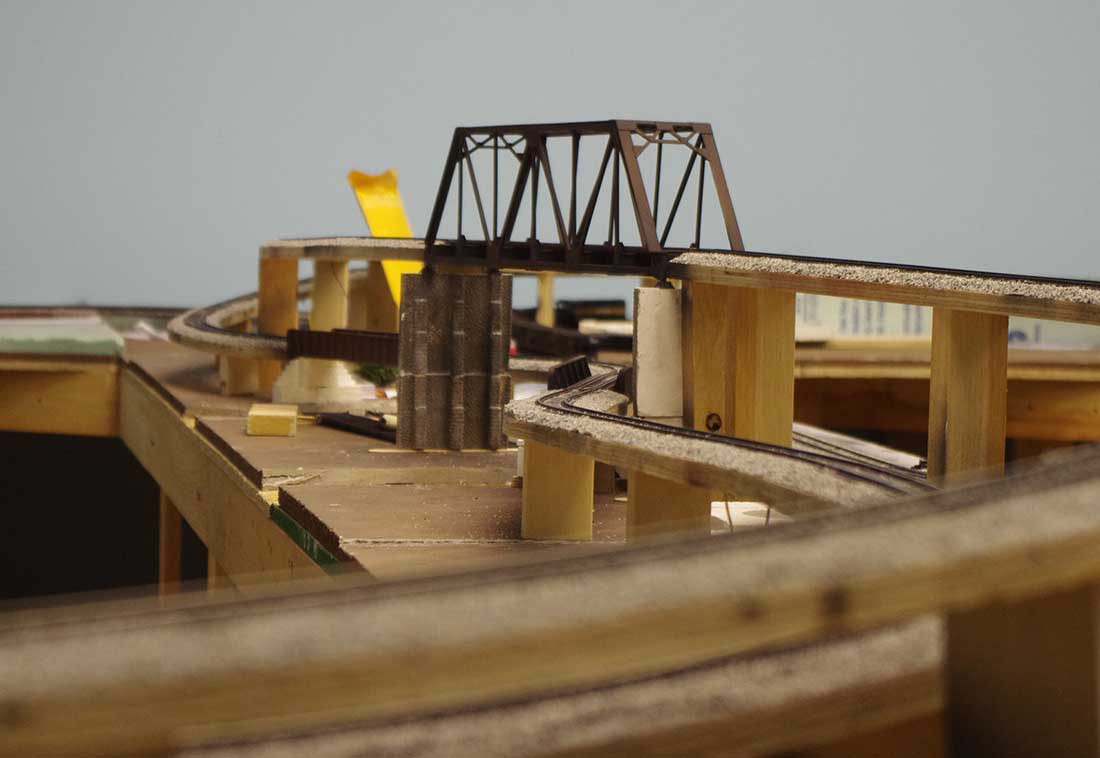
Photo 6 Looking from the “back side” of the coal mine from inside the helix. Problem #2. You will be able to see the work from both sides. The scenery had to “make sense” when viewed from either side.
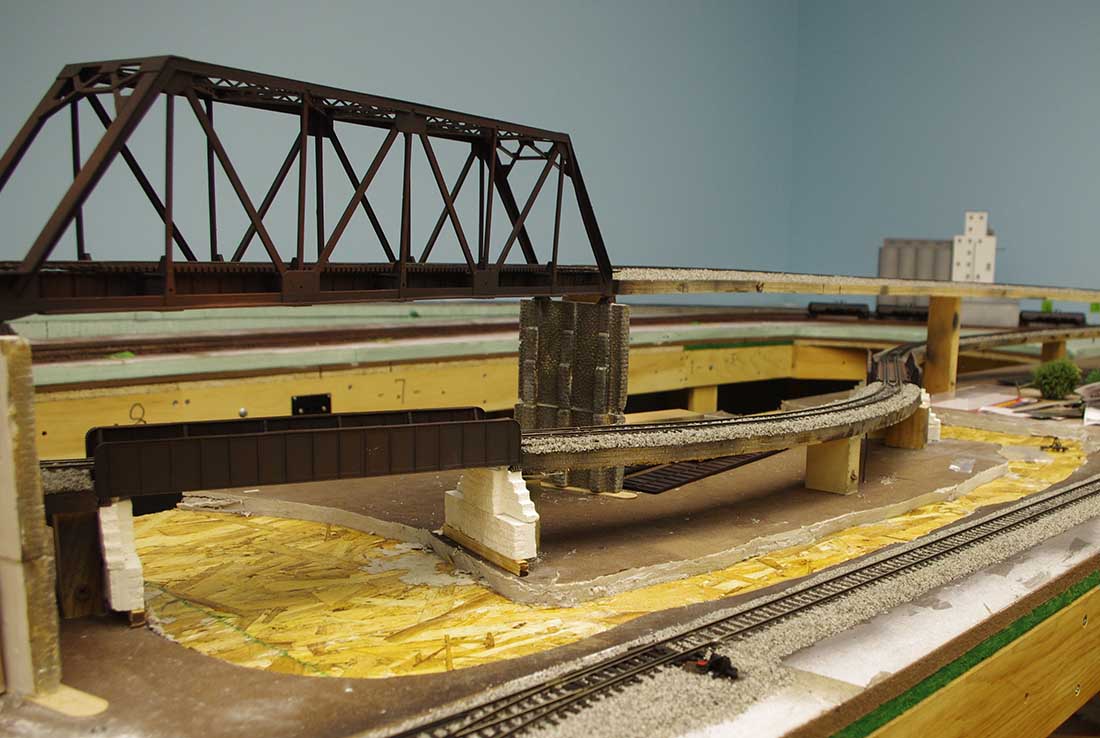
Photo 7 I decided to have the mainlines pass over hills and cross a river two times. I had to justify the over under with perhaps a line relocation. This was done as money and traffic increased. You can see I have cut out the river bed. Just used an Exaxto knife to cut the Homasote base.
Dual level HO scale layout:
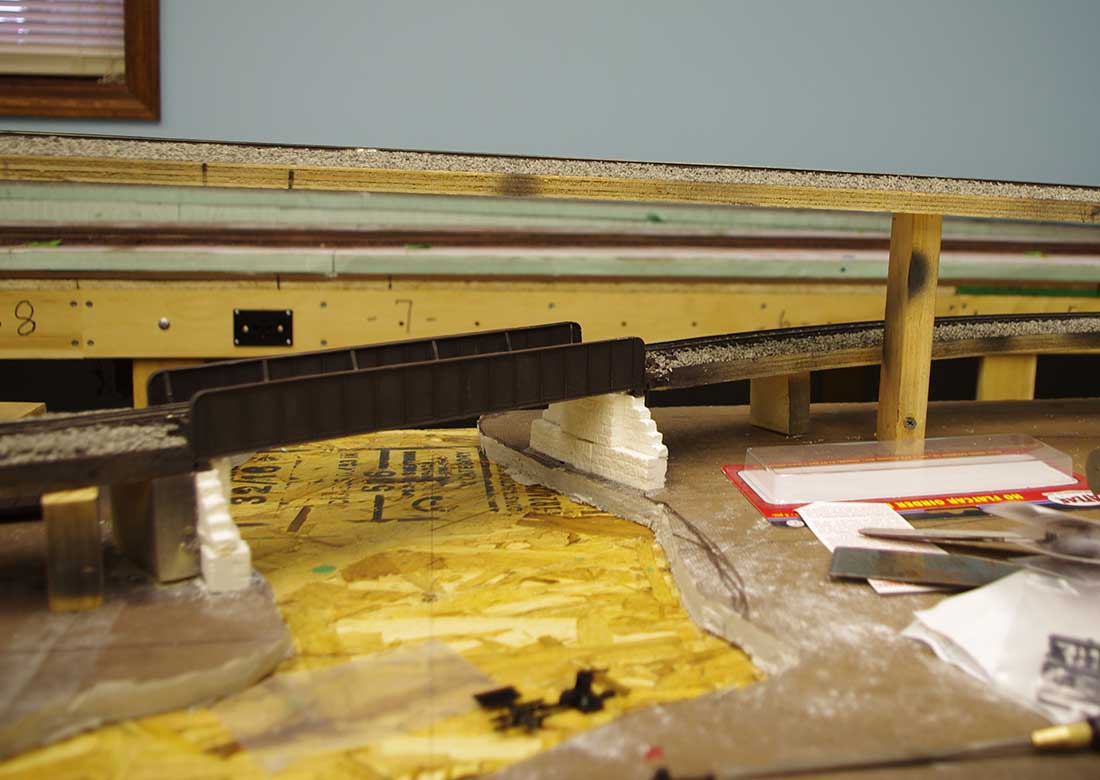
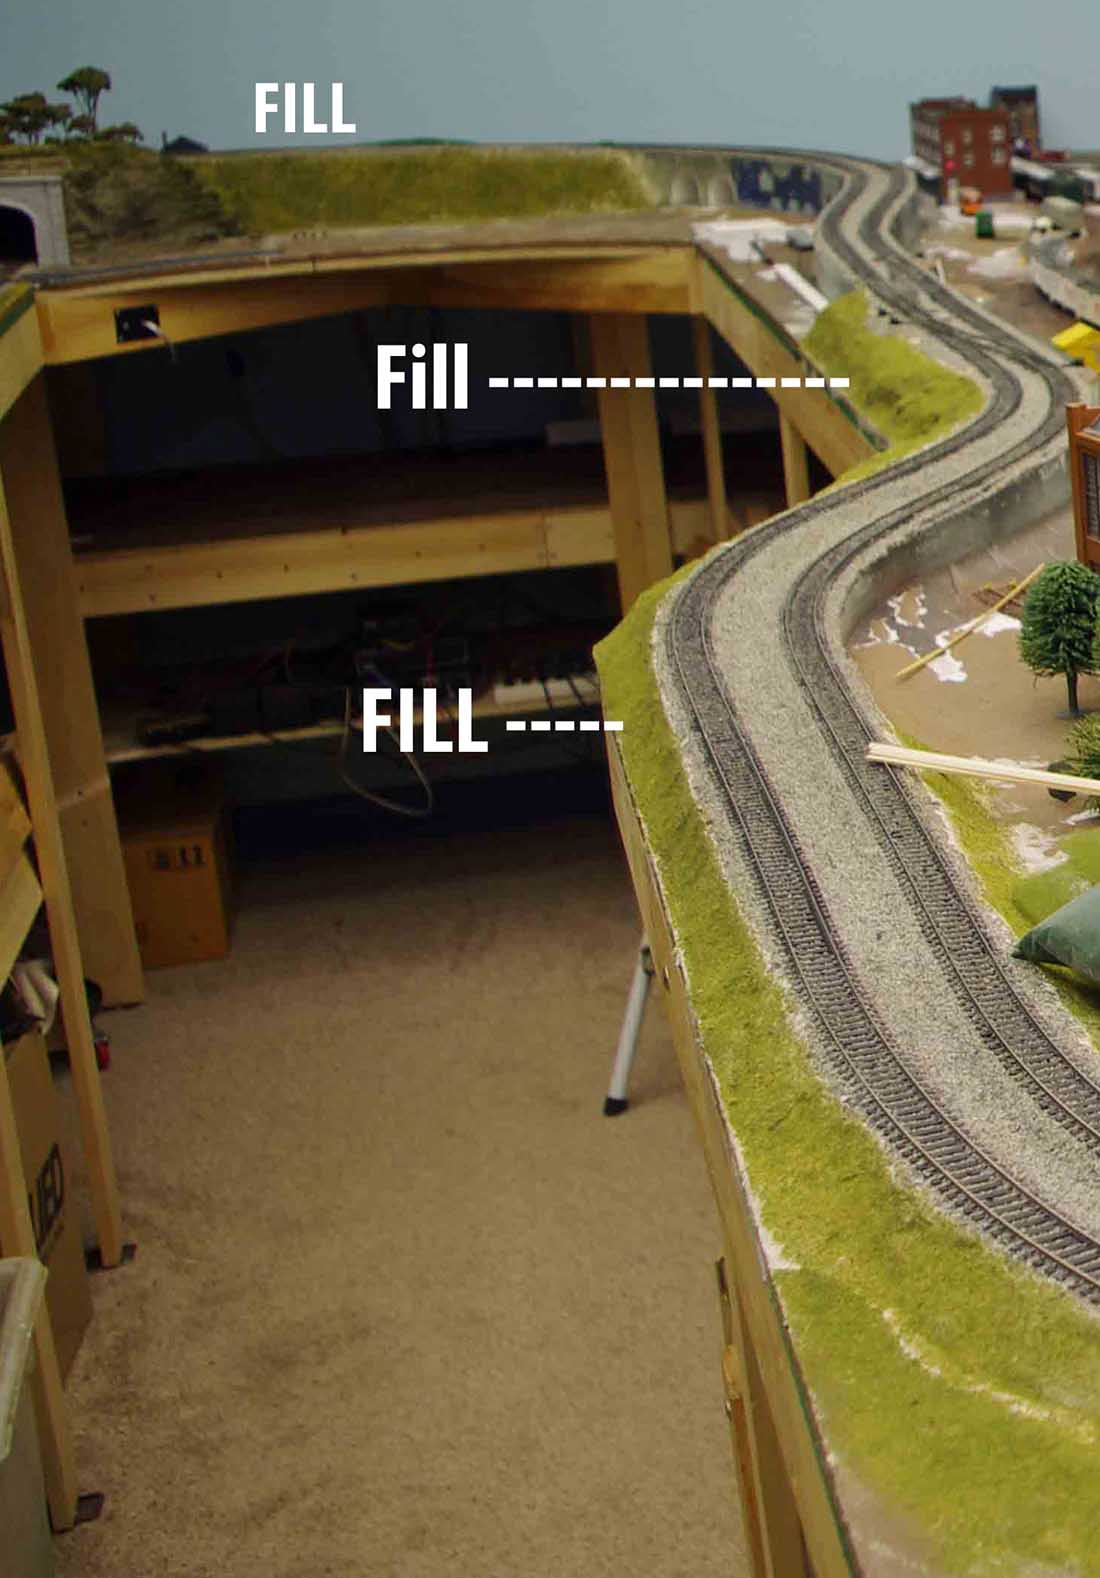
Photo 8 The other crossing. Note there is no bridge above the bottom bridge. Problem #3 You will see the “fix” later.

Photo 9 The whole section to be sceniced.
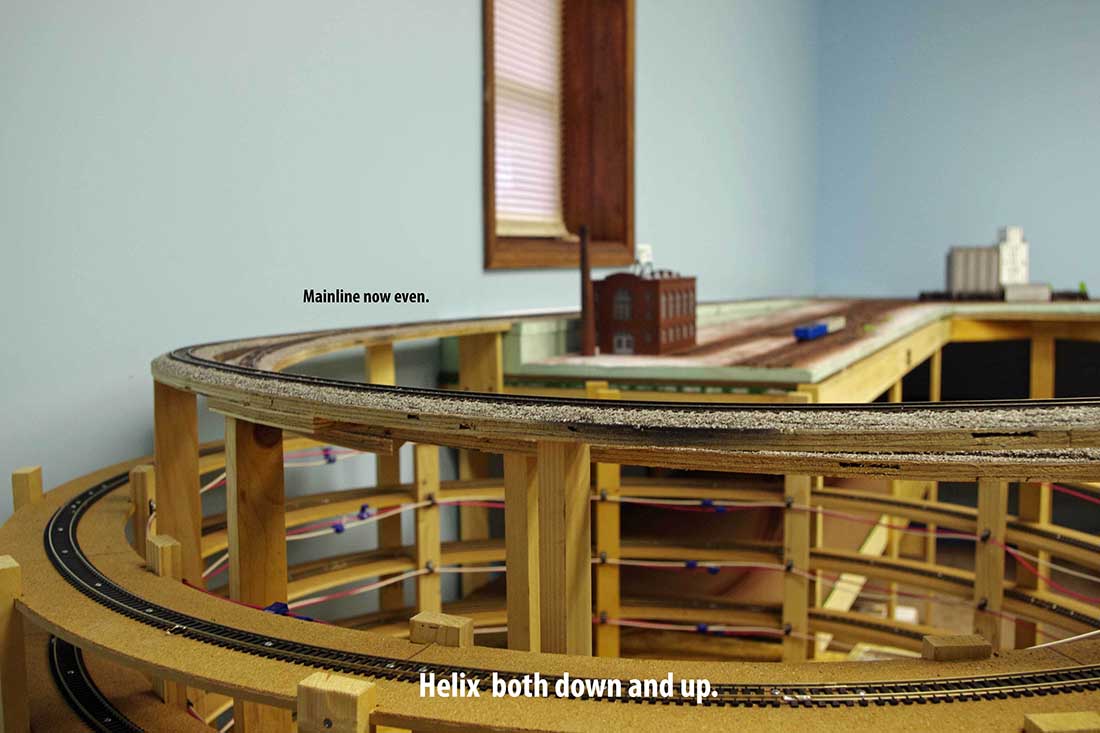
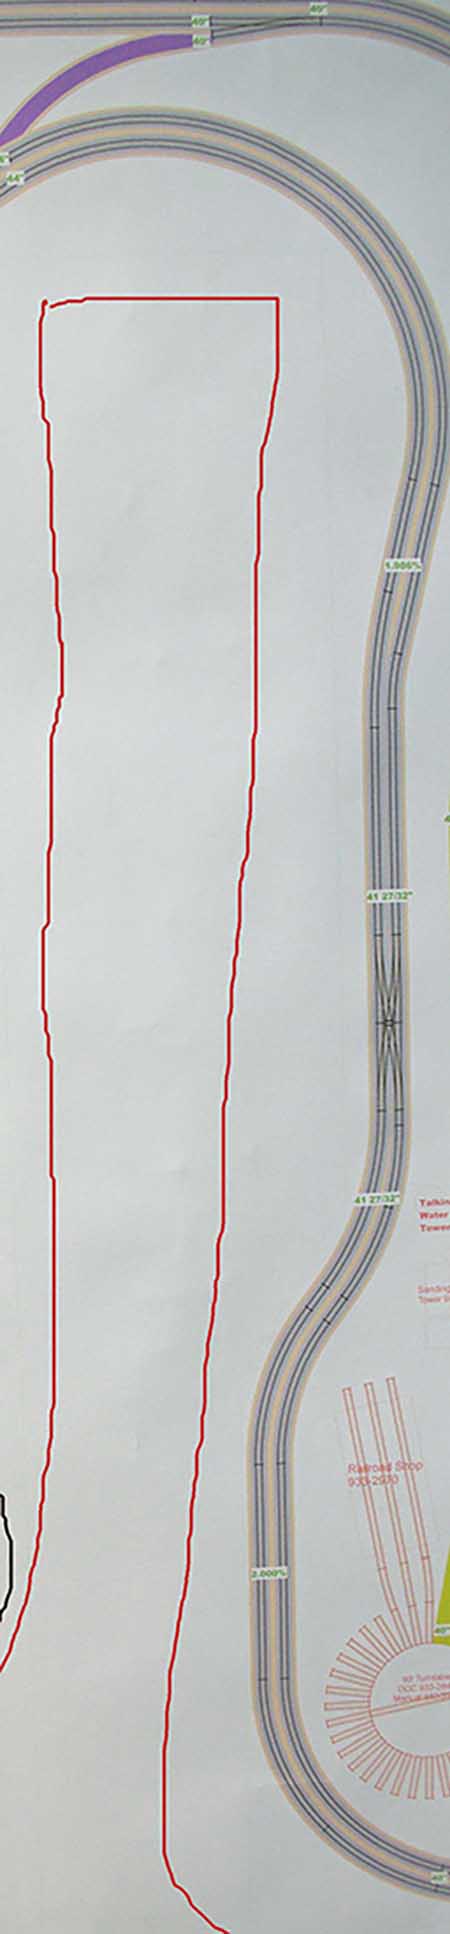
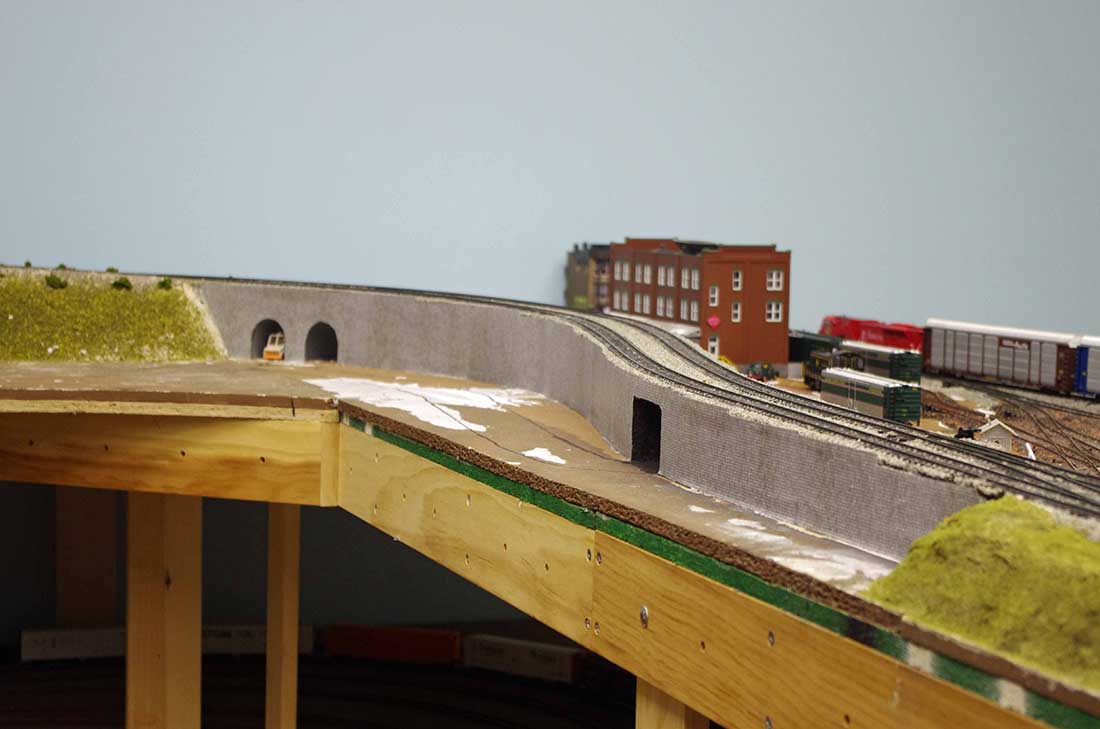
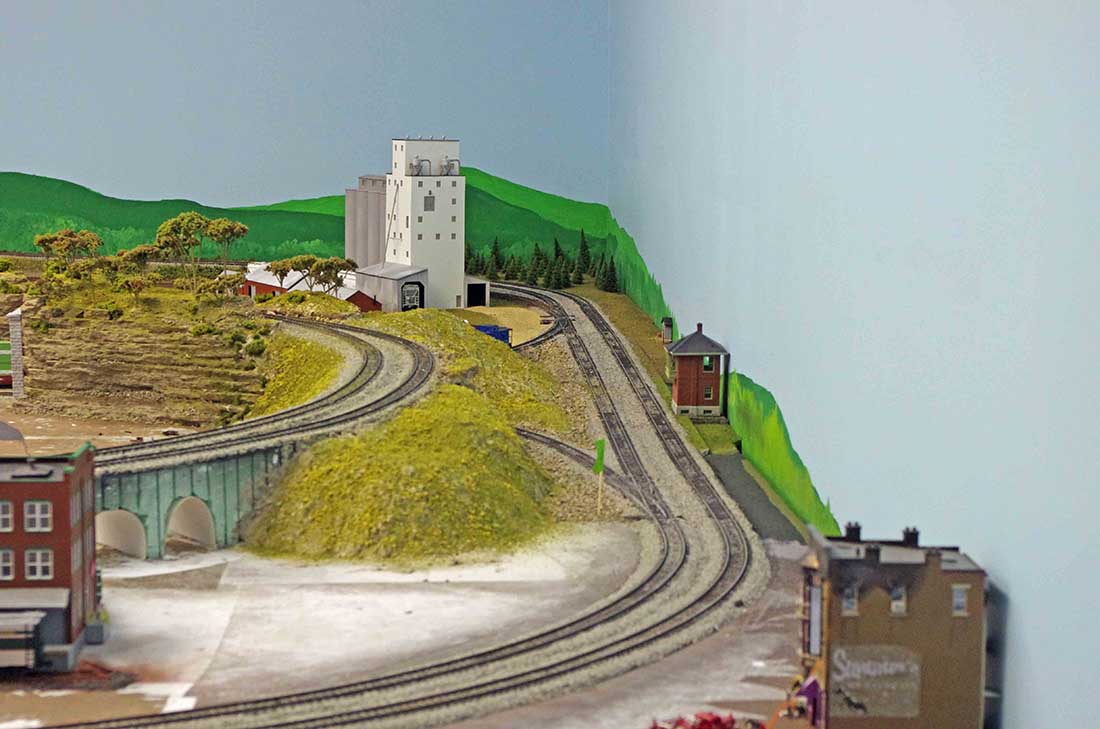
Photo 10 A clearer idea as what happens to the mainlines. The helix and where the two mainlines come back to level. The section near the wall will be a power plant and a grain elevator when done.

Photo 11 The beginning of the solution to the scenery to answer one of the problems. My stand by. Ceiling tile rocks!
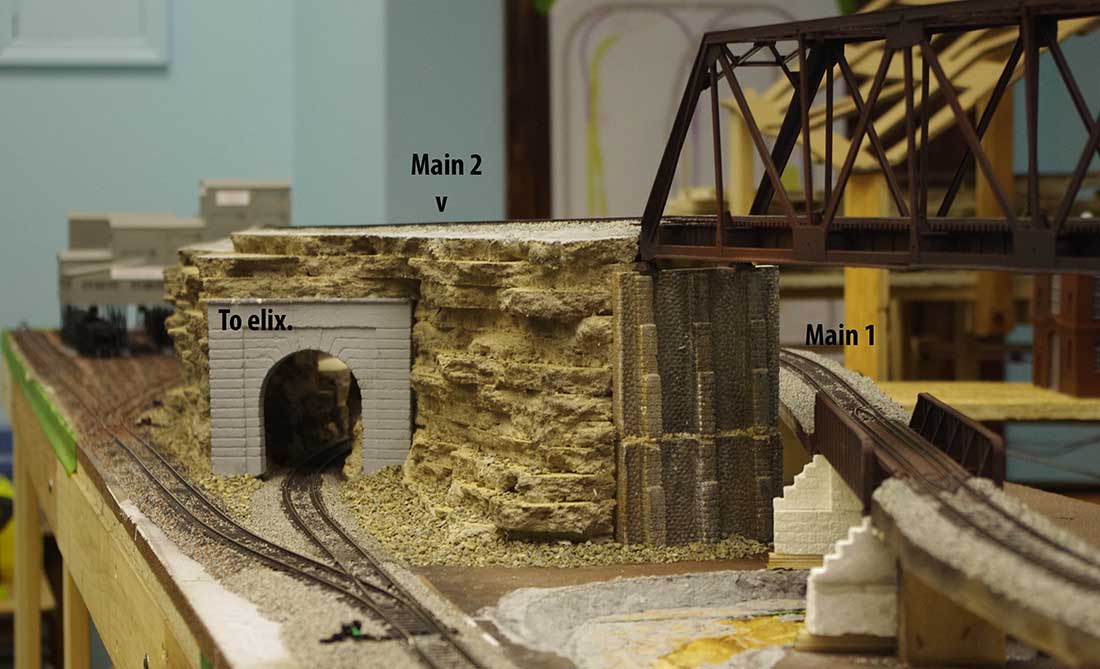
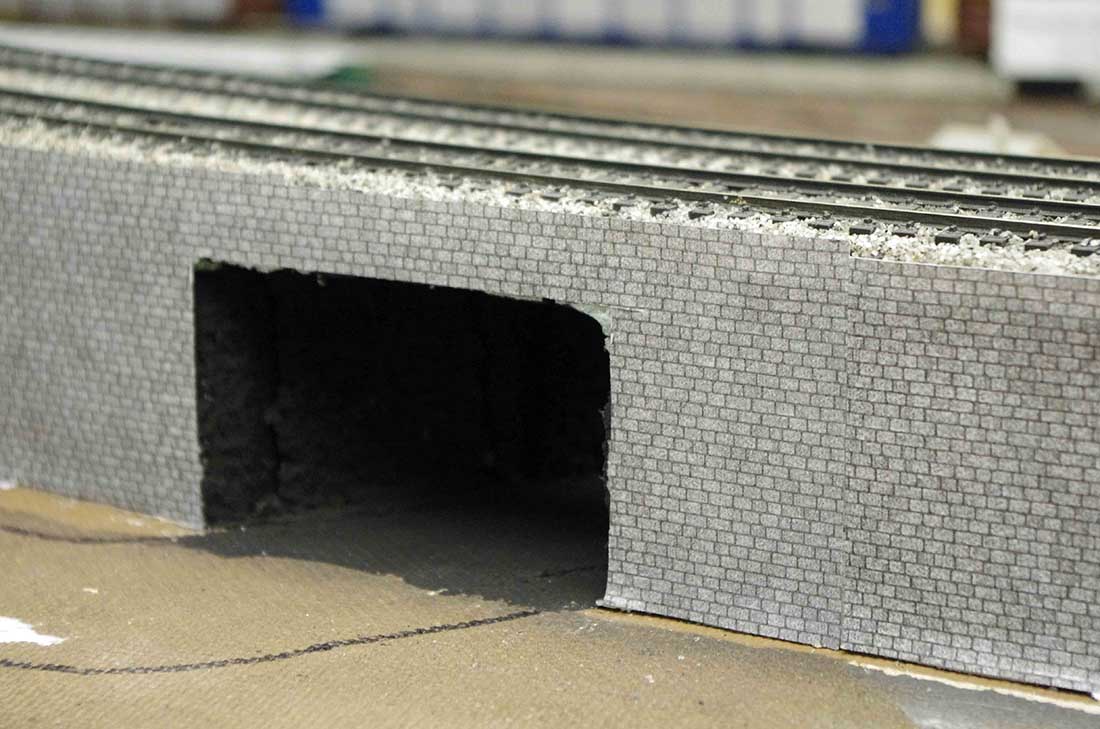
Photo 12 The tunnel opening to the helix. The coal mine just beyond.
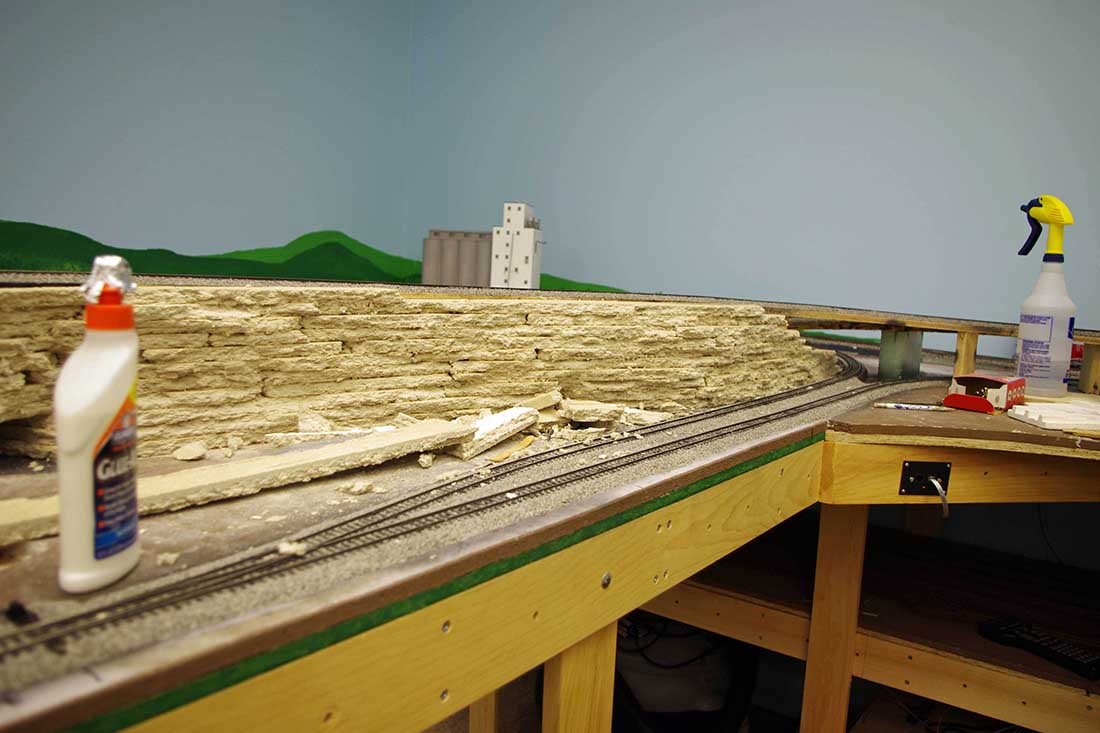
Photo 13 The basic rocks in place.
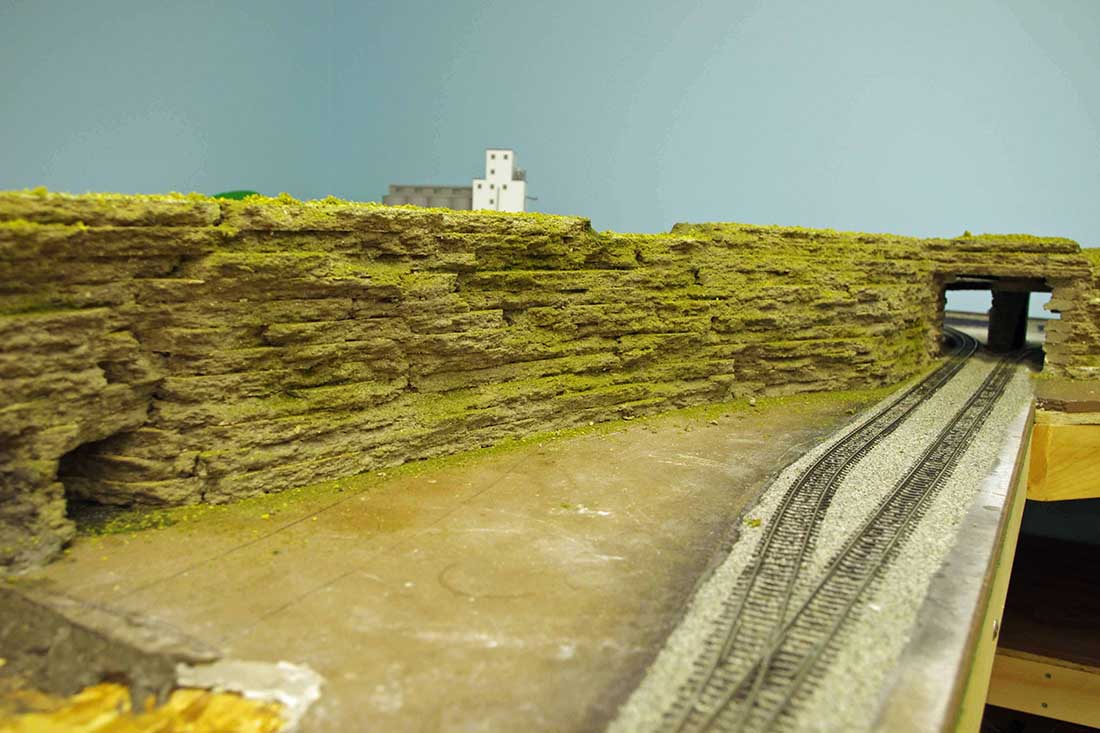
Photo 14 Color added to the rocks. Craft paints of the color I wanted.
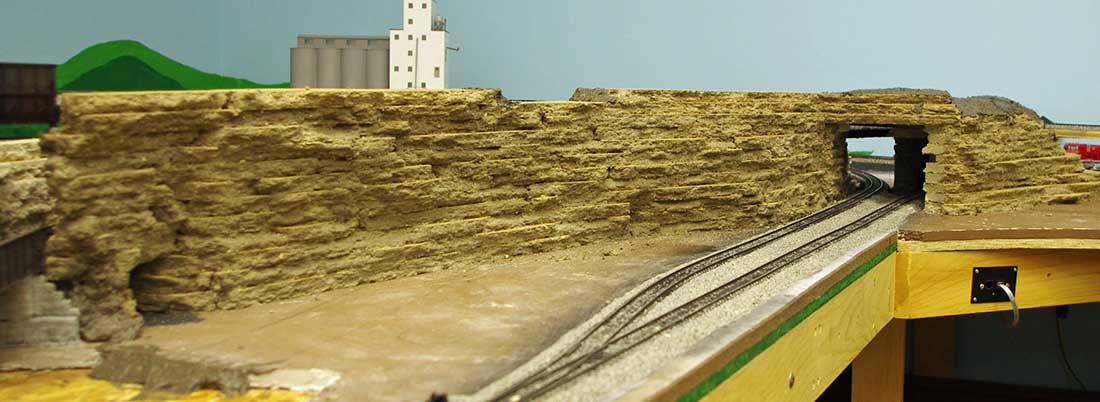
Photo 15 Mossy look for the rocks. I brush on a 50/50 mix of white glue over the rocks. I wanted a pretty genera moss look. Next with a stiff piece of paper with ground foam on it I gently puffed the foam over the rocks. About 30 minutes later I lightly misted water over the rocks and this helps moisten the foam and pull up the glue from below.
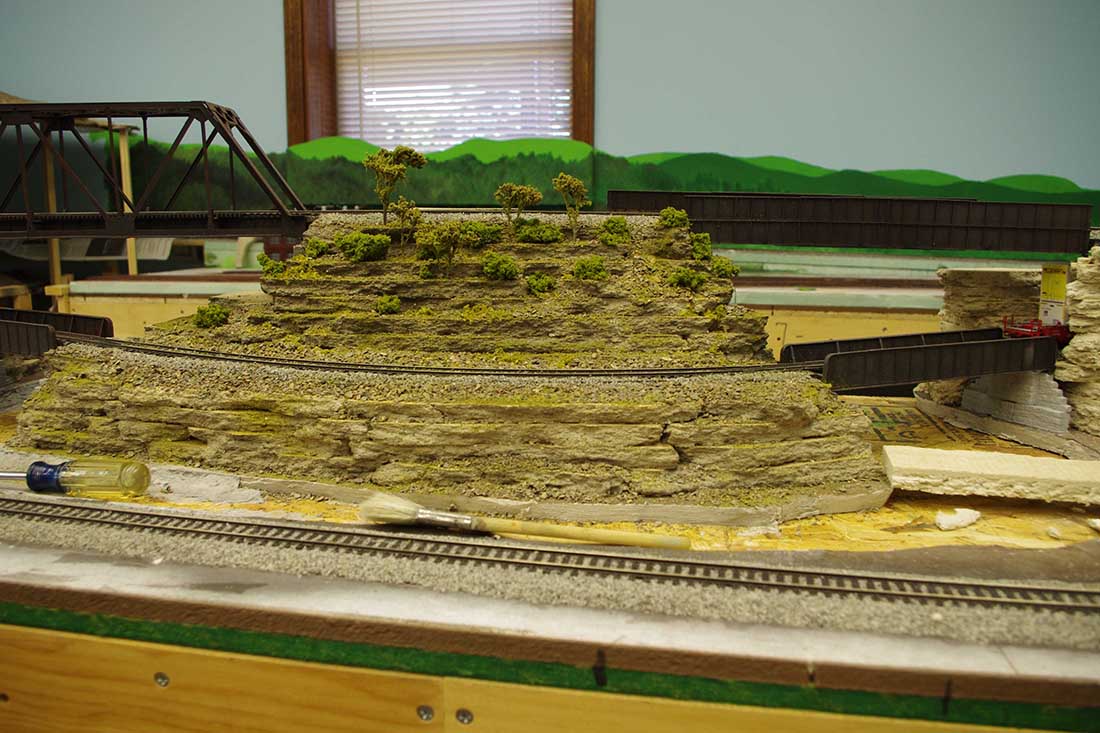
Photo 16 The center “island” ready for more work.
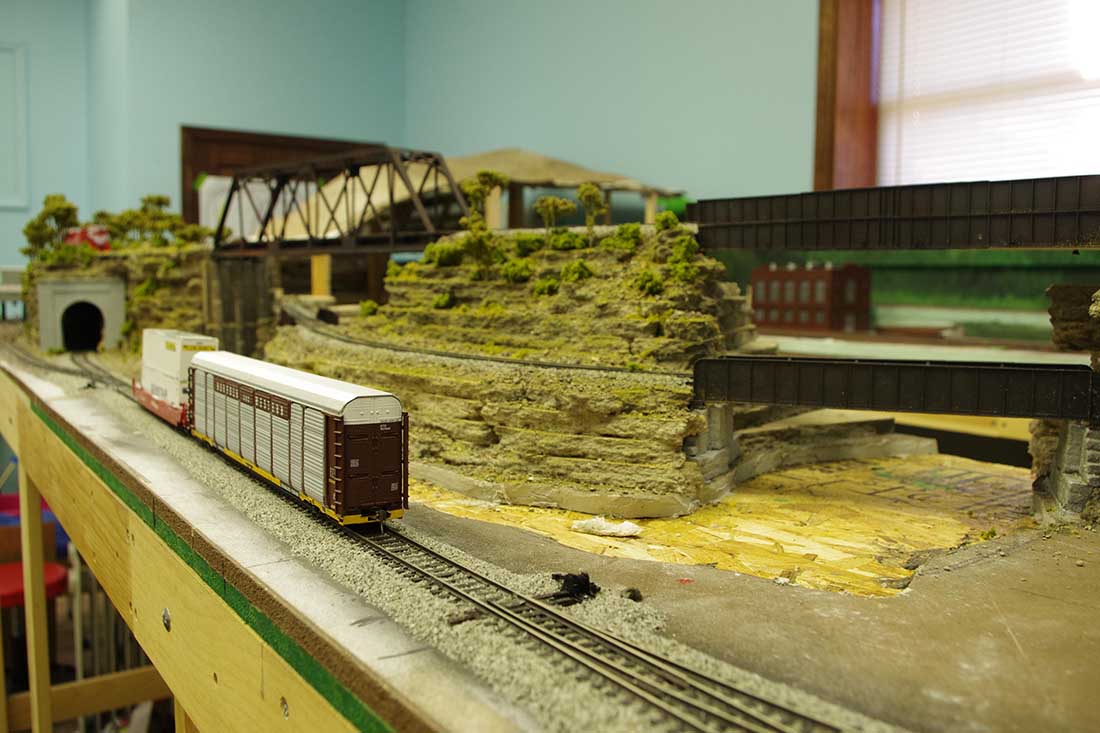
Photo 17 Further along on the island.
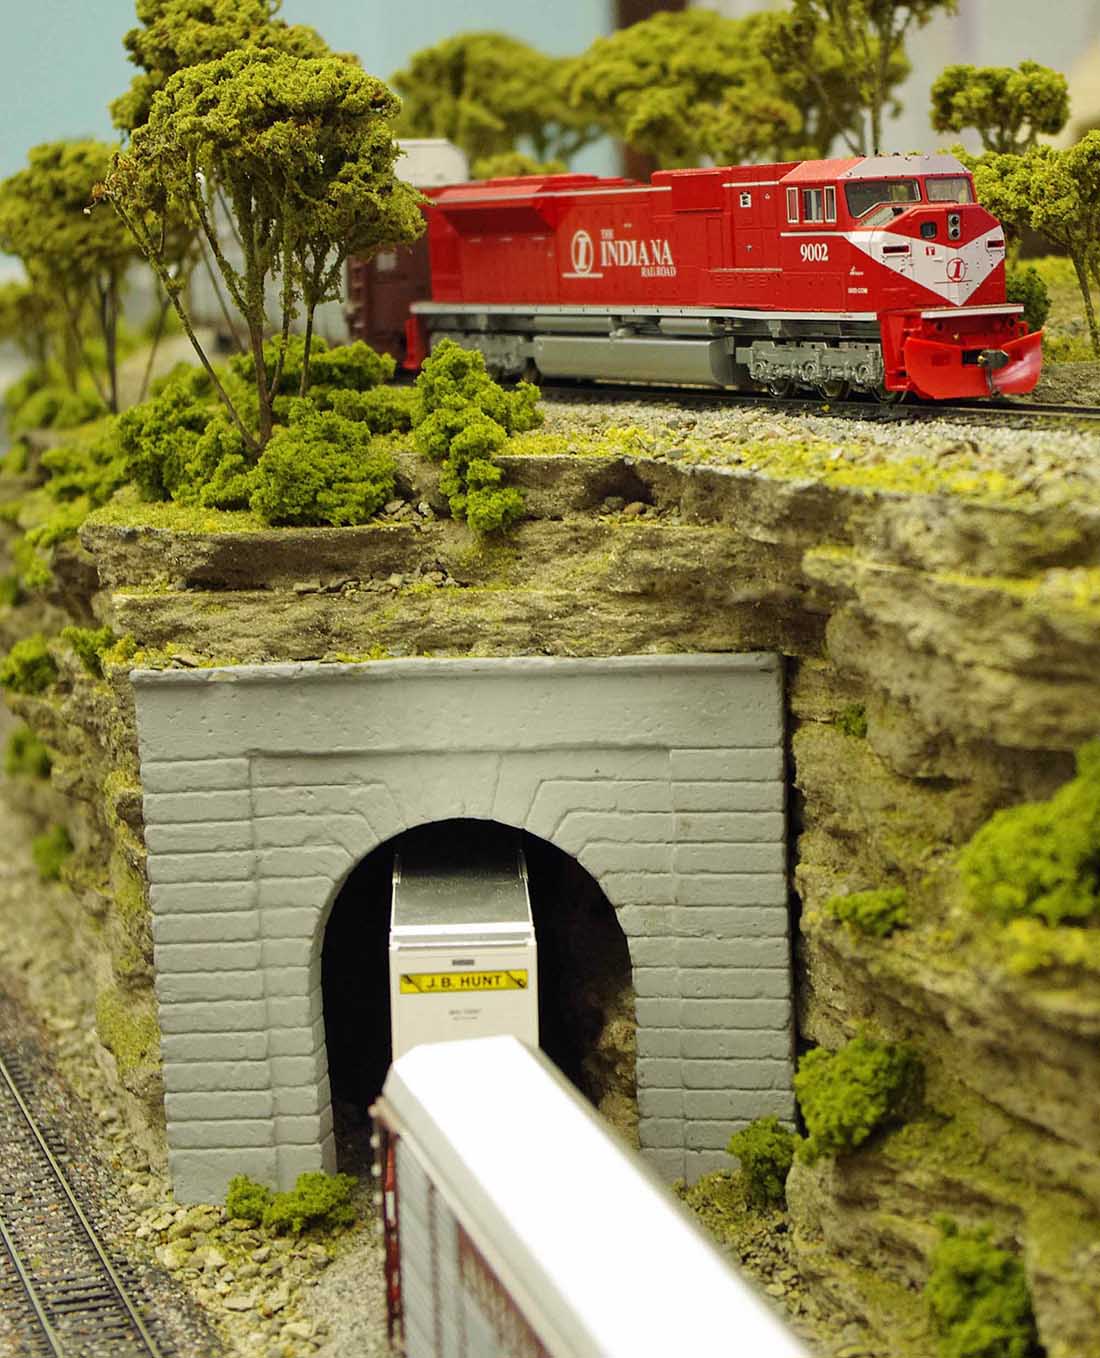
Photo 18 Nearly finished look at the tunnel to the helix.
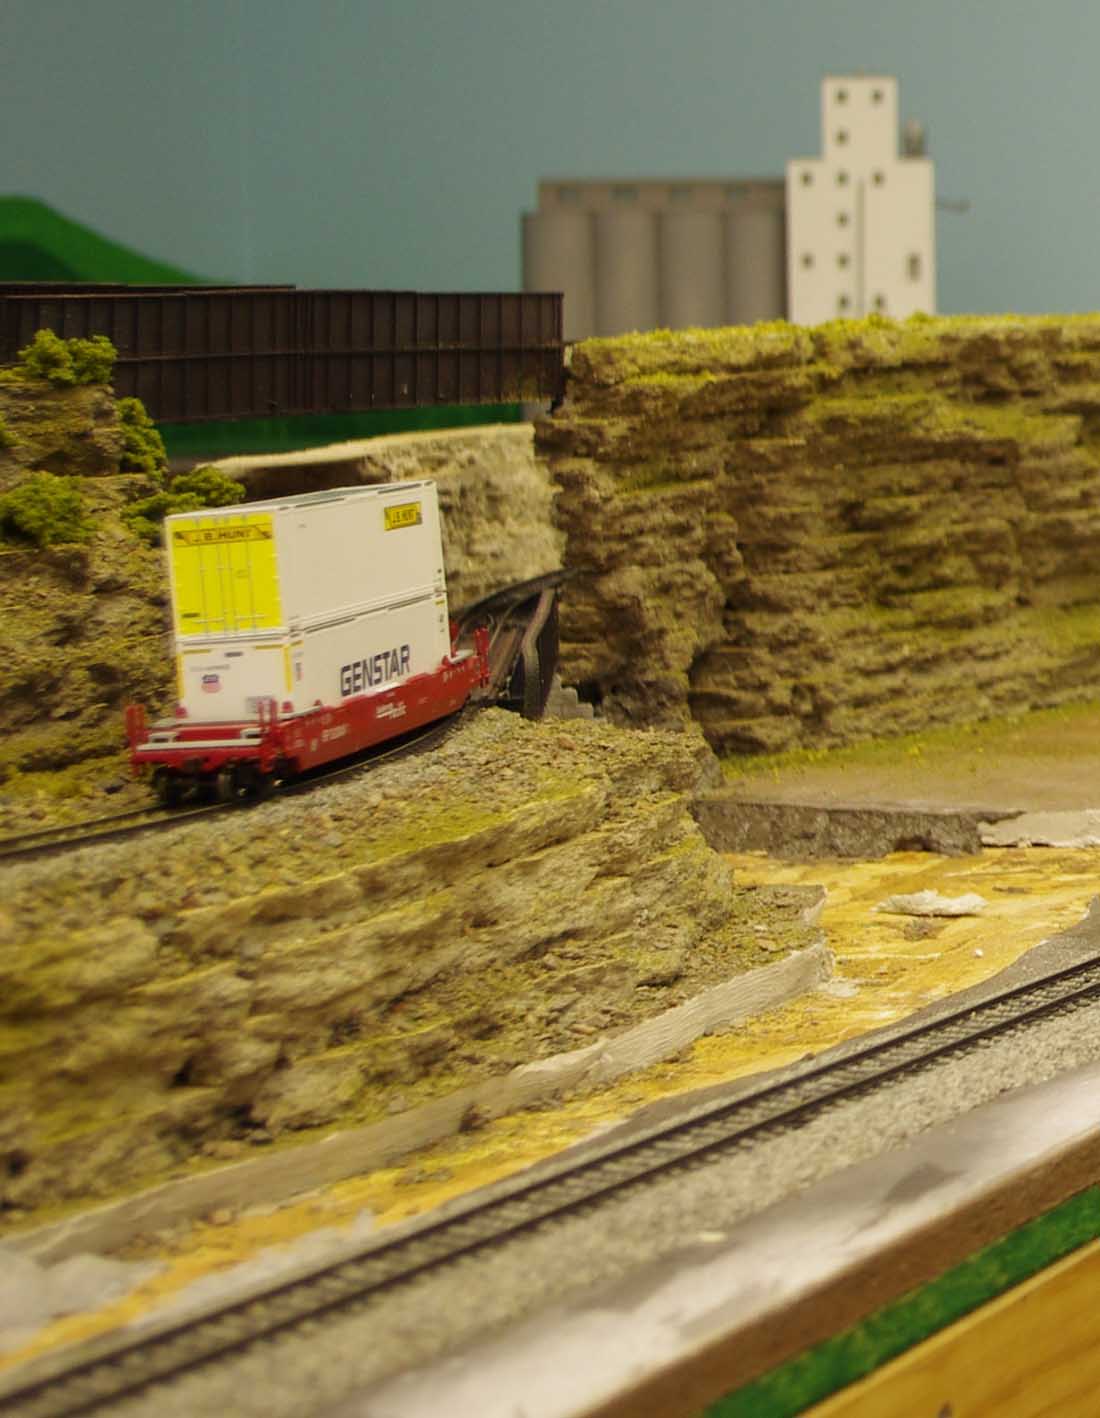
Photo 19 More progress.
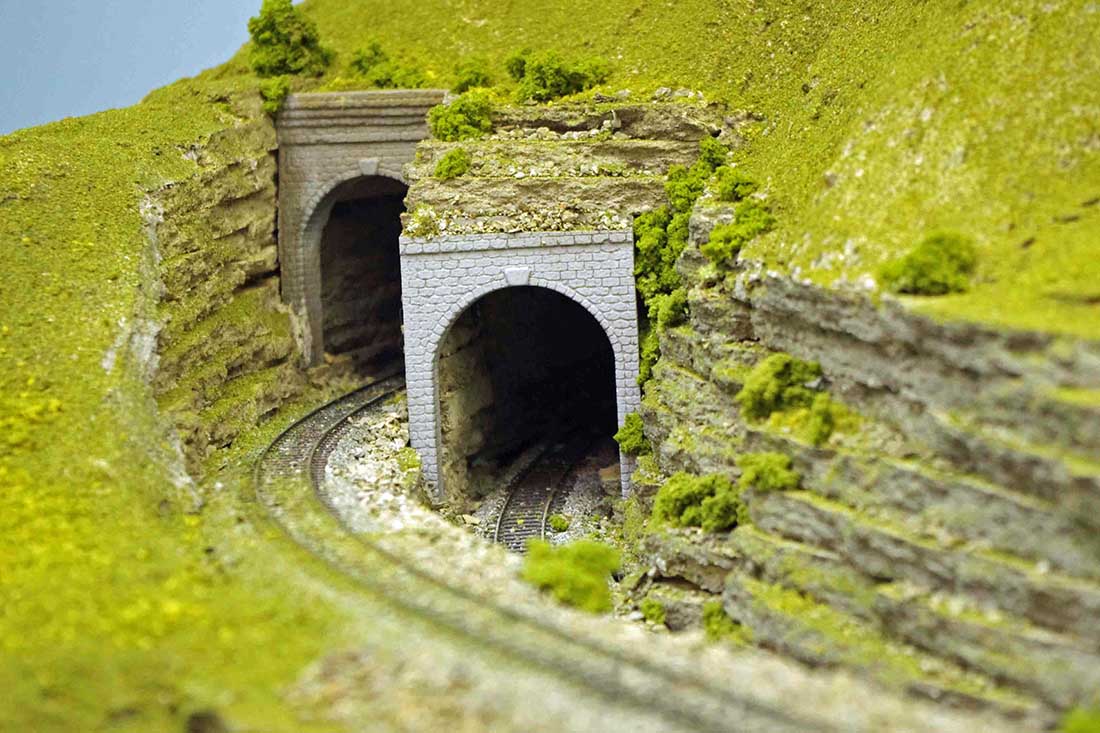
Photo 20 The entrance of the mainlines to the tunnel through the helix mountain. Problem #4. I looked for a prototype situation like this. The Santa Fe had one similar to this at Raton Pass at one time. I found another in the along the Appellation Mountains in the U.S.
Dual level HO scale layout:
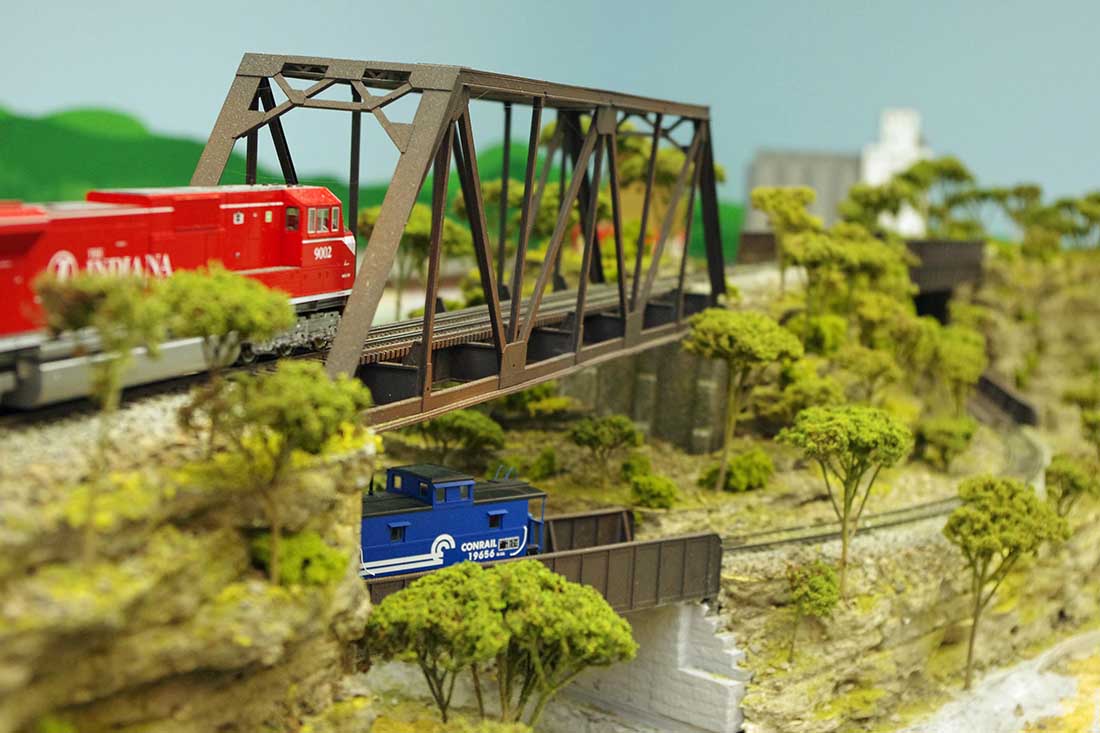
Photo 21 Nearly finish looks. The river has not yet bee poured.
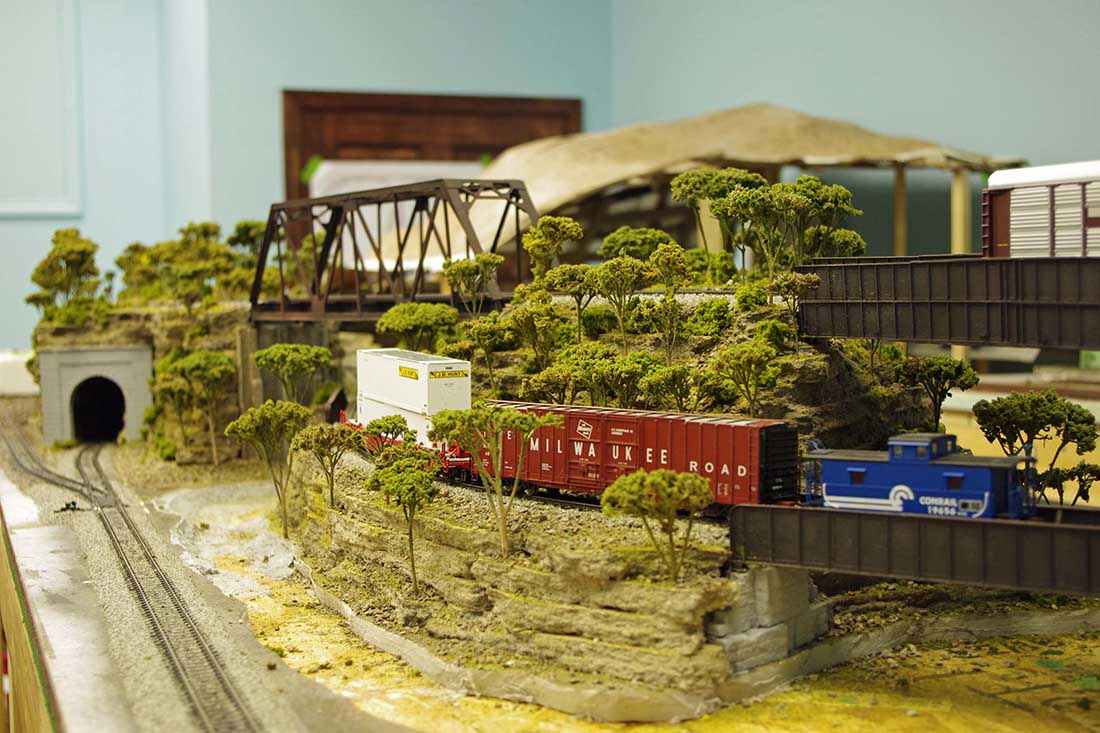
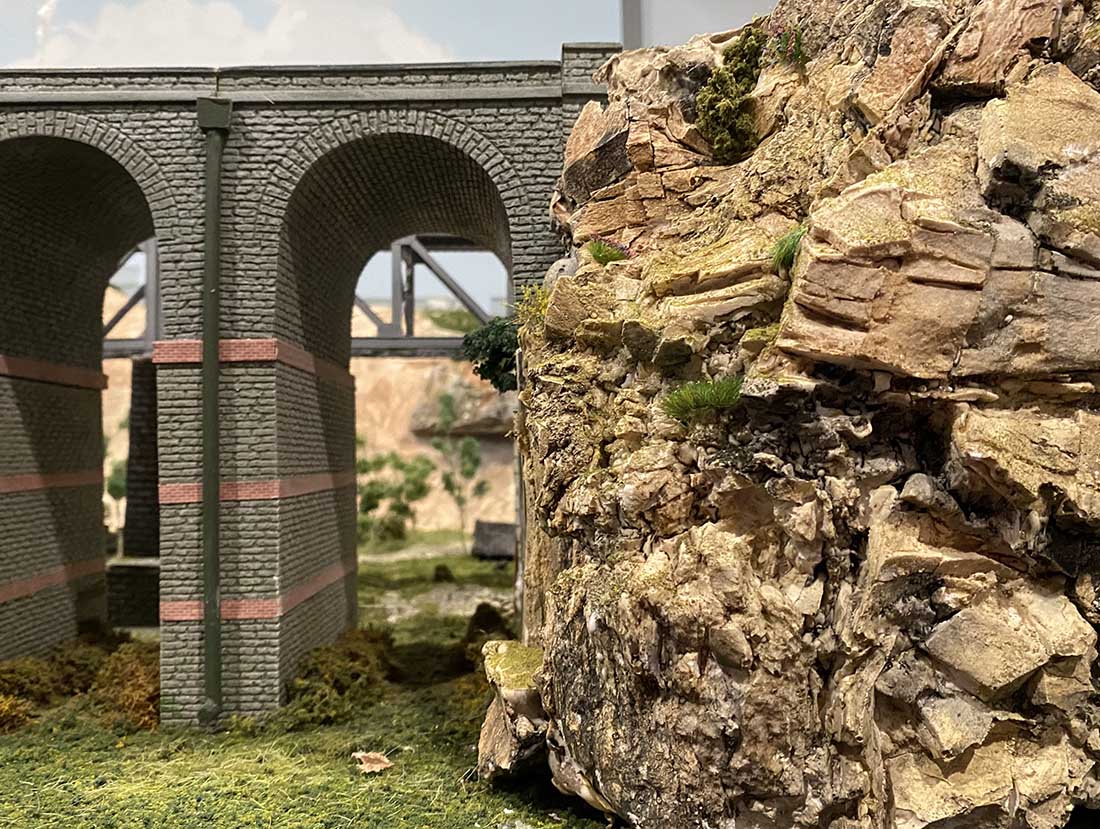
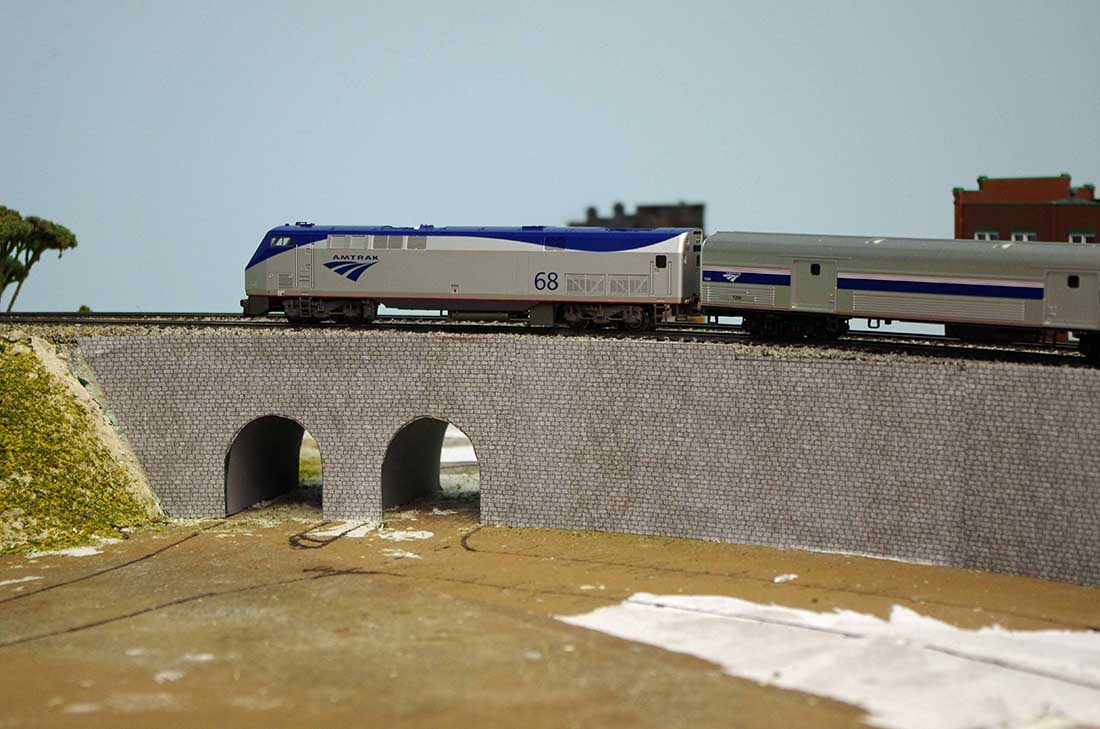
Photo 22 Mid section. Notice the girder bridge over the lower bridge. I previously mentioned that the track board was already in place before the bridges. Problem solved. Rather than make another bridge from scratch, I chose another way. I used some kit bridge plate girder bridge pieces left over from another project. The pieces were glued together and then screwed into the plywood track boards. Saved a lot of work.
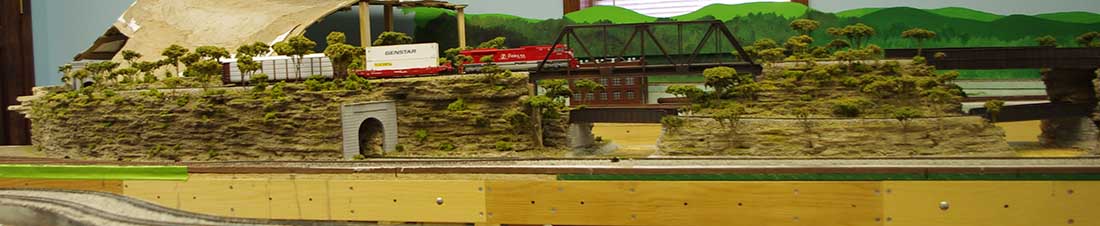
Photo 23 Wide view.
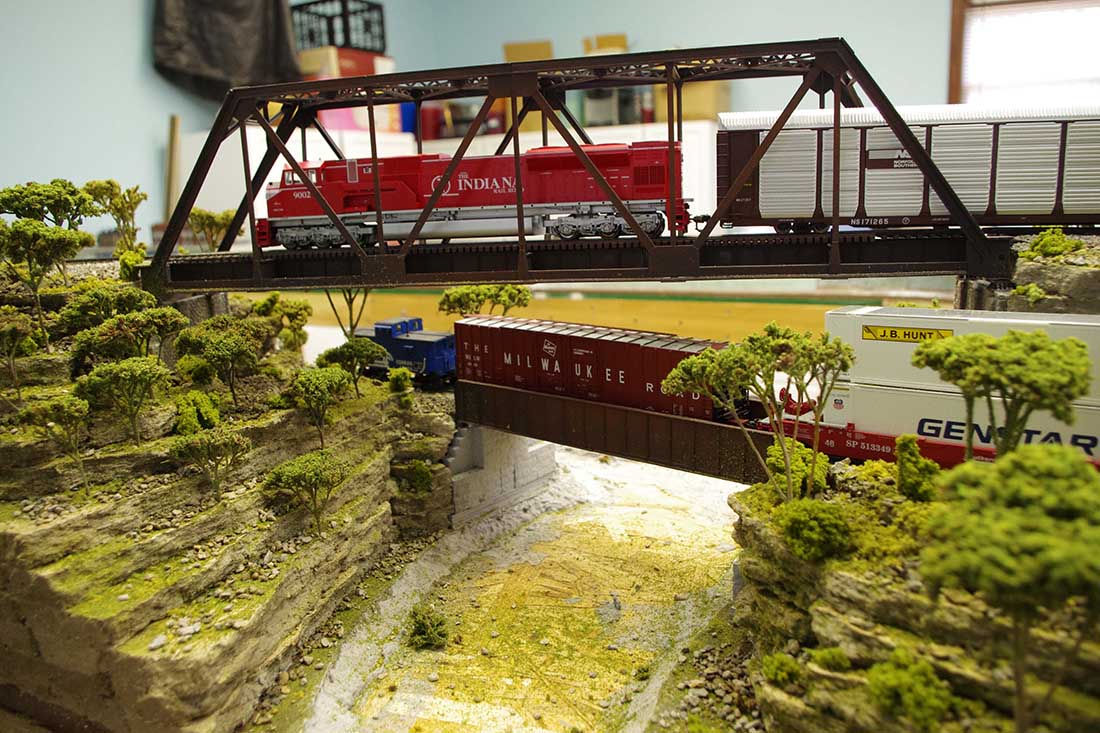
Photo 24 View from the “reverse” side.
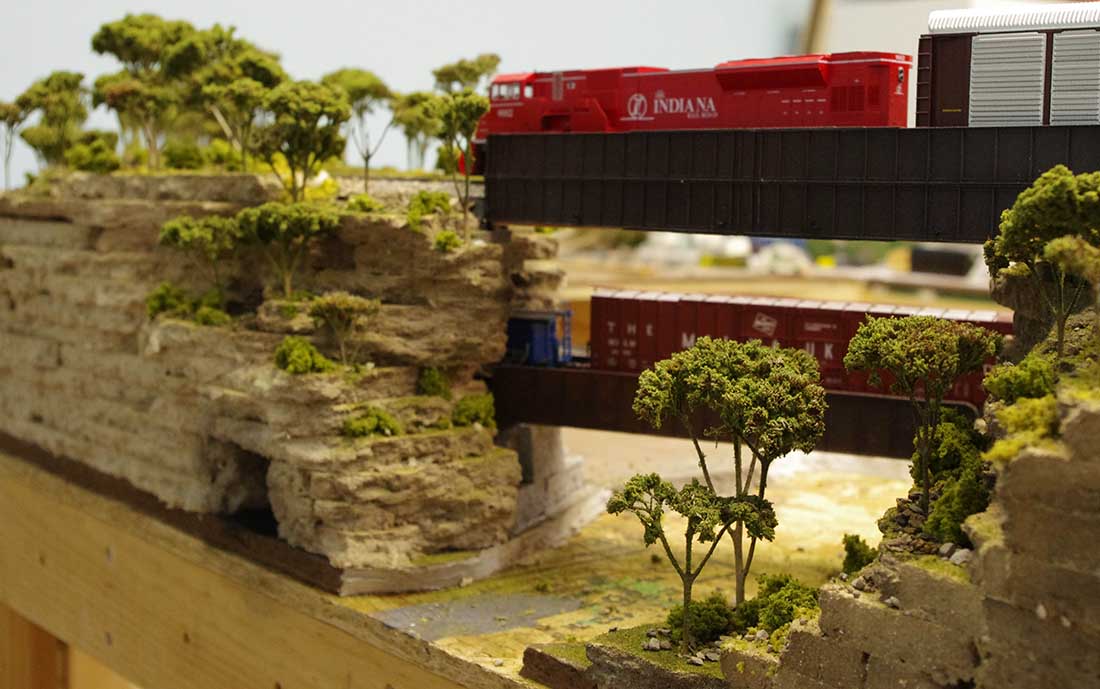
Photo 25 Reverse side. The tunnel opening will become evident soon.
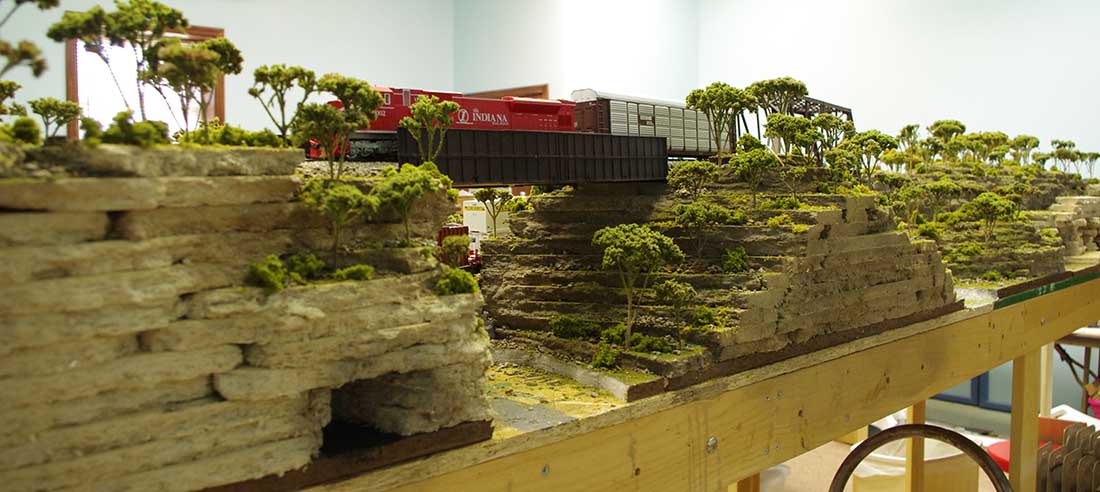
Photo 26 Reverse view
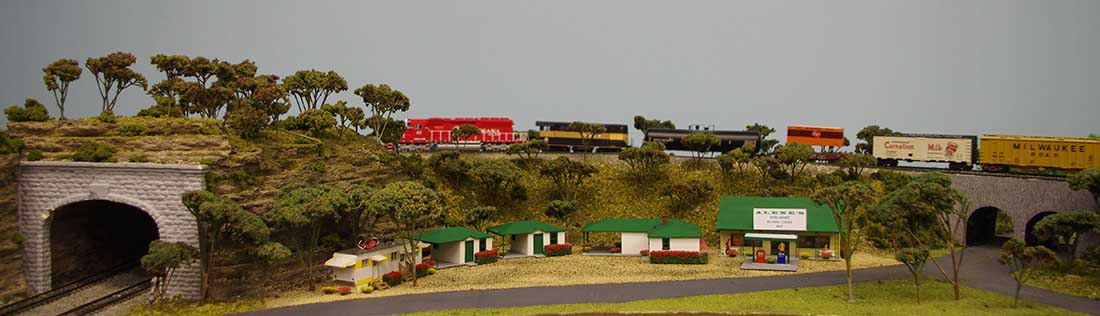
Photo 28 Long wall reverse view. The tunnel below the loco opens to a bridge below the train. The train when viewed from this side, is going through a cut.
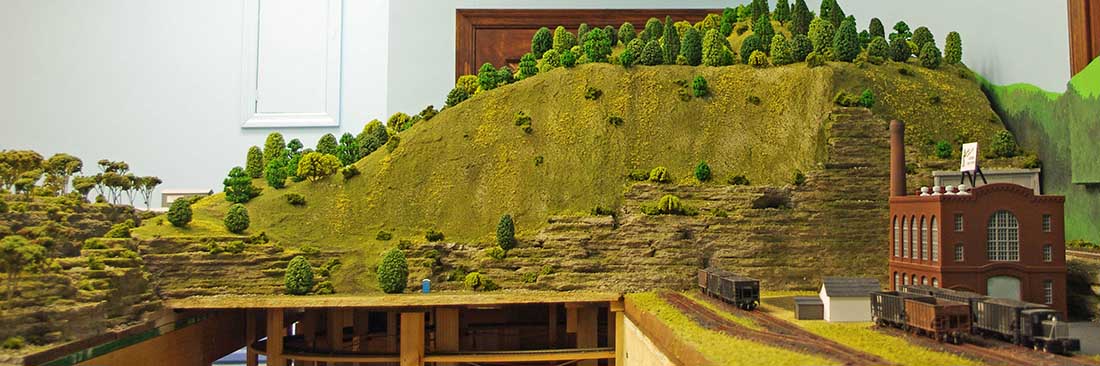
Photo 29 The large area captioned shows that the space will be painted the color of the fascia. The other rocks get the moss.
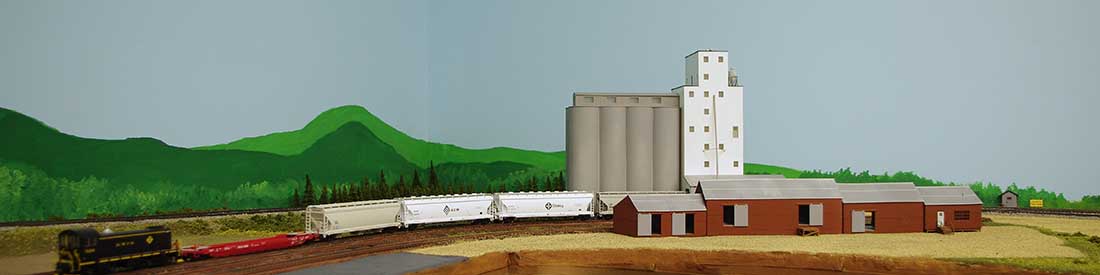
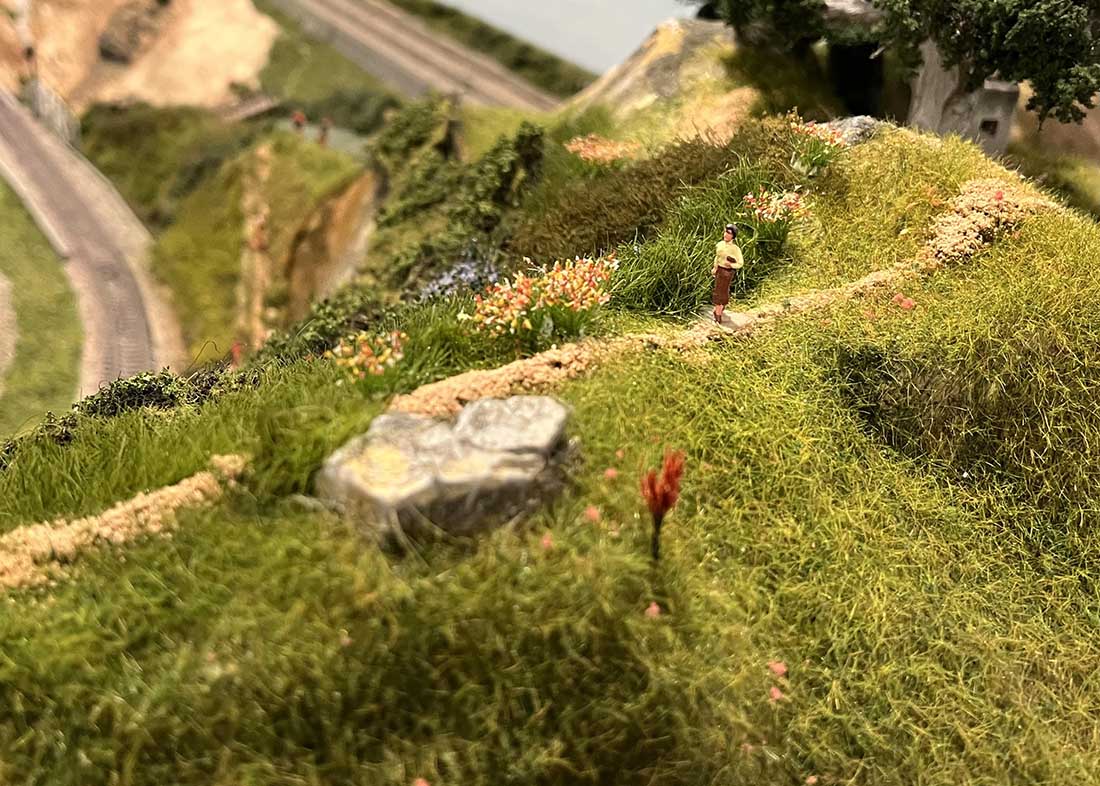
Photo 30 The power plant. The Helix mountain in the back ground. We are standing in the river. Note the blue “Port-a-Potty. The darker area to the left is the start of a trail up to the fire tower.
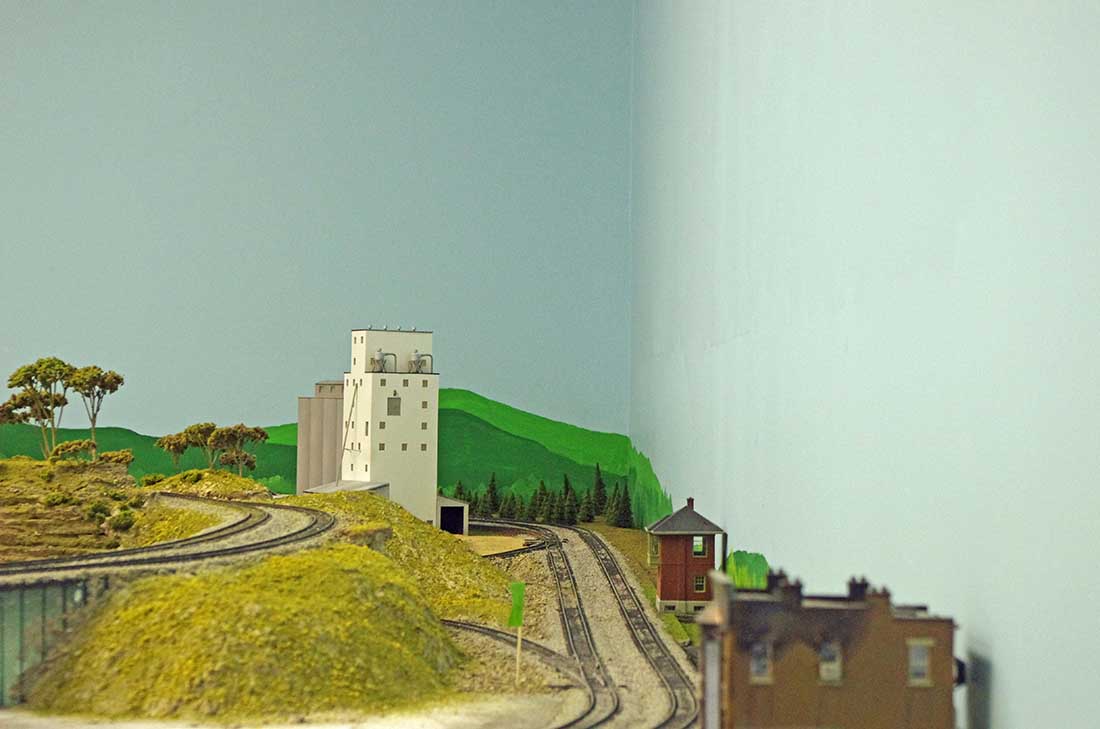
Photo 31 The grain elevator. Not finished in this photo.
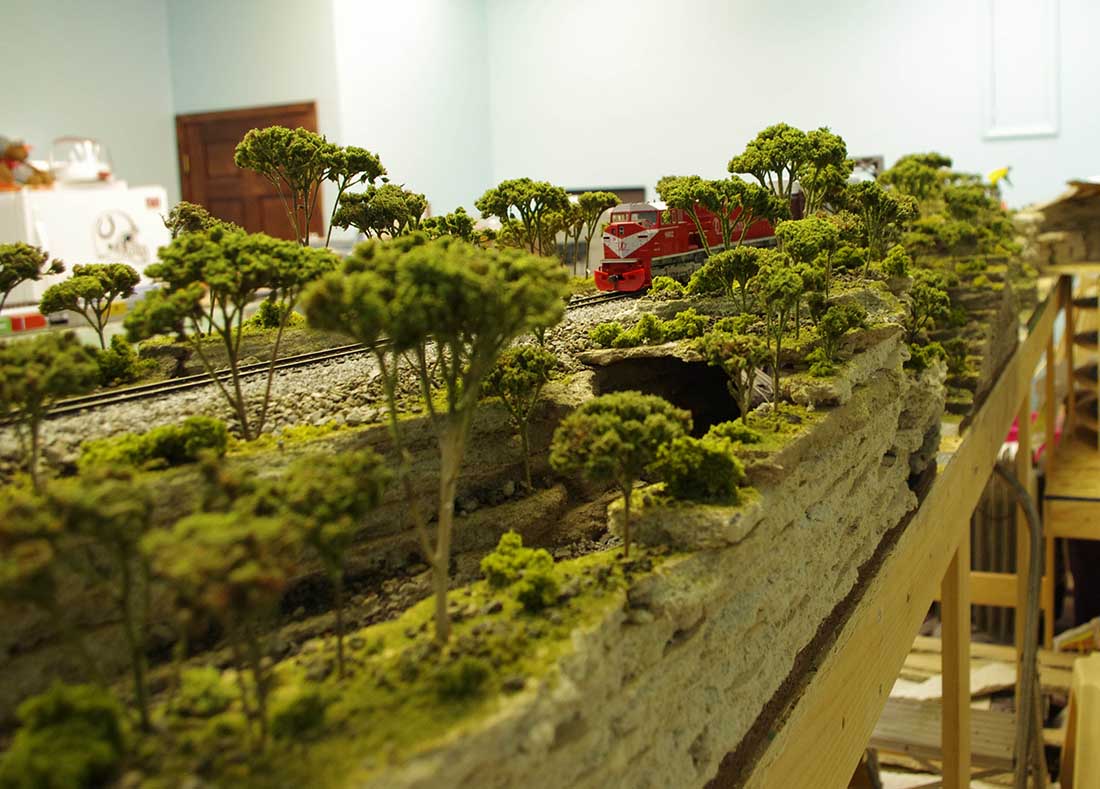
Photo 33 The far side of the River section. The tracks to the lower left go to the helix and coal mine. The top tracks are the mainline tracks to the River crossings.
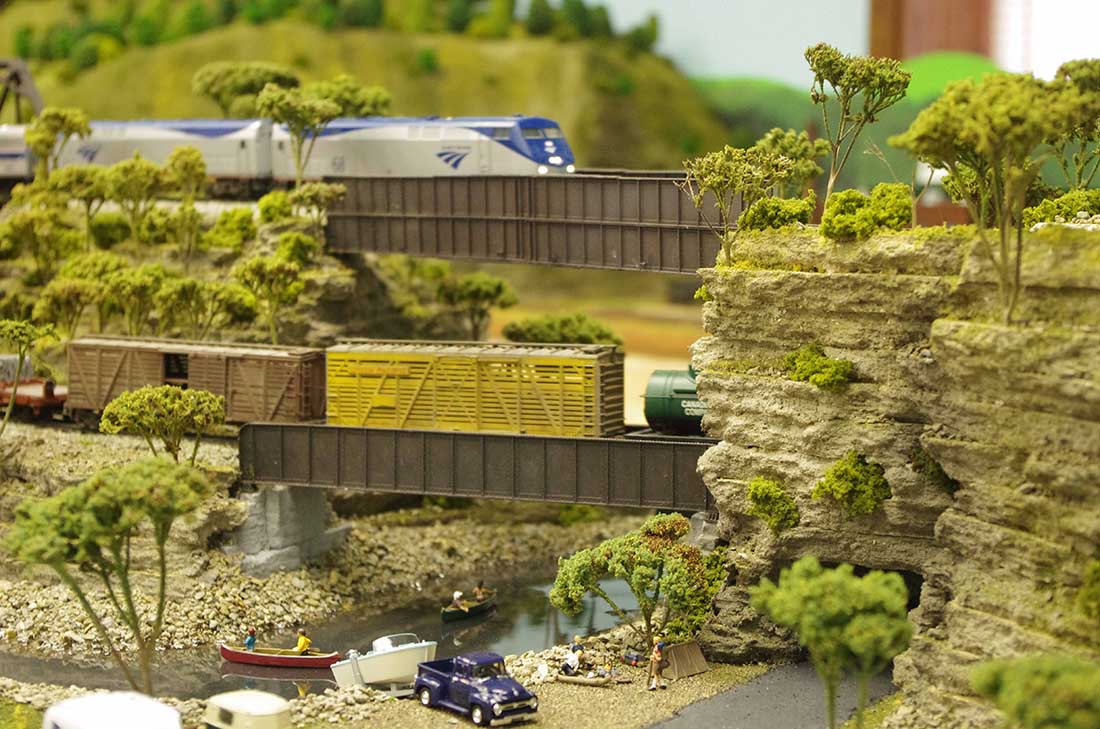
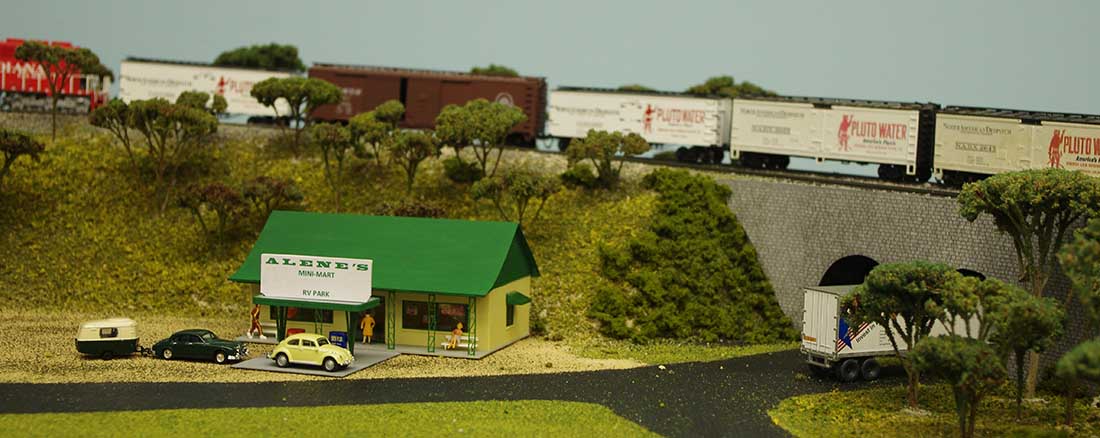
Photo 34 The “front side” of Photo 33. The owner is a camper and hiker. The town is to the right through the tunnels. To the left out of this photo are some campers.
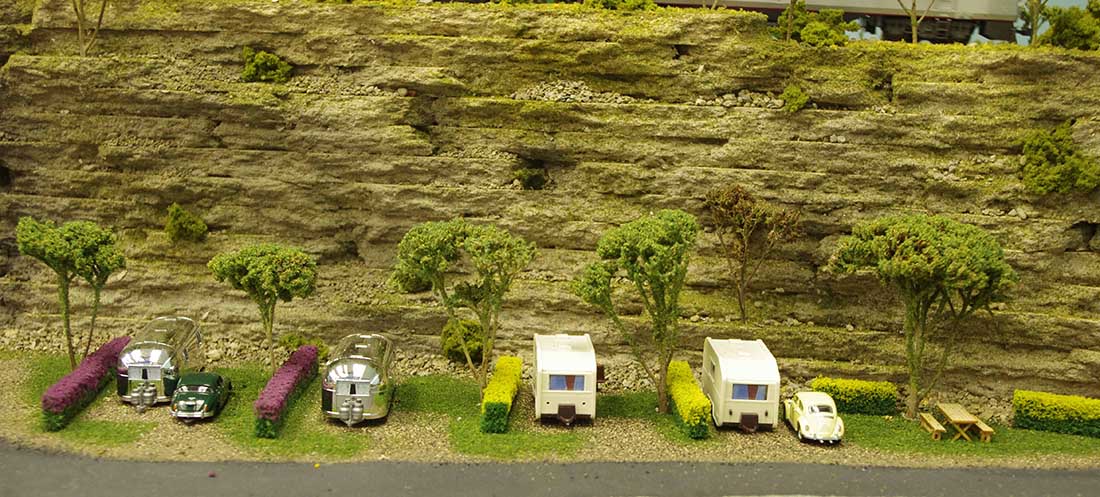
Photo 35 The campers. Air-streams
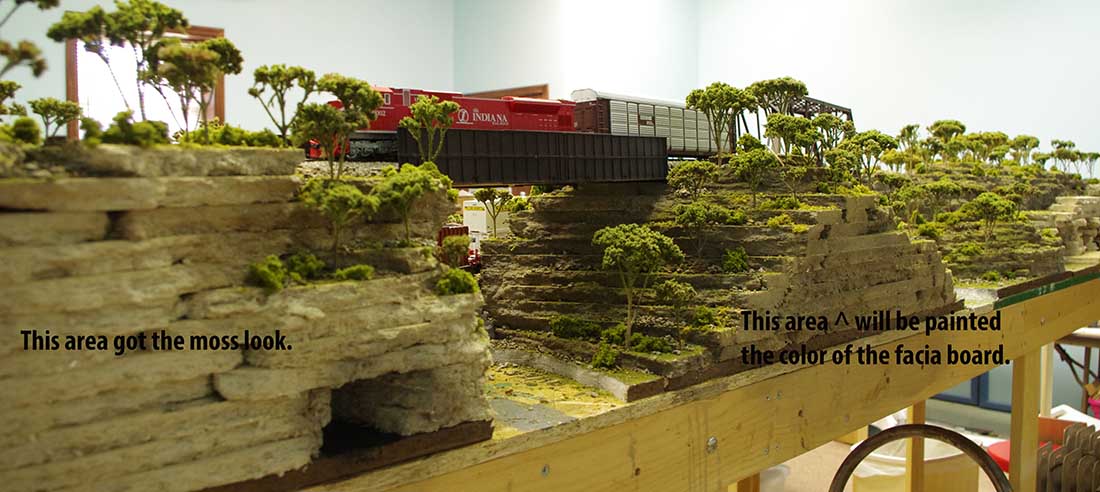
Photo 36 Activity around the river.
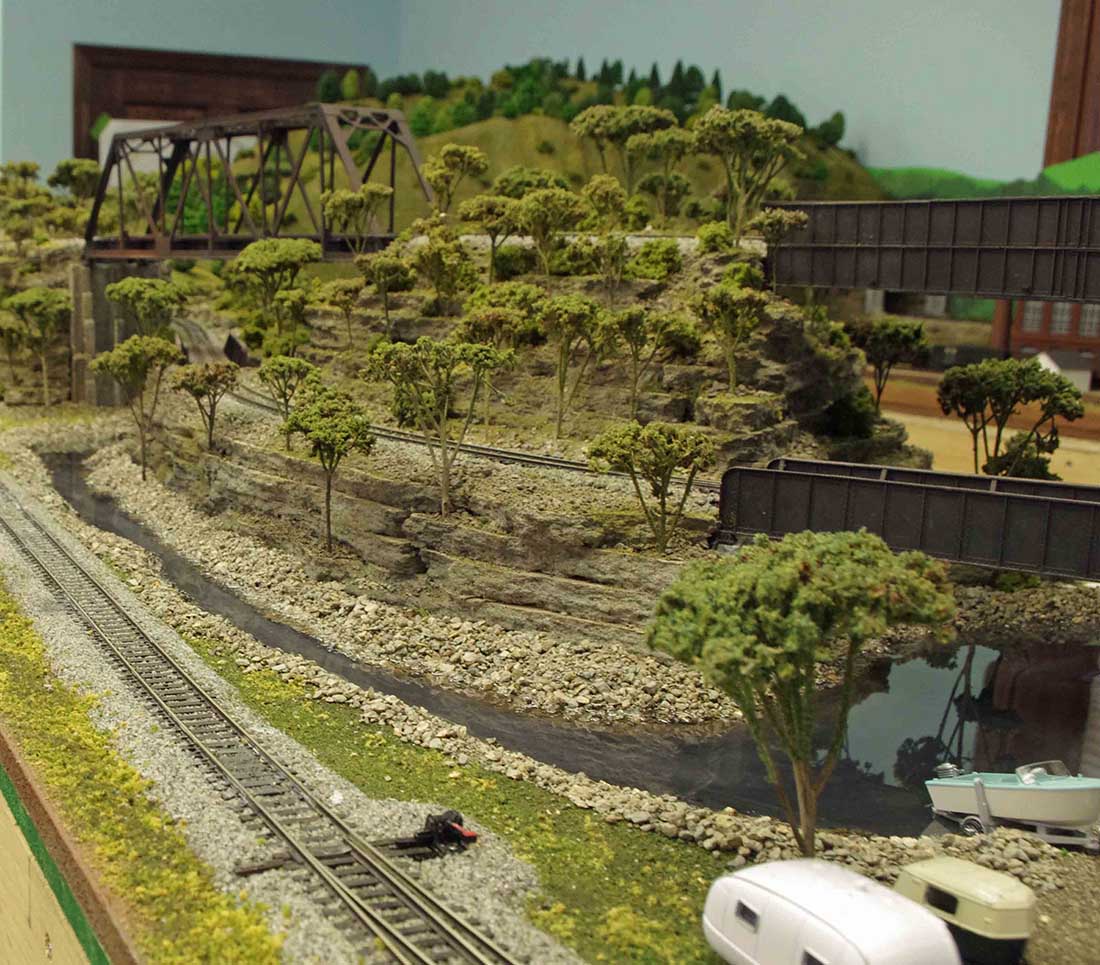
Photo 37 If you have made it so far you are about to be rewarded! Here is the river in place. The river goes under the bridges and to the very edge of the layout.

Photo 38 The trick is to get the EnviroTex to stay where it is supposed to be. Look at the diagram. The key is the waxed paper and caulk sandwich. The piece of wood is screwed to the layout. This dam works. When the EnviroTex sets up just unscrew it and peal the waxed paper away. You can paint the end black, have the fascia cover the opening or just leave it the way it is.

Photo 39 River 1
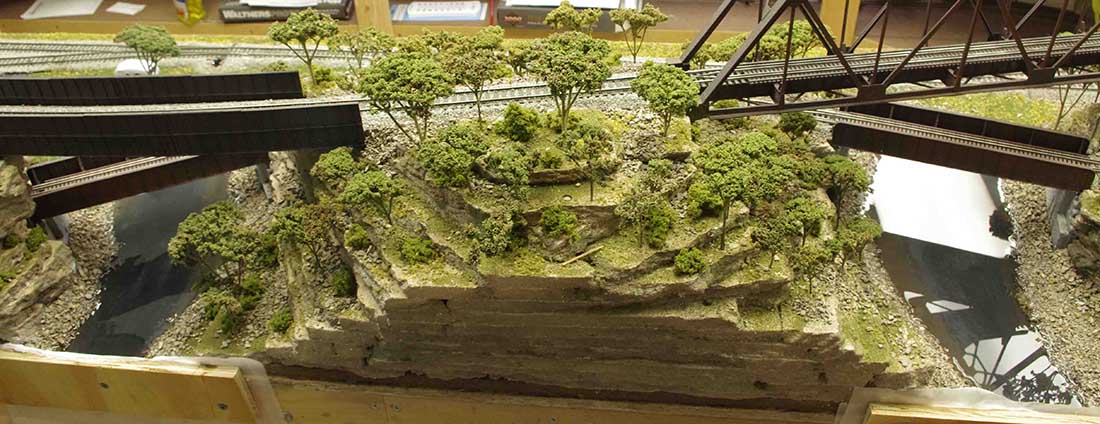
Photo 40 River 2 opposite side
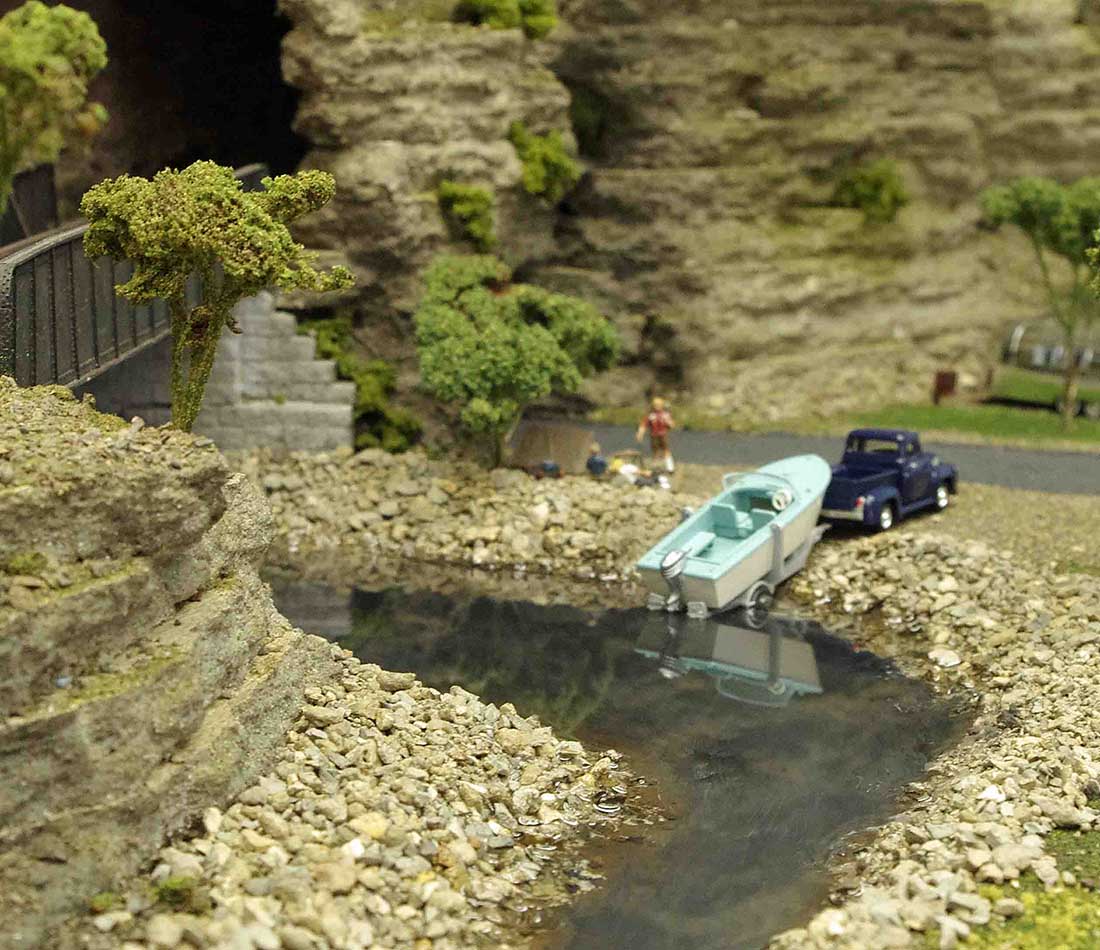
Photo 41 River 3.
Thanks for looking.
Santafedan”
A huge big thanks to Hall of Fame Dan for sharing his dual level HO scale layout.
(If you want to see his previous post, it’s here: HO scale background scenery.)
His post really got me thinking: what are the things you always think of when you are starting, or running with your layout build? I’d really love to hear your thoughts on this one.
That’s all for this time folks.
Please do keep ’em coming because it’s ghostly quiet this end.
And if today is the day you decide to stop dreaming and start doing, the Beginner’s Guide is here.
Best
Al
PS Latest ebay cheat sheet is here.
PPS More HO scale train layouts here if that’s your thing.