John’s been in touch with his elevated line HO scale:
“Al, Here are several pictures of my layout.
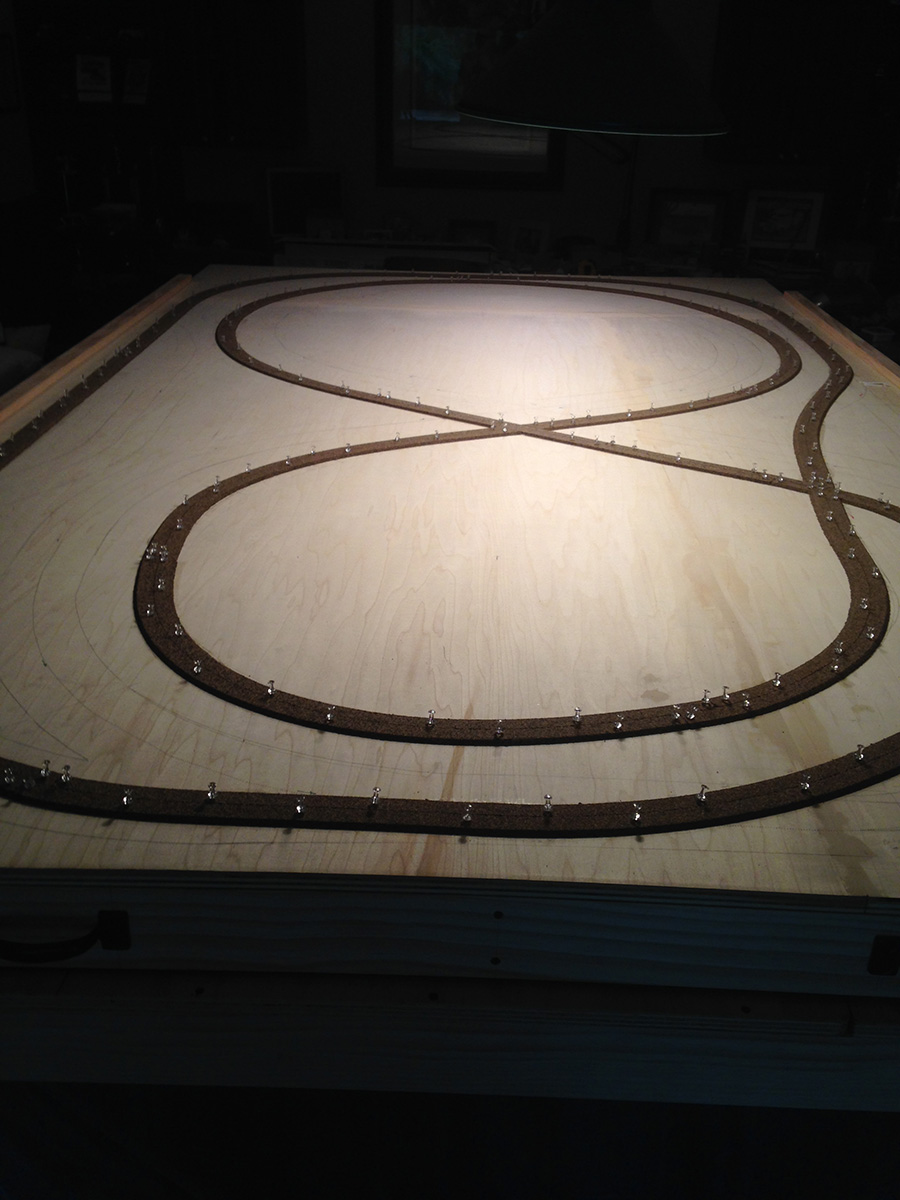
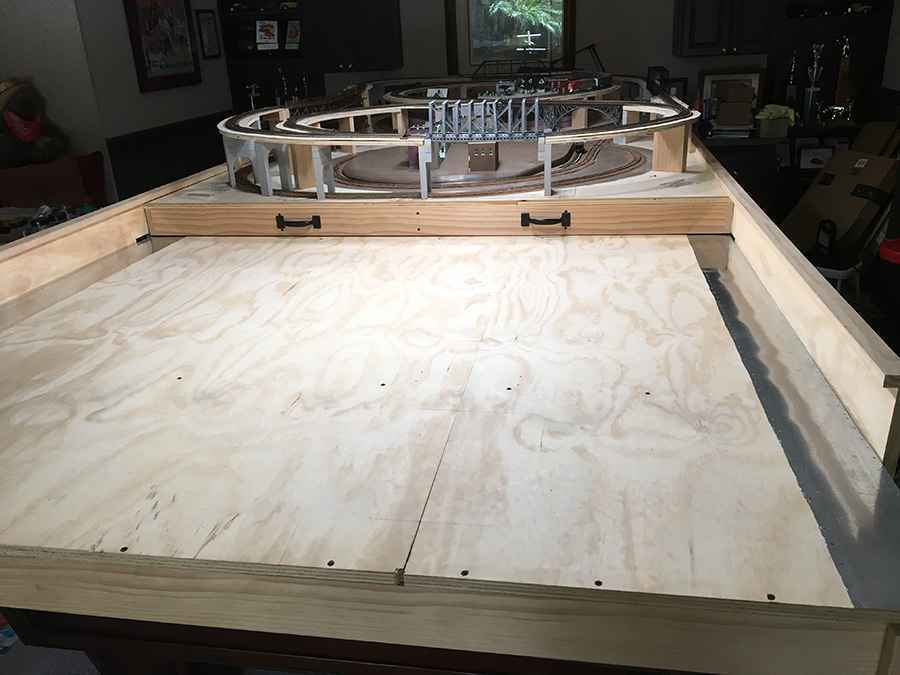
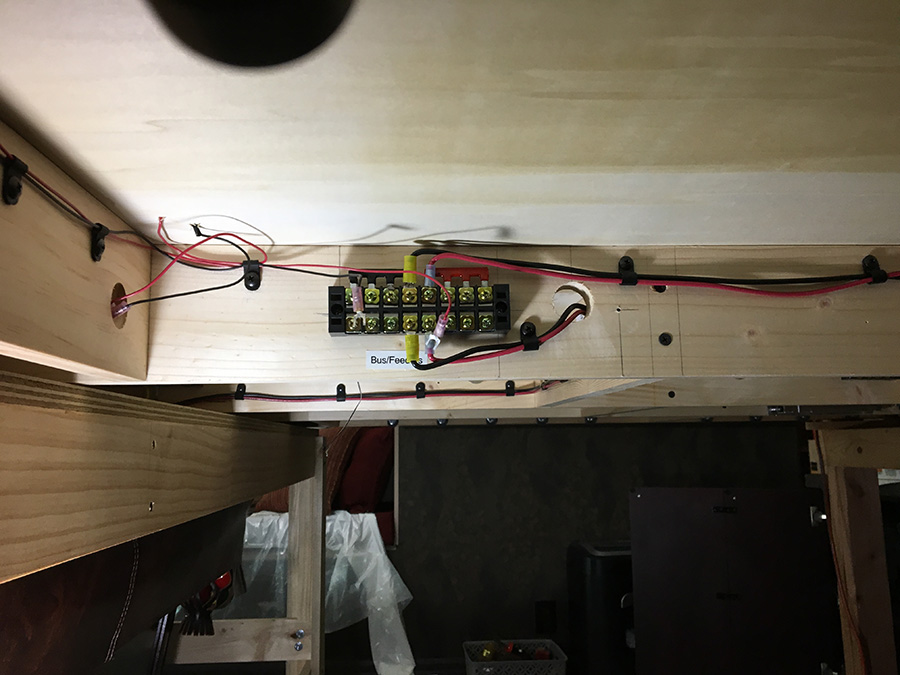
It’s built over top of a pool table. The bottom part is fixed with the top on many small castors so it can slide back and forth so I can get under neither to the bus and feeder wires.
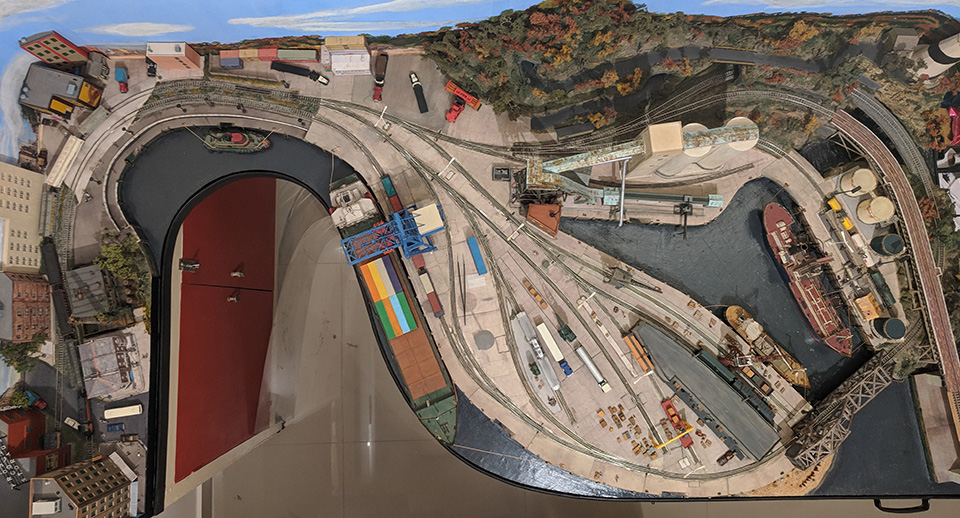
My HO gauge layout is 6′ x 10′ and I can roll it in one direction 5′ and I run into a wall, 6 the other way and there is a sliding glass door.
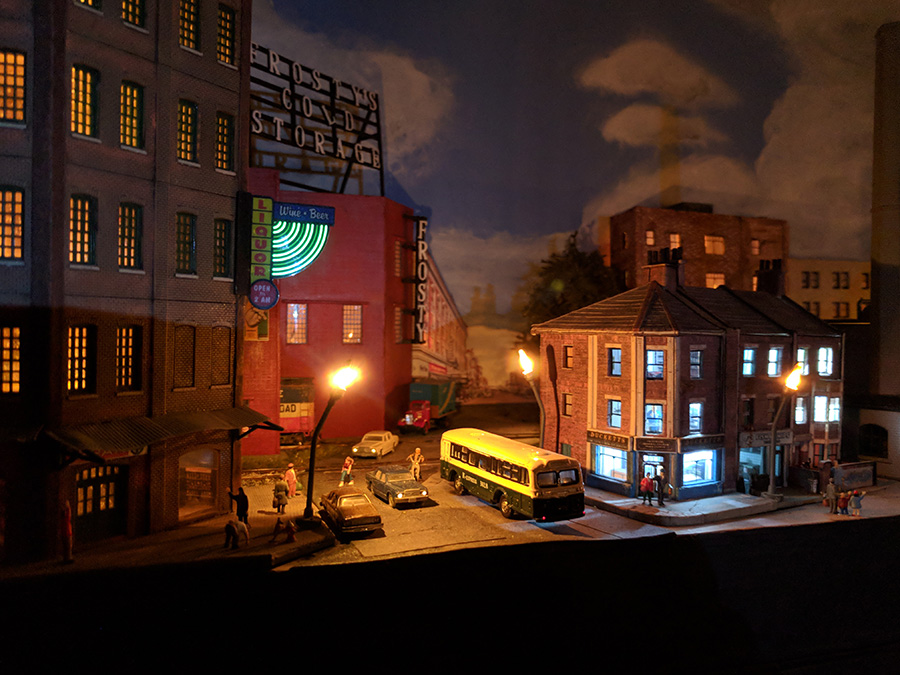
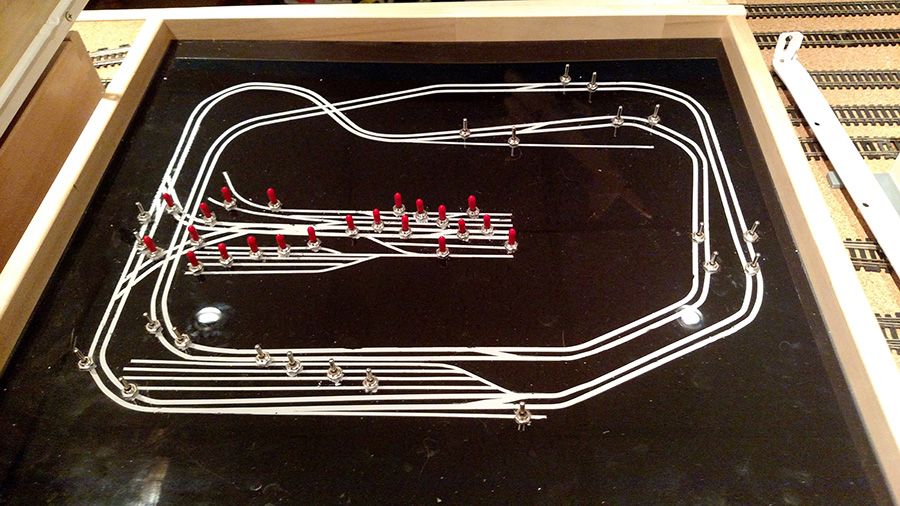
There are two separate tracks, one I call the “red” line is surface mounted and is giving me trouble with shorts.
The other “green” line is elevated 5 to 8 inches and has not been wired or ballast yet.
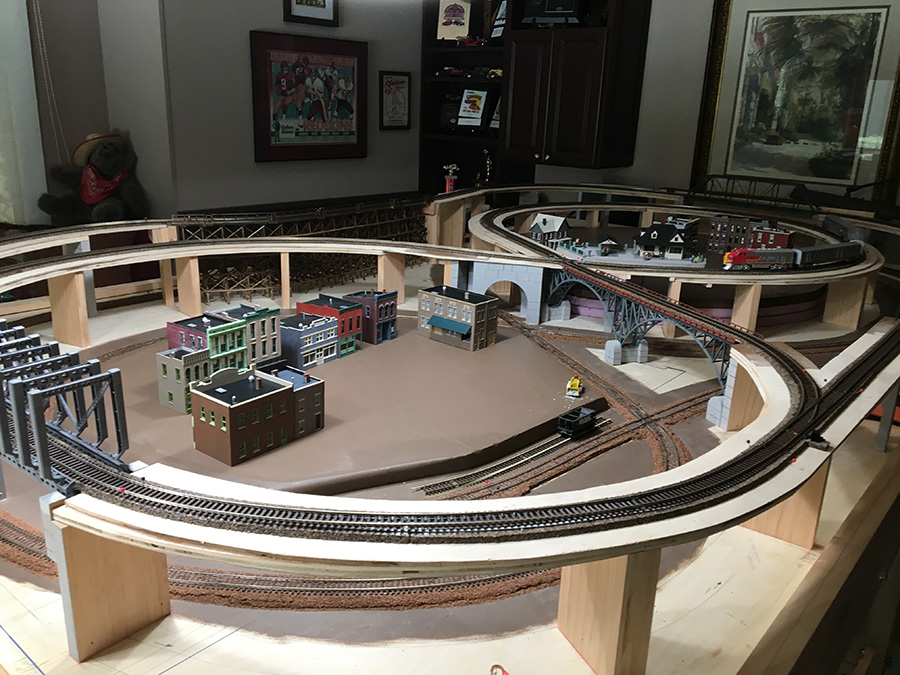
The “green” line will have a passenger train which will stop at a train station to let passengers on and off.
The “red” line will be a freight line and will stop at a gravel building for a load of gravel. I have built out of sight in the gravel building a small motor with a remote control to move a gate back and forth to release a load of gravel stored in the building to a freight car below.
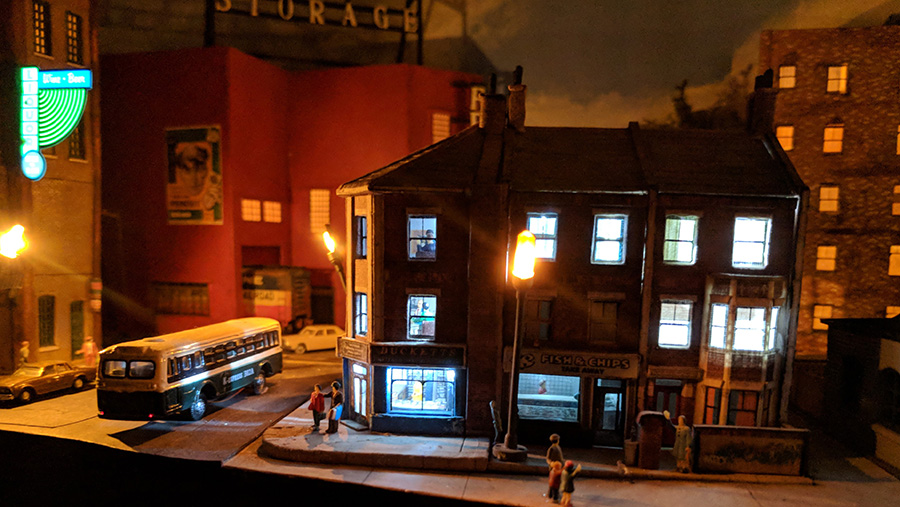
The layout called “Johnstown” will have a business section and a residential section.
John”
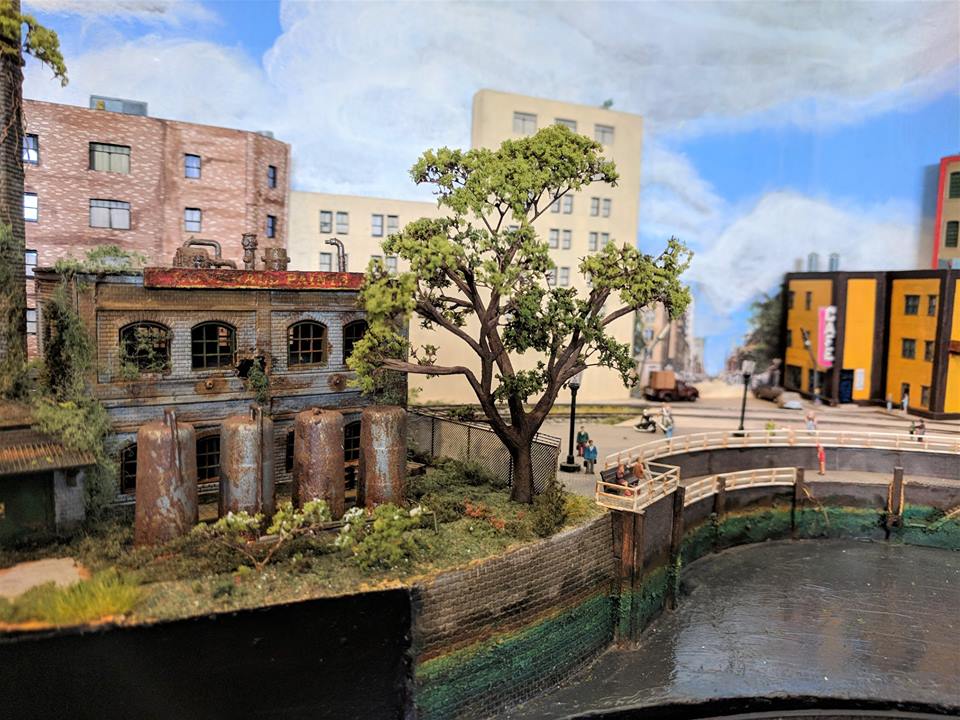
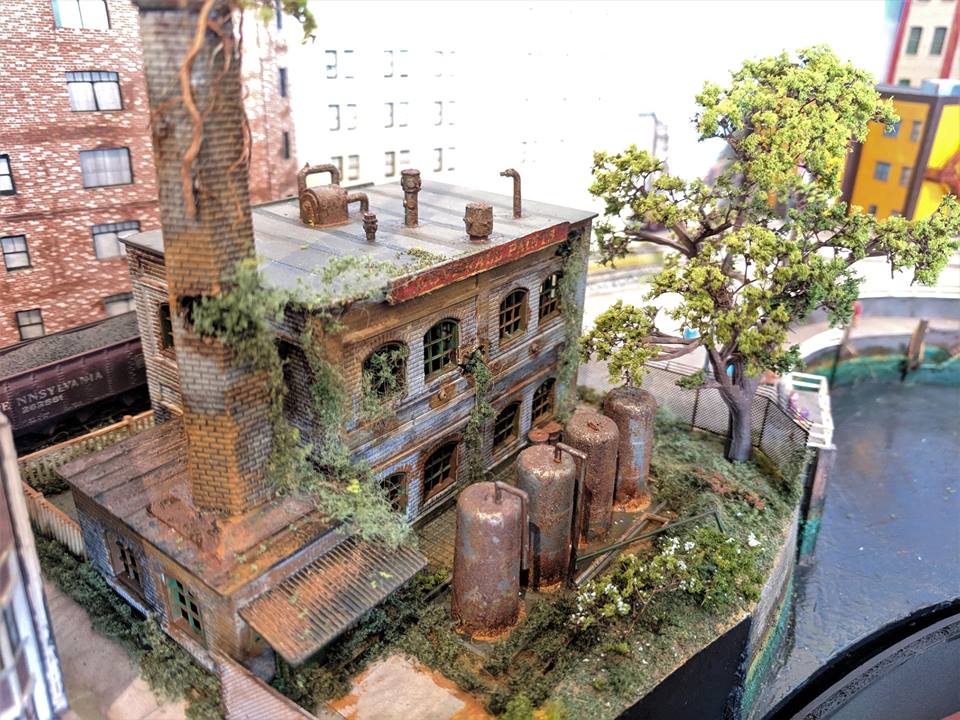
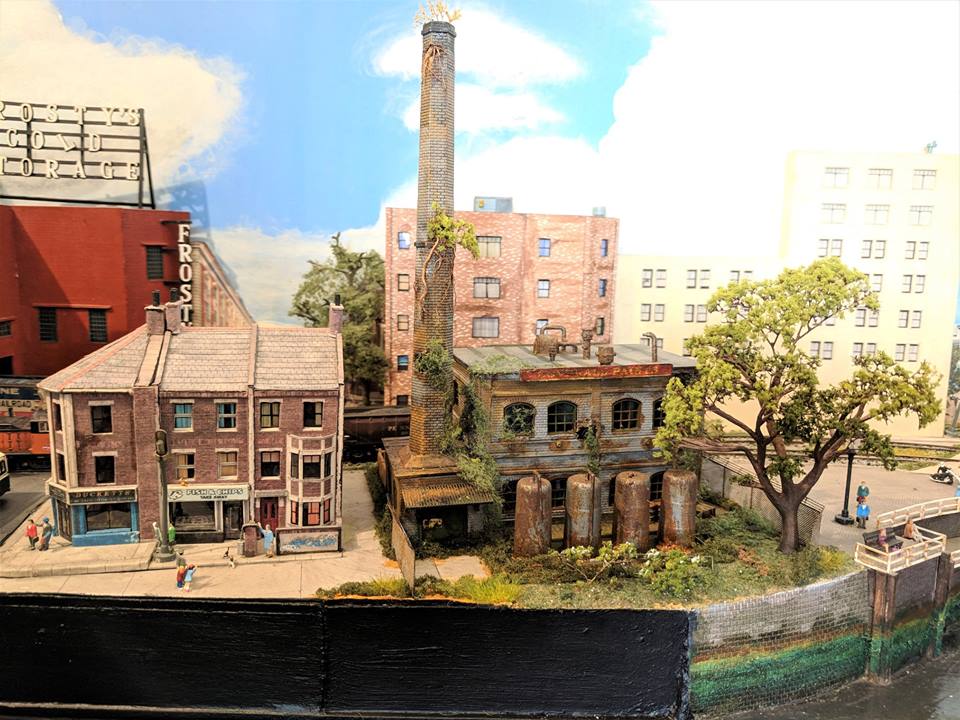
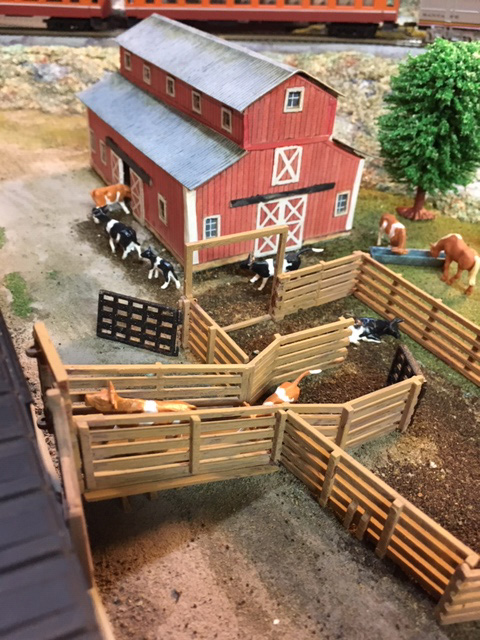
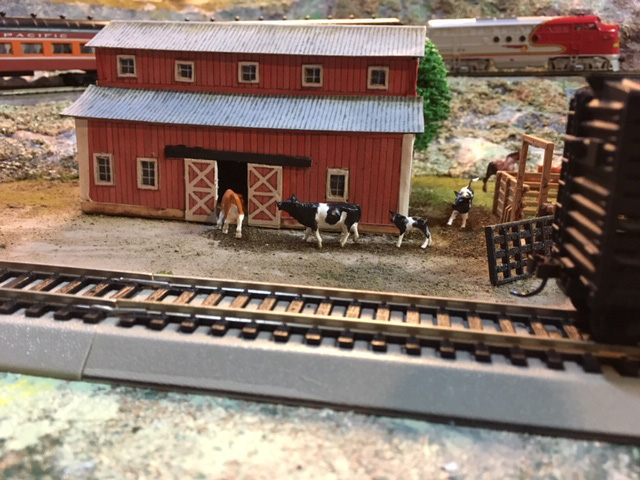
Now on to Stan – here’s why I’m always banging on about the print out cardstock buildings. It looks great, and its a lot of fun as well:
John looks like he’s having fun with his elevated line HO scale – now to Stan:
“Al,
With all the help I get from the videos on your site. This is my first scene. I still need a lot to learn . I am happy with how this looks.
Thanks for all you do on the site.
Stan from the Carolinas y’all”
Now on to Joe (sorry, the pics are quite small).
“when I was in high school, (Los Angeles, CA USA) back in the 1950s, I built an “L” shaped Lionel “O” gauge layout that was 10’ long on one leg and 12’ on the other on which I could run 2 trains simultaneously. Those trains and days are long gone!
In the late 60s, I built a “folded doggone” “N” scale layout that was 5′ X 2 ½’. “N” scale was relatively new and it was a lot of work to keep everything running and I soon lost interest.
In the late 80s I began collecting HO equipment. I had determined to model the 1940s to 50s steam era. By then, we were living in San Diego, CA.
A friend gave me his “Chessie System” 4-6-2 Mantua loco and tender and I bought about 2 dozen freight cars (Athearn & Roundhouse) and a set of 3 Roundhouse 50’ “Harriman” coaches. All in kit form.
Before building them, I sprayed the chassis and undercarriages with a light, ‘splotchy’ coat of light-rust colored primer. I grouped them by size & style on a large scrap of cardboard and did them all at once.
Next, I decided to do a slight bit of weathering because I didn’t like the idea of running a plastic train. I simply took a small piece of 400 grit ‘wet and dry’ sandpaper (I used it dry) and lightly stroked down over the lettering, etc. leaving the ‘dust’ on the model. Then I sprayed lightly with dull coat to “fix” the weathering.
Since I had no place to actually build the layout at the time, I worked on the cars, loco and some buildings at my leisure.
Since I was not modeling the C&O, I stripped the paint from the Pacific loco and tender and repainted them flat loco black.
In 2001, we moved to a house in Missouri that had a huge room that I could dedicate to a layout so I began a track plan. It is 12’ x 8’ and built as four modules. I designed it that way so it could be moved. Finally, retiring in 2009, I began to build the layout.
We moved in 2017 to Battlefield, MO and I was glad I had constructed a “modular” layout. Currently it is sitting in my huge 25’ x 25’ heated, air conditioned well insulated shop building. ½ the shop is for the layout and relaxing and the other ½ is my wood/cabinet/woodworking shop. I have completed the backdrop and some of the background scenery. I will be starting the landscaping within the month.
I’ve run out of time right now but will continue next week. You’ll probably want to wait until you have another 3 or 4 sets of pictures before you publish them.
Here are some pics from early construction:
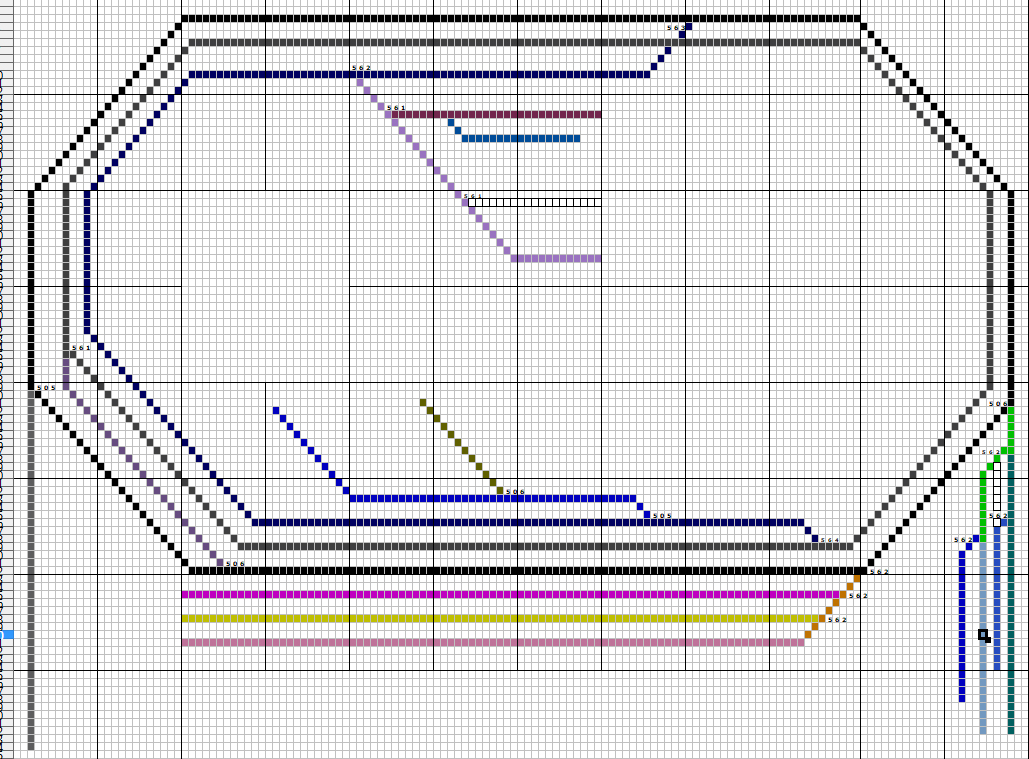
This is roughly the track plan.
Framework completed, all four modules bolted together.
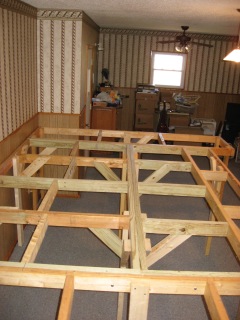
There is a 2’ x 8’ module on each end, a 4’ x 8’ “sandwiched” between them at the back (Left) and a 3’ x 8’ “sandwiched” in front (right).
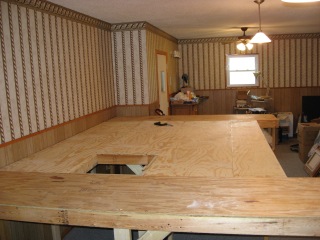
½” plywood applied

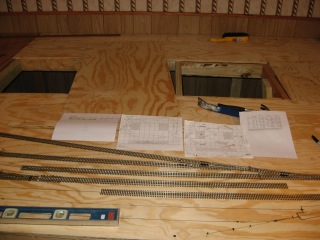
“Roughing-out” the track plan.
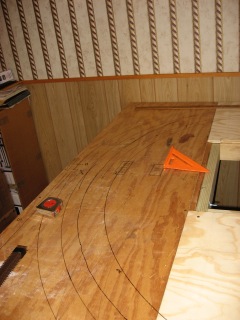
“East end” curves marked. The largest radius is 34”, the smallest is 30”.
Joe”
It’s wonderful to see the printable buildings on a layout. Stan’s done a cracking job.
And thanks to John for sharing his elevated line HO scale – and to Joe too. I like publishing pics of when folk make a start, because as you know, that’s what it’s all about: starting.
That’s all for today folks. Please do keep ’em coming, and don’t forget the Beginner’s Guide is here if you want make your start today.
Best
Al
PS Latest ebay cheat sheet is here.