jay’s been in touch with his American Flyer model trains – what a collection!
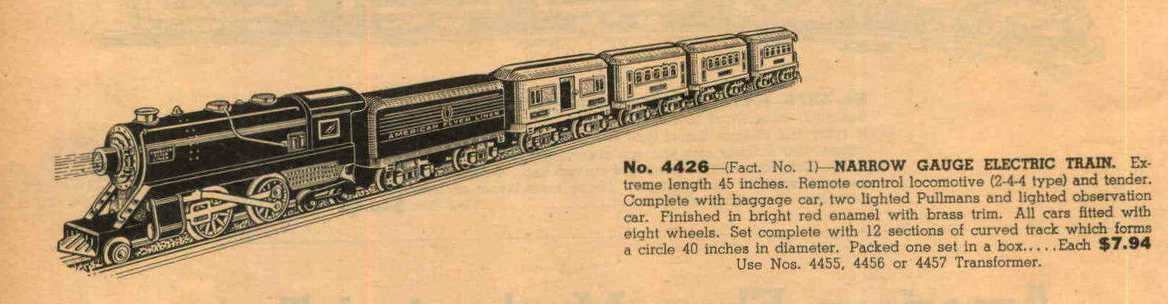
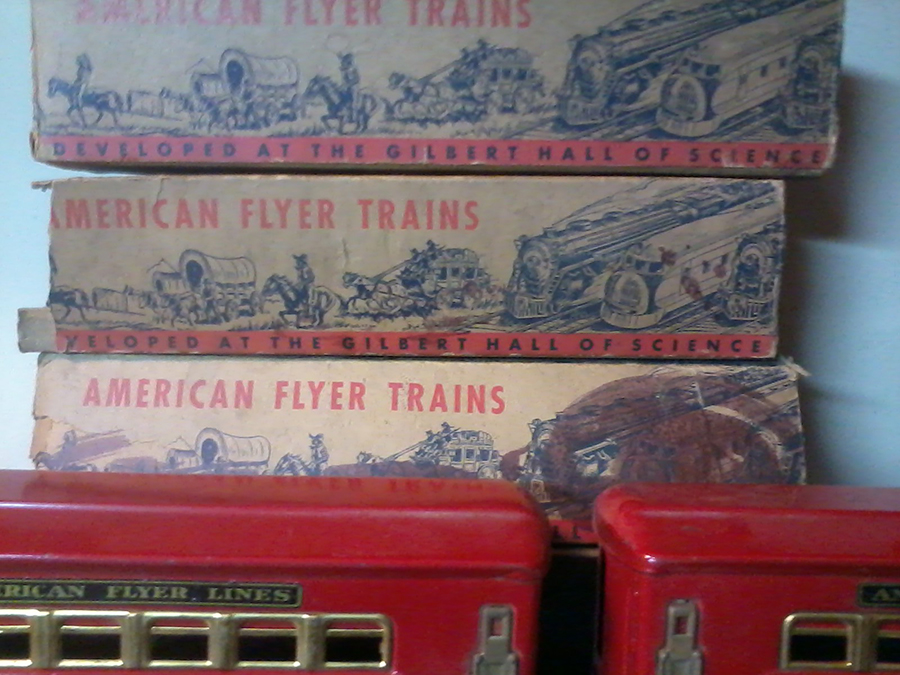
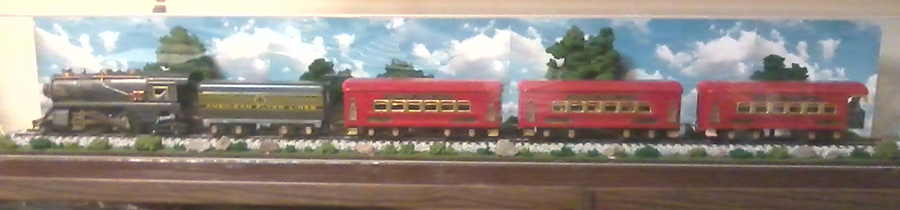
“My grandfather’s 1939 American Flyer train set.
Back in January I got all of my HO train stuff out of storage to take inventory. That included my grandfather’s 1939 American Flyer O gauge 3/16 scale prewar era set.
I contacted the Train Collectors Association – Western Division and they sent me the information about the train set (see below). I learned that I was missing the baggage car to the set.
After taking inventory of all me HO trains I collected over the past 60 years I decided to put my grandfather’s set in a display case. At this time I have no room or any space to setup my HO trains.
So the 267 pieces of rolling stock went back into storage (neatly packed this time). When I finish remodeling the living room I will have half of my double car garage empty and decided I will use it to set up my trains.
Since January I have been watching several different websites for HO model trains and learning about DCC controls. Hope to have the HO trains setup by end of year. Right now I plan on setting up the Atlas HO bookshelf Plan # 17 in my office.
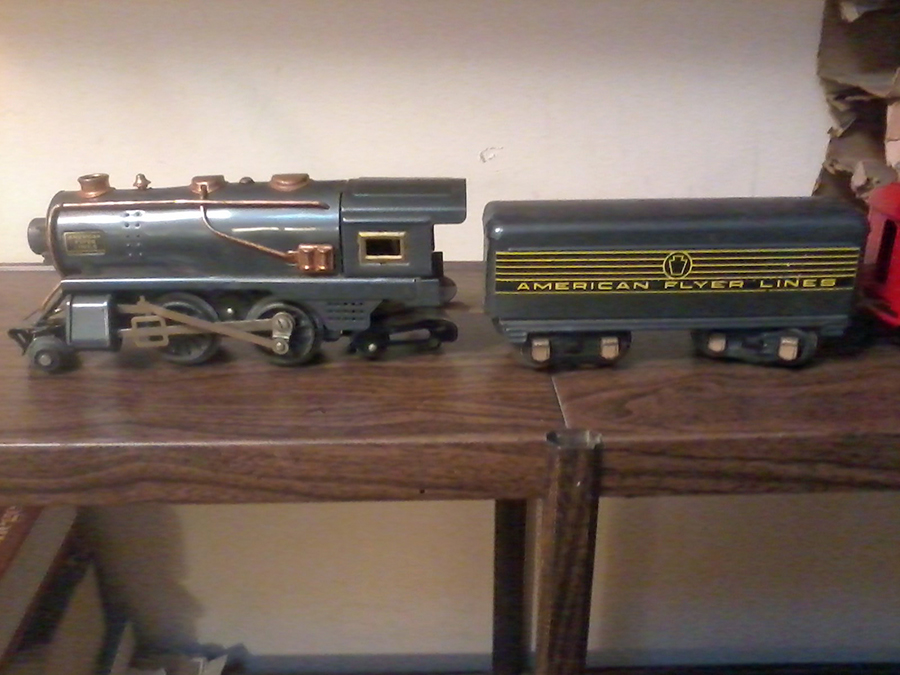
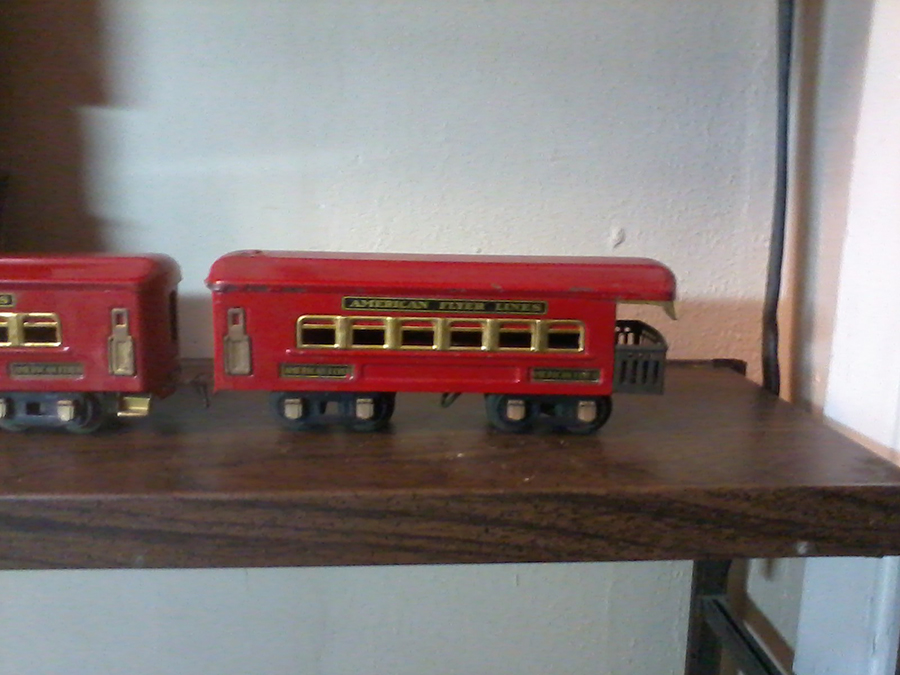
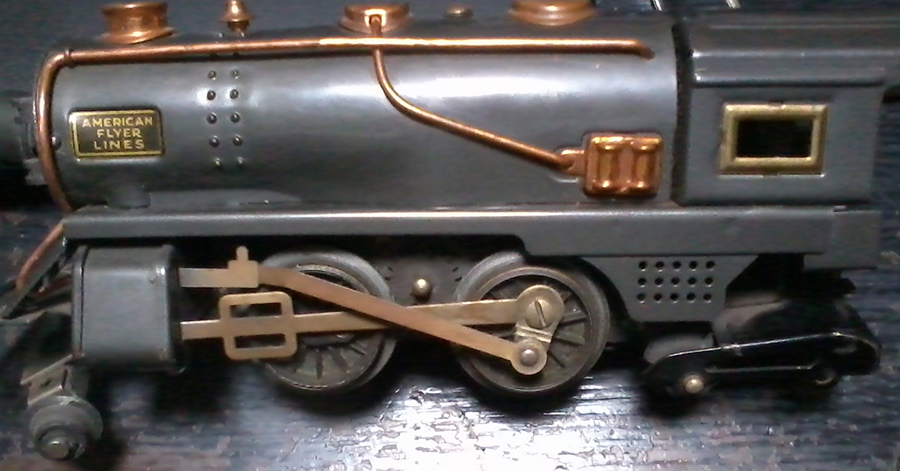
Back to American Flyer; I don’t even know if engine works.
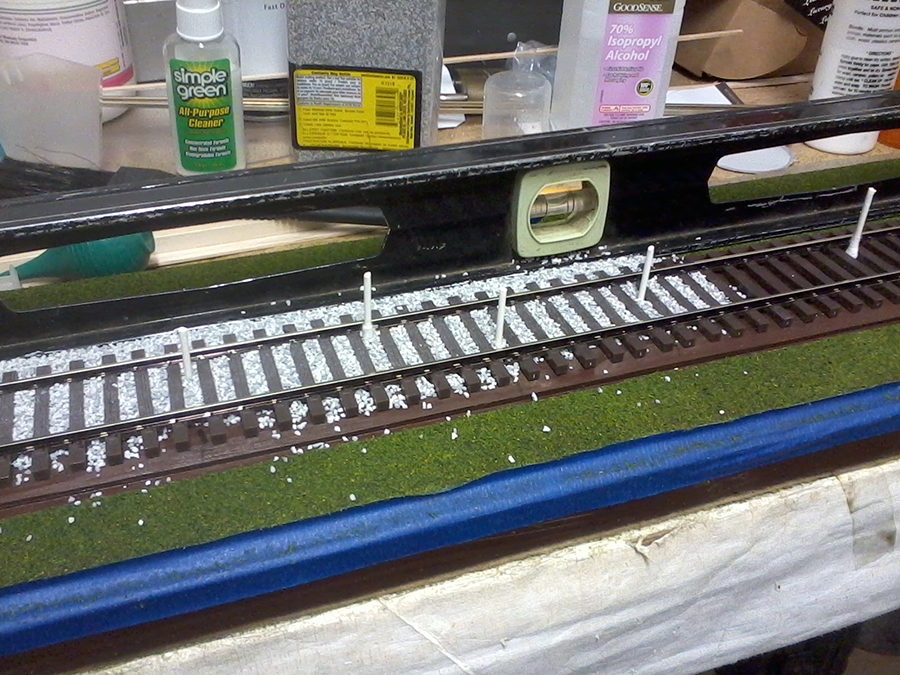
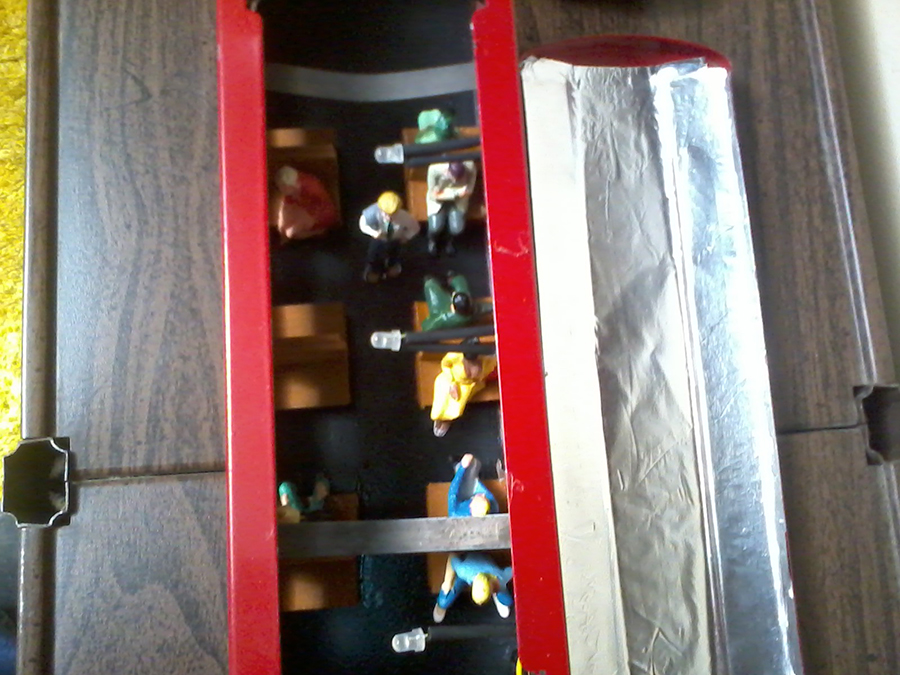
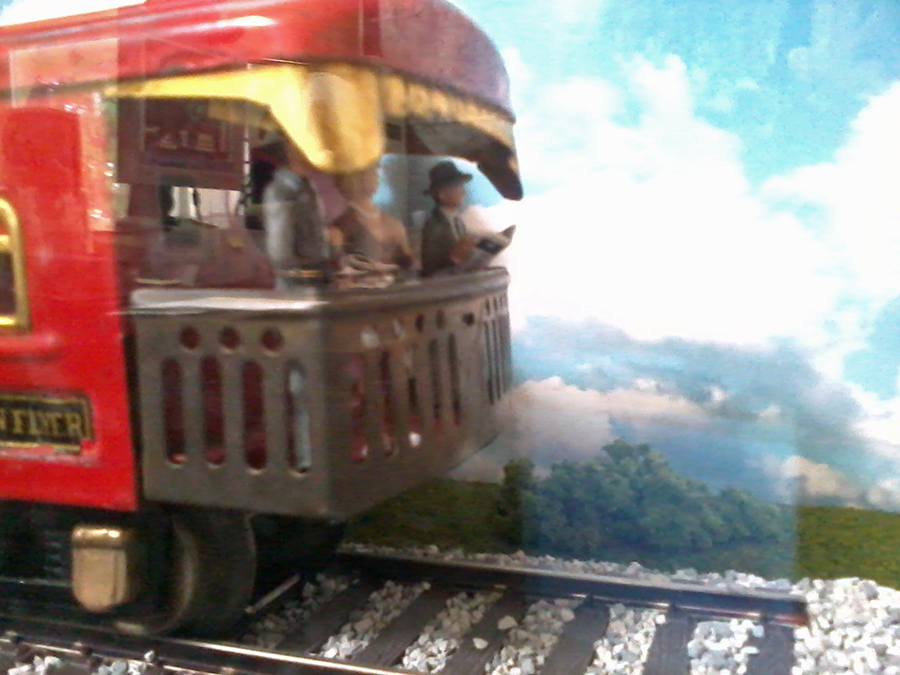
First I had to fix the rear truck on the engine. Luckily I found a person on eBay that had parts for these old trains. I wanted to put people and lights in the cars. I made bench seats out of balsawood and bought some O gauge people and some two rail O gauge track.
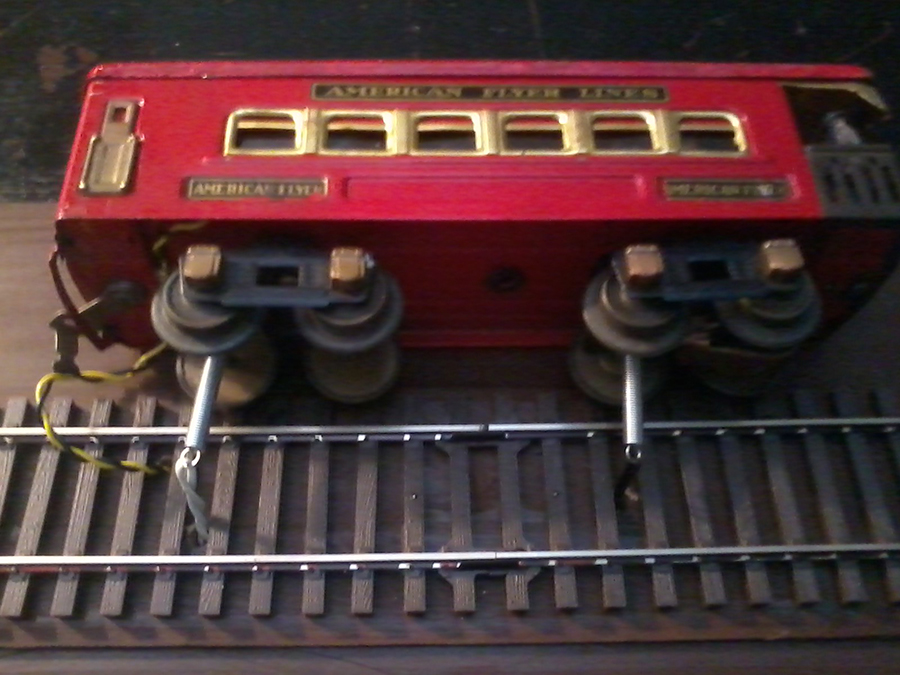
After sealing the bottom of the cars and end door openings I glued in the seats and the people. Then I wired in LED lights, 3 per car & 1 in engine compartment. I also lined the inside cover of the cars with aluminum foil to enhance the lighting.
The base of the display case is a piece of 2 x 8 lumber routed on top to seal the acrylic case and grooved on the bottom to run wiring.
The cars and engine are held in place with springs so they won’t move around. I then added some scenery and rocks. I installed a 9 volt battery and switch in a box to operate the lights. I had the acrylic case made to fit.
I also order a name plaque to honor my grandfather. Unfortunately it got damaged in shipment and they are sending me a new one. Then it will be finally finished.
THE PLAQUE READS:
‘In Memorial of Grandpa
STEPHEN F. PIOTROWSKI
26 Jul 1898 – 24 Mar 1958’
Thank you Al for a wonderful blog.
Jay”
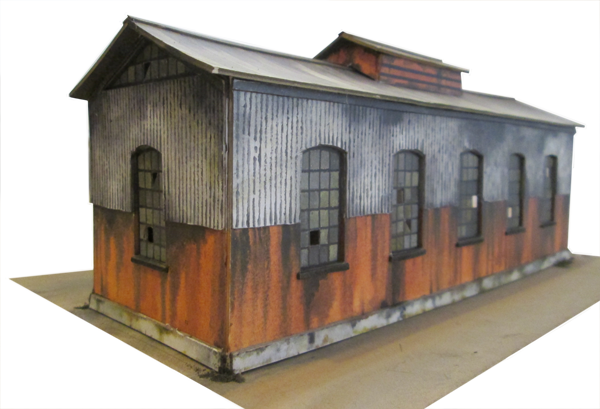
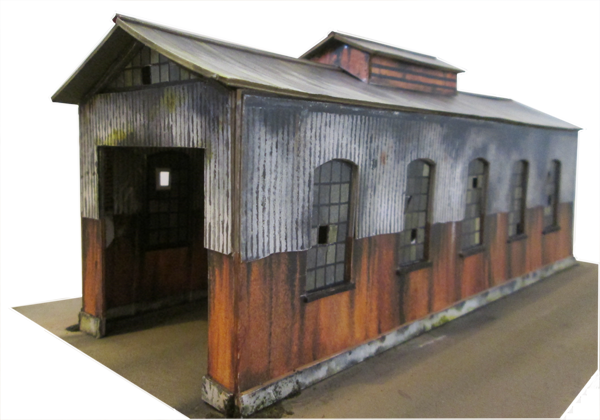
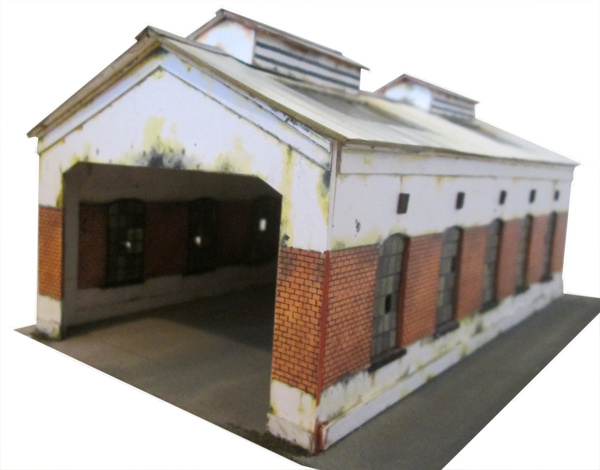
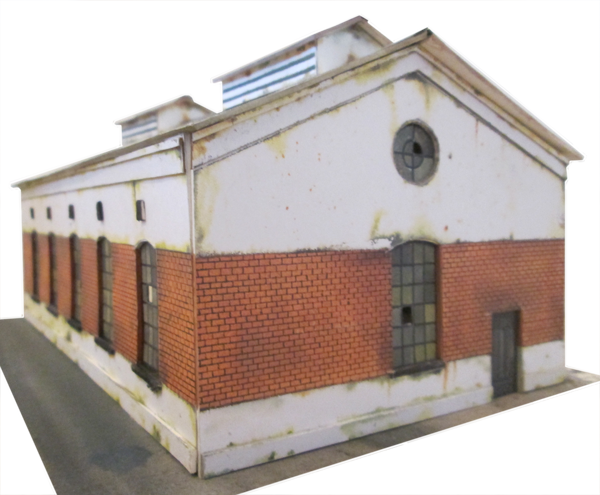
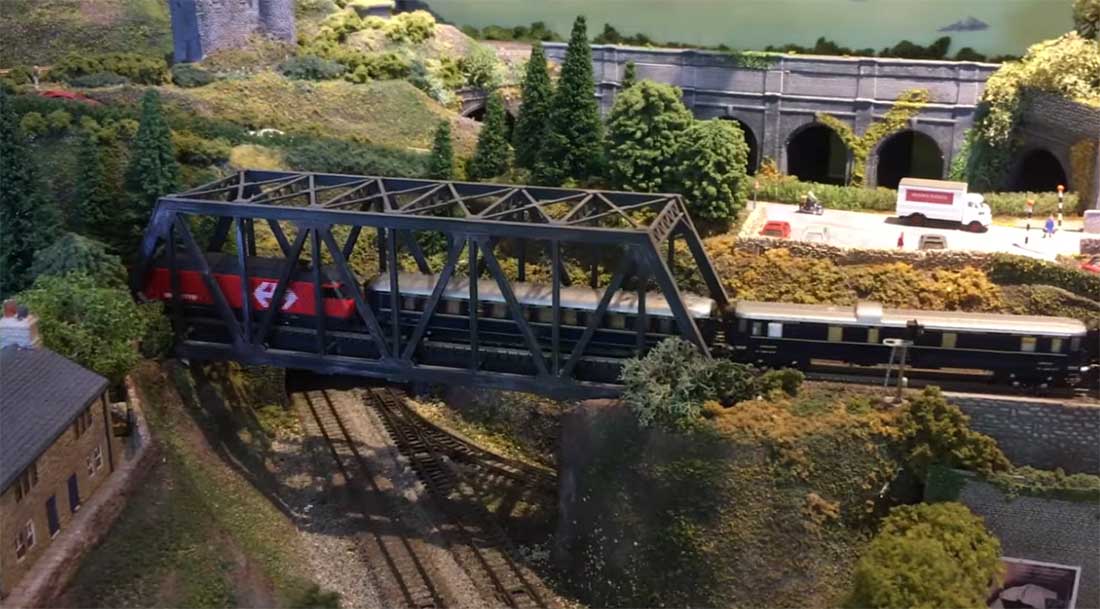
Love what Jay has done. And here’s another American Flyer model railroad if you’re after more.
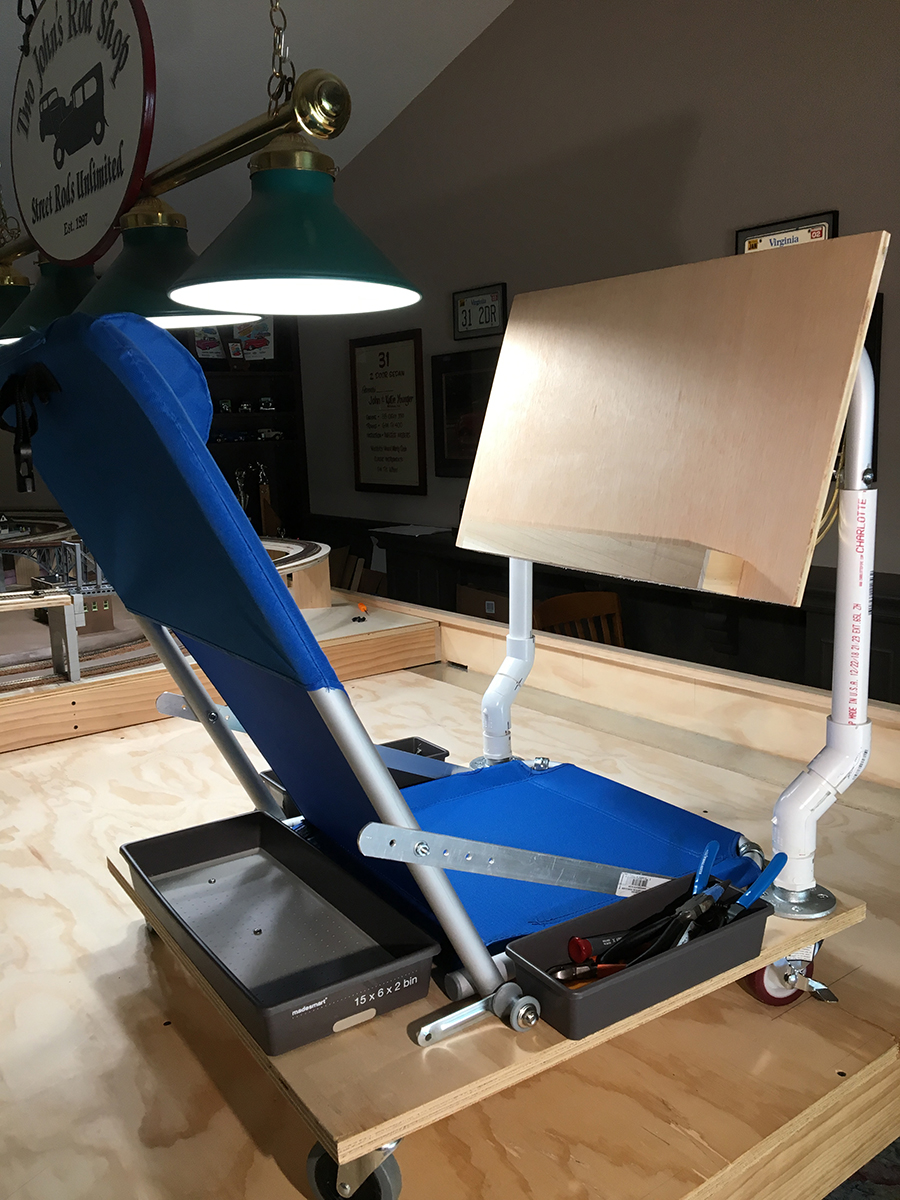
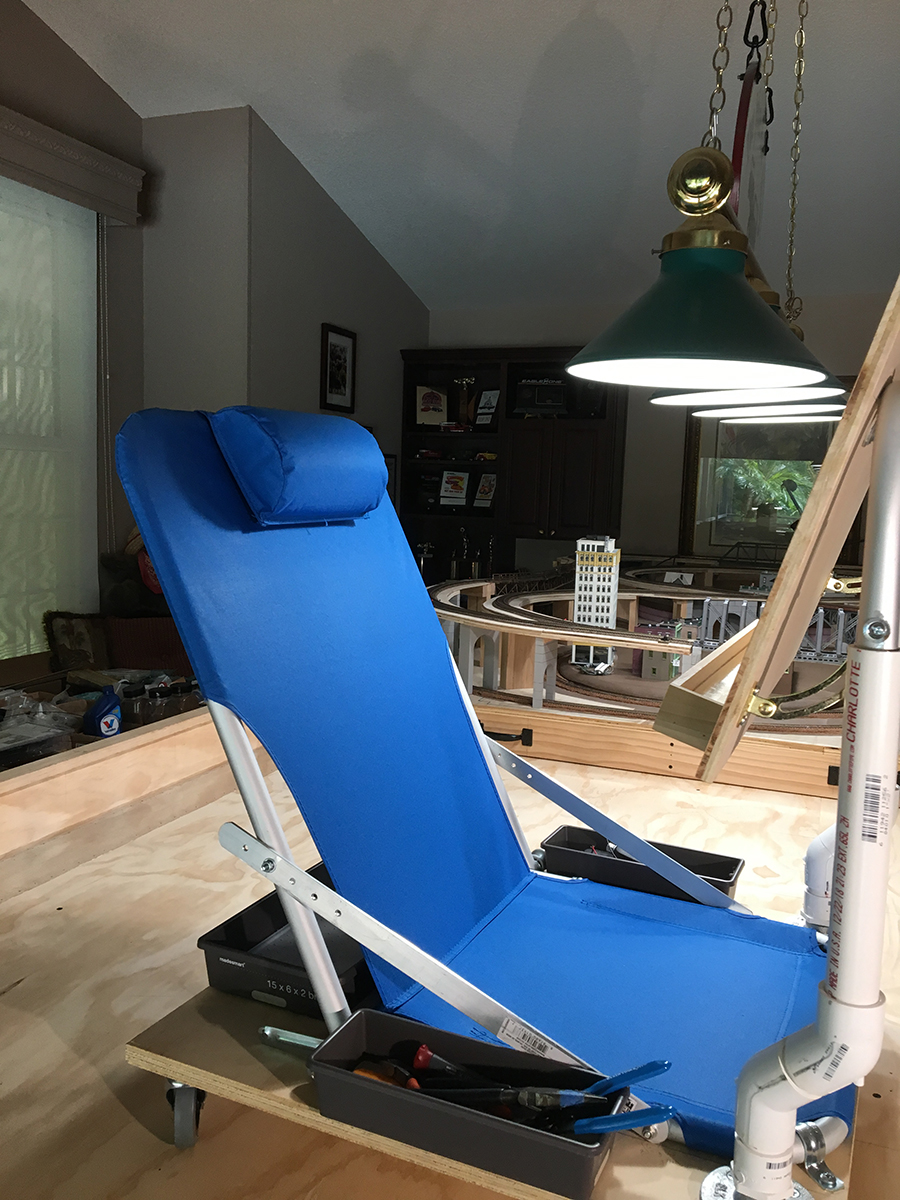
“Al, I am a copy-cat, yes I am.
I copied Roger’s chair which I added tool trays and a arm rest with a trough to catch dropped items.
At 80 years old the arm rest gives me needed support for soldering and other duties under the layout. (see pictures of my chair).
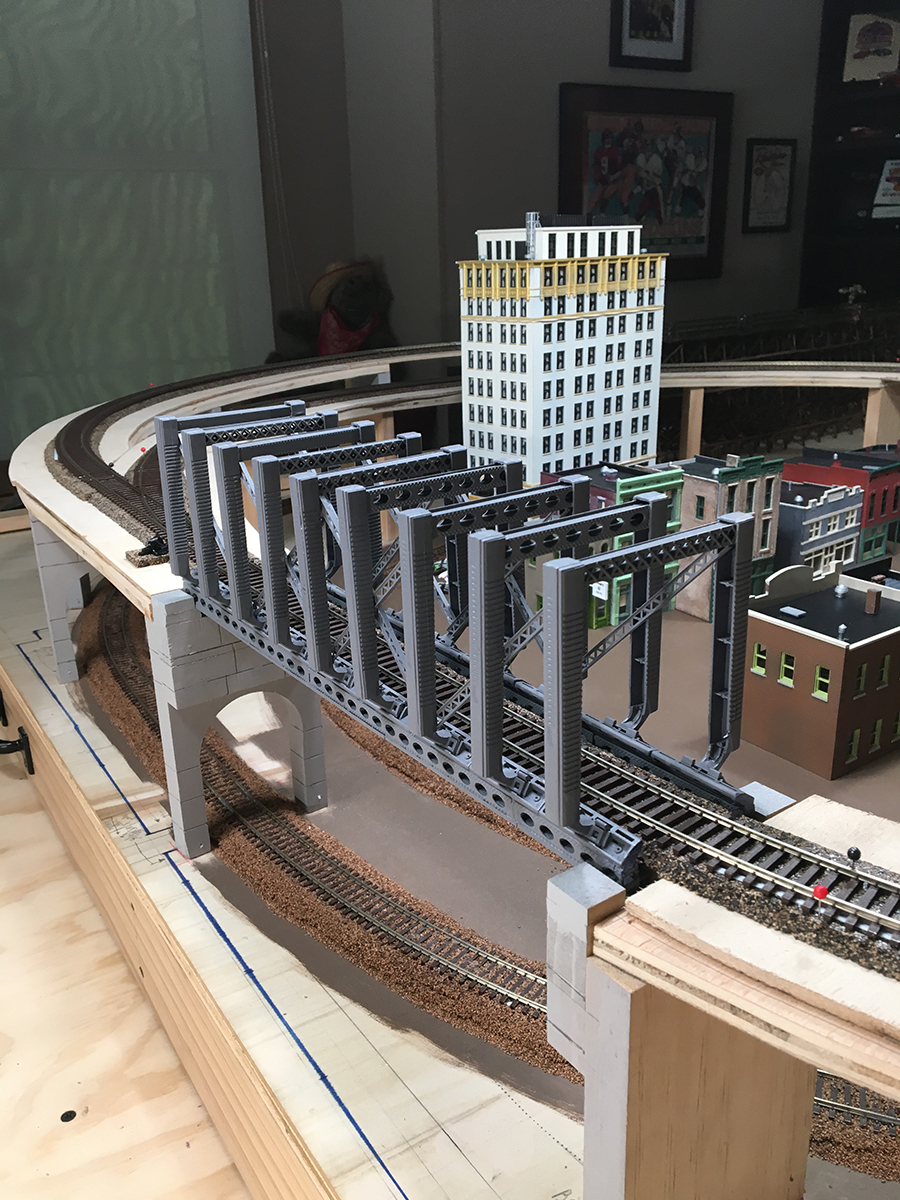
Also, does everyone at near 80 years old drop everything they pickup or is just me? I also copied from someone else, I don’t remember his name , a throwaway razor bridge which I added leftover parts from two Central Valley bridges.
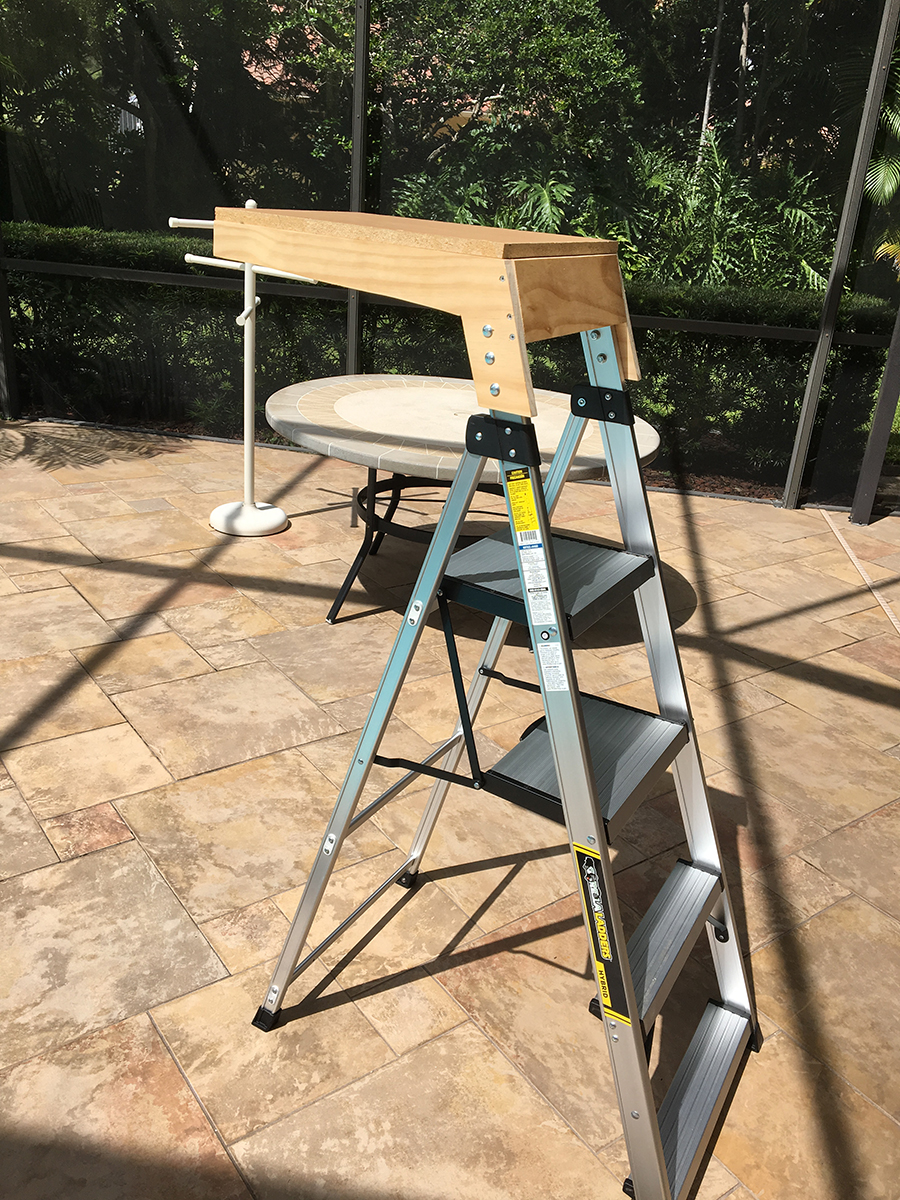
The ladder is an almost exact copy of the one someone else sent in pictures a while back.
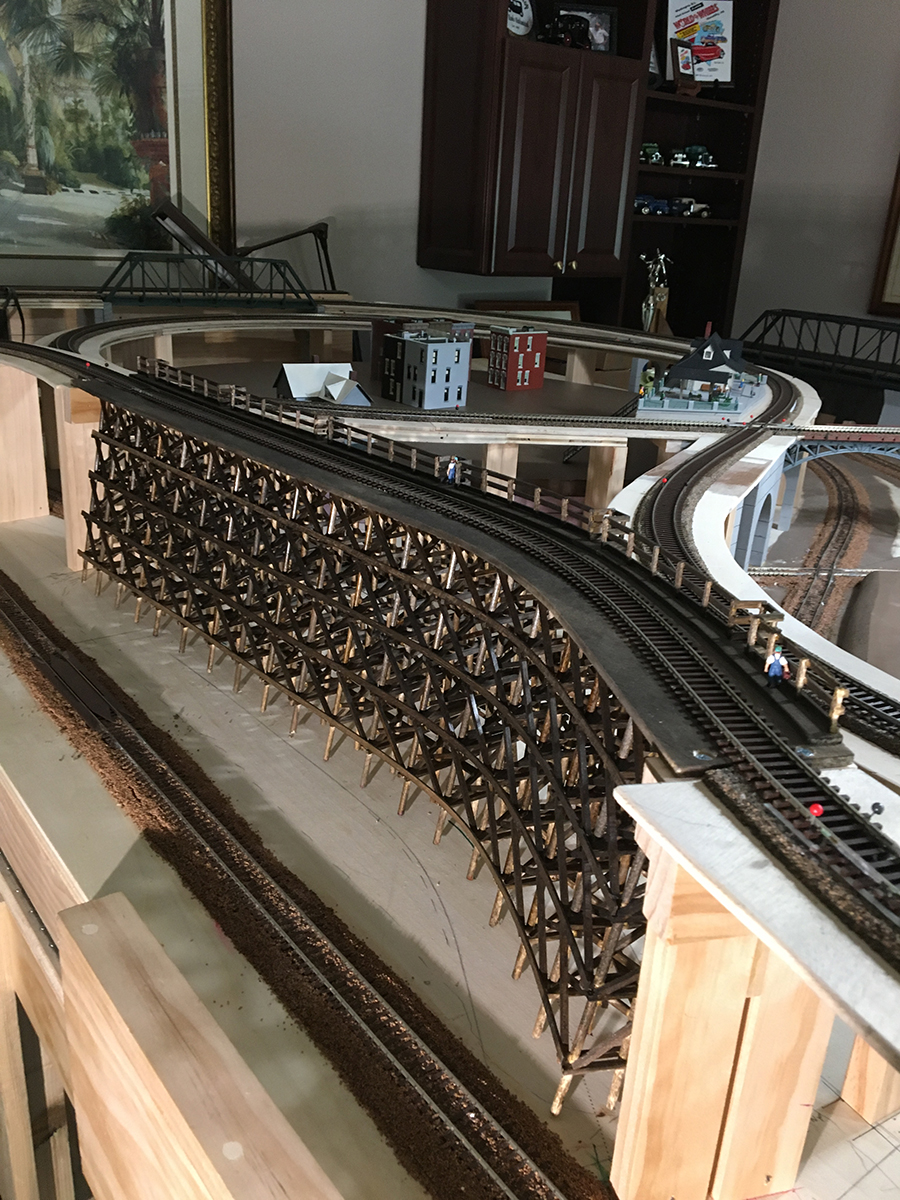
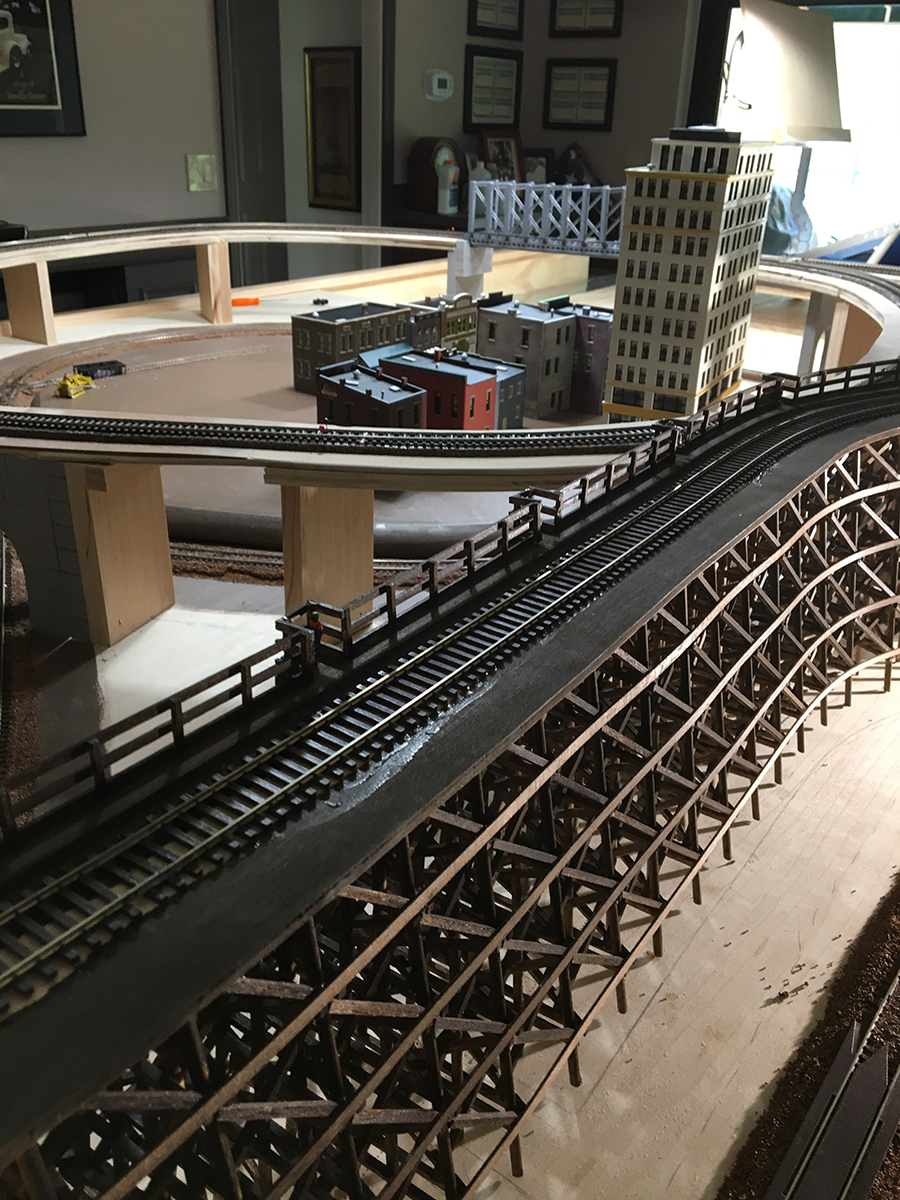
Included is a picture of a trestle bridge I built from scratch. The trestles are spaced 1 3/4 ” apart which may not be to HO scale. There is a cat-walk with step-outs for the workmen to step into when a train is coming. Again the cat-walk and railing may not be to HO scale.
Al thanks to you and all the guys I copied from, and I don’t plan on stopping this habit.
John”
A very big thanks to Jay for sharing his American Flyer model trains, and to John.
I do live John’s razor bridge. How on earth did someone, look at a disposable razor and think, “That would make a great bridge…”
I will never tire of sharing your wonderful layouts, memories and inventions.
I really do look forward to my inbox each morning, just as much as you all.
That’s all for today, folks.
Please do keep ’em coming.
And don’t forget the Beginner’s Guide is here if you want to stop dreaming and start doing.
Best
Al
PS Latest ebay cheat sheet is here.