Eric’s been back in touch with his latest update on his multi level n scale layout.
“Ok I know this should have been my first update but I got caught up in the paving side of things.
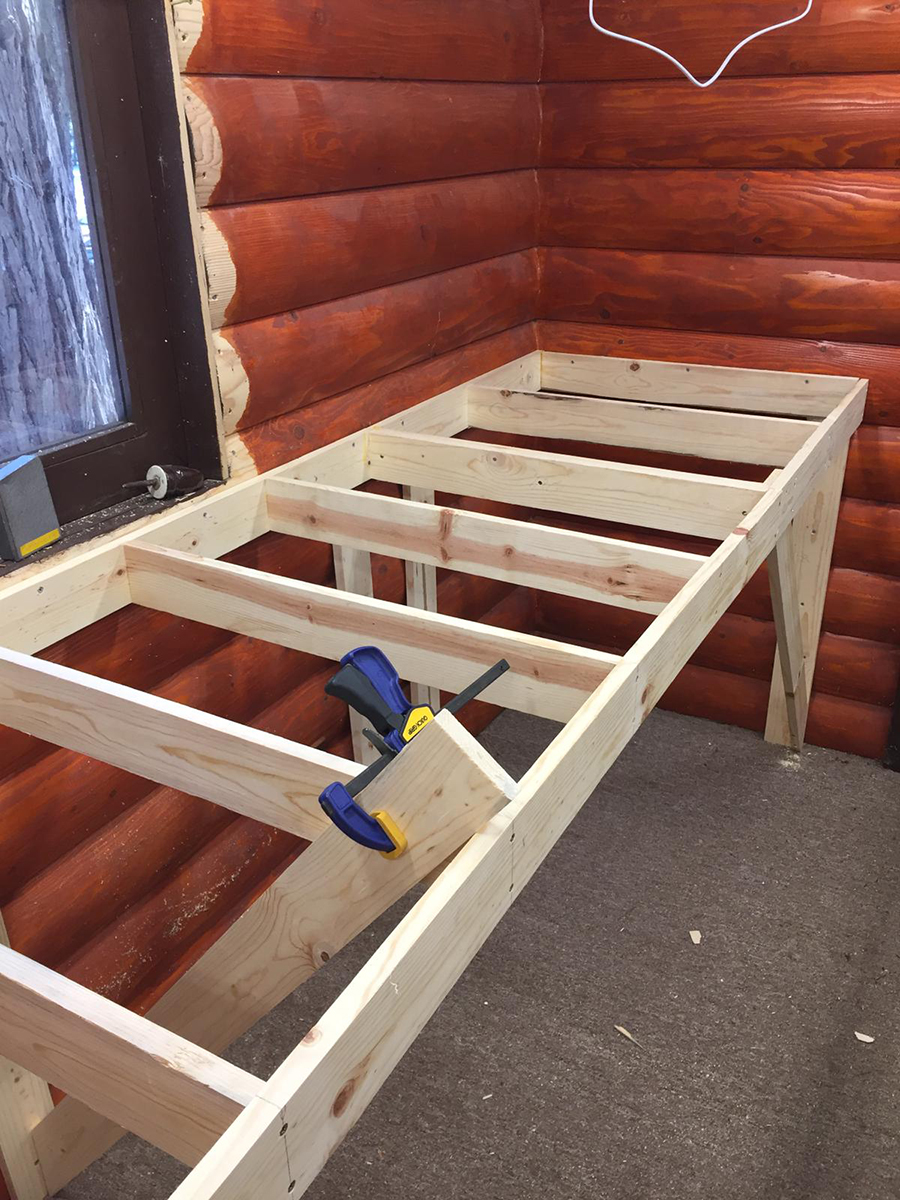
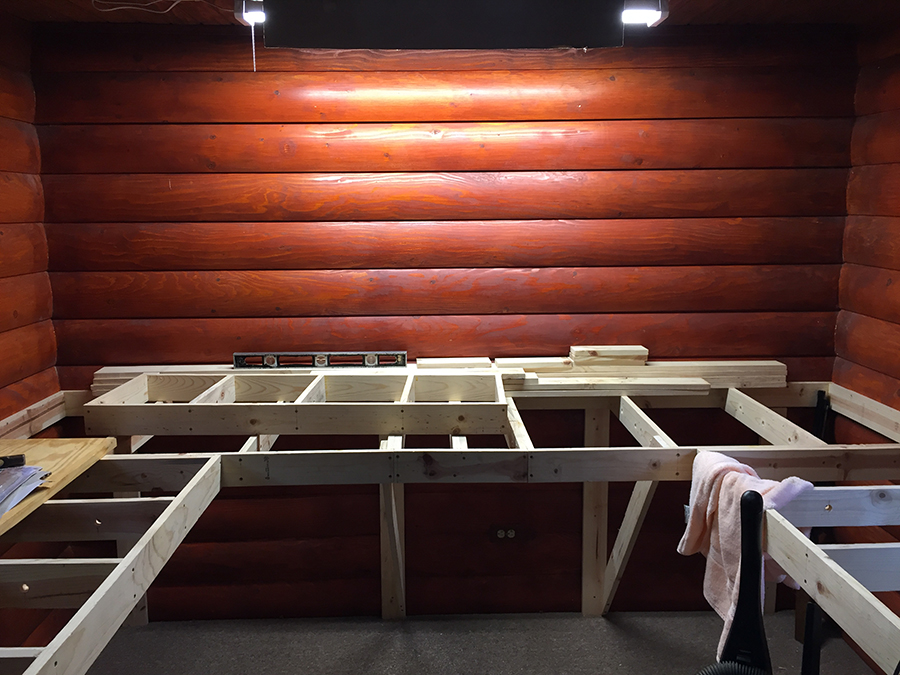
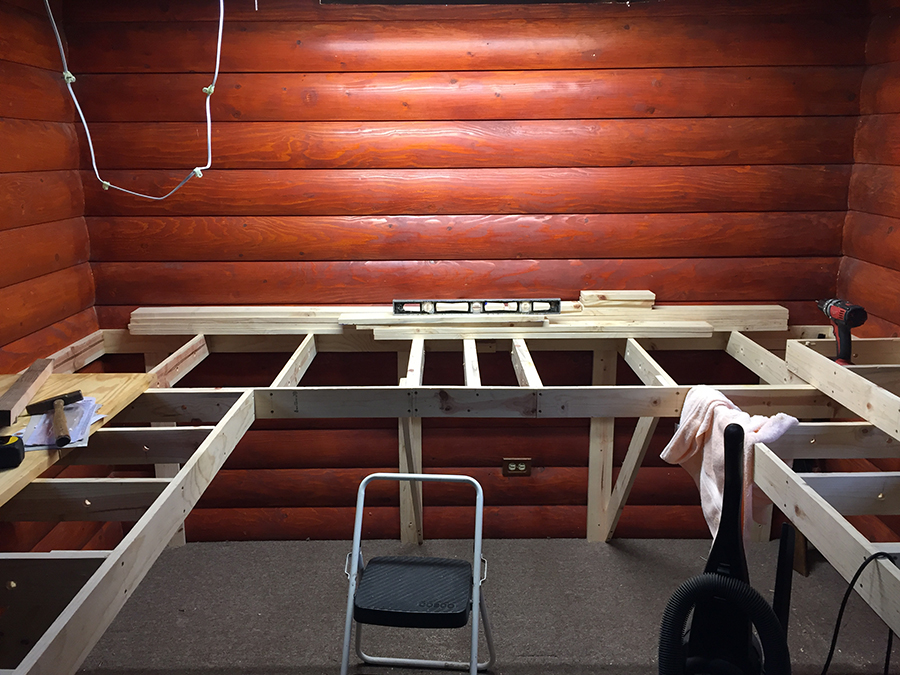
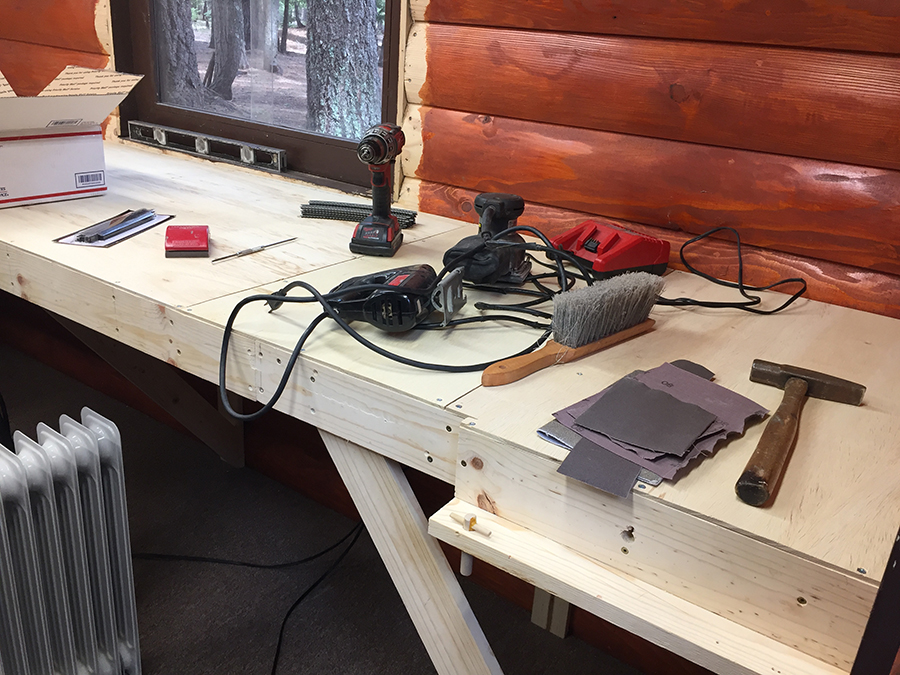
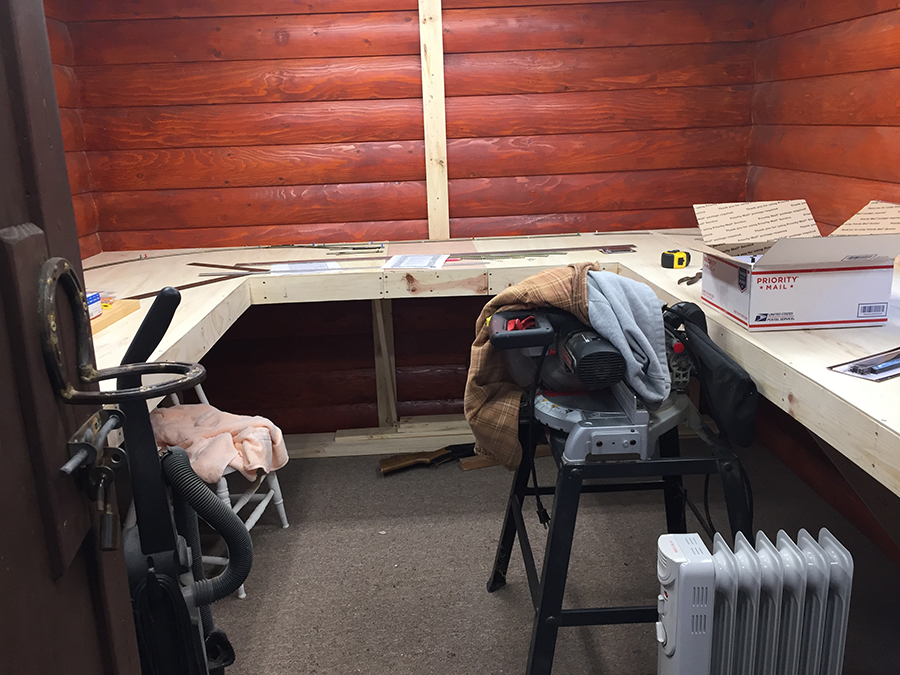
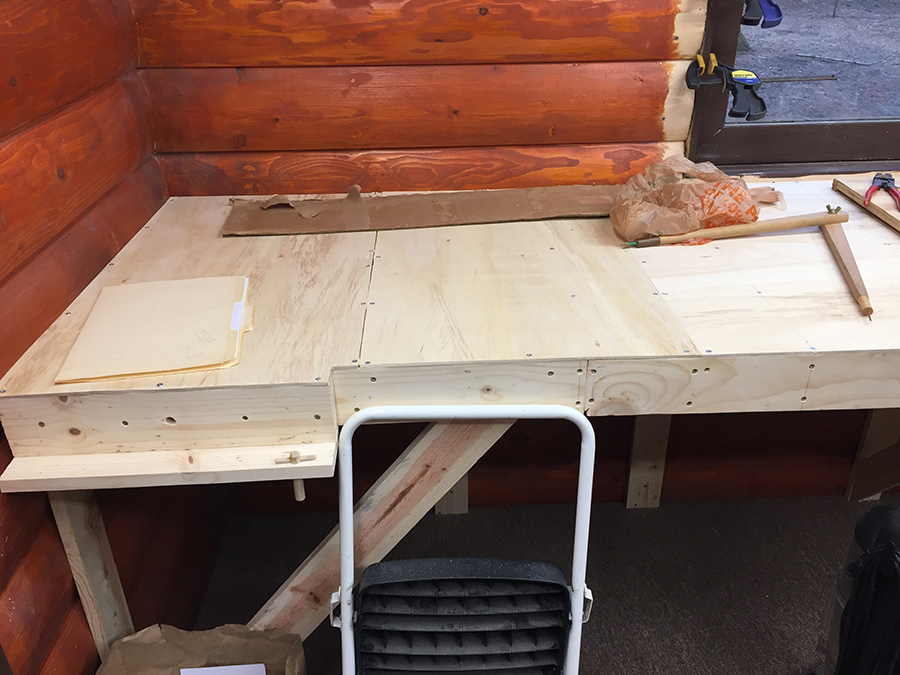
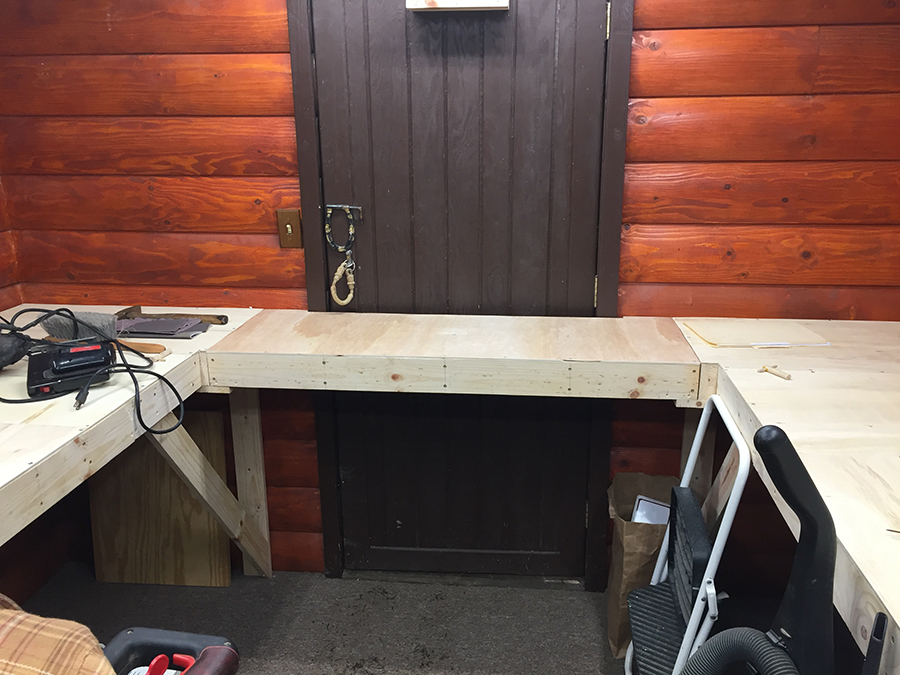
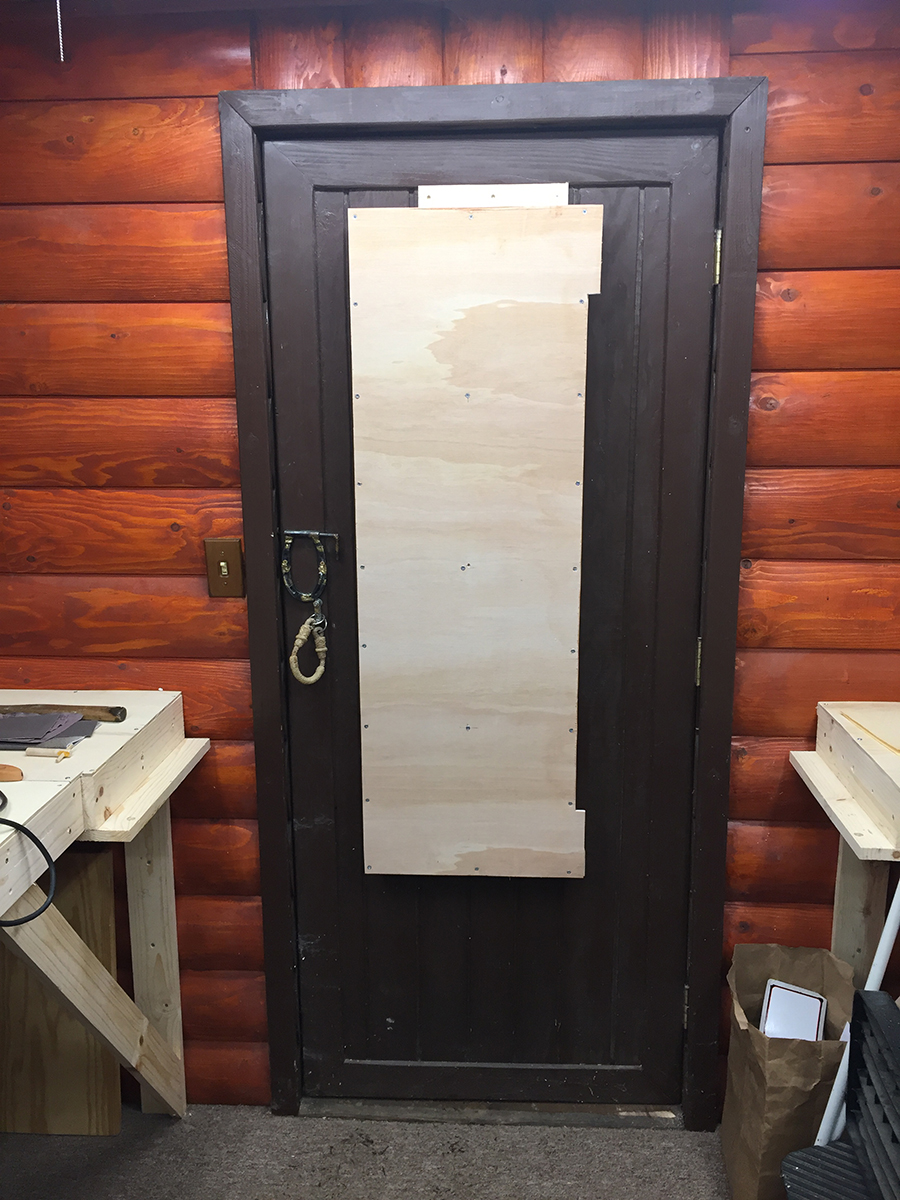
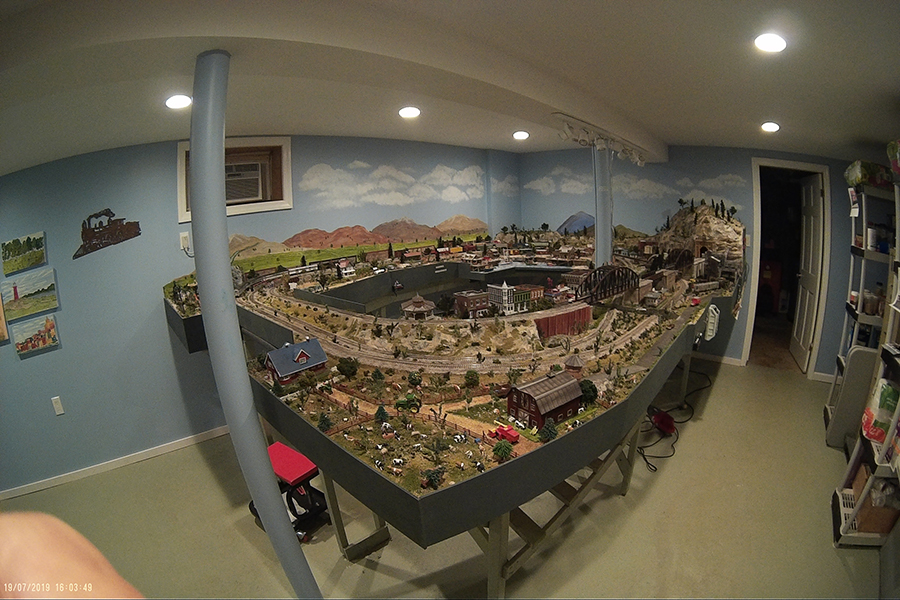
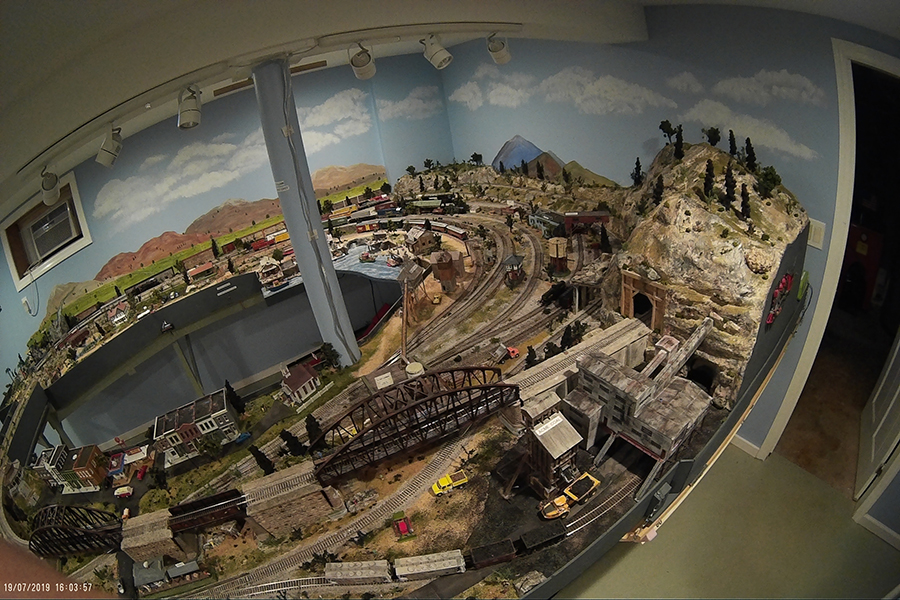
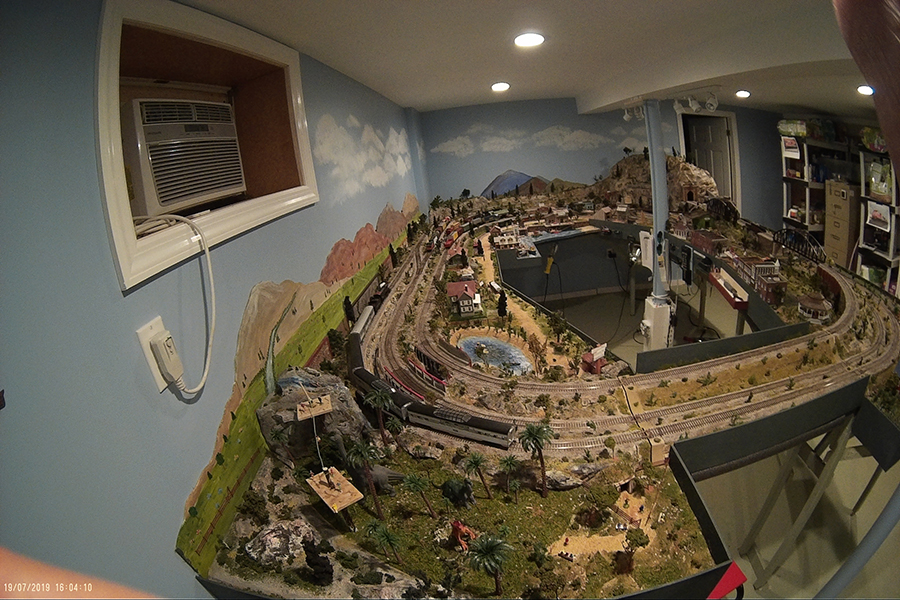
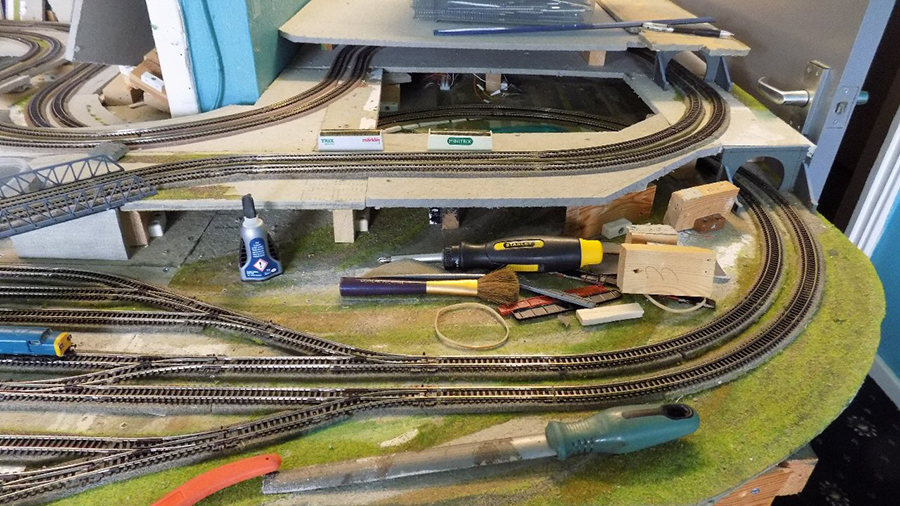
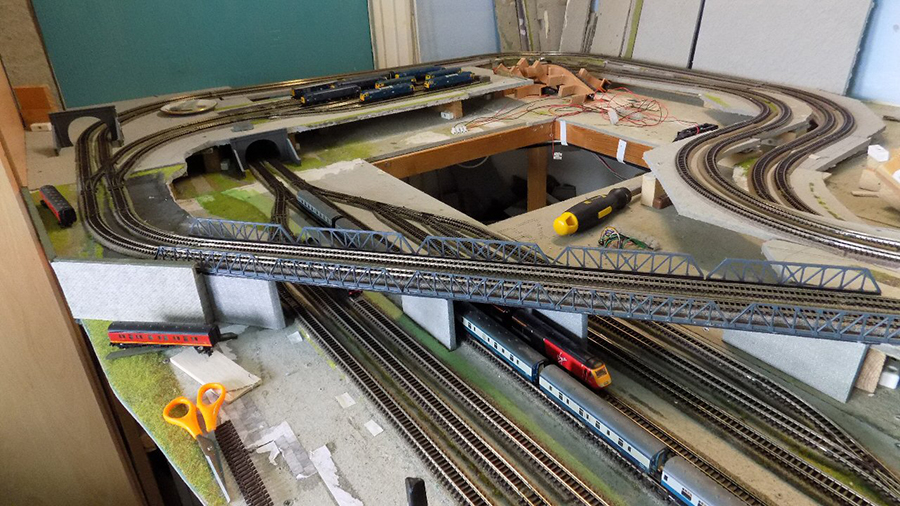
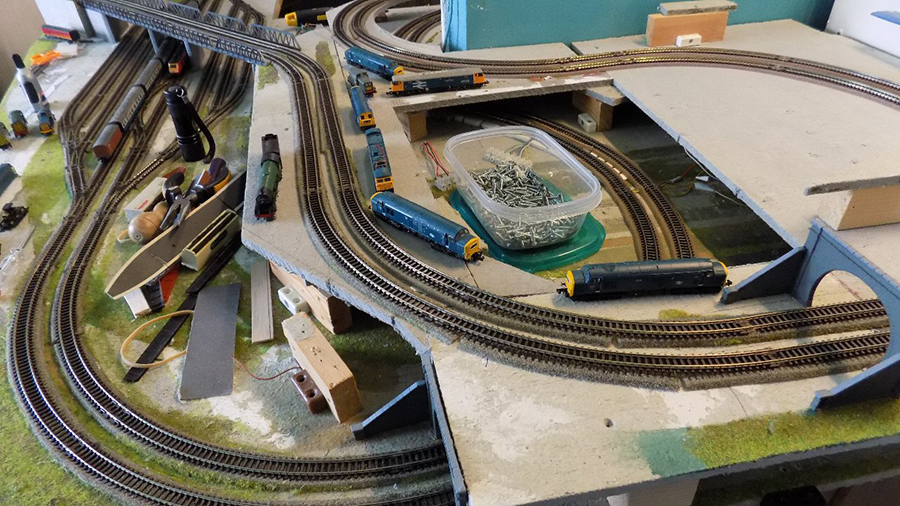
I am limited in design to my weird shaped 7.5 by 5.5 foot max boards (seen in the pictures below) with wall and hatchway for access. N gauge.
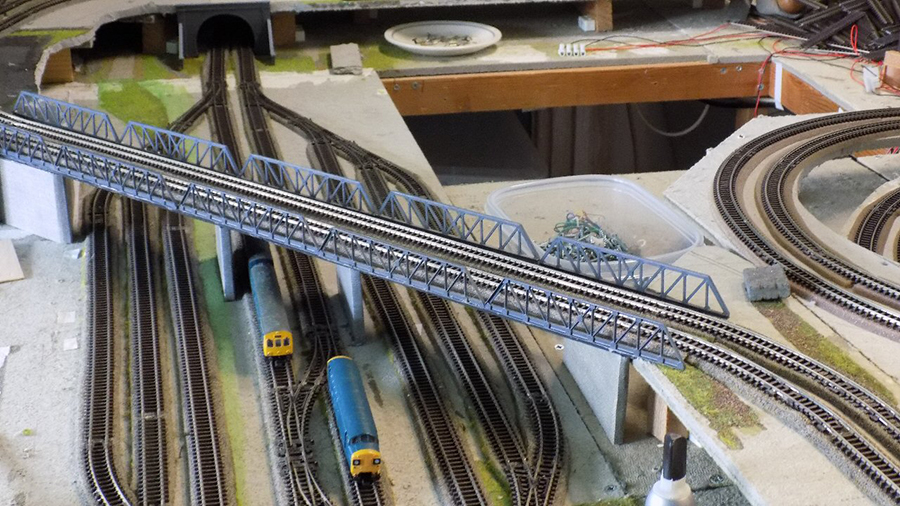
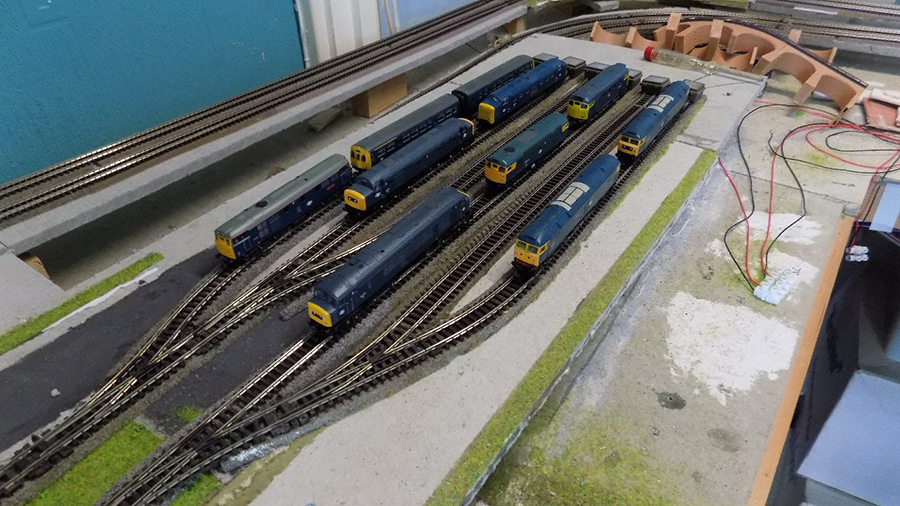
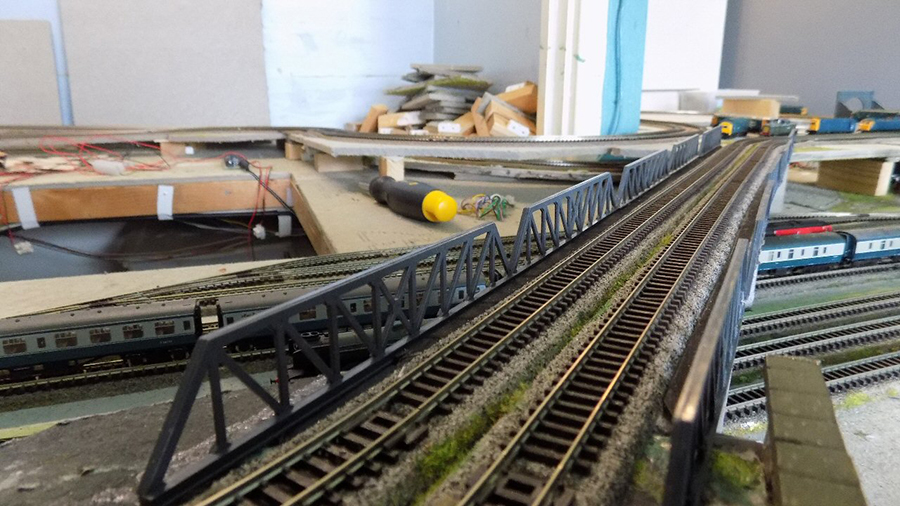
This time I have managed six sidings on the lower area and six on the first level, all are fairly small but adequate. All my track is code 80 Peco Setrack and code 80 flexible lengths. Laid as just a double level loop.
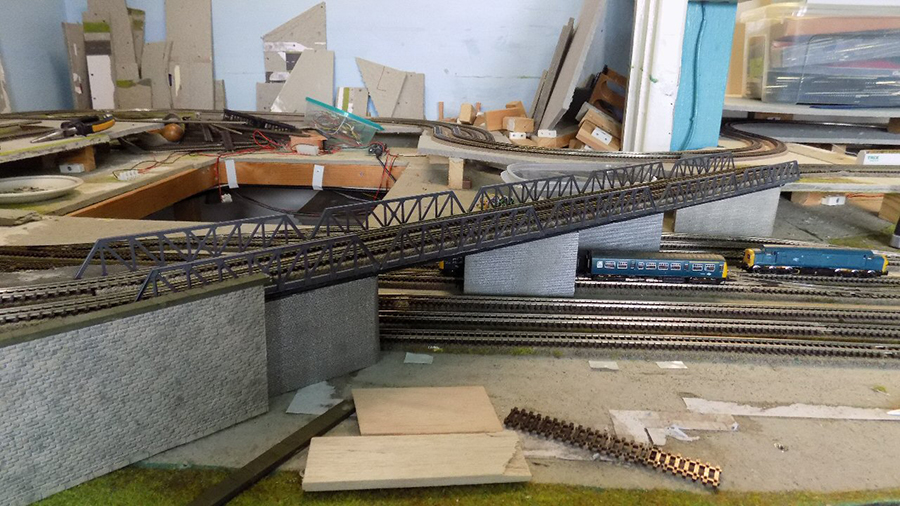
As I am continually rebuilding layouts to keep my fingers working I only pin down the tracks to my boards that are Sundeala (compressed newsprint).
Underlay I use already gravelled and fill in between the tracks with loose matching ballast, again not glued. For unseen parts I use standard underlay. With rebuilding layouts this means I can use a hand vac to collect the loose ballast to re-use. I even re-use the track pins if they are not bent. (Economy). I usually leave ballasting between rails until last so it doesn’t get messed up.
TIP) When laying track, always run your fingers both ways on every join as it is all too easy to not get one rail into the rail joiner and if you don’t you won’t find it until your engine derails. Best to get it right the first time. Also test your locos to make sure they can negotiate any curves or inclines, for inclines include a full load of wagons or coaches, adjust incline to suit.
Electrics are DC and I have two connections to each track which is adequate to ensure smooth running, always put them at either end of your sidings for best results.I link up eight connections (4 tracks) direct to controller at two points at opposite sides of the layout so I can run up to four tracks without having to rewire every time.
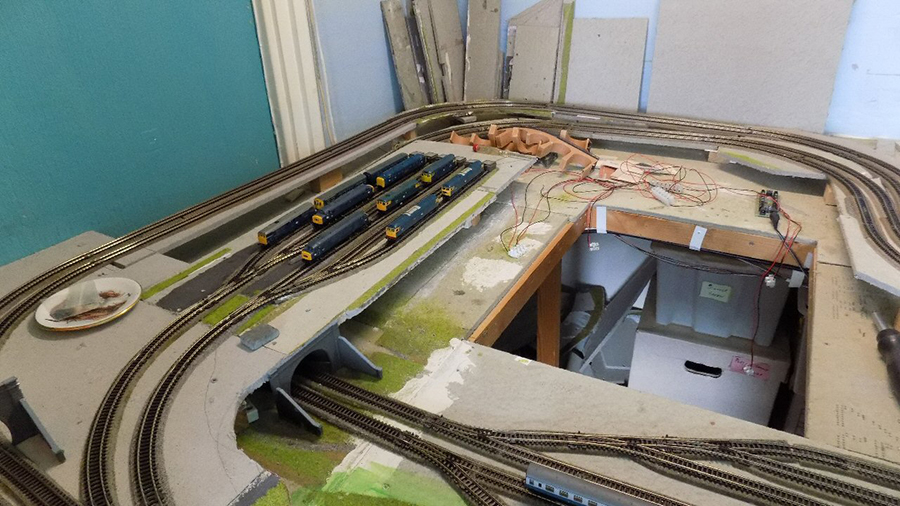
If you use the above idea also wire up multi-connectors in three or four places around your boards to supply power for lighting, street lights etc, again where they are out of sight. This saves a lot of headaches later and saves laying on your back and looking up at the boards as you try wire things together.
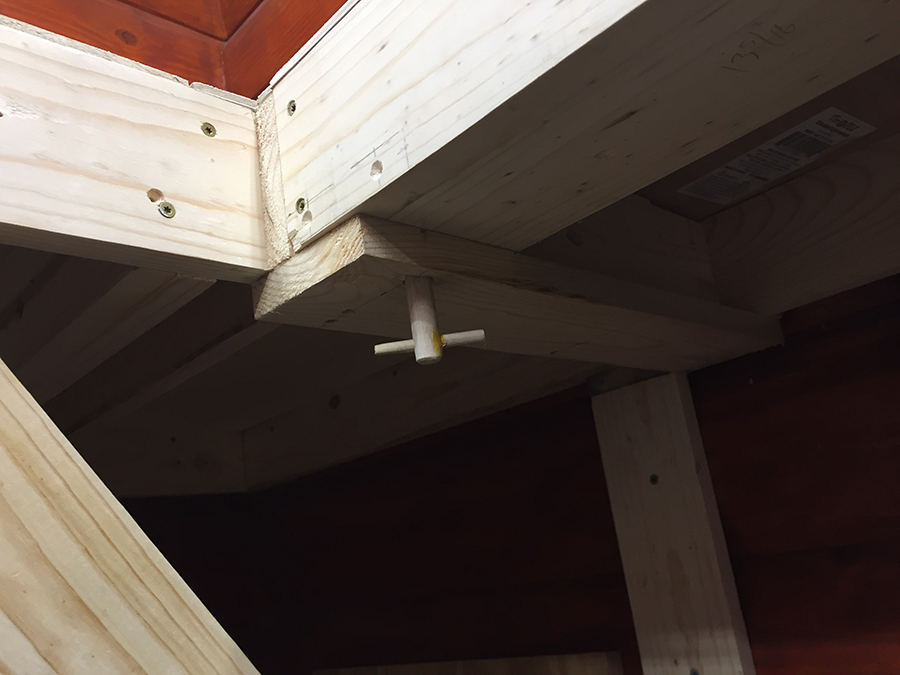
Where my wires meets my raised scenery boards I use the plug together connectors, this does two things, one, it allows you to wire the board without it in place and two, means you can unplug the wiring and lift away the board for easy access below when needed.
Points, all my points are within reach so I switch them manually. (Saves a lot of wiring in point motors).
Controllers, I use two Gaugemaster 4 track controllers four for tracks when needed, the other four control lights on the streets and buildings, meaning I can dim them or brighten them all to suit.
Hope this gives any beginners a few tips that can save hours of fiddling and frustration later.
Happy Modelling.
Eric.”
A huge thanks to Eric for sharing his multi level n scale layout – his latest creation is really coming along. Can’t wait to see what’s next.
It reminded me of Nige’s layout: Multi level model railway N scale.
Next, Dangerous Dave has been enjoying the weather:
“Hi Al.
Enjoying this summery weather when its too warm to spend in the loft with my Model Railway, Deb and myself set out with a picnic to have at the side of the steam Railway.
Enjoying the sun and a very large garden Railway… not sure if useful to members , but always nice to see some proper steam.
Regards
Dave”
Latest ebay cheat sheet is here.
Couldn’t agree with Dave more, it’s always nice to see real steam.
That’s all for today folks.
Please do keep ’em coming.
And if today is the day you get started on your layout, the Beginner’s Guide is here.
Best
Al
PS Latest ebay cheat sheet is here.
PPS More N scale layouts here if that’s your thing.