Paul’s been in touch – he’s put together this HO scale cab ride video, and it’s brilliant:
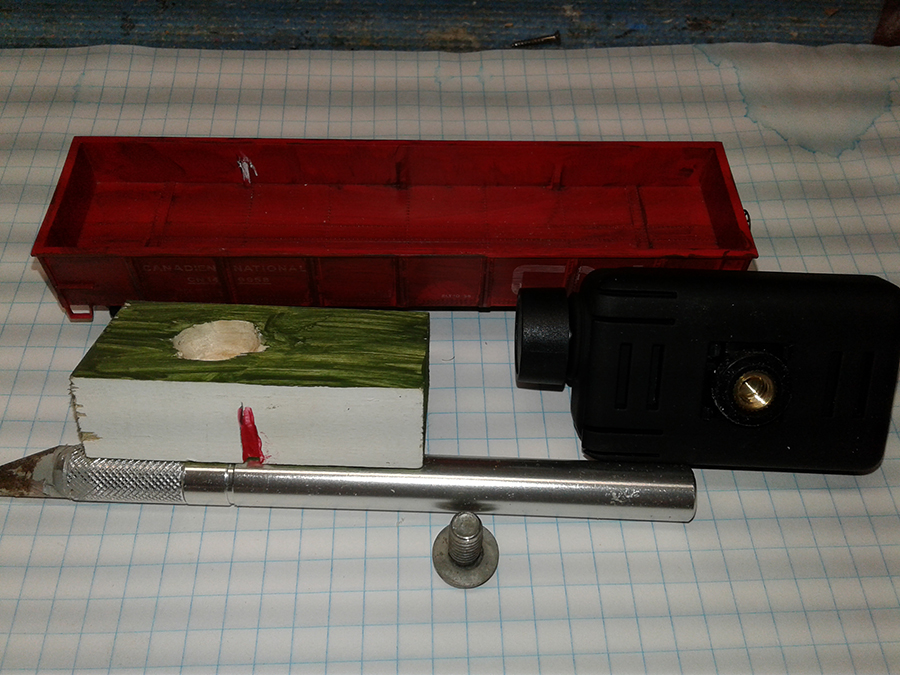
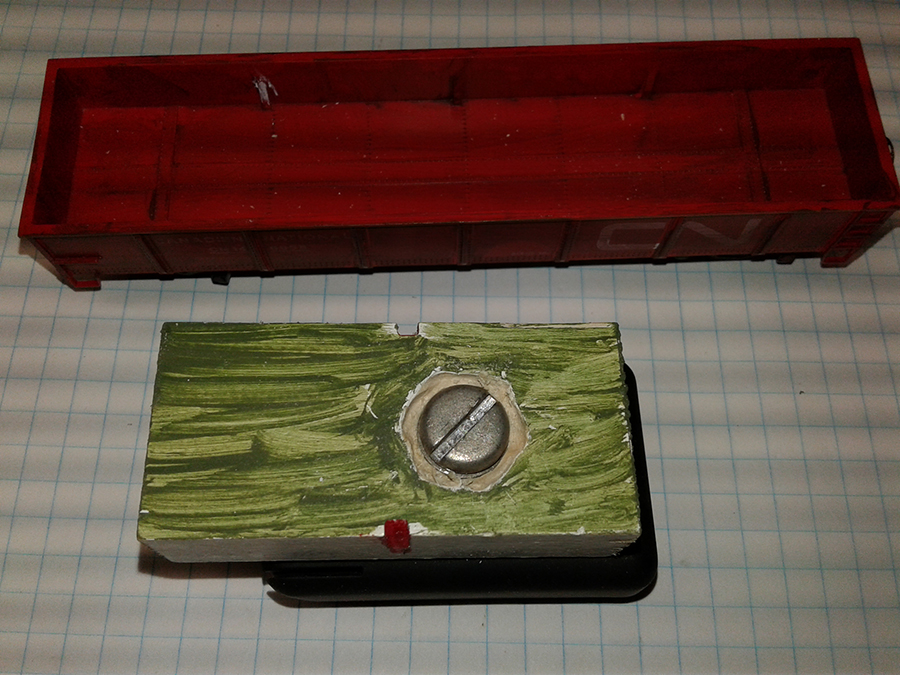
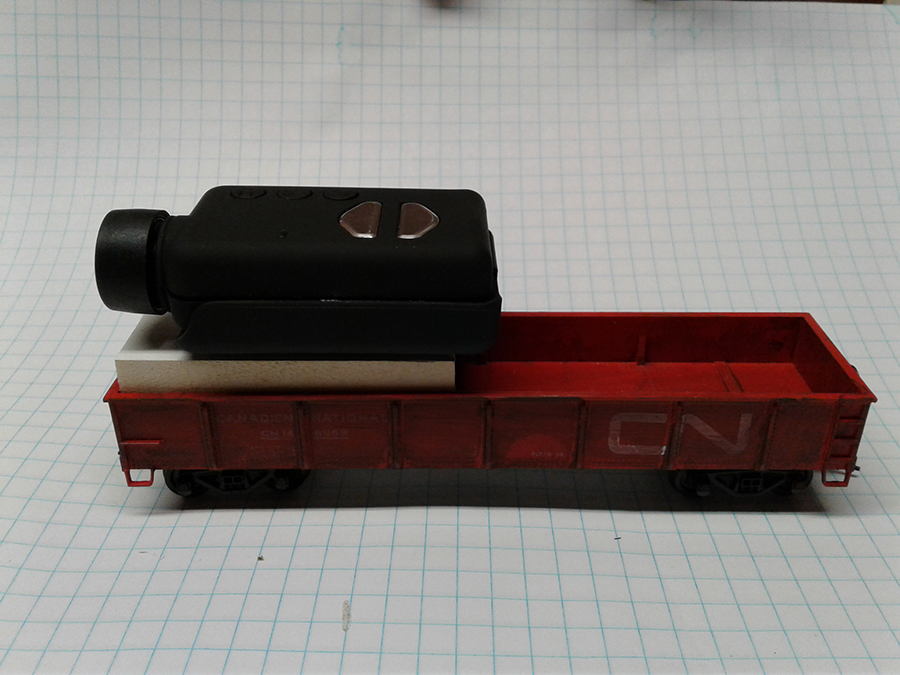
“Hi Al the video was shot on my new Mobius camera. I mounted the camera to a small block of wood which I fitted to the inside of a gondola car.
I filed grooves in the wood so that the mount fitted around ribs in the car thus locking the camera in place.
The cattle sounds in the video are from a cattle car which was on the same train that towed the camera around. I don’t live on a farm!! I am really pleased with the way the camera works and can’t believe it is so inexpensive.
Hope you enjoy the view from the train’s perspective.
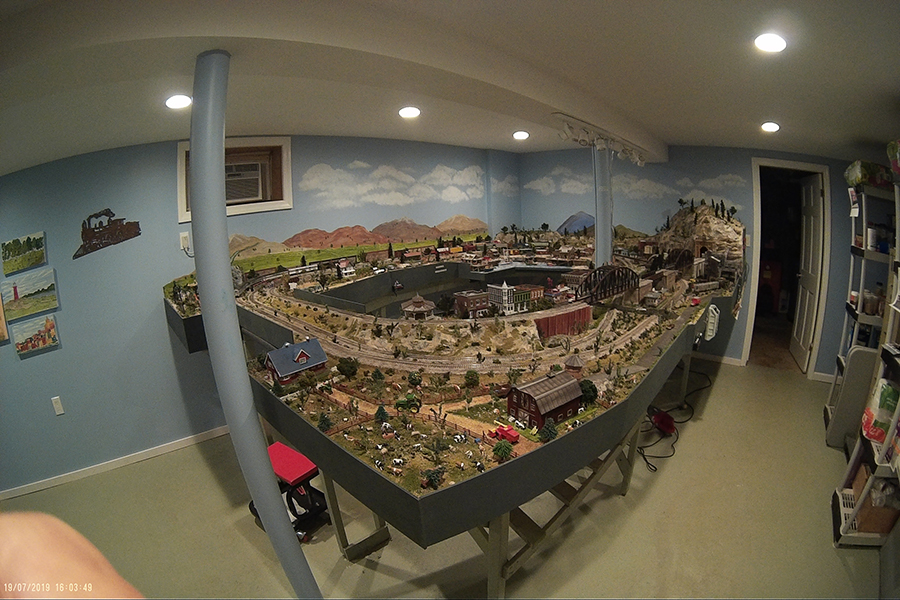
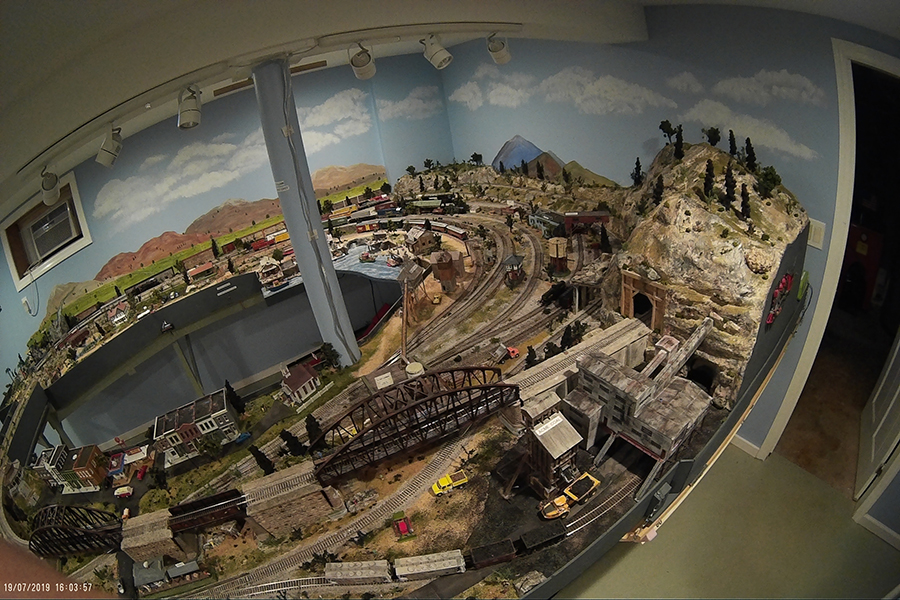
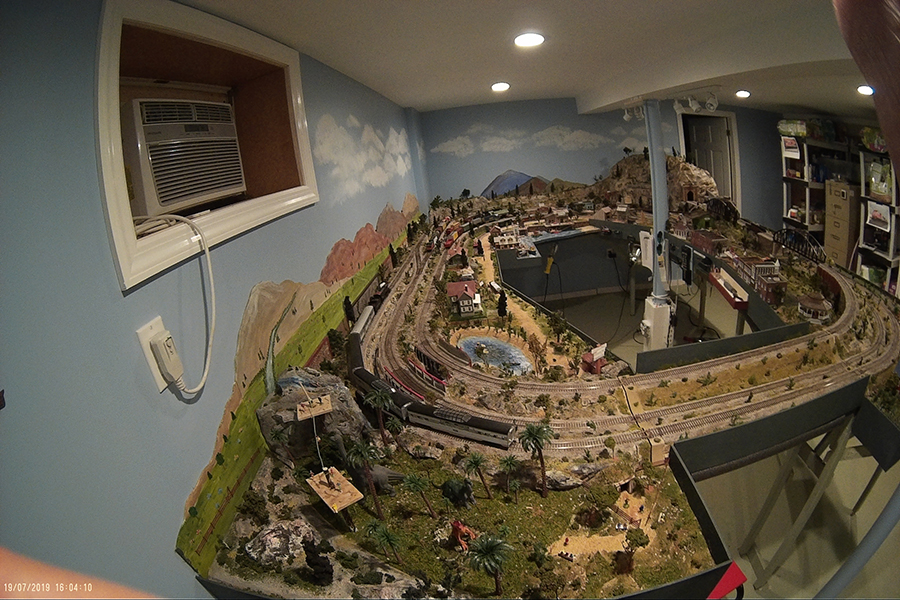
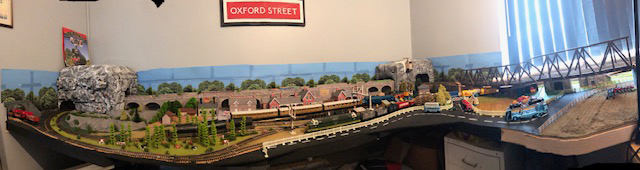
Stills taken with Mobius camer to show over all layout.
Today’s post is all about how to start a model railroad.
I do love posting pictures of folk making a start on their model trains – because that’s what it’s all about… making a start:
“Hello Alastair:
This may be an unusual request, but a sincere one. It has been years since I built a layout. I did my study model and had a preliminary landscape design…
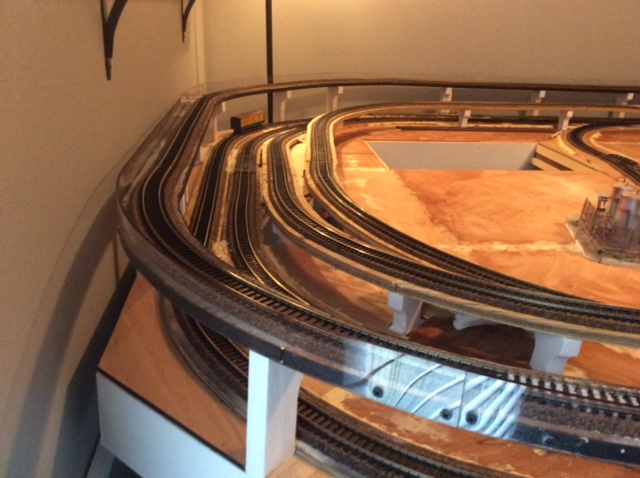
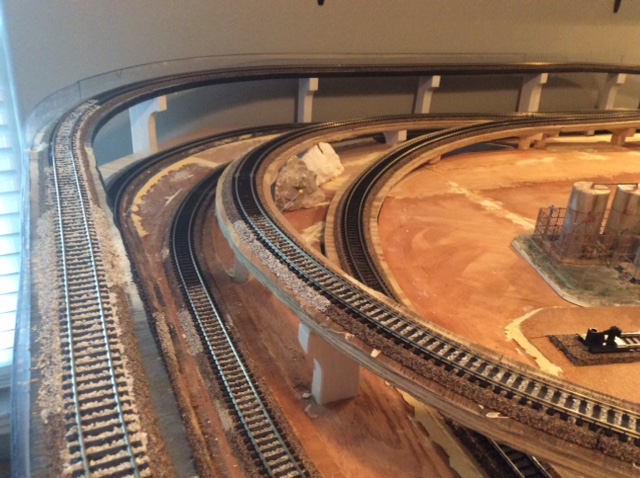
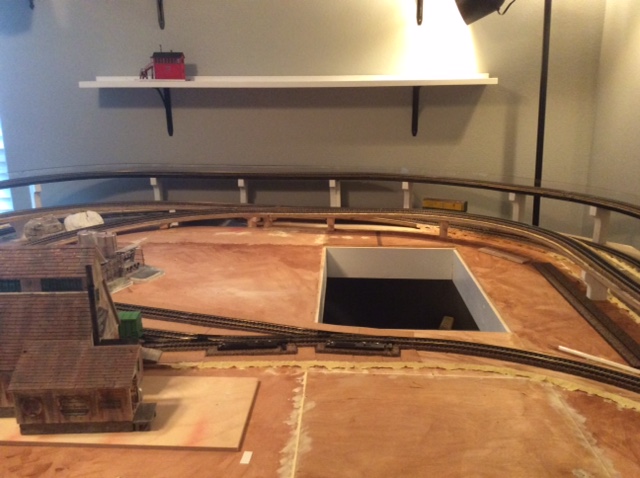
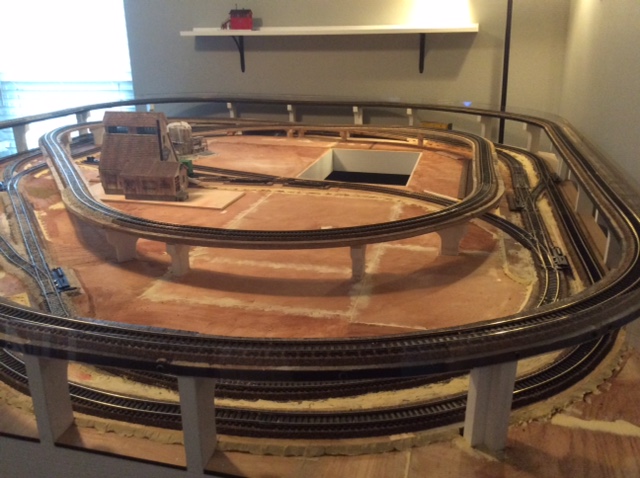
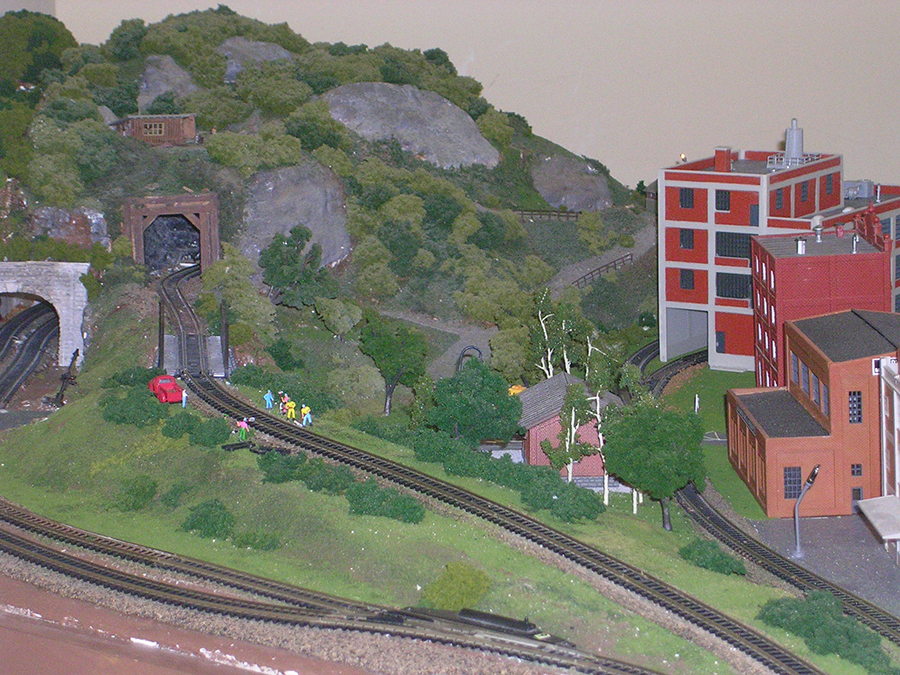
The track work is very close to what I had originally planned… only a minor change. My thoughts have changed about one area and I would appreciate any advice your subscribers might have.
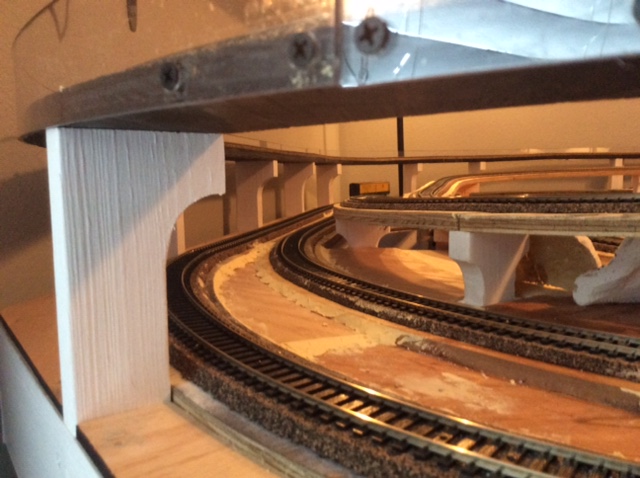
The attached photos show an area that was going to be a mountain and associated grade through sharp cliff walls. I added one line too close to the ascending ramp and it created an issue. Would you mind asking for ideas on this?
Thank you and keep up the great posts. There is a lot of talent out there.
Cheers…Mike …Clermont, Florida, USA.”
Now on to Yale, who is also attacking the thorny question of how to start a model railroad:
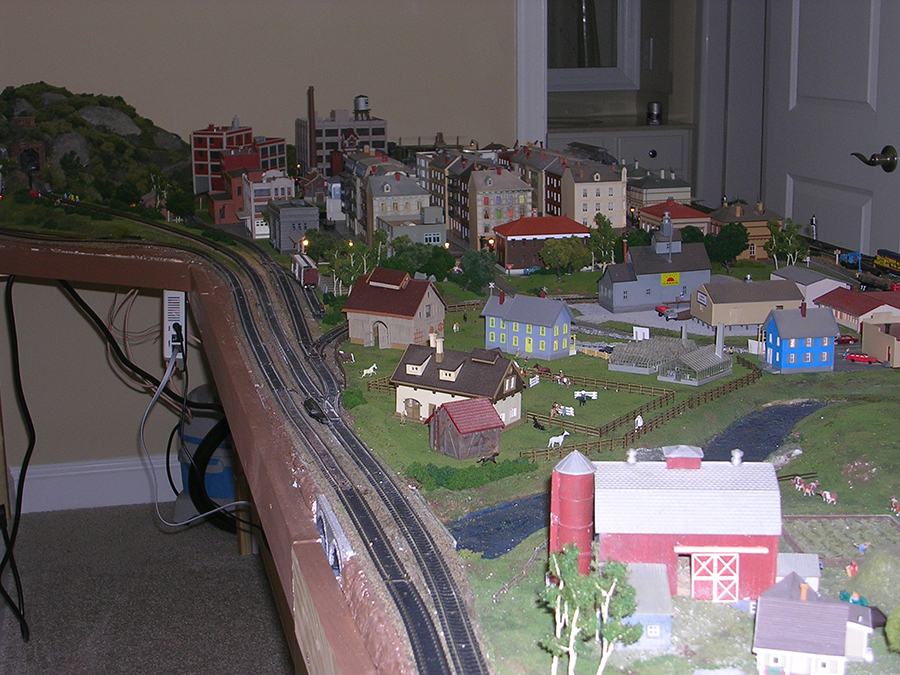
“Al: Thanks for your terrific site. I am an old guy as well. My wife and I are building an N scale railroad. It is called the Fairfield and Cheston line.
It is based on real towns from central Pennsylvania in the USA. We haven’t rebranded our locomotives yet so they still carry the Pennsylvania Railroad road name. We have one Chessy locomotive as well.
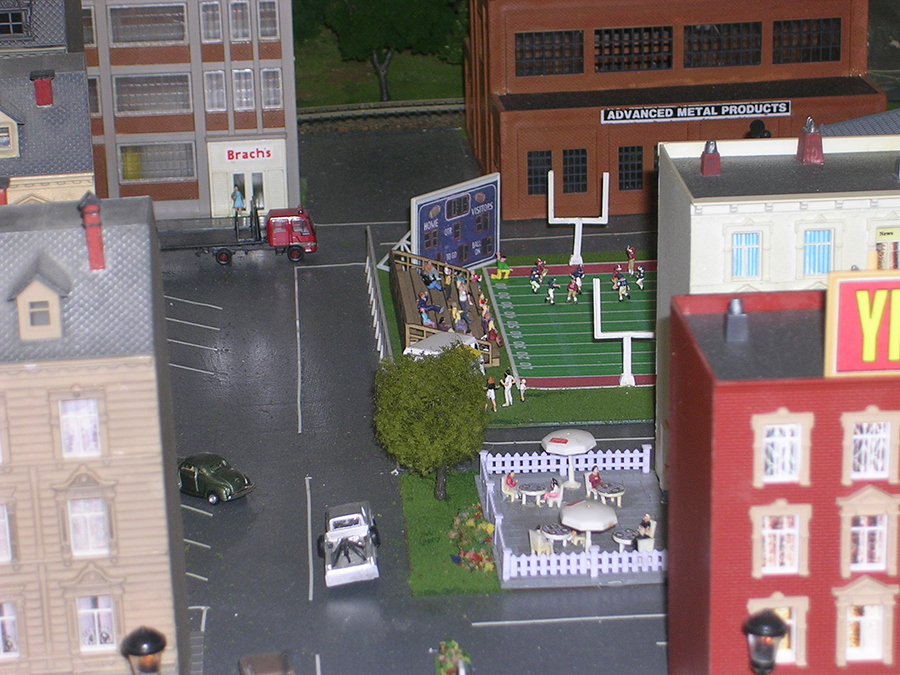
We are modeling in the 1950-1970 era. Our buildings, trucks and cars are from that period. Names on businesses came from the business directories from those towns. Fairfield is a small farming community. Cheston is the big city. We took some license, It really is a county.
The layout is approximately 14 feet long. It is L shaped. The widest part is 5 feet wide. The base was made from do it yourself kitchen cabinets that I assembled. This provides space for all stuff we use for the layout: building materials, track, tools, paint, glue etc. It also provides access to the wiring. One cabinet has bedding in it so when our kids come for a visit they want to stay in the train room.
On top of the cabinets we constructed a framework of 1 x 3 lumber in grid fashion. We used old drop ceiling tiles glued to the framework from which we laid out the surface for the train tracks. The ceiling tiles were cut, dug out to form our river beds and lake. Then lined with plaster. They were finished using Woodland scenic water kits.
Mountains and tunnels were made using foam from all that stuff that get delivered by post. The foam was covered using Sculptamold, painted brown and landscaped. Most of the buildings were kits with a few modified to fit a specific application.
My wife started detailing the insides of some buildings. Takes more patience than I have, but gets us lots of wows when people see them. She even dressed storefront windows. This is a work in progress. Working on a lumber yard on one end and a refinery complex on the other end. This will add another 3-4 feet to the layout.
We just converted the layout from DC to DCC. We have two DCC locomotives and plan to convert a couple of our better DC locomotives to DCC with sound. Turnout operation is so much better with DCC. We have 22 turnouts and most now have companion block signals. The digital controller display shows turnout positions. I am trying to learn how to program routes. This gives new meaning to teaching an old dog new tricks. I even have software that will allow me to operate everything from my laptop. Just need some more learning time.
Hope your readers get something from this.
Yale”
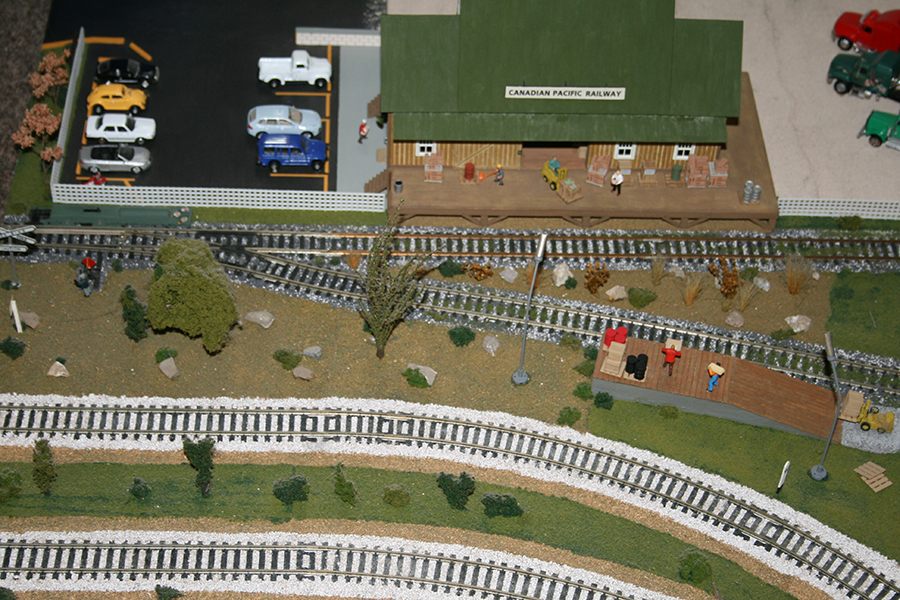
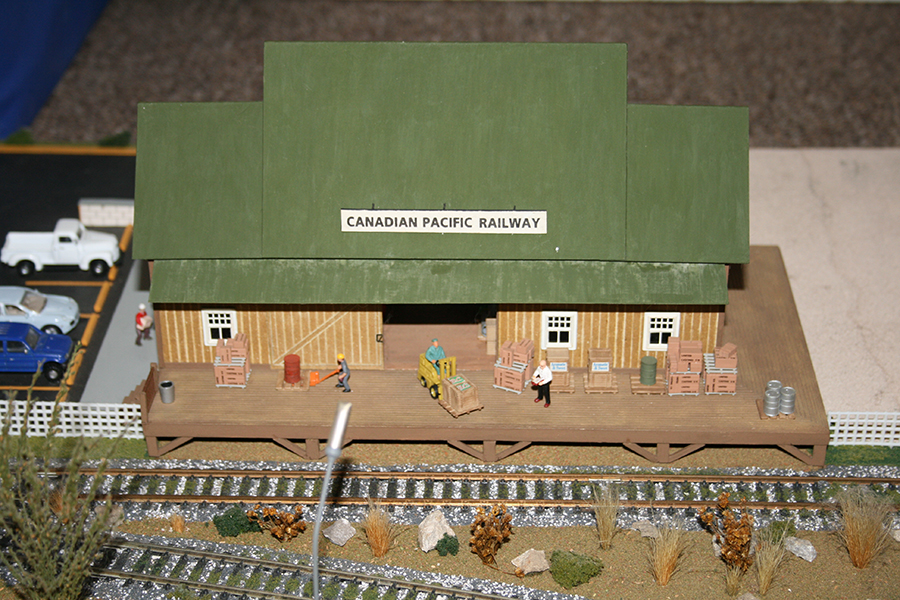
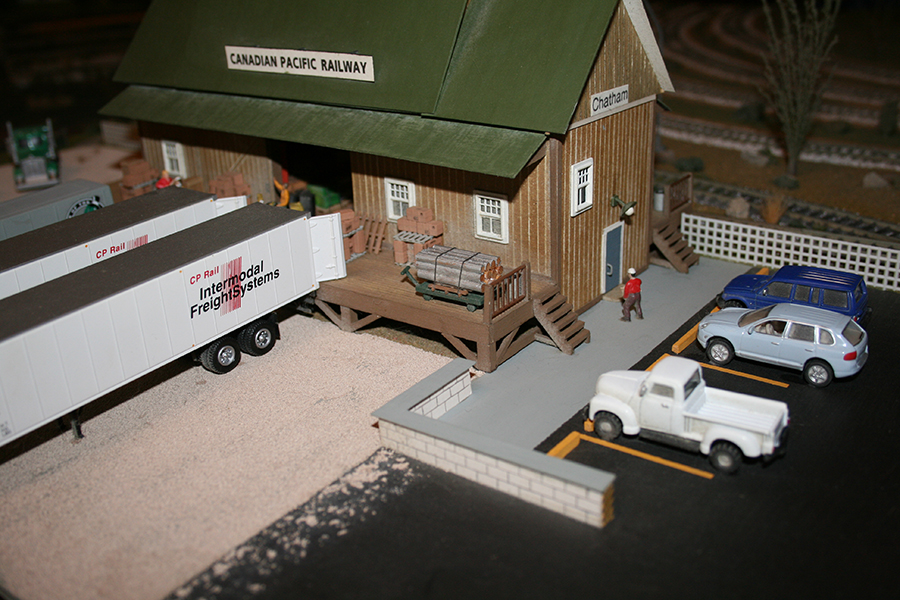
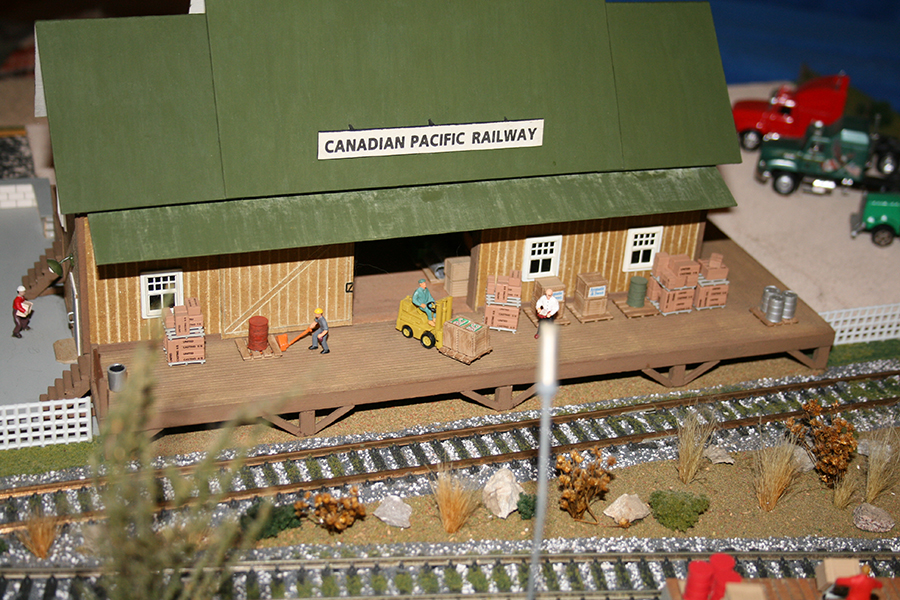
“I thought you would like to see my scratch built Canadian Pacific Freight Station.
The freight station is just down the road from my observatory. Made of the same material as my observatory, cereal box cardboard, and painted with my favorite paint, HUMBROL.
I painted the cardboard, which was a grey colour, an earth brown. I used a scriber to rule off the board lines and then painted the entire building with a clear flat HUMBROL paint.
The roof was a fun thing to do. I painted the roof a mid forest green and when the paint was still tacky, I used a thinner and white wash to give the effect of sun bleached look. I hope everyone likes my freight station the way they liked my observatory.
Thanks Al for all the great emails you send to us around the world. Please keep them
coming.
All the best to you from Dave in Ontario Canada.”
That’s all for today folks.
If you’re still wondering how to start a model railroad, find a space, pick a track plan and get going!
Remember, it’s the start the stops most people…
A big thanks to Dave, Yale and Mike.
It still amazes me what lands in my inbox each morning. Please do drop me a mail if you have anything you’d like to share.
Mike’s been in touch with his scratch built HO scale buildings:
“Al: I thought this might be of interest to beginners who are apprehensive about trying to scratch build for their layouts.
There are so many really good professionally produced structures, but there is a real satisfaction in making them myself. I just spent two days driving around southeastern Nebraska searching for old buildings to model. To encourage beginners to try here is how I go about modeling.
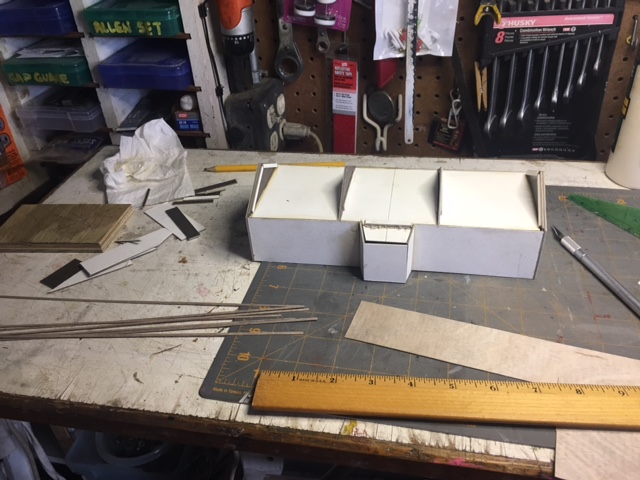
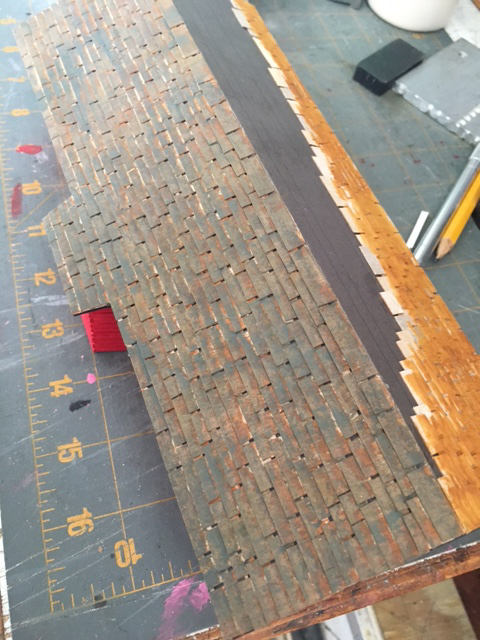
This photo shows the “skeleton” of a small station I found in Roca, Nebraska. I build the raw bones out of matte board. It cuts fairly easily, is rigid and glues easily.
The foreground shows the .4 mm plywood I like to use to mimic siding and cedar shakes. For the siding I cut 5-6 mm strips of the .4 mm plywood and glue them along alignment lines to maintain a level look.
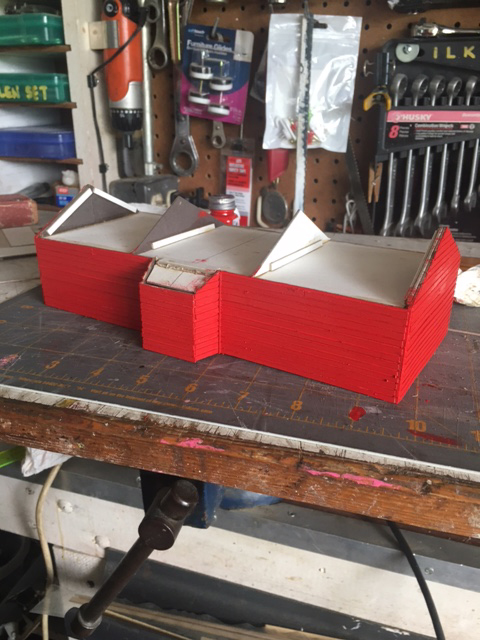
Here the siding is complete and painted.
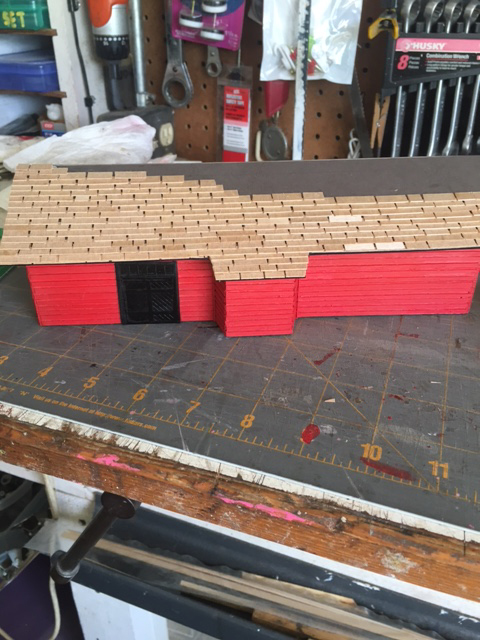
This photo shows the roof on and the beginning of mimicking cedar shakes. I cut strips of the .4 mm plywood again. Then I cut random lengths of the strips and glue them again along alignment lines. I use 4-5 mm strips.
This photo is showing the base color as if the shakes were brand new and being installed.
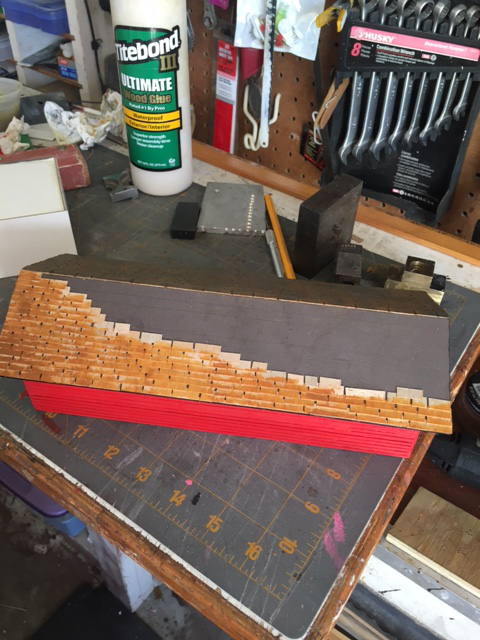
The shakes are now weathered with Stone Gray and Slate Gray dyes from Woodland Scenics. I have also started to cut the doors and windows in using my Dremel and a thin cutting disc.
The roof is completed on one side. I liked the final look and just did some minor detailing to cover the light spots.
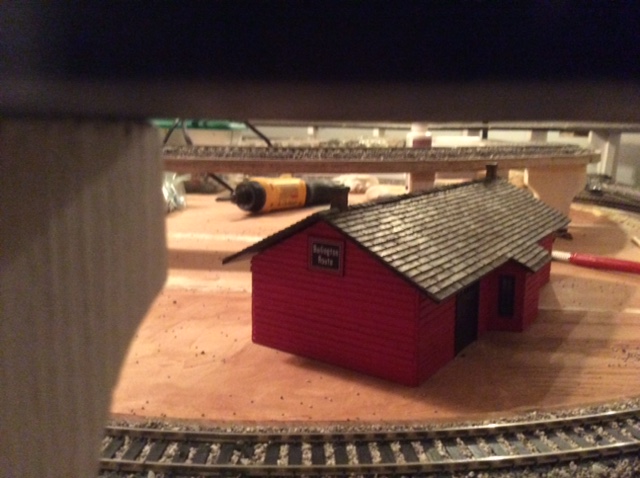
This is nearly complete as I wait for windows to finish the building.
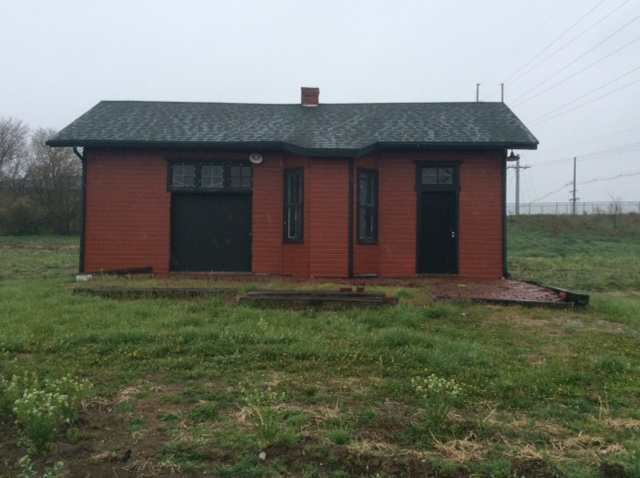
Here is the original building as it has been restored by a Historical Society. I extended the right side, but maintained the overall look.
Good modeling to all.
Mike
Clermont, Florida”
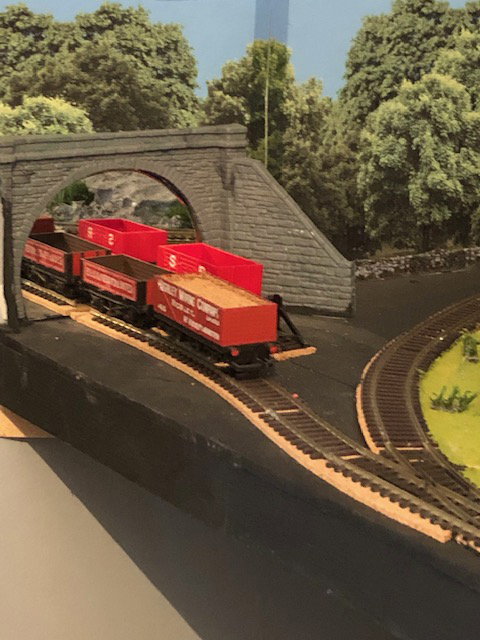
“Hi here is another picture of my layout with the farm scene almost in completion I have also included a picture of a tunnel using a mirror to give the image of depth.
Relatively cheap from your local glass supplier with a cost of thank you to £1.
Enjoy and more to follow soon. The cable car on the far right of the station is next along with the ground work on the farm yard.
See you soon, comments please!
Andrew”
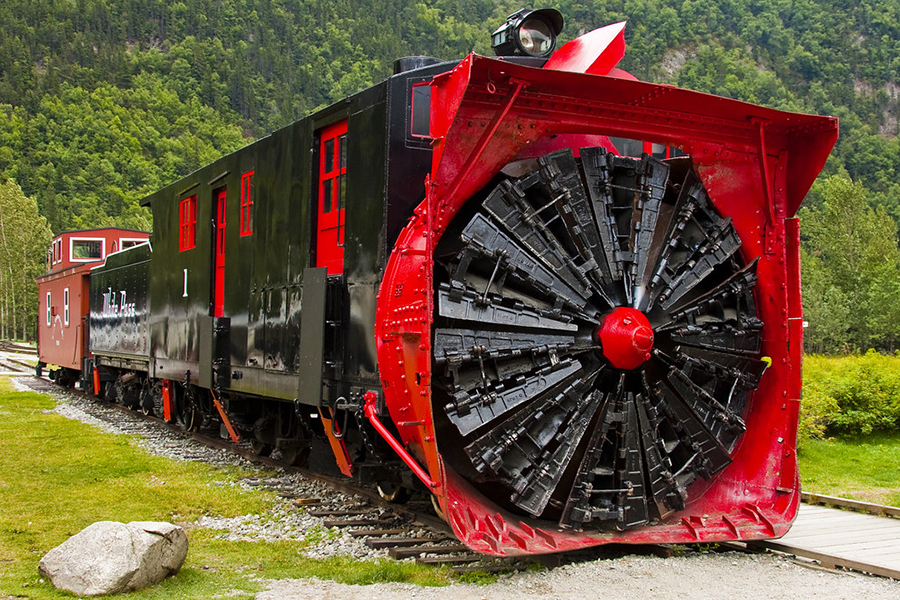
Frank’s been in touch again, after I posted his snow engine pics:
“Al;
That snow plow was used on the white Pass narrow gauge railroad in the Yukon territory, attached is another side shot of it. I just got back from Alaska 2 weeks ago.
“Thanks for a great service to the modeling community.
Just as a bit of interest, your hall of fame member Brain from Knysna was one of the persons who introduced me and my late dad to scale model railroading.
Brain had a model railway shop in Port Elizabeth in South Africa, during the 1970s and we frequented his shop most Saturday mornings.
Greetings from South Africa.
Henry van Wyk”
That’s all for today folks.
A big thanks to Andrew, Fred and to Mike for sharing his scratch built HO scale buildings.
Please do keep ’em coming.
And don’t forget the Beginner’s Guide is here if today is the day you stop dreaming and start doing.