Charles has been in touch with his coal dump pit scratch build:
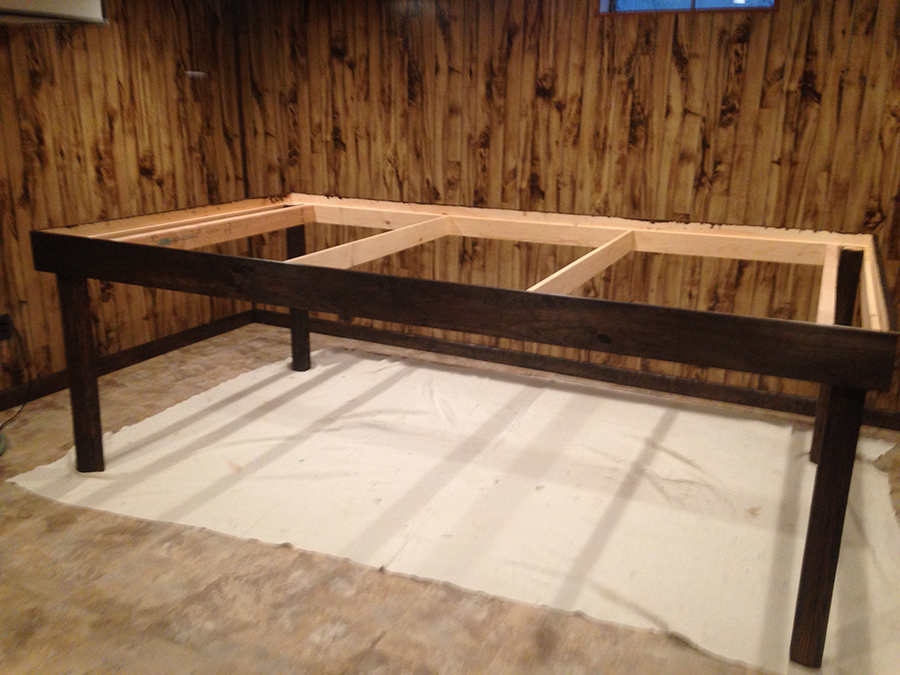
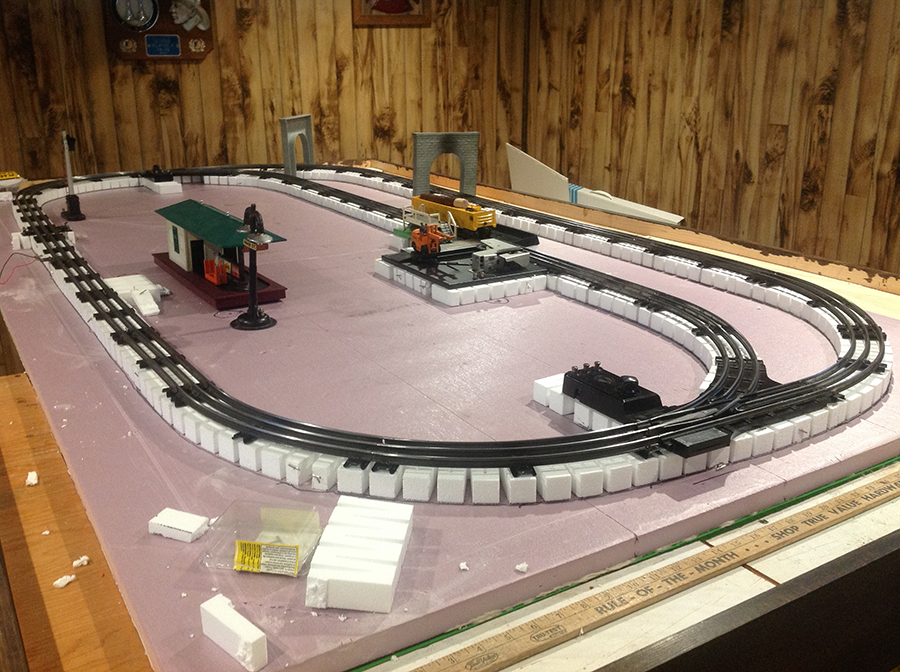
“I recently bought a Walthers Northern Power and Light building kit to assemble and use on my modest 4X8 layout I am building.
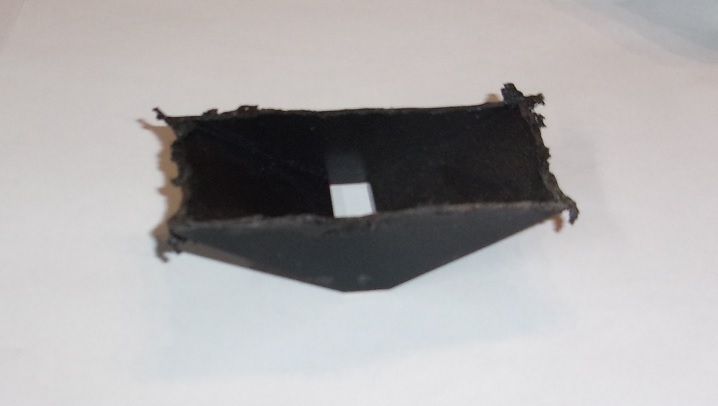
I would have liked to have used the complete coal dump pit that came with the kit but since there was a 2X4 sitting edgewise directly under where the coal dump pit was to go I couldn’t (or didn’t) want to use the whole thing.
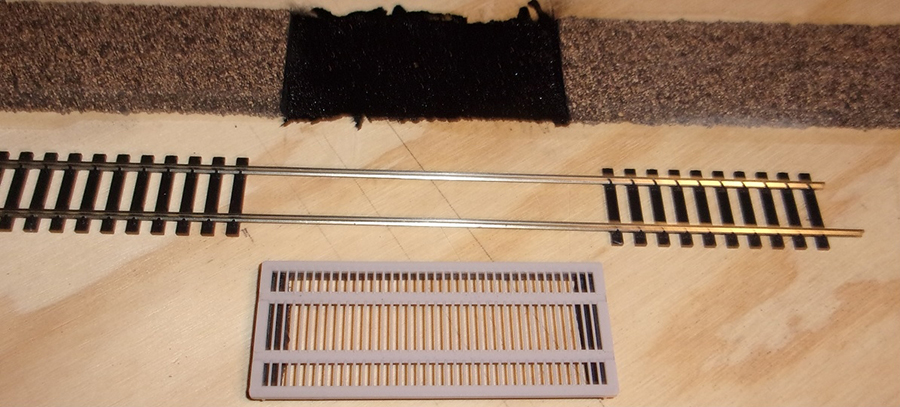
So I decided to use what ever amount of the sides and edges of the pit that would fit with the top grate and have it sit on top of the plywood base.
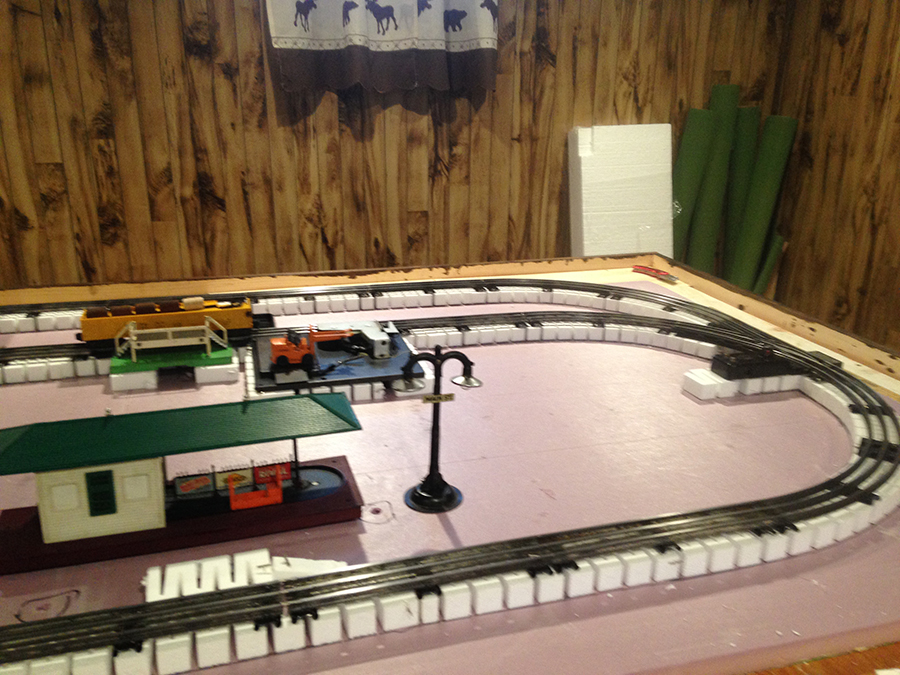
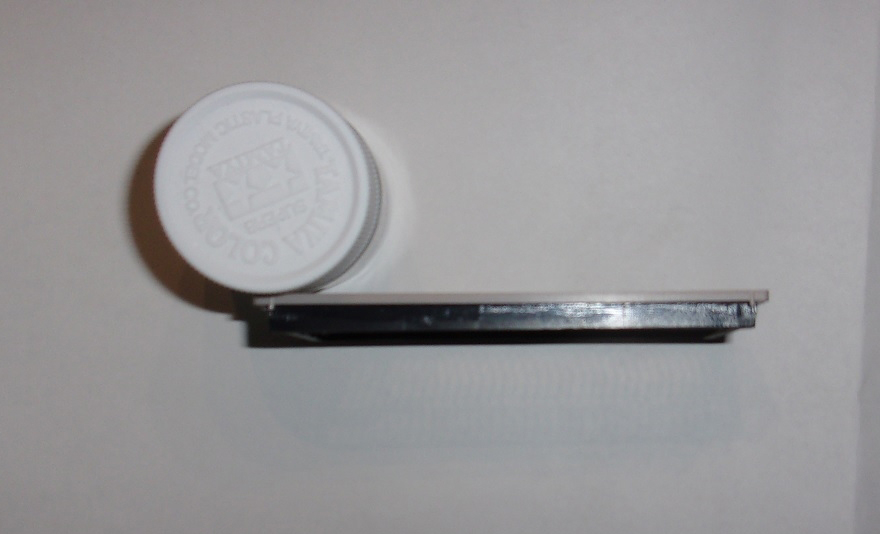
I knew the cork road bed was 5mm (or 3/16 of an inch) high and the top grate had slots for the track to set into so I measured on the side of the coal pit slightly more than 3/16 of an inch from the bottom of the slots that the rails would go into and scribed a line all across both sides of the pit and cut along that line and both ends with a Dremel tool using a thin cutting disk.
I then cleaned up the edges of the melted plastic and did a trial fit into the section of road bed I had cut out for it to fit into. Of course it was too high which is what I had planned on. If cut too short then you would be left with a gap between the edge of what was left of the pit wall and the plywood.
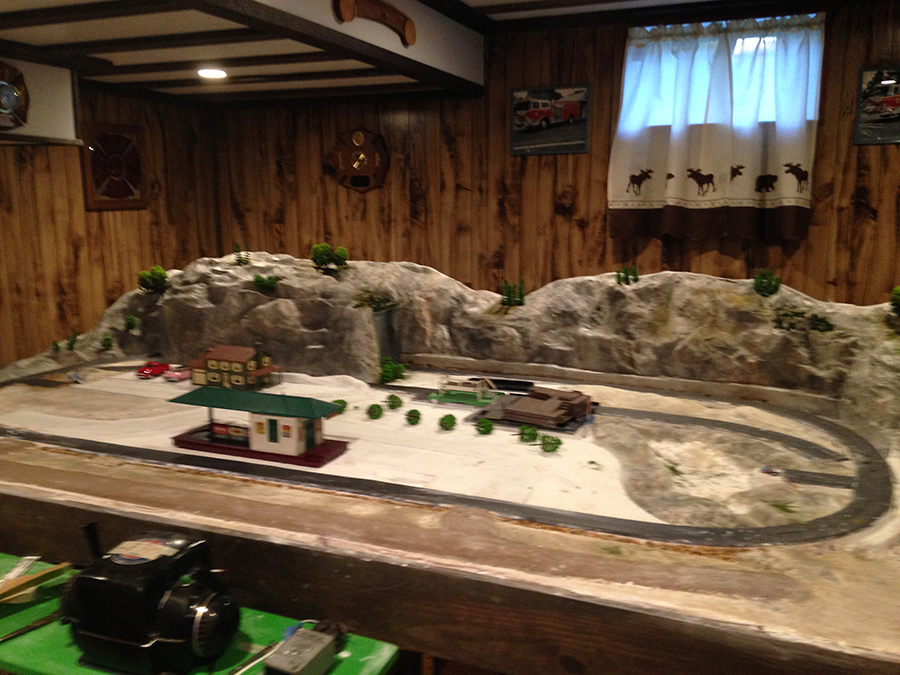
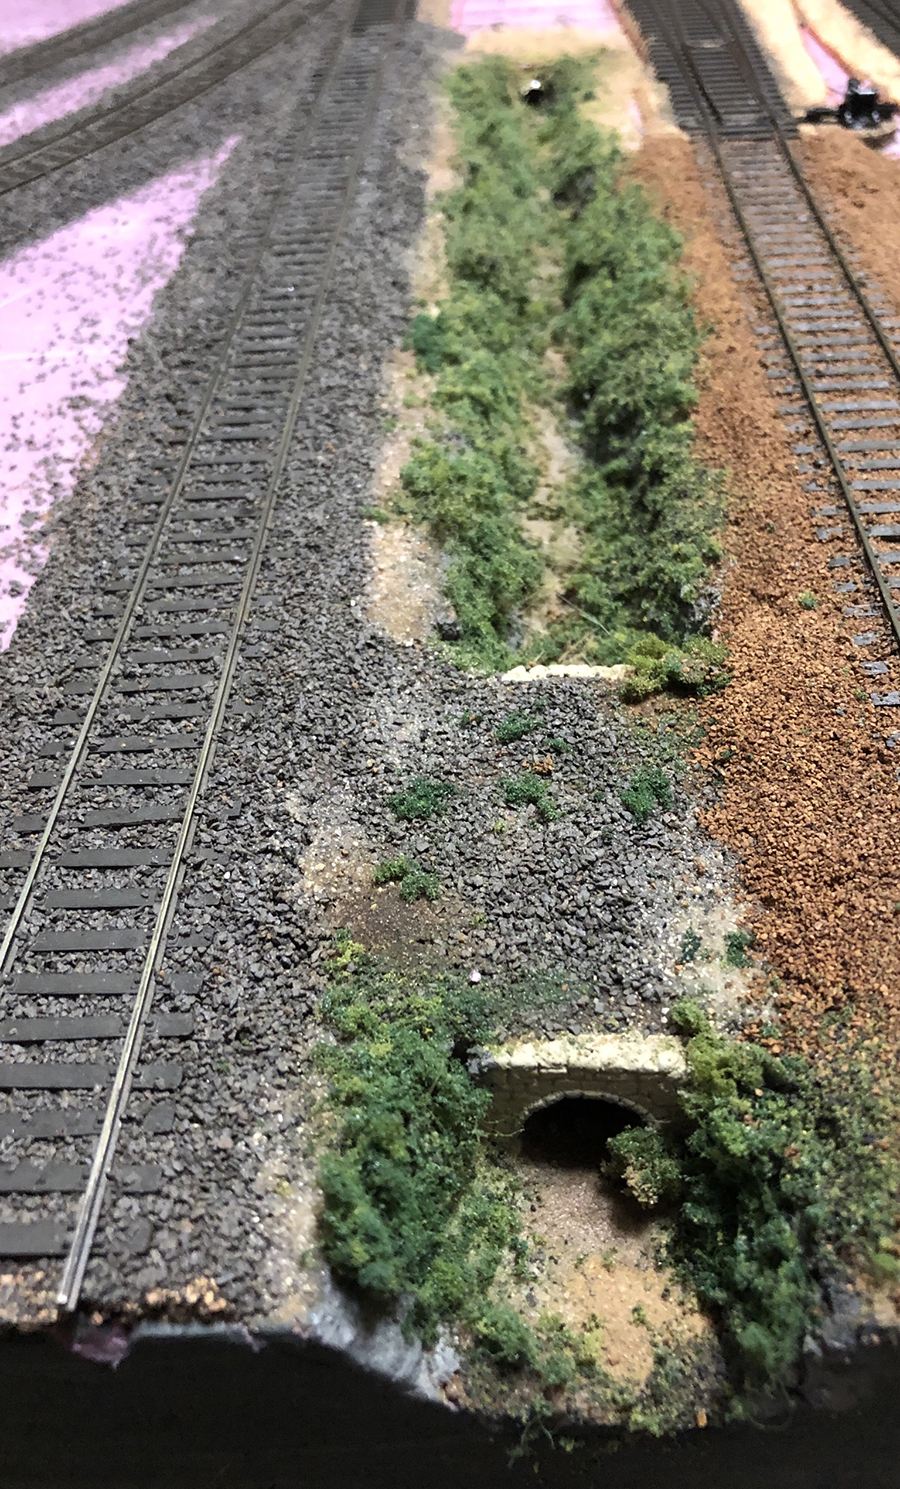
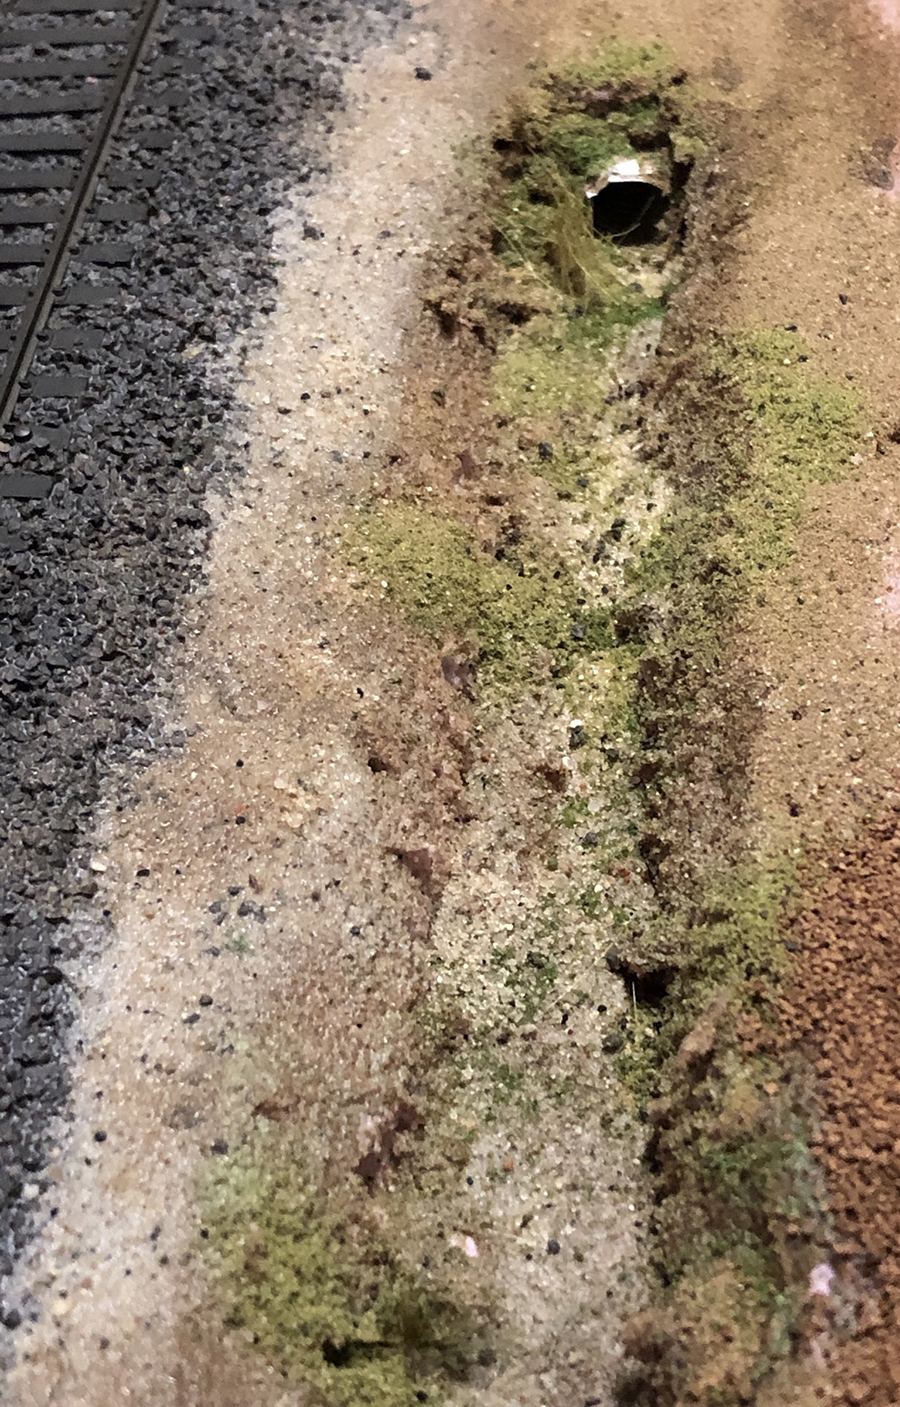
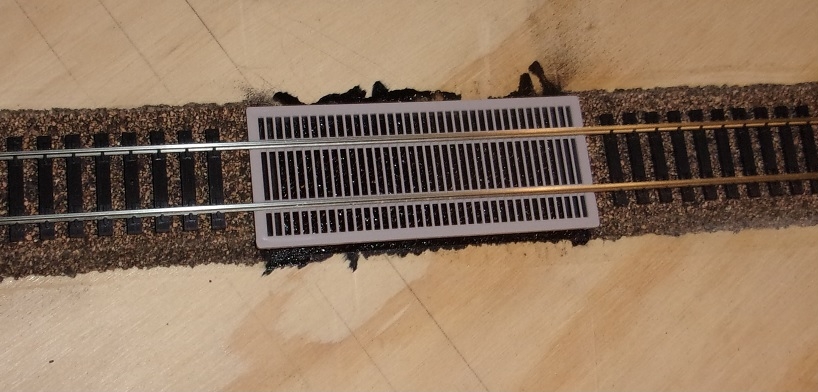
I then sanded by hand with sand paper in a sanding block and would sand a bit and try it for fit then sand some more. Need to test often. When I finally had a perfect fit I painted the area directly under where the unloading grate would go with black paint.
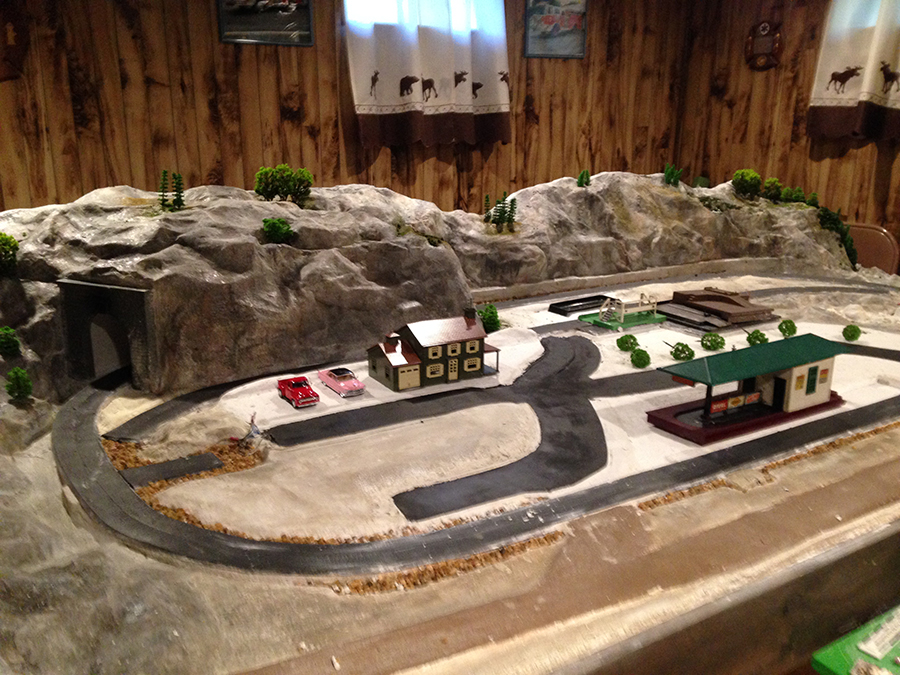
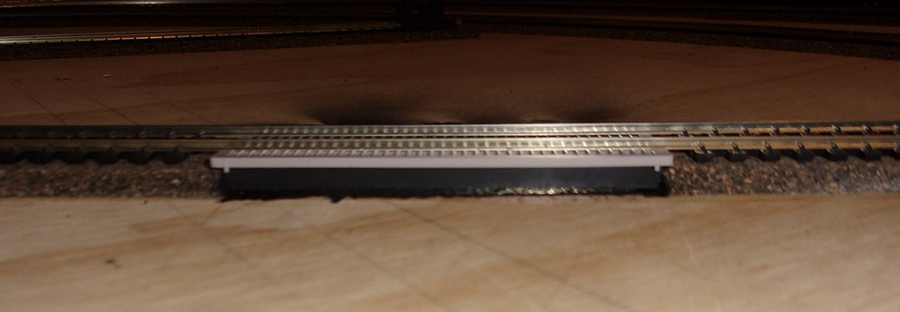
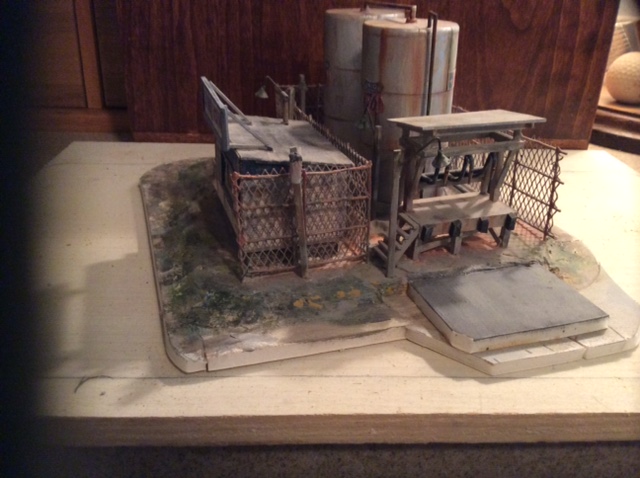
BTW: the pebbly surface left from removing the cork road bed resulted in it looking like little lumps of coal which l thought was great. When finished I put everything together and had what I thought was a great looking representation of a coal unloading pit without actually having a real pit underneath.
I thought perhaps some of your readers might like to know how I went about accomplishing this.
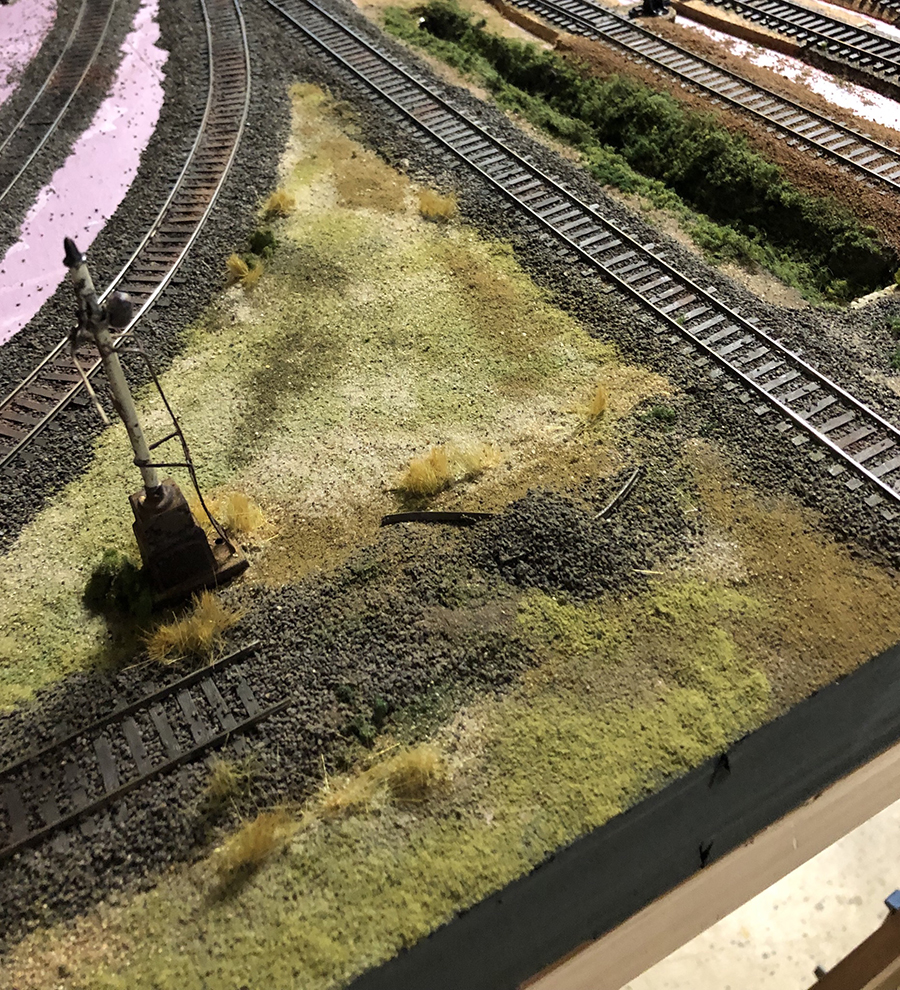
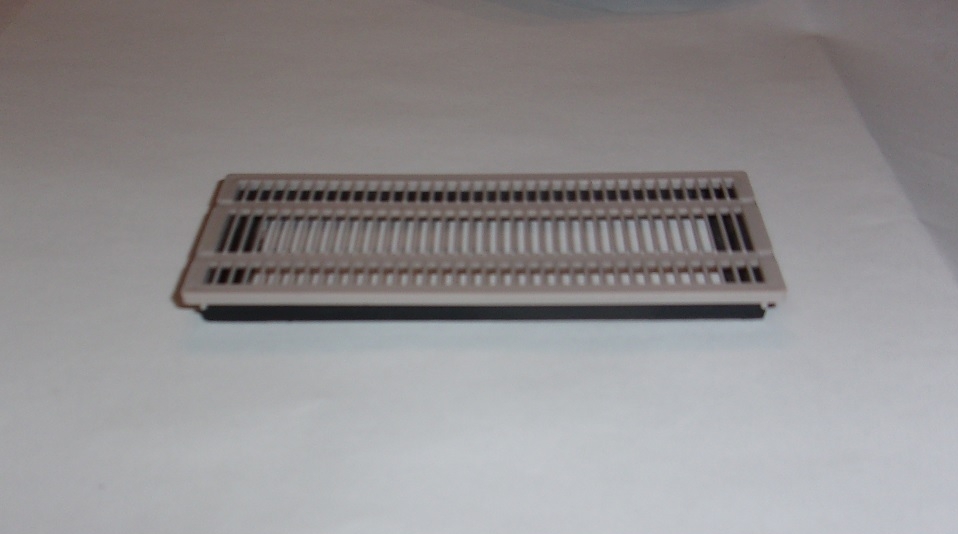
The first two pictures show just how little is left of the coal pit once it was sanded down to fit. The next picture shows the pieces ready to assemble. The next two pictures show the finished assembly. And the last picture shows what was left of the pit that was not used.
Charles
State of Missouri, USA”
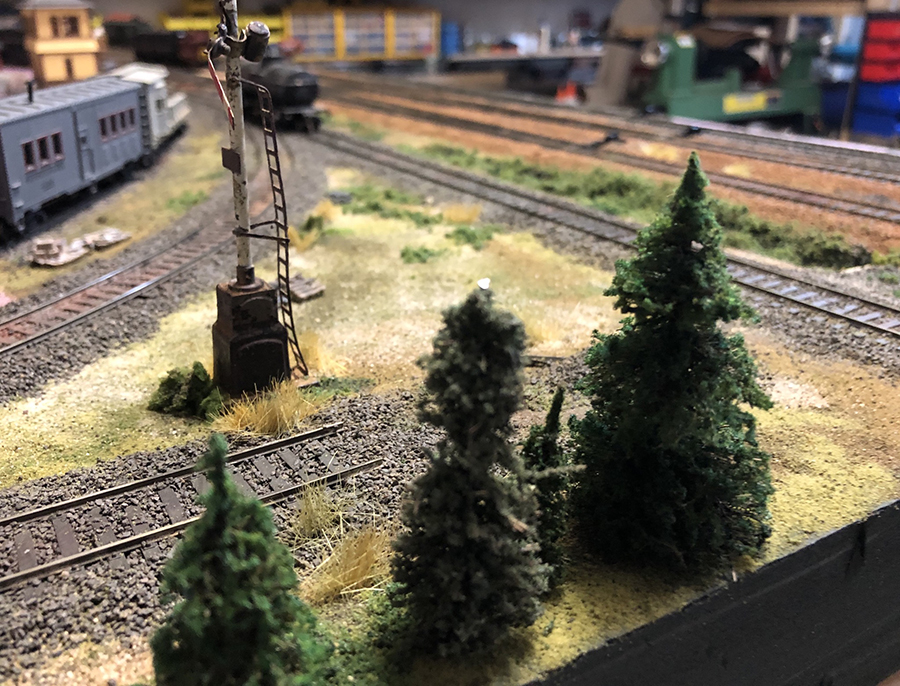
And now on to Mike, who has made these marvellous creations:
“Hello Alastair:
I have a friend who collects aircraft. In fact he has a large glass shelved case with 40 airplanes in it. He has a couple of Spitfires (my absolute favorite aircraft from WWII).
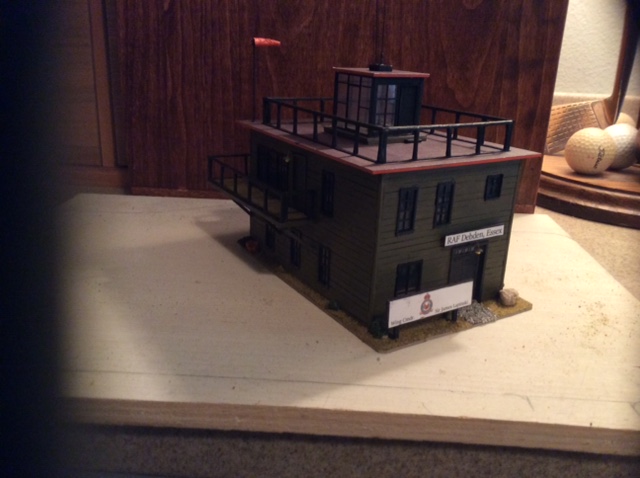
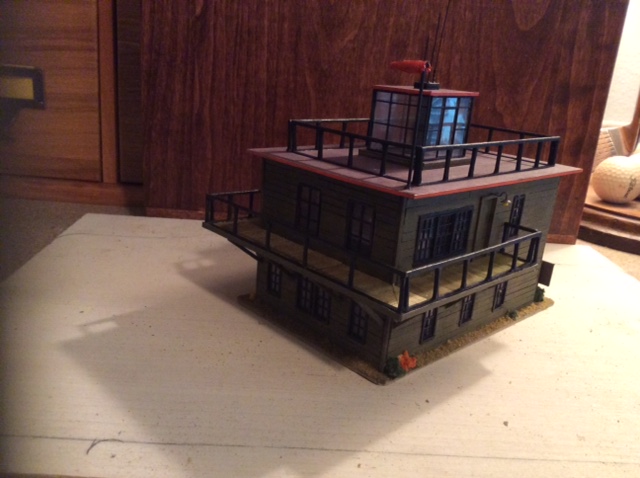
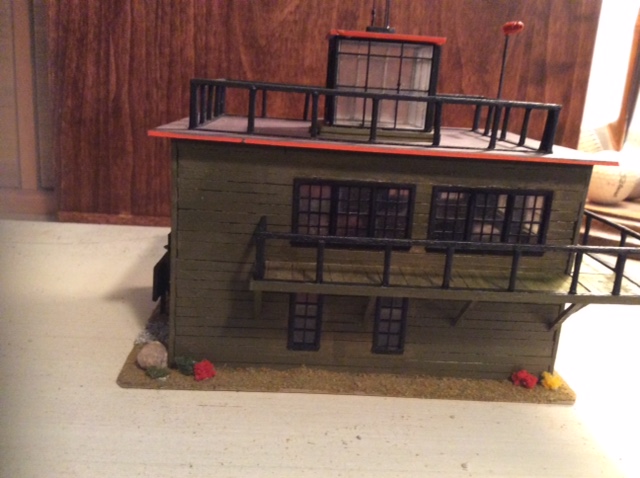
I decided to build a control tower similar to one’s I found on the Internet. My mum’s family were from Essex, so I chose a field there. The only purchase was the windows. Everything else was from materials laying around in my scrap. A lot can be done with a little.

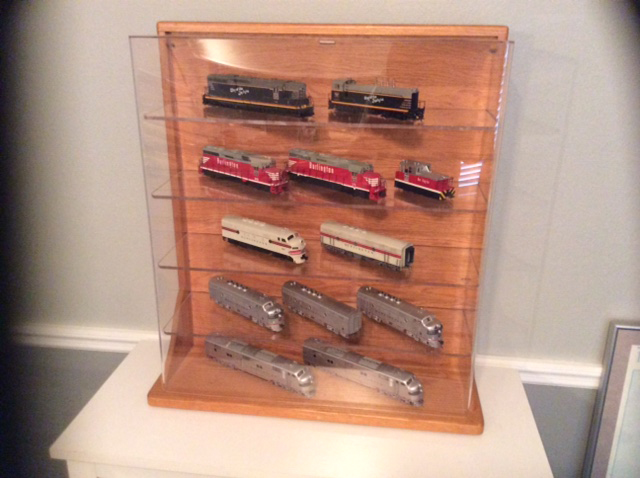
I found this display case in a second hand antique mall. It is perfect for keeping and displaying my locos dust free.
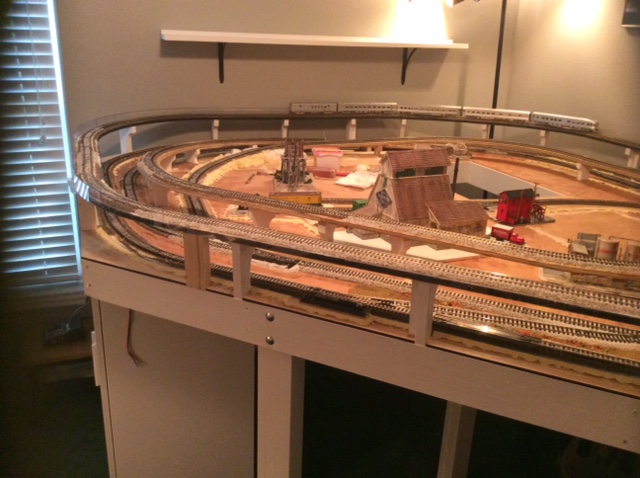
After building for others for the last few years, I finally started working on my own layout. Progressing slowly to plan.
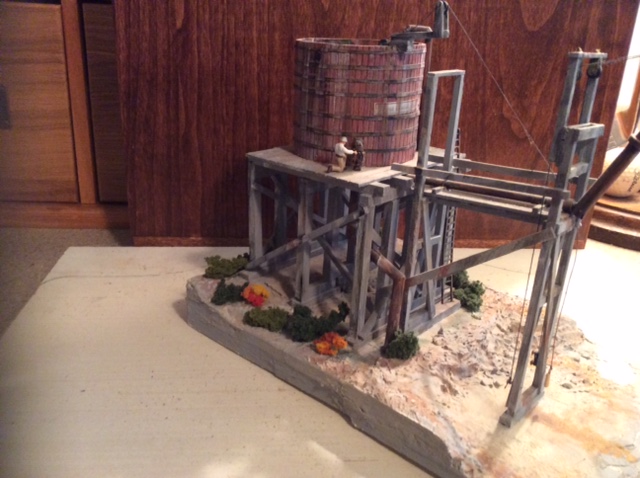
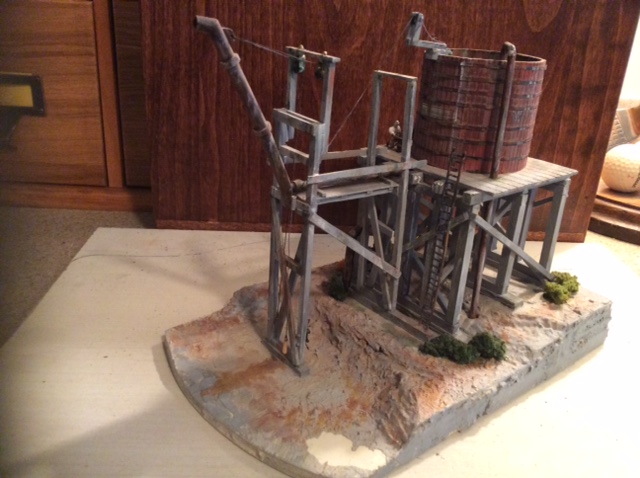
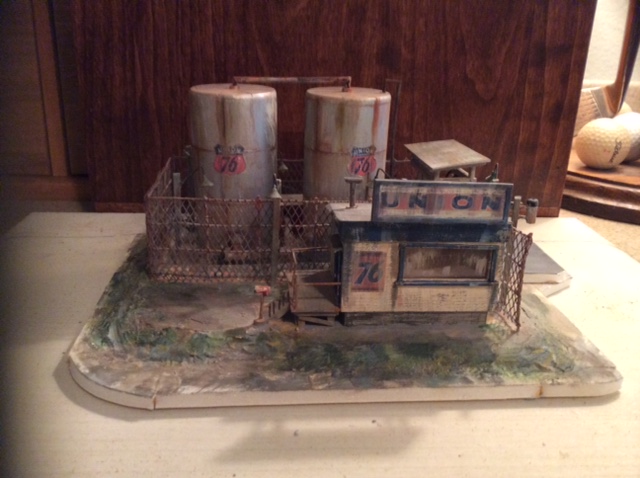
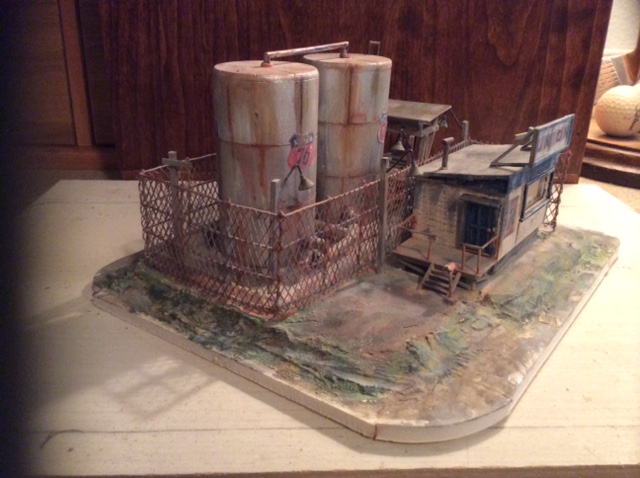
I include three of the scratch built structures that I am incorporating into my own layout. My era is 1950 and prior. I am traveling to our Midwest (Nebraska) to meet up with my cousin. He was the chief designer for the Lincoln, NE museum.
We will spend two days traveling around the state looking for and photographing, taking dimensions of old wooden structures to scratch build. The best part of model railroading is building structures….
Cheers, Mike from Clermont, Florida”
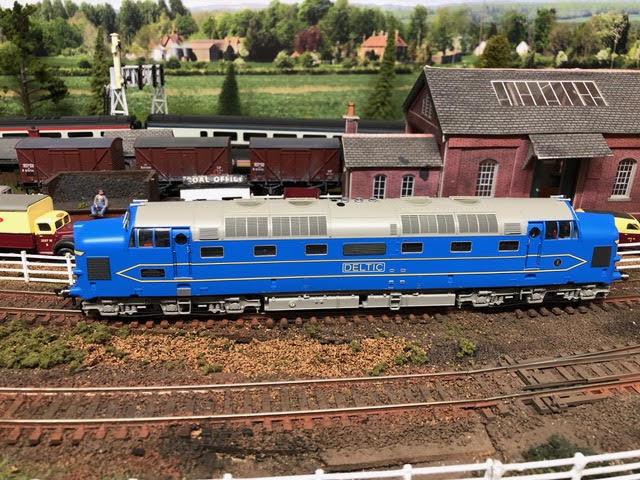
“Hi Al, just received my Deltic PD1 back with sound and EM2 speaker fitted, great sounds now from a very nice looking Loco.
I also have the other deltic which is under repair just now, but imagine the sounds from 2 of these Beasts roaring around the layout?
All The best
Dave”
A huge thanks to Charles for his coal pit scratch build, and to Mike and Dave, I really did enjoy putting this post together.
Fingers crossed I’ll have a better week than last time (we all get them, don’t we?)
Everything seemed to go wrong for me, and I know some of you, for some reason dropped off the list. Hopefully you are back on now.
If you missed any of the posts, these links should get you up to speed:
Bob’s very different way to make a railroad
More from Jim on his stunning layout
That’s all for today folks.
And if you’re itching to get started on your layout, don’t forget the Beginner’s Guide is here.
That’s all for today folks. Please do keep ’em coming.
Best
Al