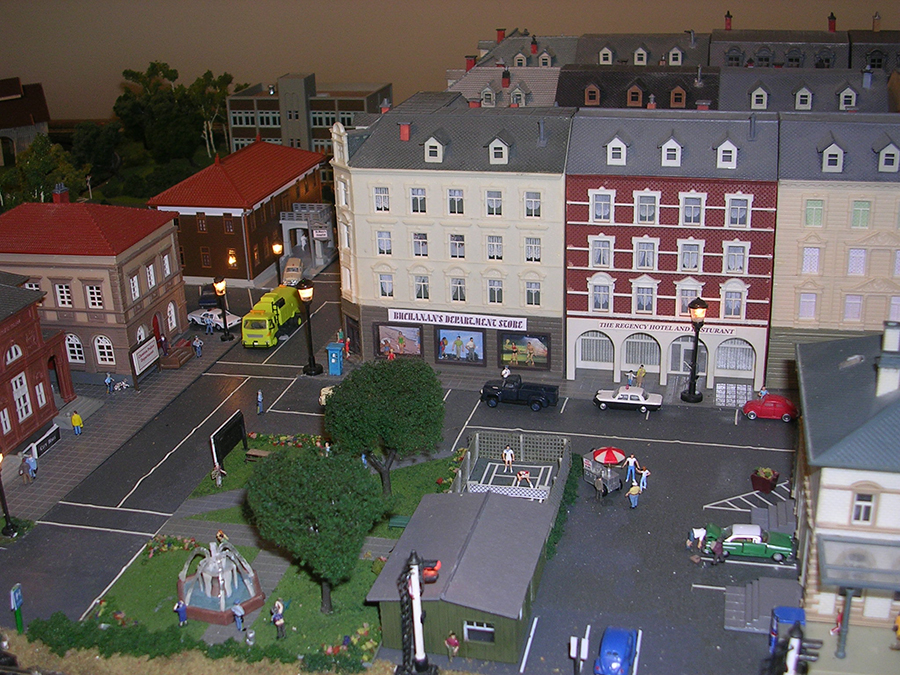
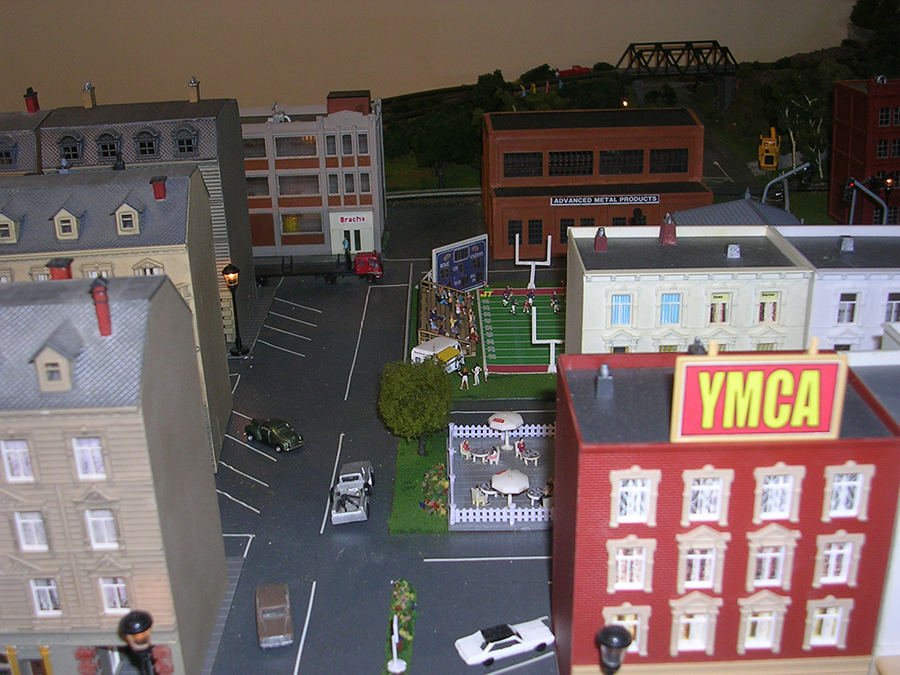
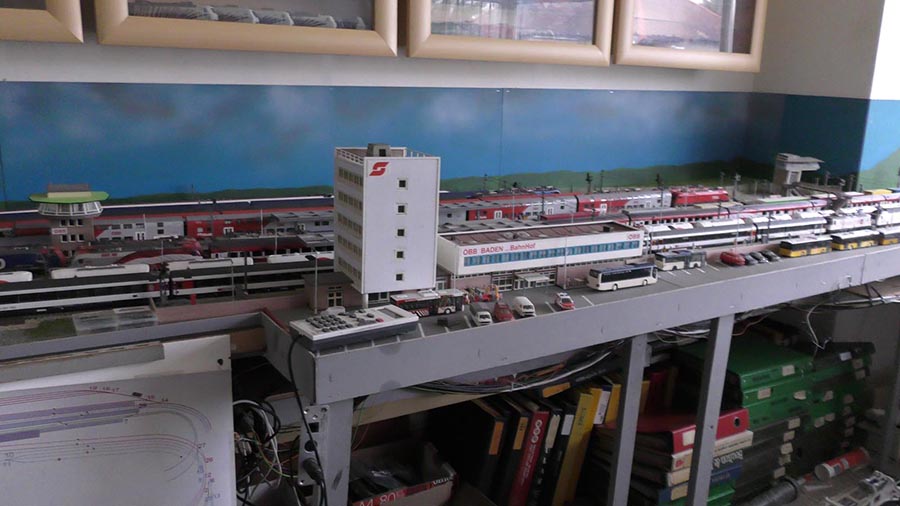
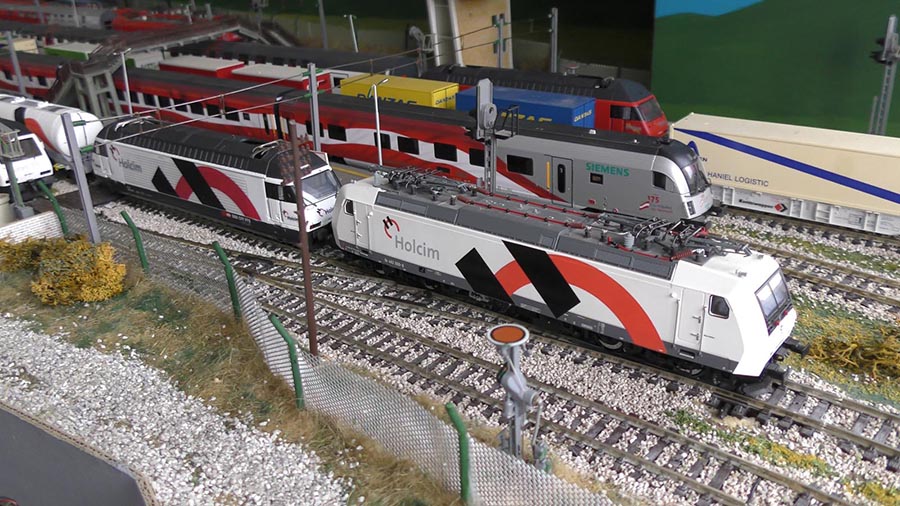
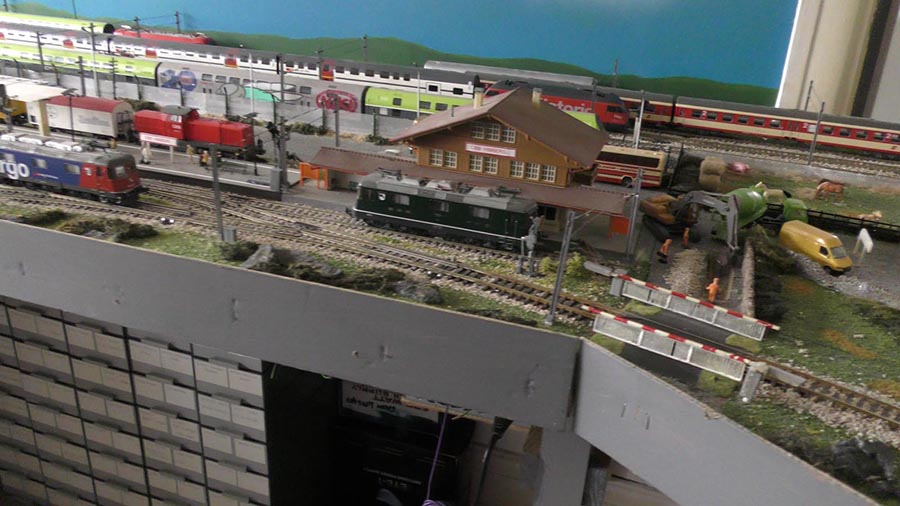
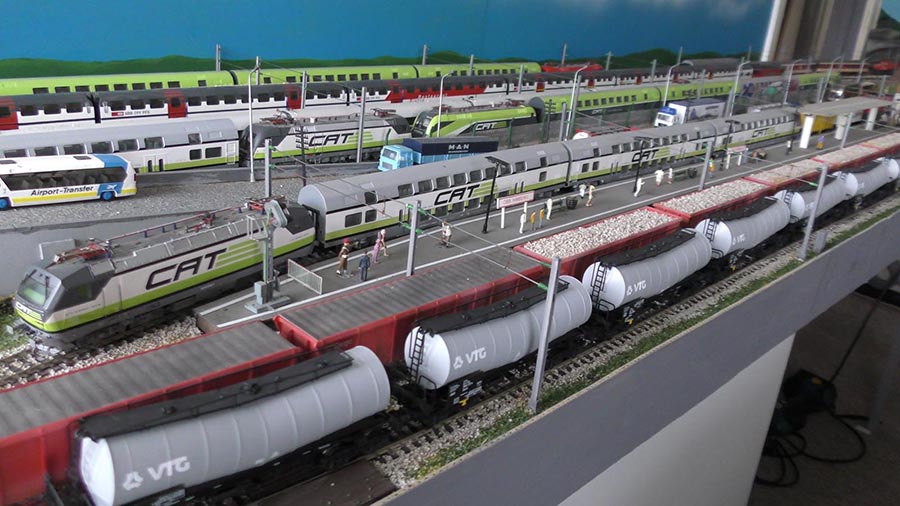
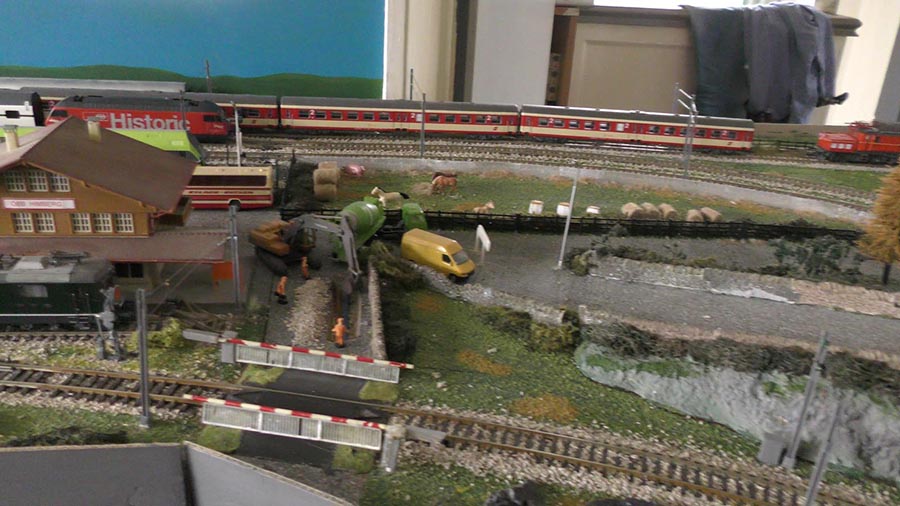
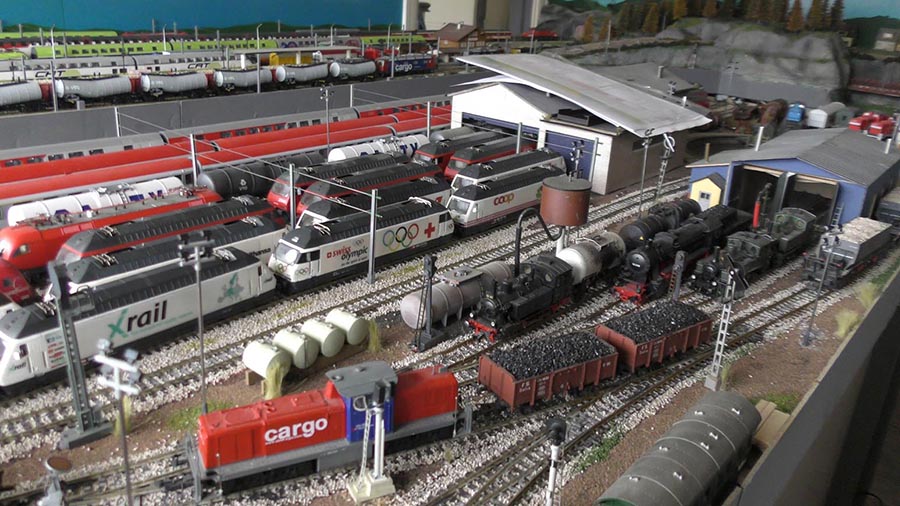
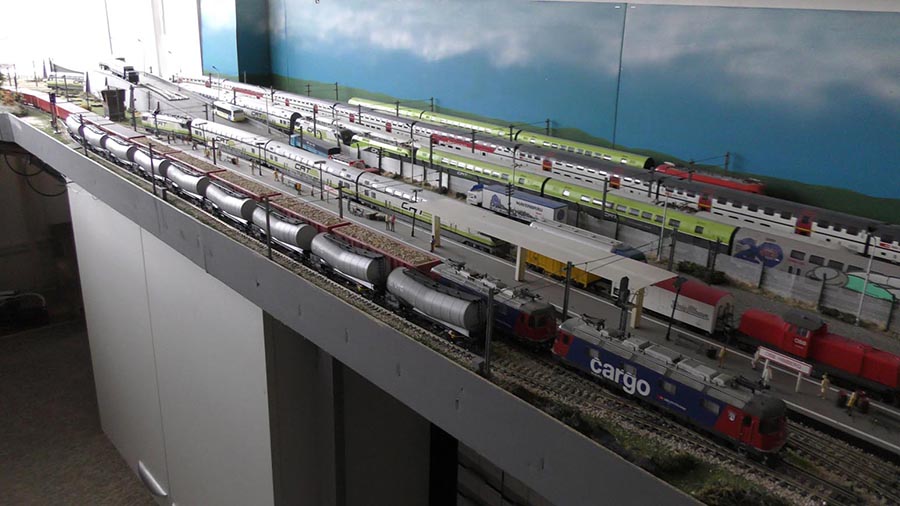
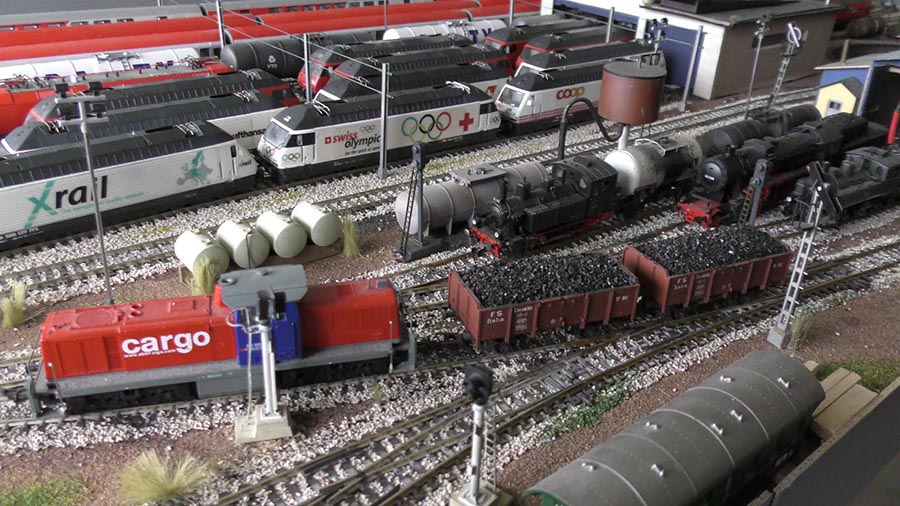
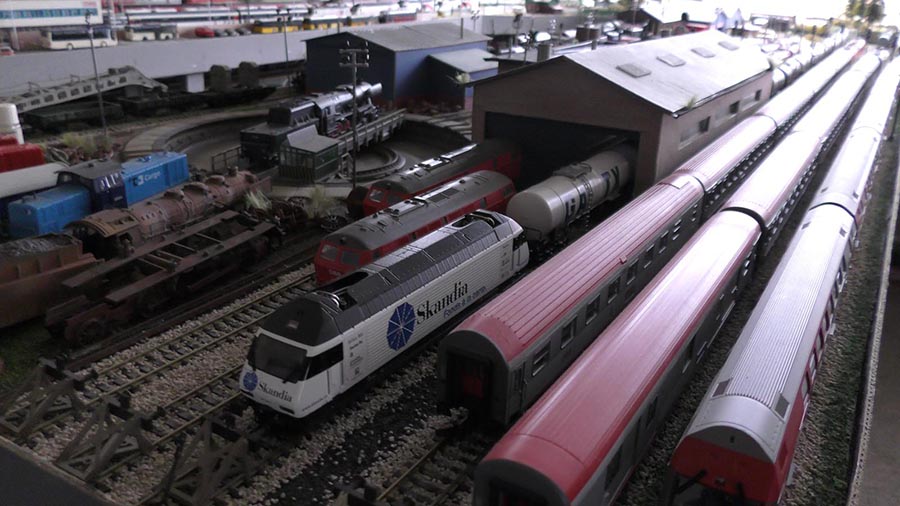
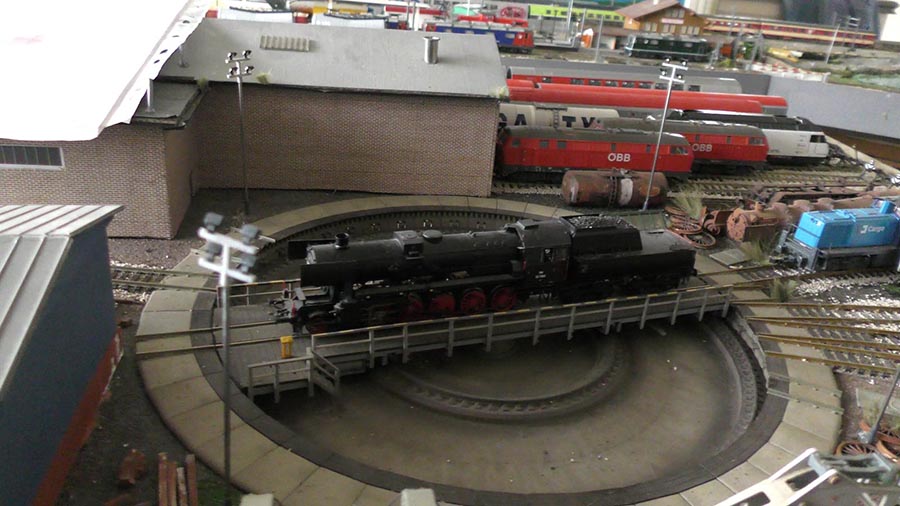
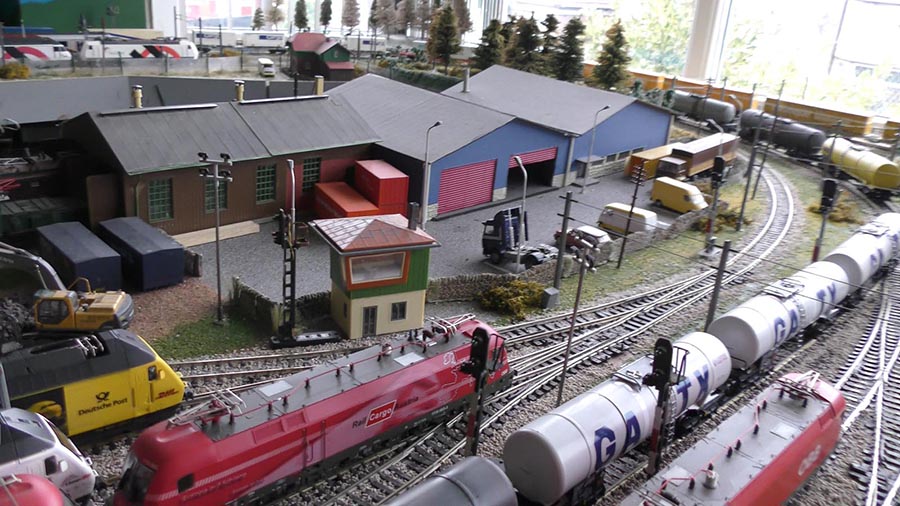
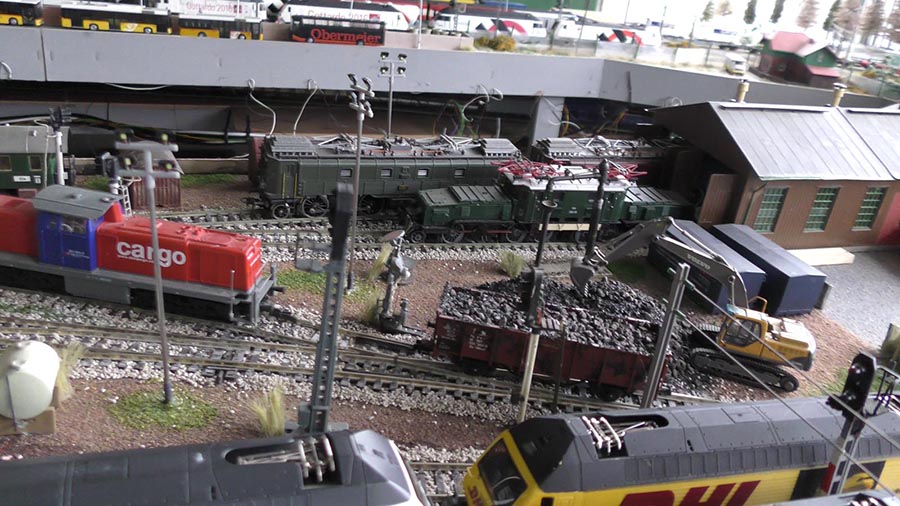
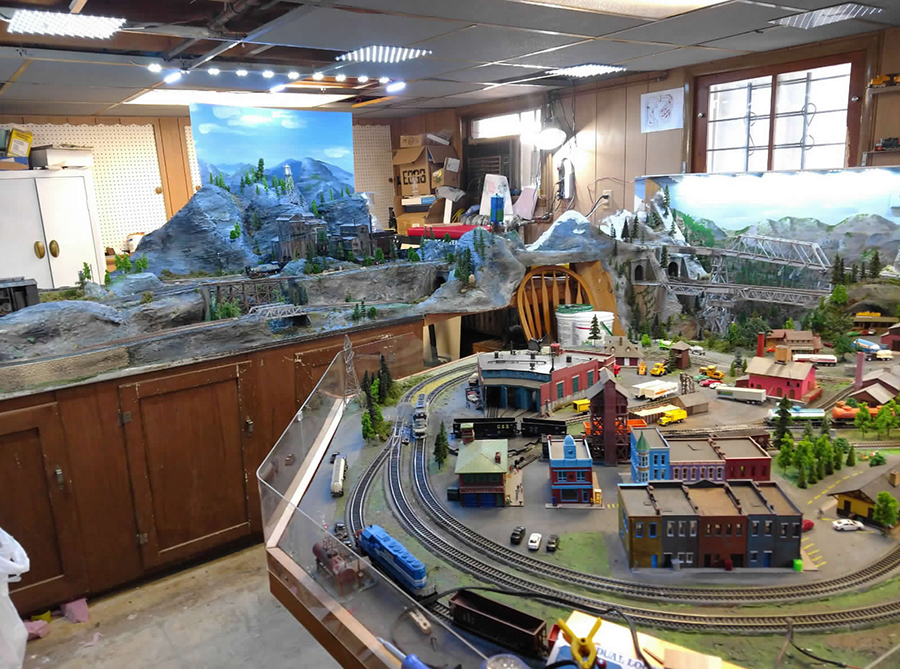
Jim’s 4×6 train layout

Jim’s been in touch with his 4×6 train layout. But first, we start with Gordy:

“Things I have found useful:

Mix latex paint with wet Plaster / Basecoat, same color of scenery if chipped will not show. When applied, sprinkle fine mixed scenery material (sand, leaves, wood chips, twigs)
Chop up in an Old Blender.

Leave gaps/( loose Joiners) for tracks to expand / contract track gets out Of gauge on curves & switches.

The greatest frustration is to have derailments in an operating Session. (Losing an ore train, with loose iron ore is really bad — worse in tunnels, you can’t reach)

After years of running trains, when we dismantled layout, we found some ore cars inside the tunnels.

Good wiring, 16 ga. minimum Size, clean joints, use 60 / 40 solder with liquid rosin flux, DON”T MOVE JOINT UNTELL SOLDER HARDENED!

Cold solder joints are a railroaders dilemma (and electricians ) use color code – or have fun tracing wires. Same on circuit boards. Engines etc.

Make use of weeds, some bushes makes fine Trees, spray with cheap hair Spray, sprinkle with Leaves, (Model Woodland Scenecs eg.)

Easy way- (Shake & Bake Method ) Put Sprayed Tree, in Plastic Bag with Foliage, and Shake.

Gordy”

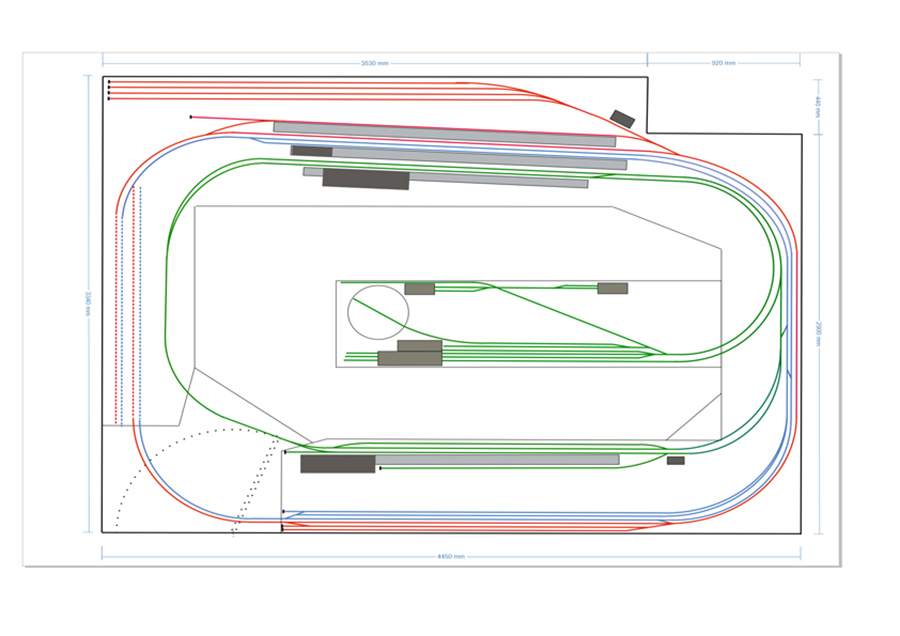
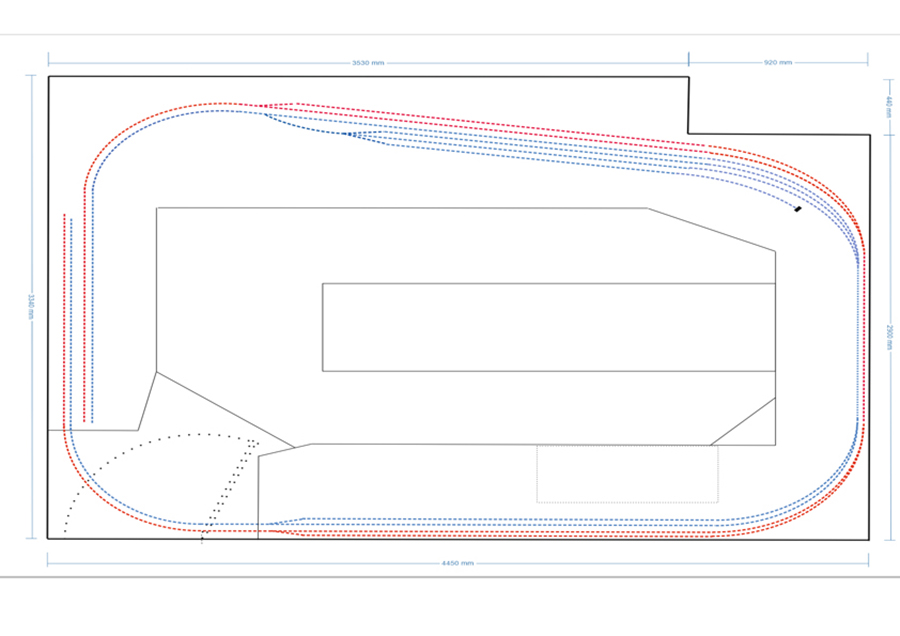
train layout plan

train layout show

train layout show

train layout show


train layout show

“After 40 years of being away from model railroading, I jumped back in on or about January of this year.

I’ve purchased some engines. 15 received so far, and about 50 pieces of rolling stock, more coming.

Not being as proficient as my colleagues on this blog, I bought folding tables, 2 x 2 foam board, the easier to take apart my dear and have raken over a good part of our sun room.

My usable space is 7’5″ x 15″0″ and this is what I have accomplished so far.

Ken”

start of railway

I love what Ken has done – purely because it’s making a start, and that’s what it’s all about. Now on to Jim:

“Al,

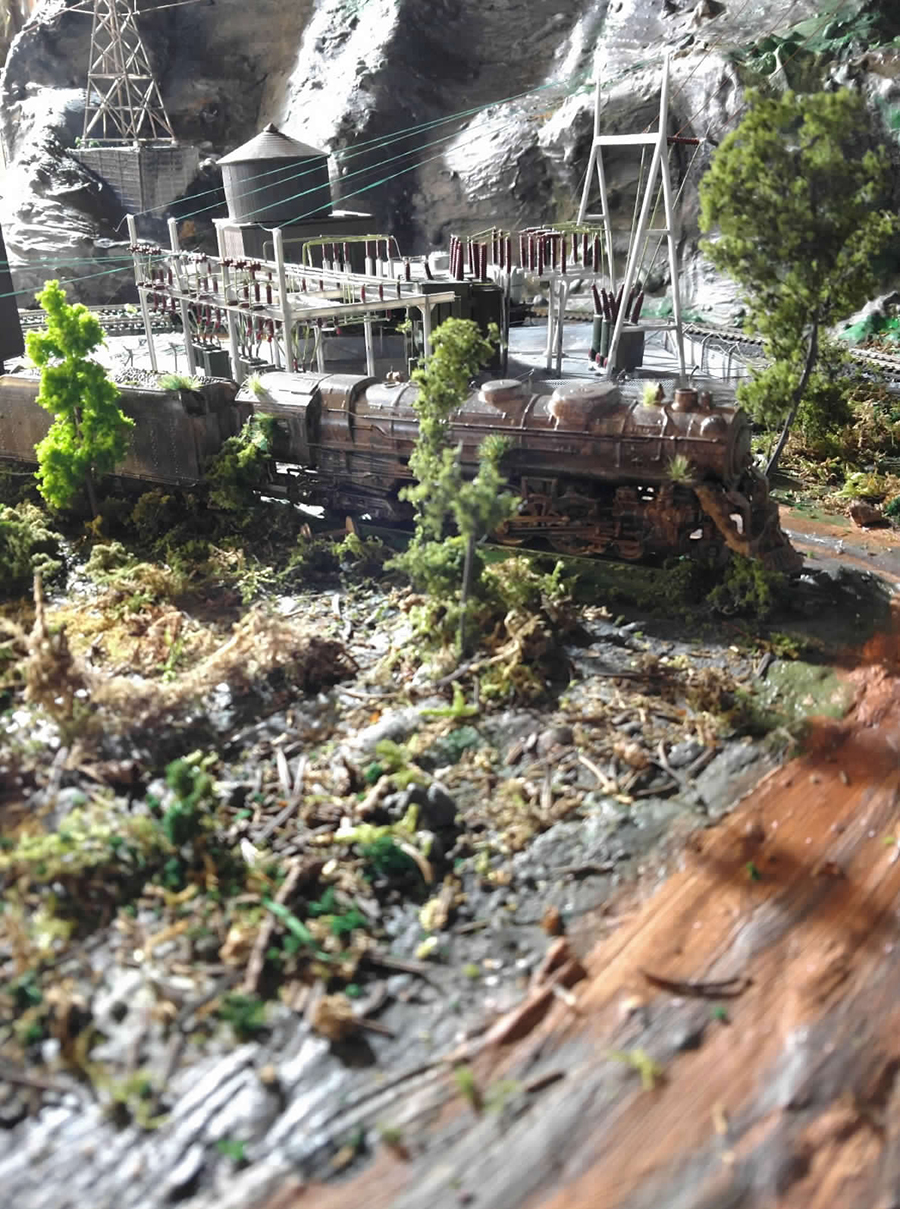
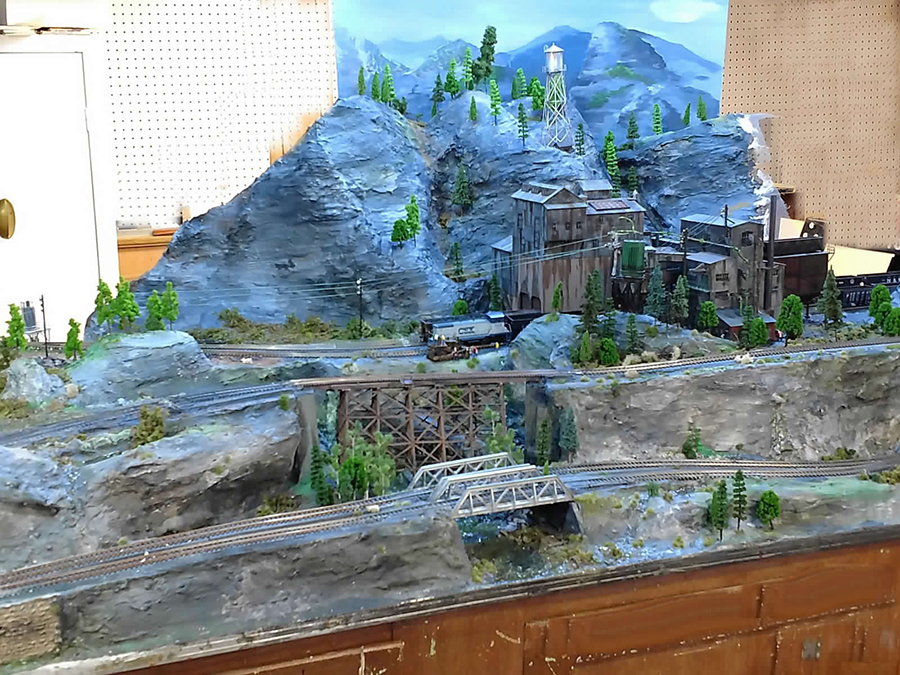
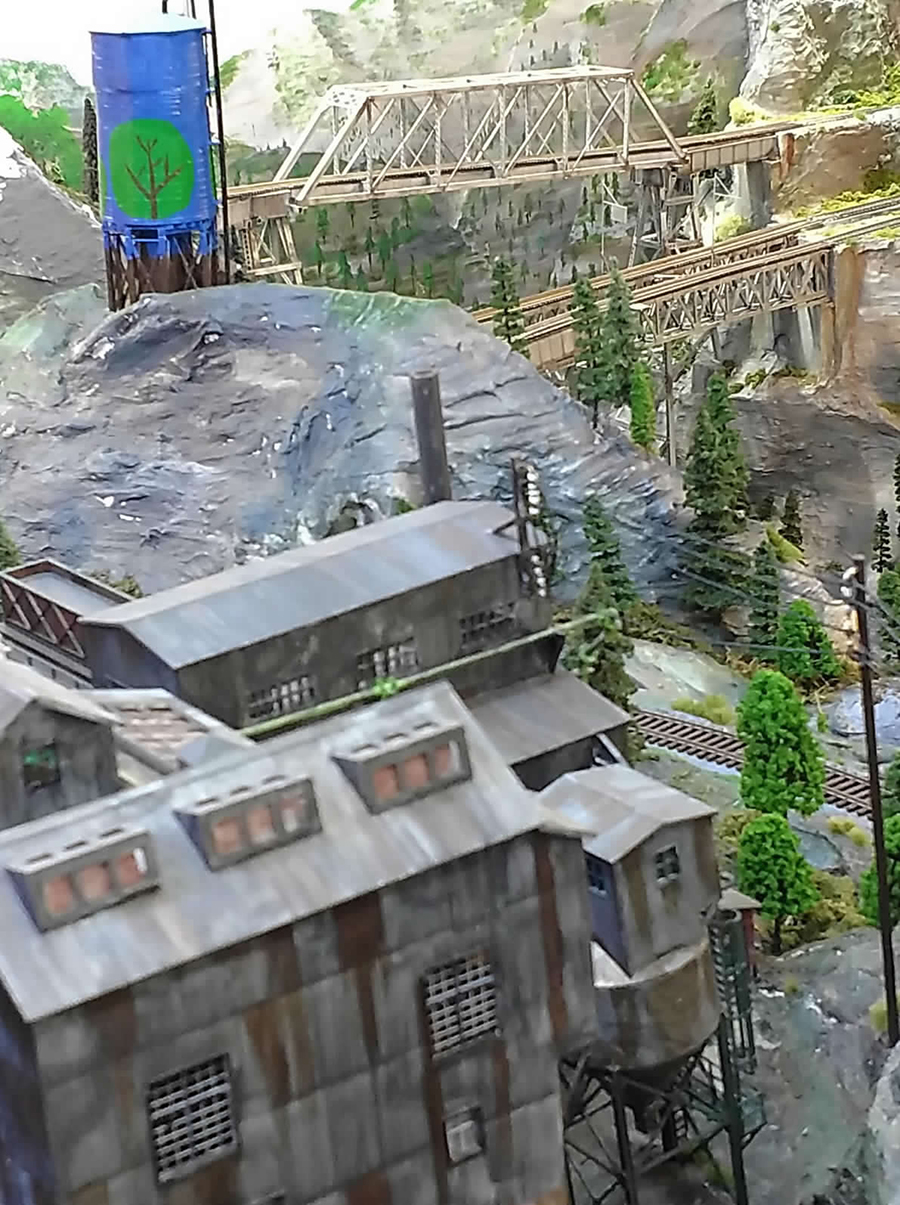
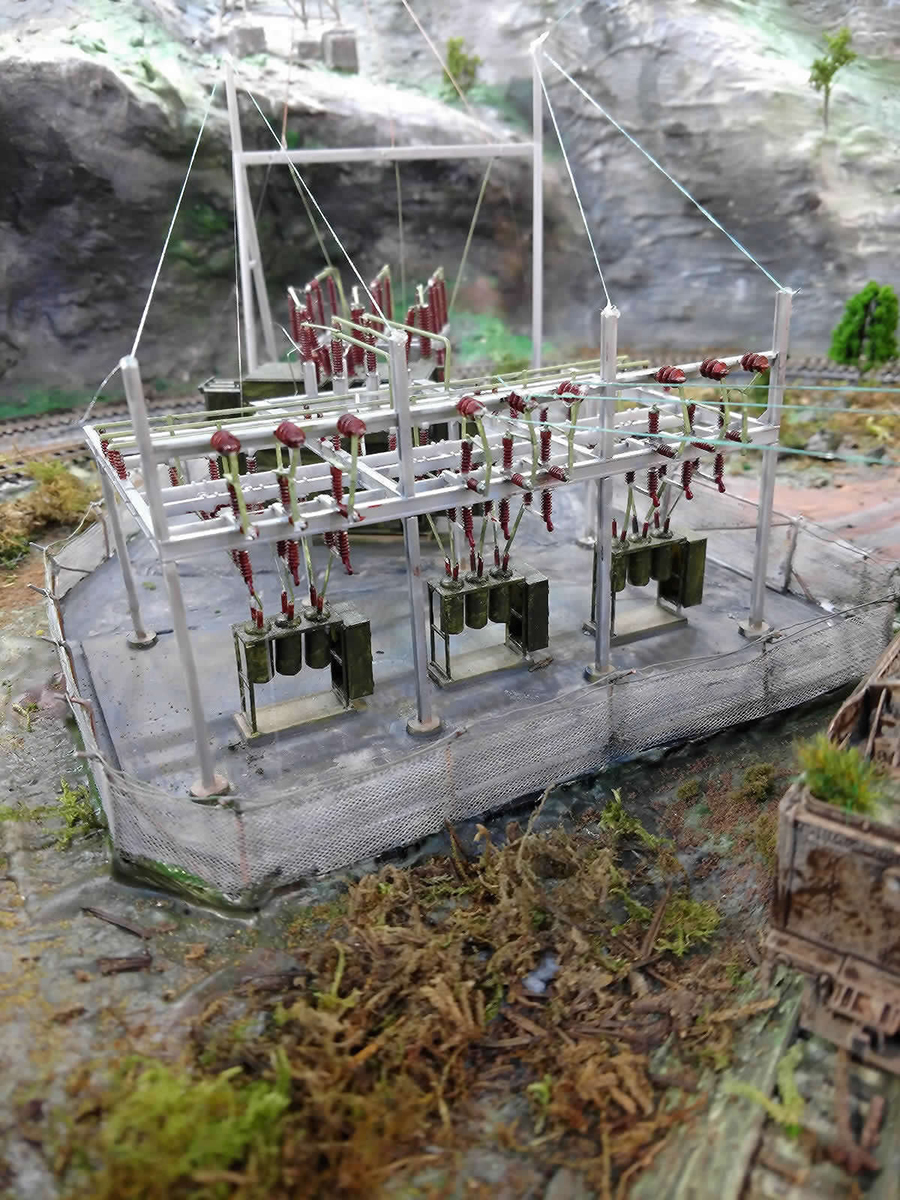
Attached are 6 photos of my layout and the start of my paint job on a N scale GP-35.

My layout is 4feet by 6.6feet with a yard and round house off to one end with a lift gate to a door to the rest of my garage.

Jim”

4x6 train layout

4x6 train layout

n scale

n scale loco

n scale loco paint

painting loco

painting loco

4x6 train layout

4x6 train layout

4x6 train layout n scale

N scale

N scale

Next up, a quick vid of Tom’s stunning layout – really enjoyed putting this one together:


(Watch on youtube here.)

A huge thanks to Jim, Ken and Gordy.

I know I keep saying it, but I do love seeing what is going to pop up in my inbox each morning.

Please do keep ’em coming, folks.

That’s all for today folks.

And if you’ve decided you’re going to make a start, just like Ken, the Beginner’s Guide is here.

Best

Al

PS More HO scale train layouts here if that’s your thing.



Need buildings for your layout? Have a look at the Silly Discount bundle.

Coal dump pit – Charles scratch build

Charles has been in touch with his coal dump pit scratch build:

“I recently bought a Walthers Northern Power and Light building kit to assemble and use on my modest 4X8 layout I am building.

I would have liked to have used the complete coal dump pit that came with the kit but since there was a 2X4 sitting edgewise directly under where the coal dump pit was to go I couldn’t (or didn’t) want to use the whole thing.

So I decided to use what ever amount of the sides and edges of the pit that would fit with the top grate and have it sit on top of the plywood base.

I knew the cork road bed was 5mm (or 3/16 of an inch) high and the top grate had slots for the track to set into so I measured on the side of the coal pit slightly more than 3/16 of an inch from the bottom of the slots that the rails would go into and scribed a line all across both sides of the pit and cut along that line and both ends with a Dremel tool using a thin cutting disk.

I then cleaned up the edges of the melted plastic and did a trial fit into the section of road bed I had cut out for it to fit into. Of course it was too high which is what I had planned on. If cut too short then you would be left with a gap between the edge of what was left of the pit wall and the plywood.

I then sanded by hand with sand paper in a sanding block and would sand a bit and try it for fit then sand some more. Need to test often. When I finally had a perfect fit I painted the area directly under where the unloading grate would go with black paint.

BTW: the pebbly surface left from removing the cork road bed resulted in it looking like little lumps of coal which l thought was great. When finished I put everything together and had what I thought was a great looking representation of a coal unloading pit without actually having a real pit underneath.

I thought perhaps some of your readers might like to know how I went about accomplishing this.

The first two pictures show just how little is left of the coal pit once it was sanded down to fit. The next picture shows the pieces ready to assemble. The next two pictures show the finished assembly. And the last picture shows what was left of the pit that was not used.

Charles
State of Missouri, USA”

coal pit grill

coal pit scratch build

coal pit grill

coal pit grill

coal pit

coal pit

And now on to Mike, who has made these marvellous creations:

“Hello Alastair:

I have a friend who collects aircraft. In fact he has a large glass shelved case with 40 airplanes in it. He has a couple of Spitfires (my absolute favorite aircraft from WWII).

I decided to build a control tower similar to one’s I found on the Internet. My mum’s family were from Essex, so I chose a field there. The only purchase was the windows. Everything else was from materials laying around in my scrap. A lot can be done with a little.


woodworking for model trains


I found this display case in a second hand antique mall. It is perfect for keeping and displaying my locos dust free.

After building for others for the last few years, I finally started working on my own layout. Progressing slowly to plan.

I include three of the scratch built structures that I am incorporating into my own layout. My era is 1950 and prior. I am traveling to our Midwest (Nebraska) to meet up with my cousin. He was the chief designer for the Lincoln, NE museum.

We will spend two days traveling around the state looking for and photographing, taking dimensions of old wooden structures to scratch build. The best part of model railroading is building structures….

model train layout

model train scratch build

model railroad scratch build

modle railway scratch build

model railroad scenery

model train scenery

Cheers, Mike from Clermont, Florida”


“Hi Al, just received my Deltic PD1 back with sound and EM2 speaker fitted, great sounds now from a very nice looking Loco.

I also have the other deltic which is under repair just now, but imagine the sounds from 2 of these Beasts roaring around the layout?

All The best

Dave”

deltic loco


A huge thanks to Charles for his coal pit scratch build, and to Mike and Dave, I really did enjoy putting this post together.

Fingers crossed I’ll have a better week than last time (we all get them, don’t we?)

Everything seemed to go wrong for me, and I know some of you, for some reason dropped off the list. Hopefully you are back on now.

If you missed any of the posts, these links should get you up to speed:

Bob’s very different way to make a railroad

More from Jim on his stunning layout

Bill’s latest layout update

That’s all for today folks.

And if you’re itching to get started on your layout, don’t forget the Beginner’s Guide is here.

That’s all for today folks. Please do keep ’em coming.

Best

Al

woodworking for model trains

O scale 5×8 track layout

William’s a man a few words, but I liked the way he has recorded his journey – an empty table top to this fine, O scale 5×8 track layout:

“Still work in progress.

Planning waterfall and lake.

William”

bench for model railroad

o scale 5x8 track layout

o scale 5x8 track layout

o scale 5x8 track layout

o scale 5x8 track layout

o scale 5x8 track layout

o scale 5x8 track layout


o scale 5x8 track layout

O gauge

o scale 5x8 track layout width=

o scale 5x8 track layout

And now on to Bob:

“Many people like collectables, and model trains is one where you can buy miniatures or if you are talented enough make them. A train needs a lot of space but is a commodity in short supply.

The first run along the track in about twelve feet long but you can only go so far before you must stop. I wanted to just let the trains run so I could just watch them, as you would in the real world where trains appear and then fade away where you can’t see them anymore.

So I took the longest wall in the recreation room and tried to hug the wall to keep from infringing on the room but alas the turn around required five feet radius as I like and had big equipment which needed large radius curves.

The North end of the room once had a fridge and sink so I had to figure a way to be able to open the tracks. The answer was a double door that folded up but keeping the track aligned was a problem.

It is much better if you have a lift out section to use straight track as the flanges on the wheels have less tendency to catch, but on a curve the flanges are always forced to the out side rail.

Also you have to figure out the electrical needs as the two loops are fed from the middle on the upper level track. The power goes from the center section to a cord that feeds the removable section. Then another cord feeds the curve that goes back to the lower section.

Trains cannot run off the end of the open track if they are not plugged in.

I appreciate hearing from others.

I always enjoy seeing things you send in emails to me so I though others might be interested in train videos too.

Thanks,

Bob.


A big thanks to Bob and to William for sharing his O scale 5×8 track layout.

I do love reading about how you get round the unique problems, each and every model railroad has. It’s all good fun.

That’s all for today folks.

But please don’t forget the Beginner’s Guide if you’re bored of just watching, why not get invloved?

Oh – one last thing.

Over the last few days, some of you have not been getting the mails as normal.

I have no idea how or why – but if you don’t want to fall of the list, you need to ‘whitelist’ my email address.

And in fact, shortly, I’ll only be sending to those who have whitelisted me.

So if you want to carry on getting the mails, you need to whitelist me.

It’s really easy to do. Here’s how to do it if you have a gmail account.

(If you have an email account with othes, like Yahoo for example, just google it – they are all quite easy to whitelist.)

Hover your mouse over my name in your inbox, then click on ‘add to contacts’. That’s it, you’re done.

That’s all for today folks.

Please do keep ’em coming.

And if today is the day you get started on your layout, the Beginner’s Guide is here.

Best

Al

PS Latest ebay cheat sheet is here.

PPS More HO scale train layouts here if that’s your thing.