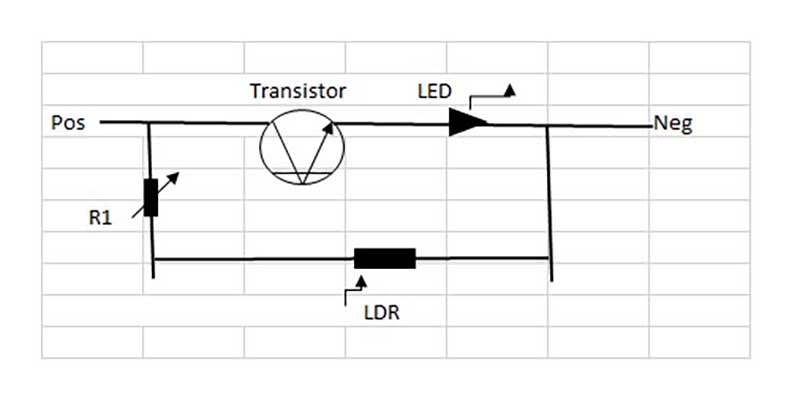
Rob’s been back in touch – this time he improves his 3 light model train signal:
“Hi Al,
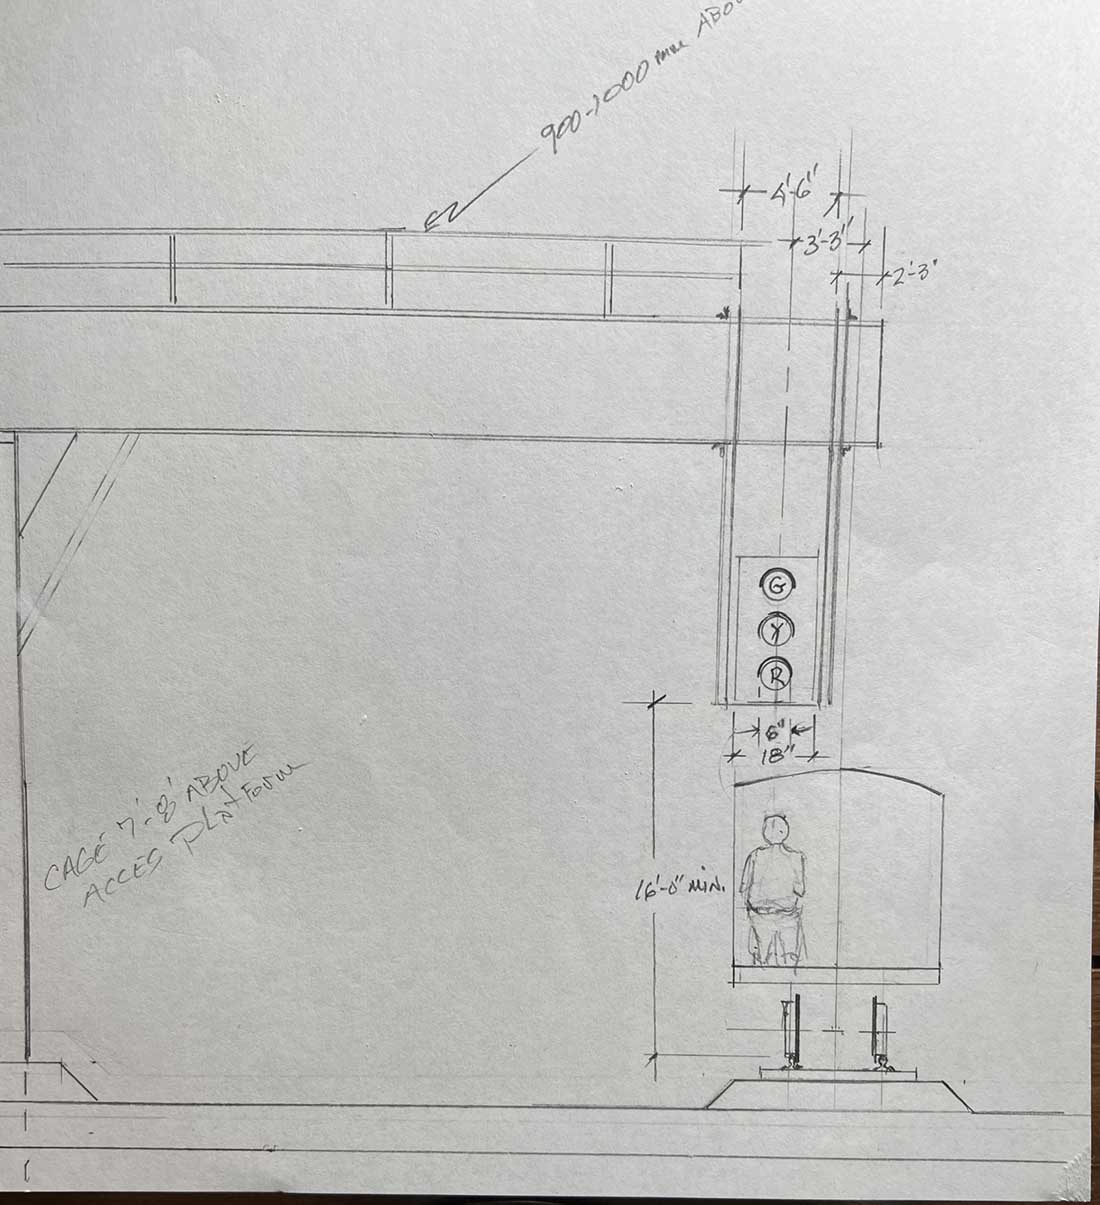
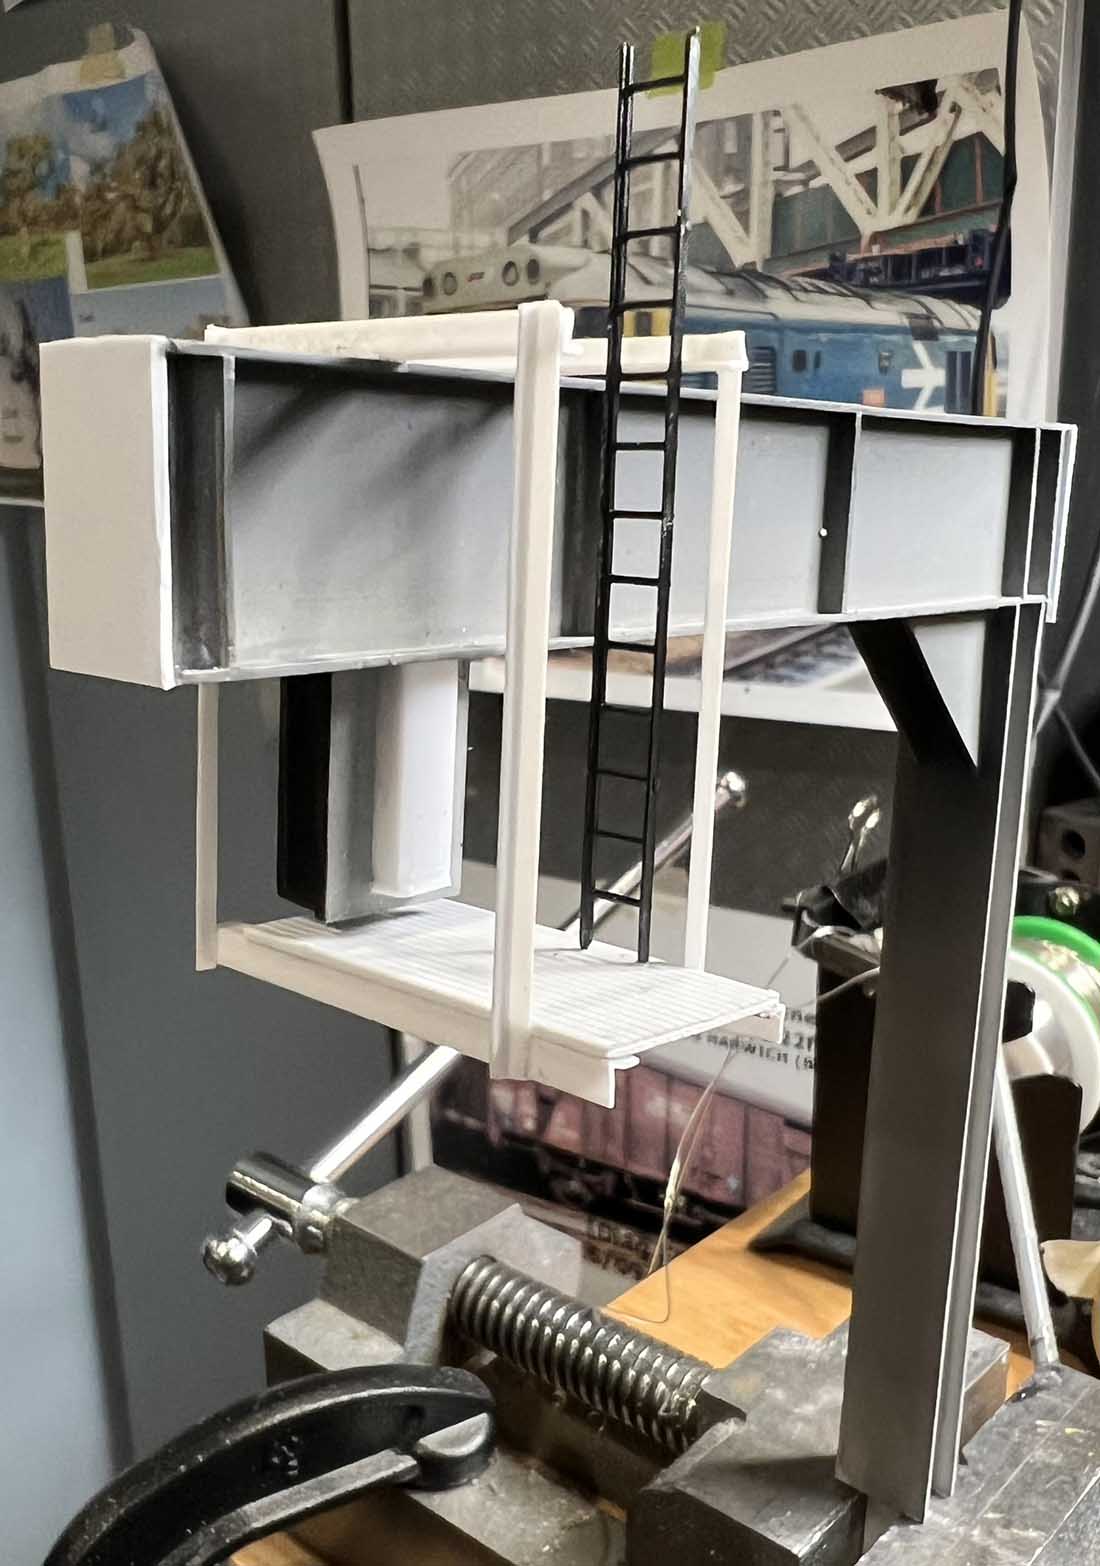
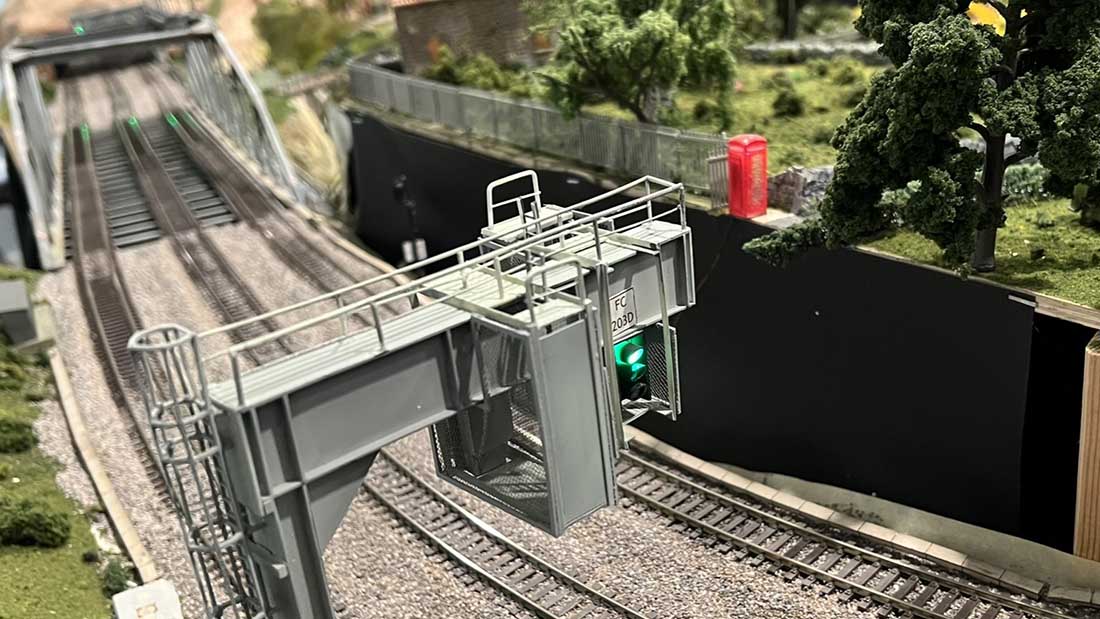
I decided to try to improve from some of the work I did a few years ago on cantilevered signal gantries. My styrene-building skills have improved since I was into this in the past.
The original pieces I kit bashed were starting to seem rather toy-like to me, and I wanted to see if I could make something closer to reality or look closer to the prototypes.
In my research, I discovered that there seem to be an almost infinite number of different designs for these around the UK. I mostly watched cab ride videos and took screenshots when an interesting signal support structure was on the screen.
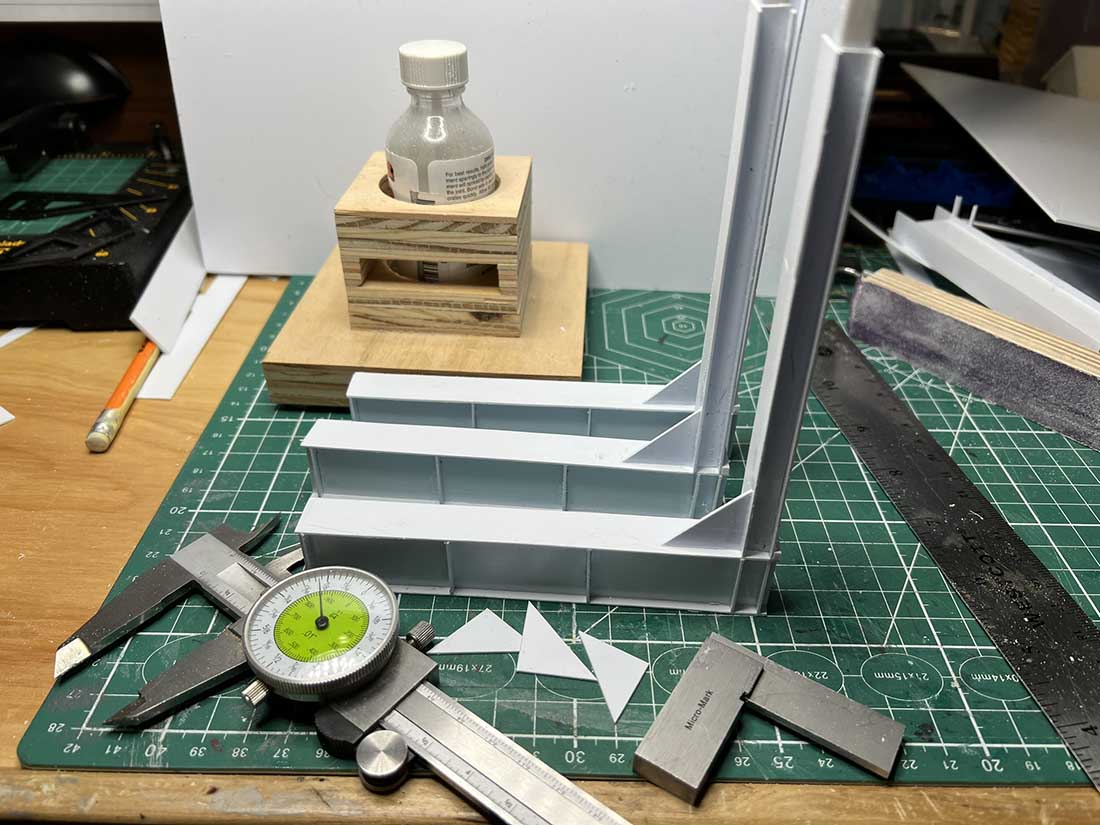
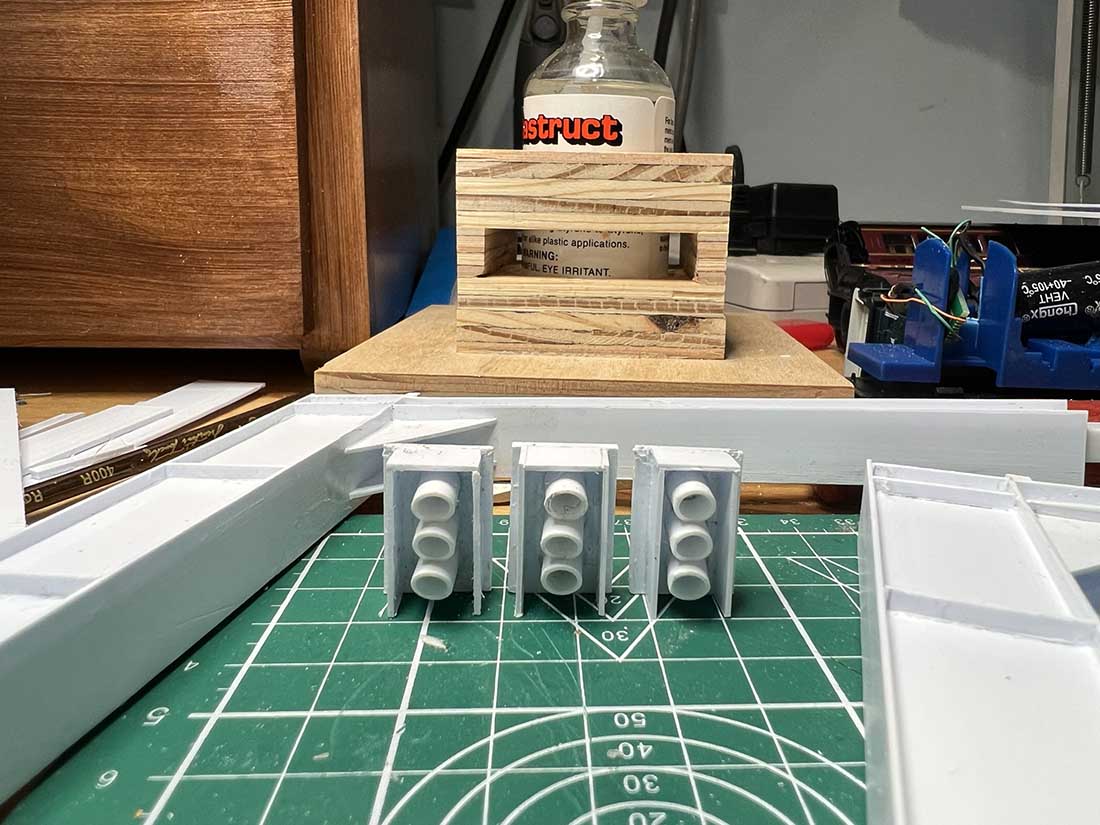
Styrene is quite strong when solvent it is welded into a stable structure. It can be fabricated into anything that can be built in steel.
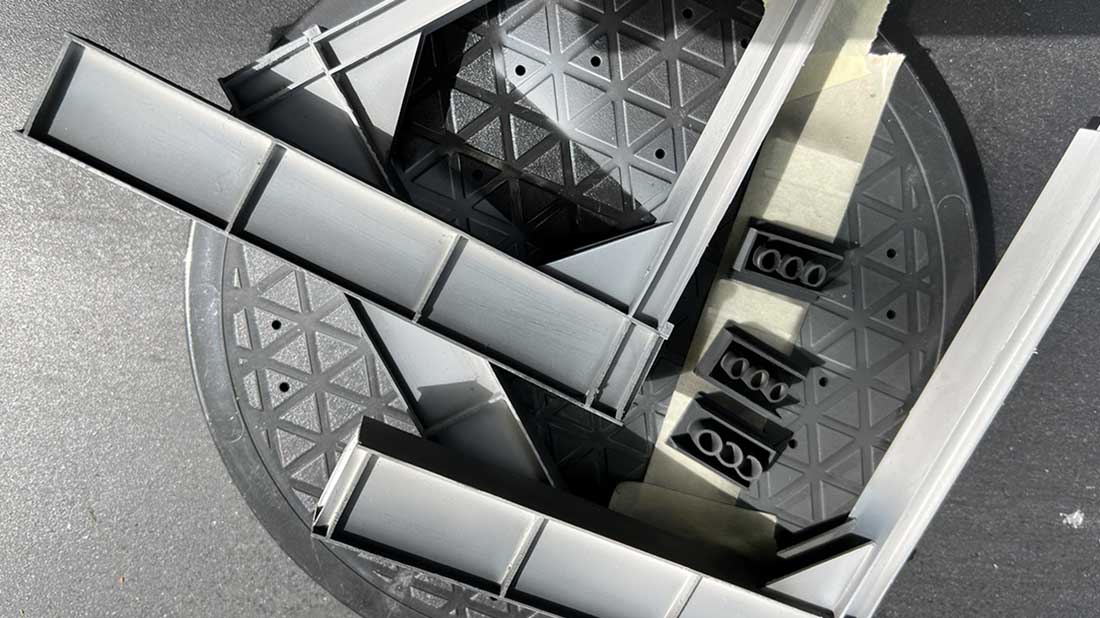
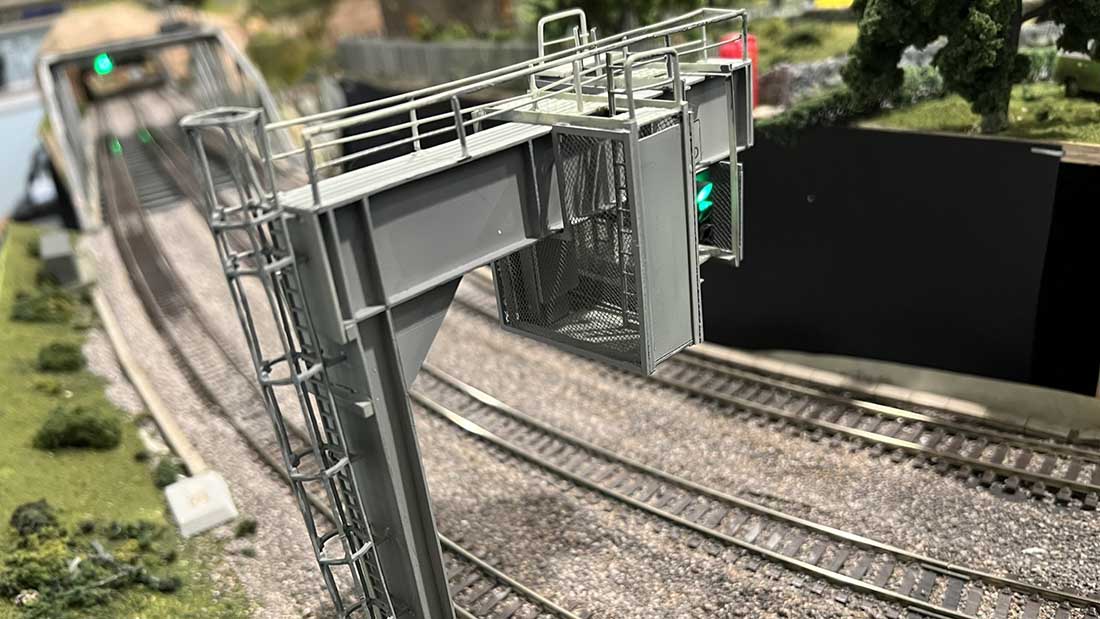
I built the plate girders so they were hollow in the middle and, consequently, I could route the wires through the void. I find I very much enjoy building just about anything these days. Maybe I always did.
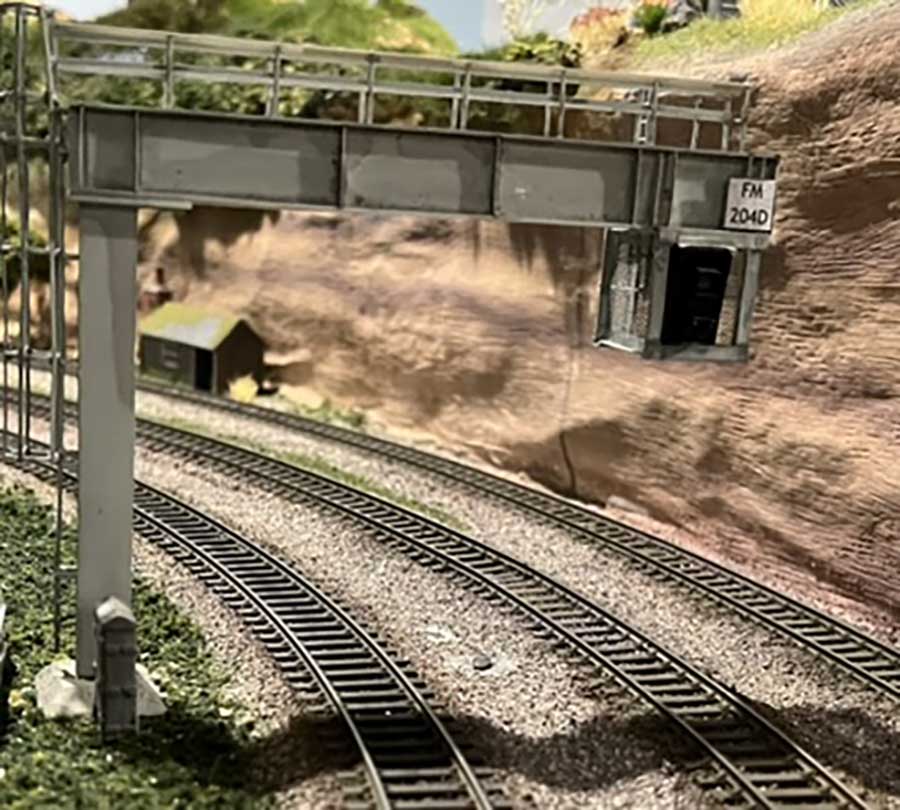
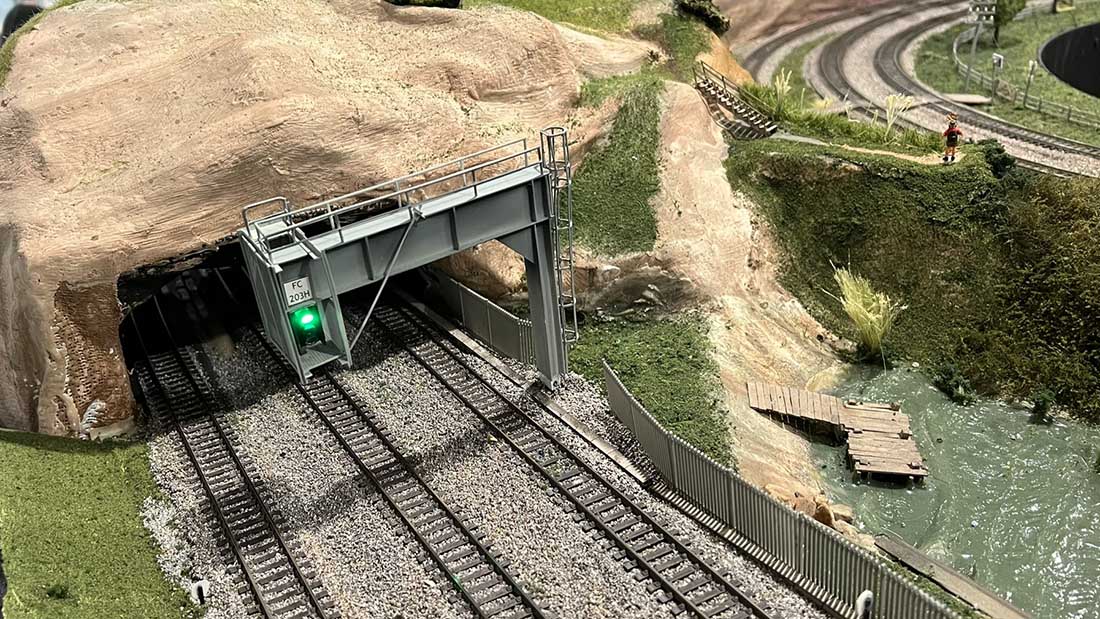
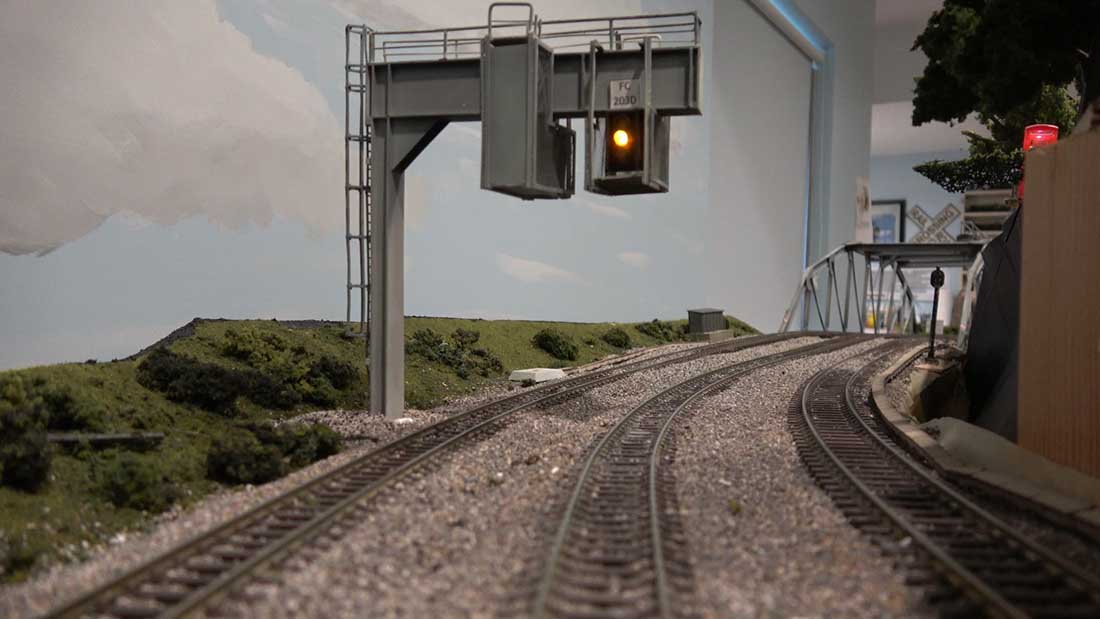
I weathered one of the new units and will lightly weather the other two.
For lightly weathering painted steel plate structures like this, I find using the Tamiya panel lining solution to be just about perfect. It leaves a very light residue in the corners, and anywhere else you want it to. Just take the applicator in the bottle and touch the areas where you want to add dirt, grime, and character. It couldn’t be easier.
Thank you, Al. I know I look forward to reading your blogs every day, and I know others do, too.
Rob”
3 light model train signal:
A huge big thank you to Ron for sharing his 3 light model train signal ‘how to’.
Rob’s last post on the signals is here: Signal gantry.
And of course, you can see more of him in the Hall of Fame too.
That’s all for today folks.
Please do keep ’em coming.
And if today is the day you get started on your layout, the Beginner’s Guide is here.
Best
Al
PS Latest ebay cheat sheet is here.
PPS More HO scale train layouts here if that’s your thing.