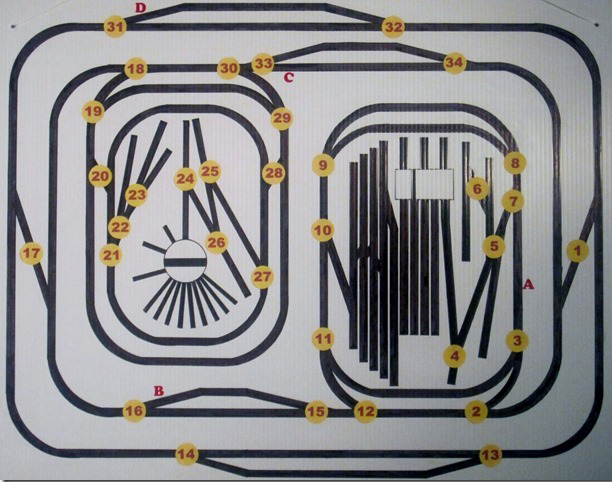
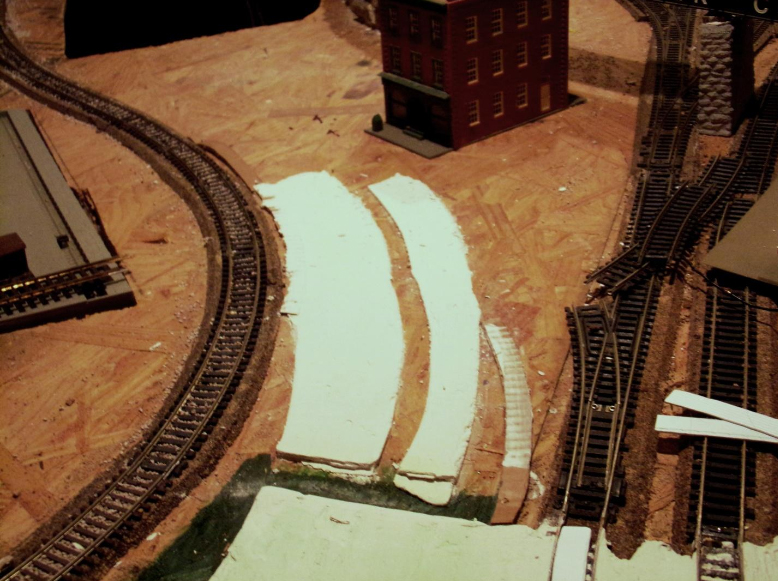
Gib’s been in touch again, he added to the collection of N scale figure 8 track plans on the blog – his last post is here.
“Hi Al,
I was blown away by the nice comments on my little first try layout and appreciate each and every one.
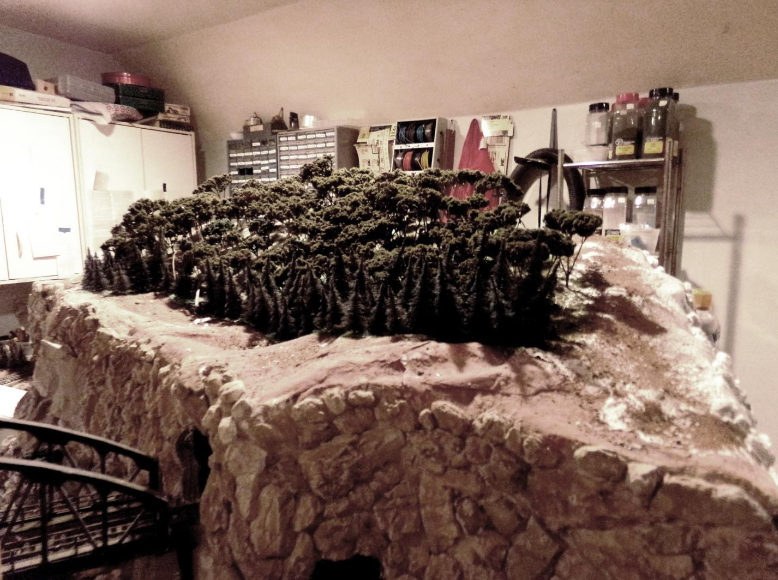
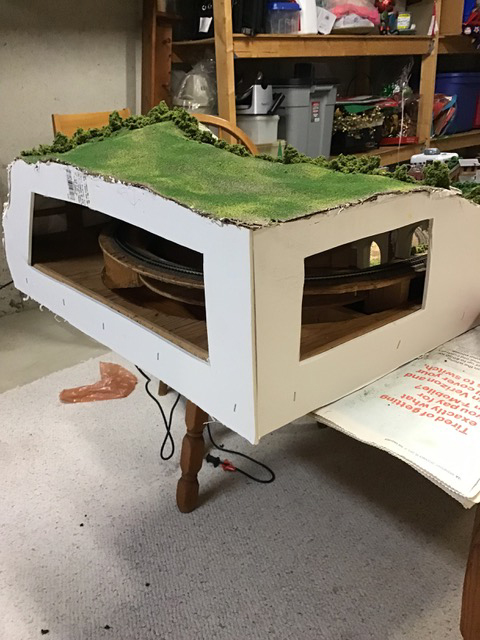
There were some questions I thought I’d answer. The curve radii are 10.5” for the outer curve, 8” for the inner curve and 9” for the curves under the mountain.
I have to admit that I didn’t even think about grades when building the layout and they are too steep. The grade on the outer loop is 2.8% and a whopping 6% on the inner loop. Luckily my trains do navigate OK. There is access on the back side of the mountain to retrieve derailments.
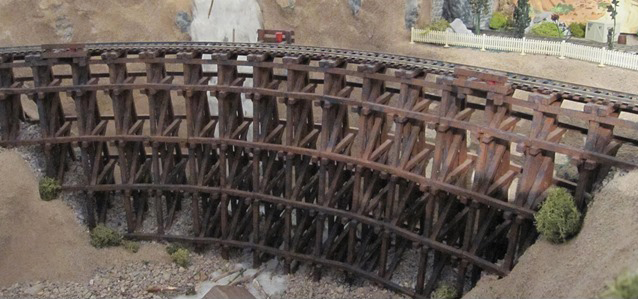
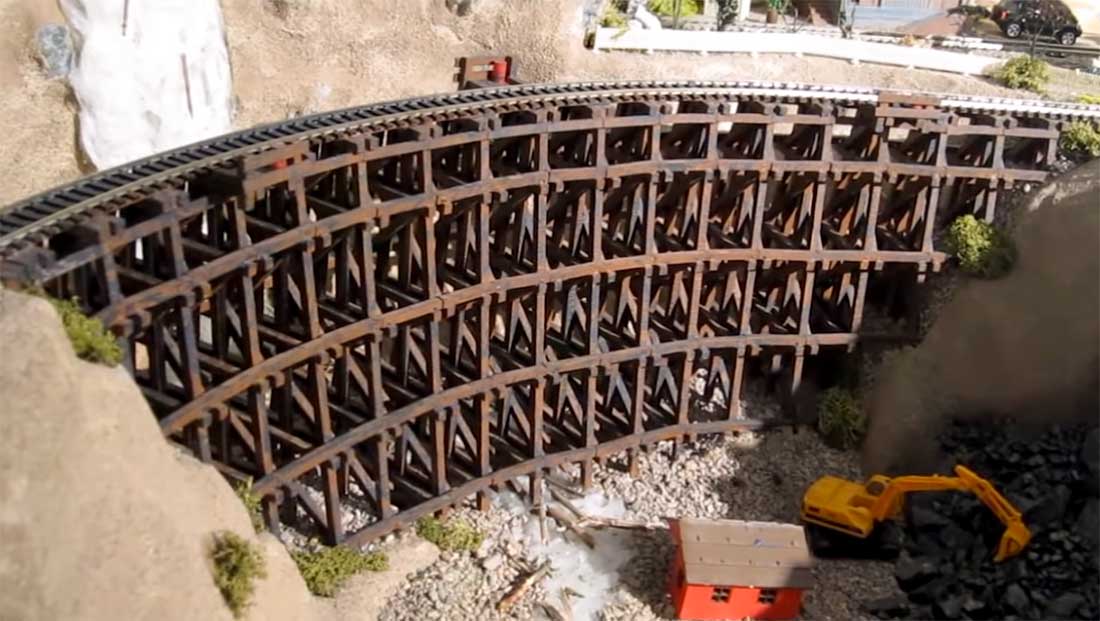
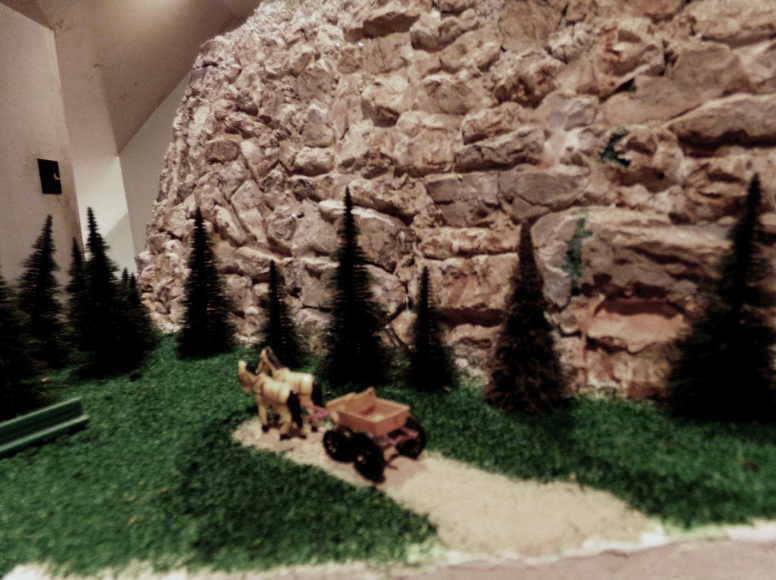
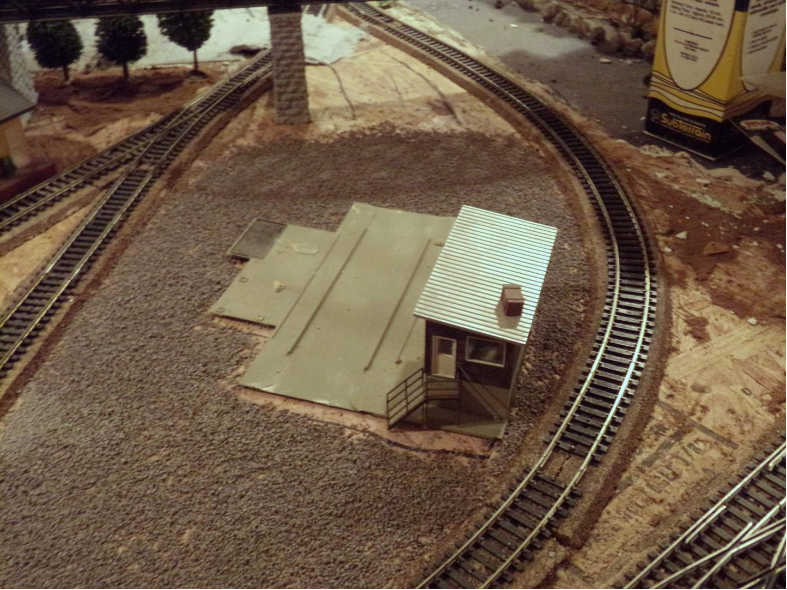
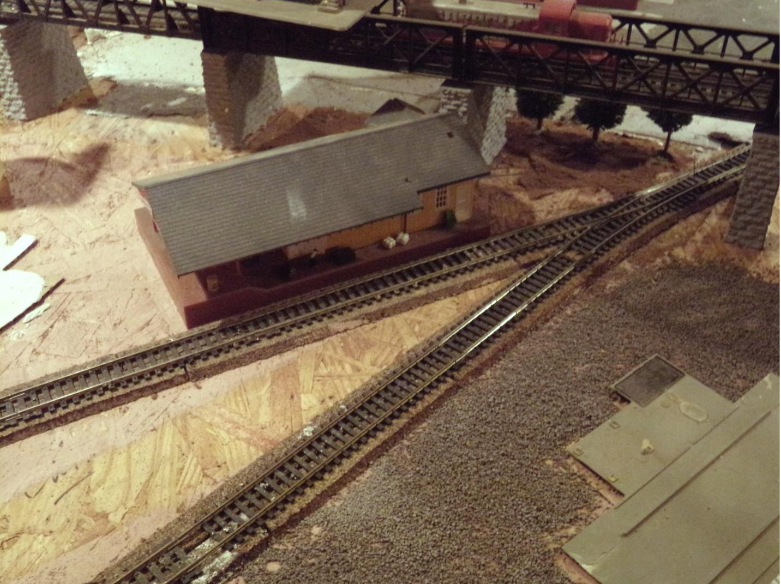
I have attached several pictures. The first three is where I am today. The fourth shows the backside access.
The fifth is your red barn and finally I tried to send a video of my Bachman 0-6-0 Iron Man making the rounds.
Some comments on the red barn which was my first try at a printout building. I surface mounted the windows and doors since N scale is so small to work with to mount the windows inside. I also felt that the cereal box cardboard I glued the printout on was a little too thick for N gauge. Does any one have a better yardstick idea?
So I hope you find this interesting. I look forward to your post every day. Keep up the good work.
Gib”
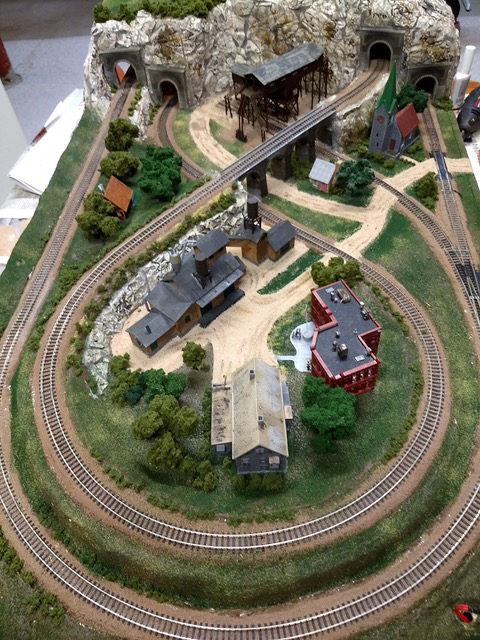
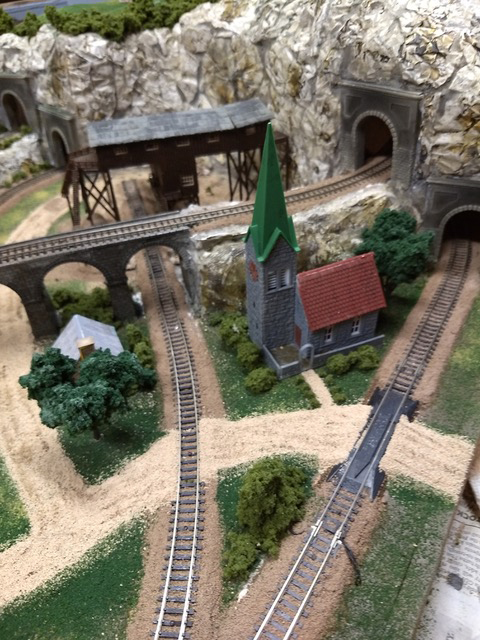
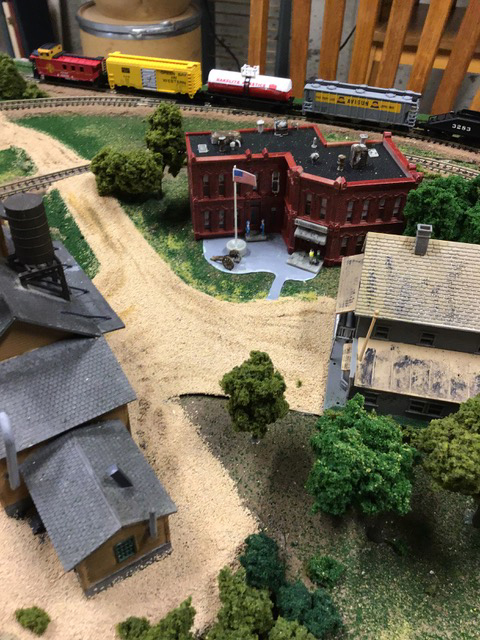
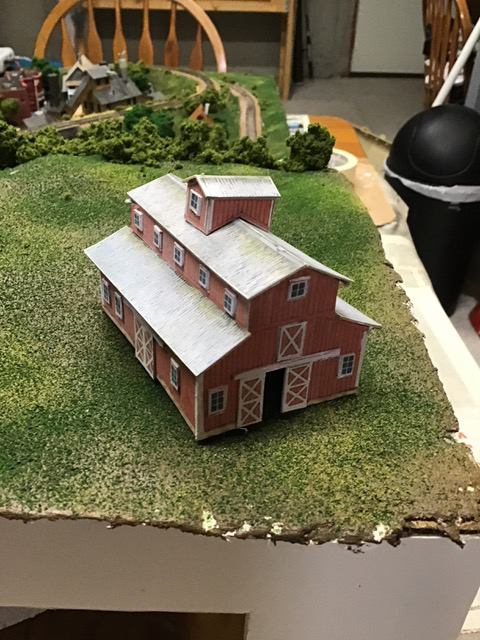
(It’s always great to see the printable buildings on a layout!)
Gib’s layout reminded me of Clarke’s figure of 8 too: N scale figure of 8.
And now on to the talented Rob. Hope you enjoy this video as much as I did:
“Hi Al,
Running videos and how to videos are great, but to really see the work that has gone into a layout, one needs to get up close. That is exactly what I’ve done in this my latest video. Figures really can put life into a layout and I love them.
I spent almost two years building Farland II. I started in mid March and this is where I am today. Two major features of the layout are yet to be finished, but I am currently working on one and the other will follow. They are a castle ruin and a smallish freighter at the quay unloading or loading. By summer I will be almost done.
Thank you so much for all you do. The modeling communities of the world are very grateful.
Rob McCrain – Farland Howe”
A huge thanks to Rob – he has a train room I would give my right arm for. Fantastic stuff – and a what a video too. A real treat.
And thanks to Gib to for adding to the N scale figure 8 track plans on the blog.
Lastly, don’t forget the silly sale has returned for a few days only.
You get the Beginner’s Guide and 38 printable buildings for just $9. It really is a silly deal.
Of course, I’m biased, but there’s some fab new buildings too.
Here’s the rusty engine house:
That’s all for today folks.
Please do keep ’em coming.
And if today is the day you get started on your layout, the Beginner’s Guide is here at a very, very silly price for the next day or so.
Best
Al
PPS More N scale layouts here if that’s your thing.