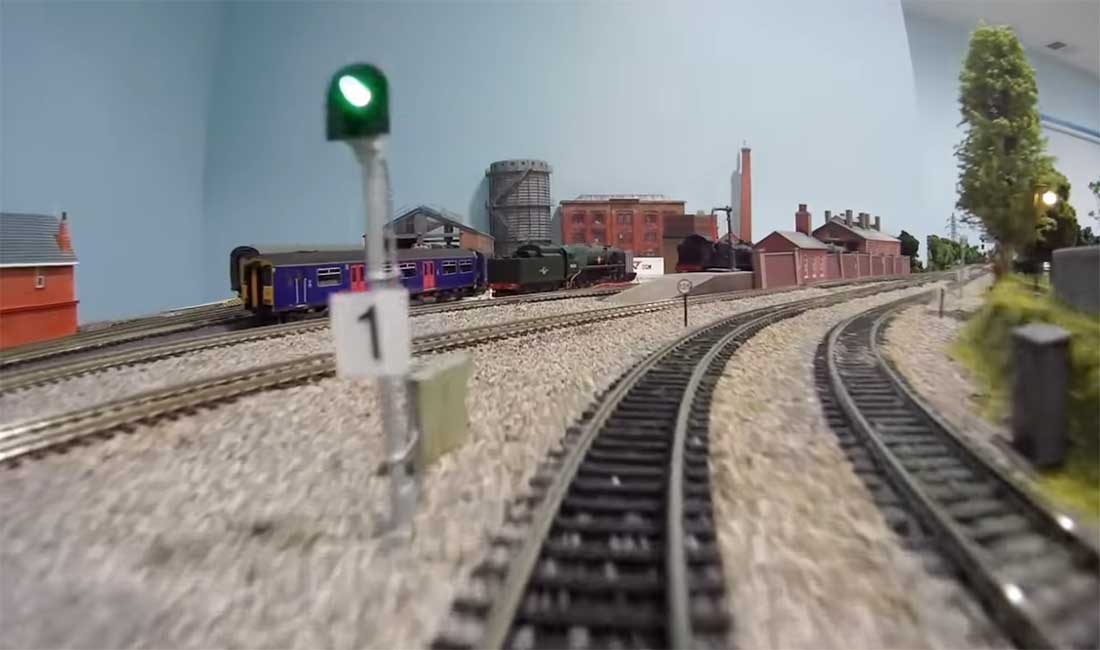
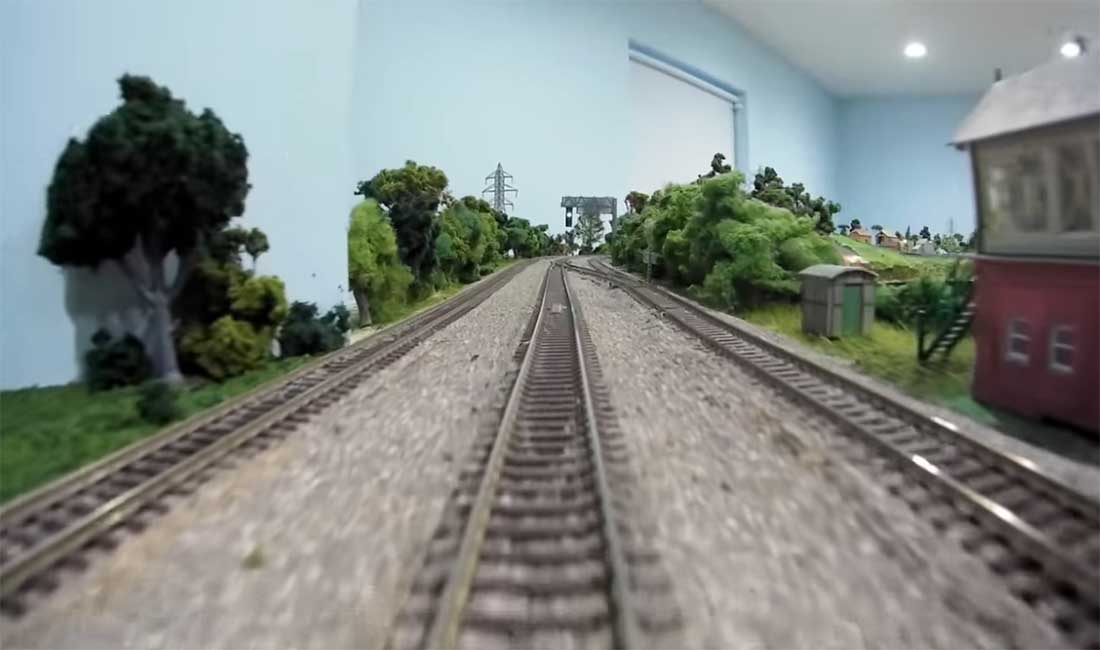
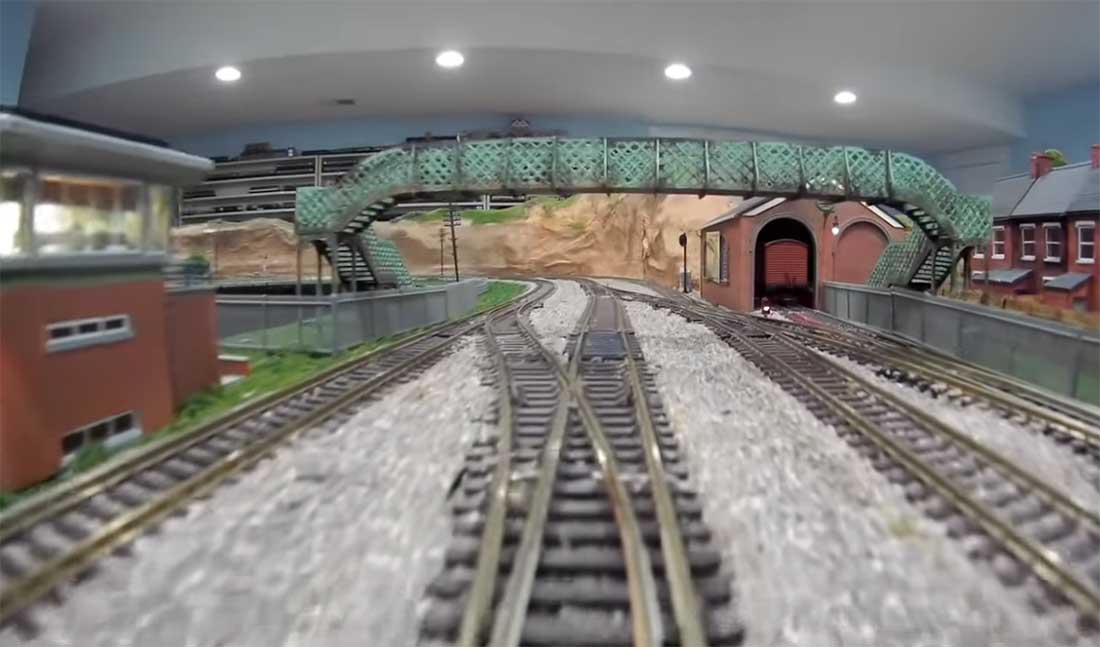
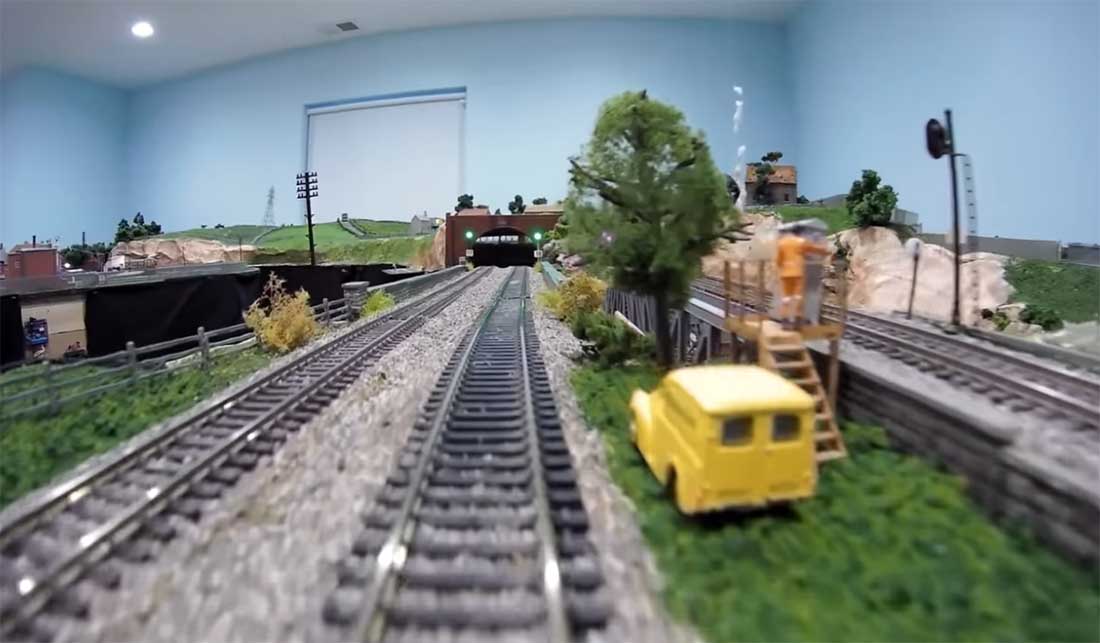
N scale train track layouts

Eric has been in touch again, adding to the collection of N scale train track layouts on the blog.

I’ve posted quite a few of his layouts and updates over the years, so I was very pleased to see this in my inbox:

“This has taken a lot longer than expected as at first I intended a single level layout and got all the track laid and tested along with quite a lot of lighting.

Then I started on the scenery and it was after about a month and a half from starting I found that flat one level rails were very boring to run and not for me, so up it all came and I started another of my normal multi level layouts using inclines of 2%.

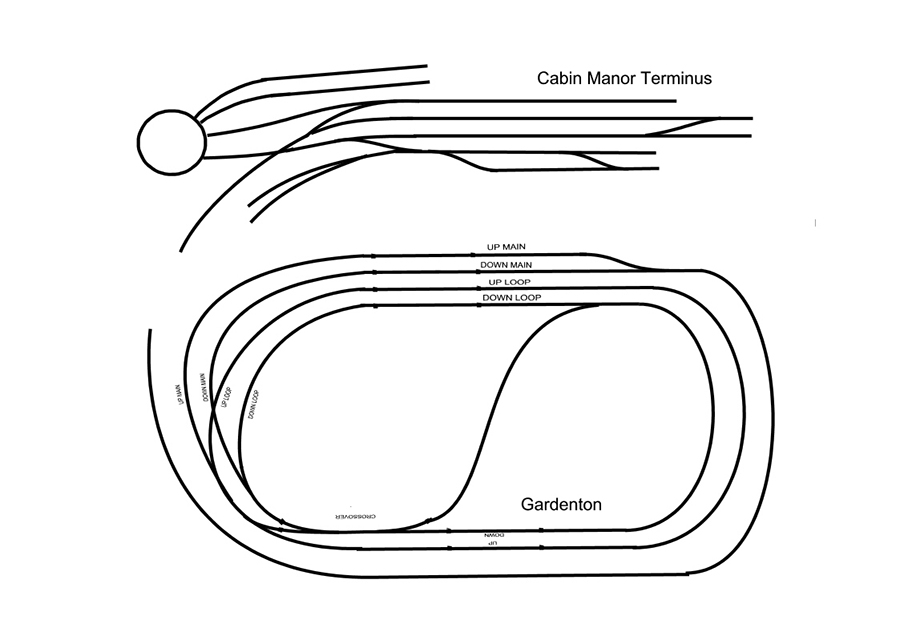
The lower twin tracks are my goods (freight) lines which are just a large circle with two sidings each. The next two levels are passenger lines, a twin track figure eight with three sidings and an inner loop on each track which actually act as extra sidings.

See attached track plan, it’s not very good but gives the idea used. I never plan out a layout first as with such awkward shapes to encompass I prefer to lay the track and see how I can fit it into the design in my head.

N scale train track layouts:

N gauge track plan

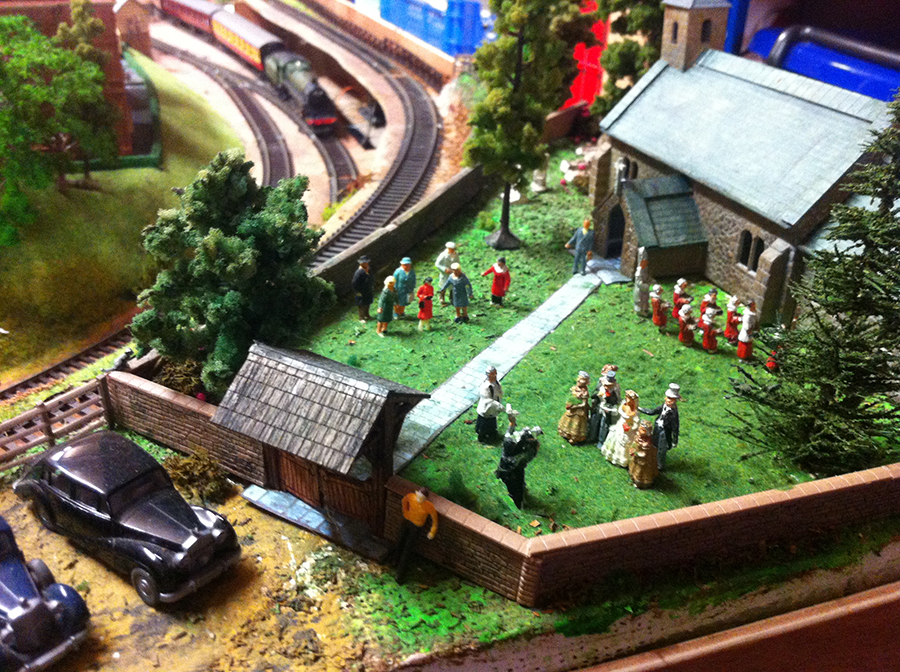
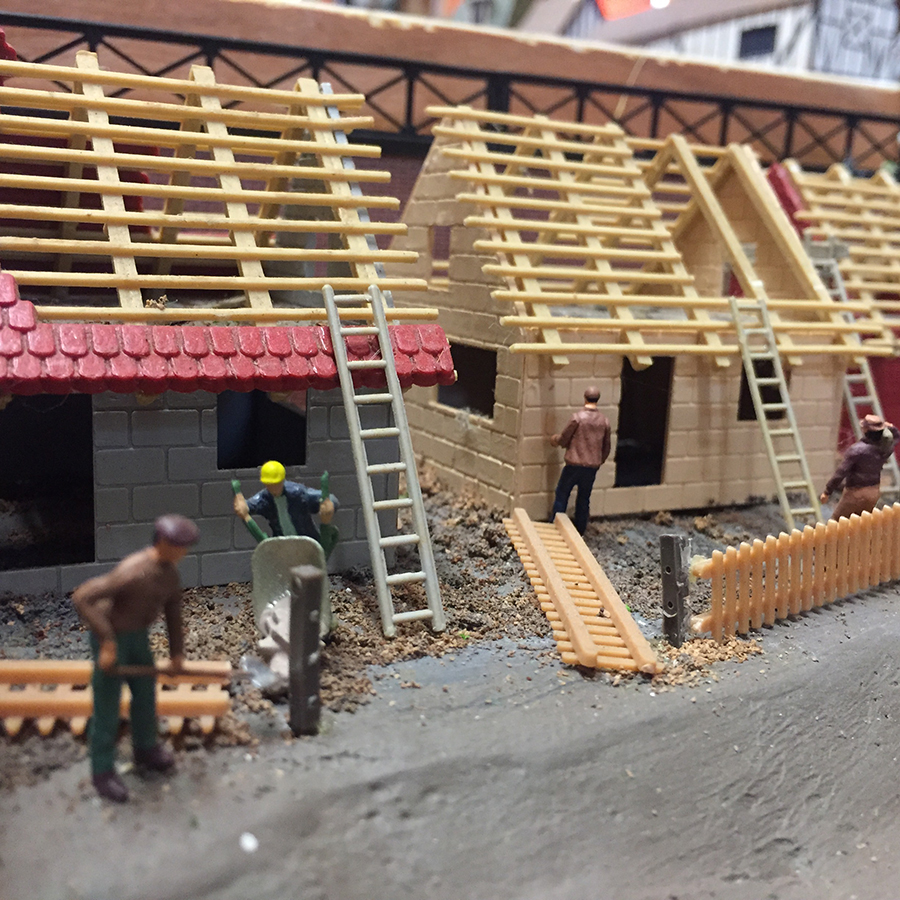
To the right, are two bungalows under construction above a small pond. (TIP) The pond is made out of a supermarket (Morrison’s) plastic pie container base cut down to around 3/8ths inch high and painted then filled with Realistic Water. Then when set plaster cloth is used around it to blend it into the ground. Note the new part tarmac road to the bungalows with the old steam roller levelling it off.

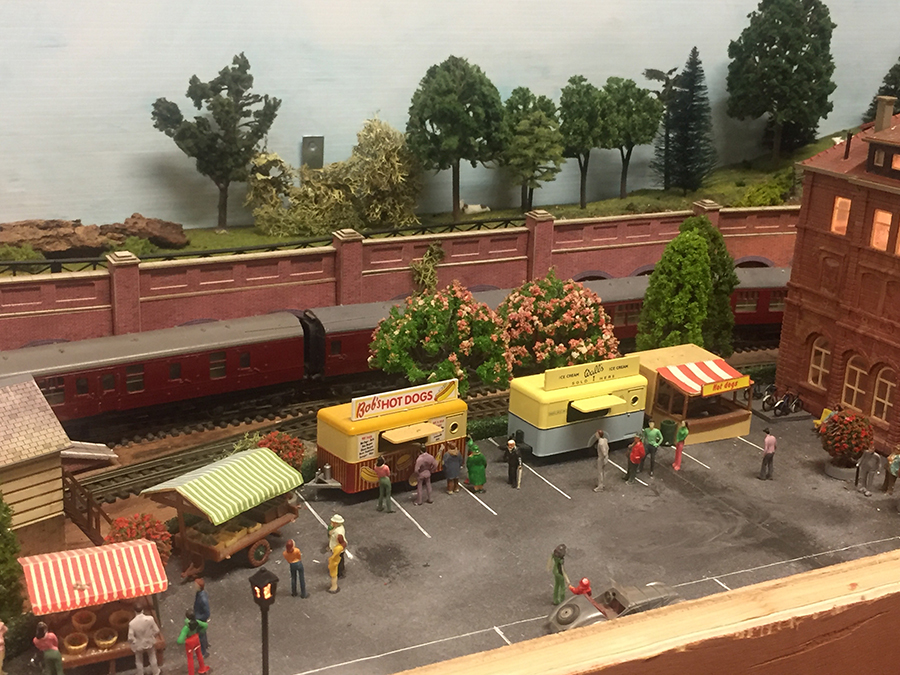
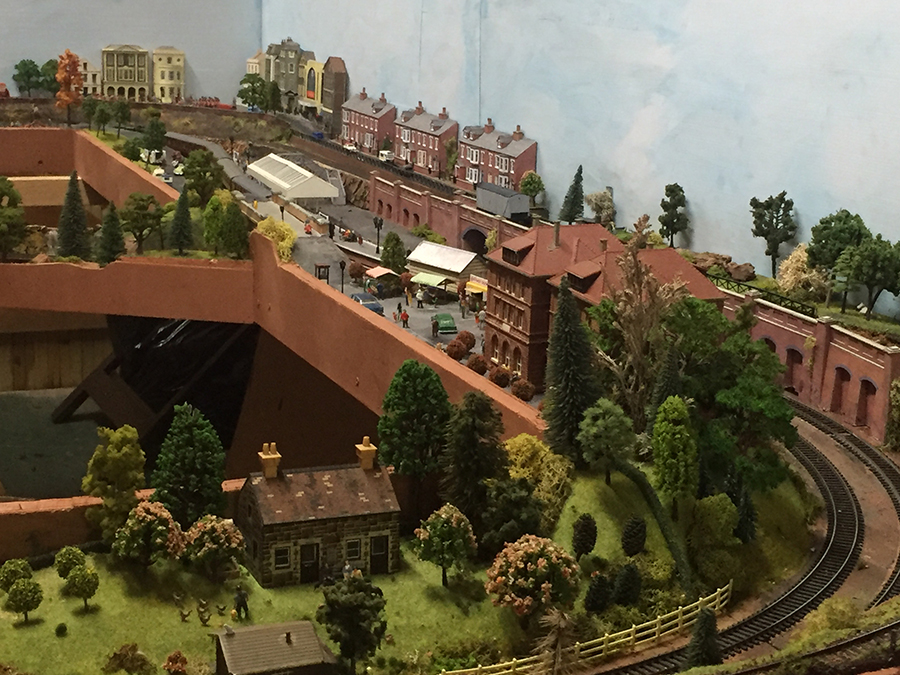
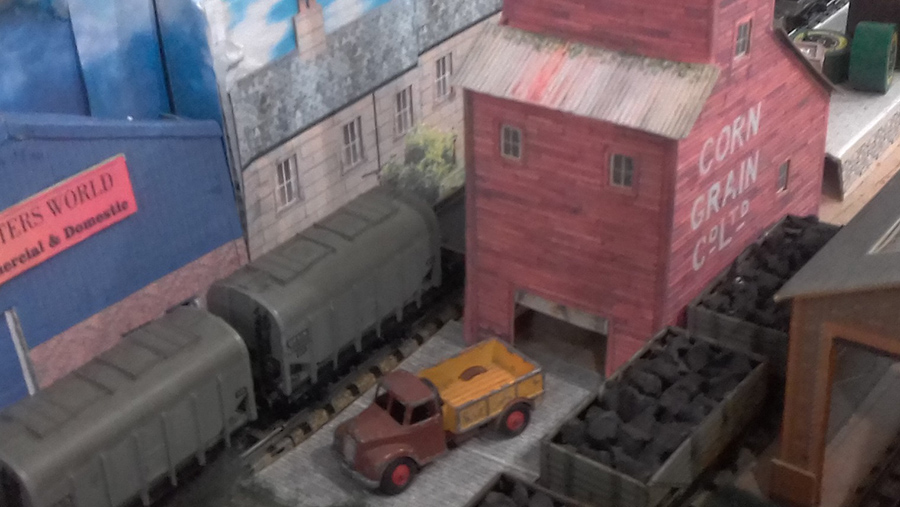
Centre back is my small town of Smeedle, the background flats are actually one of Al’s office buildings converted into a block of flats. Thanks Al. The roads that I use I hand built on the computer and printed onto thin card, not perfect but ok. A lot of fiddly work.

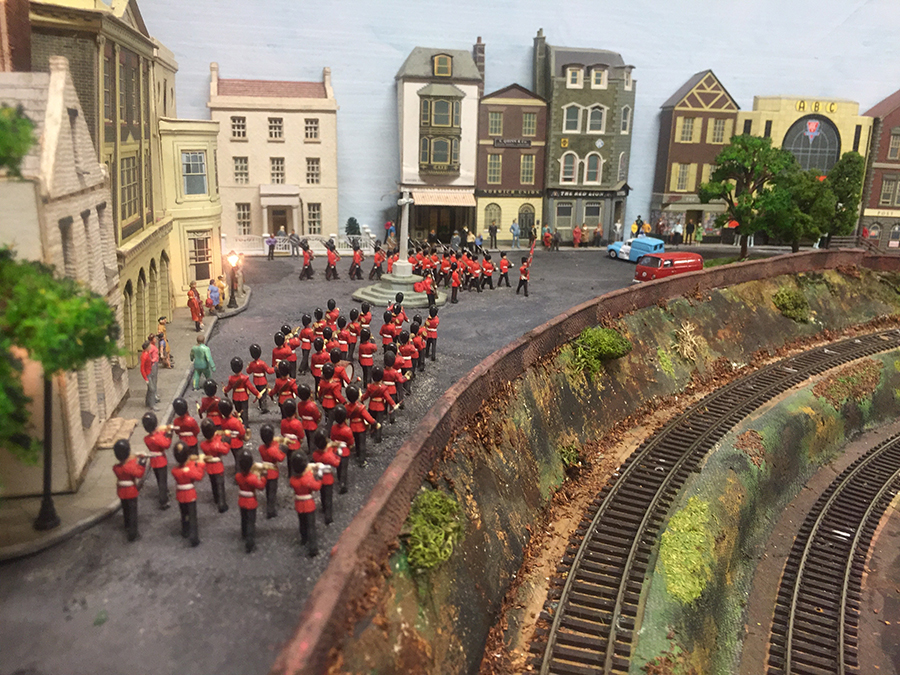
The police station is above the tunnel with police cars ready to roll. The Metcalfe low relief shops and Grace bros department store all extended back a little to enable lighting them up. The cinema is a Metcalfe kit with added balsa wood back with blue lighting above the entrance. The low relief office/ bank building is laser cut and two kits were used to build it.

To the left side we see a small country road leading up to a small roundabout with a garage set on the corner. Two small cottages sit down at the bottom of the hill. Quite proud of the large road signs near roundabout, taken off the internet and adjusted to suit the roads. Again a very fiddly job but worthwhile if you have the patience.

Front centre my town park and rather swollen river, after heavy rains upstream you can see a tree trunk floating down the seething river. The ramp down to the park holds a Metcalfe pavilion which here is a café, note tables also Metcalfe as is the fountain in the centre of the park all from their mini kit range. The river is done with EZ water and effects.

The street lights I got off Amazon are 6 v lights that I painted silver as the white wasn’t suitable. They have a good fat lower stem that fits into the board and if a good fit needs no gluing in place and they are reliable and reusable, a big plus as I try to re-use items wherever possible. The park lights were longer than I really wanted but they work fine.

Ok I missed adding signals for the simple reason of difficulty bending my old bones under the boards to go with my twisted fingers. I don’t do weathering, too messy and I prefer to see locos and track clean,,,ish. J

A (TIP) for cleaning track. I use the pads that fit on carriage axles with Methylated spirits (Available from good chemists (drug stores)) added to pads on each circuit of the track, this cleans and doesn’t corrode or wear the track, I have used this method for years and it works, around three trips round per track then a clean pad to wipe off any residue. Cheap and cheerful.

The various sections over the track lift away for access and the shaped plaster panels also lift off. Another (TIP), if you make lift away plaster panels that are over the rails I paste cling film under them to stop plaster flakes dropping onto the rails, it keeps the underneath area free of dust and plaster residue.

N scale train track layouts:

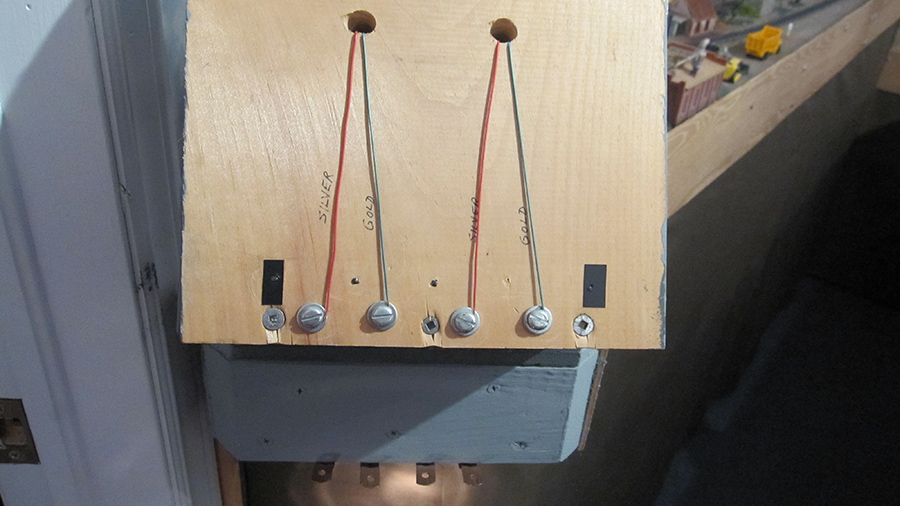
My system is run by two Gaugemaster 4 track controllers, everything is DC. One controller for the four tracks and the second is for lighting using the controls as dimmers. Wiring for the lights is all manually done on each panel with lights connected with quick release jointers for when access required so the whole panel can be removed.

The overall maximum size is almost 5.5 ft by 7.5 ft but interrupted by a wall to the right that the track has to curve round and in the middle centre area there is an access hatch, that is why my layouts are rather awkward to design.

I hope you like the new layout and welcome all your comments.

Eric”

n scale train track layouts overhead view


A huge thanks to Eric, especially for his narrative – it really does highlight the perils of laying your scenery before you are happy with your track.

It’s a nice addition to the N scale train track layouts on the site.

That’s all for today folks.

Please do keep ’em coming.

And if today is the day you get started on your layout, the Beginner’s Guide is here.

Best

Al

PS Latest ebay cheat sheet is here.

PPS More N scale layouts here if that’s your thing.


HO Scale track switching – Bill’s

Bill’s been in touch again with his HO Scale track switching layout.

He’s shared a wonderful video update (His last post is here).

“Hello Al,

I wanted to share a video link showing current state on my switching layout. It’s moving along. Track is glued down and everything is powered up.

Will not be long before ballast starts to go down and I start to paint and detail my structures.

So glad I’m no longer an arm chair modeler anymore. Small spaces can make for interesting layouts. Even if I do no more than what I have now I’m having fun !

Best

Bill in Virginia”

HO Scale track switching

HO Scale track switching

HO Scale track switching turntable


Latest ebay cheat sheet here.

Stunning stuff from Bill – I love that fact he’s glad not to be an armchair modeler anymore. Like I keep saying, it’s all about making a start, just like Brian did:

“Hi Al.

Just a few more photos of the progress on my layout efforts. Thanks for showing my last pictures, it’s nice to know that it’s not for my eyes only. Some foam board, mesh, screwed up newspaper and a few rolls of Modrock, and things are taking shape.

Cheers Brummie Brian”

model train layout

plater scenery

model train tunnel

model train layout

model train tunnel incline

model train plaster cloth scenery

That’s all for today folks.

A big thanks to Brian and Bill for sharing his HO Scale track switching layout. Two chaps who just made a start one day…

That’s all for today folks.

Please do keep ’em coming.

And if today is the day you get started on your layout, the Beginner’s Guide is here.

Best

Al

PS Latest ebay cheat sheet is here.

PPS More HO scale train layouts here if that’s your thing.



G scale train buildings – Cary’s

Cary has been in touch again with his G scale train buildings.

If you missed his last post, it is here.

“Hello Al and All,

My outdoor G scale railroad is currently covered in leaves, branches and snow not to mention that much of my ballast has washed out. So I have some drainage work to do this spring.

Building an outdoor layout has a lot of complexities, therefore I’ve always planned to keep the track plan as simple as possible. Less to clean, maintain etc… I’ll have a loop that’s about 20’X50′ and 4 dead end sidings for storage and switching.

From the operator’s station I’ll be able to control the throttle, turn storage tracks on/off and manually throw switches (turnouts). No wiring, it’s all manual but controls should be within arm’s reach and at waist height.

Operator’s Station:

g scale operators station

(note the top row of new retaining blocks where I had to raise this portion of the track to get the grades to work out)

g scale track plan

With the track in place, I decided it was time to build a structure to house my power supply. I plan to leave the power supply outdoors during the summer months, therefore this building had to be well protected from the rain and critters. There will be 110 Volts coming into the building and 24 volts DC going out to the track. I’m using a 10 amp power supply which powers my track just fine with only one attachment point and very little voltage drop.

I’ve used real shingles for roofs on all my other buildings, but with my shingle supply running low, I decided to use this corrugated plastic sheeting. (wish I had stuck with the shingles).

g scale train buildings

I build to 1/24 scale also known as half scale (10 feet = 5 inches, 5 feet = 2.5 inches). I like to draw the building full scale on grid paper first, it gives a good visual and helps me get the proportions right. In this photo you can see where I changed the number of windows, roof pitch etc… after seeing the profile on paper full size.

g scale train buildings

The roof is concrete backer board. I would typically glue shingles directly to the backer board, but in this case I covered the backer board with plastic film then put the corrugated sheeting on top of that. The base is fiberglass, the walls are birch plywood and assembly consists of screws, construction adhesive and exterior house paint. (and a little calk here and there to fill any gaps)

g scale train buildings

The dock roofs are fiberglass covered in shingles and firmly attached. The wire supports are just for appearance. I developed a pretty good technique for plexi-glass windows, but in this case the windows are plywood painted black for a more robust seal.

g scale train buildings

I cut the vertical grooves in the walls to add some extra detail. It’s a free feature, just takes a little extra time on the table saw.

I don’t know how much this thing weighs, but do know I’ll be using a dolly to haul it out to the layout! I’ve been making buildings during the winter months for about 5 years now, they are piling up in my basement. Hopefully this summer I can start hauling them out to the site and getting them set in place.

A big thanks to Al for the work he puts into his blog. Its great seeing what everyone is up to, and sharing my projects is something I always look forward to.

Happy Modeling!

Cary in Kentucky”

A big thanks to Cary for sharing his G scale train buildings.

I do love it when I see Cary’s name pop up in my inbox. What a project – not only does it look he’s had fun with it all, it looks better and better with each update.

Can’t wait for the next one.

That’s all for today folks, hope you enjoyed it as much as me.

And if you’re ready to start your train journey, the Beginner’s Guide is here.

Best

Al

PS Latest ebay cheat sheet here. Had a look recently?