Bill’s been back in touch with some very impressive model train portable bench work:
(his last post is here).
“Hi Al
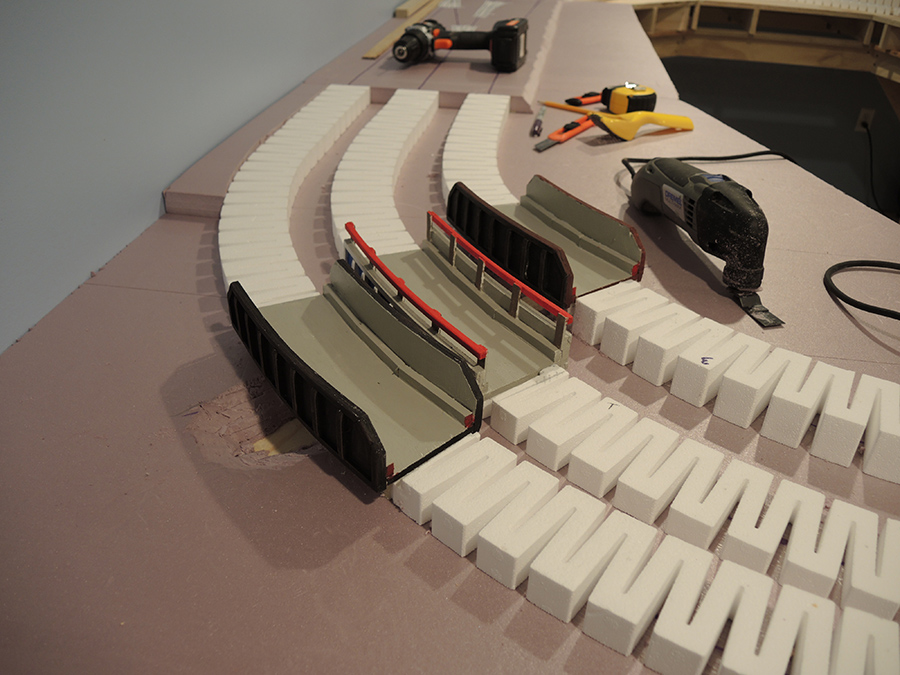
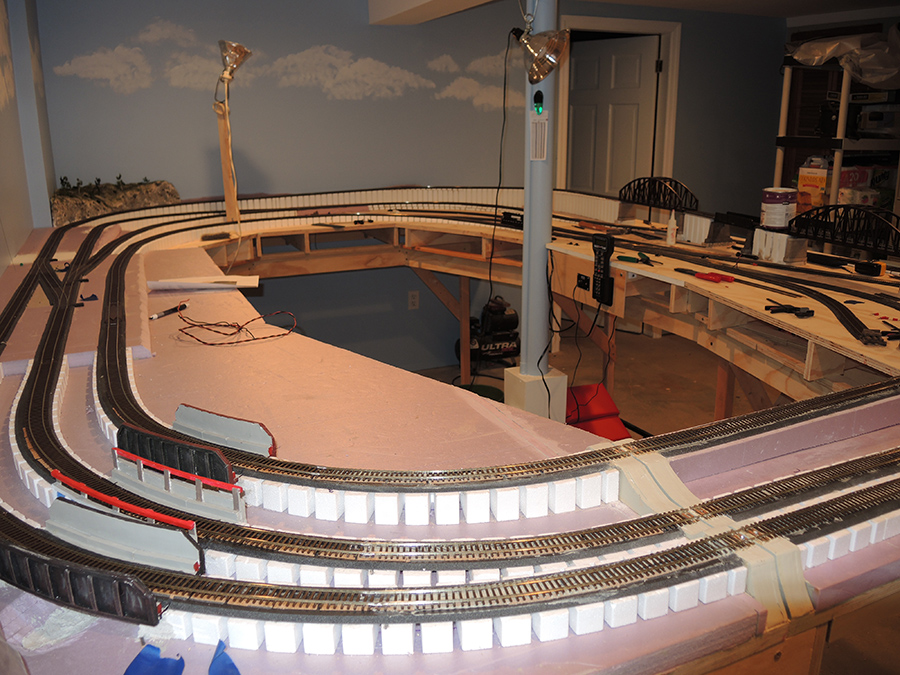
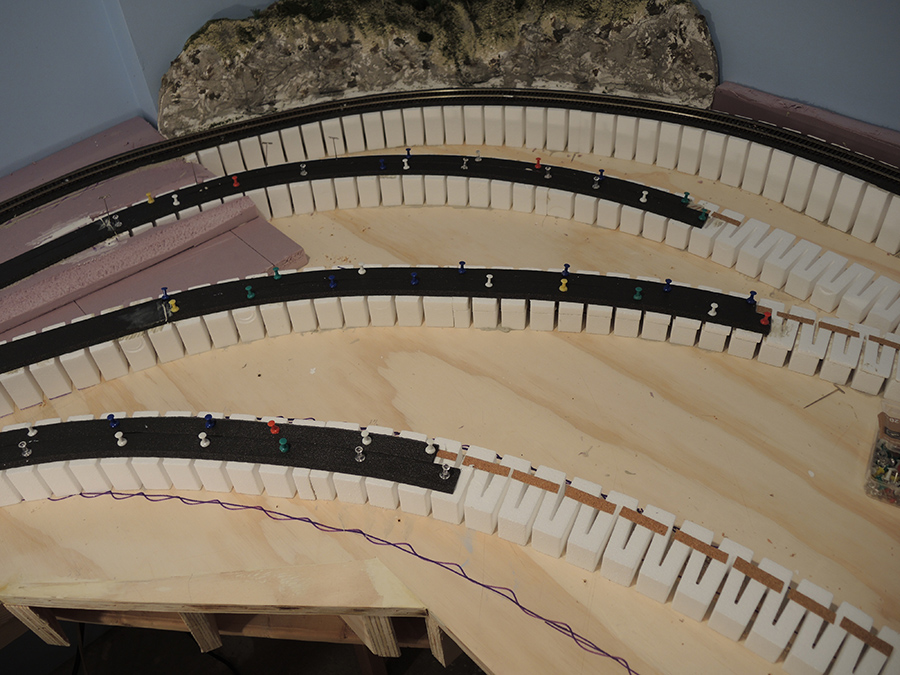
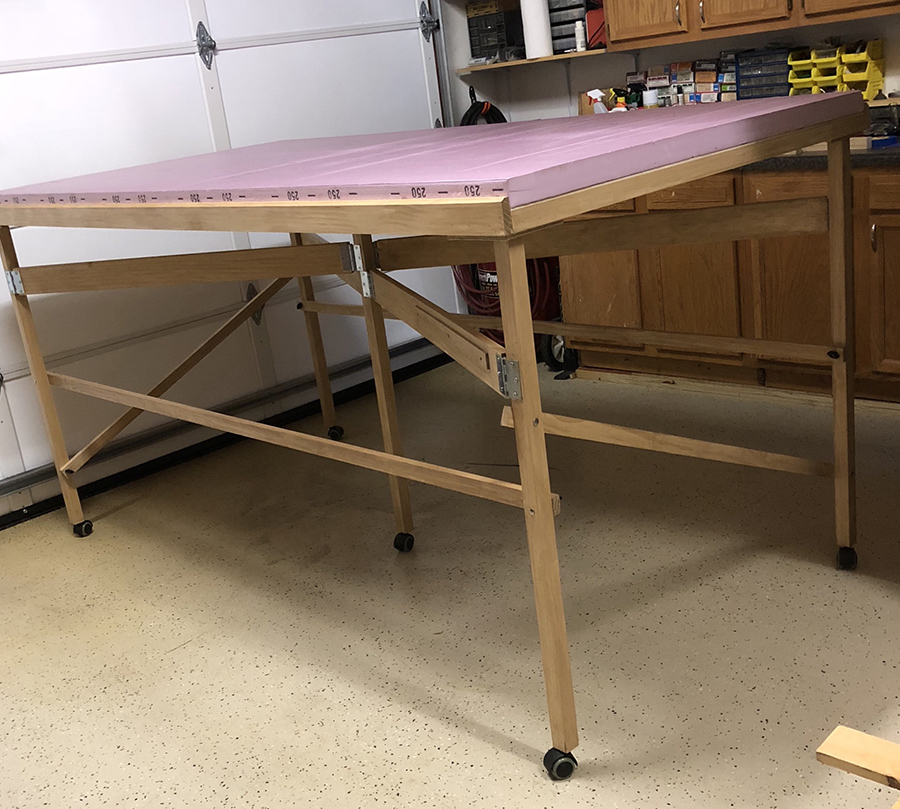
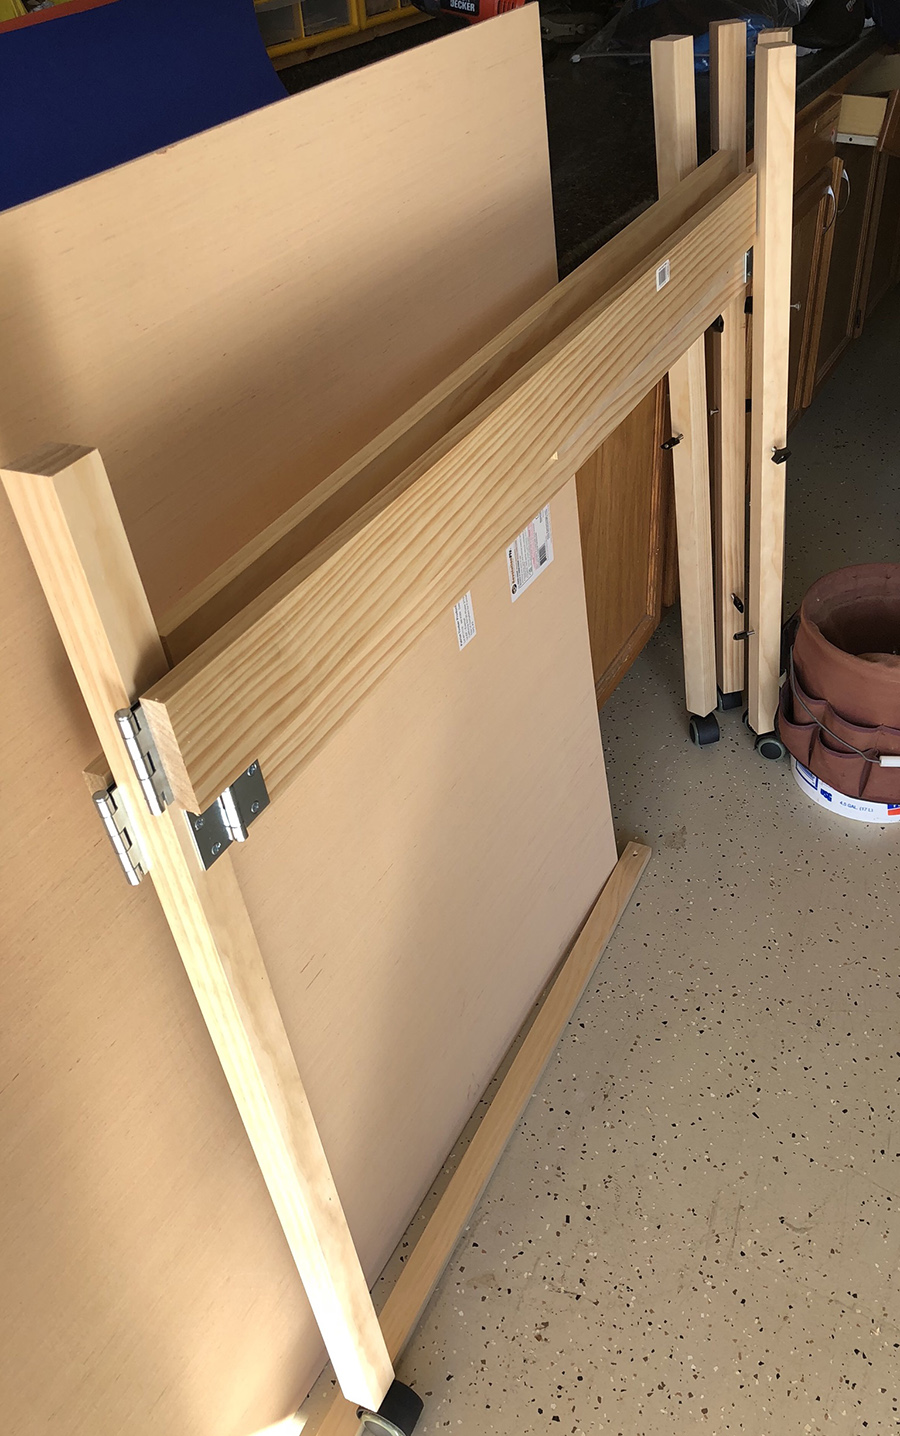
Another productive weekend in the garage. I’ve finished the portable benchwork for the first section of my switching layout.
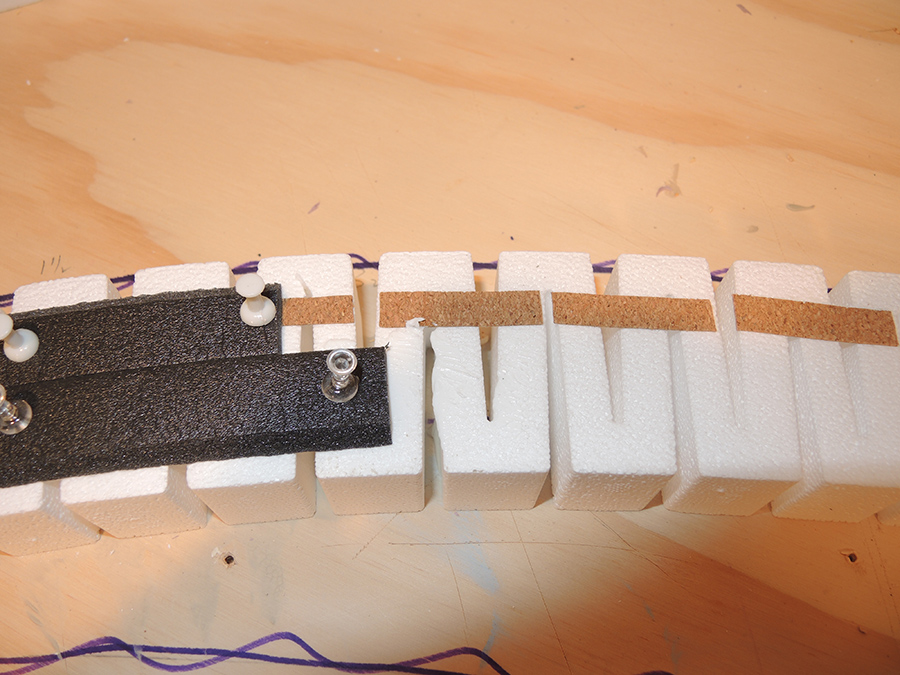
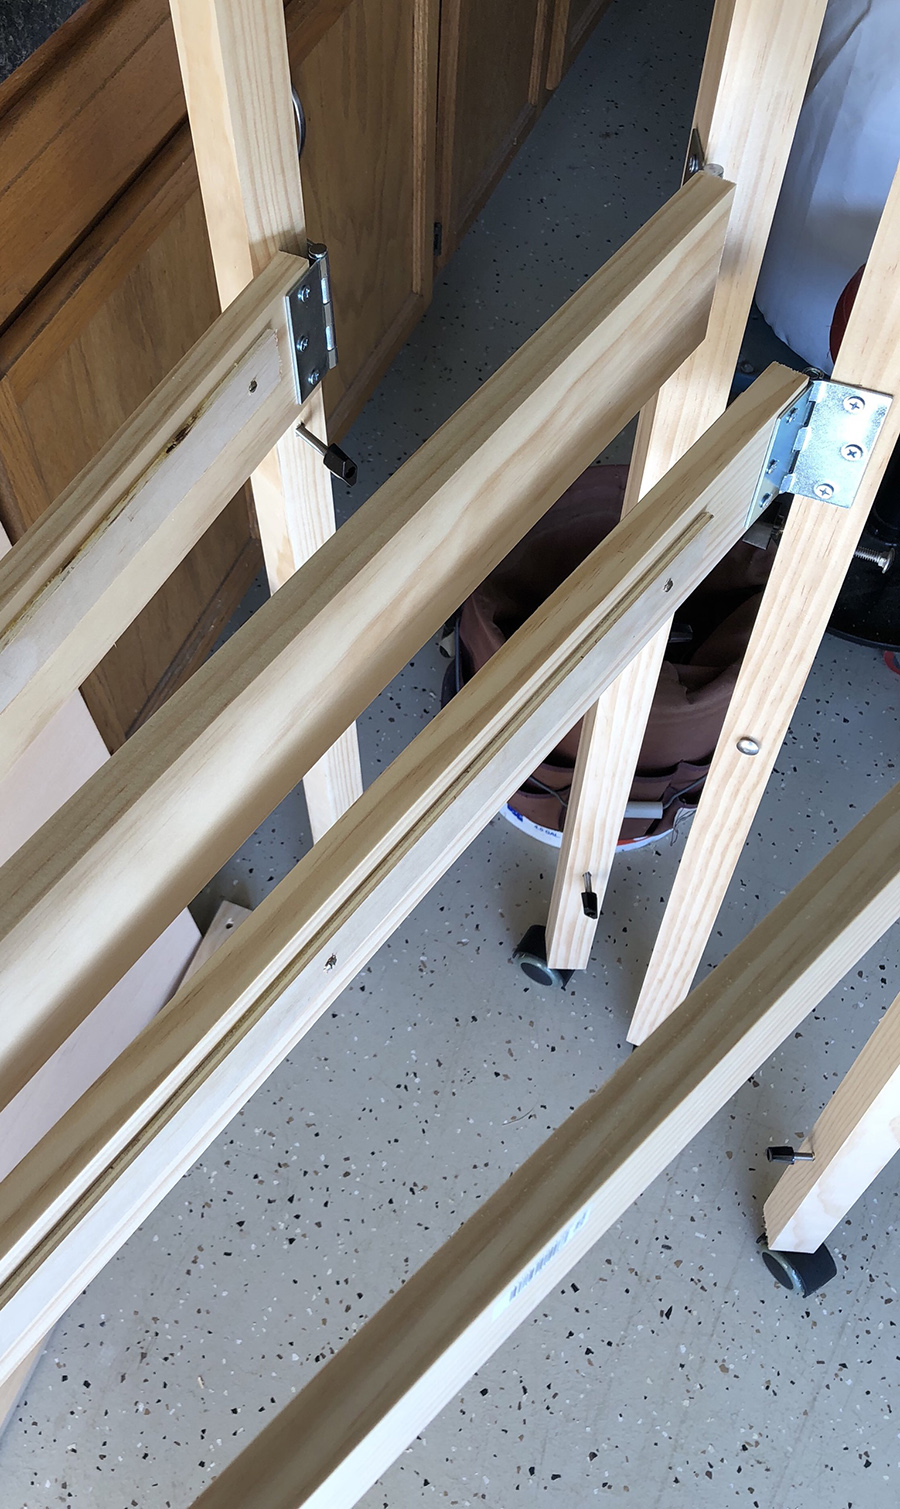
Ive attached pictures showing the folding legs for the layout as well as the bracing. The legs fold to occupy a very small space. The cross members of some of the legs have cleats that support other legs board members when folded. A bungee cord will hold them all together for easy transport.
When set up I have added cross bracing to give the whole legs assembly strength. Those are held on with quick spin off knobs. To set the whole layout up only takes about 5 minutes.
I put an oak stain on for looks. I also finished off the legs with chair castors. I drilled holes just slightly larger than the castor stem and added a large drop of hot glue and pressed the castor stem in. The glue will hold the stem in tight but I can also remove it if I need too – will take some twisting but can be done and the hole can be cleaned and a new castor put on. I have an idea for a leveler system I’ll look at putting on in the future.
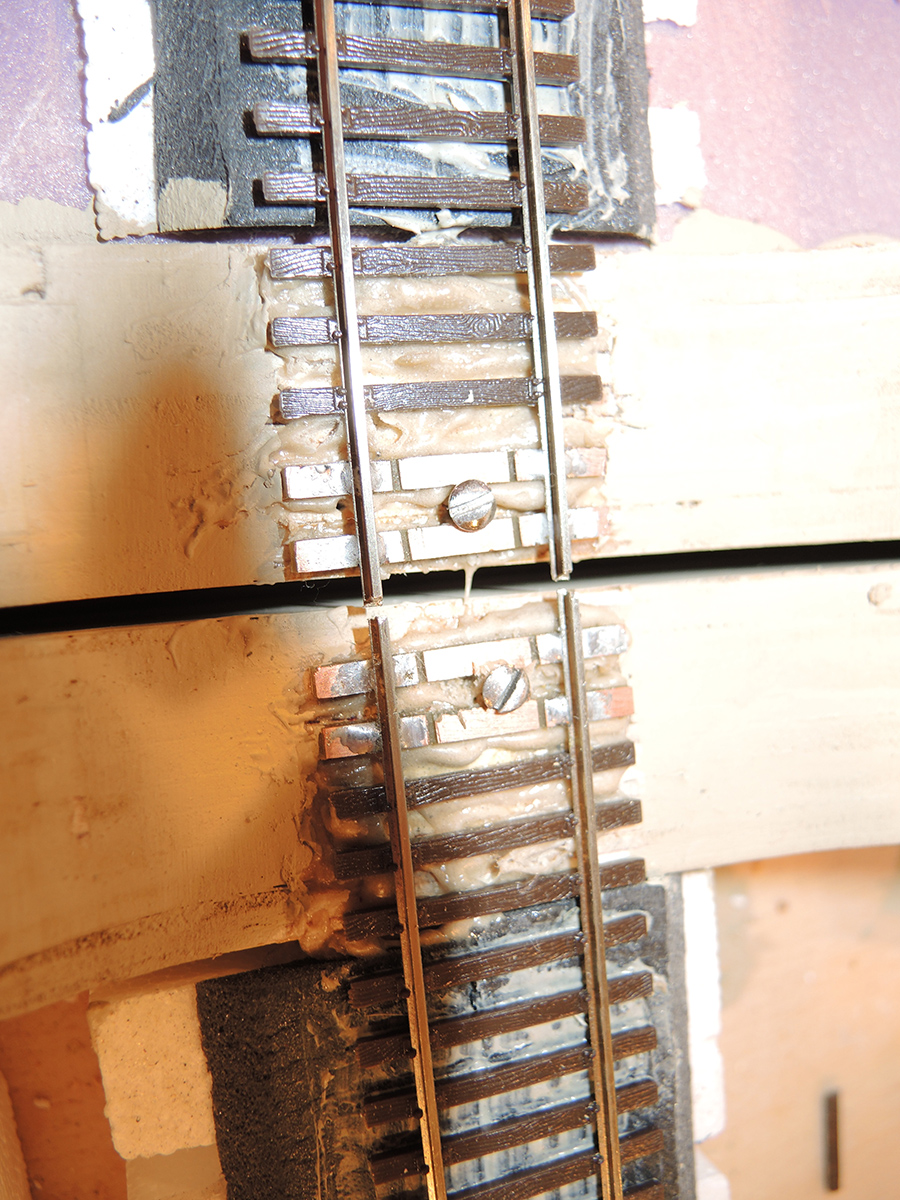
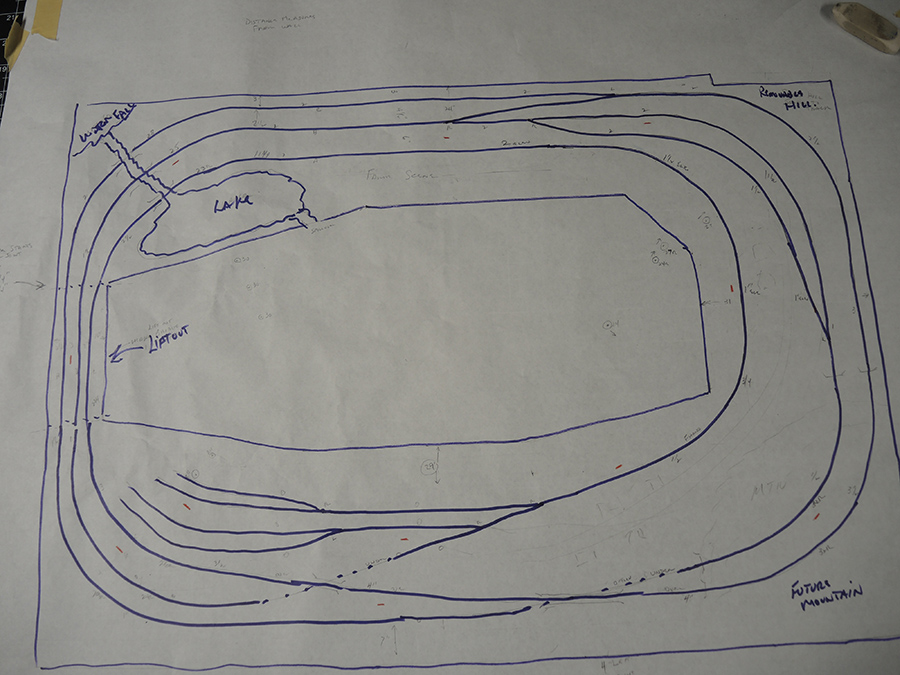
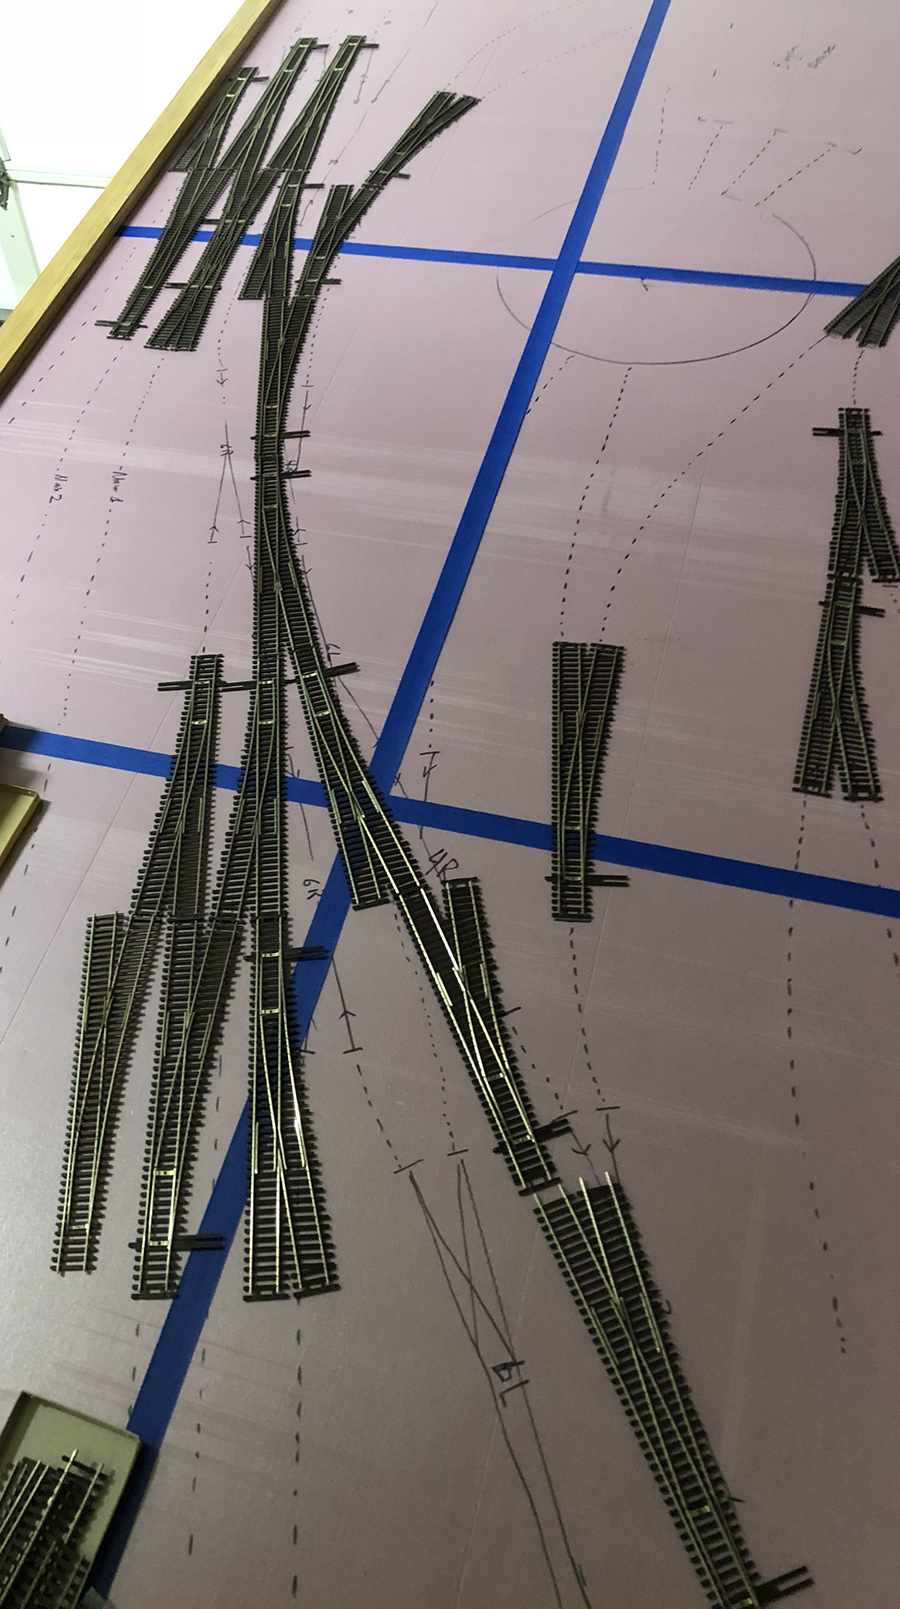
With the model train portable bench work done, it’s time to get ready to lay some track. You can see on the foam board i added on painters tape to show the under frame supports. I will put on manual ground throws for the switches but have micro switches mounted underneath so I do not want switch points over a frame support.
More to come as I make more progress.
Thanks!
Bill in Richmond Virginia”
Clever stuff from Bill with his model train portable bench work – now on to Malcom:
“Hi Alastair and fellow modellers,
I was wondering what to do with an old locomotive that I have had from when I was a kid.
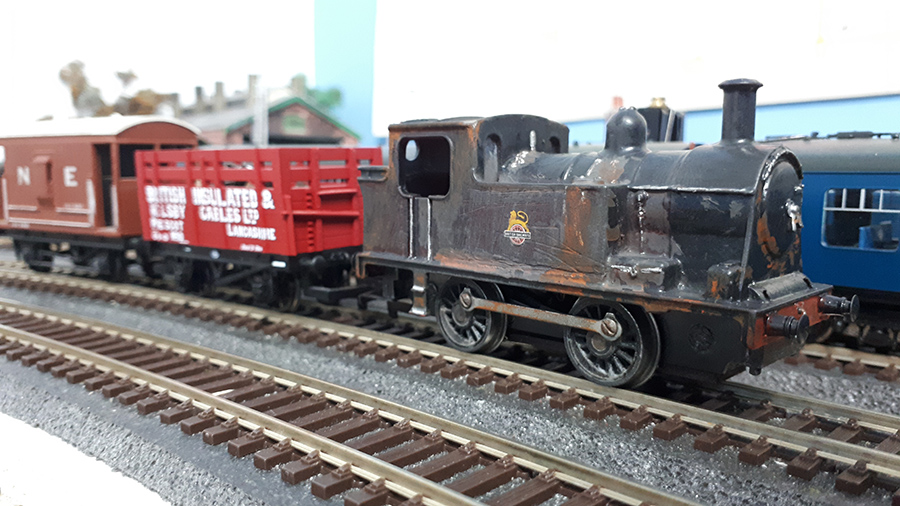
Those of you of a certain age like me will remember Hornby producing a little ‘fantasy’ 0-4-0 locomotive tank engine under the name “Nellie”. Which incidentally was my grandmother’s name but I recall she had less wheels.
I have had this little red locomotive for 45 years and in that time I burnt out the motor, wrecked the pickups, for some odd reason scratched all the paint and markings off and left it totally unusable and badly scratched.
Some attempt had obviously been made when I was a kid to put a ‘can’ style motor in the thing. My soldering as a child was awful and what is more the motor simply would not fit between the tanks so the body no longer fitted.
So here we are on Saturday morning with time on my hands and a clean out in progress. Just couldn’t bring myself to Chuck it in the bin.
I wondered if I could get it to move, just for the practice of repairing motors and soldering. So I scrapped the idea of tidying up and set about the task of satisfying my curiosity. Here’s what happened next….
De-soldered all the brittle wire from everything.
Pulled out the motor.
Tested motor with a battery and it worked. (OK there is hope)
Re-soldered new wires and pickups and pressed motor into position.
Ran like a dream!
Put body back over motor.
Ran in fits and starts then stopped.
Took body off
Ran like a dream!
Hmmm.
OK realise the body is actually squeezing the motor enough to stop it running correctly.
Nearly gave up at this point, then I realised that the chassis is “nearly”symmetrical it is just the lugs and chassis weight at each end differ.
So to the garage and grind off 5mm (nearly quarter of an inch for you imperial guys) from the end of the chassis weight and cut the lugs off the other end. A bit agriculture I agree but it is ‘junk’
Now the chassis would go in back to front and hey presto the motor now fits where the firebox should be and doesn’t foul the bodywork.
Runs great.
By now the bug had really hit home.
Black Car primer sprayed all over which helped fill some of the deeper scratches.
Clear coat roughly painted on to dull it down
Bright orange for the rust
A silver pen on the handrails and safety valves
Tipex correcting fluid for the calcium stains
Acrylic red on the buffer beams
Grind up some black chalk and dust the whole thing to weather and blend in the rust etc.
Quick dig around to find those water slide British Rail transfers and stick them on.
Raid the fridge for some packaging to cut up the clear window for…… you guessed it windows, which the original toy didn’t have and of course eat the cake that was in the packaging. Waste not want not and all that…..
Then it was all over! I am not saying that this is the finest bit of modelling the world has ever seen but my little Nellie has become my track maintenance loco and will be getting a track cleaner and a crane to drag around for my Christmas present and I love the newest addition to my layout, considering it cost me pennies to turn junk into this……
Hope you all like, sorry I didn’t get a before shot as I had no idea it was going to end up anywhere other than the bin!
My kindest regards to you all,
Malcolm
North Wales”
It just goes to show you should never throw anything away. How wonderful to get an old loco running again – especially one you’ve had since a kid.
Or if it’s just an old loco you are after, don’t forget the ebay cheat sheet.
A huge thanks to Malcolm, and to Bill for his model train portable bench work ‘how to’. Clever stuff.
That’s all for today folks.
Please do keep ’em coming.
And if today is the day you get started on your layout, the Beginner’s Guide is here.
Best
Al
PS Latest ebay cheat sheet is here.
PPS More HO scale train layouts here if that’s your thing.