N scale helicopter layout – Brian’s

Brian’s been in touch with his N scale helicopter layout:

“Hi Alistair

Firstly, thanks for a brilliant newsletter – it’s great to see so many modellers sending in pictures and videos of their layouts.

I’m one of the support team for the N Gauge Journal of the N Gauge Society responsible primarily for advertising. I’ve also written several articles now for the Journal on topics such as the 1988 Paris to Hong Kong Orient Express, The N Gauge Tomix Thomas the Tank Engine range, and modelling water.

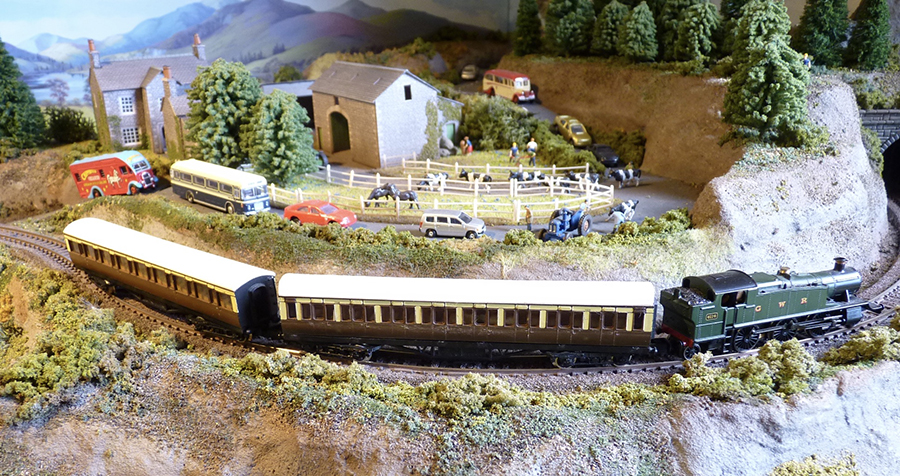
My N Gauge layout built on three independent levels is totally fictitious and not based on any particular era. With my father, Grandfather, and Great Grandfather all working for the Great Western Railway, it was important to provide part of the layout for the running of my GWR stock.

I’m old enough to remember the last days of steam in Plymouth during the sixties, so I wanted to include this era as well. And then with the four Grandchildren only seeing today’s private liveries, it was essential to provide for them.

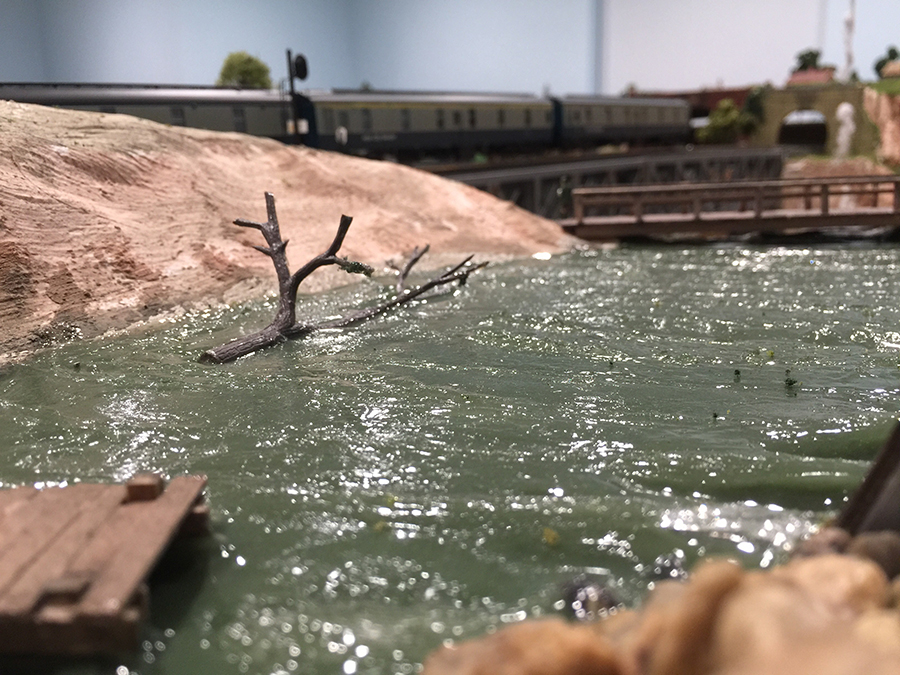
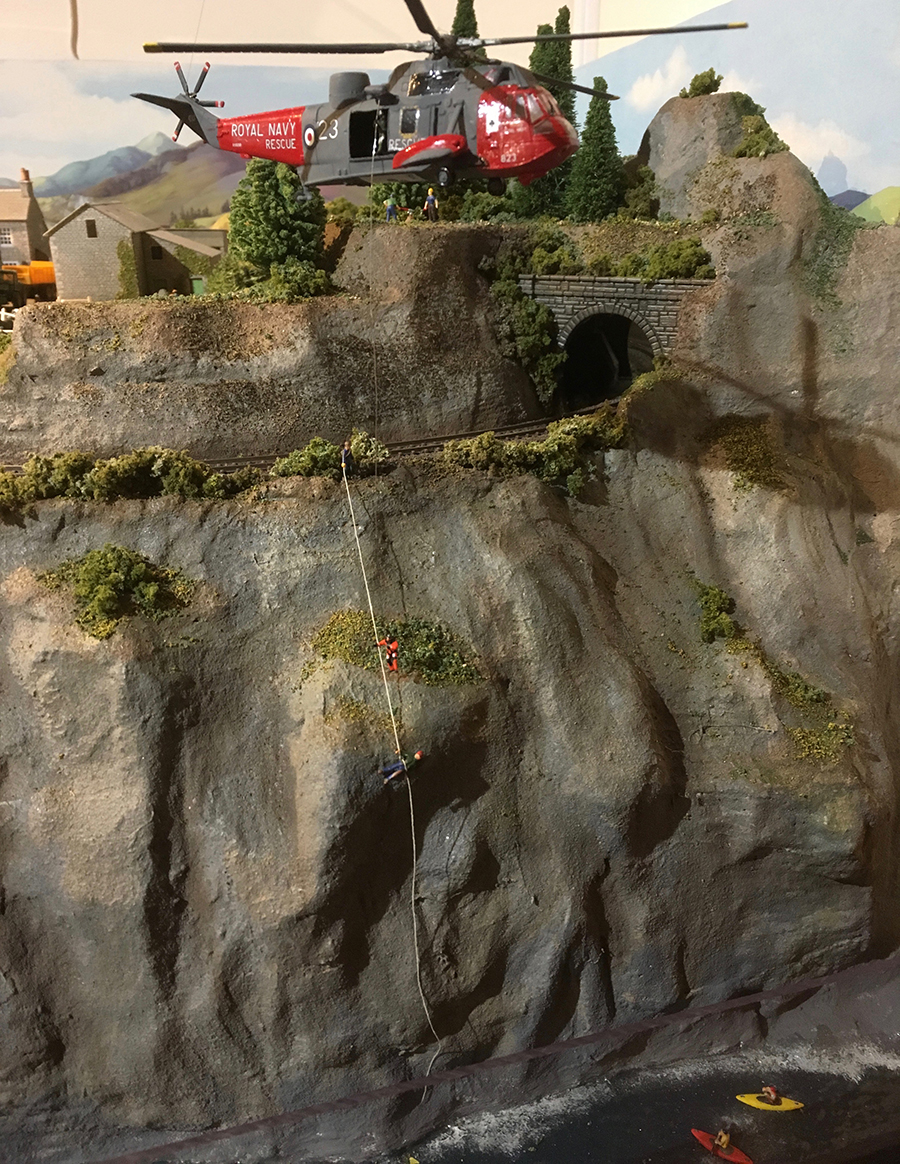
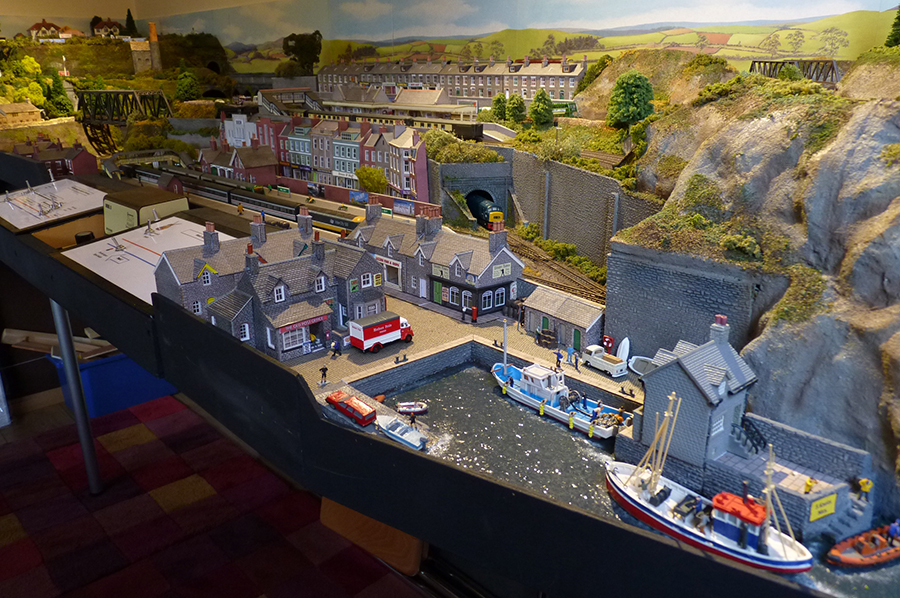
The bottom level activity (essentially a twin track loop) centres around Mill Bay station and harbour. Mill Bay is a small seaside town and fishing port somewhere on the West Country main line.

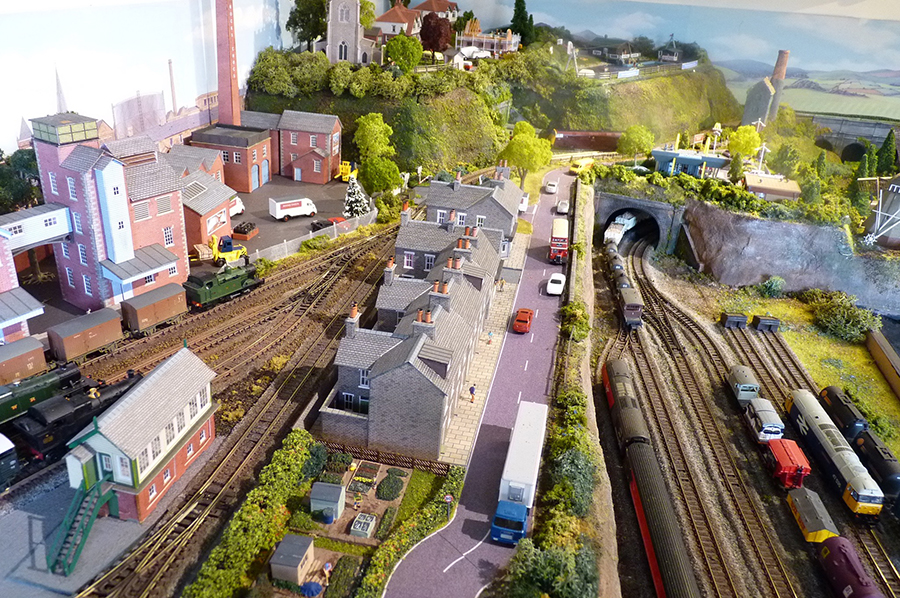
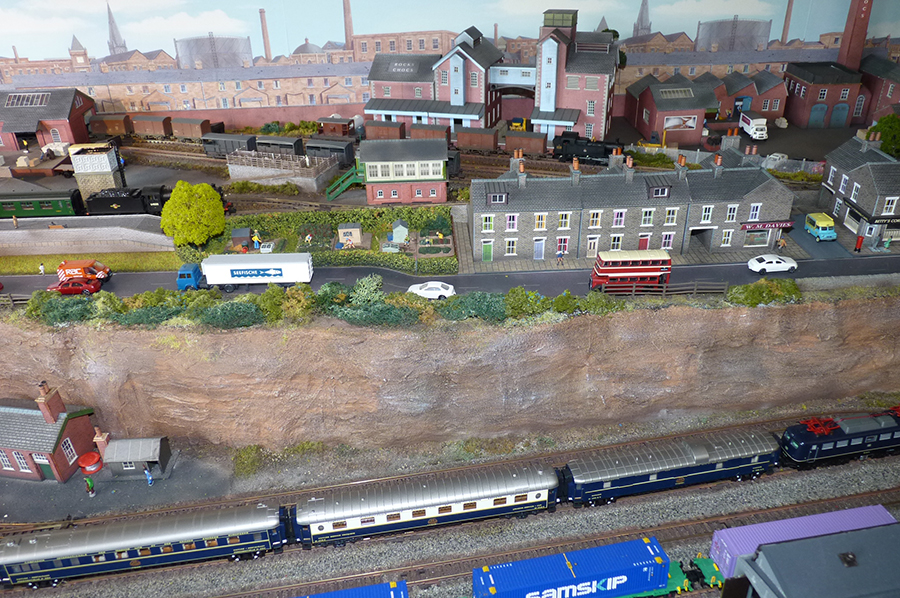
The middle level, again a twin track loop, has two main areas – West Hoe station and The Friary through lines and sidings has a small engine shed for overnighting visiting steam engines and a diesel maintenance depot (Peco). West Hoe is another small town on the main line and a busy through-route for rail and road users!

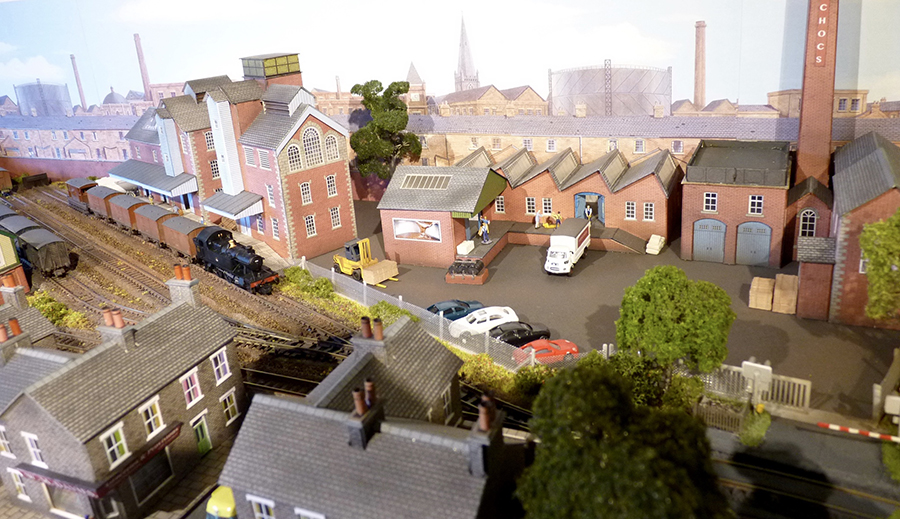
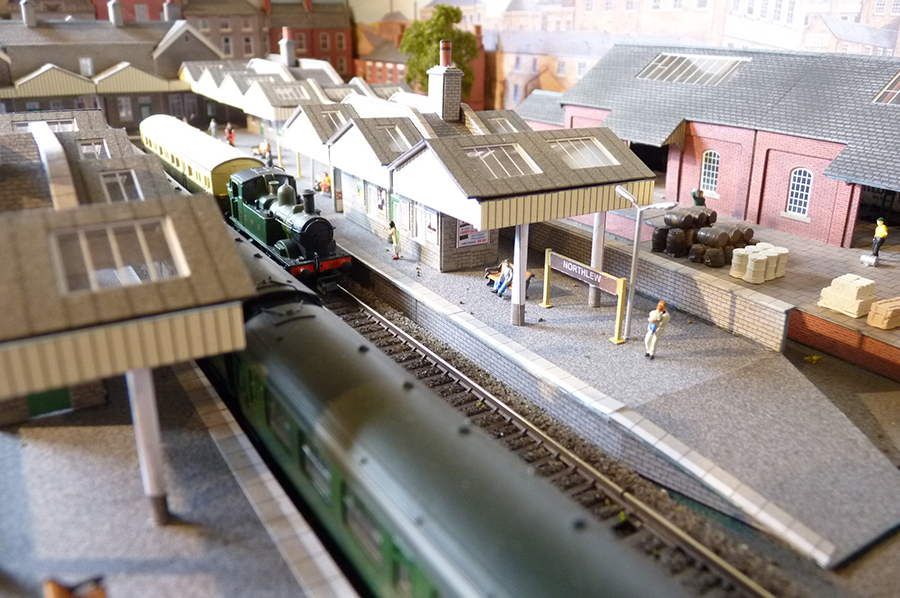
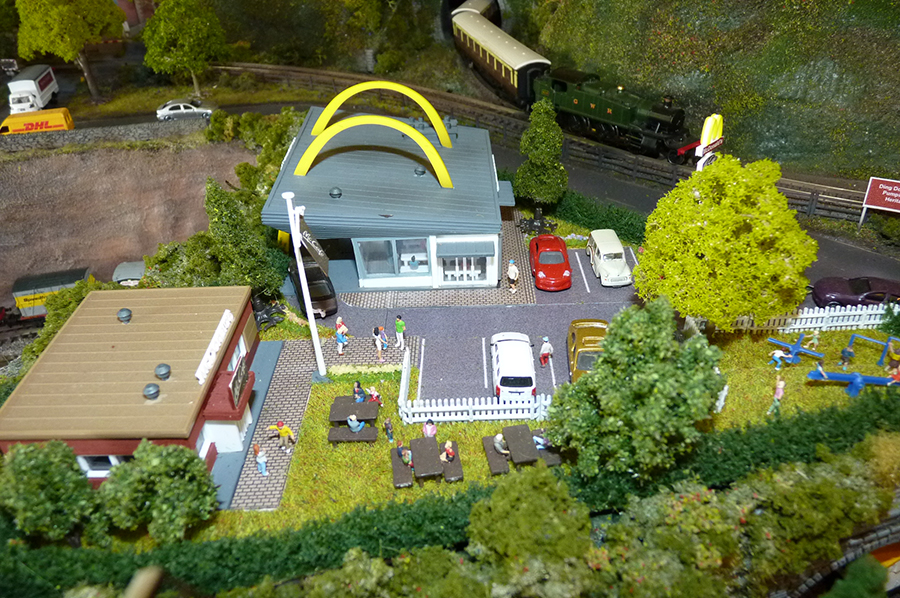
I imagine the top level as a heritage line running on a single track loop with a branch line to the once busy Northlew terminus and goods depot, and the Rocks Chocs factory making fine speciality chocolates with only the best of Devon milk from the local Farm.

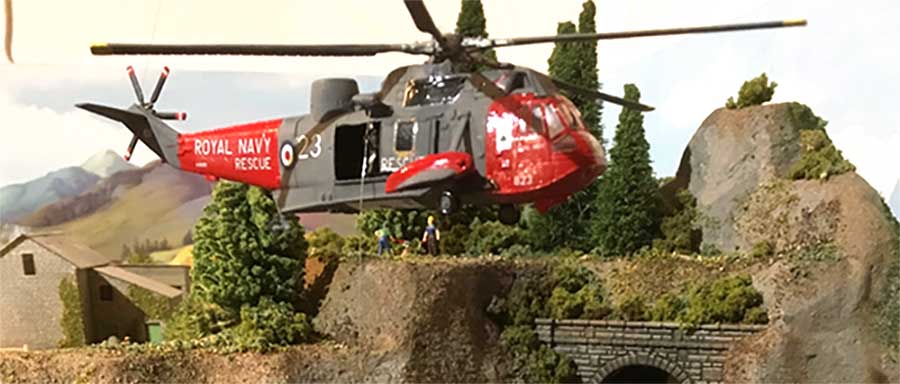
I don’t know why, but I like helicopters, and so I’ve added an RAF Westland Sea King performing a daring rescue off the cliffs of Mill Bay. I’ve also just completed an RAF Chinook which will take its place hovering somewhere over the layout.

Have attached a few photos and here’s a link to my YouTube video experimenting with adding real sounds – great fun!:

n scale helicopter

n scale helicopter layout rocks before rescue

model railway sidings

n scale river

N scale town


n scale town

n gauge station

n scale orient express

n scale station

n scale cliff railway

N scale helicopter

(All images are clickable)


Thanks again.

Brian”

A huge thanks to Brian for sharing his N scale helicopter layout. Stunning stuff.

And now here’s something completely different, thought it would be fun to go from a finished layout (are they ever finished?) to a new one. Brand new in fact:

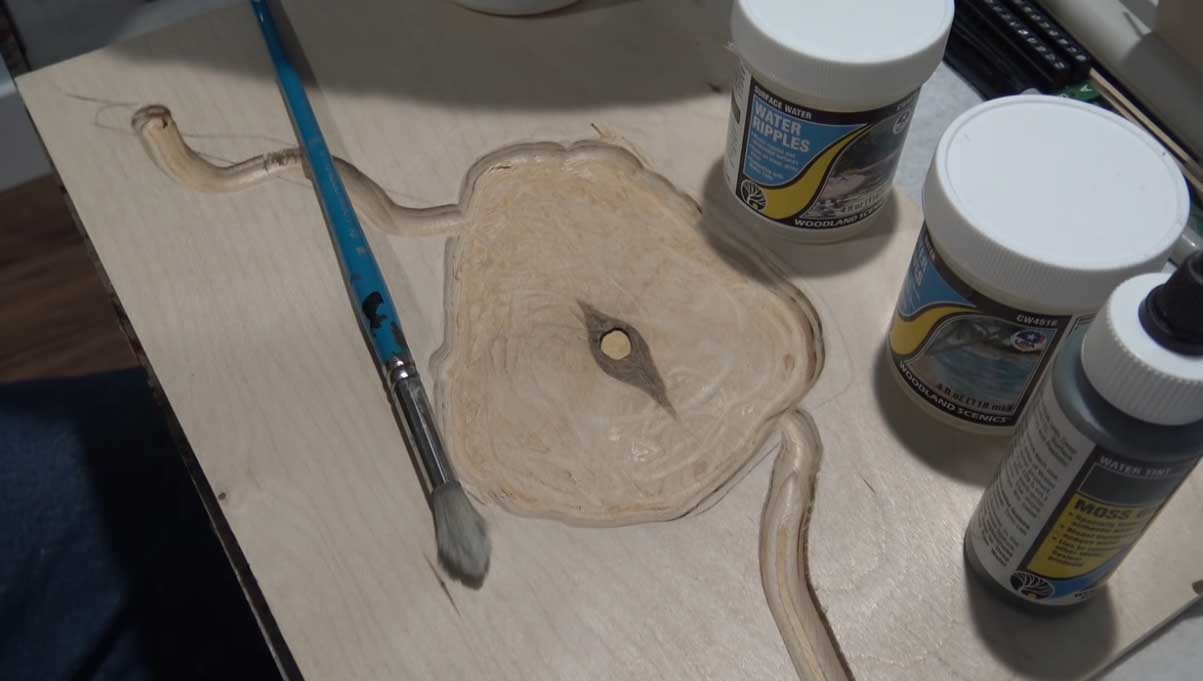
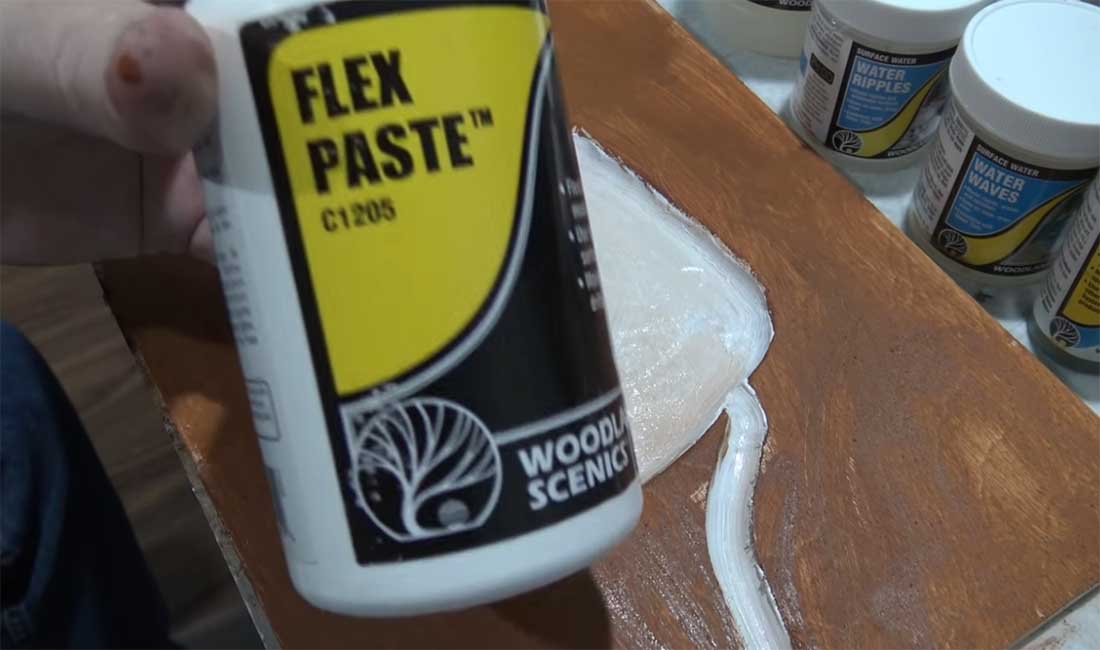
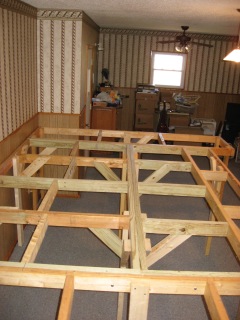
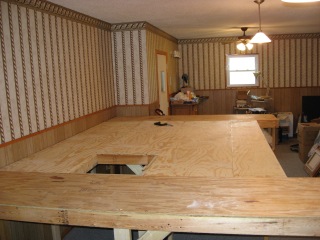
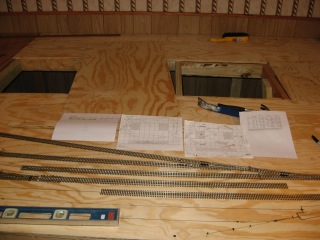
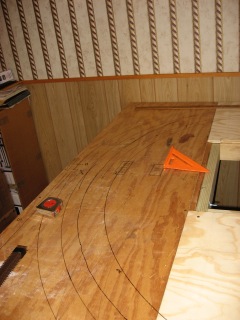
“Well, the bug has bitten me and I have started my “Chicago Northwestern” HO prototype.

Here are some early stage photos.

I know I’ll be referencing you guys as I get into the finer details of this awesome hobby.

Tom”

laying track HO scale

laying track HO scale

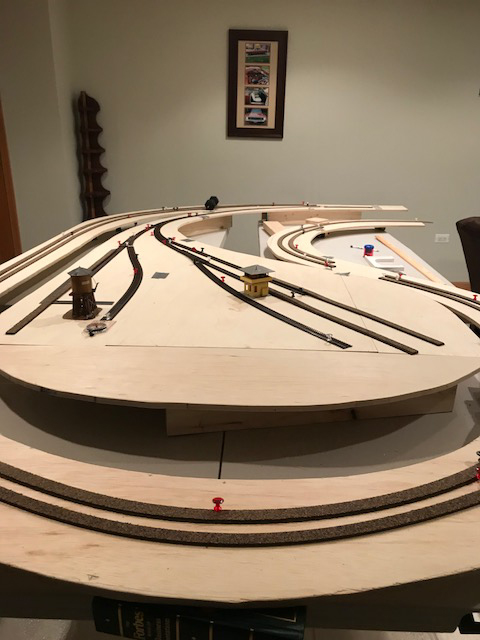
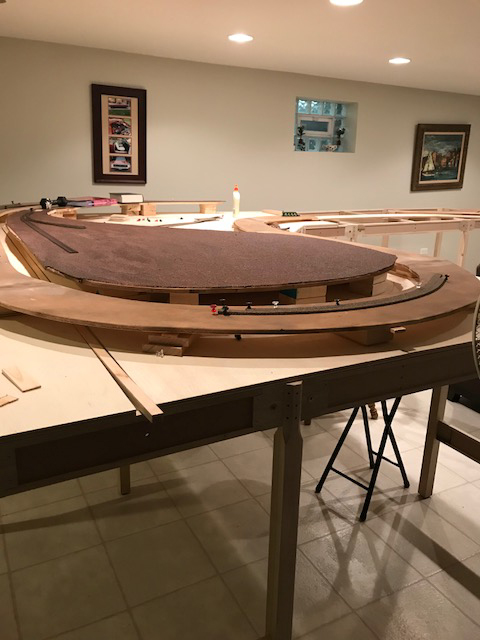
Not much to see, I know, but this hobby is all about making a start – that’s why I post ’em.

And lastly, here’s a tip that Mike has sent in that I thought was clever:

“Cork sheets of any dimension x 1/8″ thick SOAKED in water (with any outdoor scent) until the sheet is totally pliable!

Lay the still soakedly wet sheet over any object with your preferred shape even some objects gathered together to form your shape.

LET IT DRY until it is firmly dried out of all wet.

Periodically during this drying period, hand & finger press areas in order to guide the drying shape closer to your preferred shape’s details.

After the shape is COMPLETELY DRIED, move the light weight structure (usually a mound or rock face) to wherever it was meant to stand.

PAINT the shaped cork sheet as required. Use white glue (dries transparently) to emphasize raised spots.

Mike”

That’s all for today folks.

A big thanks to Brian (N scale helicopter layout), Tom (brand new layout) and Mike (another good tip).

Please don’t forget the Beginner’s Guide, if you want to get going on your layout.

Best

Al

PS Latest ebay cheat sheet is here.

PPS More N scale layouts here if that’s your thing.


Fred shows us how he makes his fantastic model train scenery

Lots of you left questions on Fred’s post, where he showed us how he makes his trees.

And no wonder, it’s stunning stuff. If you missed it, it’s here.

Well guess what?

He’s gone the extra mile for us all, and he’s put together this superb ‘how to’ vid:

“Hi Al

hope this will answer comments and questions about the tree you published.

Thanks from fred

Sent from my iPaddington station platform 13 & 11 /9ths”


A huge thank you to Fred, I think it really is stunning stuff.

Best

Al

PS You can grab it here, right now.

How to make ponds and lakes for a model railroad layout

Rob’s been in touch with how to make ponds and lakes for a model railroad layout.

(You can see more of Rob in the Hall of fame.)

“Hi Alistair,

A friend of mine after seeing my lake that I call hanging lake said I should make a video of how to make a lake so people will feel confident and try to make an interesting pond, lake or river.

It is quite easy to get good results. Here are two pictures of both my lake and my waterfall.

How to make ponds and lakes for a model railroad layout

How to make ponds and lakes for a model railroad layout

model railroad pond

model railroad pond

water woodland scenics

model train water woodland scenics

model railroad pond finished


In the video I take you step by step through the process. My project was done over a two day period working just an hour in total.

Water features are easy and fun to do. Anyone who is worried about how to make ponds and lakes for a model railroad layout should watch this video.

Thank you so much for all you do.

Rob – Farland Howe”


Rob’s also done another fabulous water how to:

Model train water effects

It reminded me of one of Dan’s post too:

Model railroad pond.

And now on to Joe. You all know how fond I am of posts that show the biggest hurdle – making a start!

“I when I was in high school, (Los Angeles, CA USA) back in the 1950s, I built an “L” shaped Lionel “O” gauge layout that was 10’ long on one leg and 12’ on the other on which I could run 2 trains simultaneously. Those trains and days are long gone!

In the late 60s, I built a “folded doggone” “N” scale layout that was 5′ X 2 ½’. “N” scale was relatively new and it was a lot of work to keep everything running and I soon lost interest.

In the late 80s I began collecting HO equipment. I had determined to model the 1940s to 50s steam era. By then, we were living in San Diego, CA.

A friend gave me his “Chessie System” 4-6-2 Mantua loco and tender and I bought about 2 dozen freight cars (Athearn & Roundhouse) and a set of 3 Roundhouse 50’ “Harriman” coaches. All in kit form.

Before building them, I sprayed the chassis and undercarriages with a light, ‘splotchy’ coat of light-rust colored primer. I grouped them by size & style on a large scrap of cardboard and did them all at once.

Next, I decided to do a slight bit of weathering because I didn’t like the idea of running a plastic train. I simply took a small piece of 400 grit ‘wet and dry’ sandpaper (I used it dry) and lightly stroked down over the lettering, etc. leaving the ‘dust’ on the model. Then I sprayed lightly with dull coat to “fix” the weathering.

Since I had no place to actually build the layout at the time, I worked on the cars, loco and some buildings at my leisure.

Since I was not modeling the C&O, I stripped the paint from the Pacific loco and tender and repainted them flat loco black.

In 2001, we moved to a house in Missouri that had a huge room that I could dedicate to a layout so I began a track plan. It is 12’ x 8’ and built as four modules. I designed it that way so it could be moved. Finally, retiring in 2009, I began to build the layout.

We moved in 2017 to Battlefield, MO and I was glad I had constructed a “modular” layout. Currently it is sitting in my huge 25’ x 25’ heated, air conditioned well insulated shop building. ½ the shop is for the layout and relaxing and the other ½ is my wood/cabinet/woodworking shop. I have completed the backdrop and some of the background scenery. I will be starting the landscaping within the month.

I’ve run out of time right now but will continue next week. You’ll probably want to wait until you have another 3 or 4 sets of pictures before you publish them.

Here are some pics from early construction:


This is roughly the track plan.

track plan

Framework completed, all four modules bolted together.

train bench

There is a 2’ x 8’ module on each end, a 4’ x 8’ “sandwiched” between them at the back (Left) and a 3’ x 8’ “sandwiched” in front (right).

train bench 2x8

½” plywood applied

“Roughing-out” the track plan.

HO scale

“East end” curves marked. The largest radius is 34”, the smallest is 30”.

train bench with curve template

Joe”

A huge thanks to Rob and Joe.

It really did brighten my day because for some reason of late, the trolls have been out in force.

When I started this blog, all those years ago, they used to get me. But now I just merrily delete them and read the nice mails, which does the trick:

“I almost forgot about your site as I got out of the hobby for several years.I started up again and maybe because of age or just being away from modeling so long I forgot a lot of what you do helping others in this great hobby. But I just went up to my grage attic and found printouts from your site I save in a folder from many years ago and you still great in saving time and money for all your fellow modelers. Thank you again. Allen”

“Hi…… great site and great emails……. Gary”

“Al;

Just wanted to drop you a line to tell you how much I enjoy and have learned from your newsletter and blog. I purchased the “Beginner’s Guide” a while back and have read it through numerous times. It has helped me in planning for my own beginning layout which will be taking shape soon. I have a three-year-old grandson who is currently into the Thomas trains in a big way, so I have a dedicated shed at my home that will serve as the home to my layout and give the grandson plenty of room to spread out his wooden train tracks (he loves to rearrange the layouts into new and novel configurations) and “help” me run the HO layout until he gets a little older. I have gradually accumulated enough track and rolling stock to build and operate a double-loop 4X8 layout. My emphasis is on the late 1940s to early 1950s when the final transition from steam to diesel was being made. I grew up on a farm which adjoined the main rail line from Atlanta, Georgia to Knoxville, Tennessee, and was originally built in the 1850s. As a child I watched the freights and passenger trains of the Southern Railway on this line, so it is the Southern that will be principally represented on my layout.

Thanks, and best wishes from the USA!

Jim, Cleveland, Tennessee, USA”

“Al: I really love your website. All of the tips and tricks are really good info for us model railroad fans. Mike, Michigan USA”

“Al, your blog is the daily feature that I enjoy and I look forward receiving your email. I’ve been in Model railroading since I was 10 years old when I received my first model train set, a Marx metal 027 scale. I’m greatful for your efforts bringing us what most of us enjoy. Thank you! Frank, near Mickey Mouse, Orlando”

You get the idea – the nice mails / comments really do drown out the trolls.

I’m telling you this for no other reason than to say thank you. A huge thank you.

If you read my mails and enjoy the site, thank you.

And an even bigger thank you to anyone who has supported the site by investing in the Beginner’s Guide or any of the print out scenery (frankly, without them, there wouldn’t be a site).

So, thank you, thank you, thank you – you know who you are.

That’s all for today folks. Hope you enjoyed Rob’s “How to make ponds and lakes for a model railroad layout” as much as I did. Stunning stuff.

I wonder how many of you will make a pond for your model railroad now?

Best

Al

PS More HO scale train layouts here if that’s your thing.


Need buildings for your layout? Have a look at the Silly Discount bundle.