Terry’s been in touch – he’s been kept awake at night by a model train reverse loop nightmare:
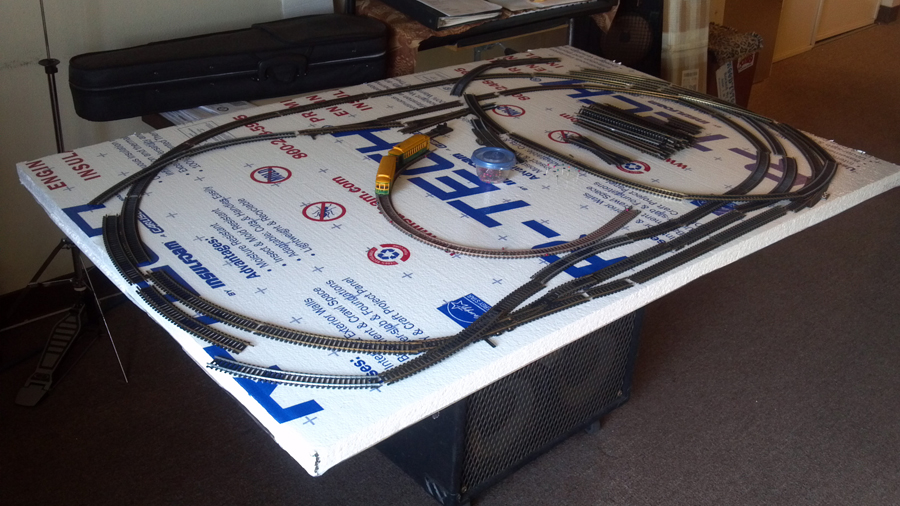
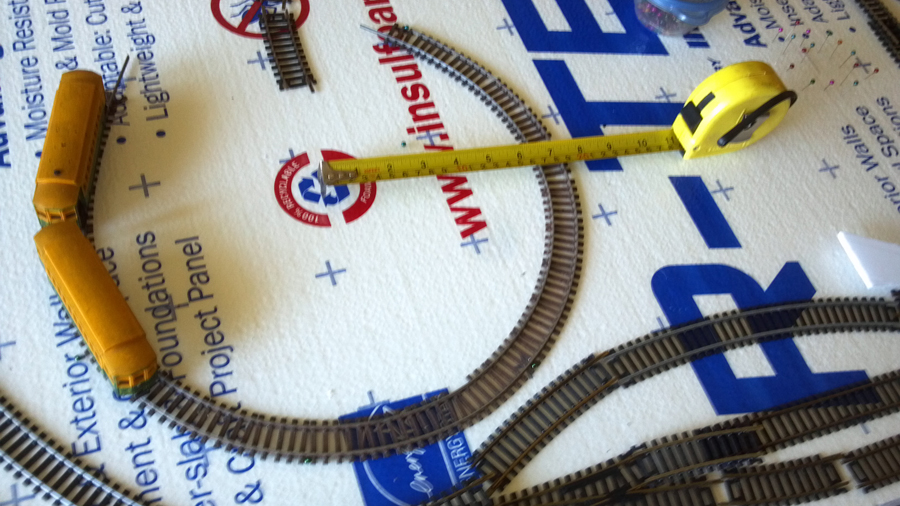
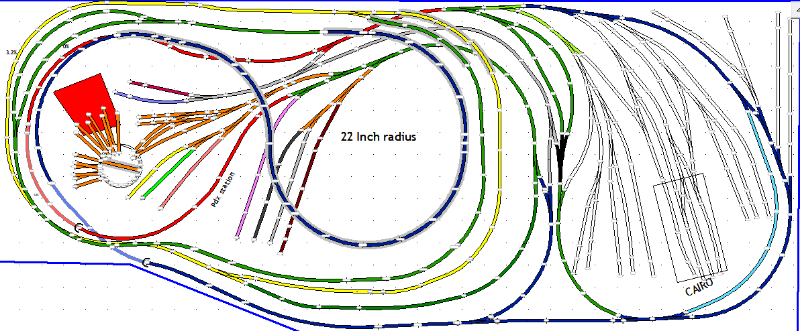
“Alistair: I’m hoping that someone in the group with a little time can take a look at my track plan and tell me if and where a return loop exist.
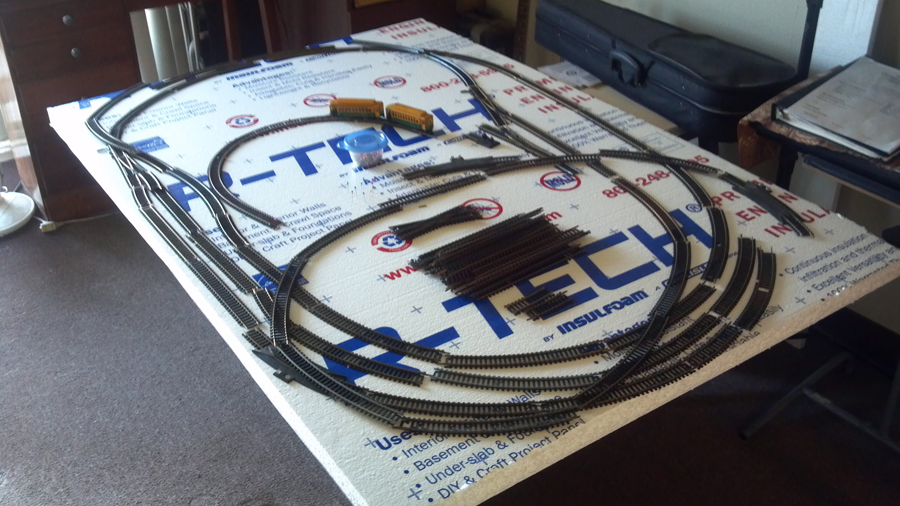
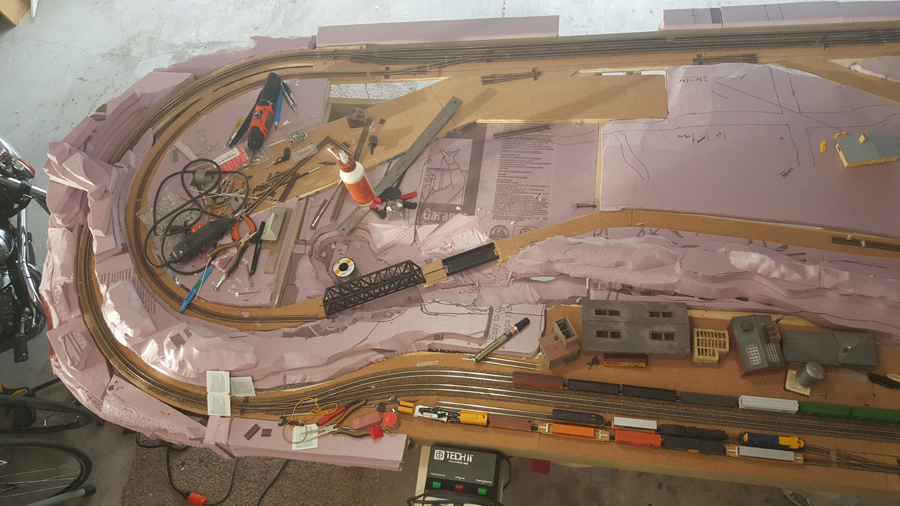
The colored tracks are all ready built and work fine and don’t make a return loop, it’s the yard tracks in outline form on the right side of the picture that I’m concerned about.
At first glance it might look like a return loop in places but if I’m right and you follow the tracks throughout the layout I think I’m ok.
Appreciate previous help from your members and hope they can point out my mistakes.
Terry”
And how about this for an answer:
“It looks like you have used some kind of software to create your layout, so I would suggest making a copy of the layout with all of the sidings and run-arounds removed so you only have to consider “main line” track and turnouts as you look for potential reversing loops.
I think your layout can be configured to give you a big continuous loop with no reversing loop, a second configuration with one reversing loop that would reverse a train the first time through the loop, but then revert to a continuous loop with no reversing loops for subsequent trips, and a third configuration with two facing reversing loops.
I see four critical turnouts to create these three configurations.
The first critical turnout is the green turnout at the top-center of the layout, connected to the top red segment of track. Call it T1.
The next critical turnout (T2) is the blue turnout on the bottom right of the layout. It faces “west” (left) and either goes straight as a blue segment, or turns north to connect to a green track segment.
The third critical turnout (T3) is the blue turnout at the bottom of the page and facing T2.
Finally, T4 is the green turnout facing south and above T3 and to the right of the yellow segment.
For a configuration with no reversing loops, start on the top red track segment, heading east into T1 and continuing straight through it, around the east side of the layout on the blue segment, straight through T2 and T3, around the blue 22R loop, into and around the green segment, through the top yellow turnout, which is not relevant, around the yellow segment and straight through the lower yellow turnout (noting that taking the turn on the lower yellow turnout will just carry you back around the yellow loop) and into the next green segment, then north through T4, continuing around to the red loop, and returning to the starting point, headed in the same direction.
For one reversing loop, T1 starts set to straight through, T2 set for the turnout to the northbound green leg and back into T1 in the opposite direction.
T3 and T4 are both set to straight through. Starting at the same point, eastbound on the top red segment and into T1, the blue segment takes us around the east side of the layout, but T2 turns us north and back through T1 going in the opposite direction.
Continuing, the red loop leads to the green segment and south, straight through T4 into the yellow loop, the next green loop, the blue loop and onto the bottom blue segment, eastbound straight through T3.
After going eastbound through T3, T2 and T1 must be set back to straight through to carry us back into the red segment, headed west. Once the loop is completed the first time, the reversing loop goes away, none of the turnouts need to be changed again, and the configuration becomes a continuous loop going in the opposite direction of the first configuration.
For two reversing loops, T2 and T3 must be set to their respective turnout positions, and T1 and T2 will be switched back and forth in the course of the loops.
So, from the red segment, east (straight) through T1, around the east side, then turning north through T2, switching T1 to go back into the red segment westbound, around the red loop, then the green segment that leads into T4.
After passing through one side if T4, a train will always return through the other side of T4 going in the opposite direction (provided T3 remains set to the turn direction).
If a train goes straight through T4 going straight, it will return to T4 on the turnout leg going north, and if the train goes through the turnout leg of T4 going south, it will return to the straight leg of T4 headed north.
So, continuing straight south through T4, leads to the next green segment, then the yellow loop, then the next green segment and loop, around to the blue loop, then turning north through T3 and back into T4 headed in the opposite direction.
If you leave your design like it is, I think you will be faced with some tricky wiring problems at those four switches.
Jim”
Now on to Patrick with a bit of light relief if your is spinning at the thought of a model train reverse loop:
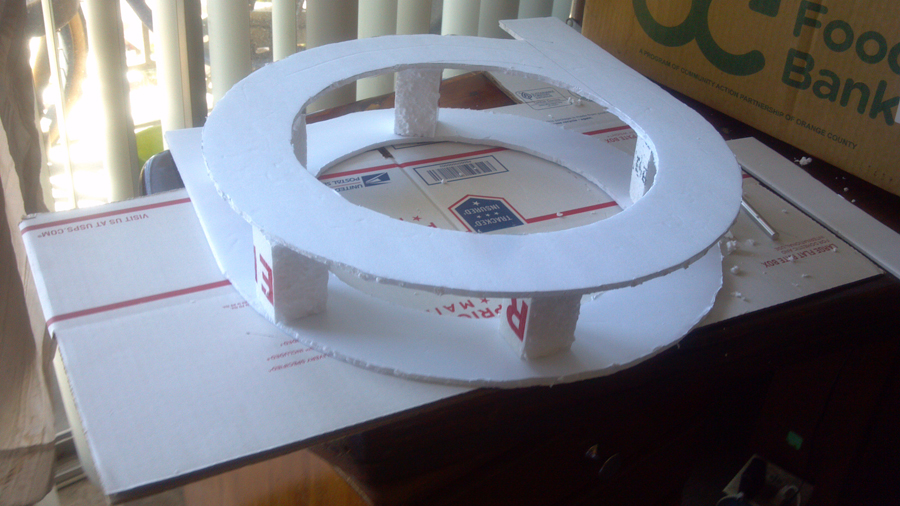
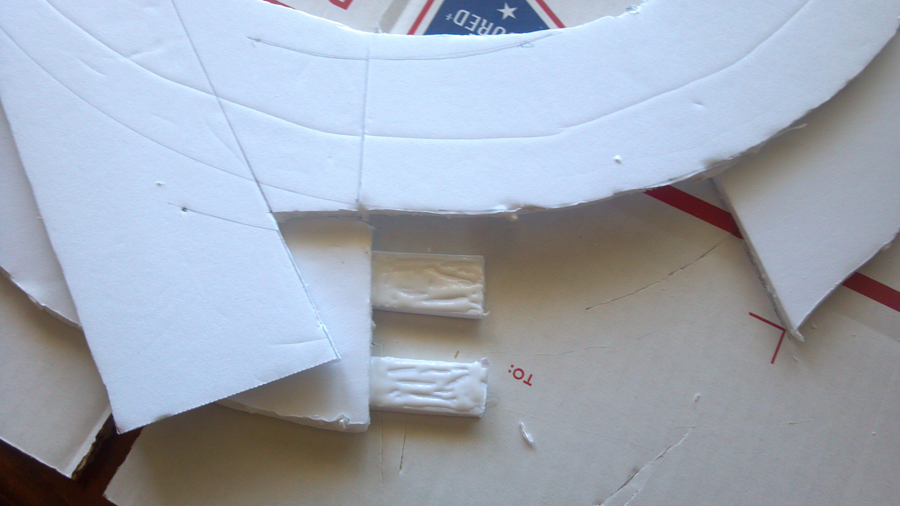
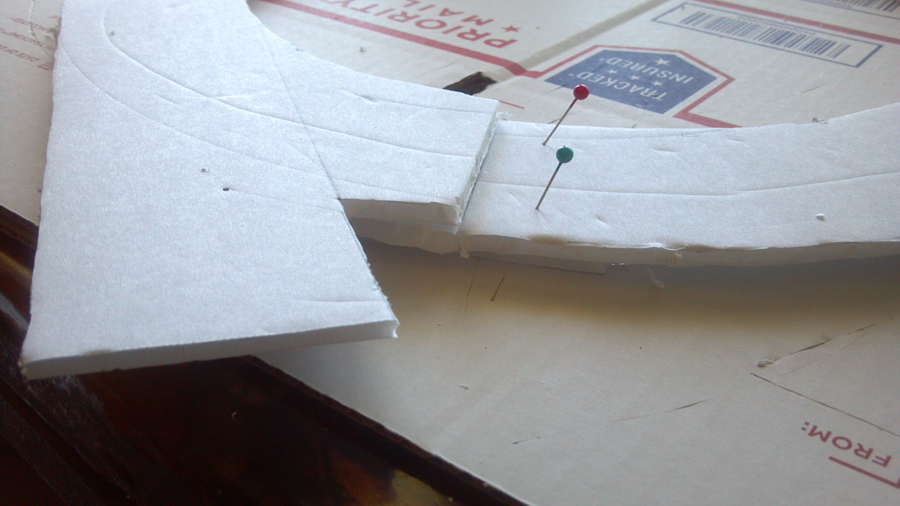
Short on space – Do what Patrick has done – another clever way around the thorny issue of space:
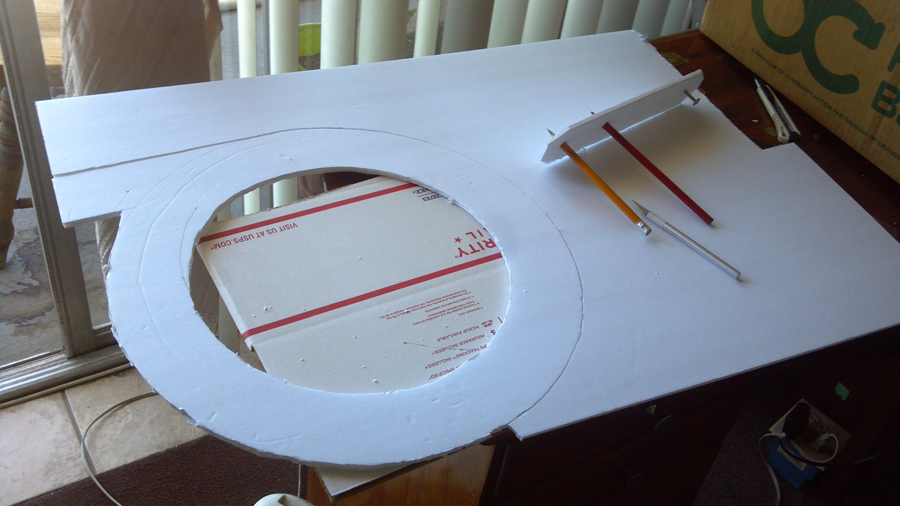
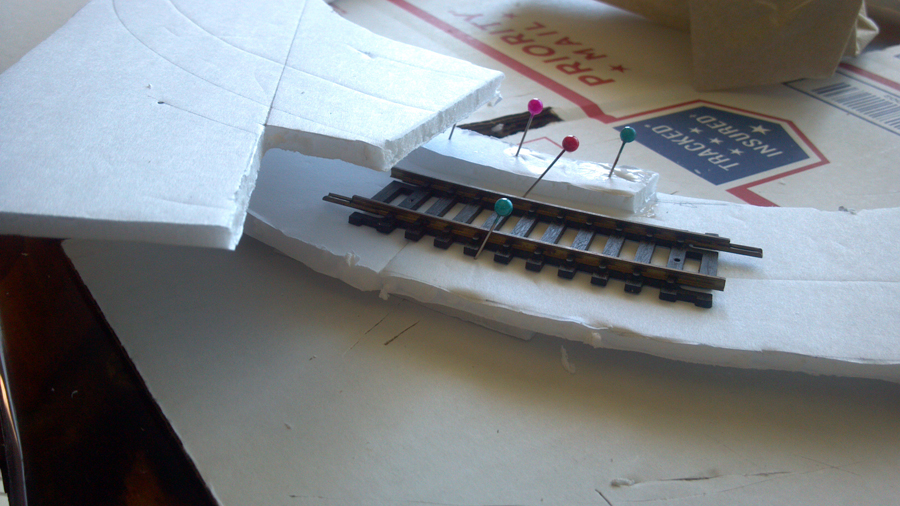
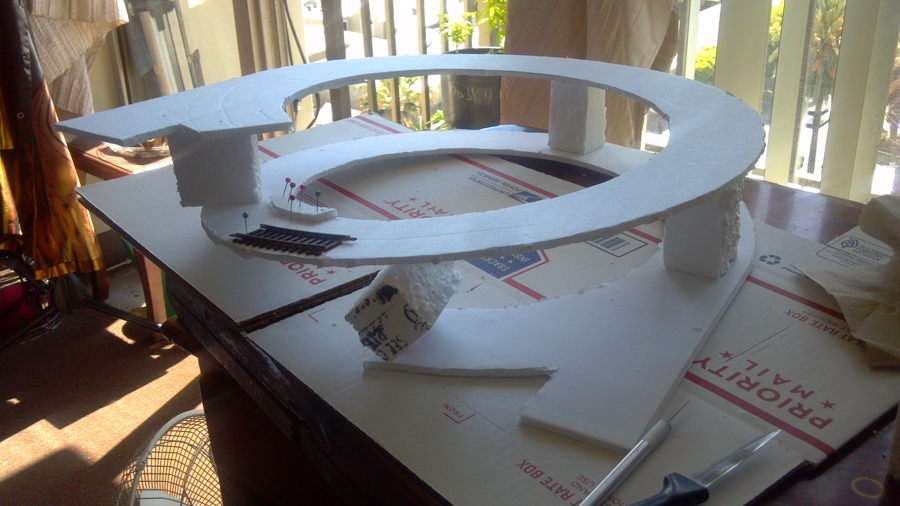
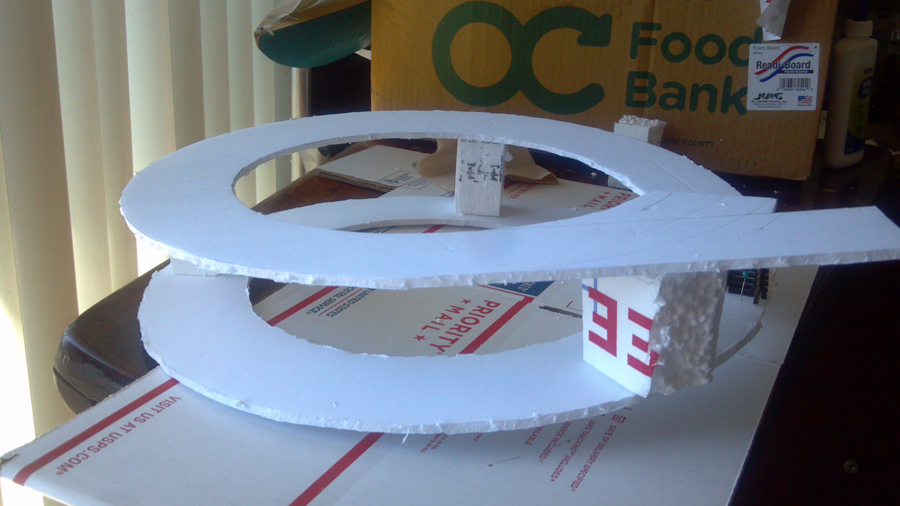
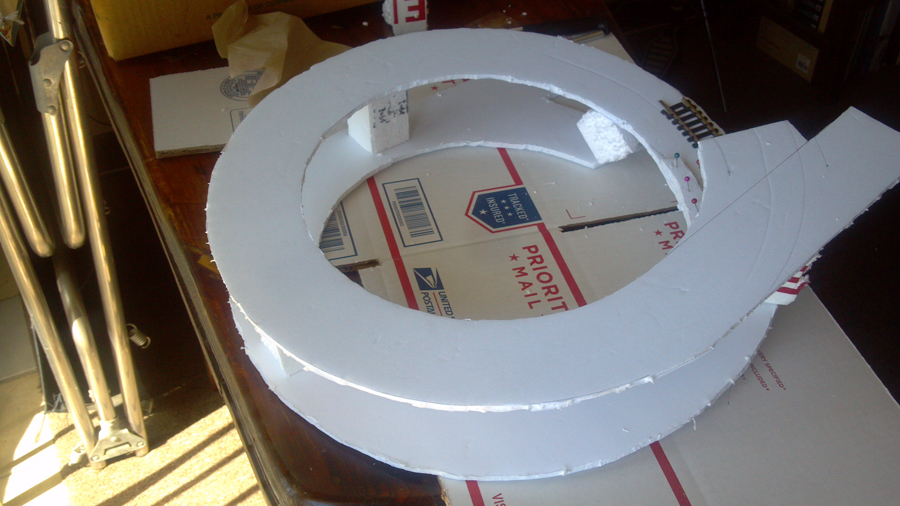
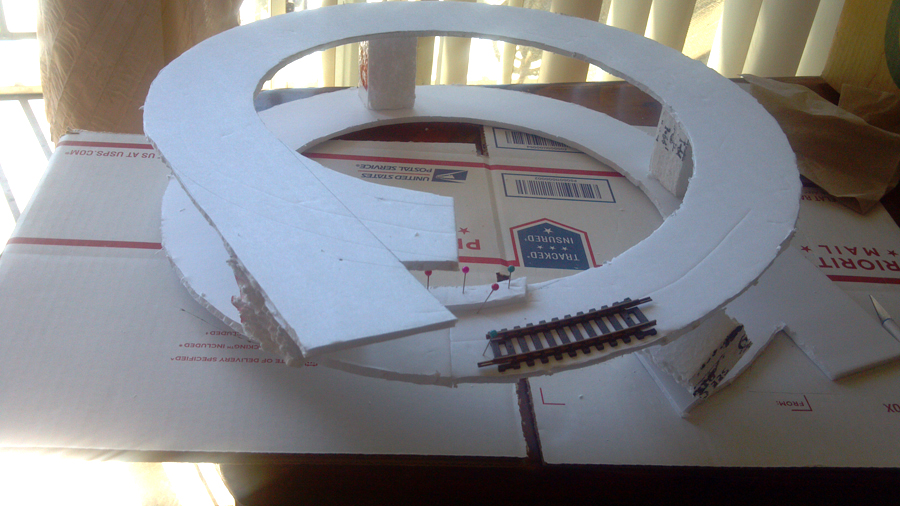
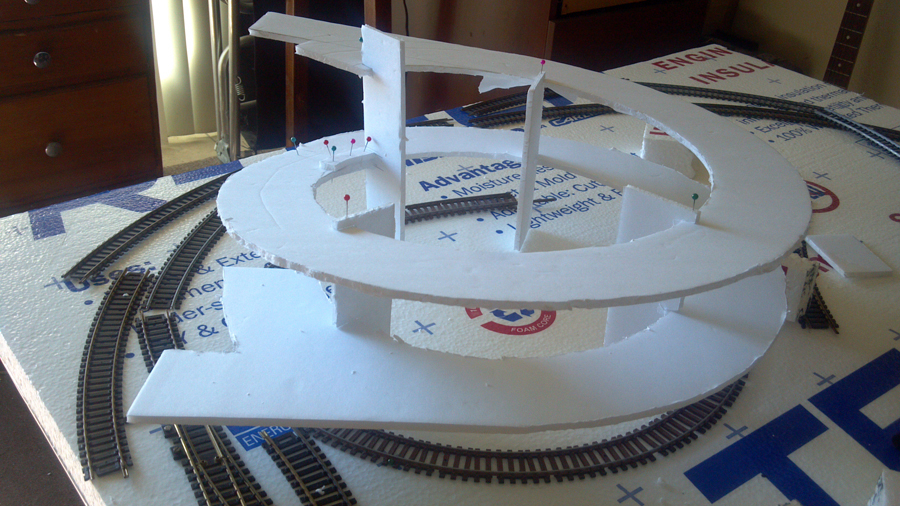
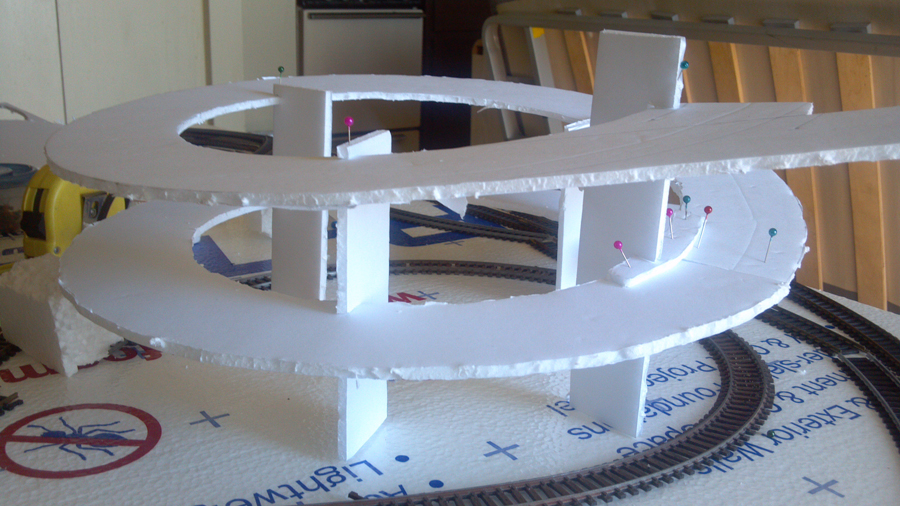
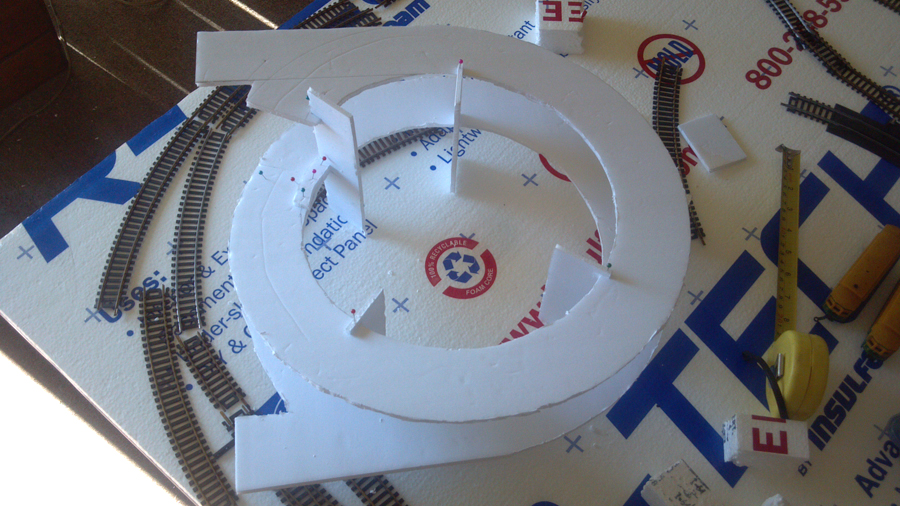
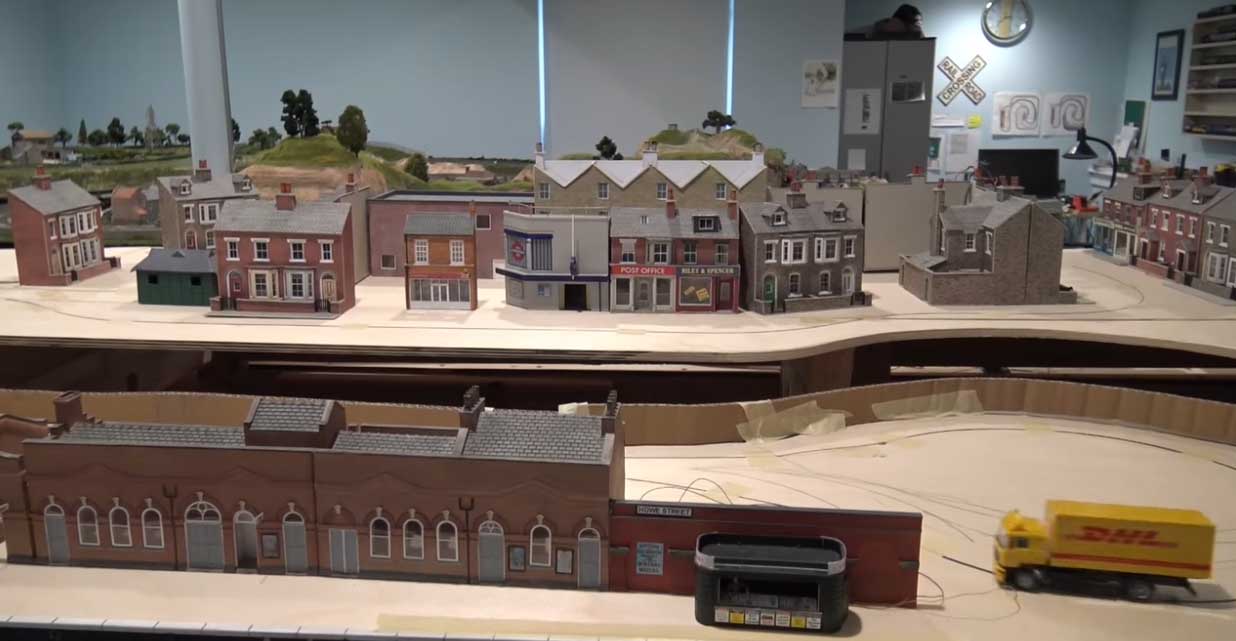
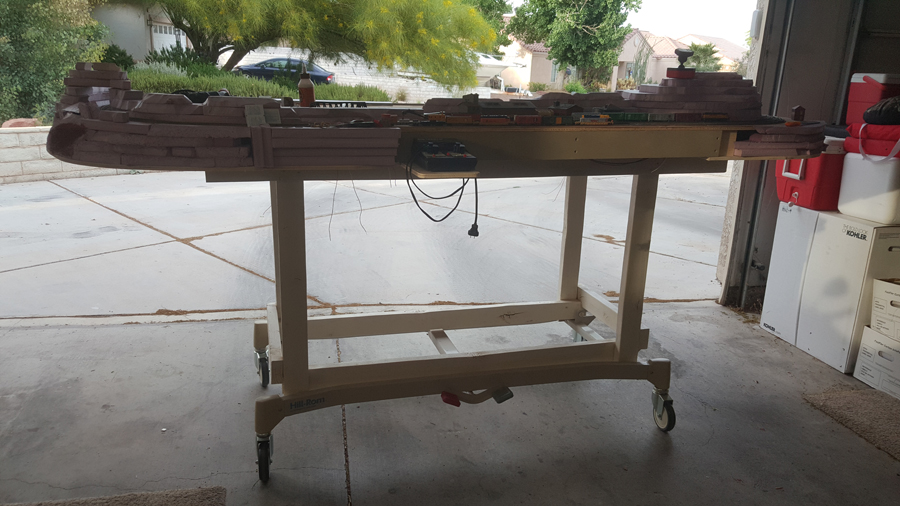
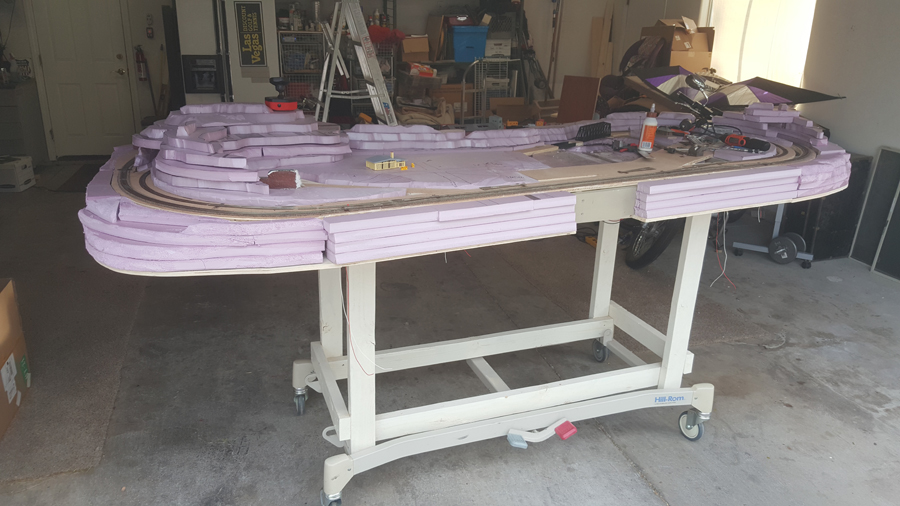
“Here is what I have done as a result of lack of space.
I built up a hospital bed frame to support my set in my garage.
I can move and level as I like.
9′ x 4′ Working on a southwestern US layout.
Patrick”

That’s all for today folks.
Please do keep ’em coming.
And if all this fun over a model train reverse loop has made you want to roll your sleeves up, the Beginner’s Guide is here.
Best
Al
PS Latest ebay cheat sheet is here.
PPS More HO scale train layouts here if that’s your thing.
Need buildings for your layout? Have a look at the Silly Discount bundle.