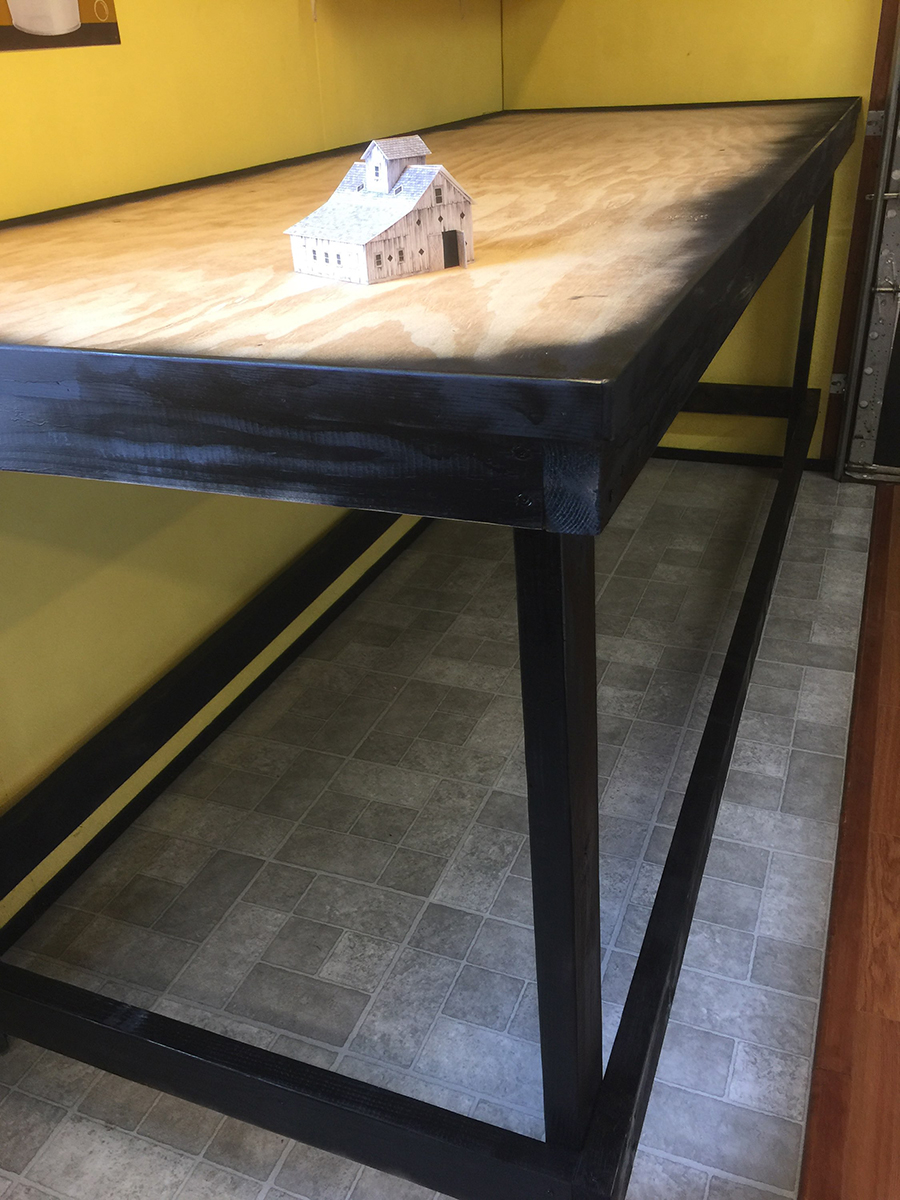
Ken has been in touch with this excellent model train table height tip.
We all know if your table is too low, back pain will soon follow.
Too high and it’s hard to reach things, and of course, the grandkids can’t see it.
And what about when it wobbles, or you just can’t get it level? Ken has the answer:
“Hi Al,
I’ve been reading and enjoying your email updates from around the world for a few years now, and have a little something others might benefit from.
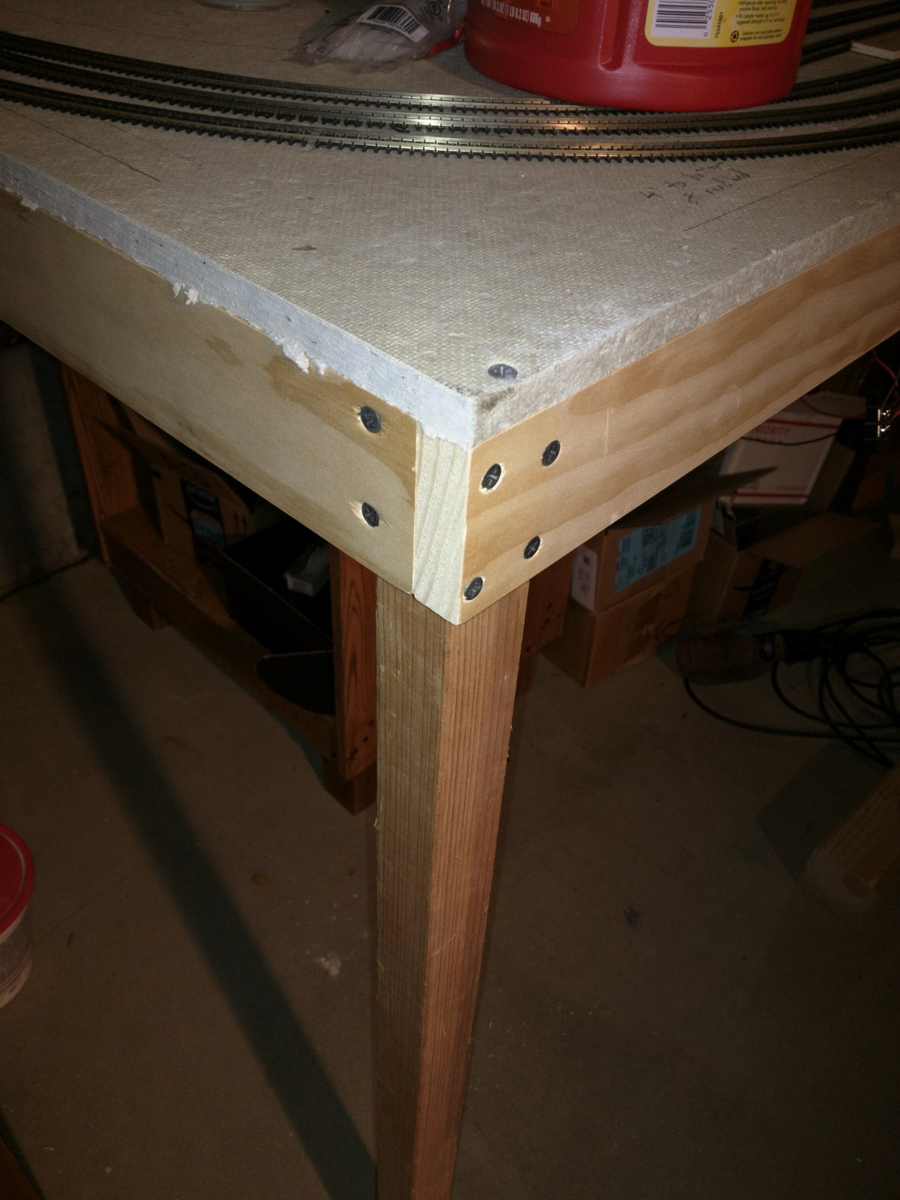
For those of you who have uneven floors where you are building your layouts, or who transport modules to shows and such, I have developed a simple method of adjustable legs.
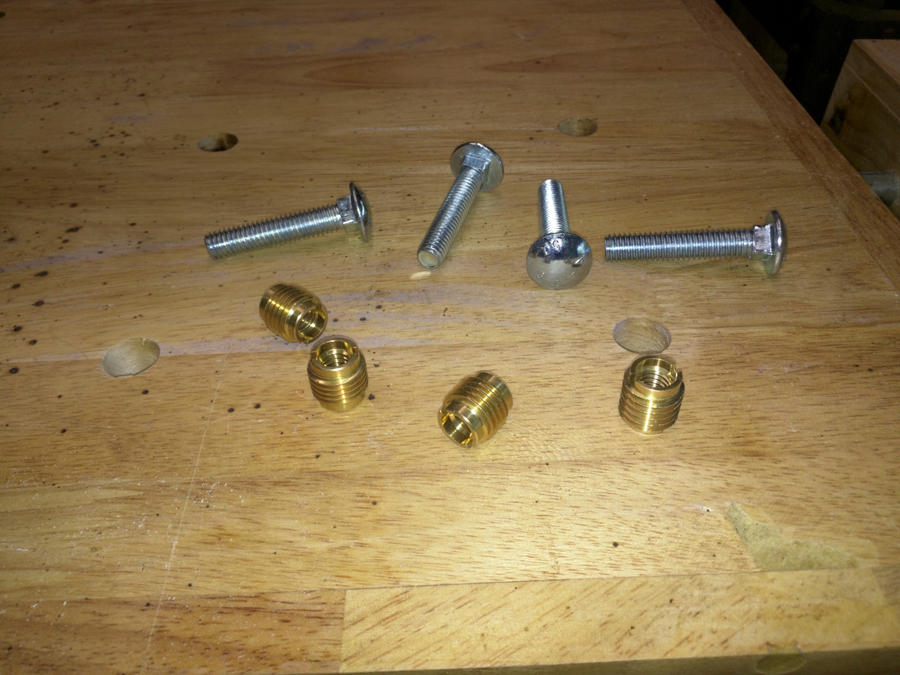
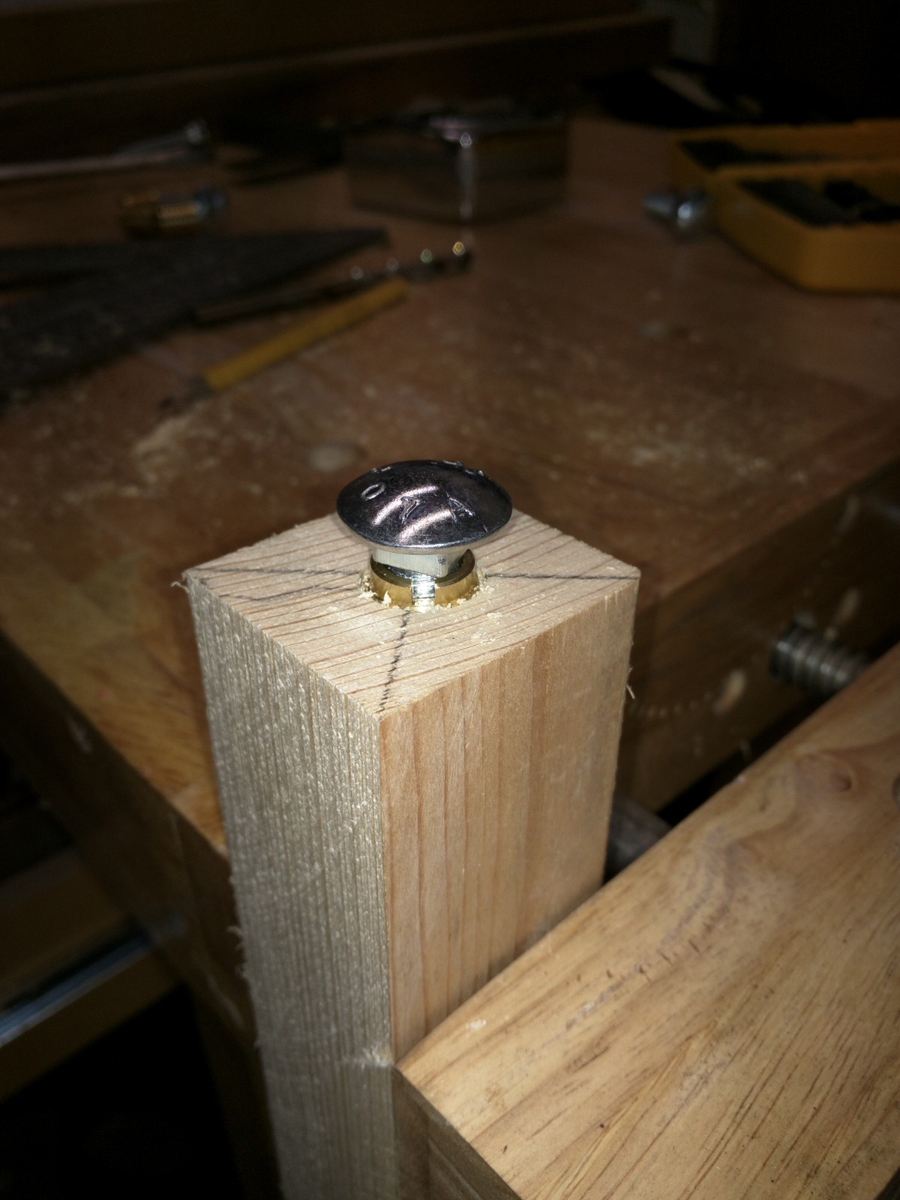
The key components are threaded inserts and carriage bolts.
The actual size and length will be determined by your situation, but I used 3/8″ bolts and 1/2″ inserts. The inserts are threaded for the size of the bolts.
I purchased mine at a local Ace Hardware store, but I am sure you can find them at more locations.
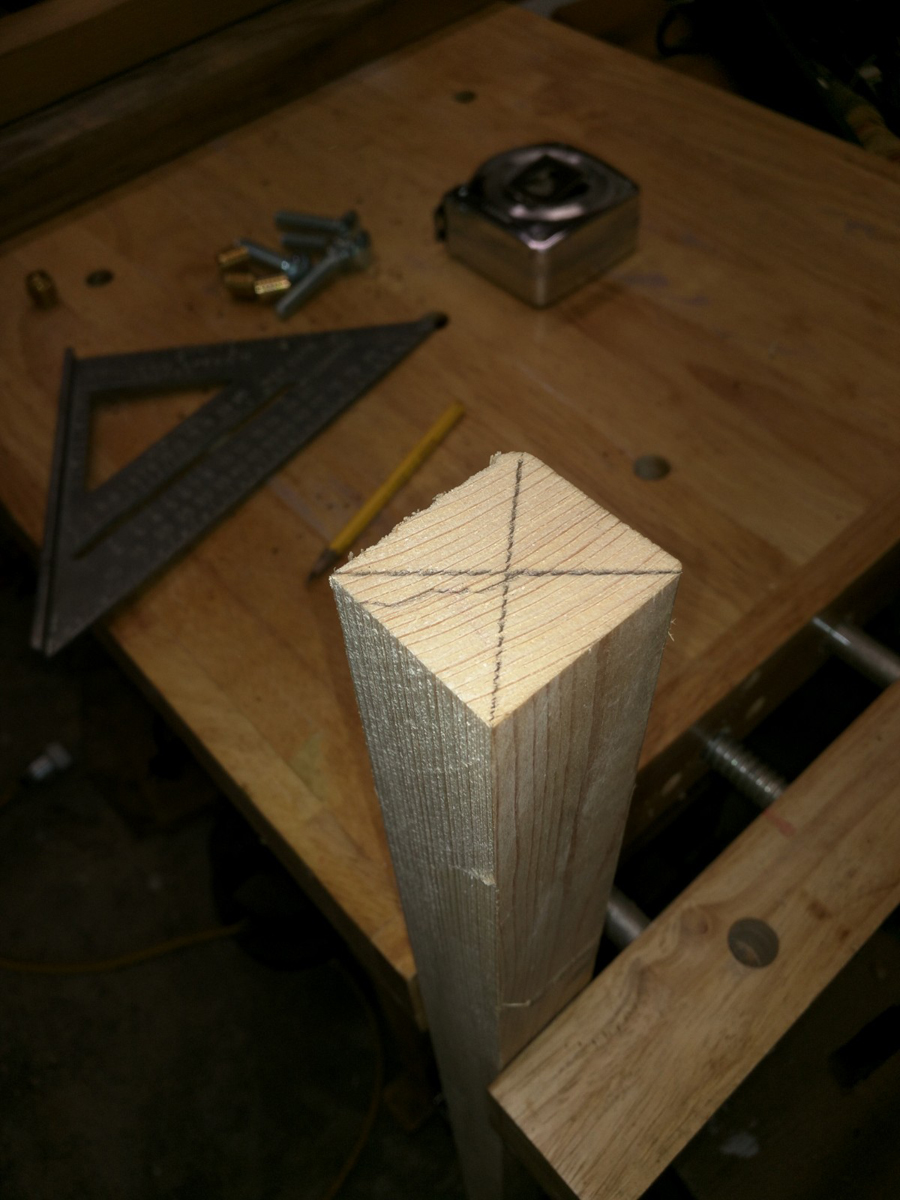
First you mark the ends of you legs to get center:
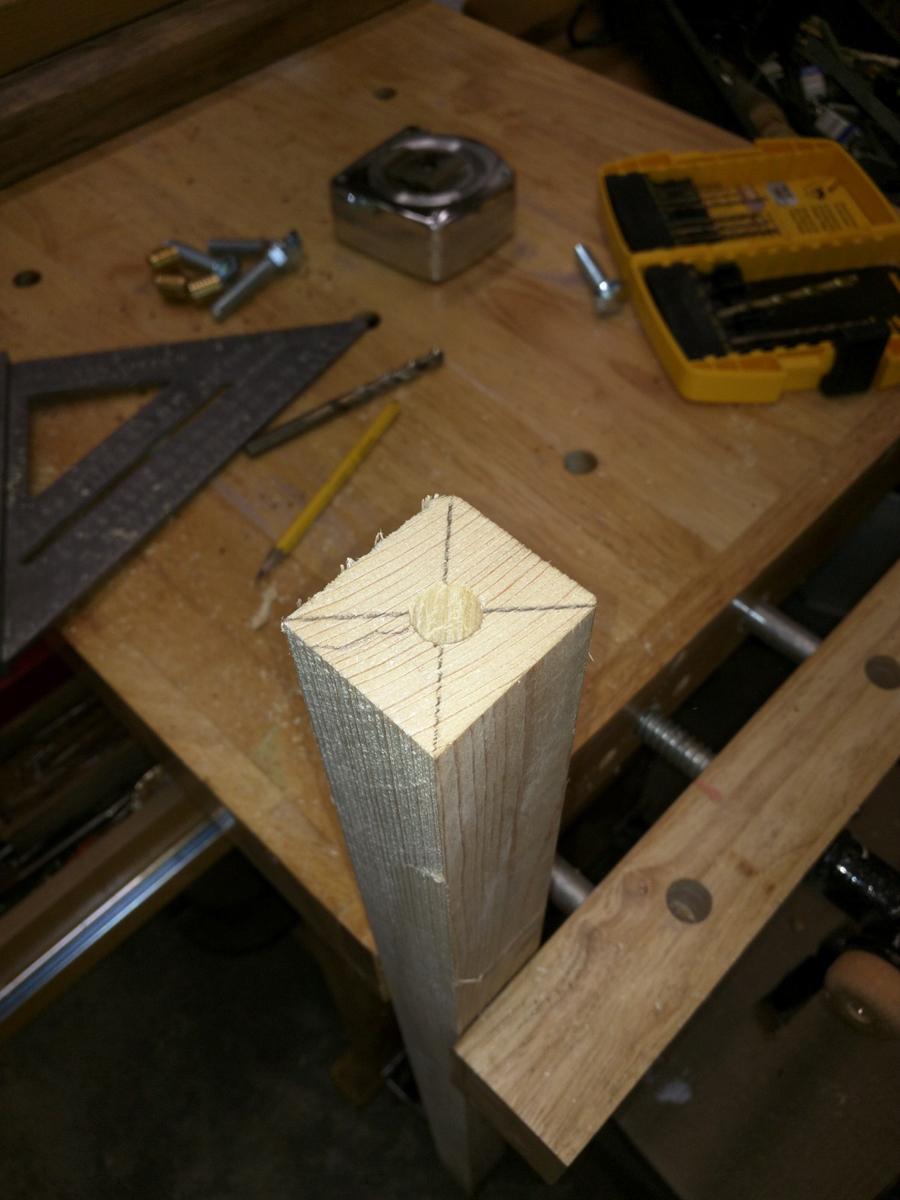
Next drill a hole the diameter of the insert, and long enough to allow the bolt to screw into the insert as far as possible.
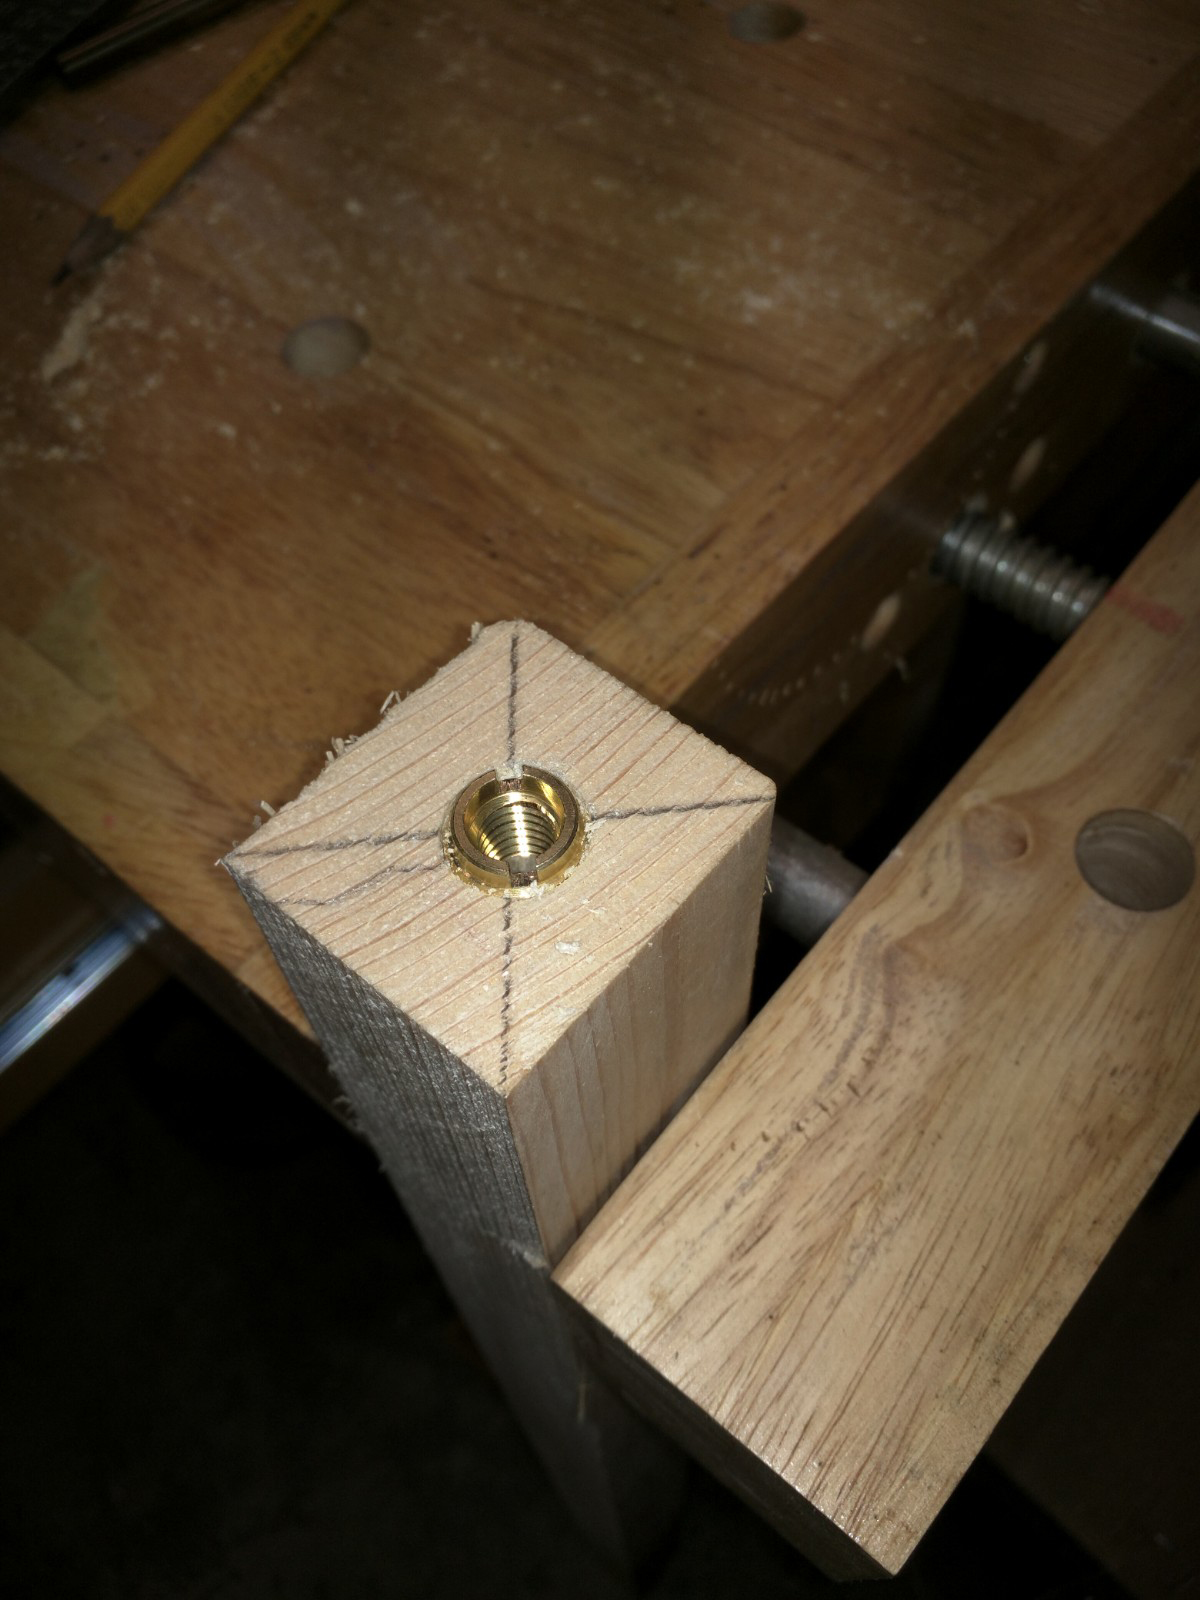
Thread the insert into the hole, and thread the bolt into the insert.
Since you are threading the insert into end grain, you may have some trouble getting it to thread in straight. I wound up putting the bolt into the insert and using a wrench to turn the whole assembly while putting pressure on the bolt to get the threads started.
Once you mount the leg to the layout, you can use a wrench to turn the bolt in or out to adjust the height.
If you are worried that the bolt might move, you can add a nut on the bolt between the head of the bolt and the insert. When your height is where you want it, just tighten the nut against the insert.
I hope this helps someone out there.
I’ll be posting more as my railroad progresses.
Ken”
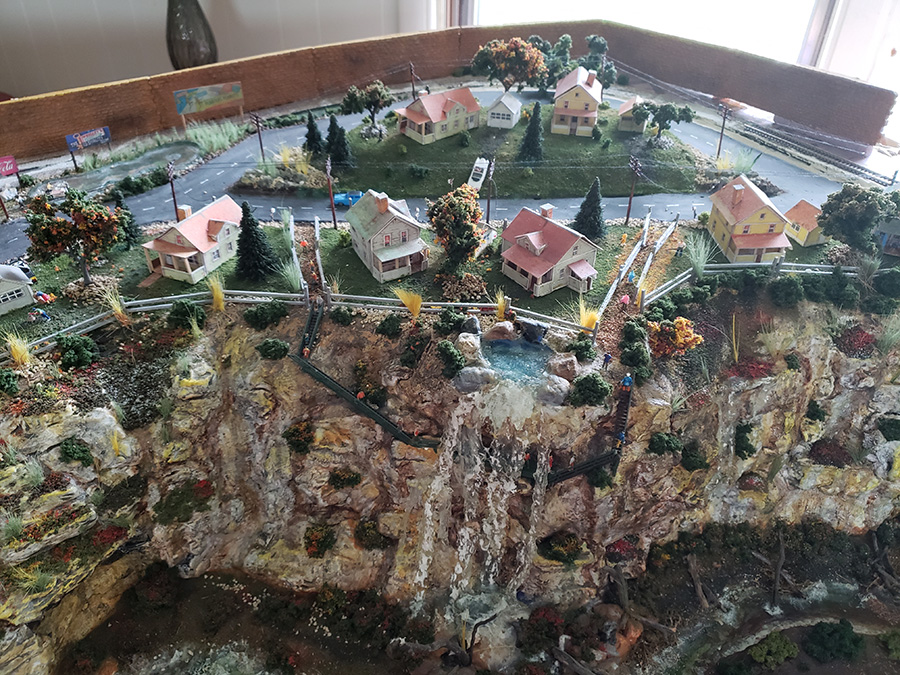
“Hi Alastair,
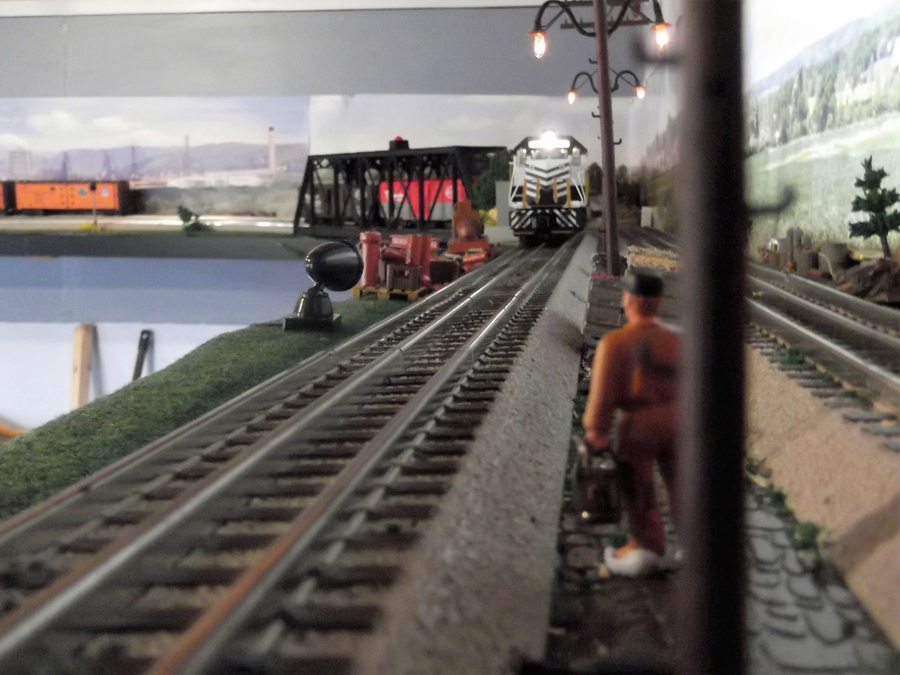
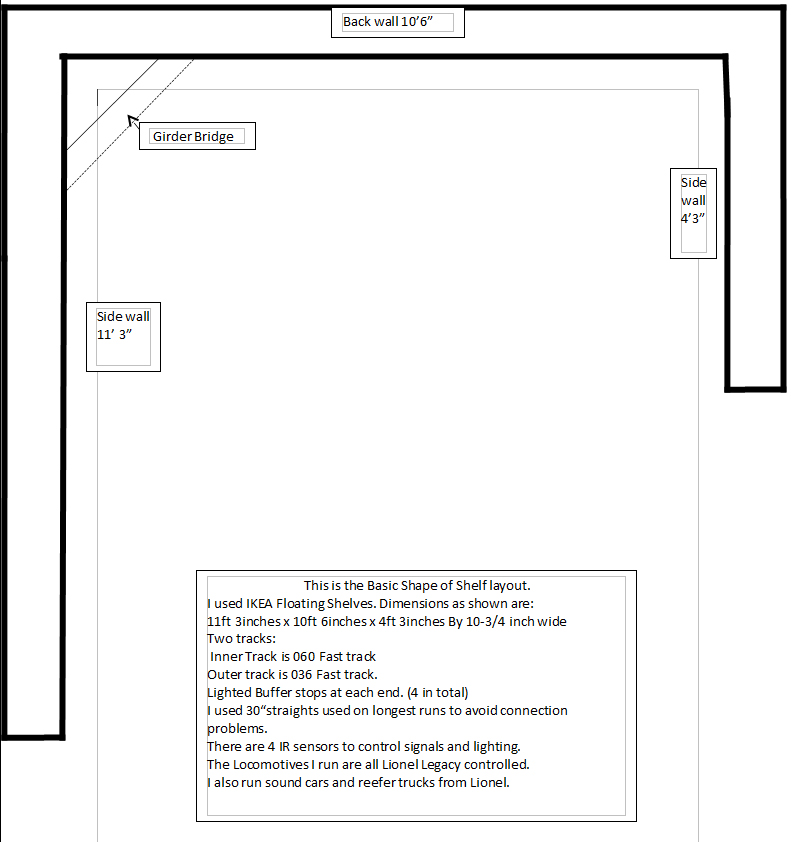
As promised some photos and a rough sketch of my shelving layout in my Summer house.
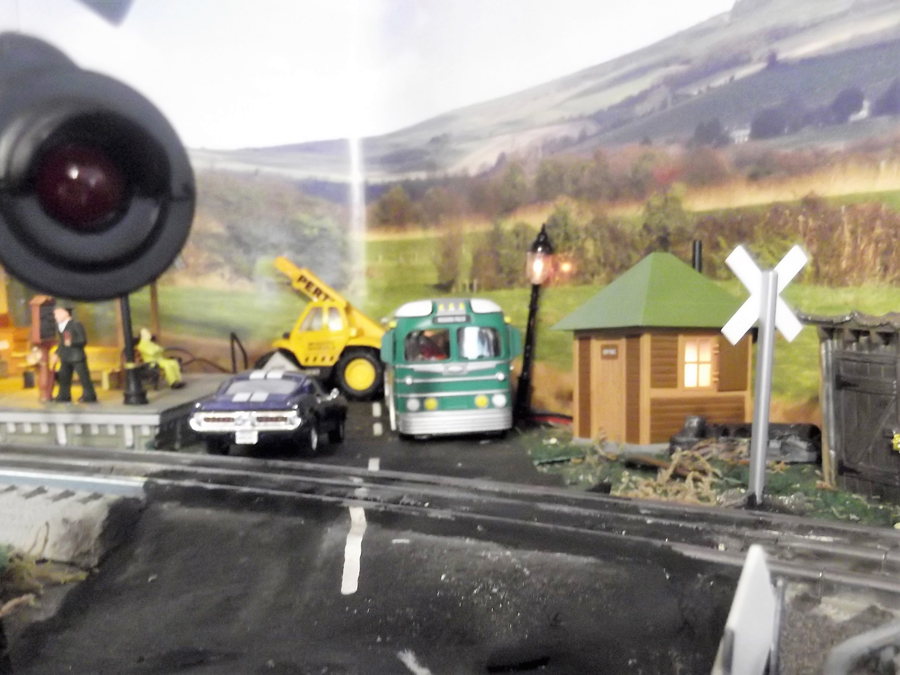
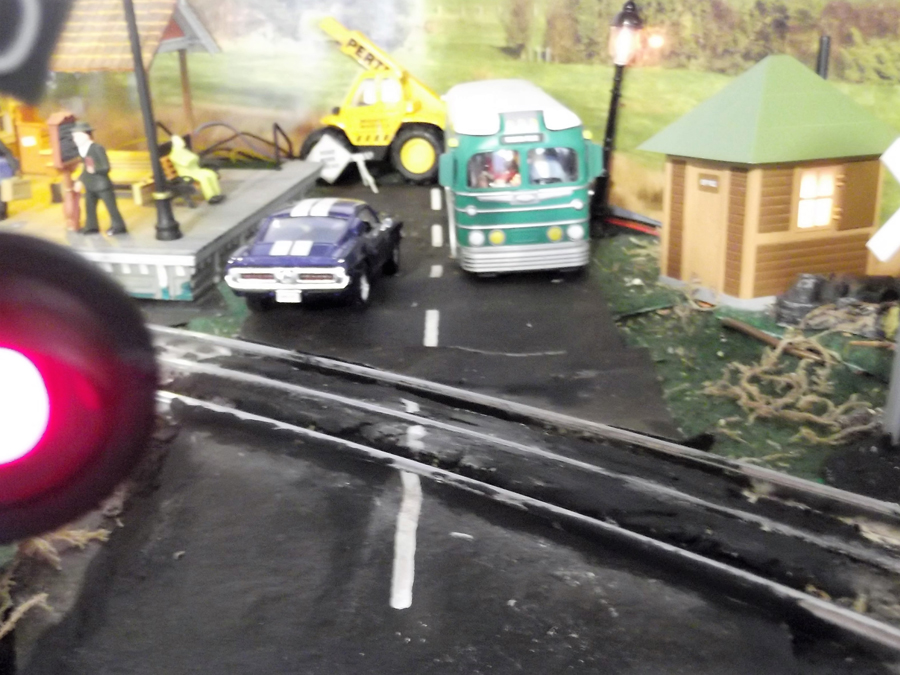
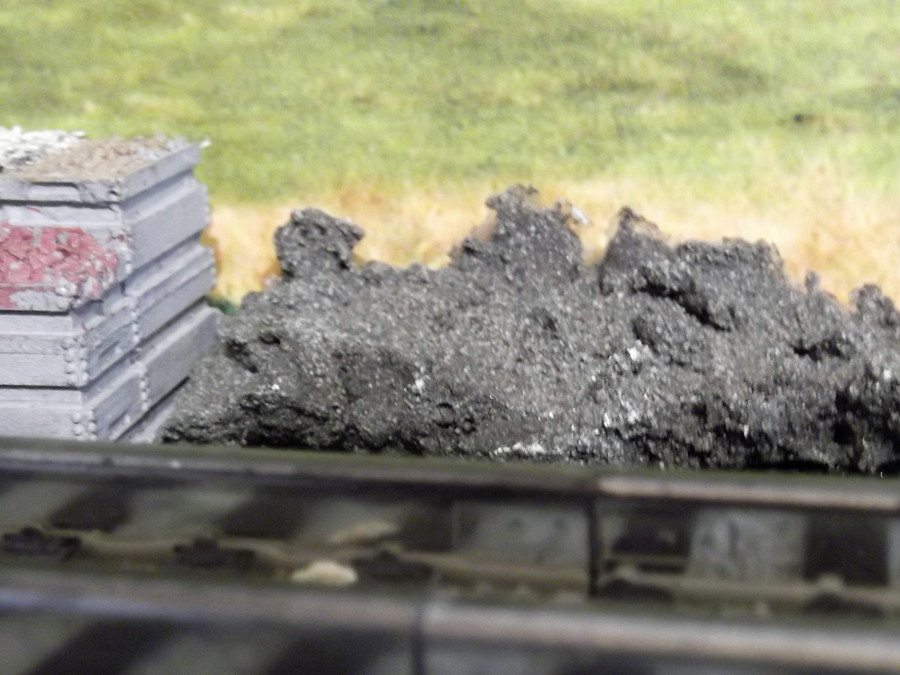
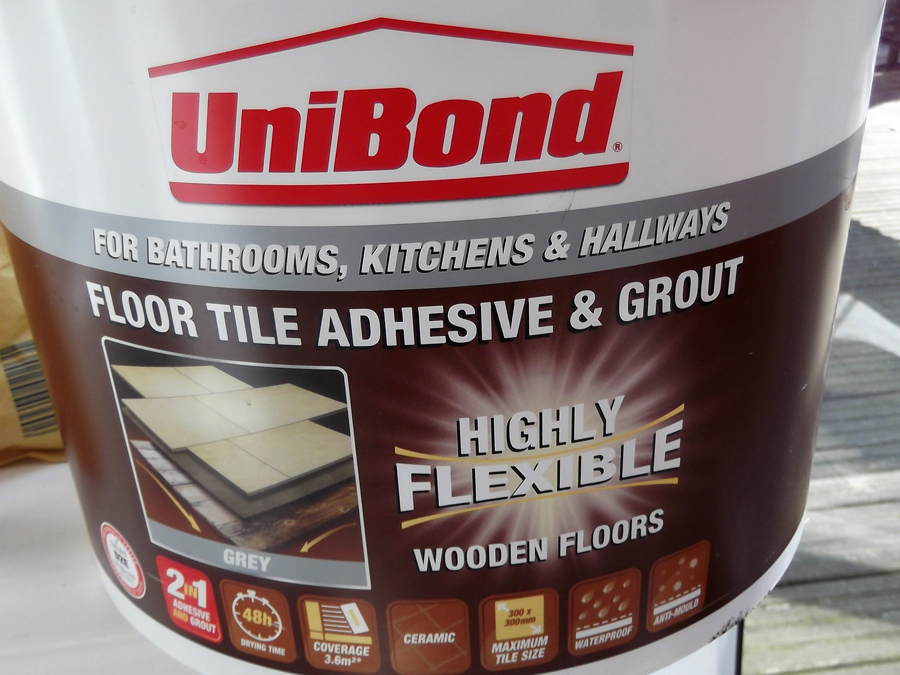
The Tile adhesive/grout was great for making rocks and road works, I used it to make the train crossing by spreading it across the rails and waited until semi dry to smooth it out and finishing off with black paint and white centre marking. The hardest part was cleaning the bits between the track close to the rail edge. but the trusty dremmel and a steady hand sorted it out.
Keep up the good work.
Ernie”
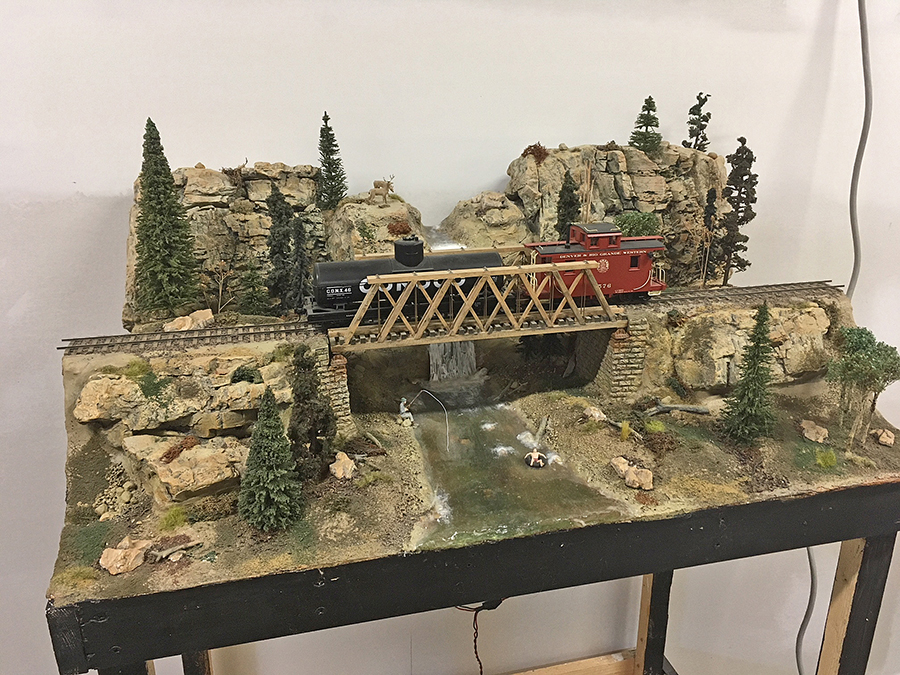
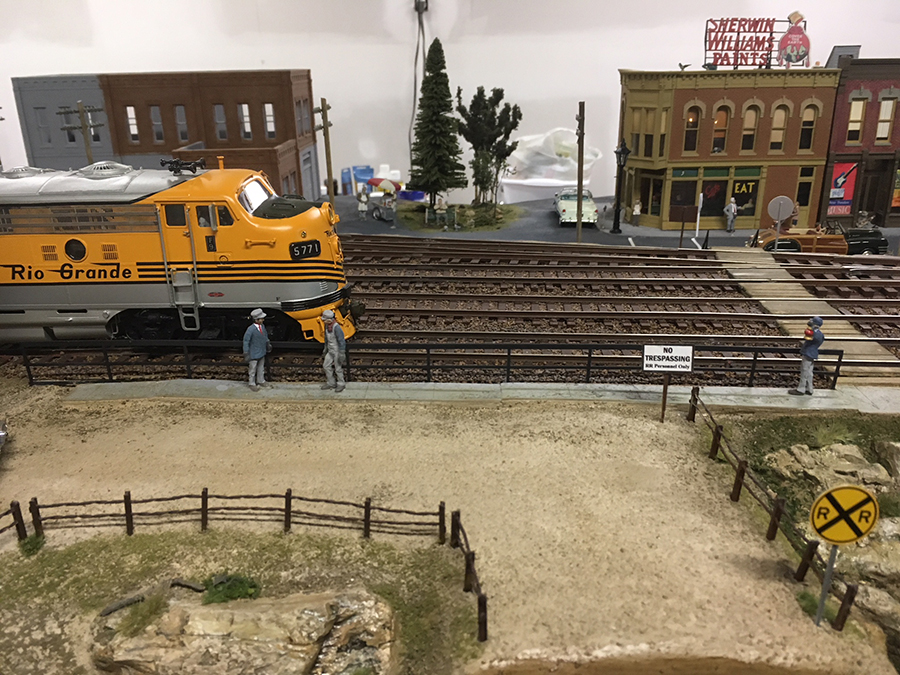
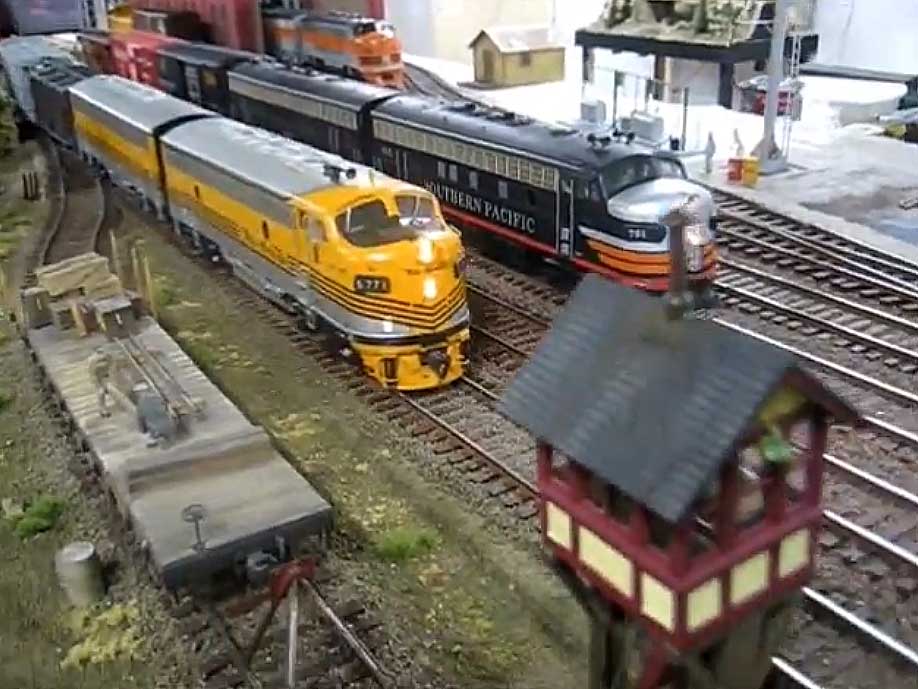
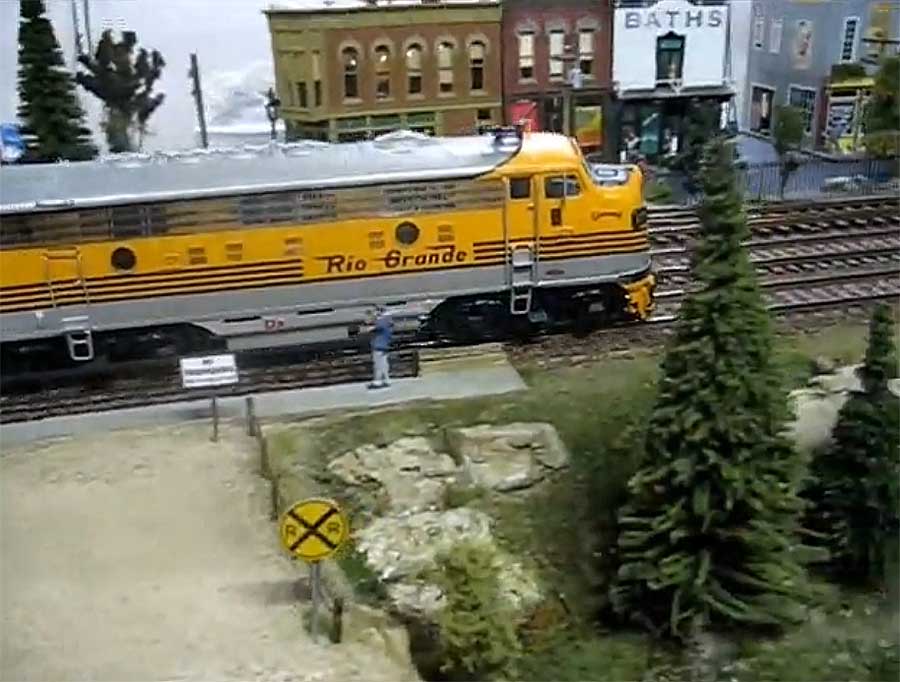
“Greetings from France
I have just finished my layout if you are interested.
Incline, decline, bridges and extra running track now installed giving 115 metres (5.5 miles at OO gauge scale) of running track with 6 crossings, 3 sets of points between lines and 27 sidings. All within a footprint of 4.5 x 4 metres.
(If you missed his stunning O scale post, it’s here.)
He’s been kind enough to send in a few more pics and a short vid:
“Thanks for posting Al, and such nice comments!!
Couple more pics here and, two short video clips of engines running at scale speed through a yard.
Usually in the real world, around 10 to 20 MPH tops.
The trick and tedious job is to get these brass engines to run smoothly with the Dynatrol system.
the narrow gauge bridge module I sent you before, will be along that back wall when it’s painted sky blue.
Peter”
“Hi Al:
Thought I’d send along some pictures of my attic n scale layout that is under reconstruction.
The Fairfield & Cheston Railroad is based on a railroad from Pennsylvania USA. It had operations that began in the 1800s in Gettysburg. Eventually it was merged into CSX in the 1970s. I am modeling the mid century period. This is a DCC system. The layout is 13′ x 5′.
My layout originally started as a 4 x 4 layout when I lived in Virginia. It grew every time I moved.
This is a husband and wife operation. My wife constructs buildings and does landscaping while I do the construction, track work and electronics. We both get what we want of this hobby. We are in the process of setting operations using computer control of the Zephyr DCC system.
Hope you find this interesting enough to post.
Yale”
A big thanks to Peter for sharing his O scale rail yard, and to Yale too.
All these years on and I still love seeing what is going to pop up in inbox.
So if you have anything you want to share, please do so! Just email me.
Lastly, the silly really is coming to an end now, so if you don’t want to miss this very silly sale, please don’t sit on your thumbs because you are going to miss it.
If you want to watch the full length version, with Bonkers John at full throttle, It’s here.
Next up, seeing as it’s nearly the last day day for the silly sale, I thought it would be fun to show you just some more scenes made from the printable scenery in the silly sale.
I’ve never given away so much for so little – just $9.
Are you really going to miss out on this crazy offer?
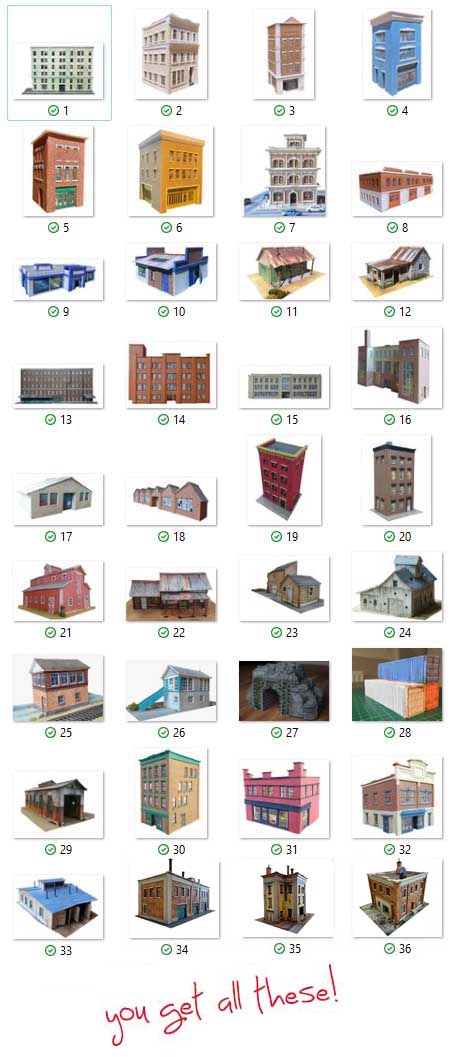
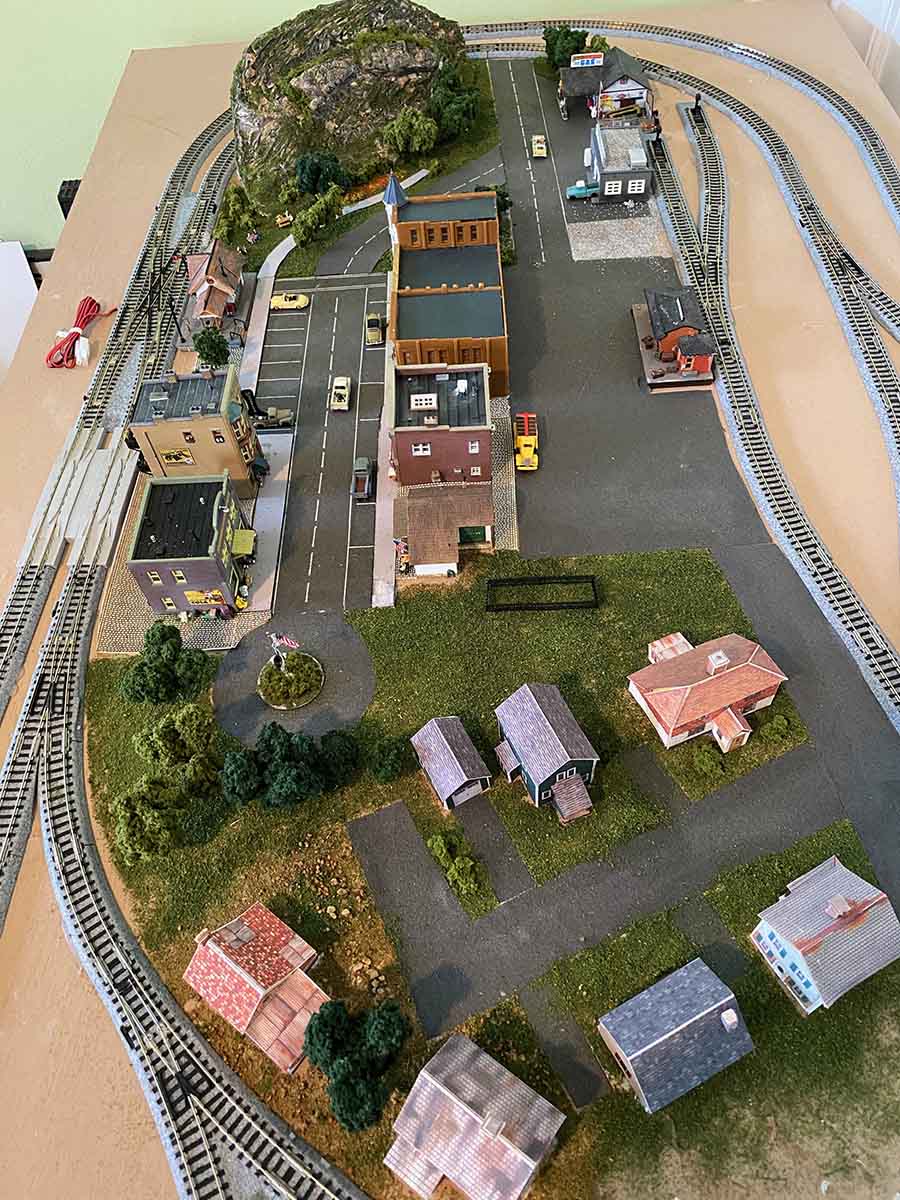
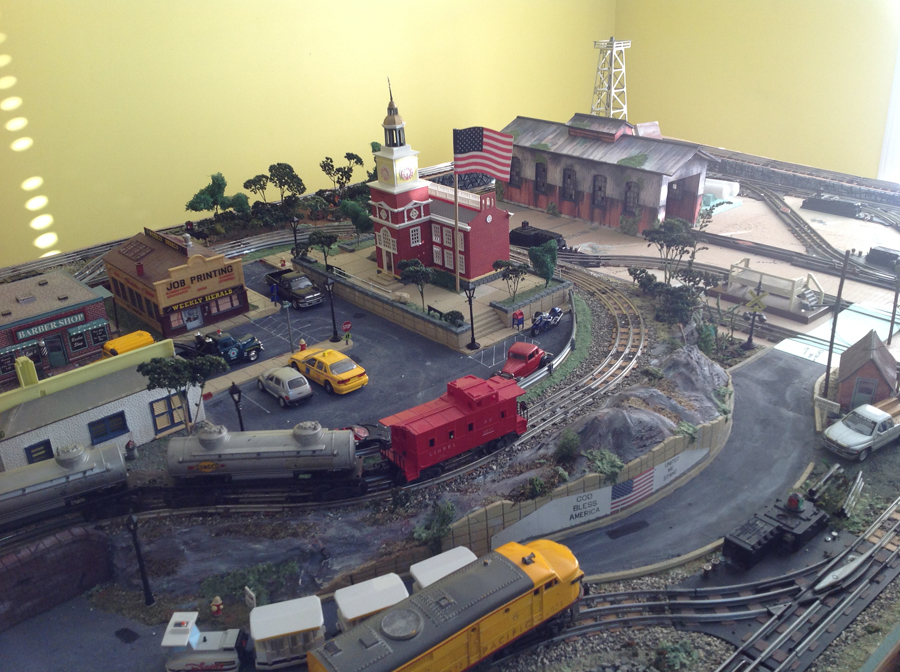
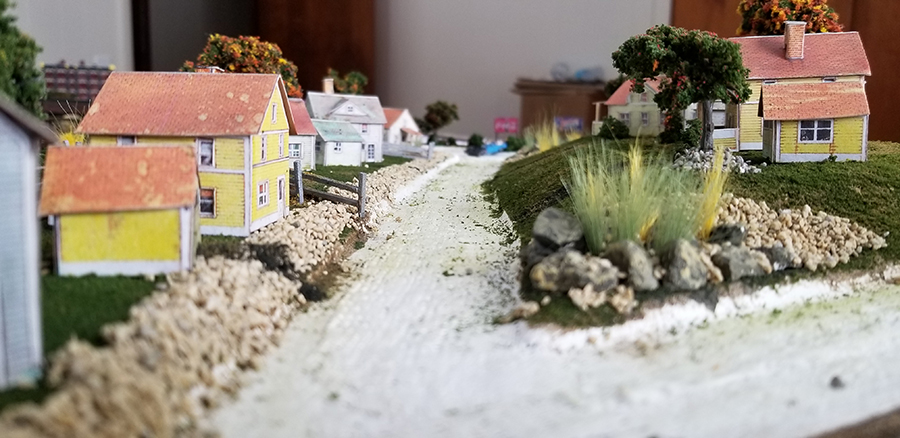
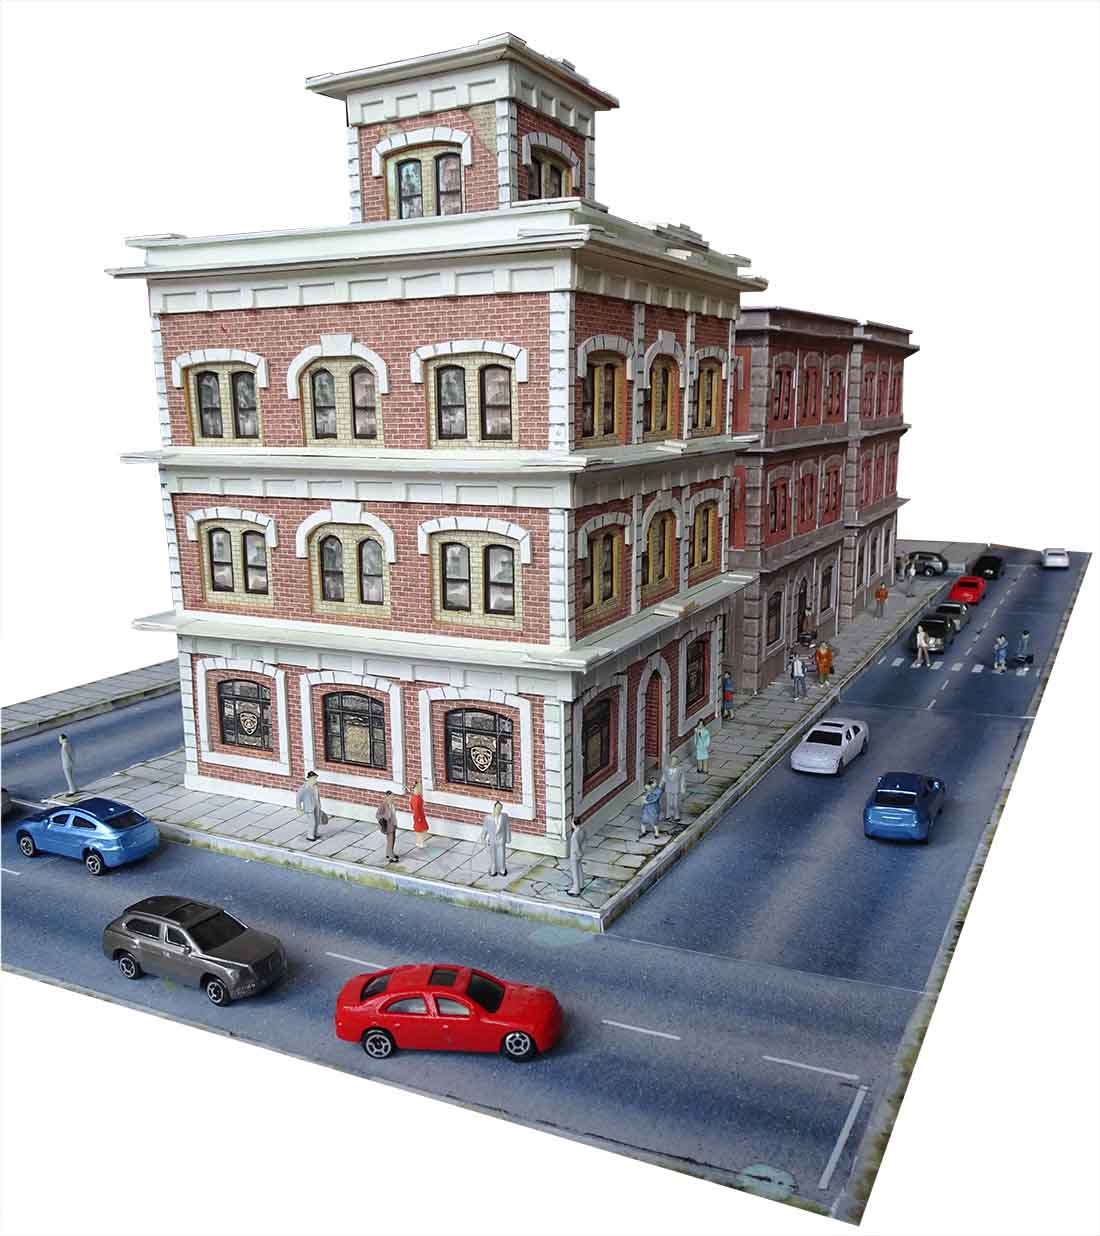
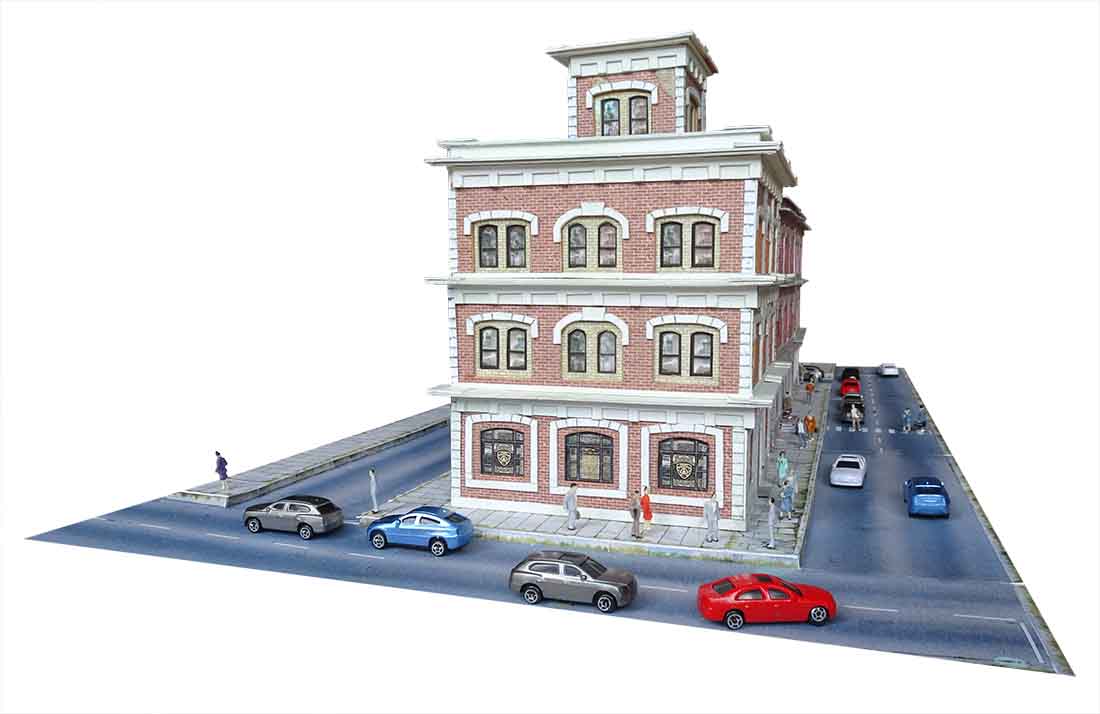
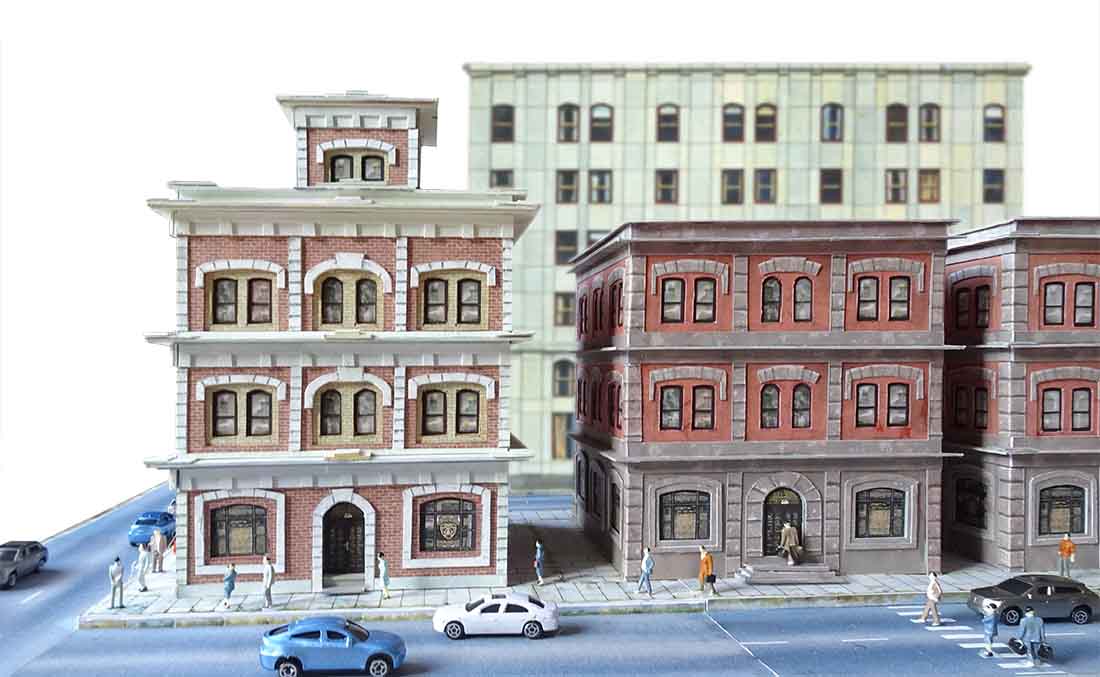
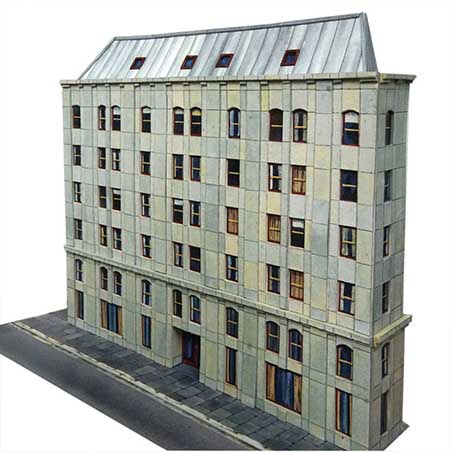
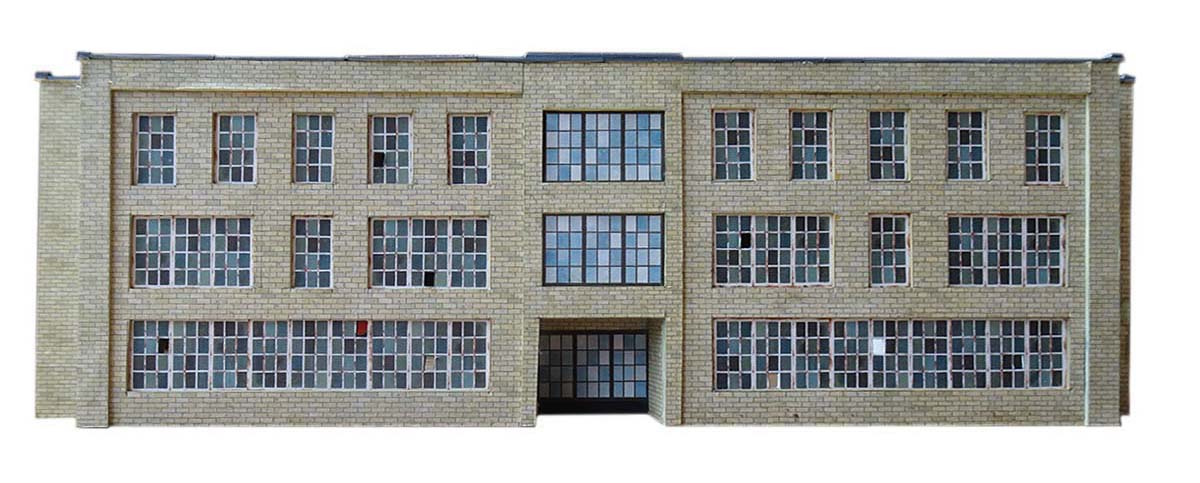
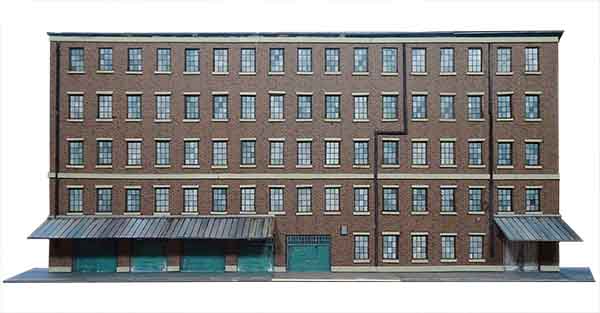
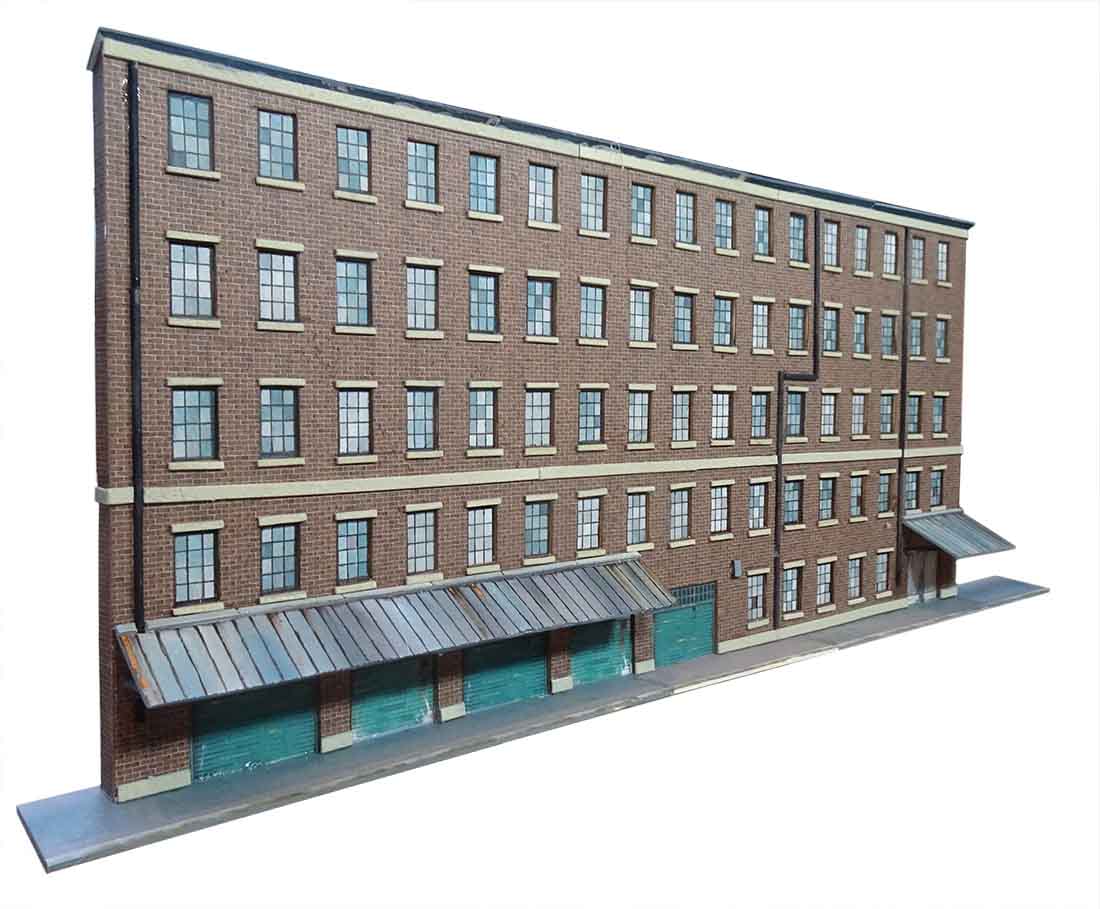
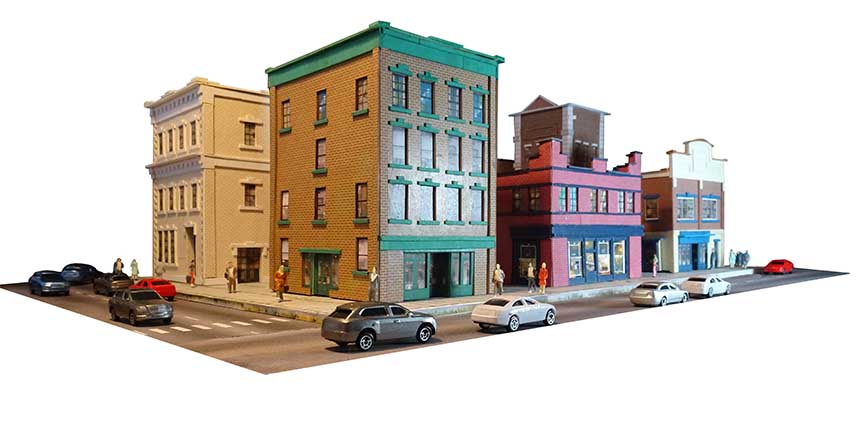
Here are some of the buildings on your layouts:
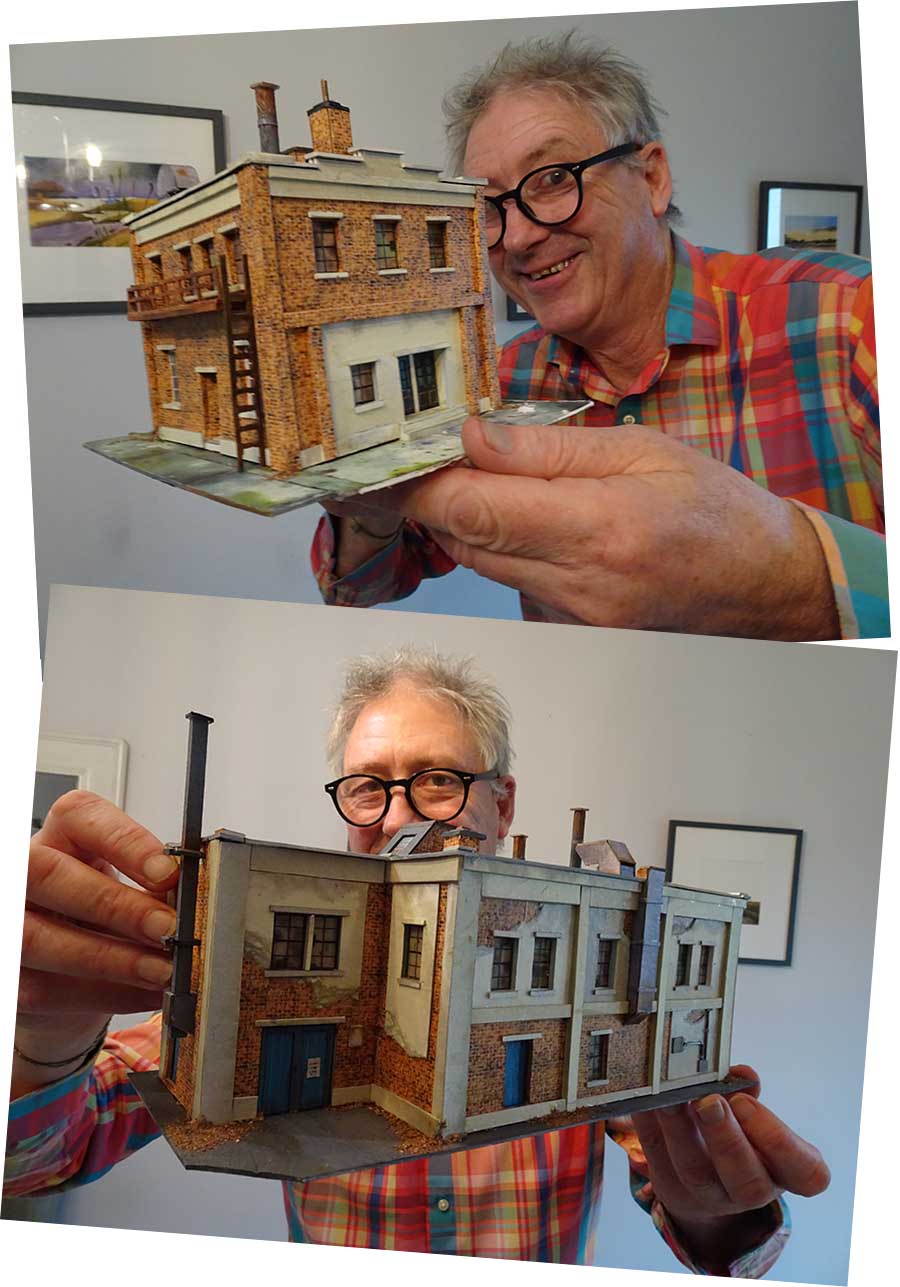
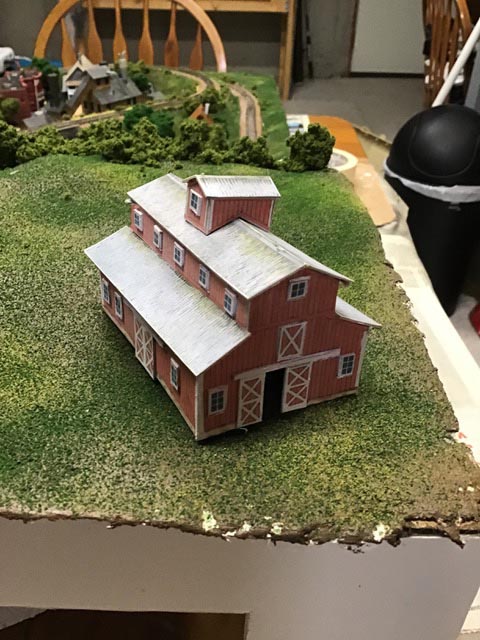
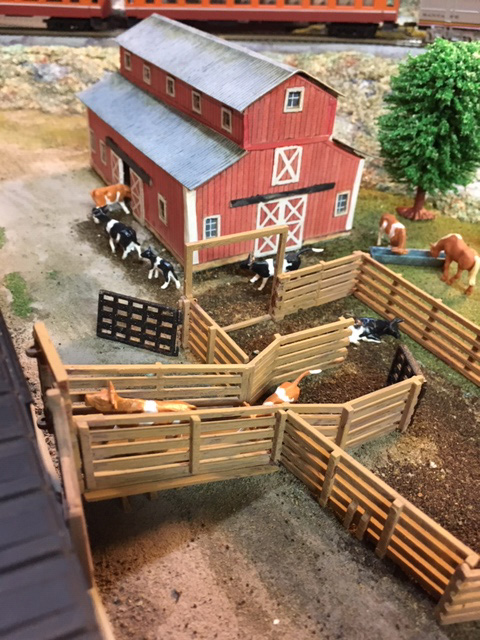
“Al, like you I have been retired for some time now.
I have gone back to my American Flyer, s Guage boyhood train.
I have had “n guage, HO, G scale”, and this American Flyer has been the most fun of all. I guess it takes me back to my parents basement where my 4 x 8 foot layout was back in the early 50’s.
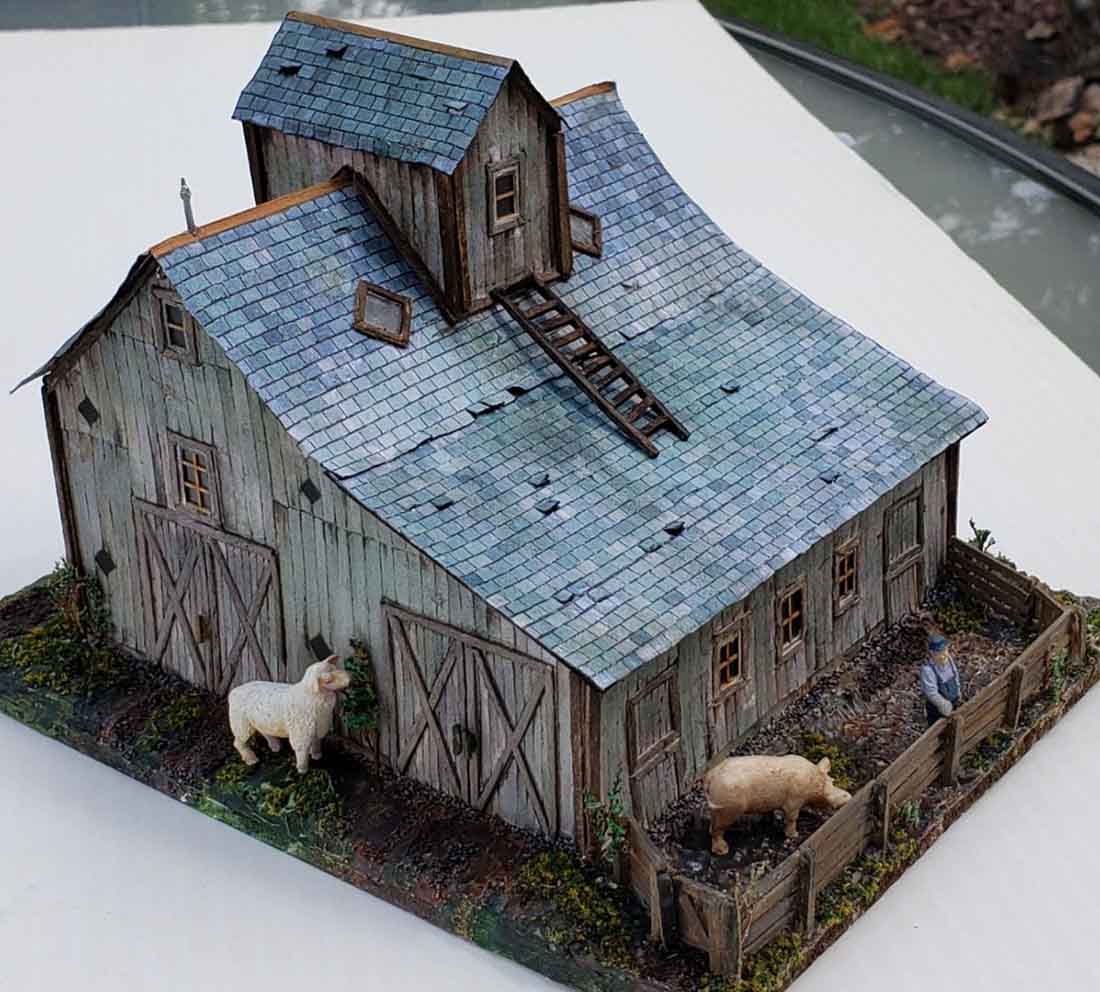
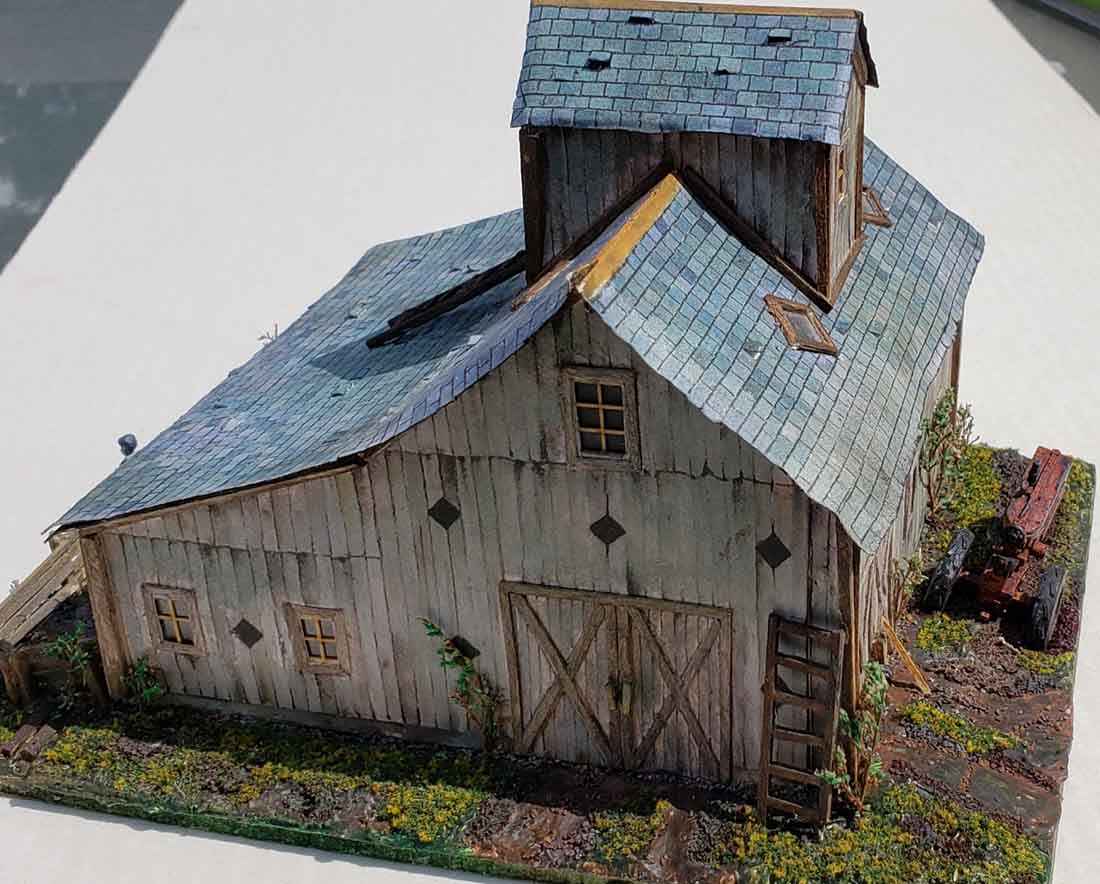
I resized your wonderful old barn and had so much fun building it. Here are some pics. Hope everyone enjoys it as much as I have.
Jerry from Illinois, USA.”
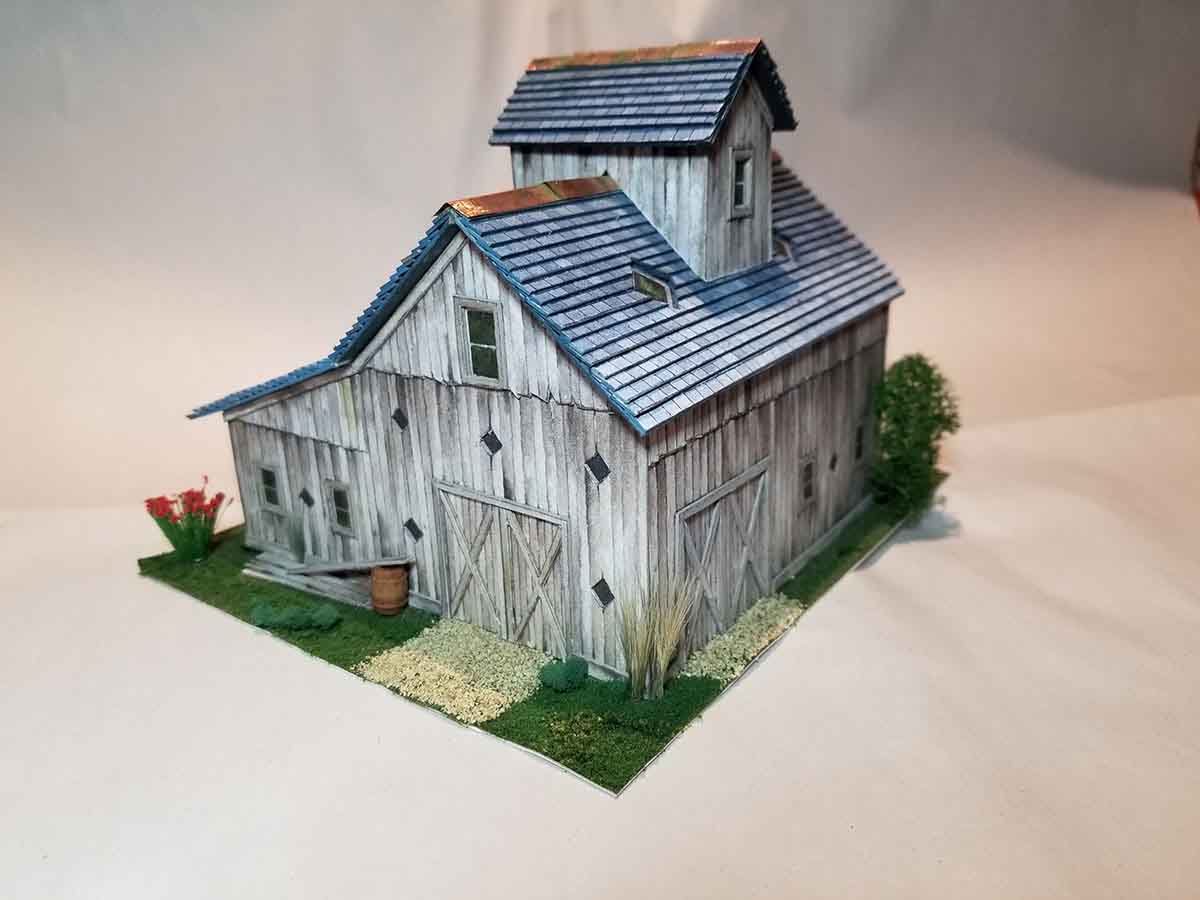
“Al,
Great project and a lot of fun. The barn is on it’s way to the Railroad Club.
Charles”
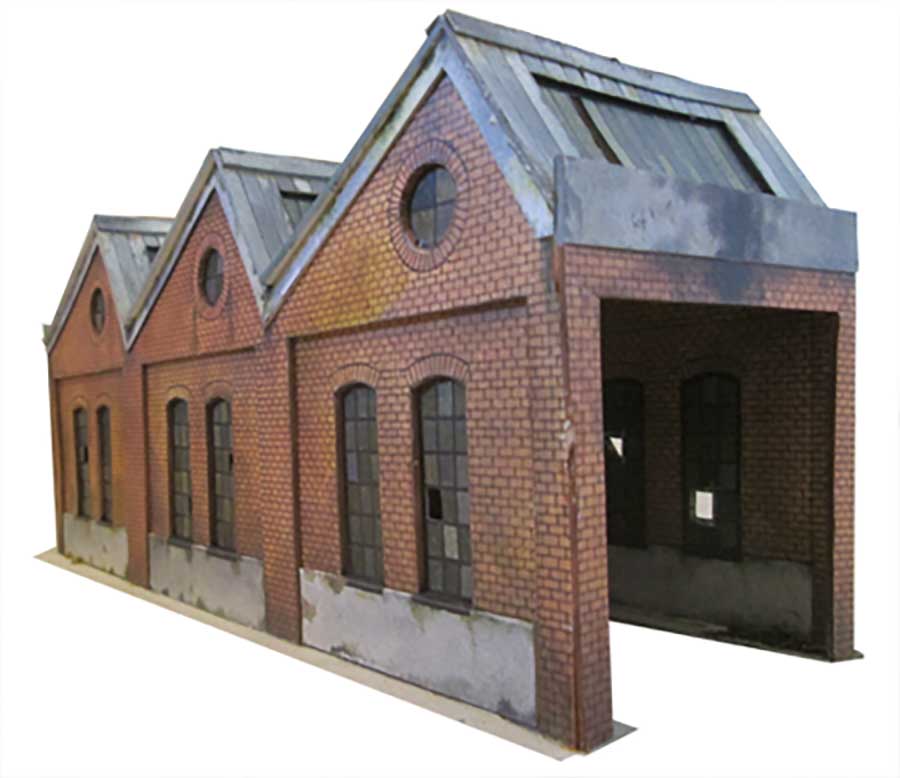
“Al
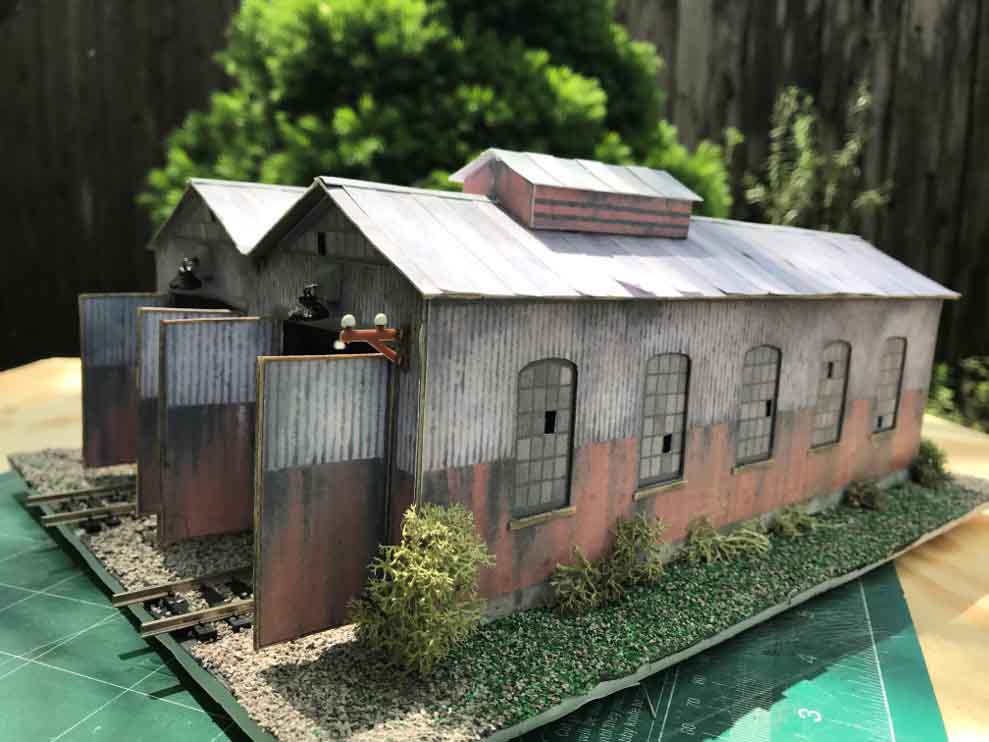
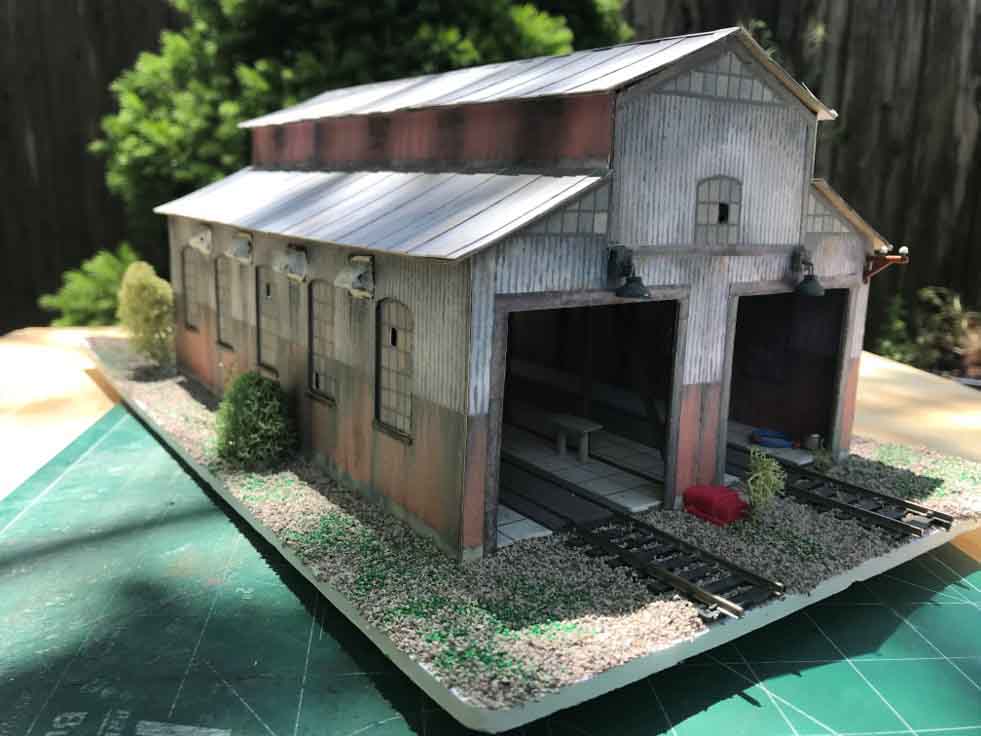
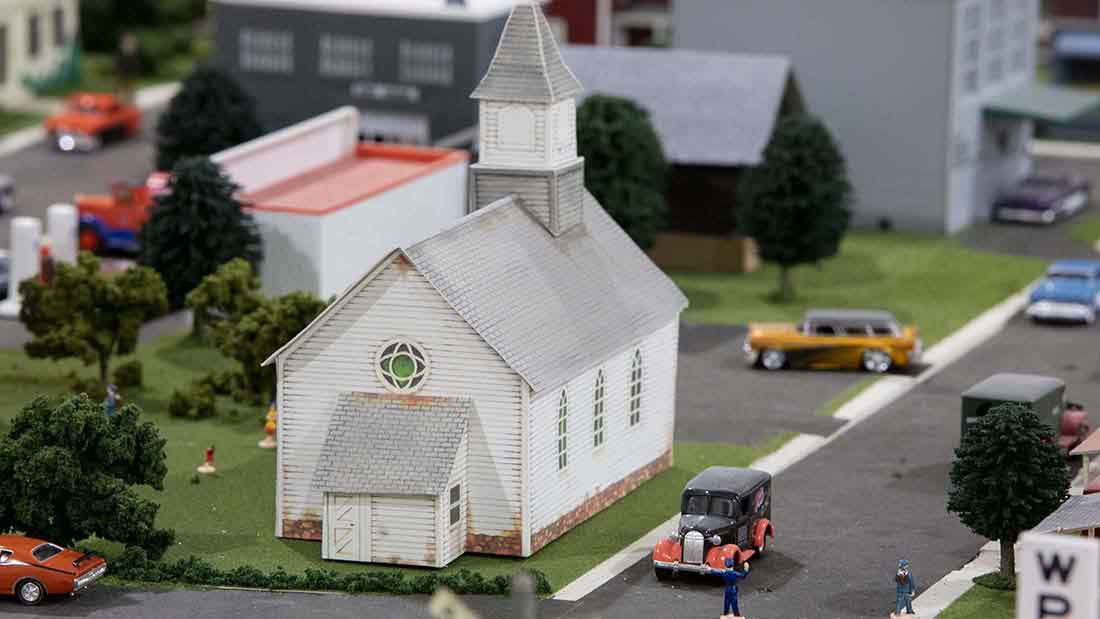
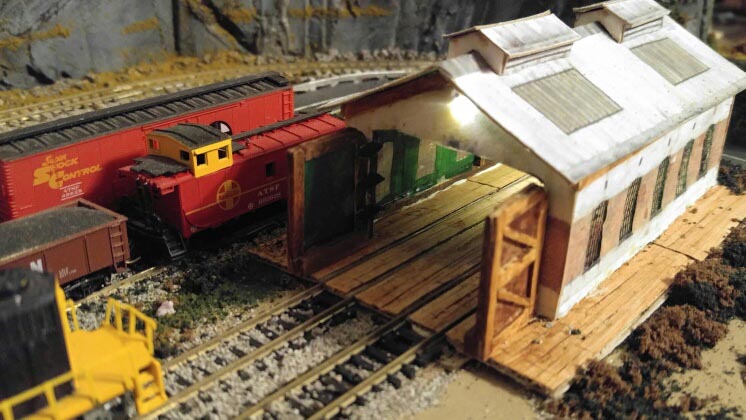
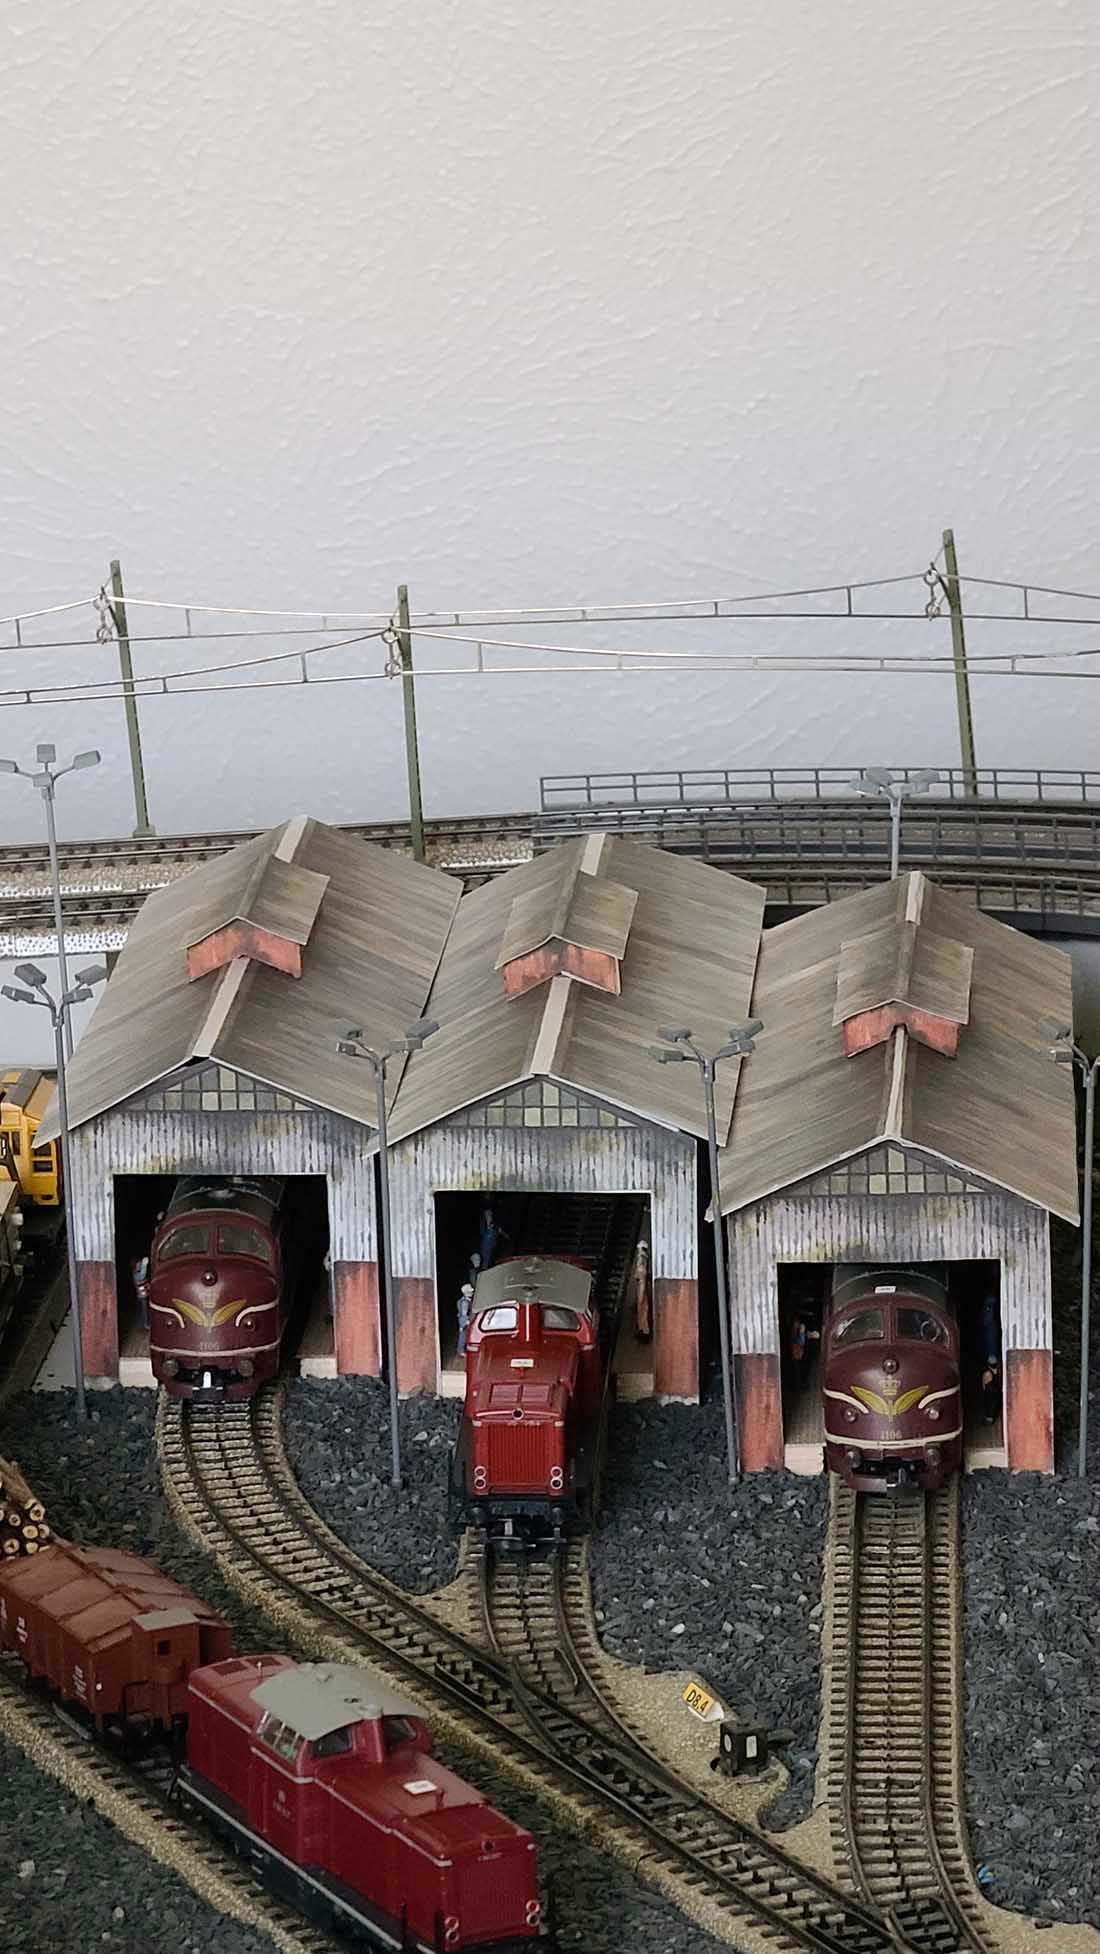
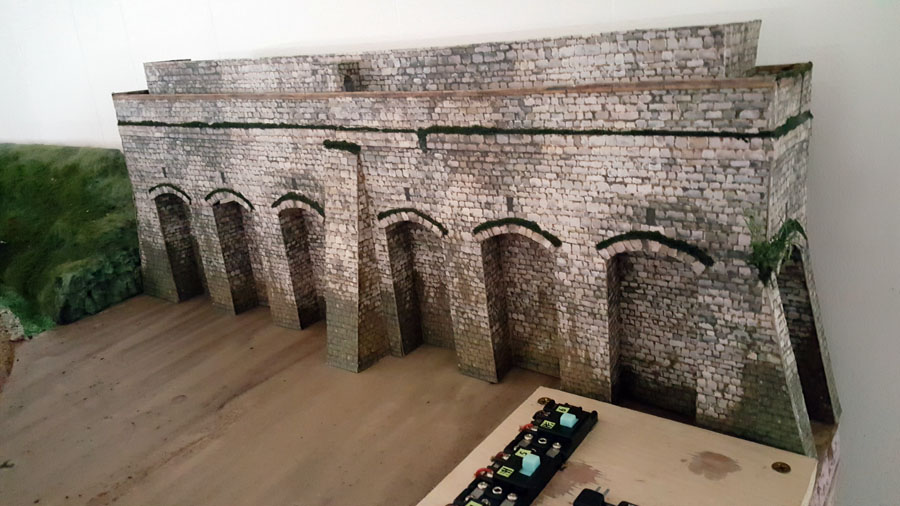
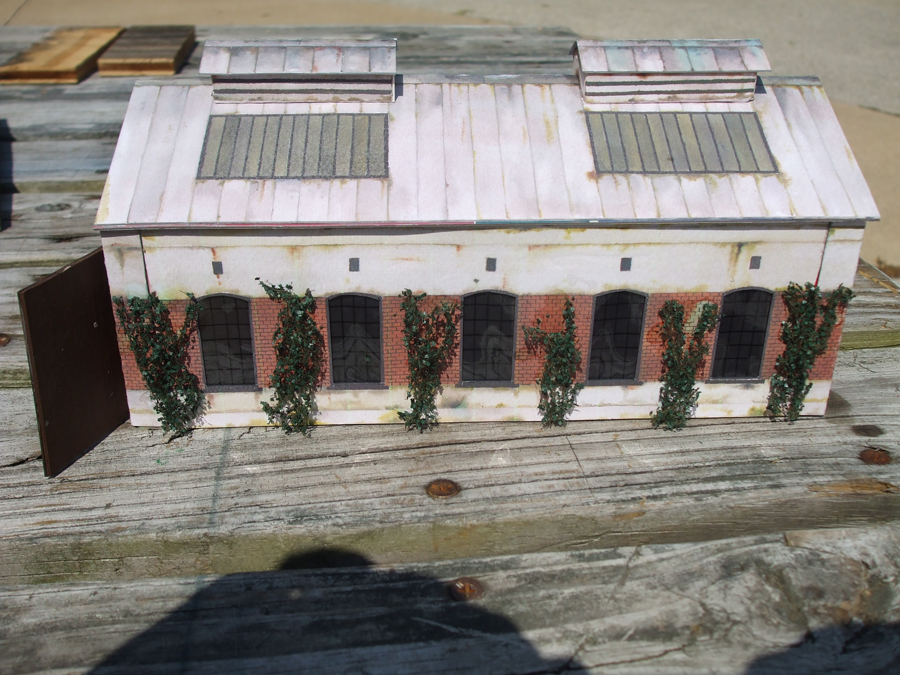
I have enjoyed your site for a long time, since I have retired had to find something to fill the spare time, I purchased one of your bundles and printed out one of the Engine sheds among many others.
I have created my own version of the Engine shed as shown in the pictures.
Side walls have ventilation fan vents.
I have dreamed to set up a model railroad layout for a long time and when I started to make it a reality one thing came up after another, like kids, education, weddings and now I have time and room to finish the dream, but not much of a budget.
Best to all talented people like Hall of Fame Dave, talented hobbyists and their many beautiful layouts.
Ryszard”
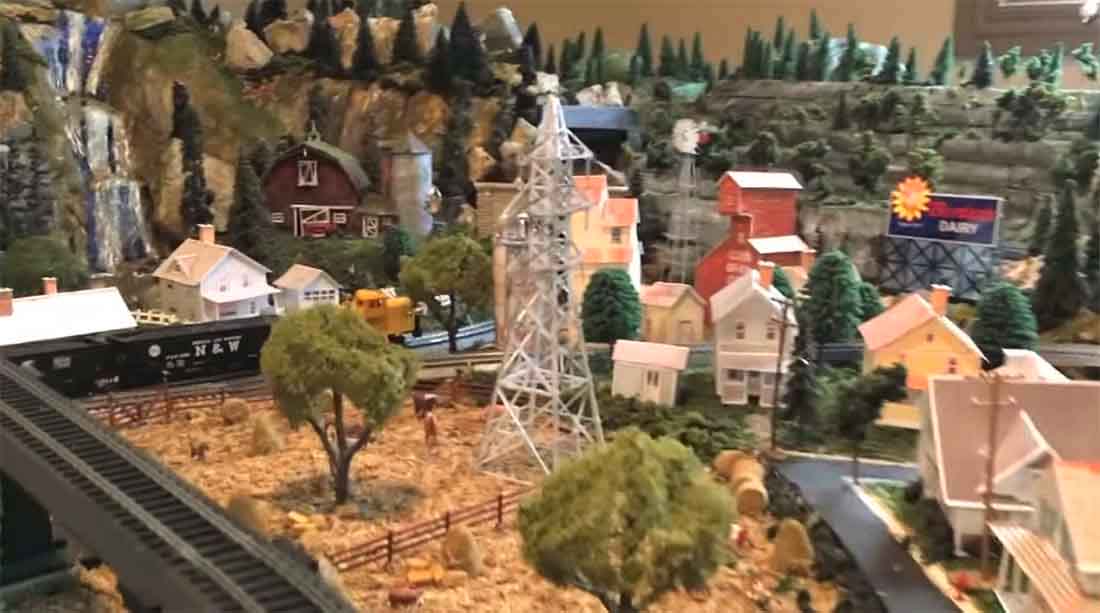
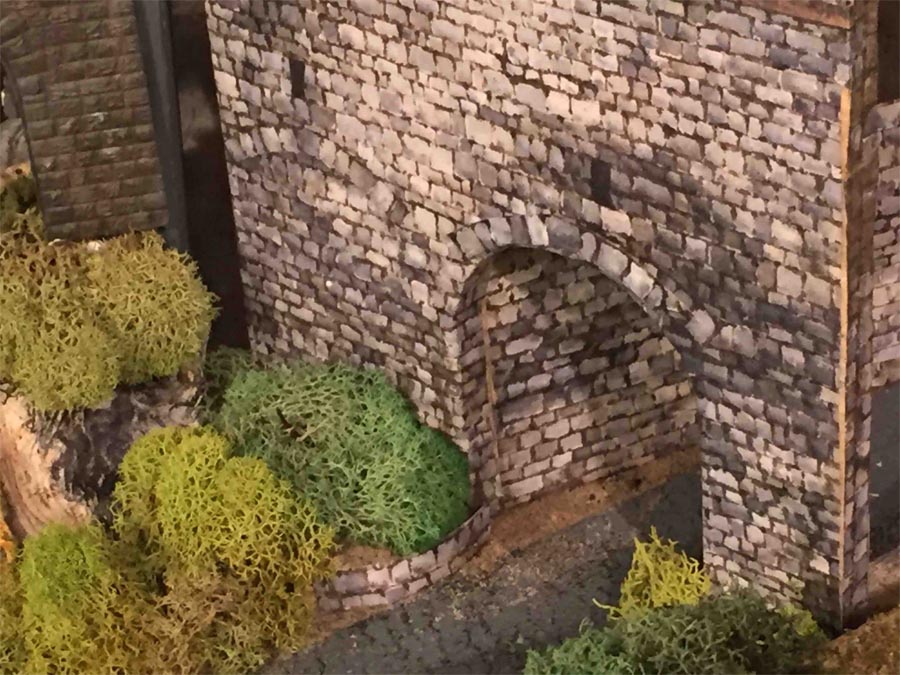
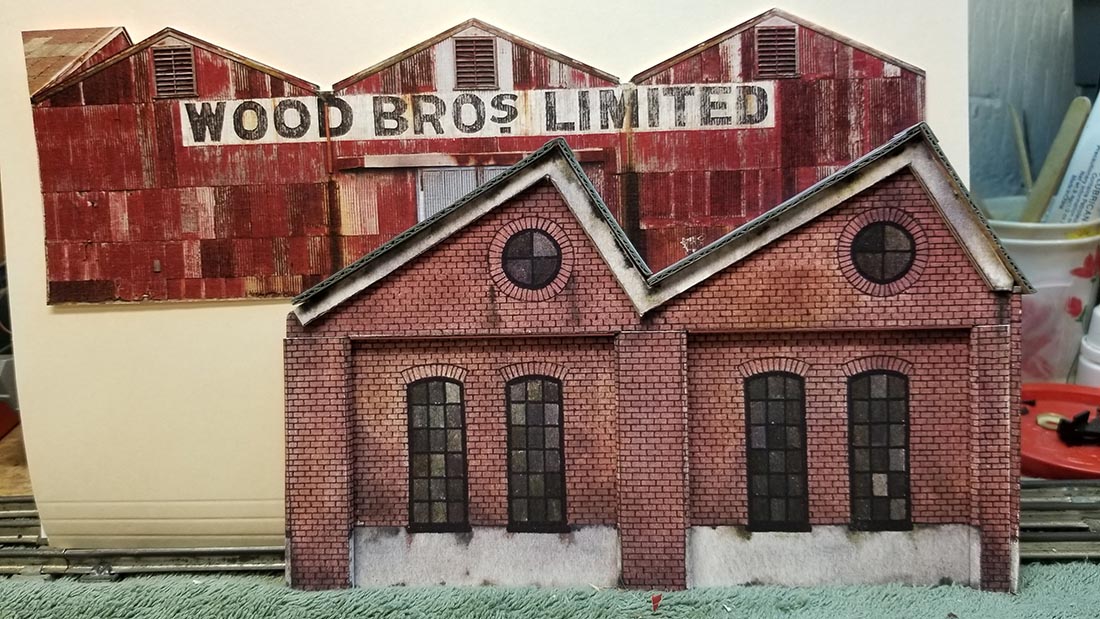
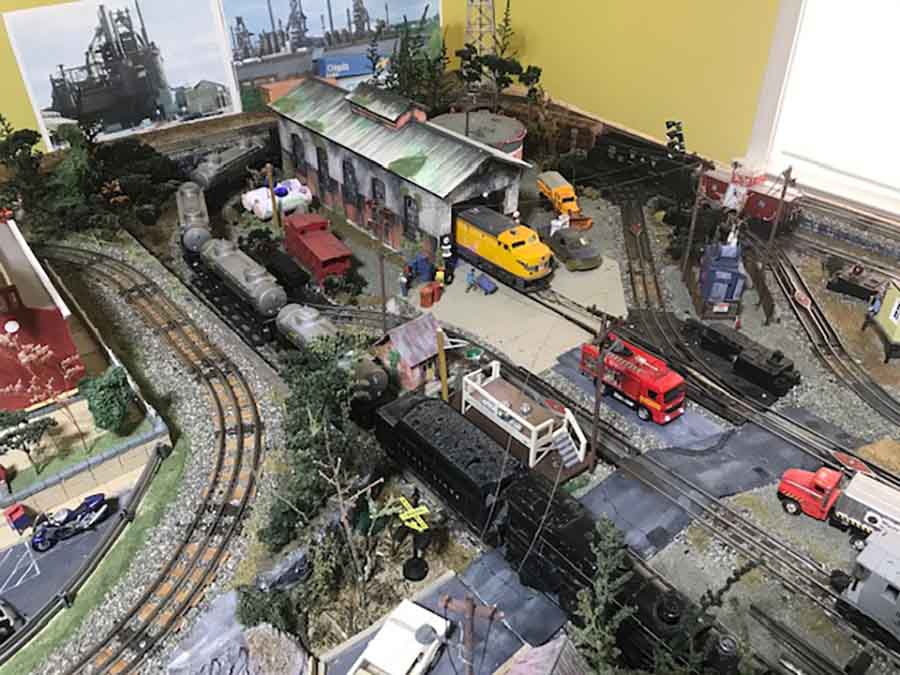
And of course, there’s lots of the printable buildings on your layouts.
Here some pictures of them:
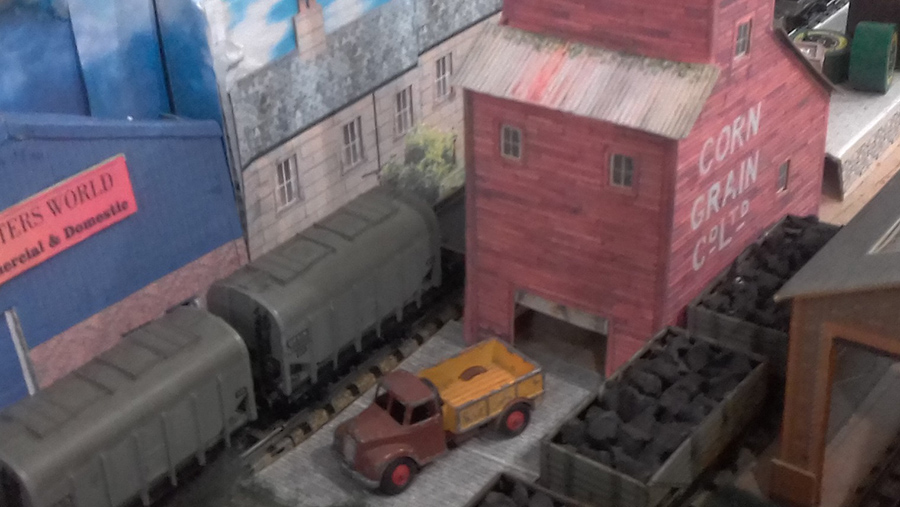
Mike has used a lot of the houses and grain elevators (not featured in the bundle – just using a print out example).
But don’t forget – it’s not just the printable buildings you get – it’s the Beginner’s Guide too:
Of course, I’m biased so here’s what others say about it:
“Al,
I really like the Beginner’s Guide. As a true beginner it helped me quite a bit. The Guide answered questions I didn’t know enough to ask.
I haven’t gotten to the building prints yet, still working on my terrain.
Bruce”
“Hi Alistair,
Your print out building kits have saved me hundreds of dollars on buildings and they provide the unique option of being able to customize the builds most any way I desire.
Until I came across your kits, I was very limited on what I could add to my planned N-scale layout. Commercial building kits are way too expensive for a retired person’s budget.
I now have the ability to not only build nice scenes, they don’t require weathering. Something I’m not terribly adept at accomplishing. Also, as a 70 year old kid, working in N-scale can be challenging for clumsy arthritic fingers. Your kits eliminate most of those issues. All I need is a sharp blade, scissors, glue and my imagination.
Also, your beginner’s guide is invaluable. I’m a retired network systems architect, so tech is not scary to me yet surfing the web for information can be tedious. I was a pre-teen the last time I played with model trains, and a lot has changed in the hobby since the early 60’s. You’ve solved all of that by providing one source for virtually all my basic needs, plus your daily email blog covers it all. What an incredible resource you are to this hobby.
Thanks for doing all of what you do.
Best Regards,
Ken”
“Hi Al
I really enjoyed the beginner’s guide book. I’m new to the train world. I have just retired and trying to make an attempt to start a hobbie with HO scale trains. You and your followers have encouraged me for the last two year’s. I Thankyou and your followers for sharing their train world
Sam”
Of course, I’m very biased, but I think the Beginner’s Guide and all these printable buildings bundled free are a real steal – just $9 for the next day or so.
I think Ken’s quote above puts it best:
“Your print out building kits have saved me hundreds of dollars on buildings and they provide the unique option of being able to customize the builds most any way I desire.”
You get 25 printable buildings with the Beginner’s Guide (although with a bit of imagination you can make, many, many more).
You’ll see these buildings sell in the store for $9 each or more.
And the Beginner’s Guide sells for $27.
So you are saving a massive $342 on this deal.
You’re also getting the track plans PDF too.
What’s more, have a look at throught the store and you can see it’s a real, genuine, saving.
But please bear in mind, this silly sale is only for a few days, and then it’s all goes back to normal.
I do like to think that when I have a sale it’s genuine, and there is real value.
So if you fancy this bargain before it disappears like a shadow in the night, grab it right now.
Or, I know some of you good people just buy it to support the site. God bless each and every one of you.
Whatever your reasons, the Beginner’s Guide for $9 and the free printable buildings make it easy for you to make that all important start.
And that, my friends, is what it’s all about. Making that start.
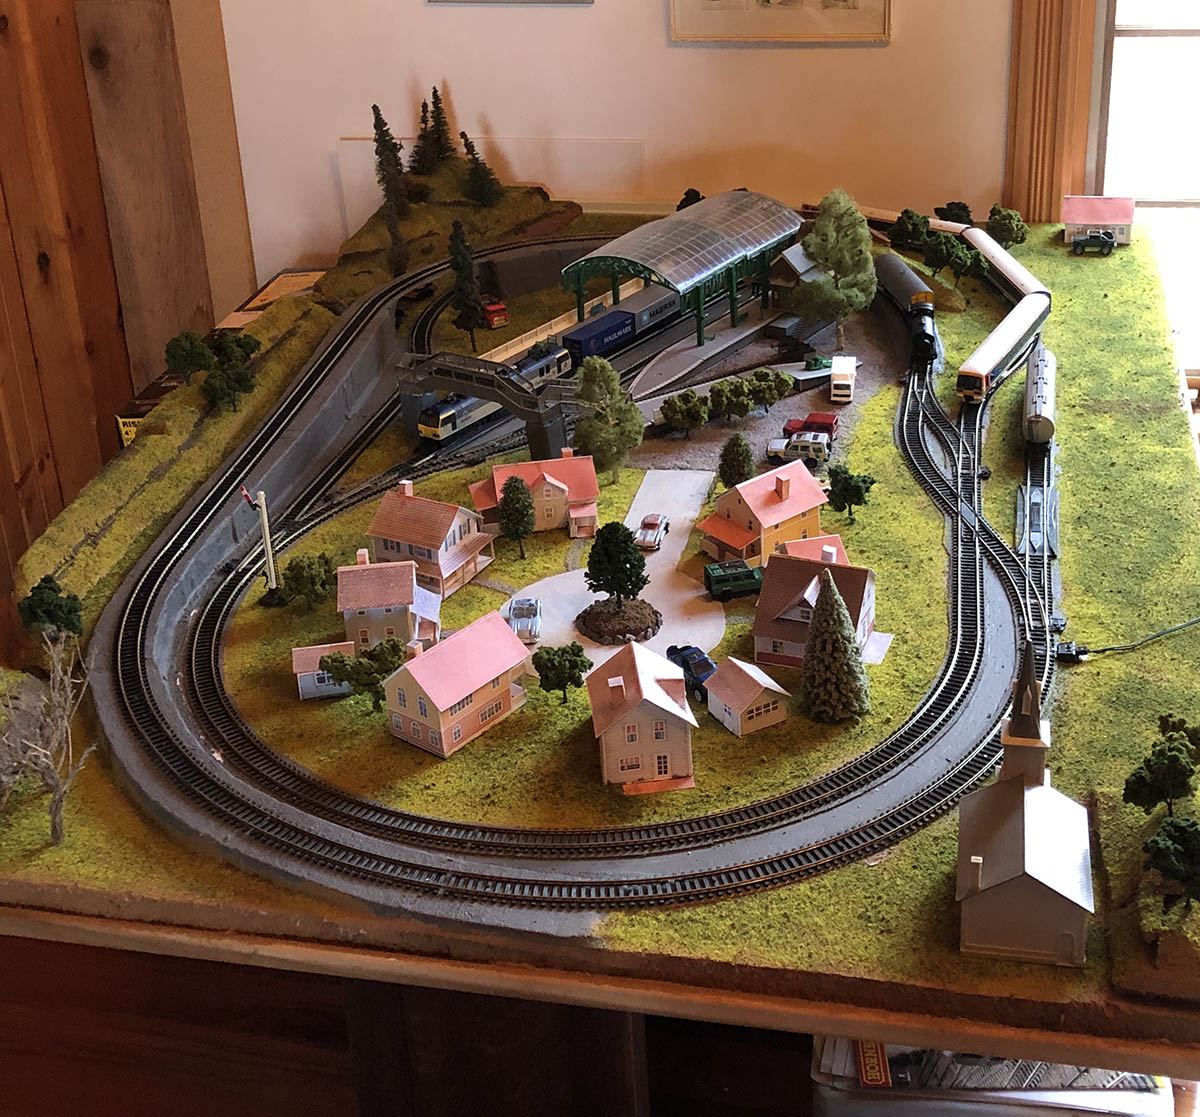
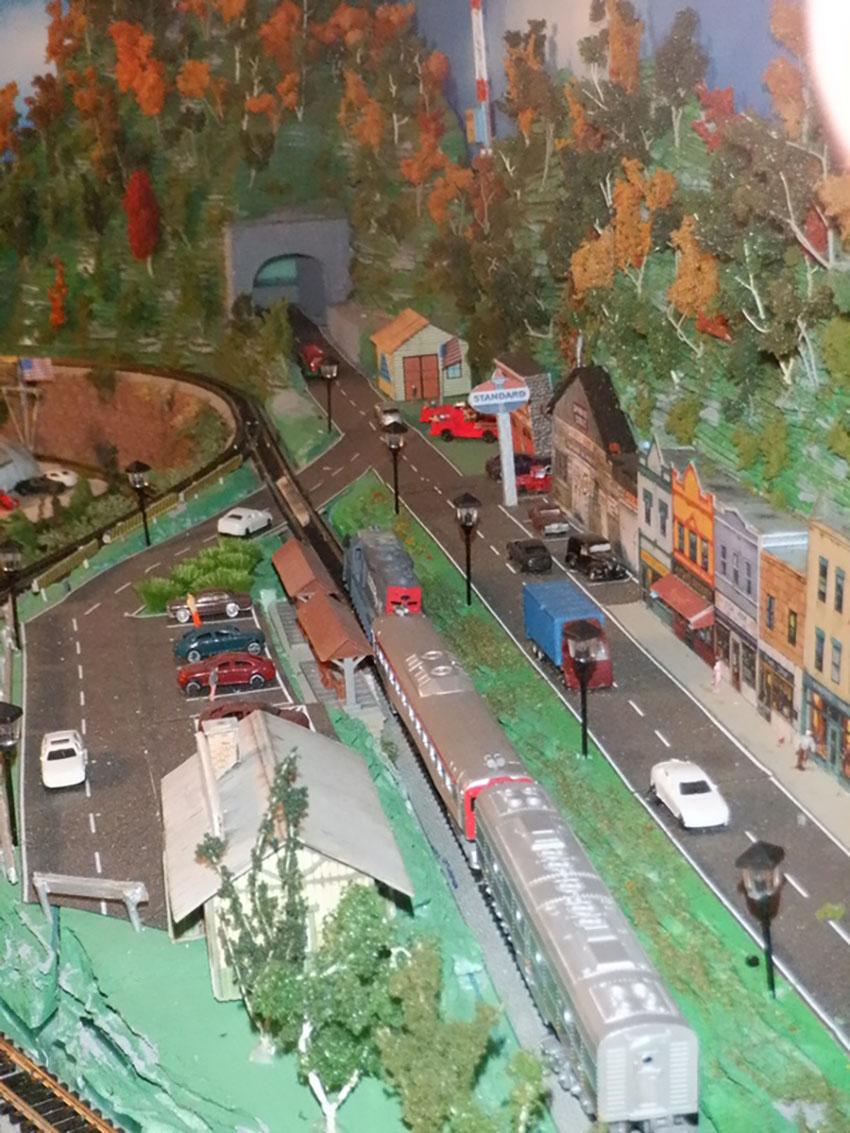
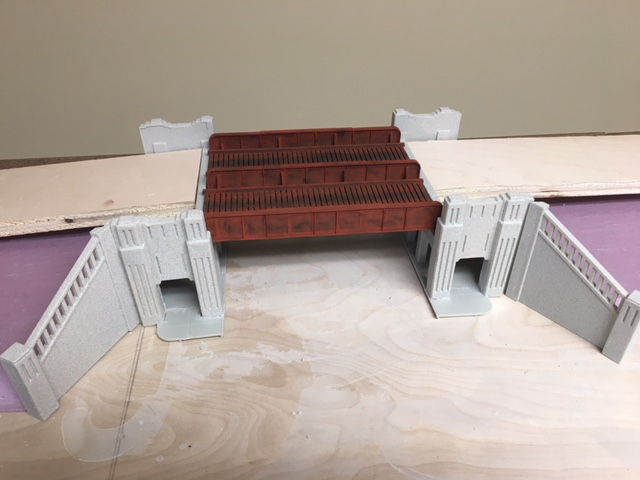
Here are some pictures of my first try at a layout.
It is HO scale and I built the 4’x8’ train table myself from a Michael Gross narrated video available on YouTube. (If anyone recognizes the table and wants to build one as well, please read all the comments under the YouTube post before getting the components and starting. There are several mistakes that they made.)
I just got into model railroading this year. Our family has a history of working on the Lackawanna RR in our area.
When completed, this layout will hopefully recreate an area that I patrolled on foot when I first became a police officer.
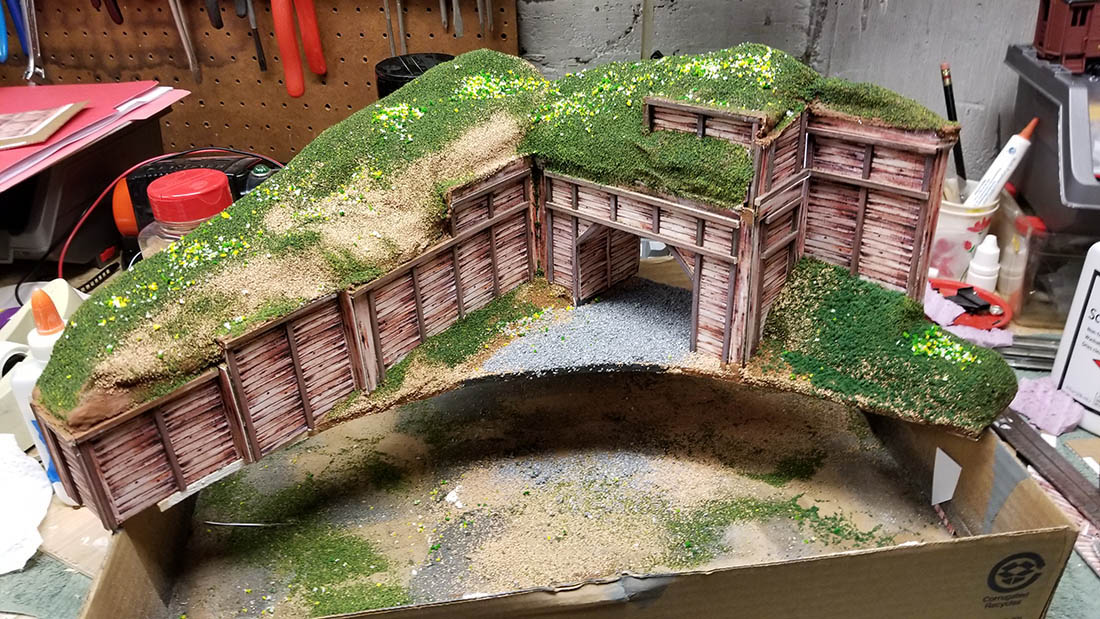
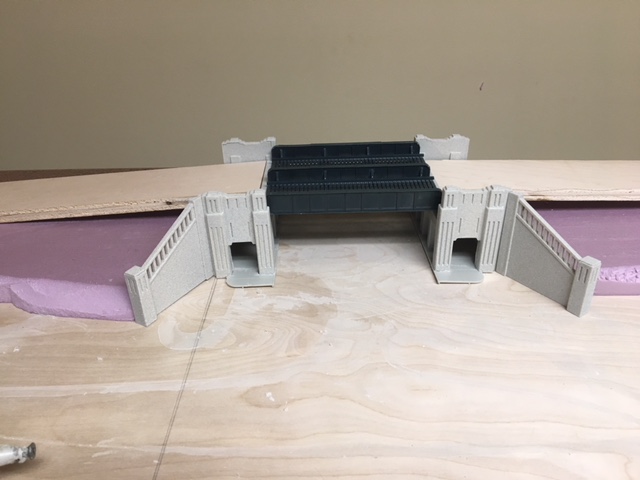
For the finished bridge, I used Stoney Mountain Weathering Kit to achieve the look.
I will send more pictures as it progresses. Keep your fingers crossed that I can do it.
Thanks,
Pat, NY USA”
Pat’s made a model railroad start – and that’s what it’s all about.
Remember, it’s the start that stops most people…
Now on to Eric:
“Hi Al.
I thought of a catchy title for the start of my new N gauge project, so I’ve called this.
The Making of Smeedle 123 … sounds almost familiar doesn’t it?
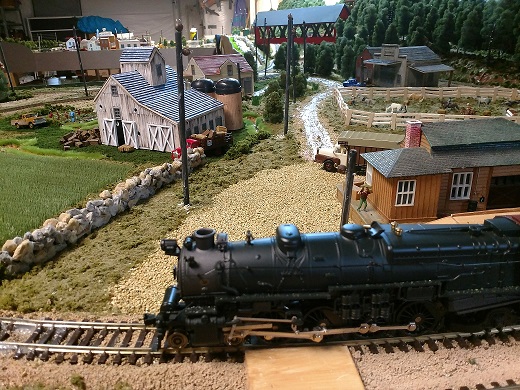
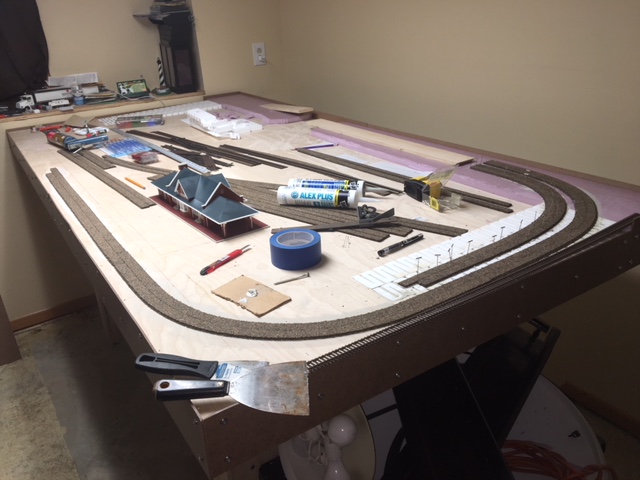
This is Part One, a brief snapshot of the track configurations as I perfected my plan and the start of the town layout of Smeedle so far. This is just a twin track on the level for a change for me, I can’t remember any other layout where I haven’t had multiple levels or at least two.
You can see the station went from a three platform to a basic two platforms to allow me to add the goods and engine shed areas. The station building is kit bashed, two small stations merged into one. You can see the start to finish of the station area as it progressed, just more people and fencing to add there.
Most of the layout will be in the open with only the rear section hidden, I have goods yard and engine shed linked by a third controller DC of course, even though I have only concentrated on the seen areas up to date there is the engine shed area and a whole townscape to start on next. I still have managed to have 26 lights already wired and working.
You will see a hint or two on the pictures of how to. One, to raise platforms when you use underlay, Two, I use cling film for protecting the rails when adding grass etc. The third is the most simple. I use ballasted underlay so just spoon in the loose ballast between the two tracks without using glues to stick it all down, this means if you alter things you can reuse the ballast filling and no gluey mess to clean up. I do this mainly due to using Sundeala board, compressed newspaper, as it is best not to wet it too much. The track is pinned not glued.
Around the goods shed I have blended winter, spring, summer, and darker summer grasses as well as earth mix and rocky sand sprayed over with hair spray to hold it down.
I will try keep you updated as I progress as I think I am going to enjoy taking it a little more leisurely, hopefully providing greater detailing if my hands and eyes can cope.
For the ones that want perfection, well this is out of my head, based on any small Yorkshire town. The board at best 7’6” by 5’.6” with a wall and hatch. I don’t do weathering, I don’t do plans as they say on Facebook I invoke rule 1. (Do things as you like them, not what others think you should do).
The control is all by DC as I prefer it after watching all the problems others have with DCC and decoders. I have upgraded my Gaugemaster controls to 2 * Q, 4 track controllers, 4 will be for the lighting for adjustments so they can be dimmed or brightened as required.