Jim’s been back in touch with his model railroad canal layout. It’s HO scale and 6×4:
“Hi Al;
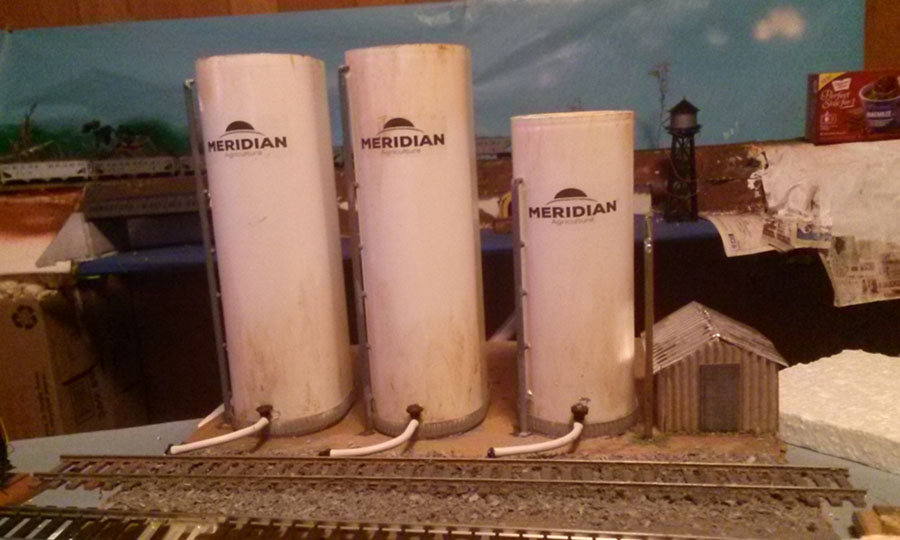
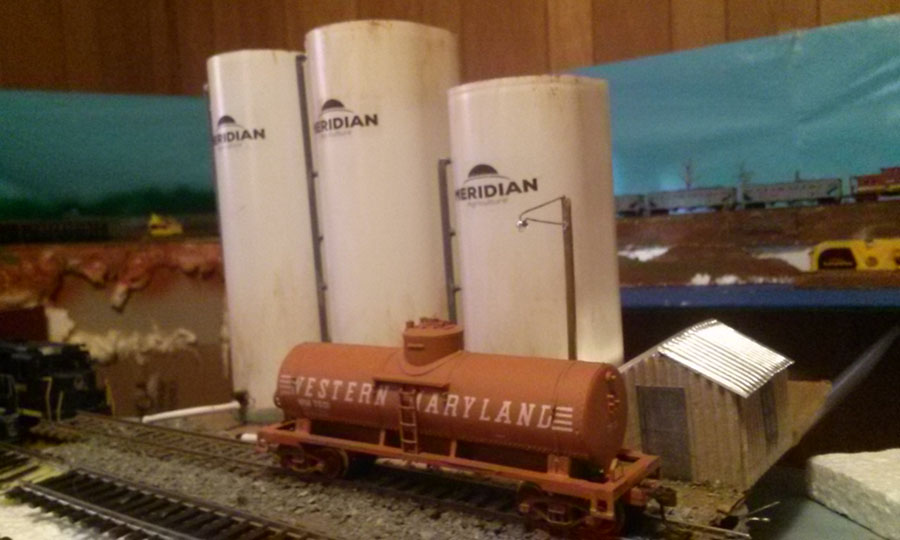
Work on the railroad is winding down, i.e. it’s getting warm outside! I previously sent pictures showing the canal I had made of the Miami-Erie canal of western Ohio in 1908 as well as the area around it.
NW Ohio was a hot bed of the industrial revolution in the US at that time with oil being the largest industry and auto making, engine manufacturing as well as gas production all beginning to play major parts. The canal was no longer the major method of freight transportation but very much in use until a massive storm wiped it out in 1913.
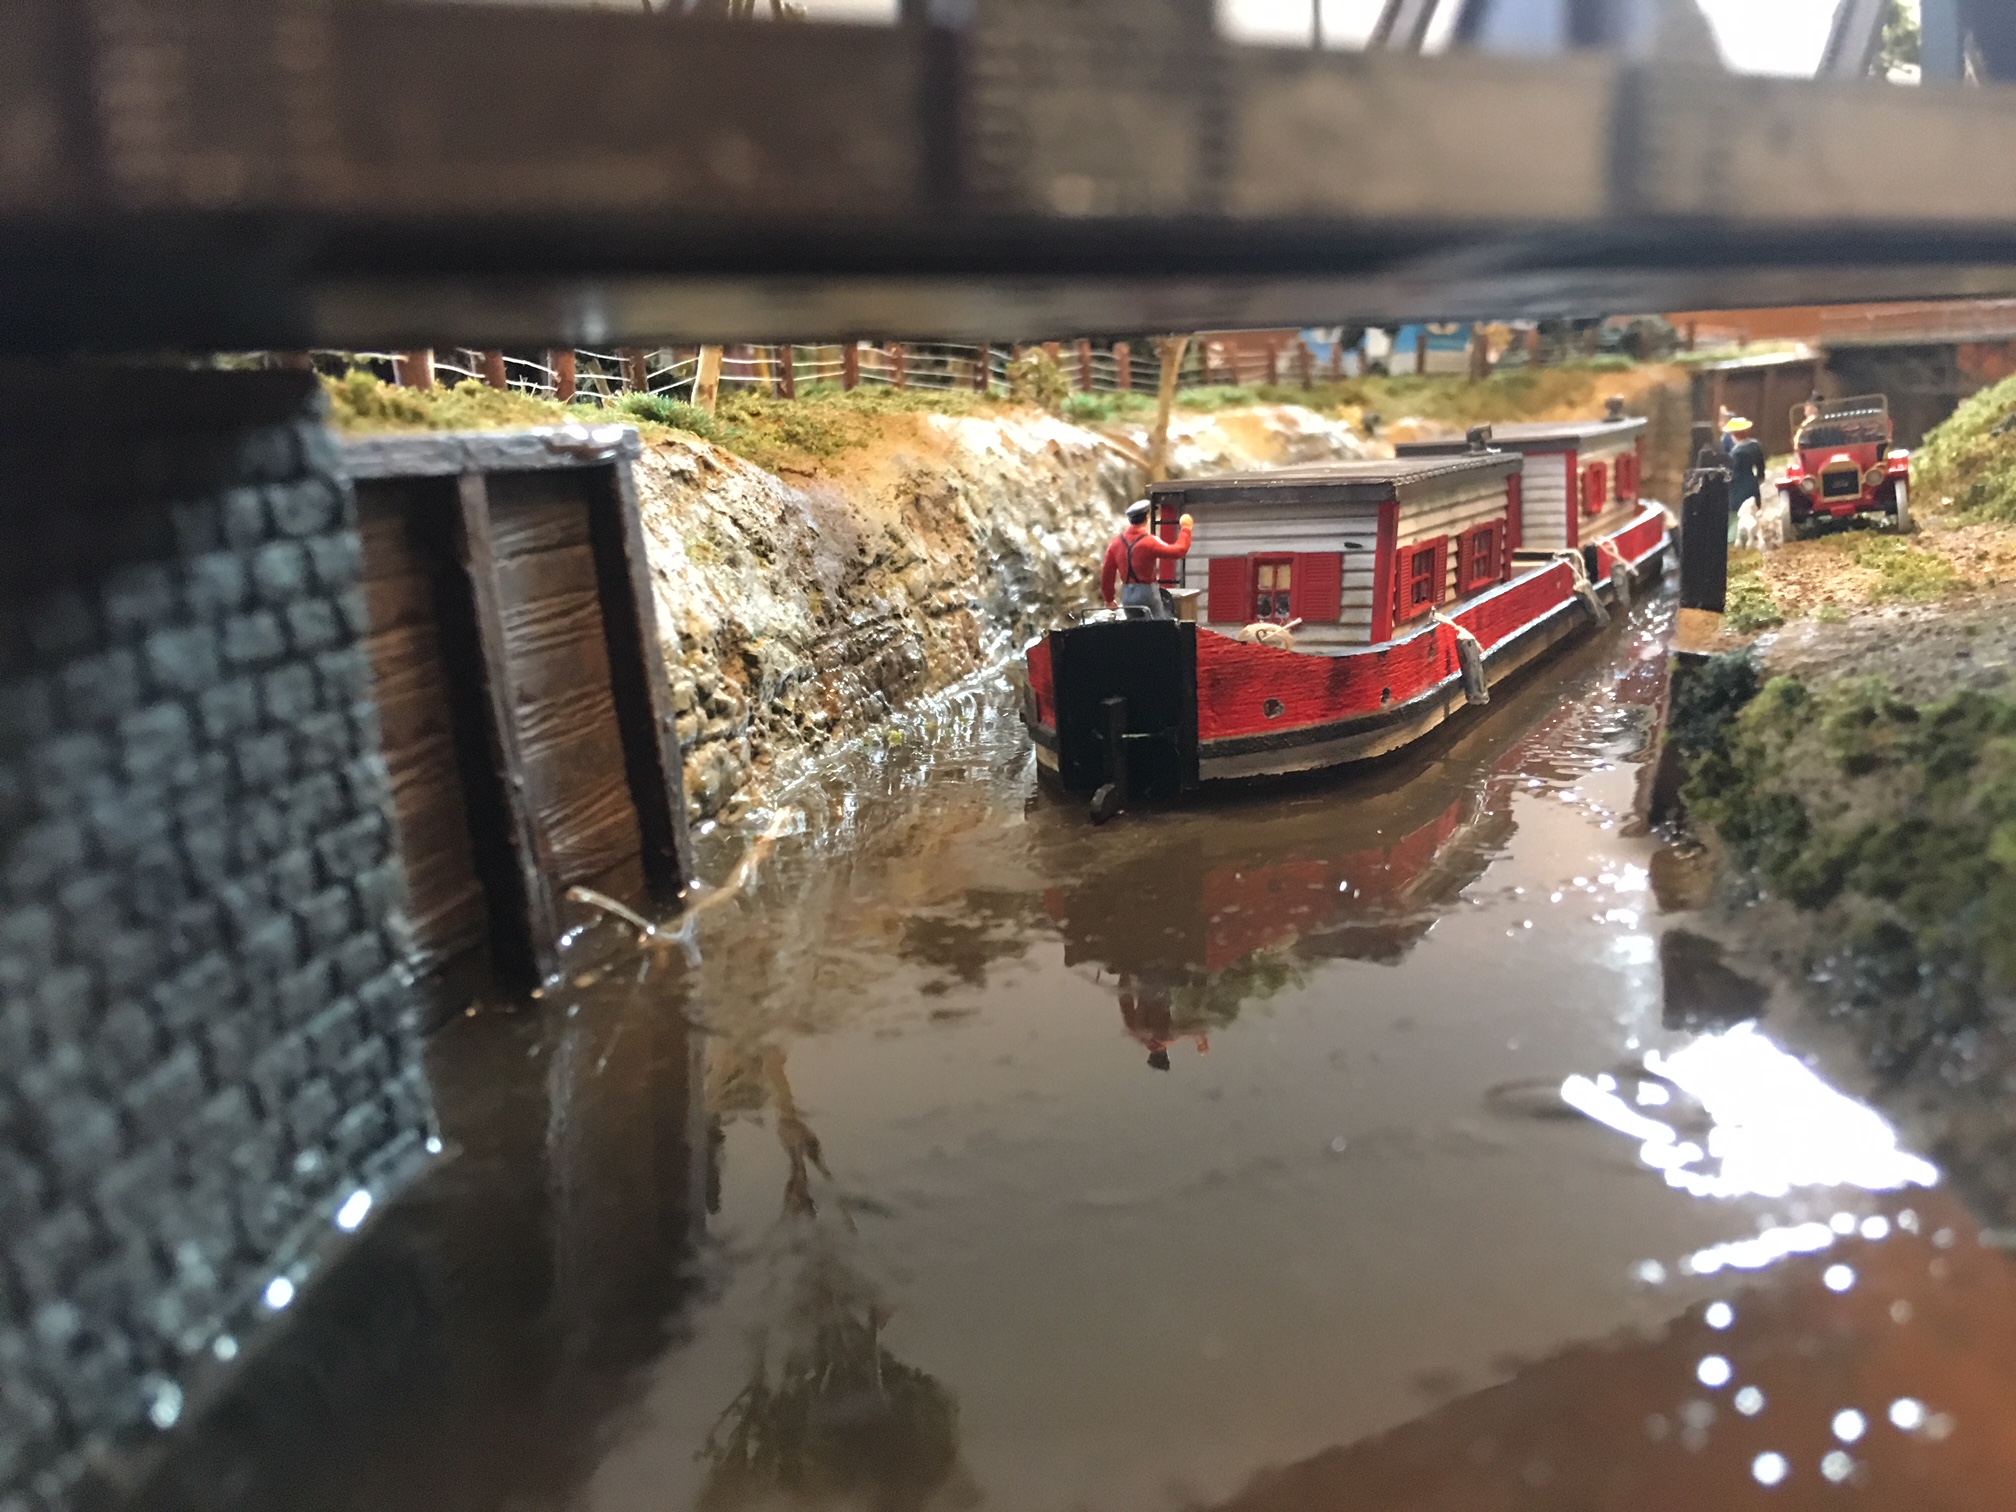
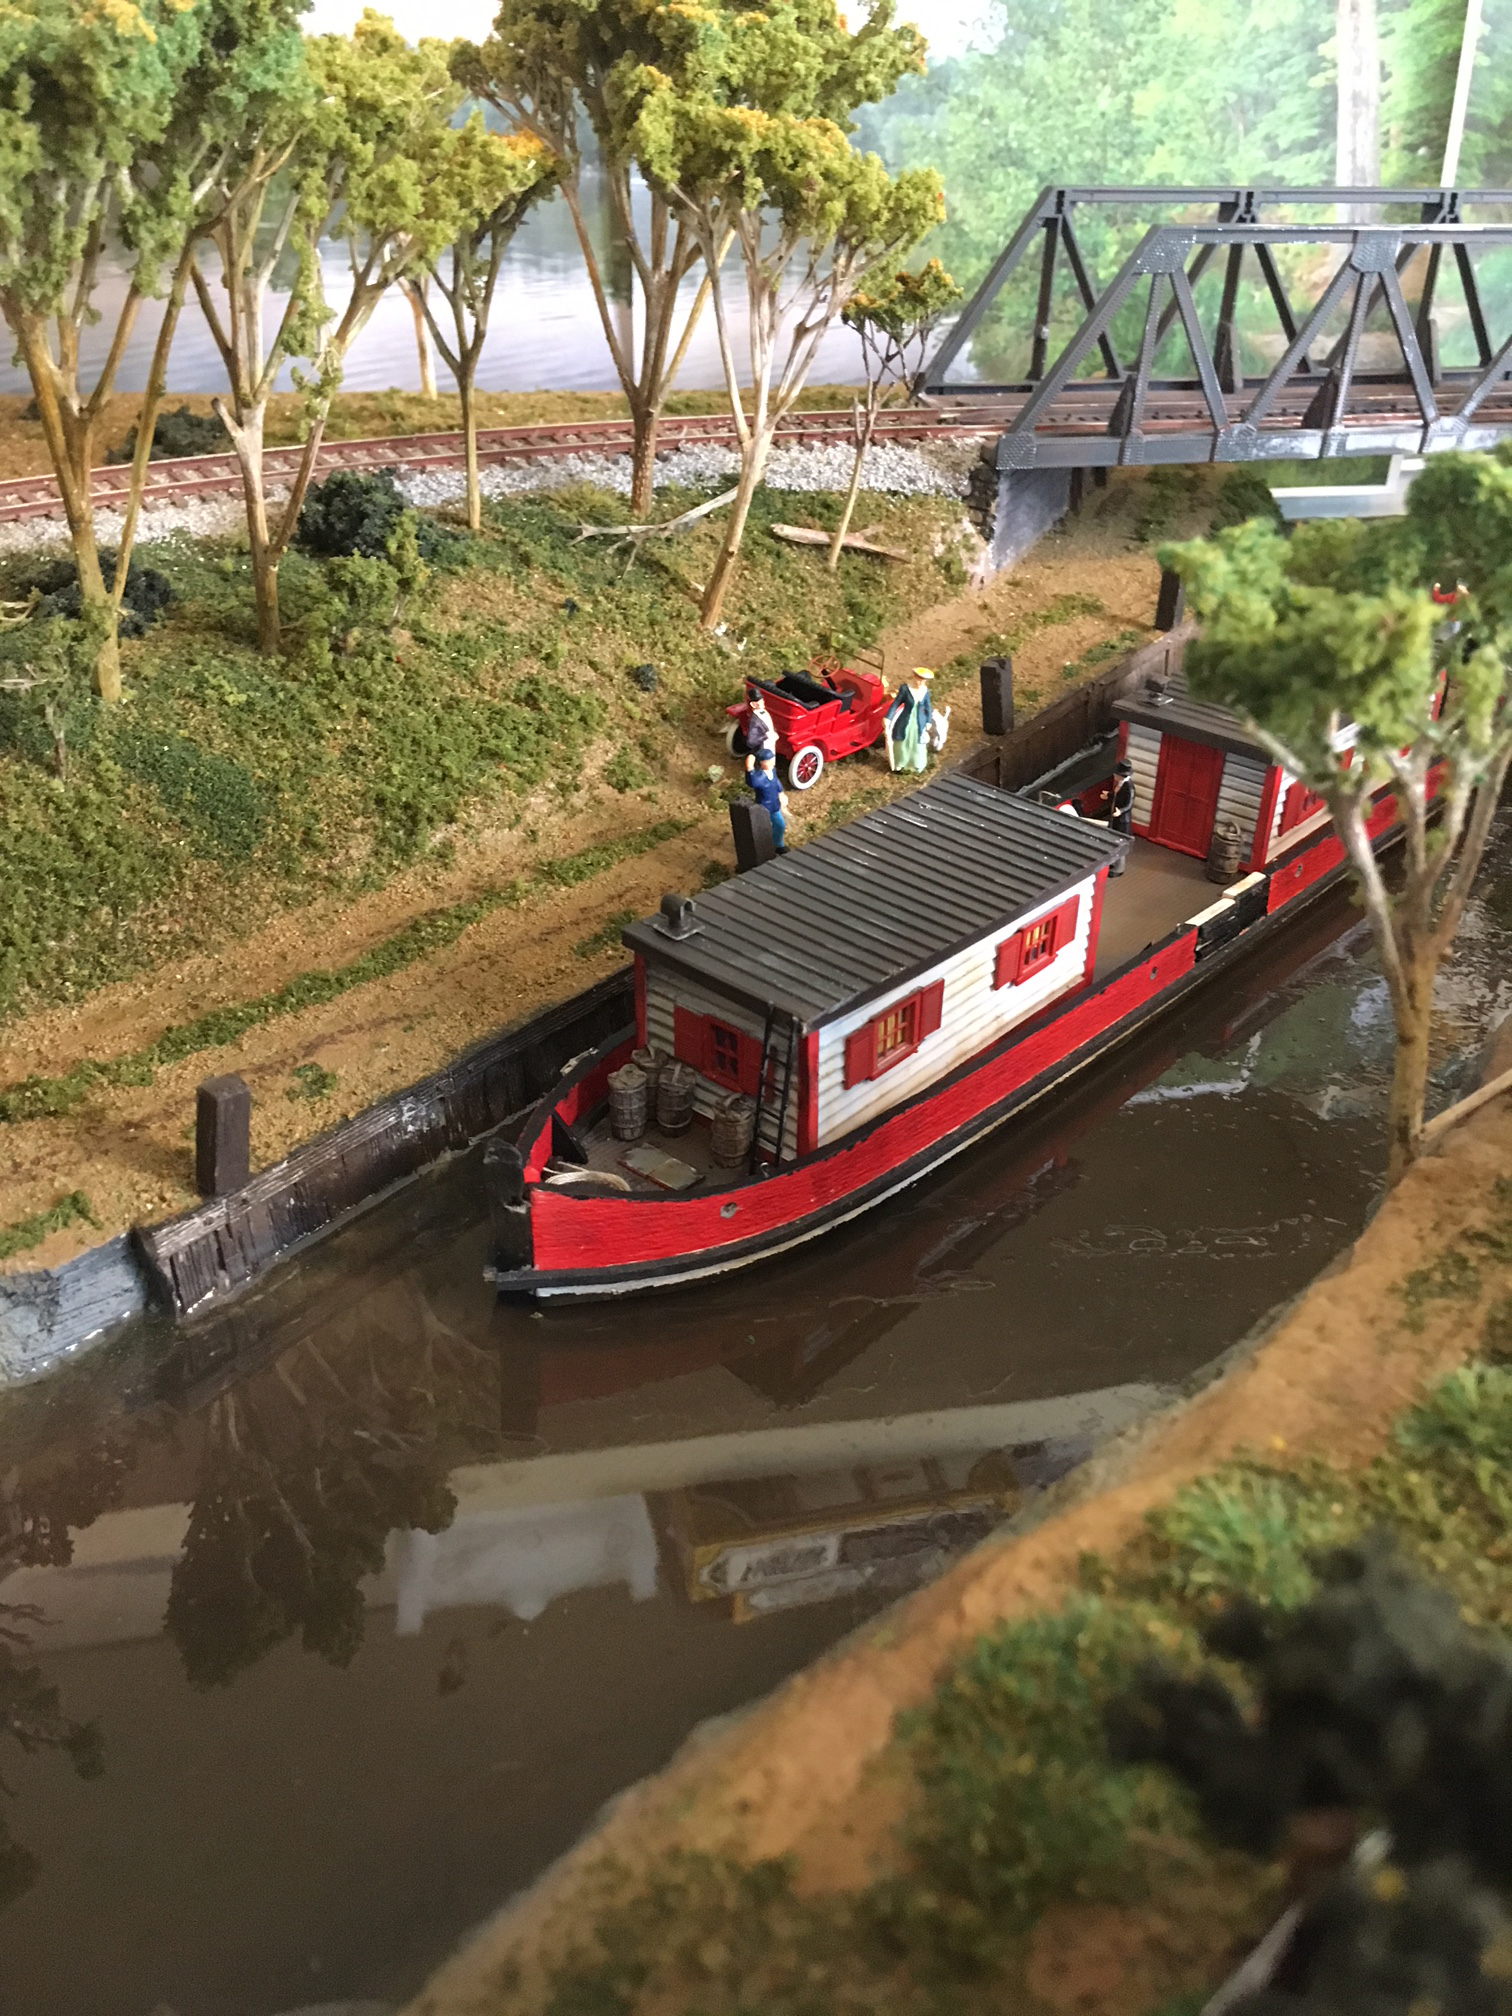
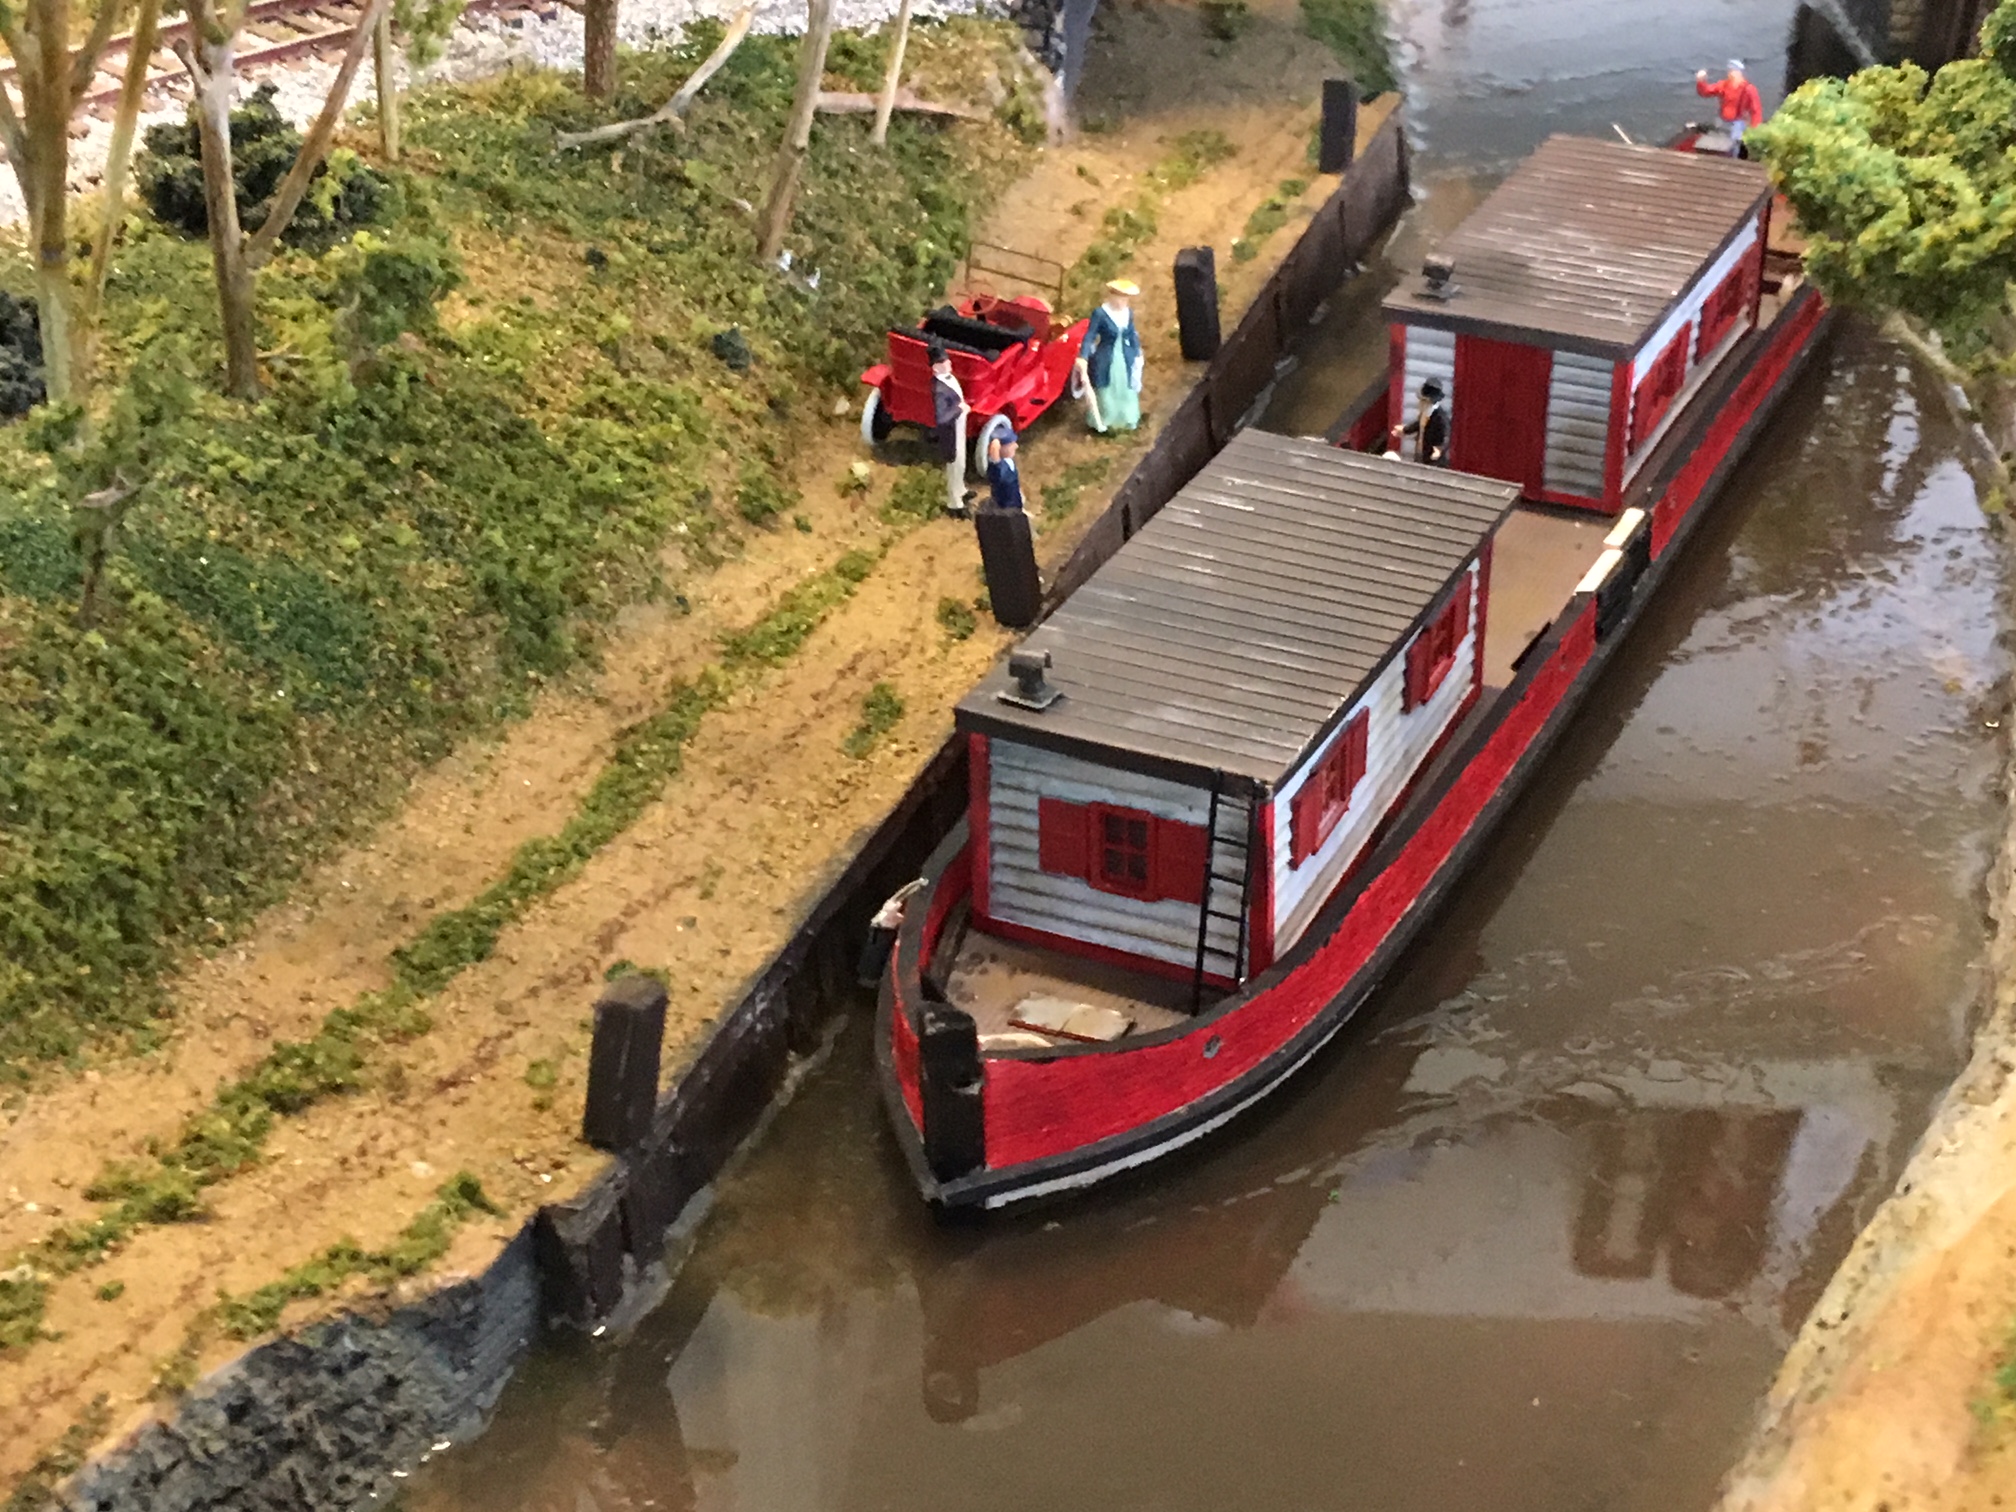
The attached pictures show the completed oil well and canal boat which will fill out the scene of this part of the 6 x 4 HO layout.
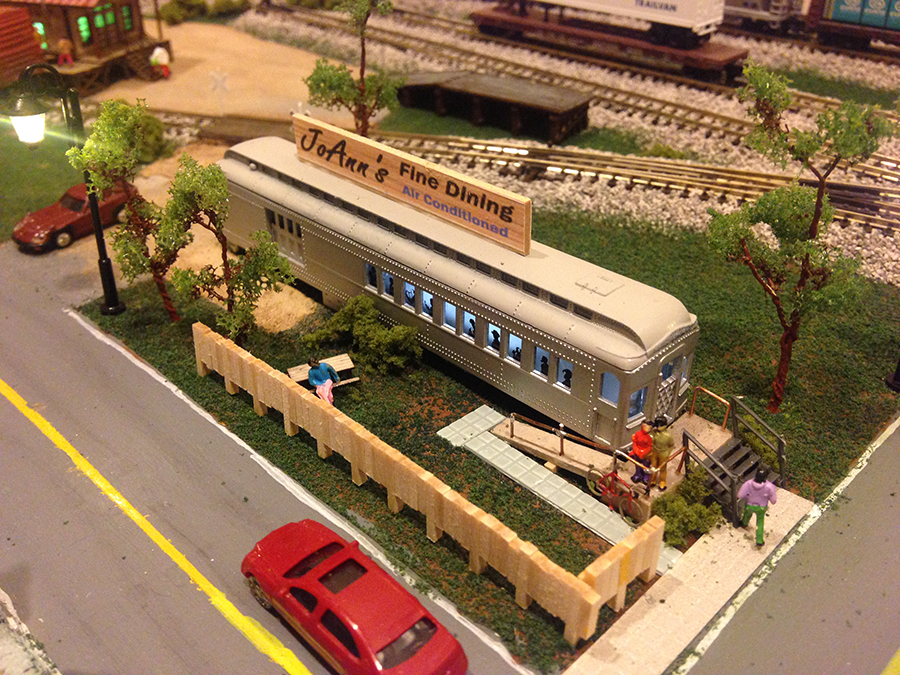
The canal boat shown is based on actual diagrams I found at a local museum and is scratch built from basswood, balsa wood and modeling styrene. The scene is fiction as it shows my wife and I at the landing with our Ford model A and dog meeting our friends who at that time supposedly run a floating gaming boat. I love adding friends and family into the layout with stories made for each.
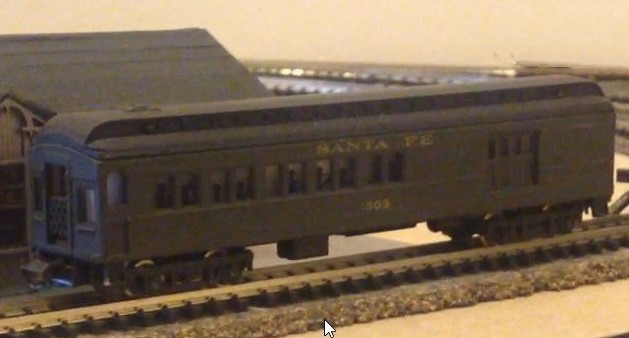
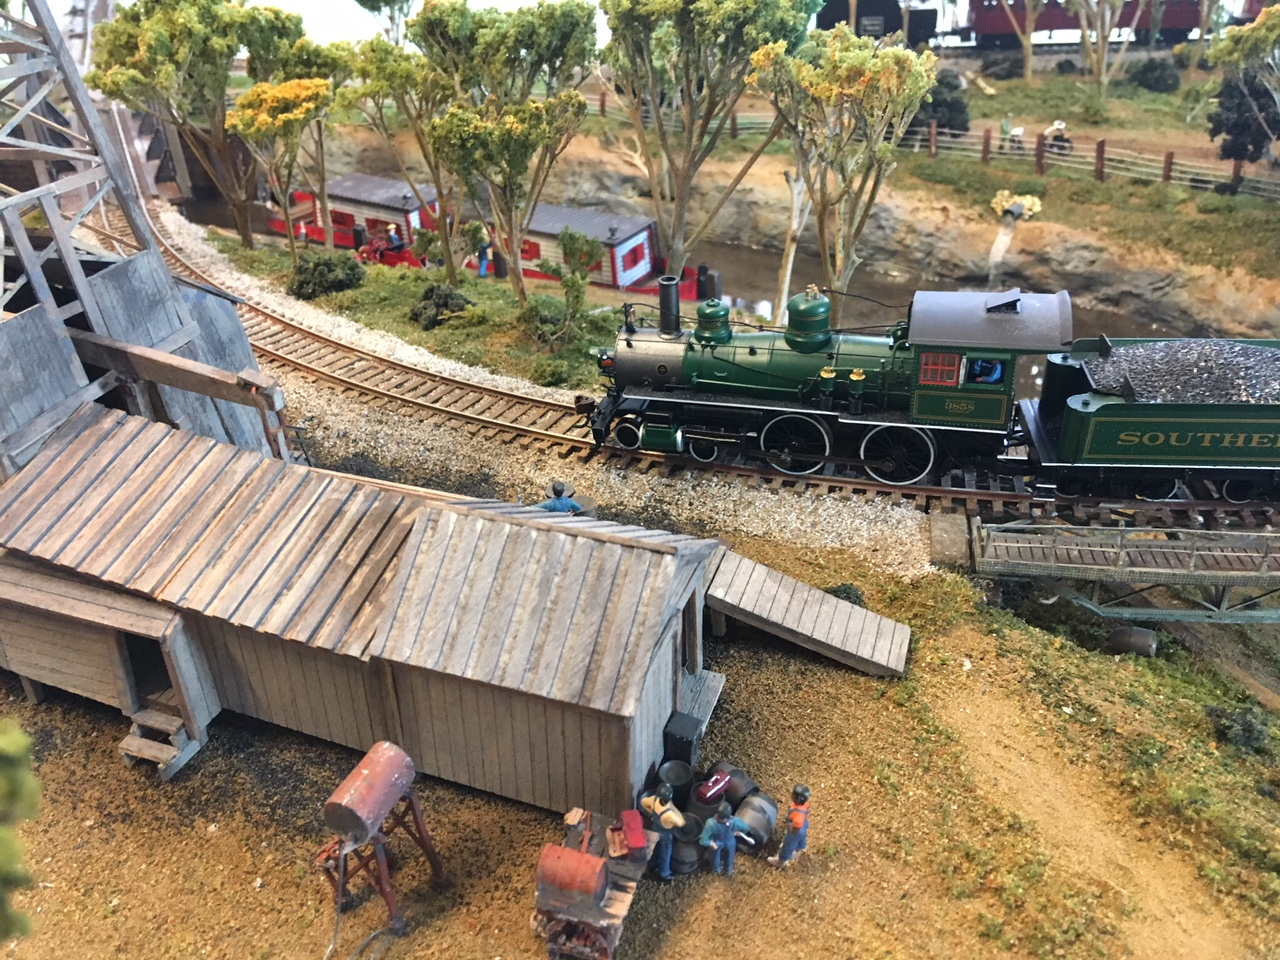
The oil rig is supposed to be part of our son’s growing oil empire, Gordy Oil. The 4-4-0 in the picture is a Southern Railway coming to visit. Eventually it will be bought and lettered Holland Odessa!
I’ve tried to provide larger pictures then last time. Hope you enjoy traveling back in time.
Jim”

Just loved Jim’s pictures – model railroad canal scenes are few and far between. You can see how he started here.
And now on to Chris. Can anyone help?
“Hello Alastair,
Question about track fitting together.
We are building this layout using brand new o27 three rail Lionel track.
When joining two together, should they meet? or is the slight space (pins showing) normal.
Experimented using a drill bit to spread (gently) the three openings, solves the issue however this makes for a loose fit.
My impression, is to simply fit them come what may…
I’m 58 and have not spent time with trains since 1972…..
Looking forward to your advice….
Thank you,
Christopher”
Latest ebay cheat sheet is here.
A huge thanks to Jim. His last post really does show this hobby is all about making a start. So if you feel it’s your time to shine, the Beginner’s Guide is here.
That’s all for today folks, please do keep ’em coming.
Best
Al